December 16: Sugar Cookies

Standard

These are the best damn sugar cookies you’ll ever have.

What makes me so confident? I’ve had a lot of cookies. I’ve run a cookie blog for 8 years. I’m not exactly the 120 lb. daughter my mother always wanted, and I can tell you, I didn’t get this way eating salads. I’ve conducted sugar cookie research I didn’t even know I was doing, since I was 8 years-old.

As far as Christmas cookies go, they are number 1. Fight me bro. What makes them so good are the combination of both vanilla and almond extracts.

Jessica’s Best Sugar Cookies

  • 1 1/2 c. sifted powdered sugar
  • 1 c. butter
  • 1 egg
  • 1 t. vanilla
  • 1/2 t. almond extract
  • 2 1/2 c. flour
  • 1 t. baking soda
  • 1 t. cream of tartar

Directions

  1. 1. Cream butter and sugar. Mix in egg and extracts. Blend dry ingredients and stir in.
  2. 2. Refrigerate 2-3 hours. Divide dough in half and roll out. Cut out desired shapes.
  3. 3. Bake at 375 for 7-8 minutes.

My little buddy Emmett again helped me with these cookies, since my own kids are large and old and mostly uninterested in cookie decorating these days. Emmett’s dad is one of my very best friends, and has been for 30 years. So when I need an expert kid cookie-decorator, Emmett is my go-to kid.

Emmett did a great job with decorating and saying please and thank yiu and also showing off his reading skills by taking his turn reading Christmas trivia to us.

I made these before Emmett and his chauffeur, I mean Dad, came over, just so we’d have more time to decorate them.

The day Emmett and his dad come over to do Christmas cookies is my favorite cookie day of the year. Maybe we can even do it twice this year. Love this kiddo, and his dad is pretty okay too.

December 12: White Velvet Cut-Out Cookies

Standard

December 3: Shortbread

Standard

Shortbread (from Old World Garden Farms)

INGREDIENTS:

1 cup butter, room temperature

1/2 cup brown sugar

2 1/2 cups flour

INSTRUCTIONS:

Preheat oven to 325 degrees F.

1. In a large mixing bowl add butter and sugar and cream together.

2. Slowly add flour and mix just until incorporated.

3. On a lightly floured surface work the dough until it forms a ball.

4. Roll out the dough to 1/2 – 1/3 inch thickness.

5. Using cooking cutters, cut into desired shapes. Or cut into small rectangular shapes.

Today’s cookie is a new recipe for me, but it’s so simple, I still feel like I’m cheating. Shortbread is amazing…buttery, delicious, and only three ingredients. I frosted mine to give them a little more appeal, but honestly, my intended cookie-eaters today wouldn’t have cared if they were plain.

Oh yes, my intended cookie-eaters were my students. You see, my school recently acquired a table top oven, with the hopes that some kids will want to take fun baking classes with me.

Normally this holds my computer and not much else!

I wanted to take it out for a spin. This thing is not big by any means, but it did the trick beautifully. Cookies came out like they would at my house, but in smaller batches.

Now, the thing is about baking at a remote location–you have to pack everything up to take there. And this was not a fun part of my day. Between ingredients (even though there were just 3), bowls, frosting, a cooling rack, and few more things, I had to have help bringing all of this into the school today. Plus, acquiring said items made me late for work, and I hate being late. I hope offering my boss the first warm cookie from the oven helped him forgive my tardiness!

Since I work with kids, I had lots of helpers and lots of tasters. My students are 6th-12th grades, so their help resembles more actual help than if I had “helpers” of a younger variety.

But with that also came the downside…larger helpers have larger appetites. Sadly, I have no cookies left. I guess I shouldn’t say sadly though, because these kids were the most enthused and motivated as I’ve ever seen them! And the teachers were excited too! Eventually everyone’s noses led them to where I was with my mini-oven. It was amazing at what the smell of fresh baked cookies can do for people!

Literally all that were left after I remembered to take a picture. And then *these* were gone 5 minutes later!

One of my students said, “We’re baking cookies as a family.” And coming out of the mouth of a 15 year-old aspiring rapper, I was definitely touched. They may not be my own kids, but I think of them as part of my family, too!

December 2: Gingerbread

Standard

The Perfect Gingerbread Cookie

(from Sweetapolita.com)

Ingredients

  • 6 1/2 cups (815 g) all-purpose flour
  • 1 tablespoon plus 1 teaspoon ground ginger 
  • 1 tablespoon ground cinnamon
  • 3/4 teaspoon allspice 
  • 1 teaspoon baking soda
  • 1 teaspoon salt
  • 1 1/4 cups (283 g) unsalted butter, softened
  • 1 cup (220 g) light brown sugar
  • 2 eggs
  • 2/3 cup (220 g) cooking molasses
  • 1 1/2 teaspoons pure vanilla extract

Instructions

  1. In large bowl, sift together flour, ginger, cinnamon, allspice, baking soda, and salt. Set aside.
  2. In an electric mixer fitted with the paddle attachment, cream butter and brown sugar on medium speed until fluffy, about 3 minutes. Beat in eggs one at a time, scraping sides of bowl between additions. Add molasses and vanilla and beat until completely incorporated.
  3. Reduce mixer speed to low and add flour mixture until thoroughly combined, about 30 seconds. Dough should be soft (not dry or crumbly) but not sticky. If sticky, add a few tablespoons of flour until desired consistency is achieved.
  4. Divide the dough in 2, place each half on a large piece of plastic wrap, press down with the palm of your hand and make a disc about 2″ thick. Finish wrapping the disc with the plastic wrap. Chill the discs of dough for at least 2 hours.
  5. Remove one disc and remove plastic wrap. Place on top of a large piece of lightly floured parchment or wax paper (I use a silicone rolling mat underneath to ensure it doesn’t slip while rolling, but you can even dampen counter so the parchment sticks a bit.), then place two 1/4″ wooden dowels on either side of your dough, then another sheet of parchment paper.
  6. Roll dough (this will require a bit of elbow grease for the first few minutes until it softens up a bit) so it’s flush with dowels–they will ensure that your dough is even thickness.
  7. Slide your parchment paper and dough onto a board, then place in refrigerator for about 30 minutes, or freezer for 15 minutes (or more).
  8. Preheat the oven to 350˚F. Line two or three baking sheets with silicone mats or parchment. Remove the rolled dough from fridge, and cut your shapes using the cutters or template of choice, placing them on the prepared baking sheets. Bake until the edges just start to brown, about 8 minutes for medium cookies, and 10 minutes for larger cookies (such as those in the photos).Be careful not to over-bake, or cookies will be dry. Collect remaining dough and re-roll once, repeating cutting and baking steps. Dough rolled out more than once will be a little tough, so it’s best to keep it to a 2-time roll-out maximum. 
  9. Cool sheets on wire racks for 20 minutes, then gently remove cookies and place on wire racks to finish cooling. If cookies are too fragile, you can cool completely on trays.
  10. Decorate with royal icing, candies, sprinkles, and more.

So Gingerbread. It’s the stuff of Christmas dreams and Yankee Candles (but somehow the candles never actually smell like Gingerbread to me). Every year I make this, and every year I vow to just buy a new bottle of molasses. I didn’t this year. Again. That makes 15 years in a row! Through a biblical-esque miracle much like loaves and fishes, I had exactly the right amount of molasses this time around. It took about an hour to get it all out and at one point, I was wondering what was wrong with the specific gravity at my house.

I still got a little more out of it too!

But I digress.

I’ve always wanted to make an epic Gingerbread Scrabble board. I’ve thought about it for years, and for some reason, I always had to have it be Gingerbread. I think it has something to do with going to Disney World around Christmastime and seeing the things they build at the Grand Floridian out of Gingerbread.

If it’s good enough for the Mouse, it’s good enough for me.

Good kitty Zelda, watching me make her favorite cookies.

I found my spice girls and went to town. Now, I also did a few actual Gingerbread men too, but more on this later.

I won’t bore you with the details of how I measured and baked and frosted and screwed up so many times, my gingerbread started to go gray from royal icing. Well, if I’m being honest, it’s not about boring you, it’s about reliving the trauma.

There was math involved. And rulers. And at one point, I googled “equation for Scrabble board squares” and I was then mocked by Google.

But, it turned out pretty cool. I don’t think I’ll be eating this, but the whole point is I COULD. If there’s a problem and I’m the only survivor, I can live for at least 2 weeks on my Scrabble board.

Oh, and about the actual Gingerbread Men and Women. I made a few. One of my students comes to school everyday wearing a different heavy metal t-shirt. So I made this for him.

Breaking the law, breaking the law…

Honestly, it’s way cooler than the Gingerbread Scrabble game, and way less aggravating!

December 15: Orange Drop Cookies

Standard

This cookie comes with a story. I mean, they all come with a story, but this one comes with a recent story.

We had an apple tree at our old house in Wisconsin. We got it (and another one that didn’t make it) many years ago when our city cut down our large tree for power line reasons, and we got three new trees out of the deal. (Other one was a beautiful Blaze Maple.) Hoover, our middle son, loves apples, which is why we chose an apple tree.

Fast forward to now, and we live 30 miles from the Gulf of Mexico, where we have no apple trees (I don’t know if they grow here or not, but we don’t have access to one anymore).

Hoover has always been obsessed with seeds and planting and all sorts of stuff. He used to save his orange seeds in Wisconsin to try and plant orange trees. Guess what; it didn’t work.

But, do you know what does grow in Southwest Louisiana?

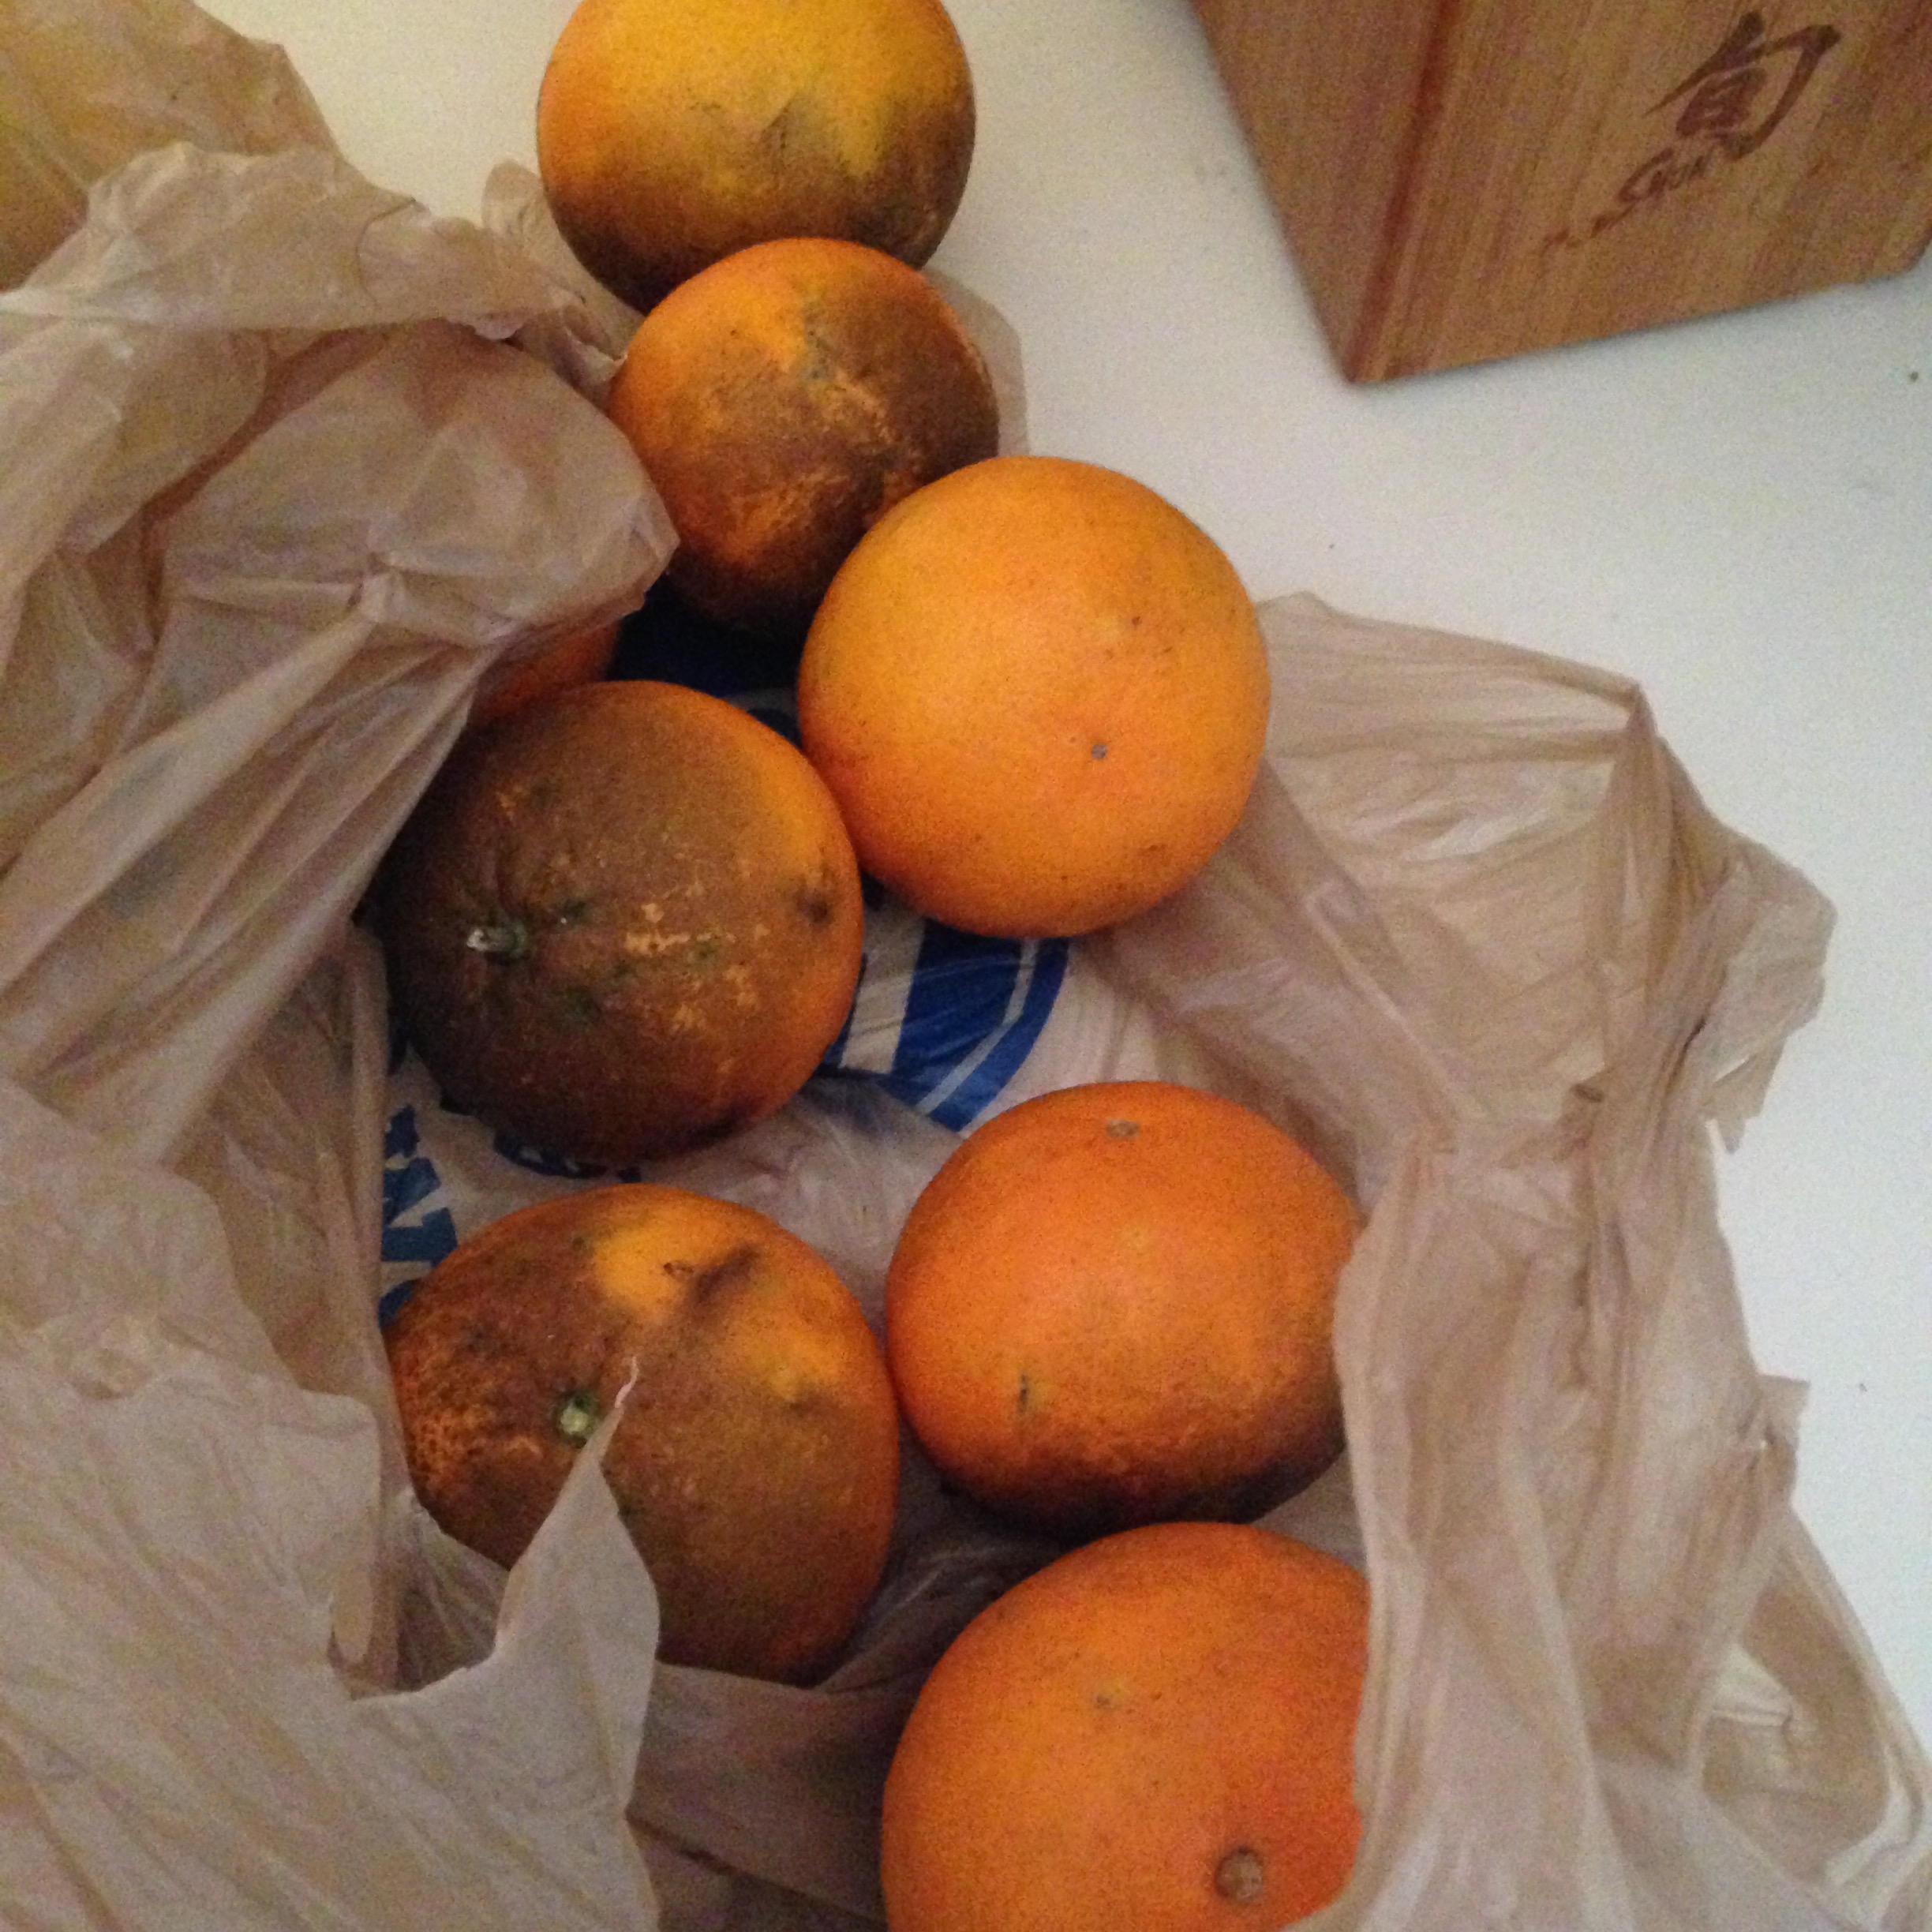
The other day, our grandfatherly neighbor came to the door with a grocery bag full of oranges from his tree. Hoover’s enthusiasm seemed to charm him, and he then offered Hoover the chance to pick oranges whenever he liked. Hoover and I went to his side yard and encountered a 20 foot Satsuma Orange (or tangerine, possibly…jury is still deliberating what a Satsuma really is–other than a scent at The Body Shop) tree.

Walter (not the neighbor’s name, but it’s something like that) is lousy with oranges, and looks to be quite sick of them, much like my dad was when he had two giant apple trees. He emphasized that any time he wanted to pick oranges, Hoover (and his brother and sister) could and should, otherwise they’d just go to waste.

Didn’t have to tell this kid twice.

IMG_4511

He asked me if I could make orange cookies with the oranges. Many years ago, I made Orange Drop cookies, so I knew I could. And how can you resist fresh oranges?

IMG_4533

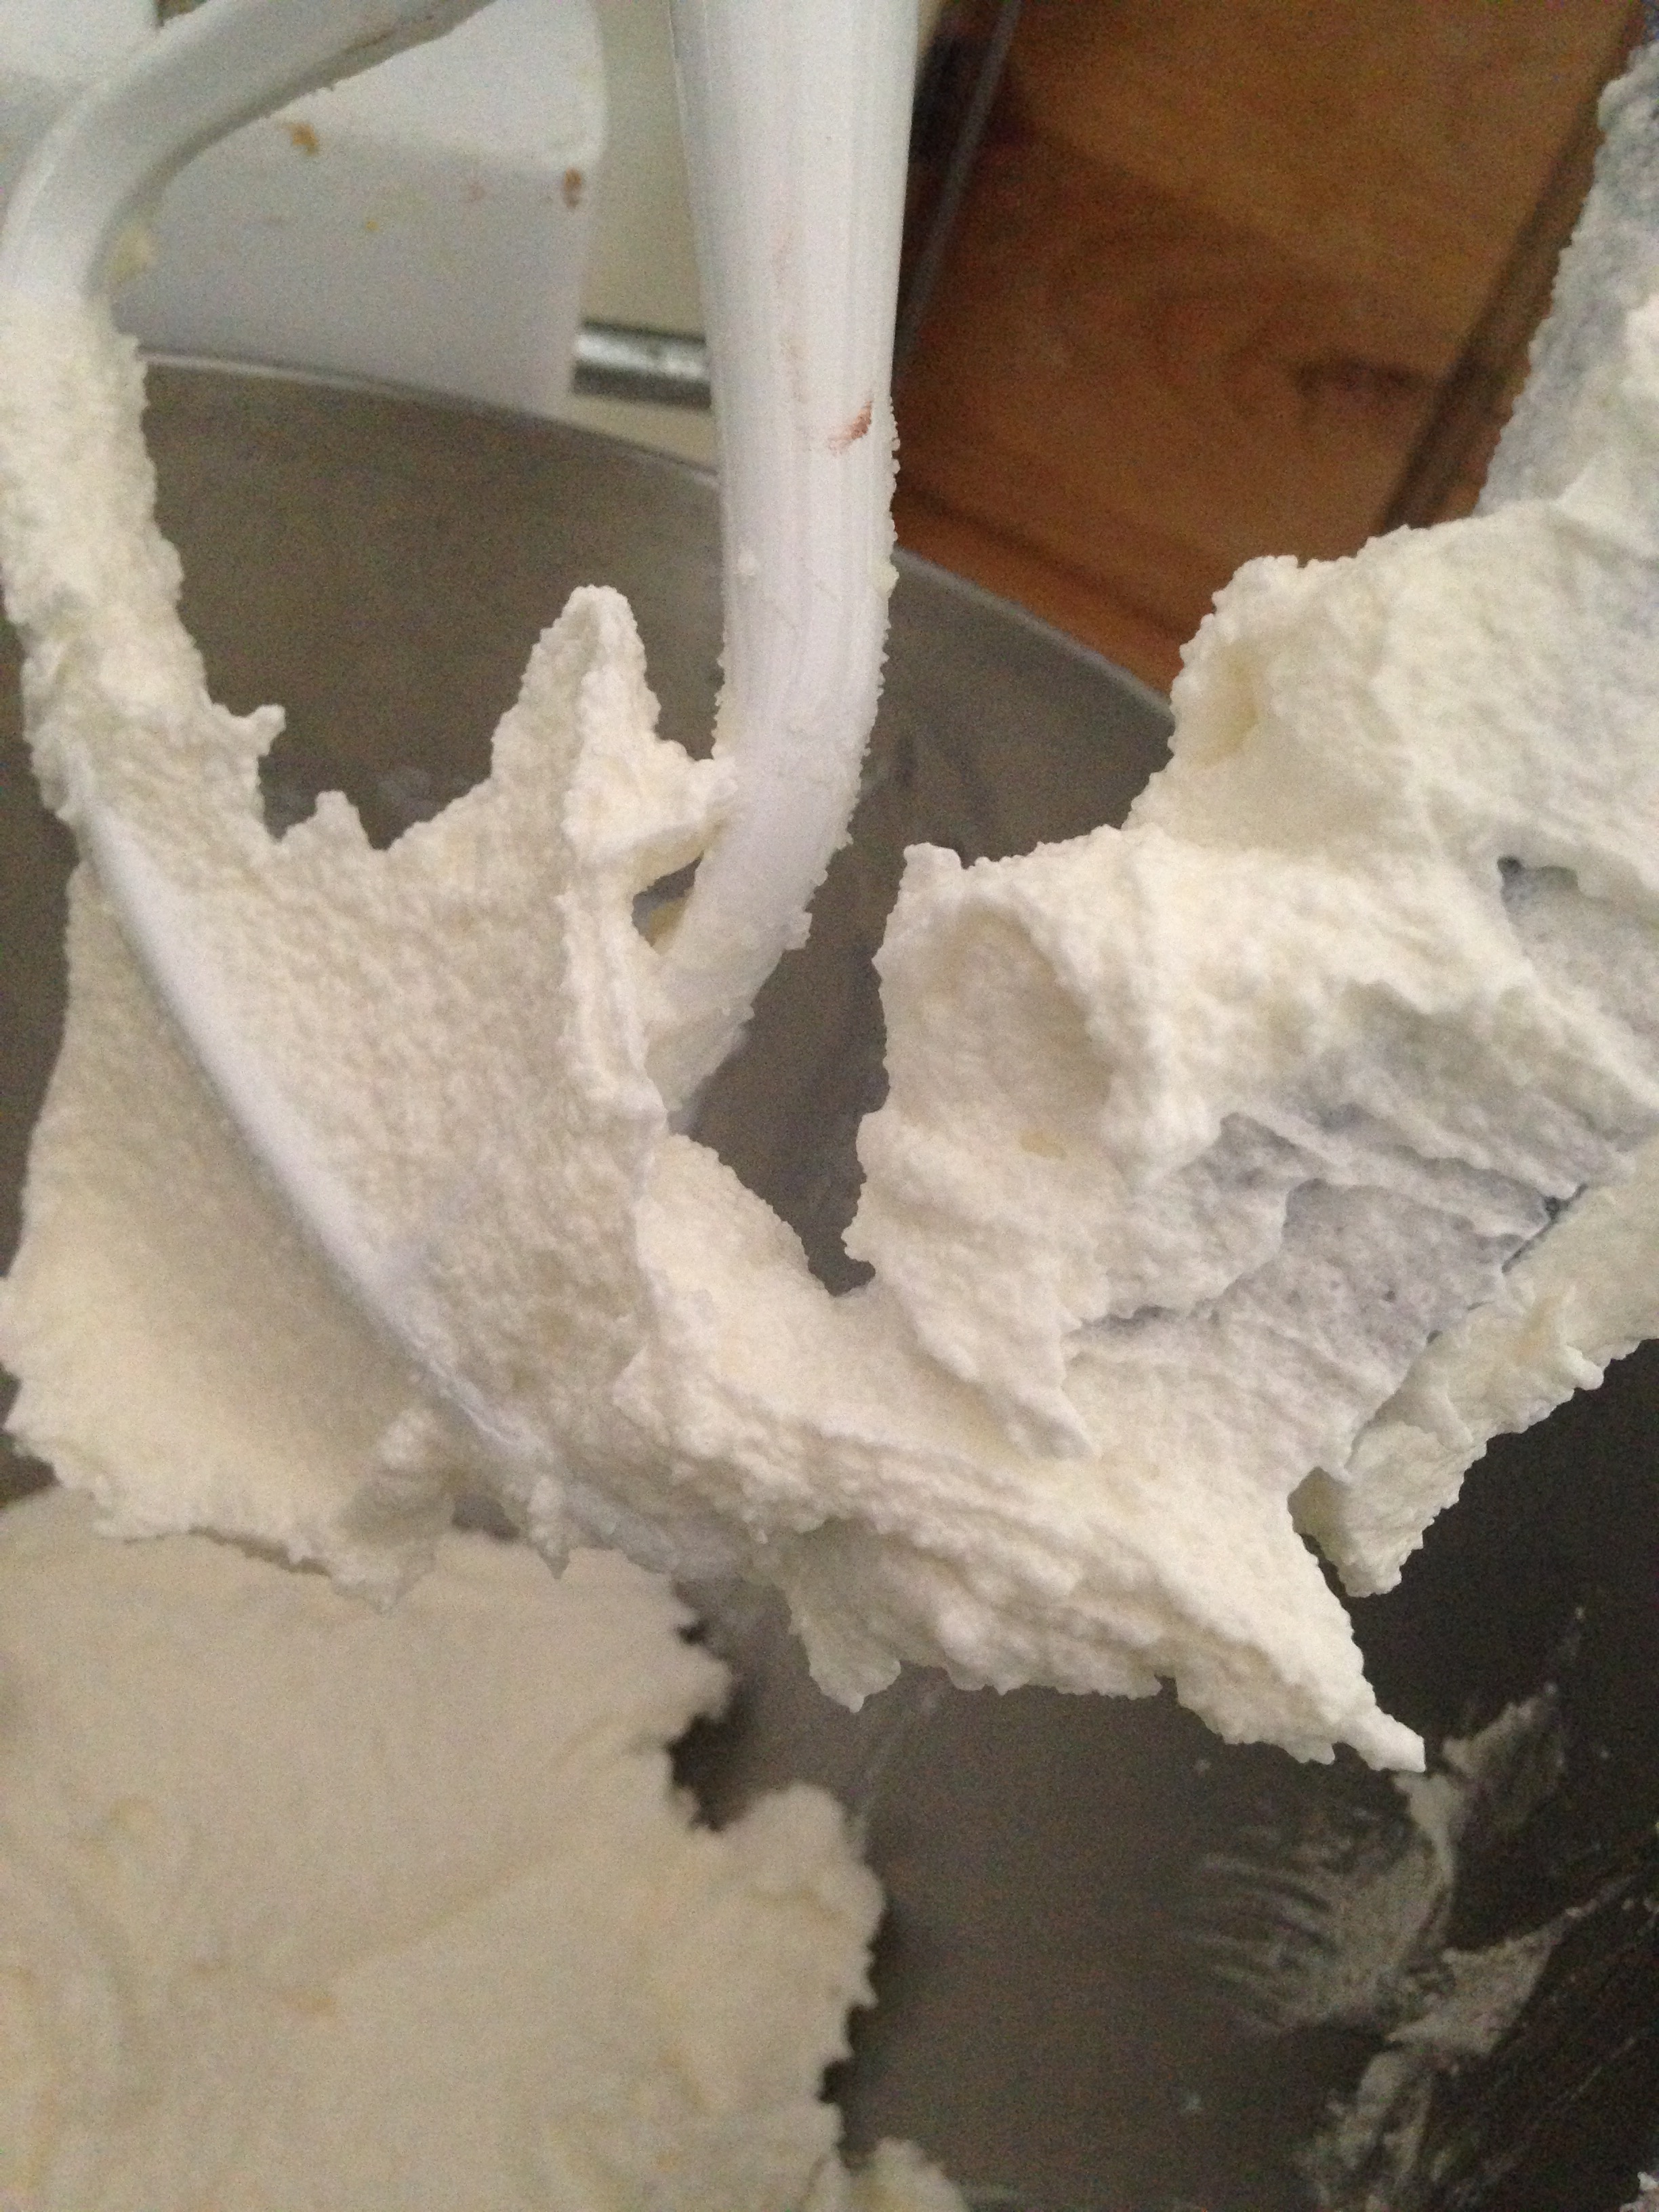
This is some of Hoover and Mini-Me (my daughter)’s second stash, after they juice a half-gallon of juice by hand. (And then drank it.)

IMG_4535

Luckily, I had a helper in juicing.

IMG_4536

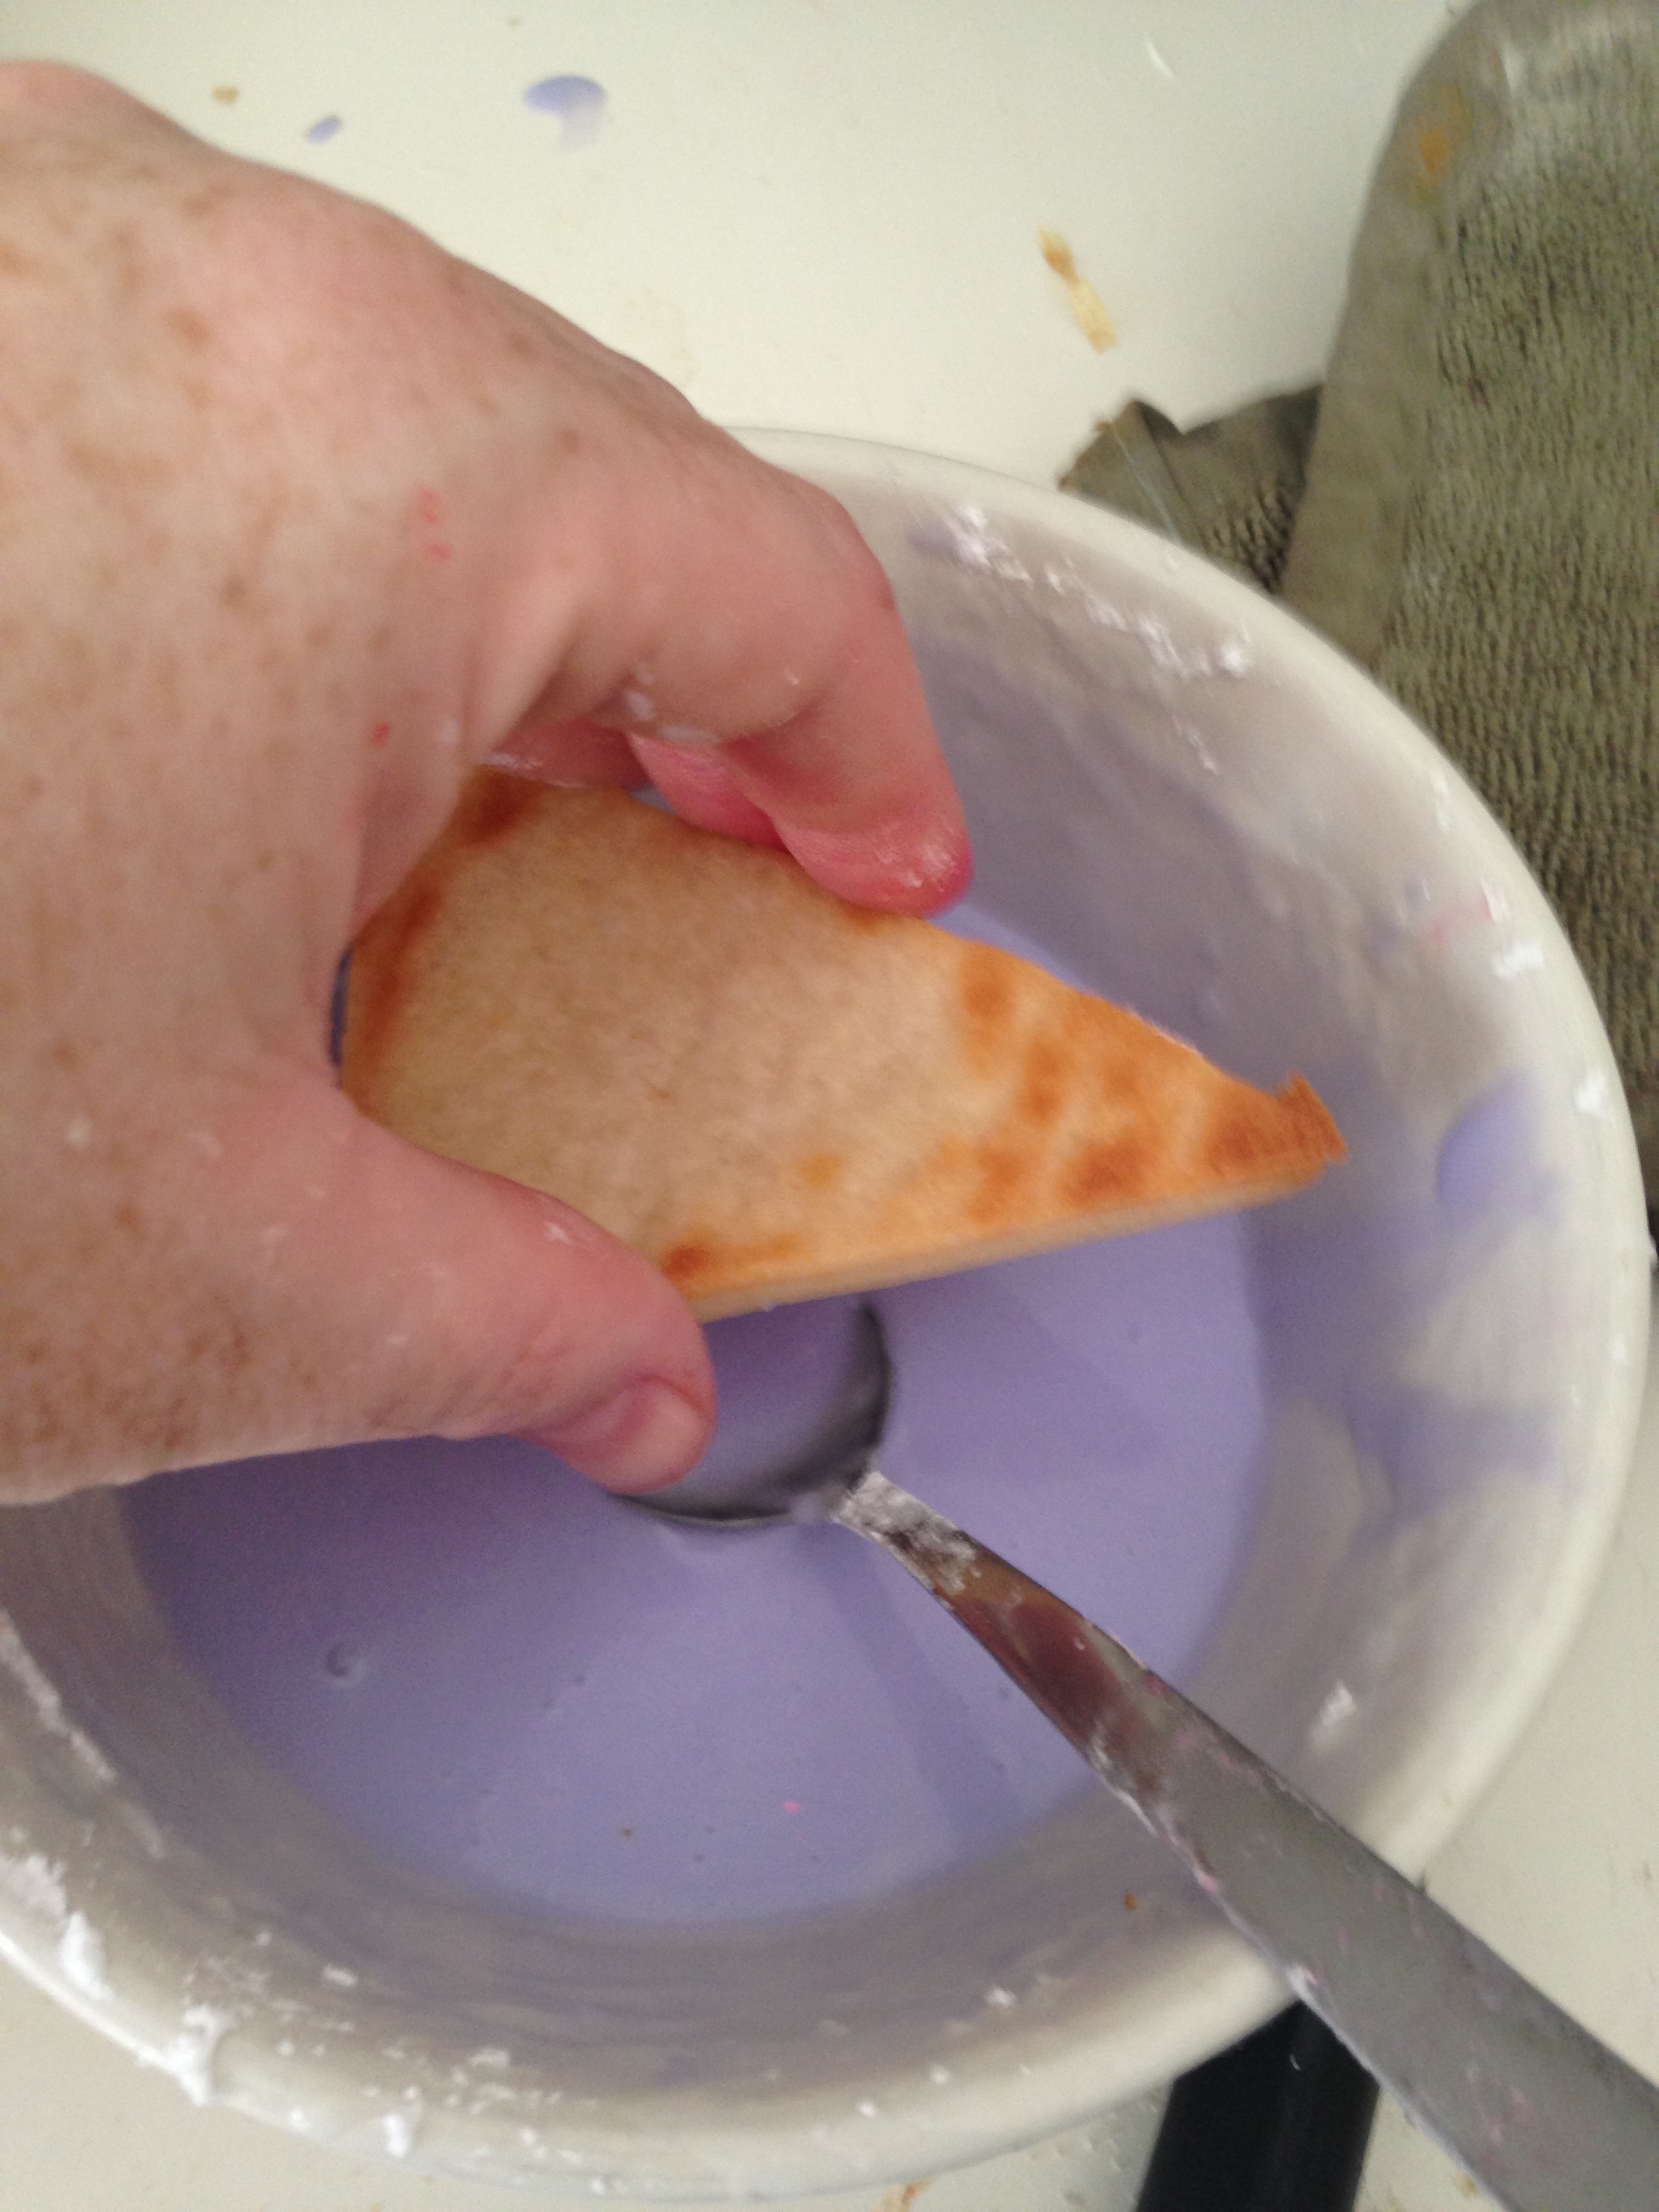
Had to strain it so I’d just get the juice.

IMG_4537

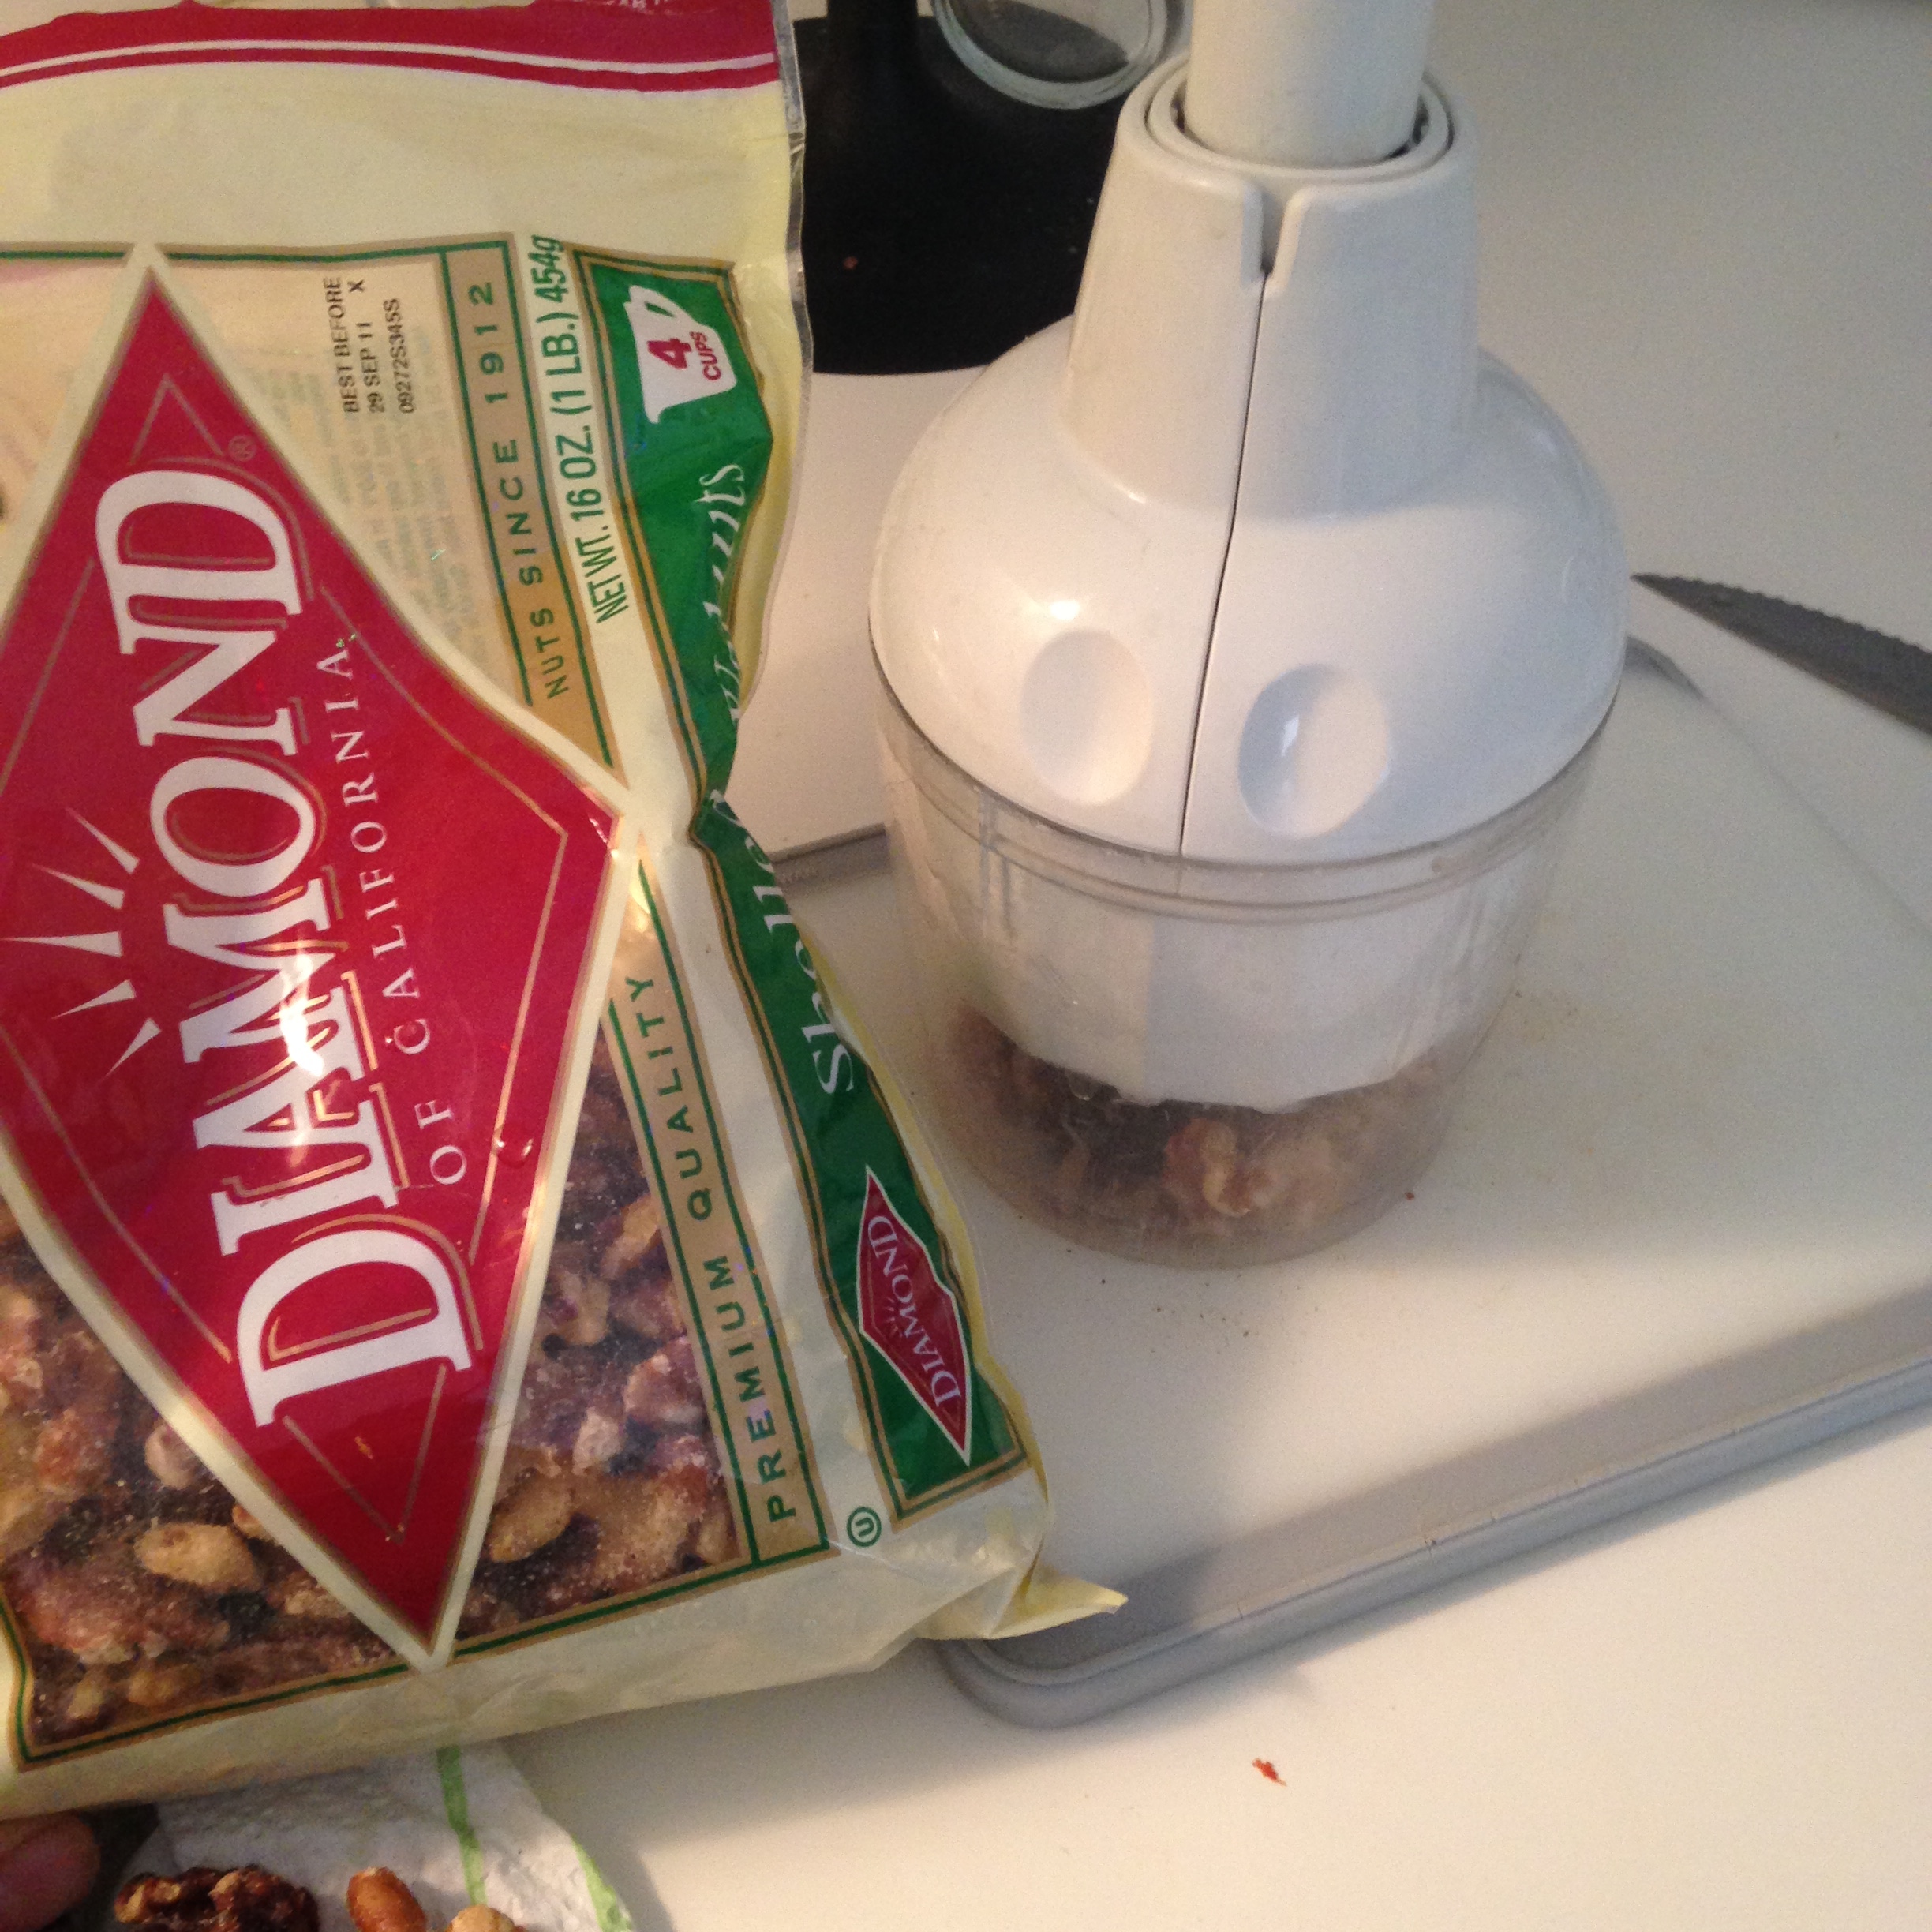
Chopping a half cup of walnut, graciously given to me by my poetry professor Amy!

IMG_4538

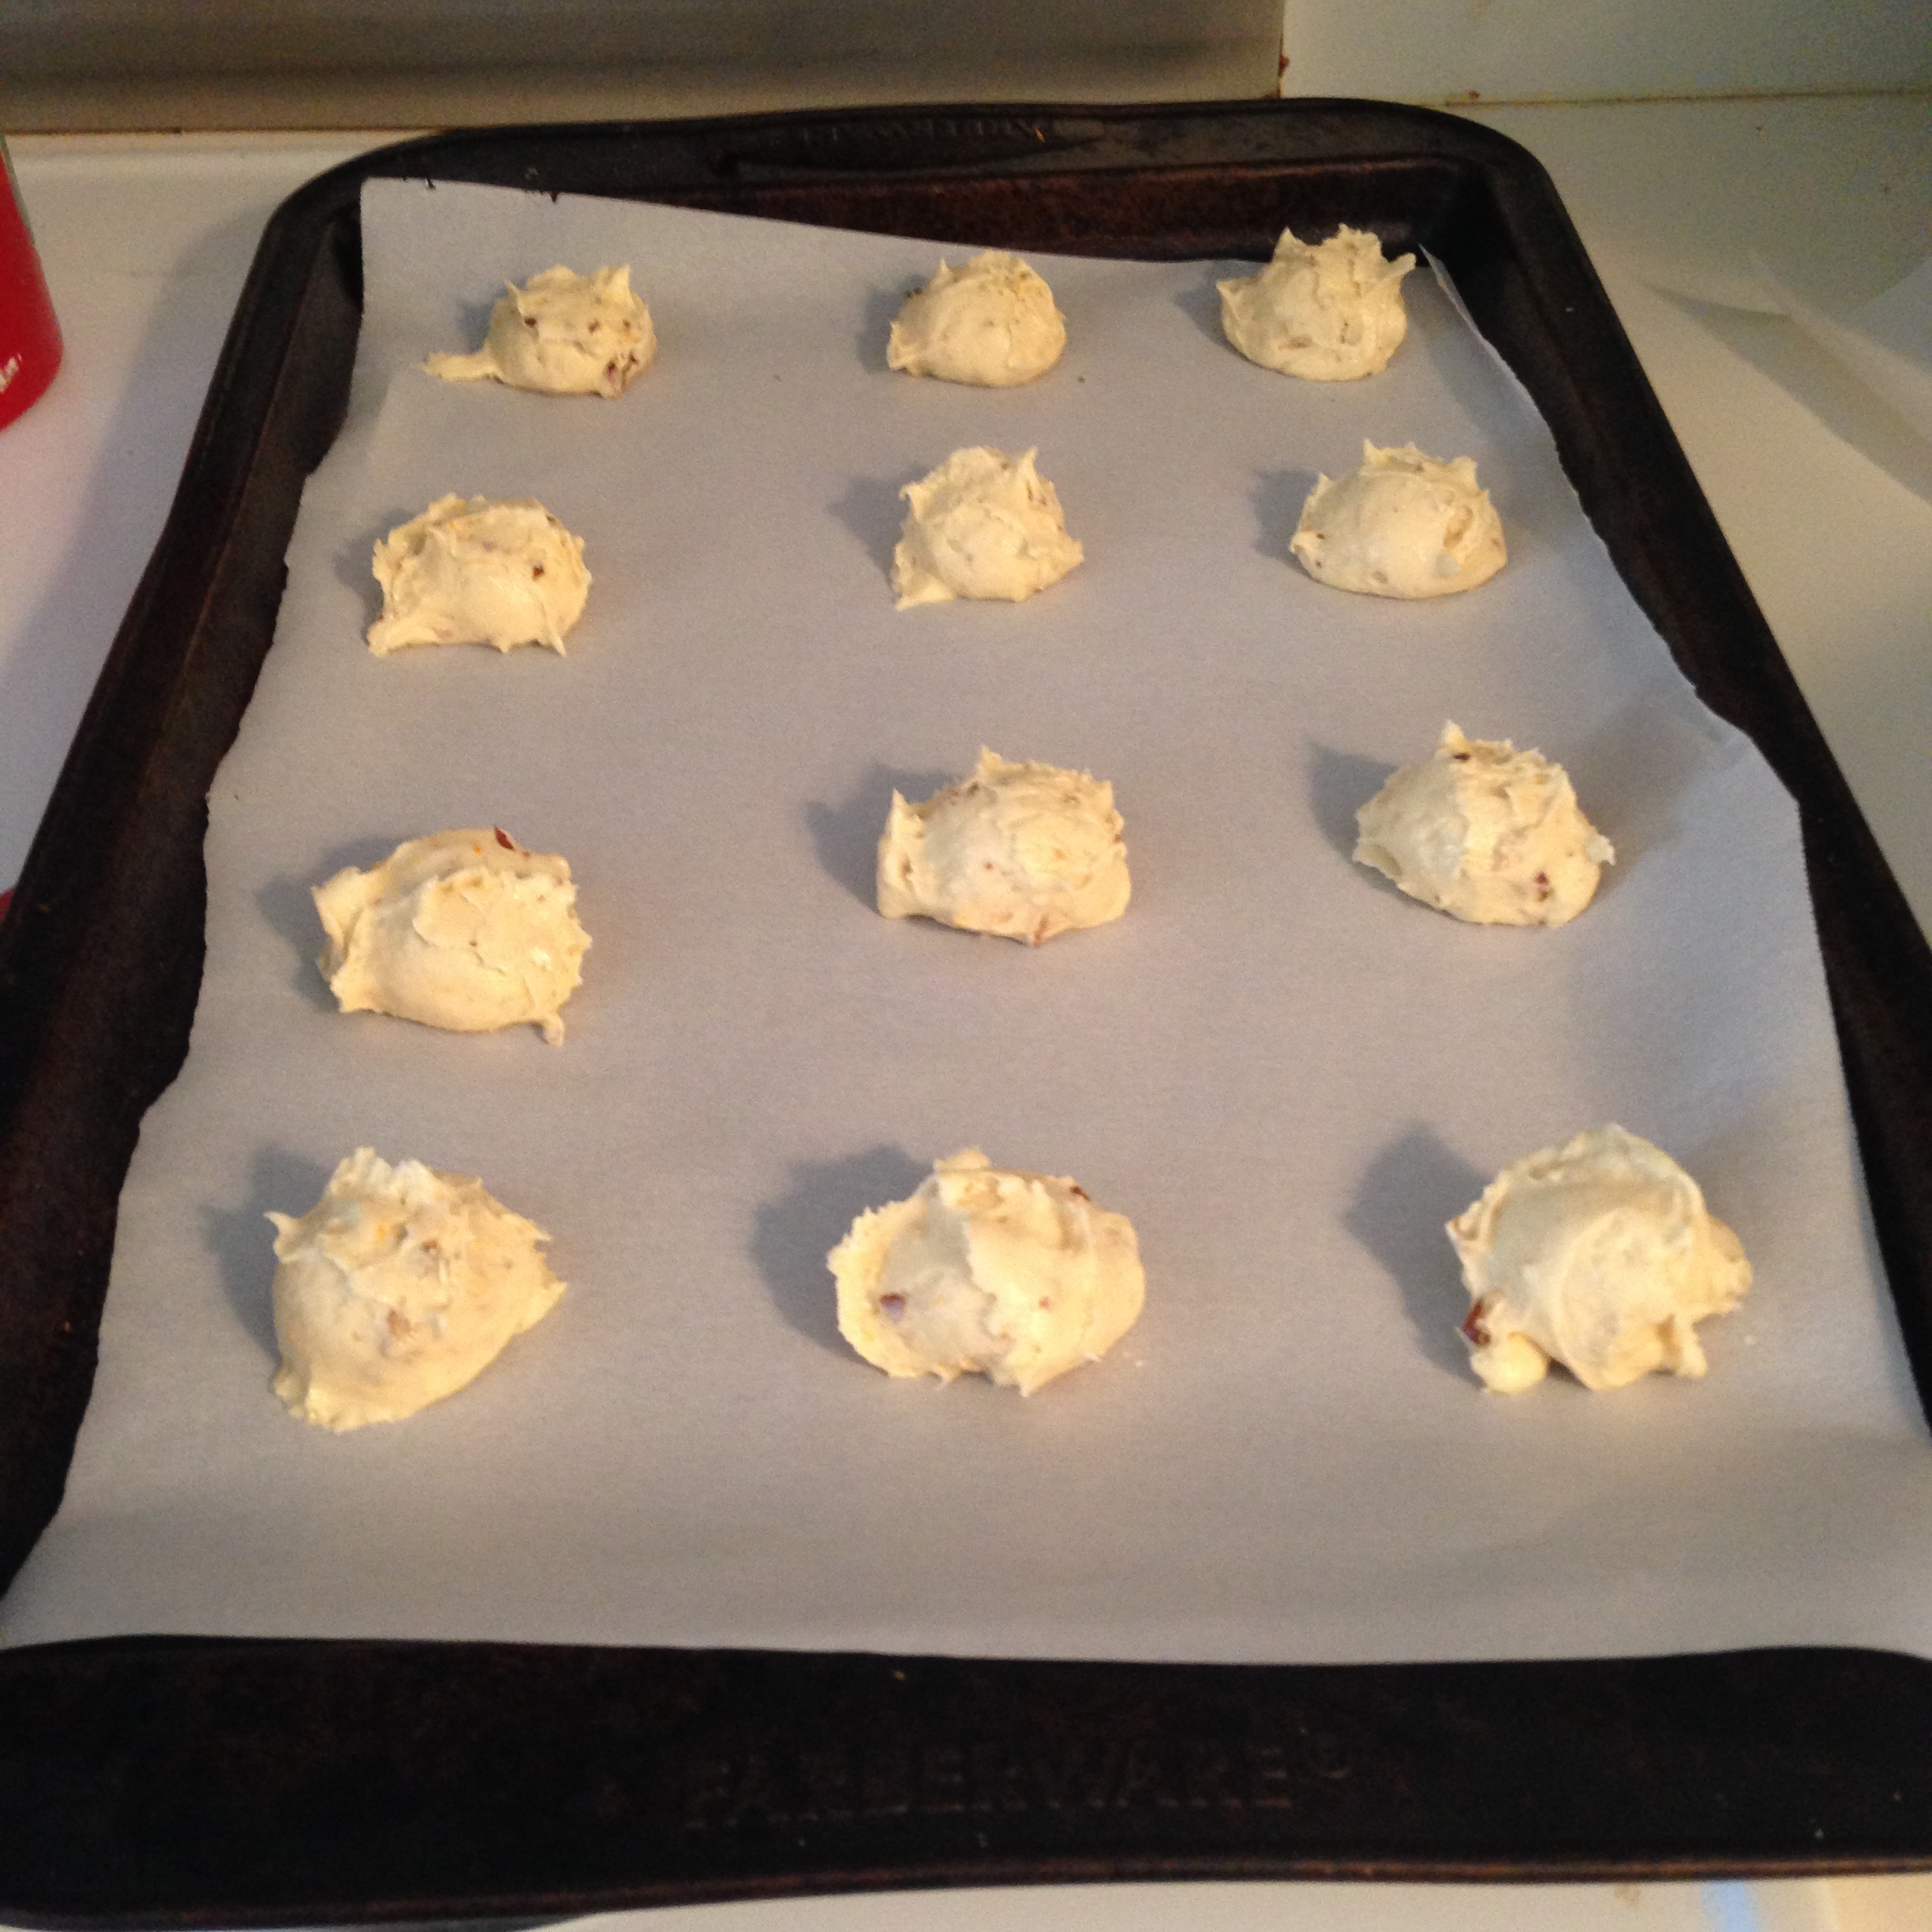
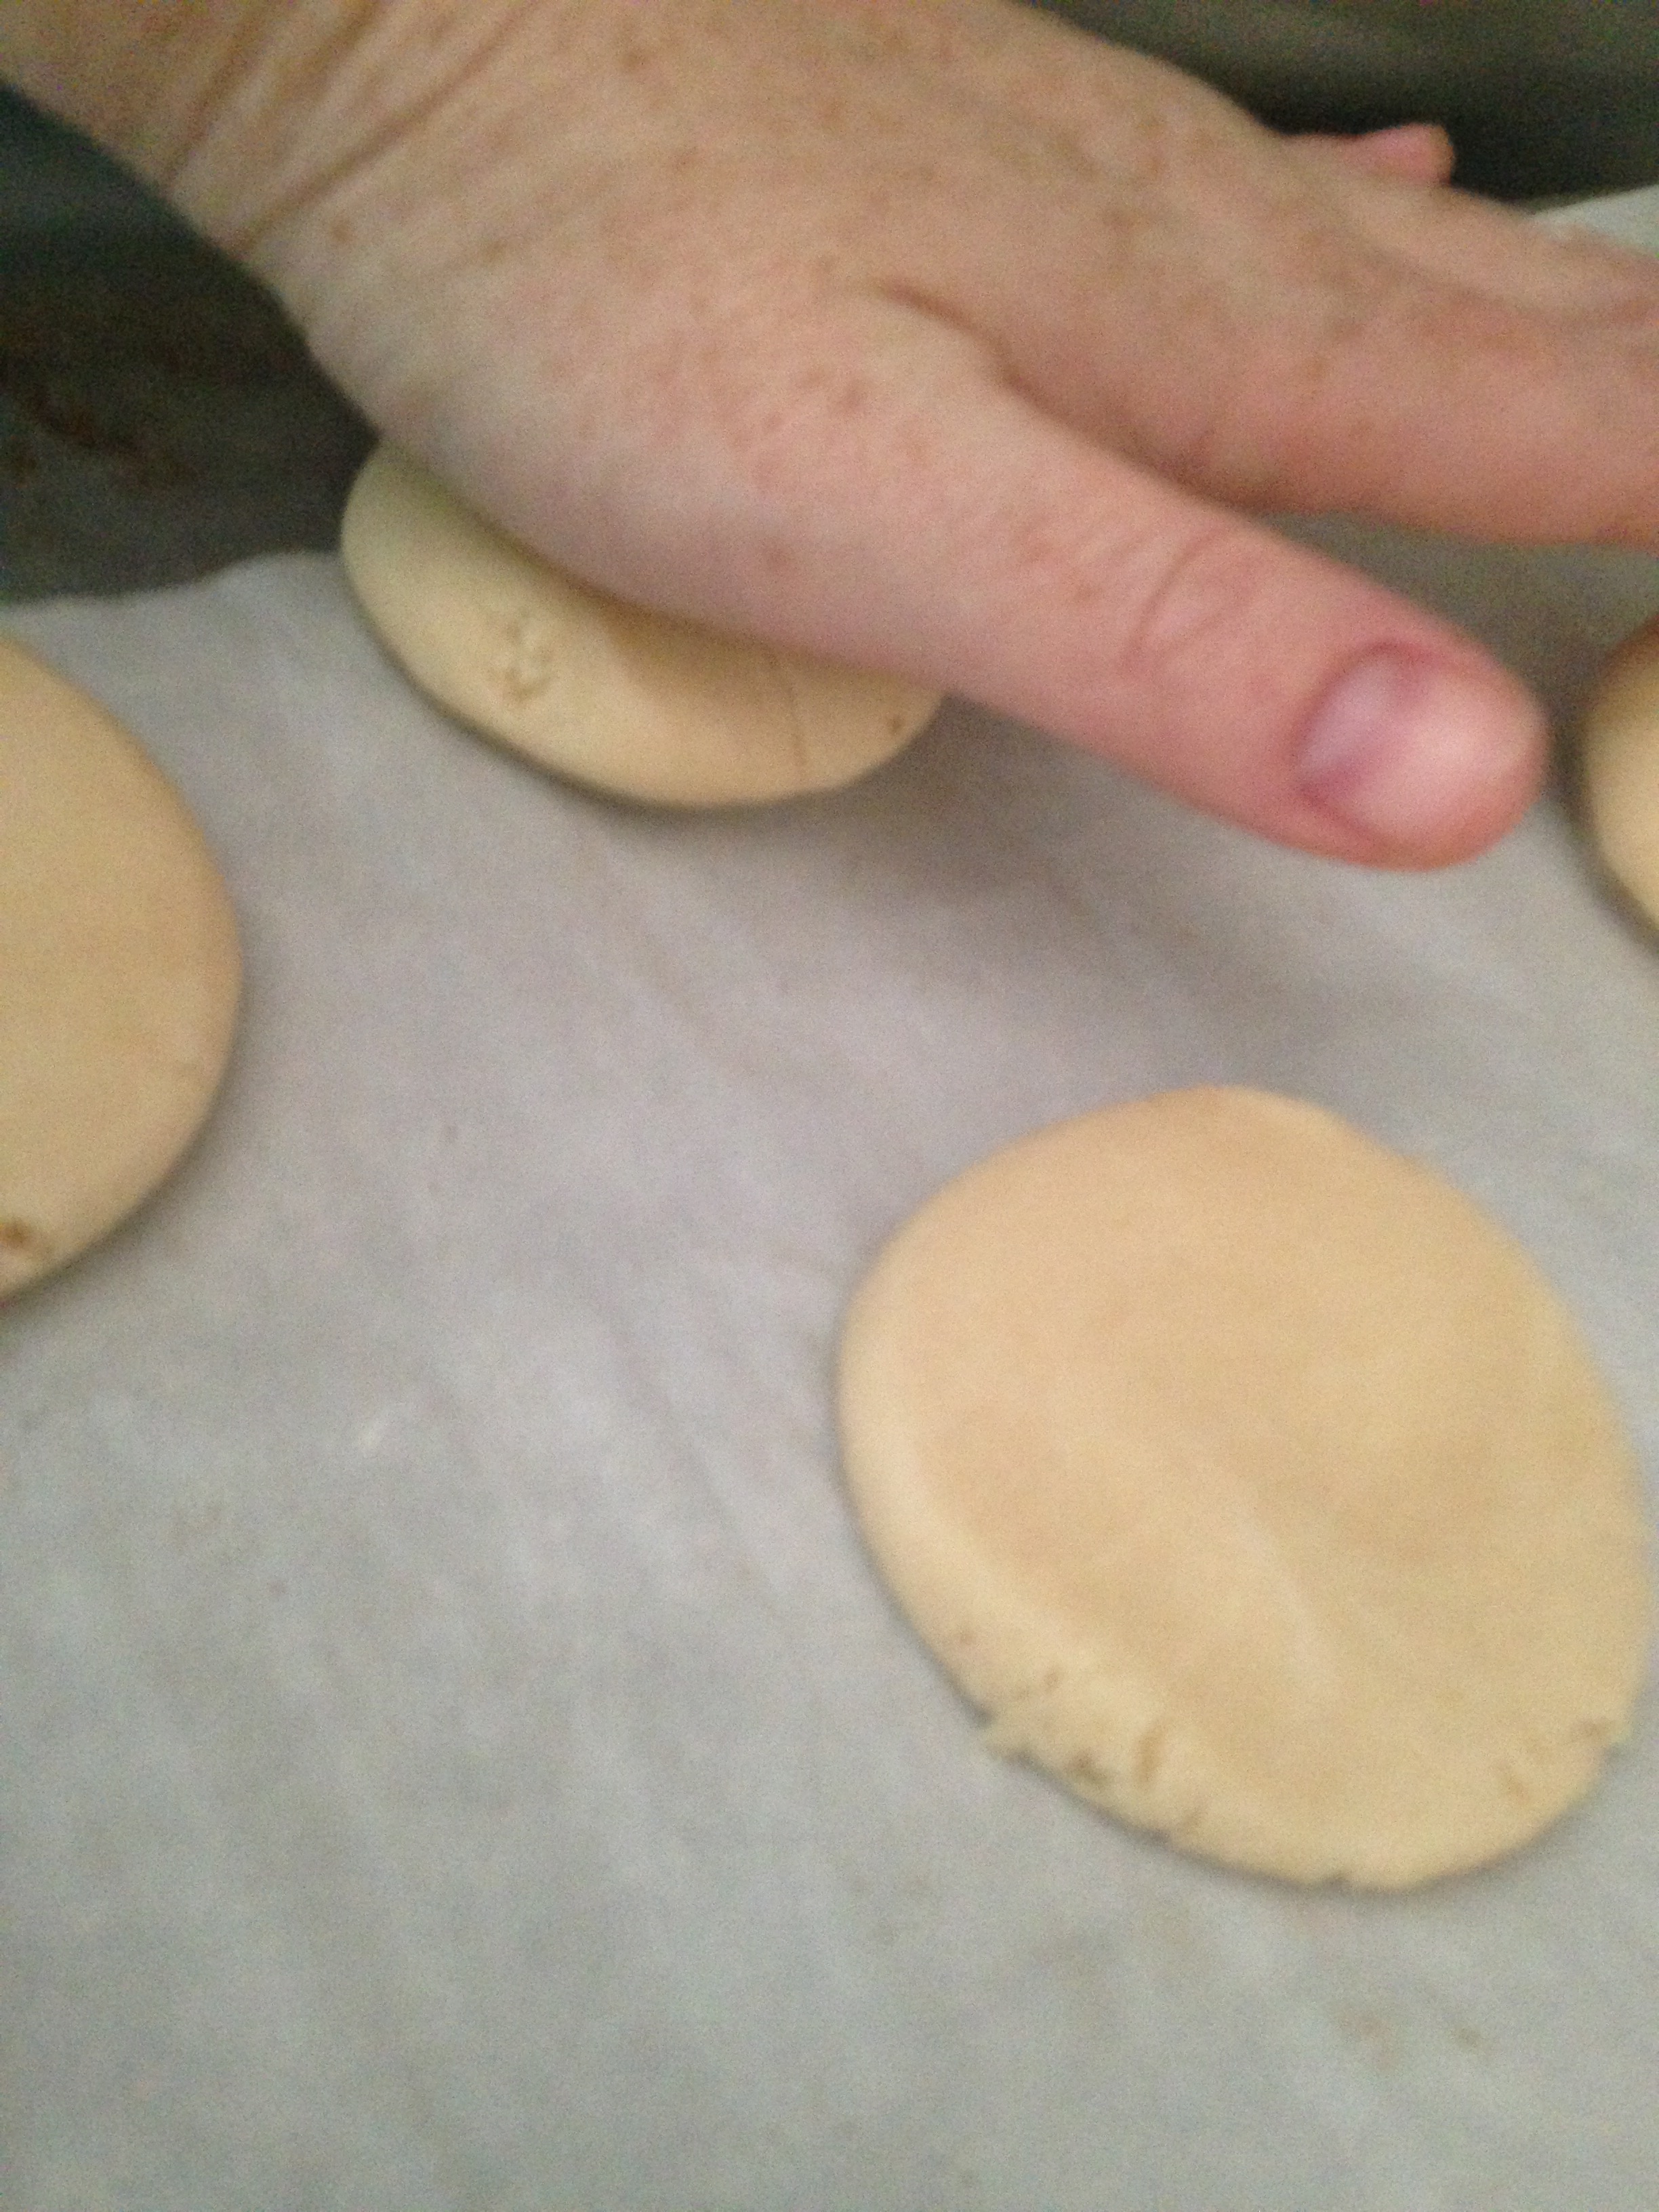
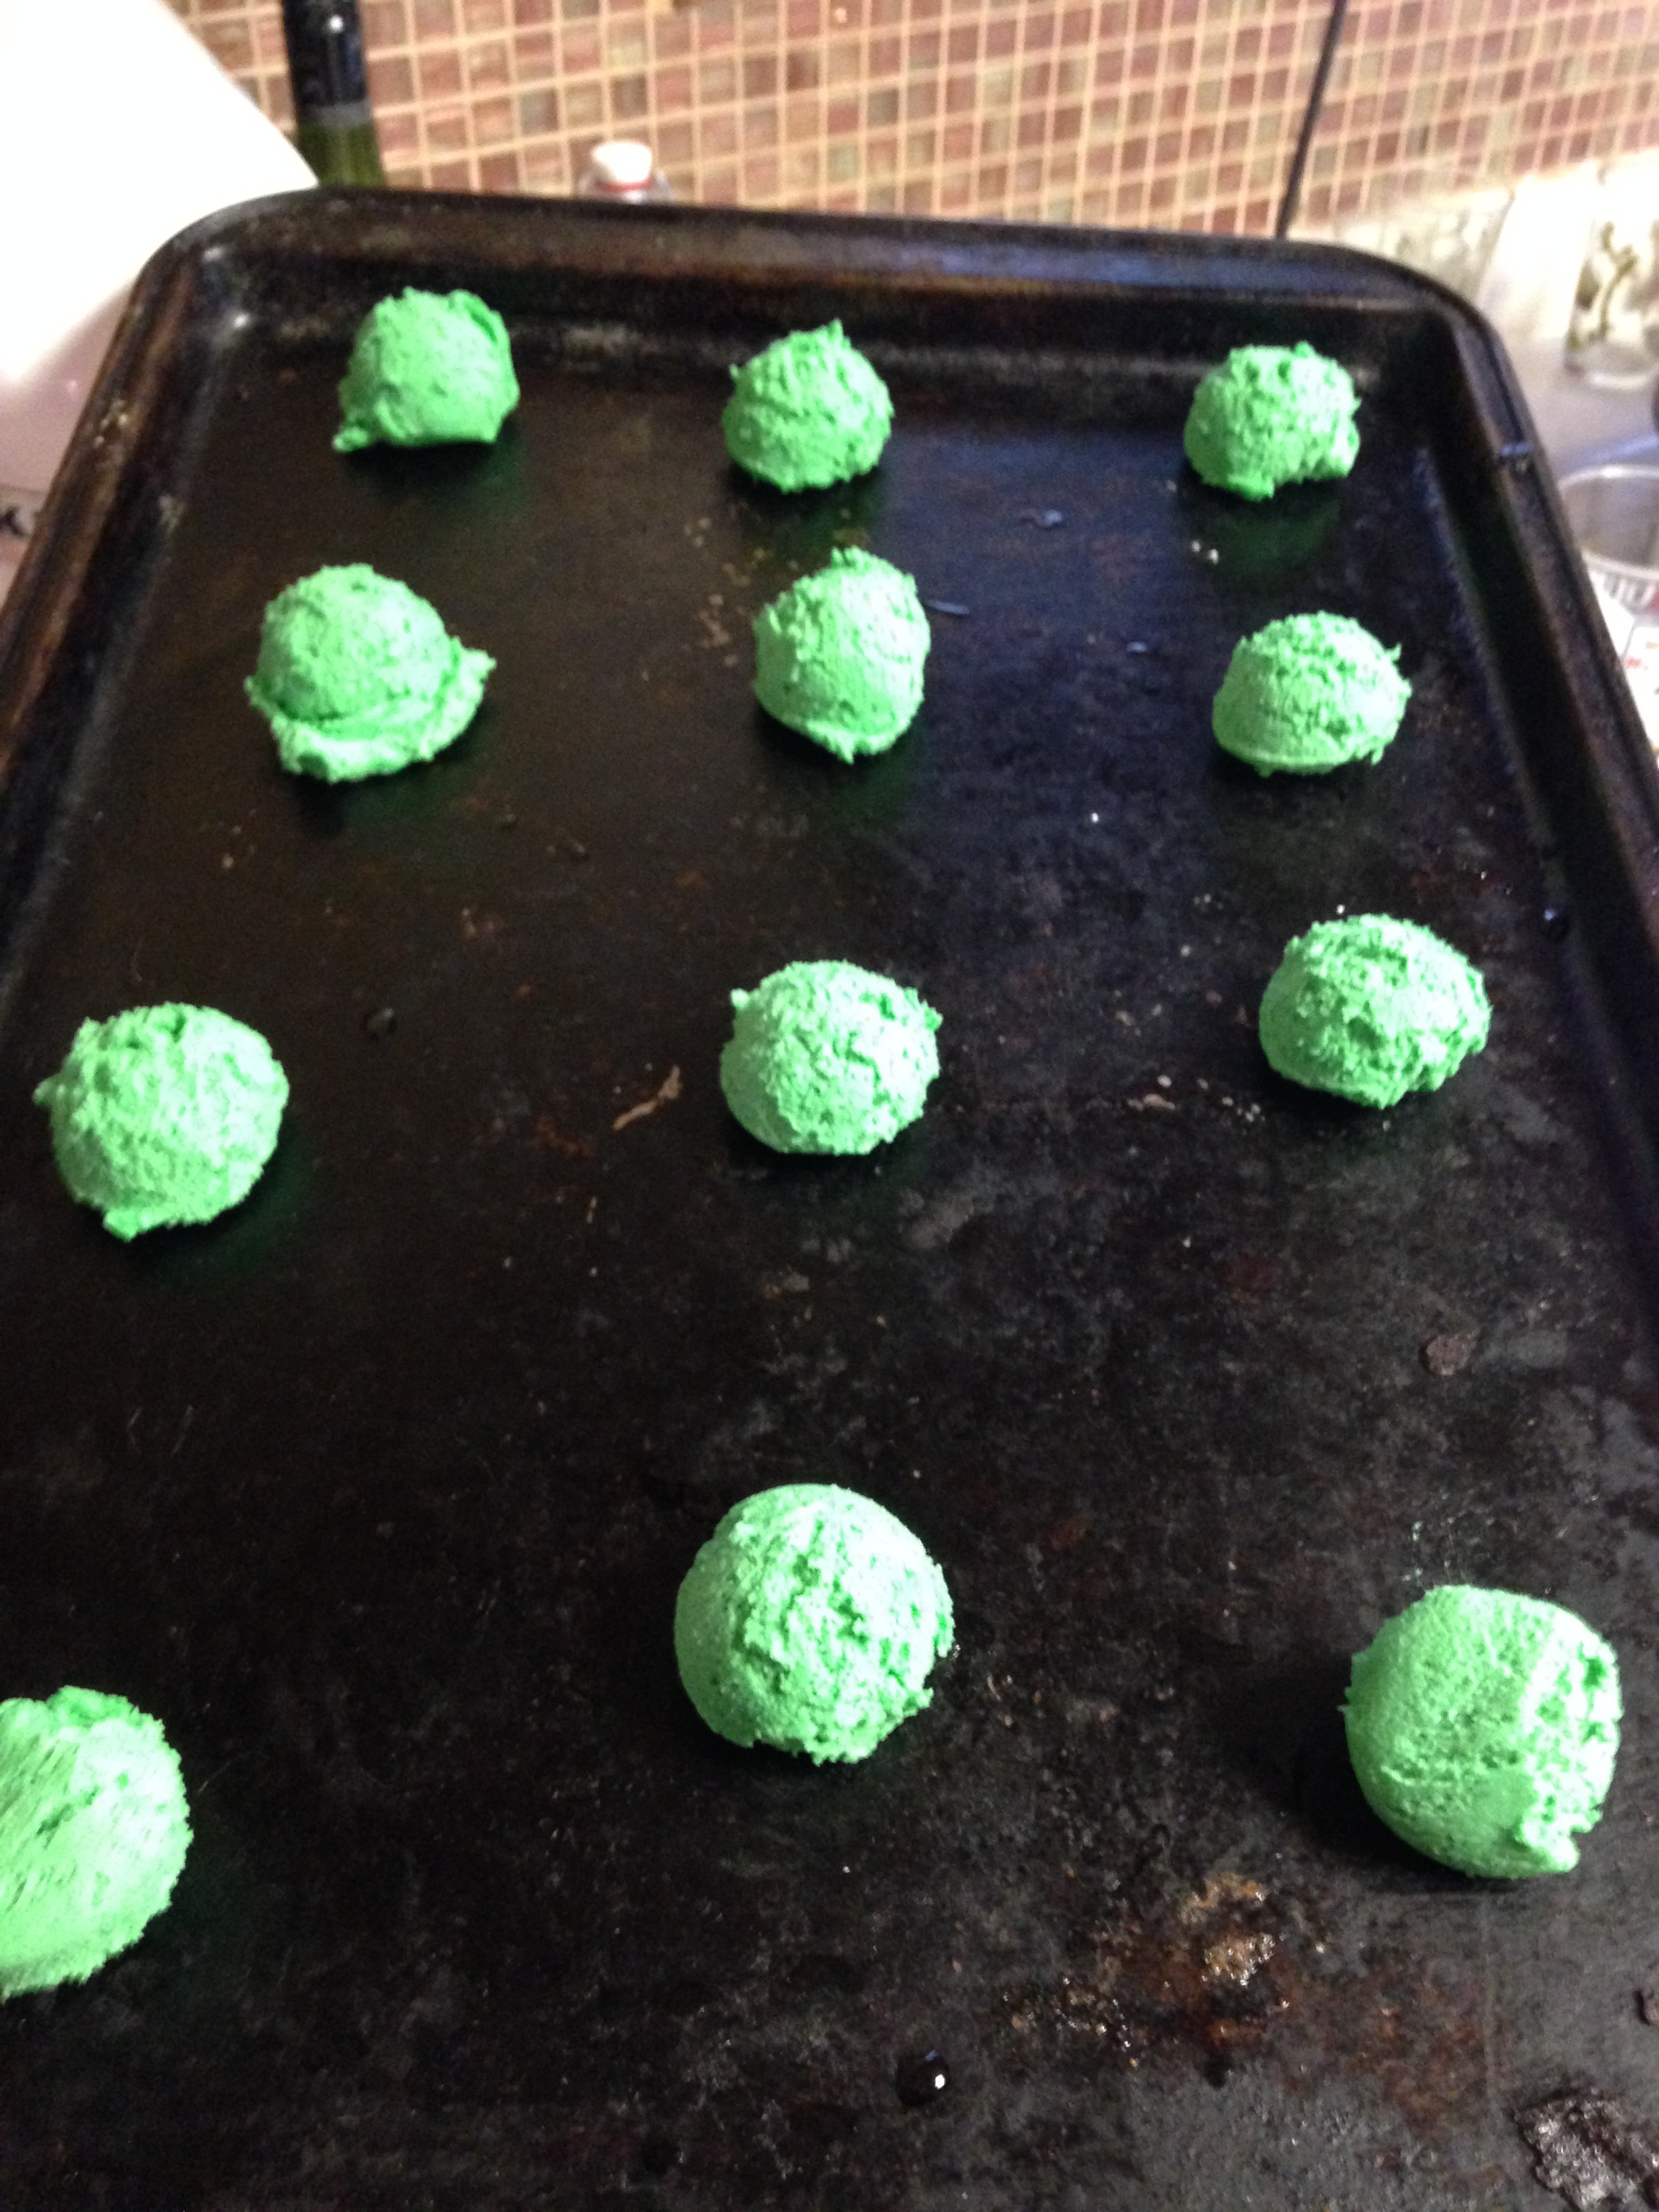
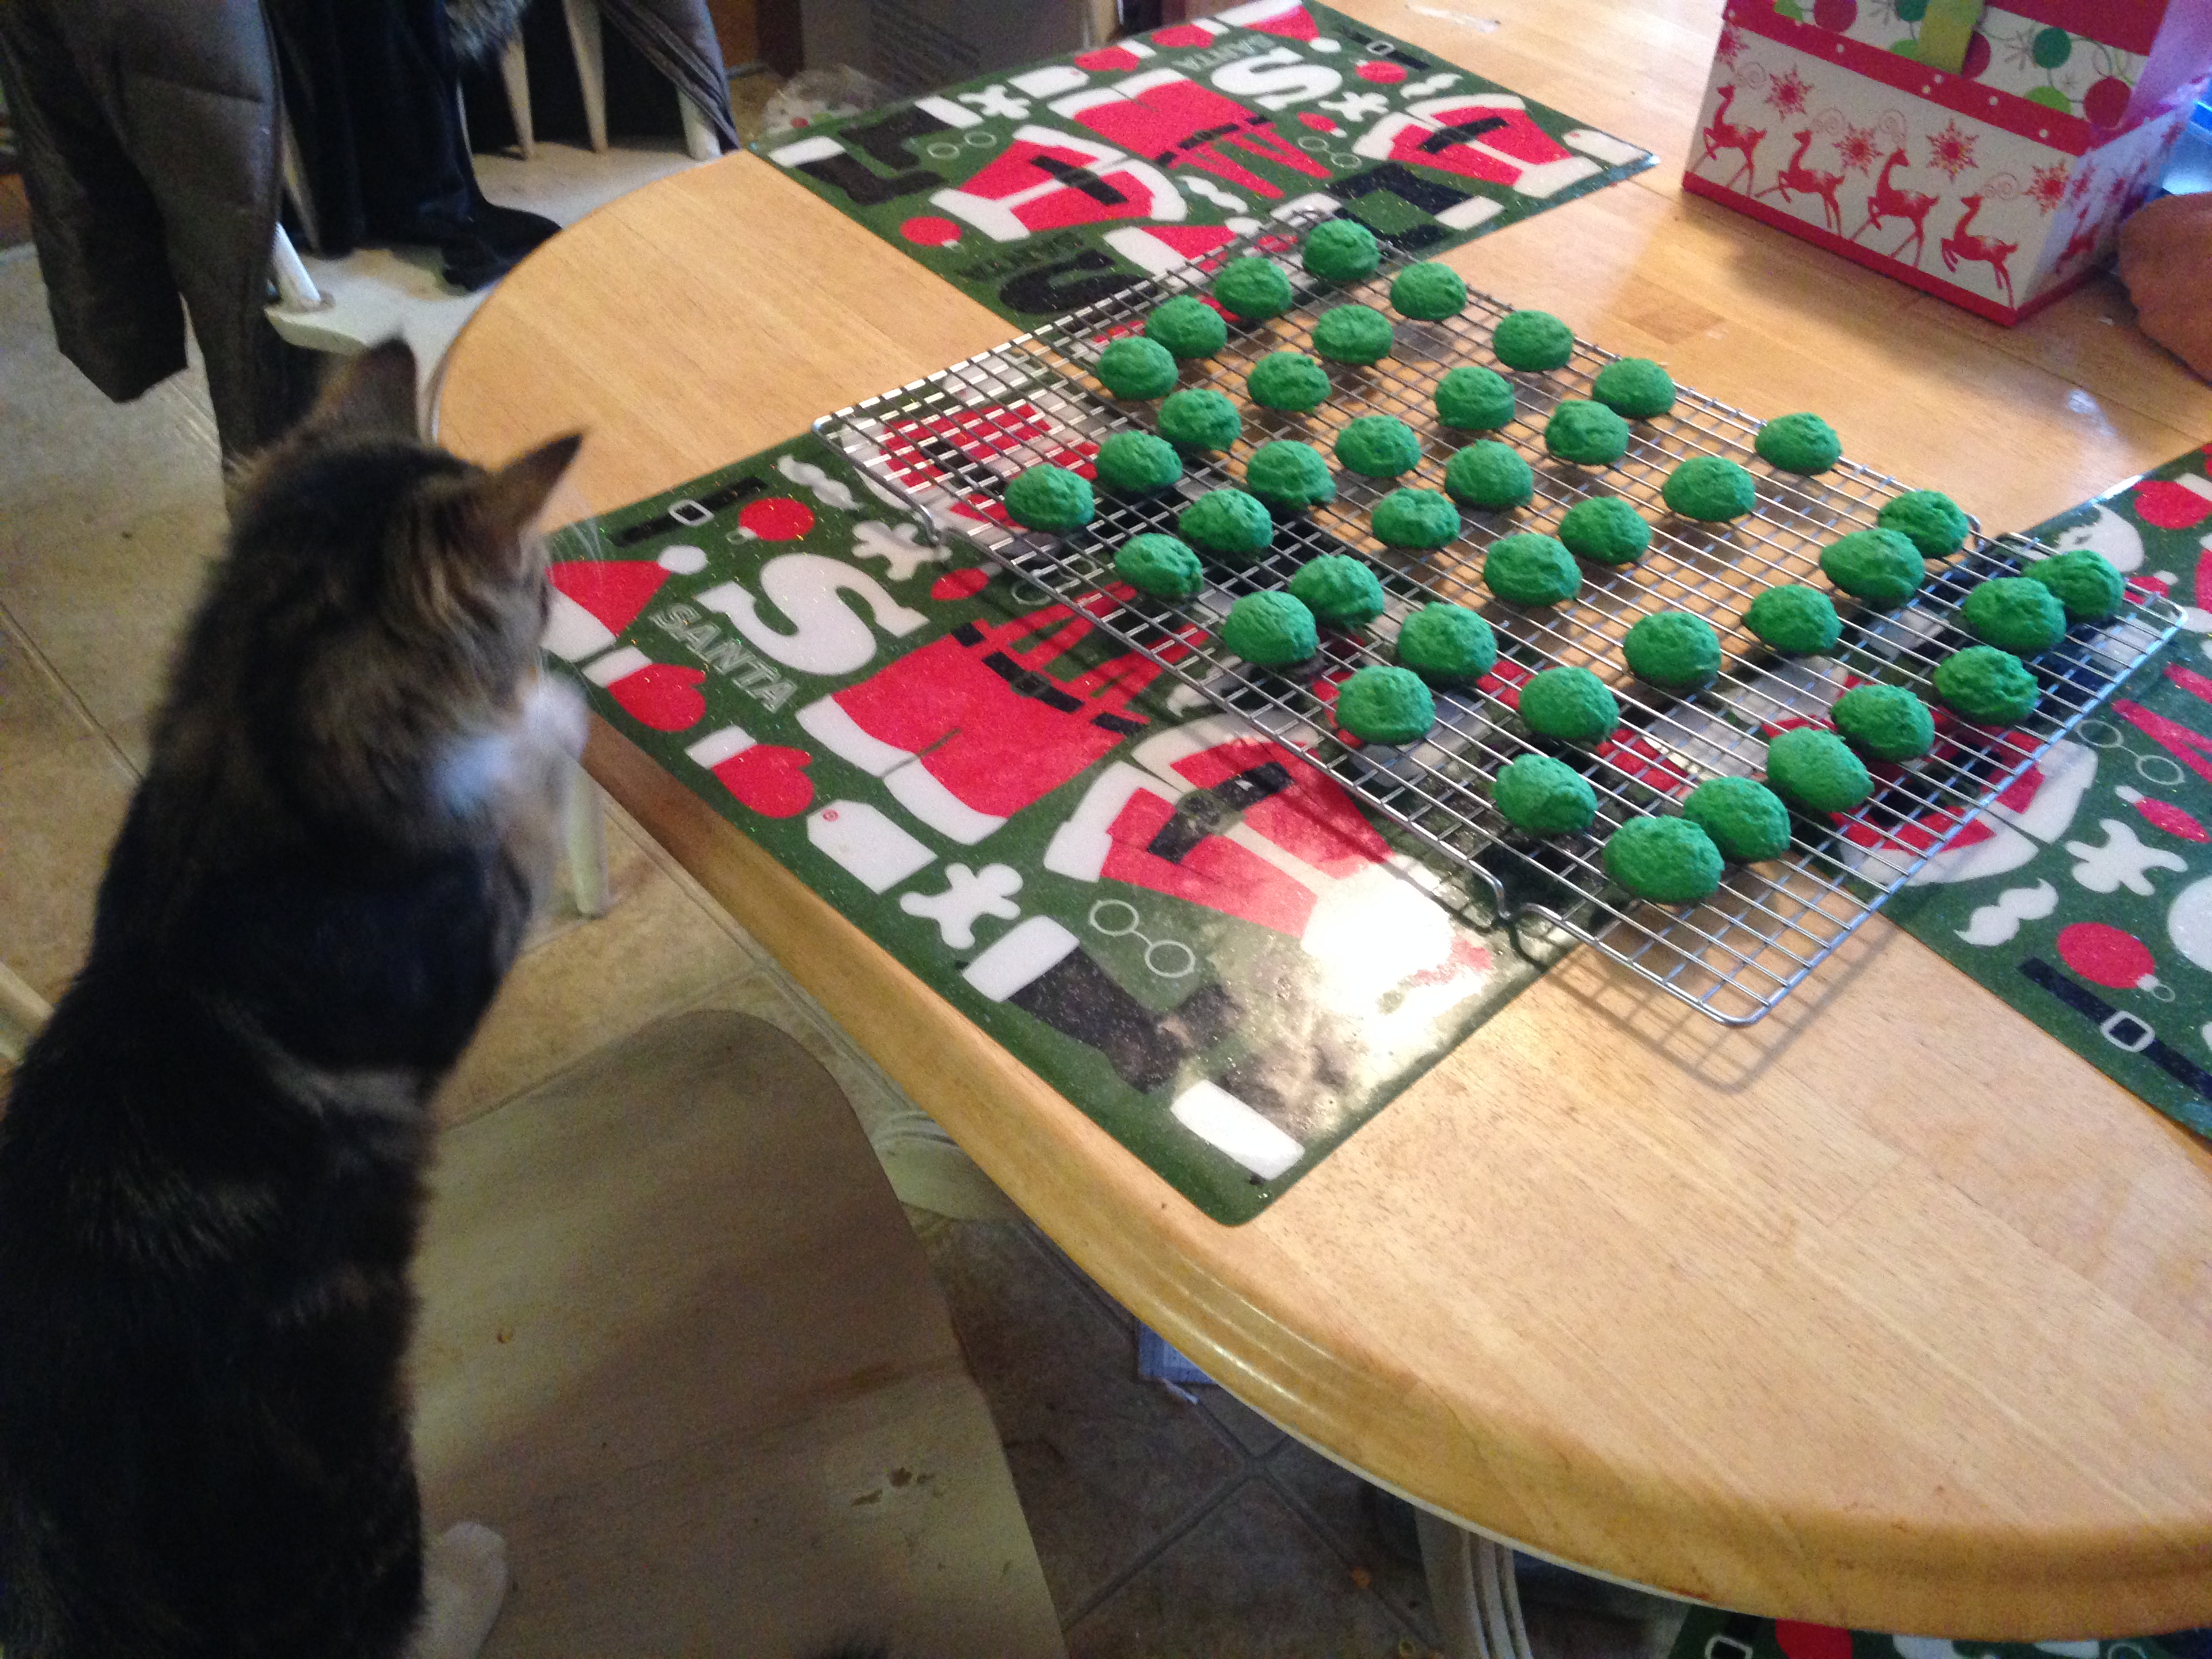
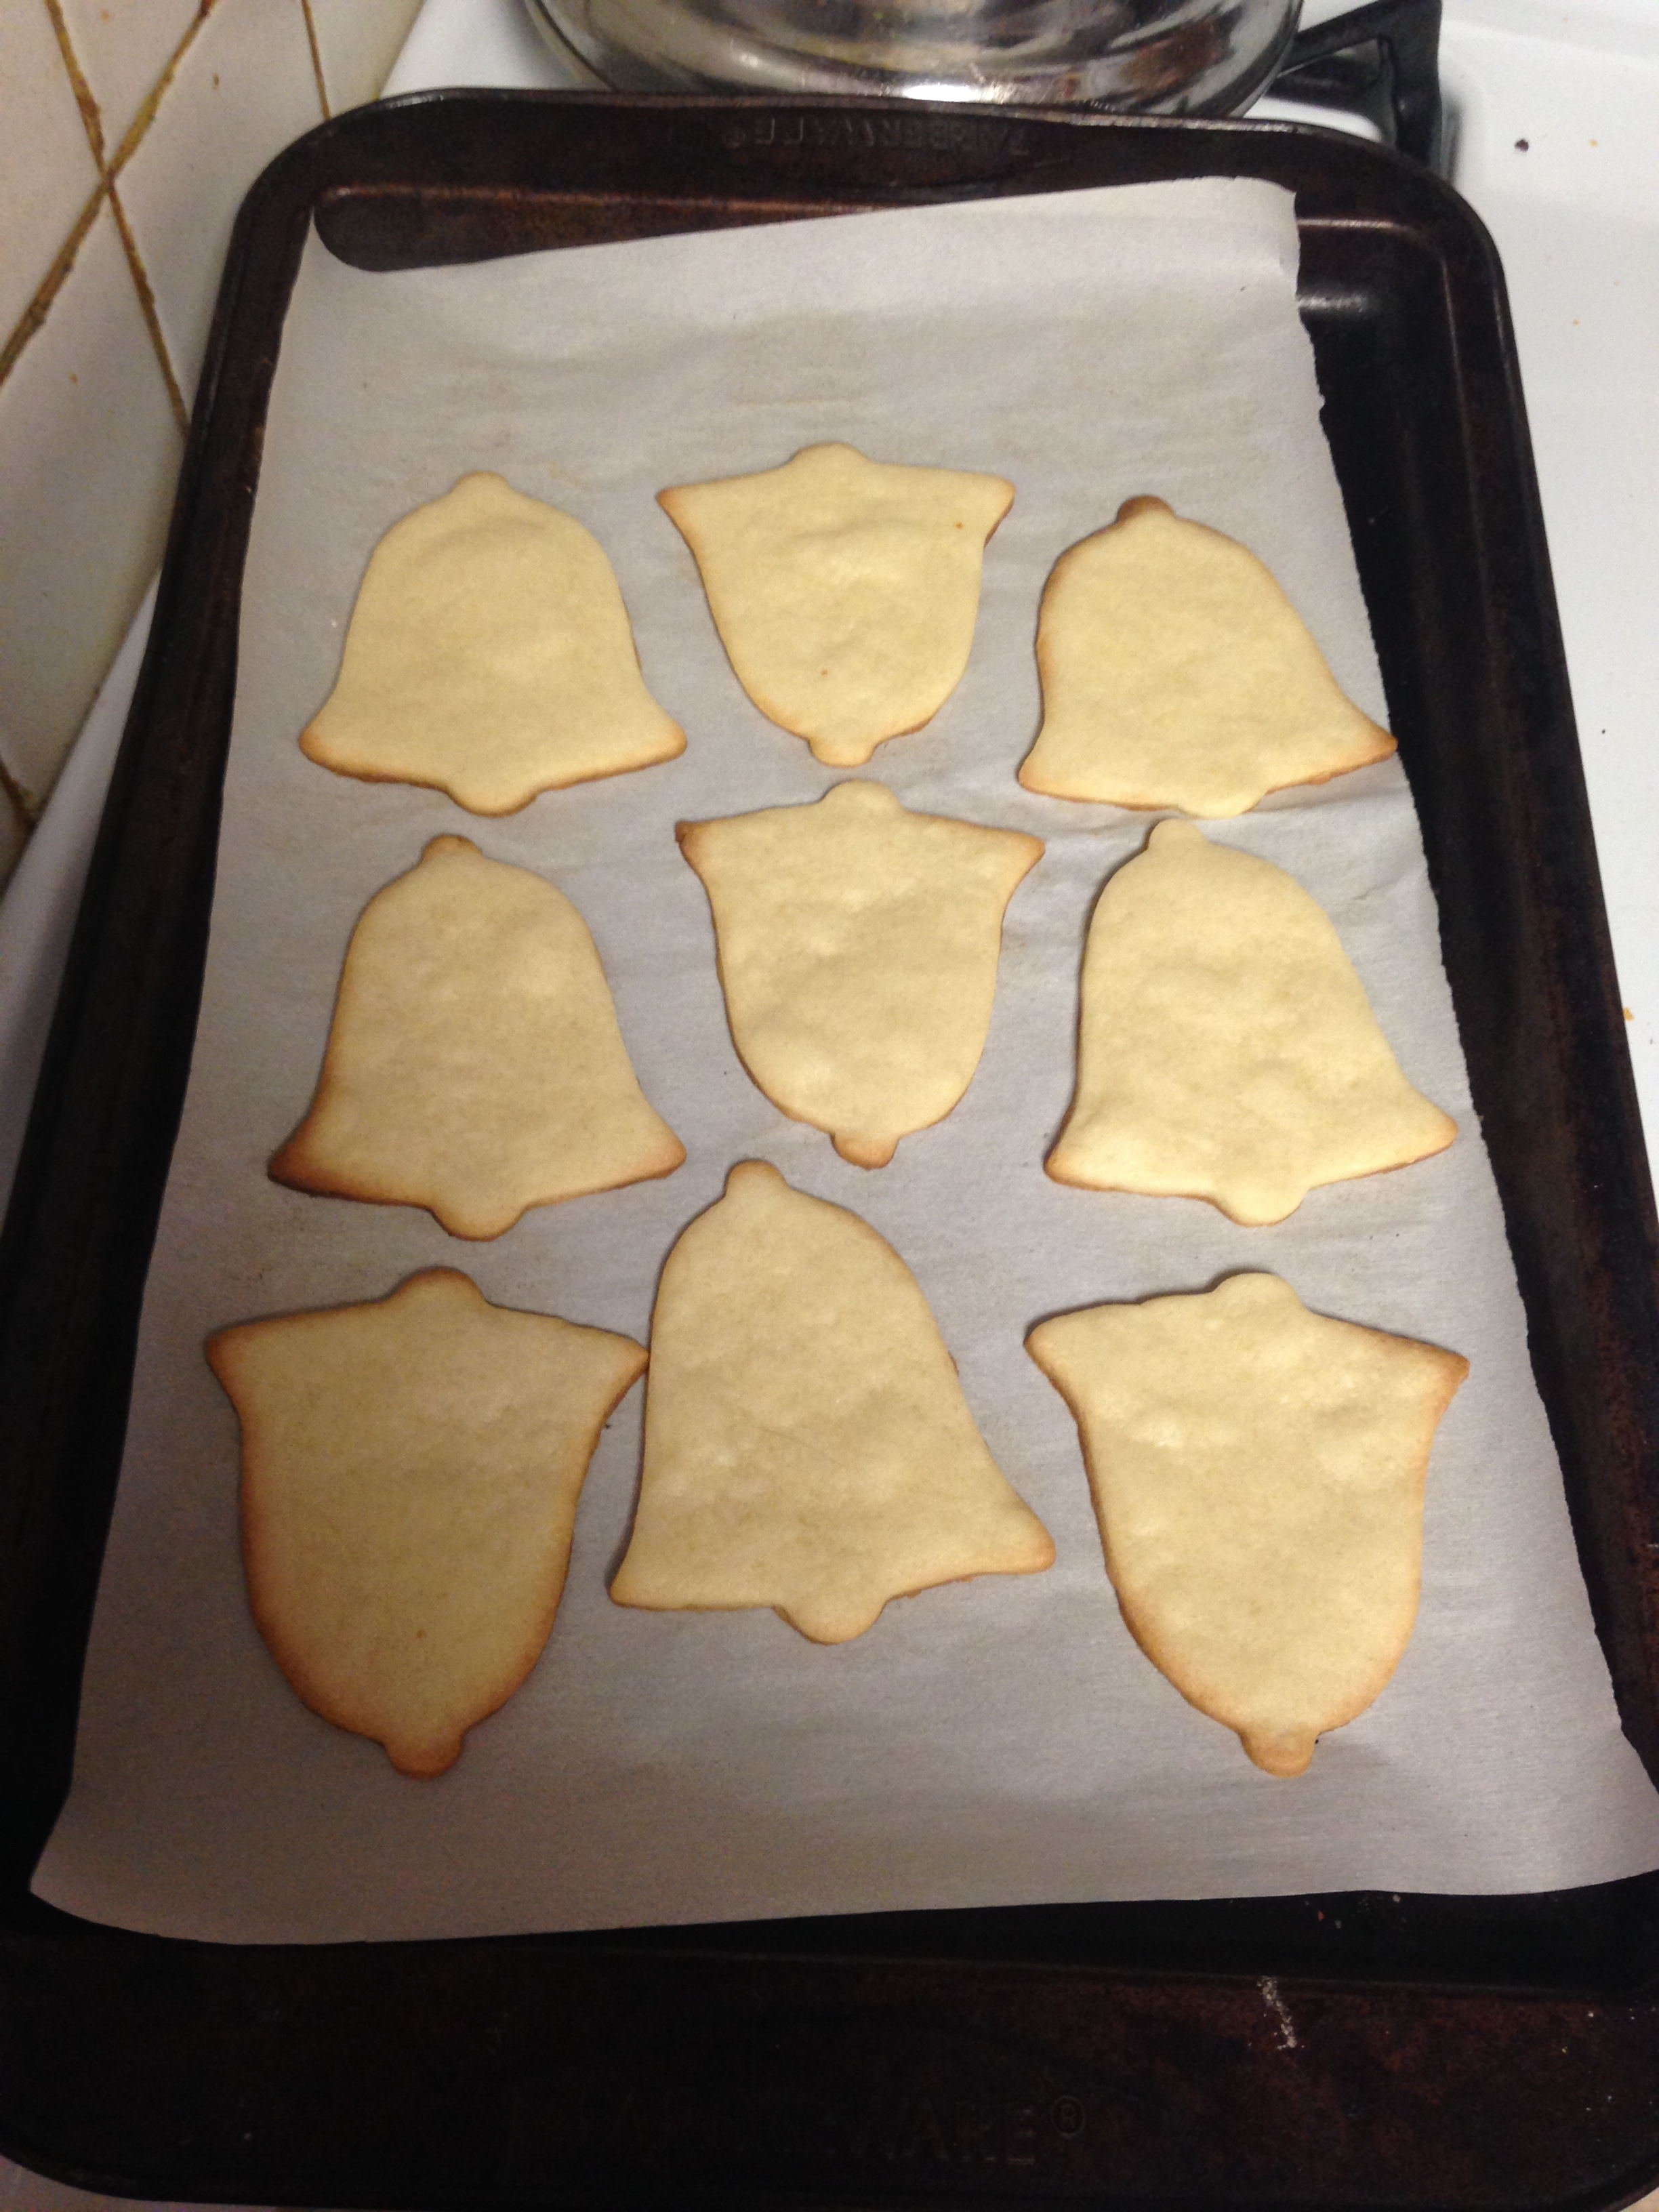
Into the oven it went. Now, I’ll say this. These cookies come out looking light and airy if you do it right. I did it right. 🙂

IMG_4539

Seriously, don’t they look like meringue tarts?

IMG_4540

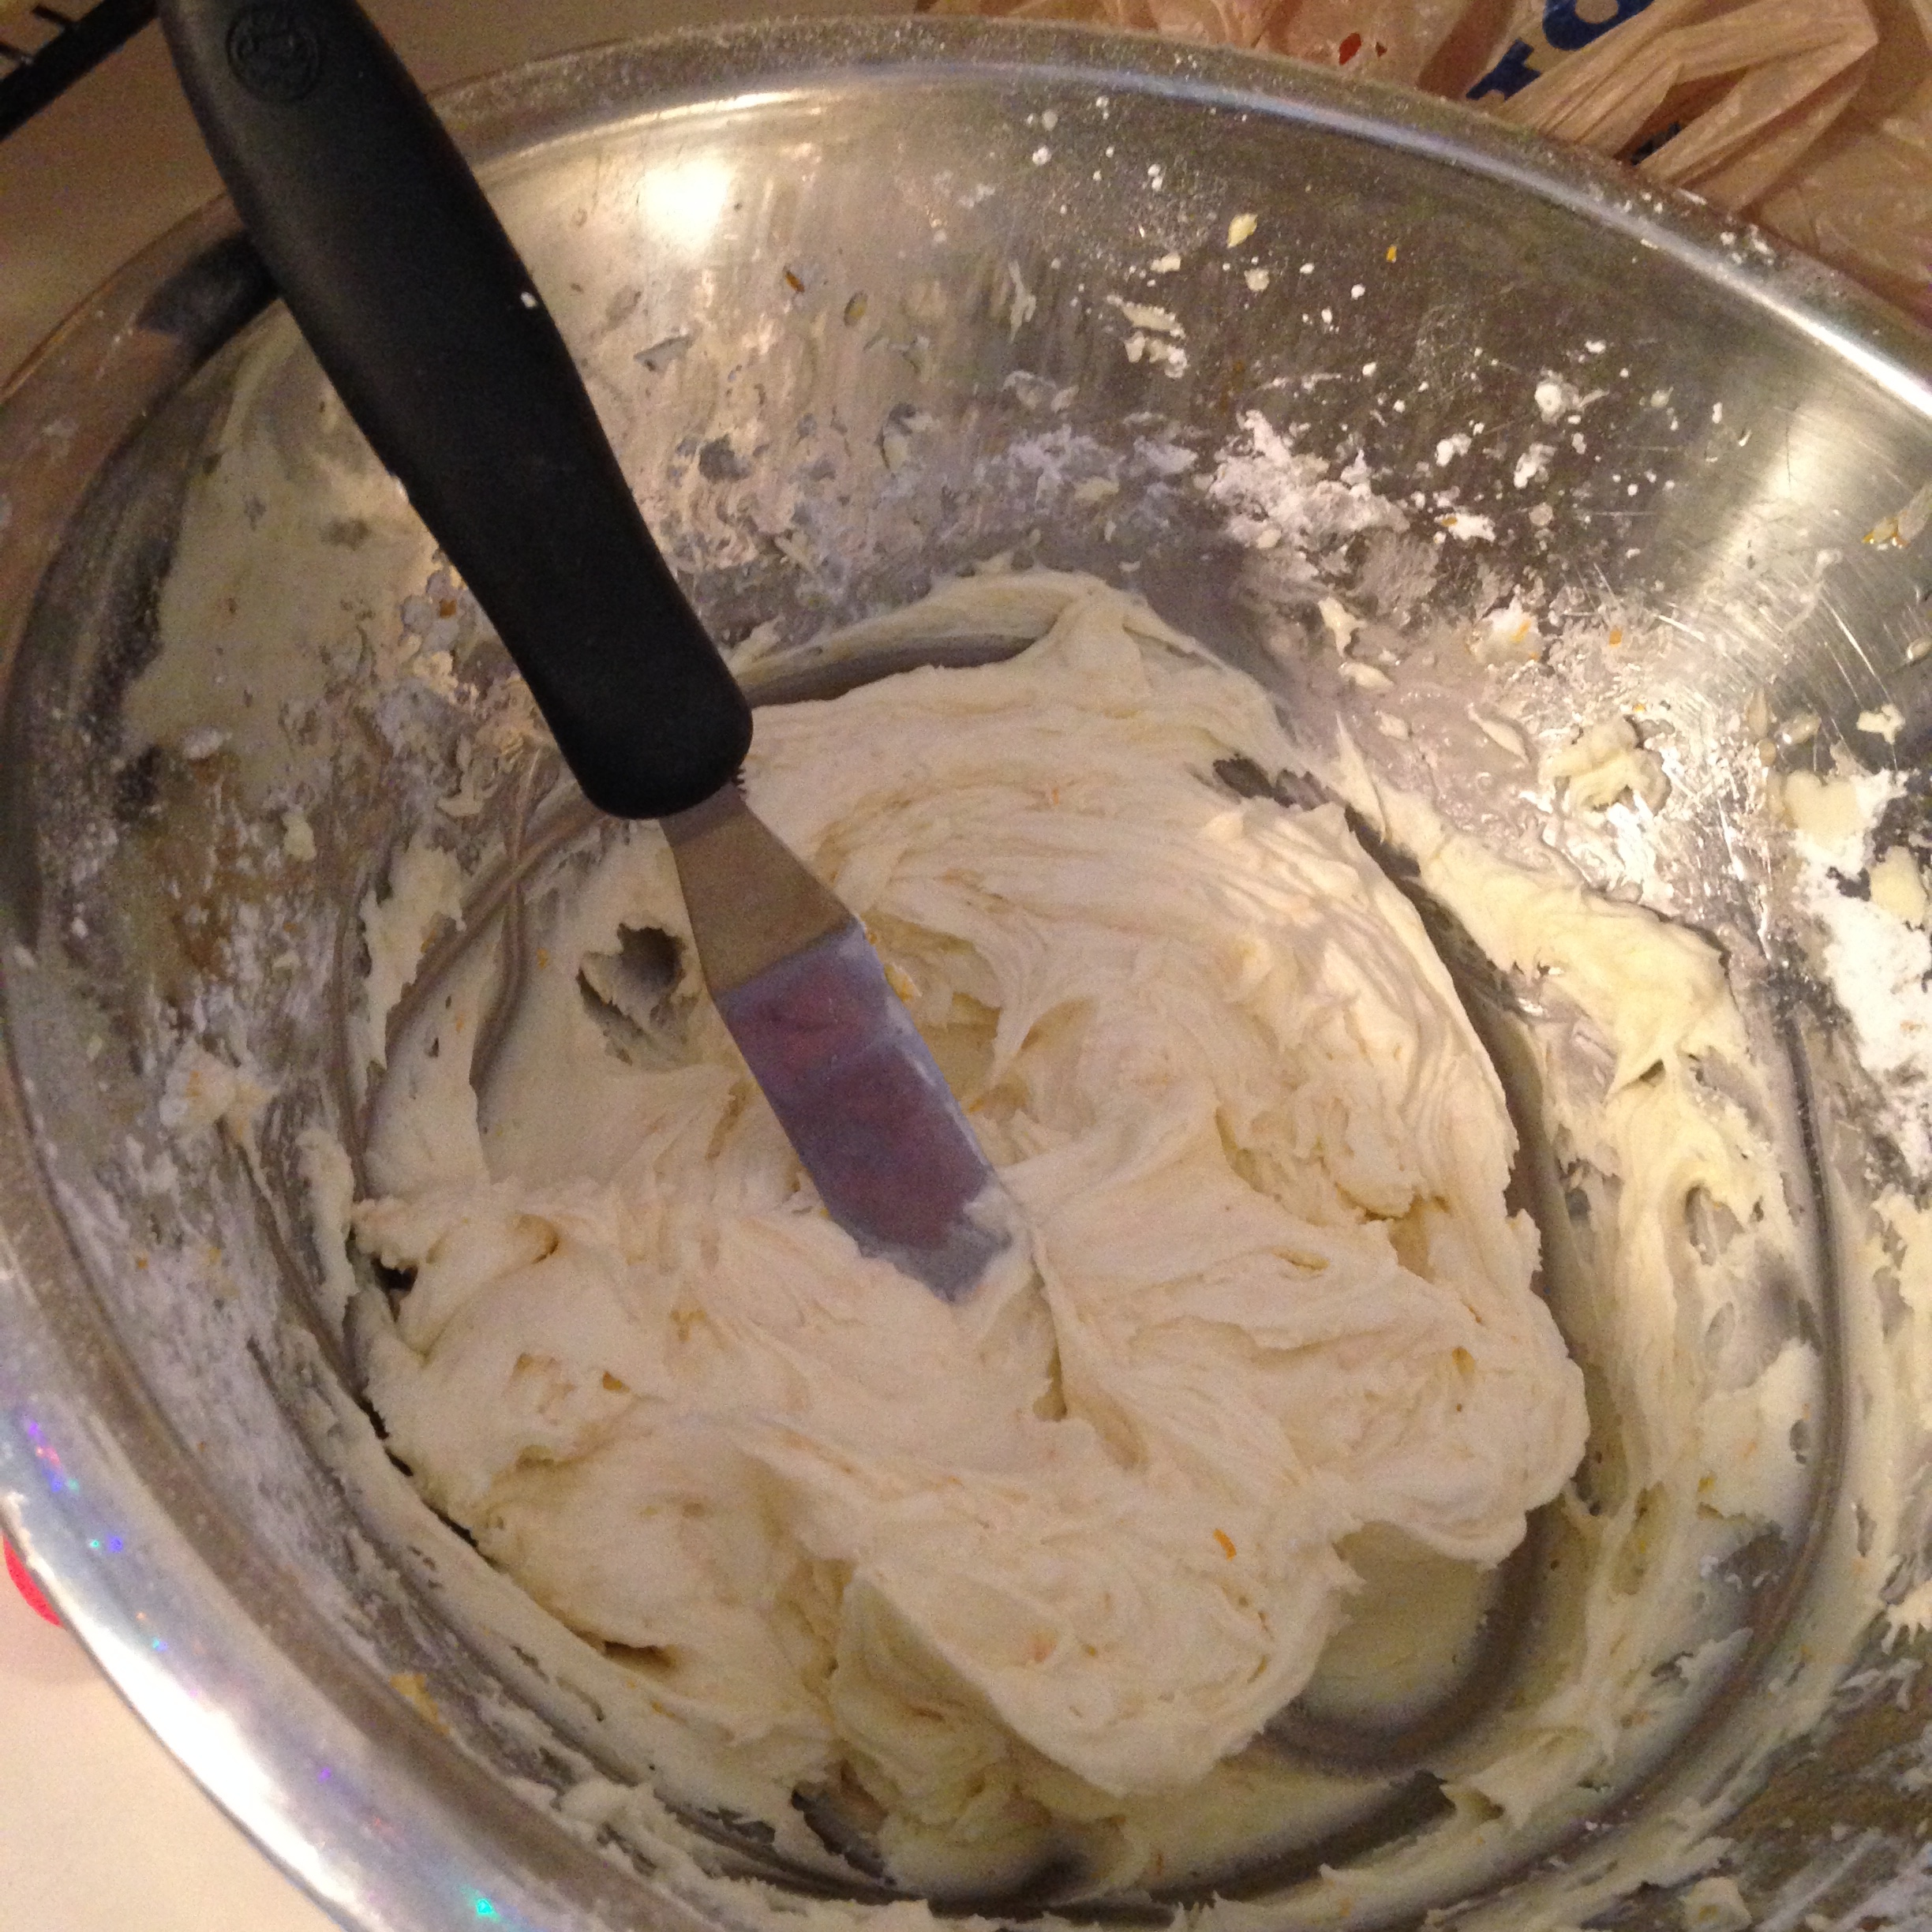
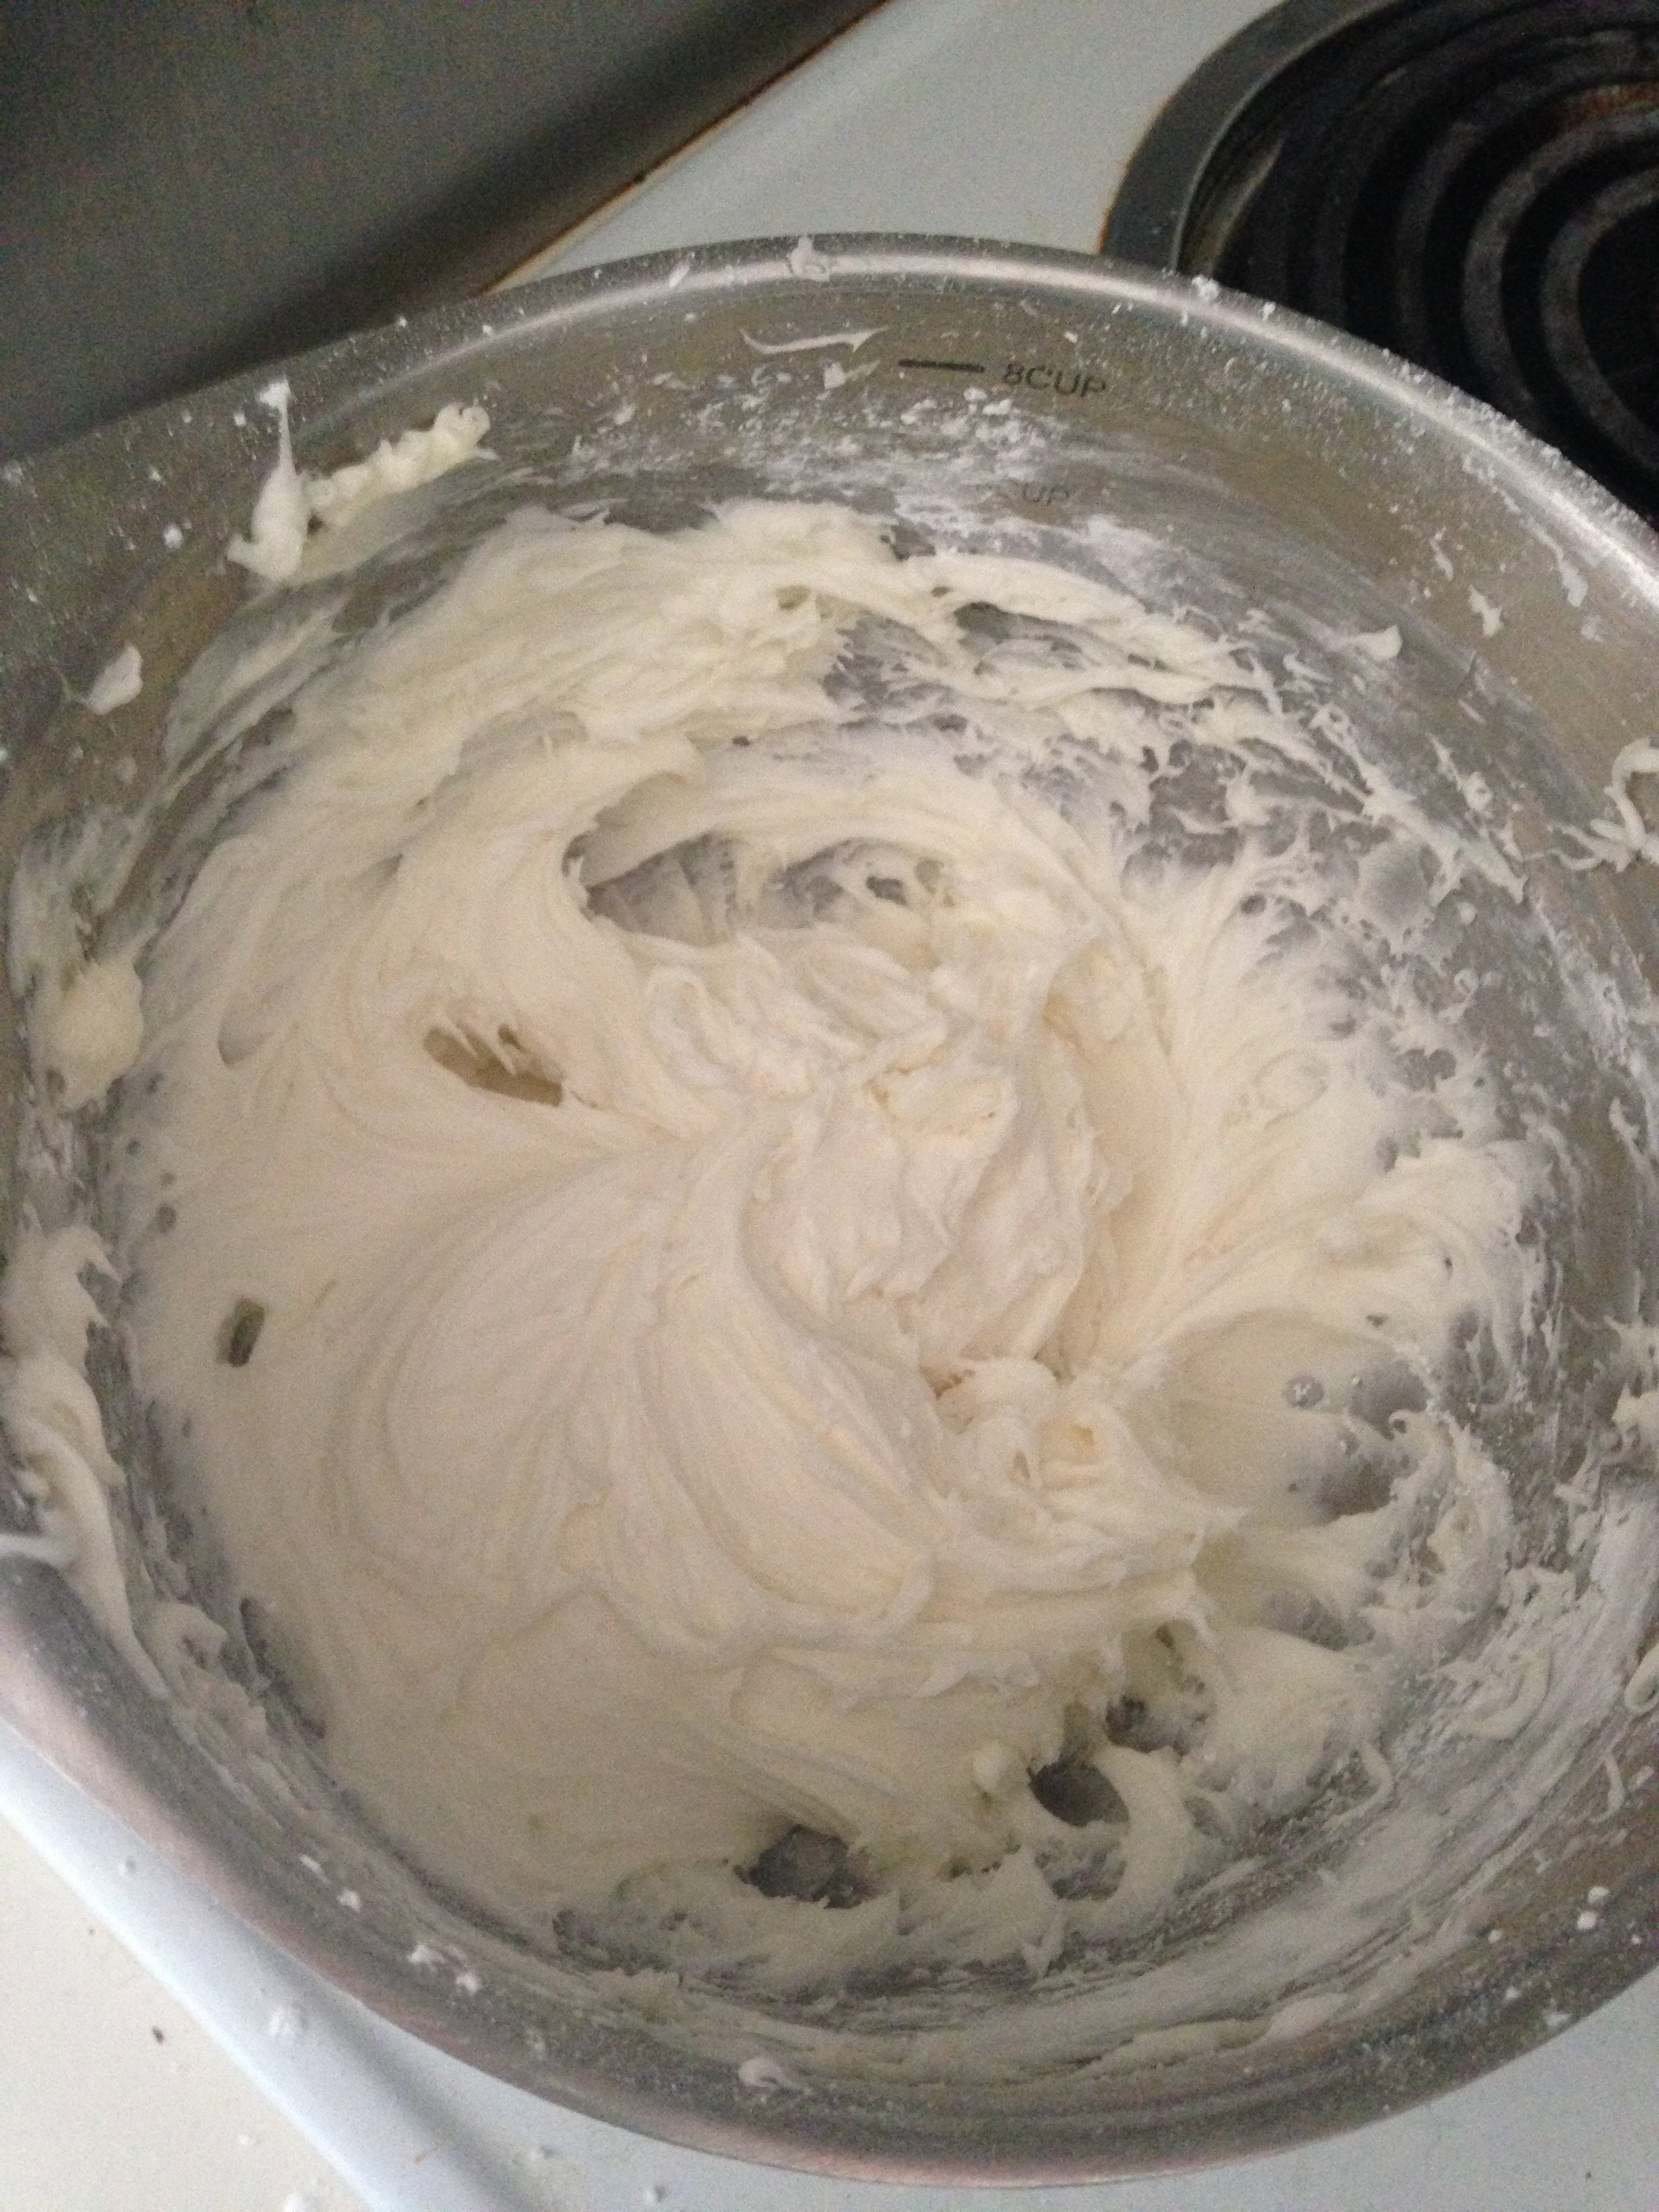
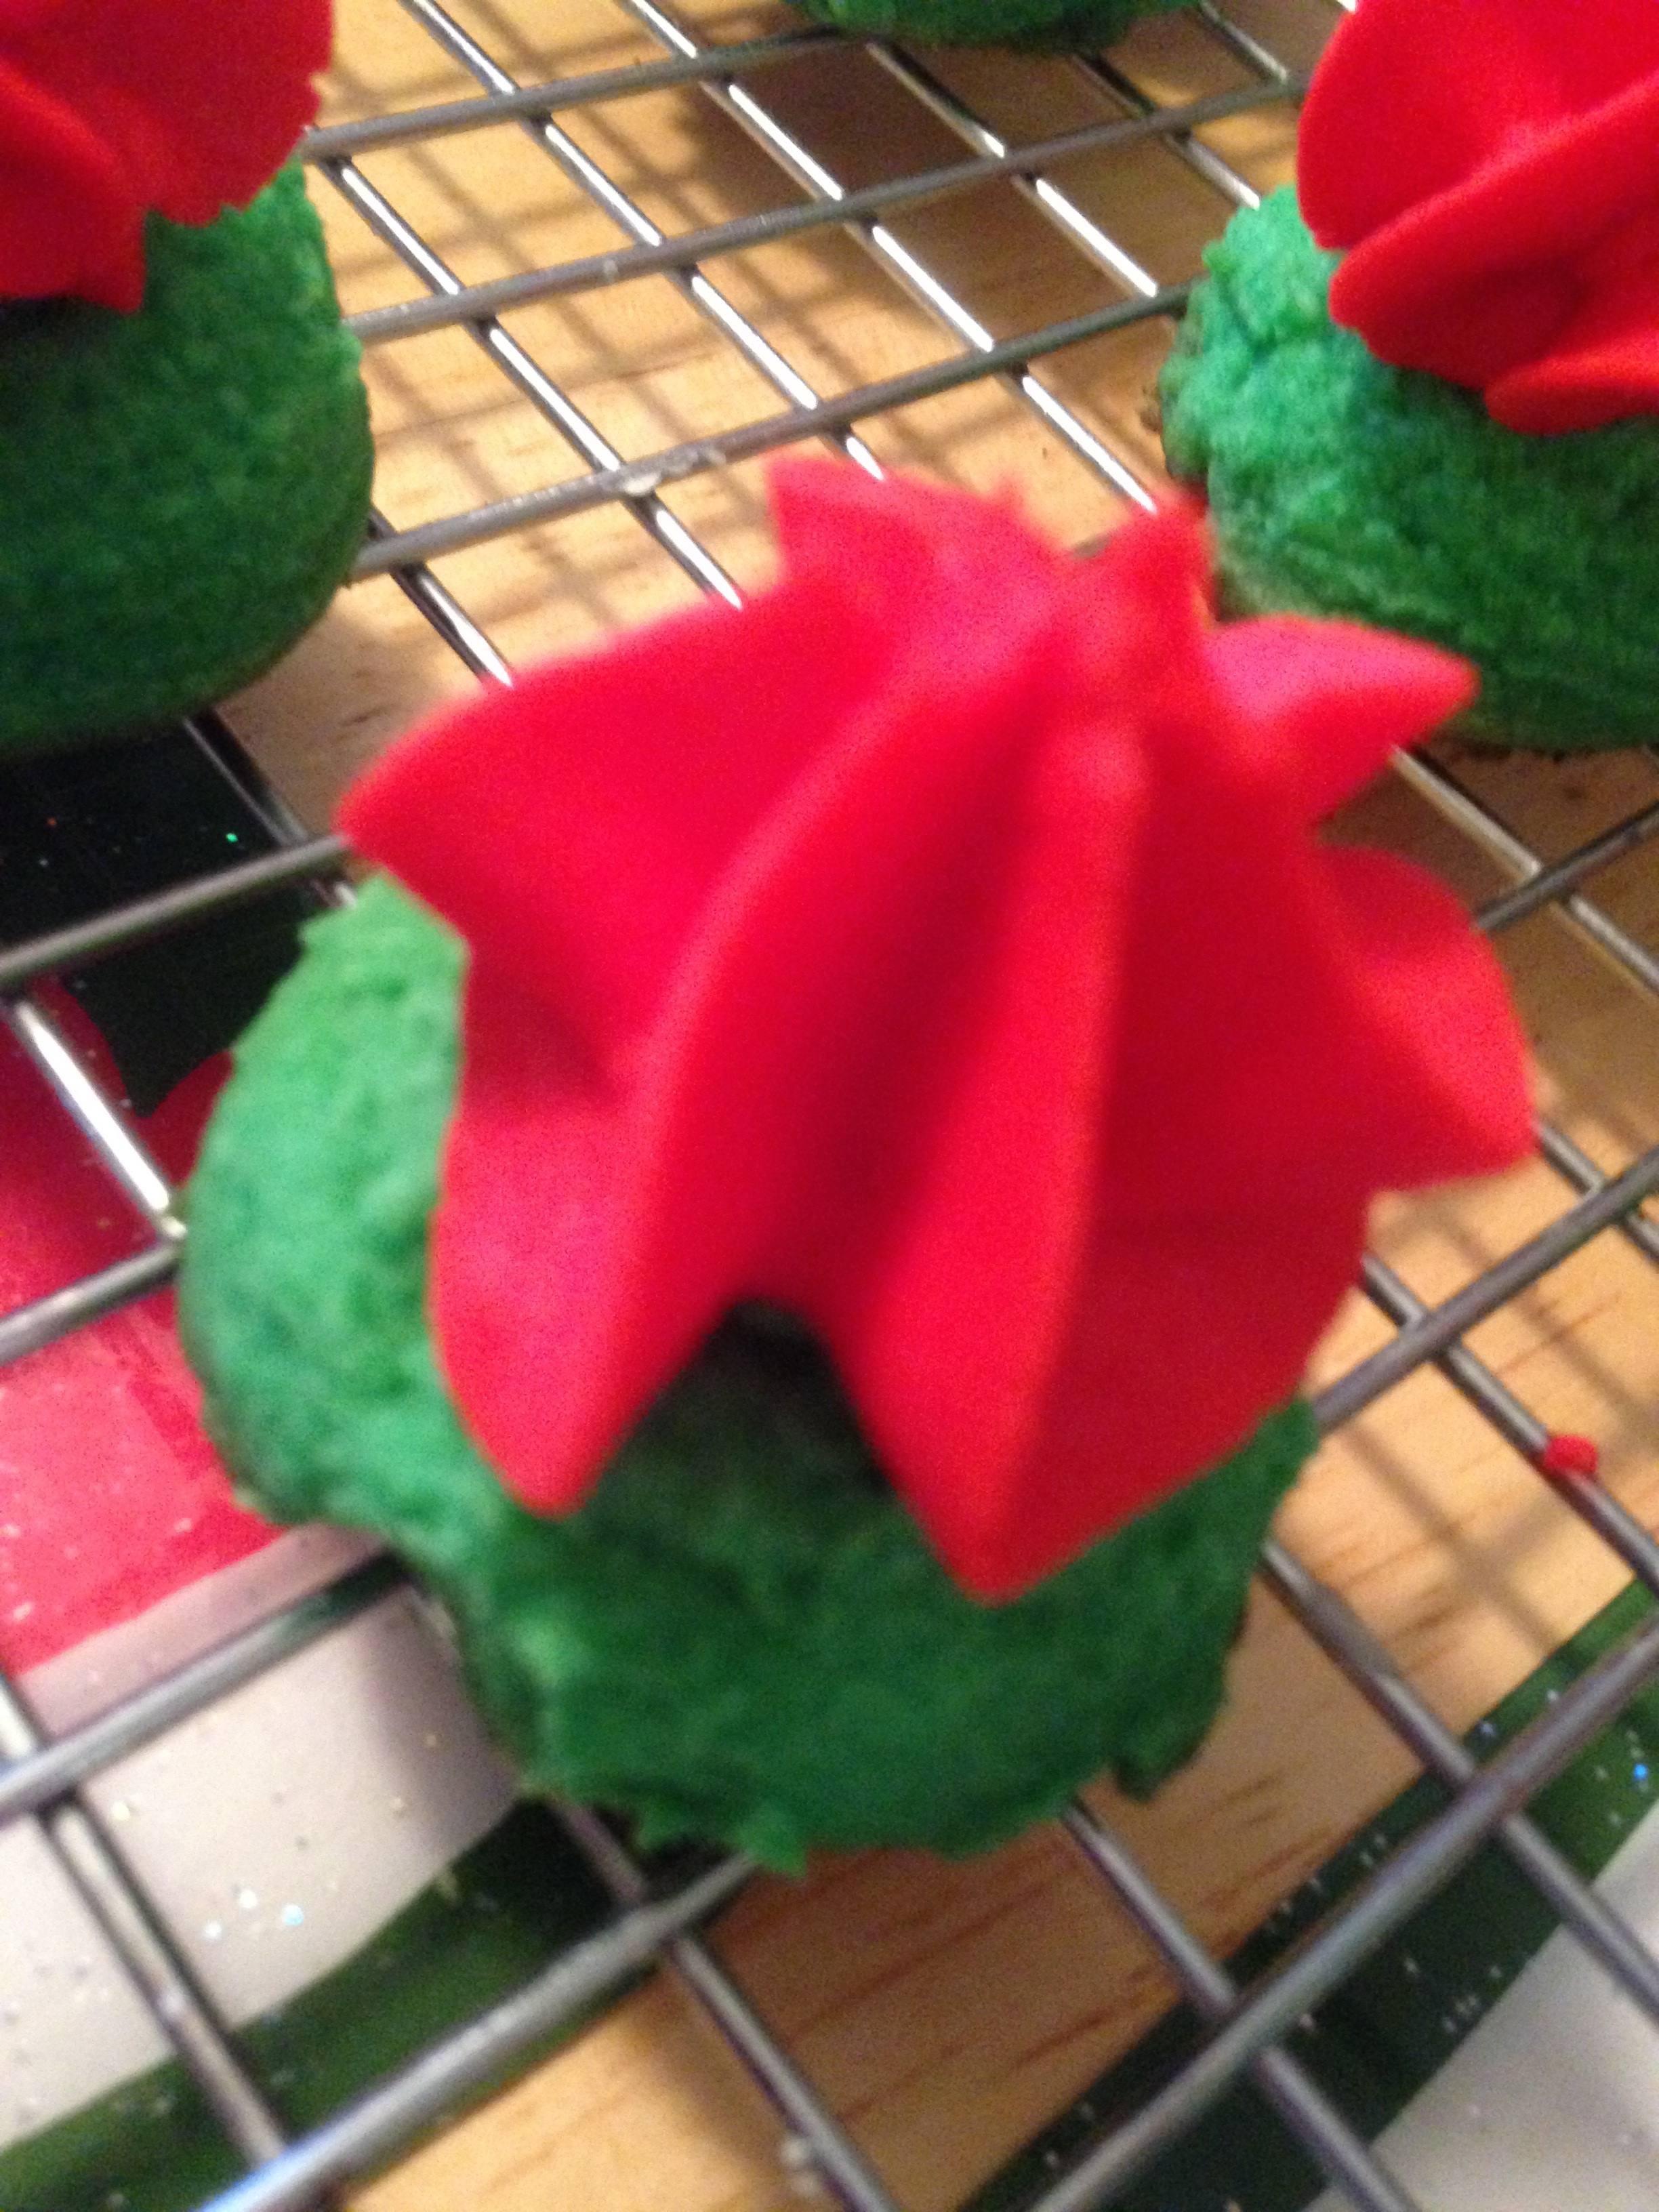
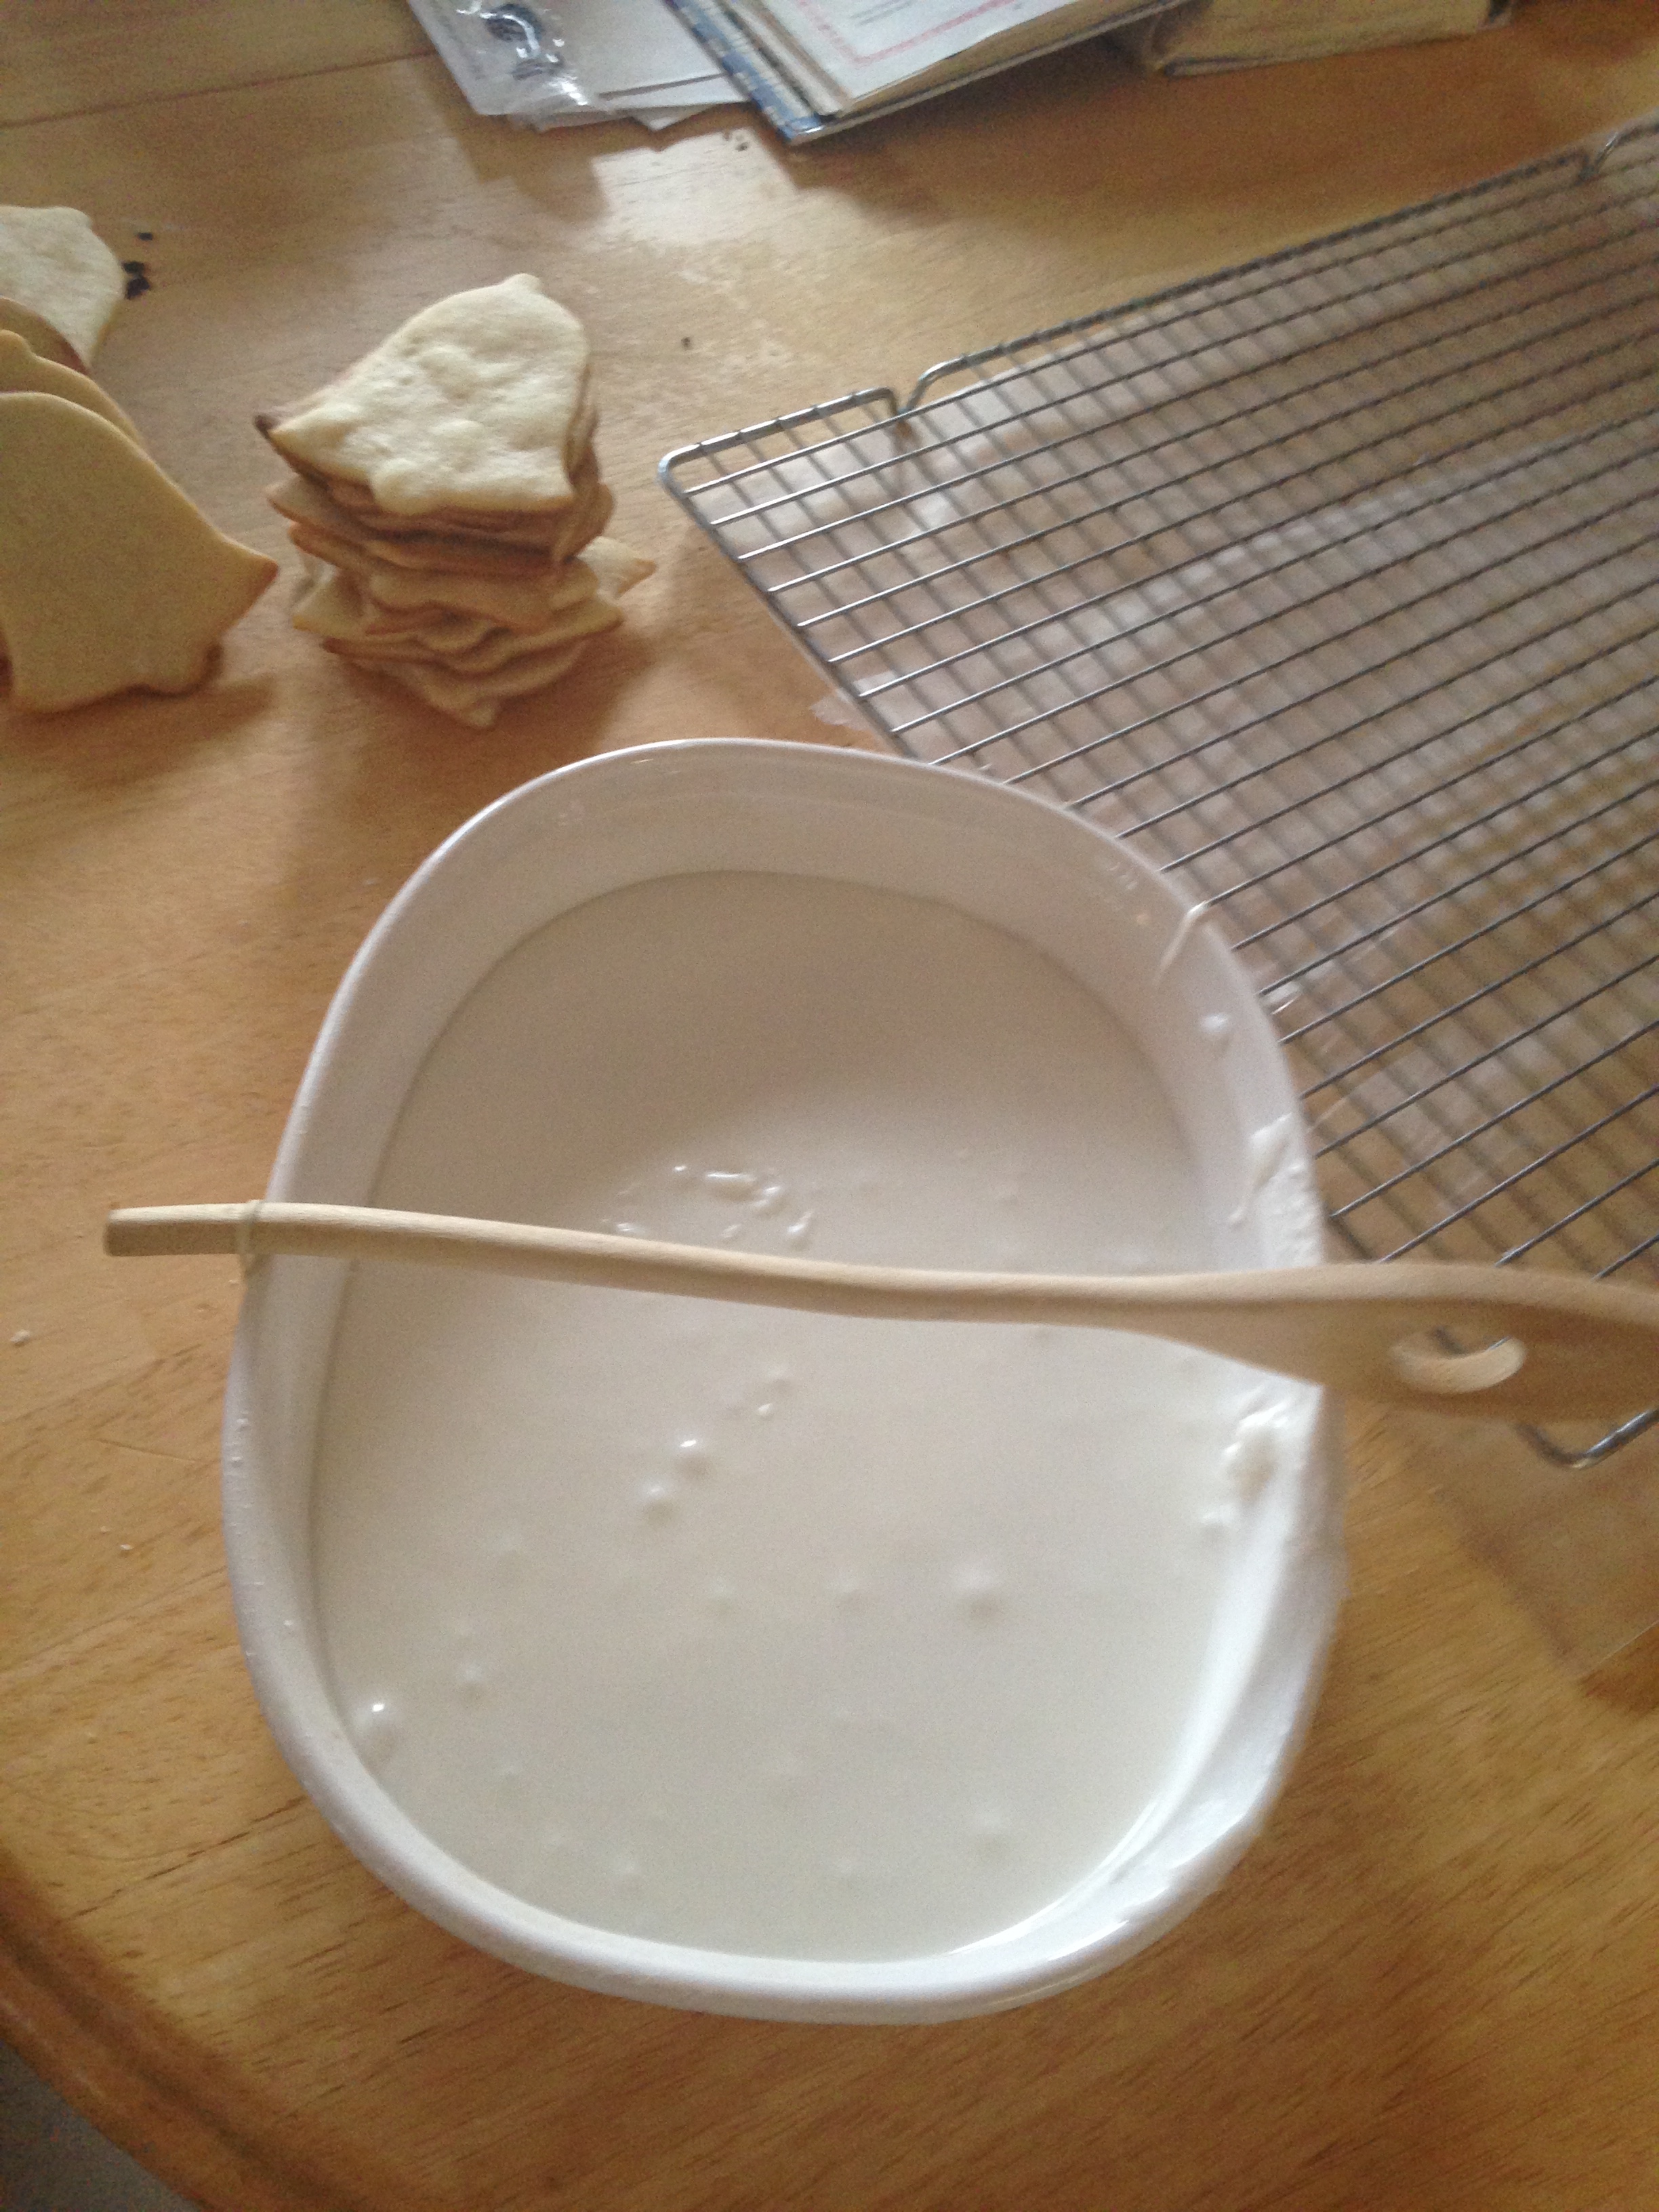
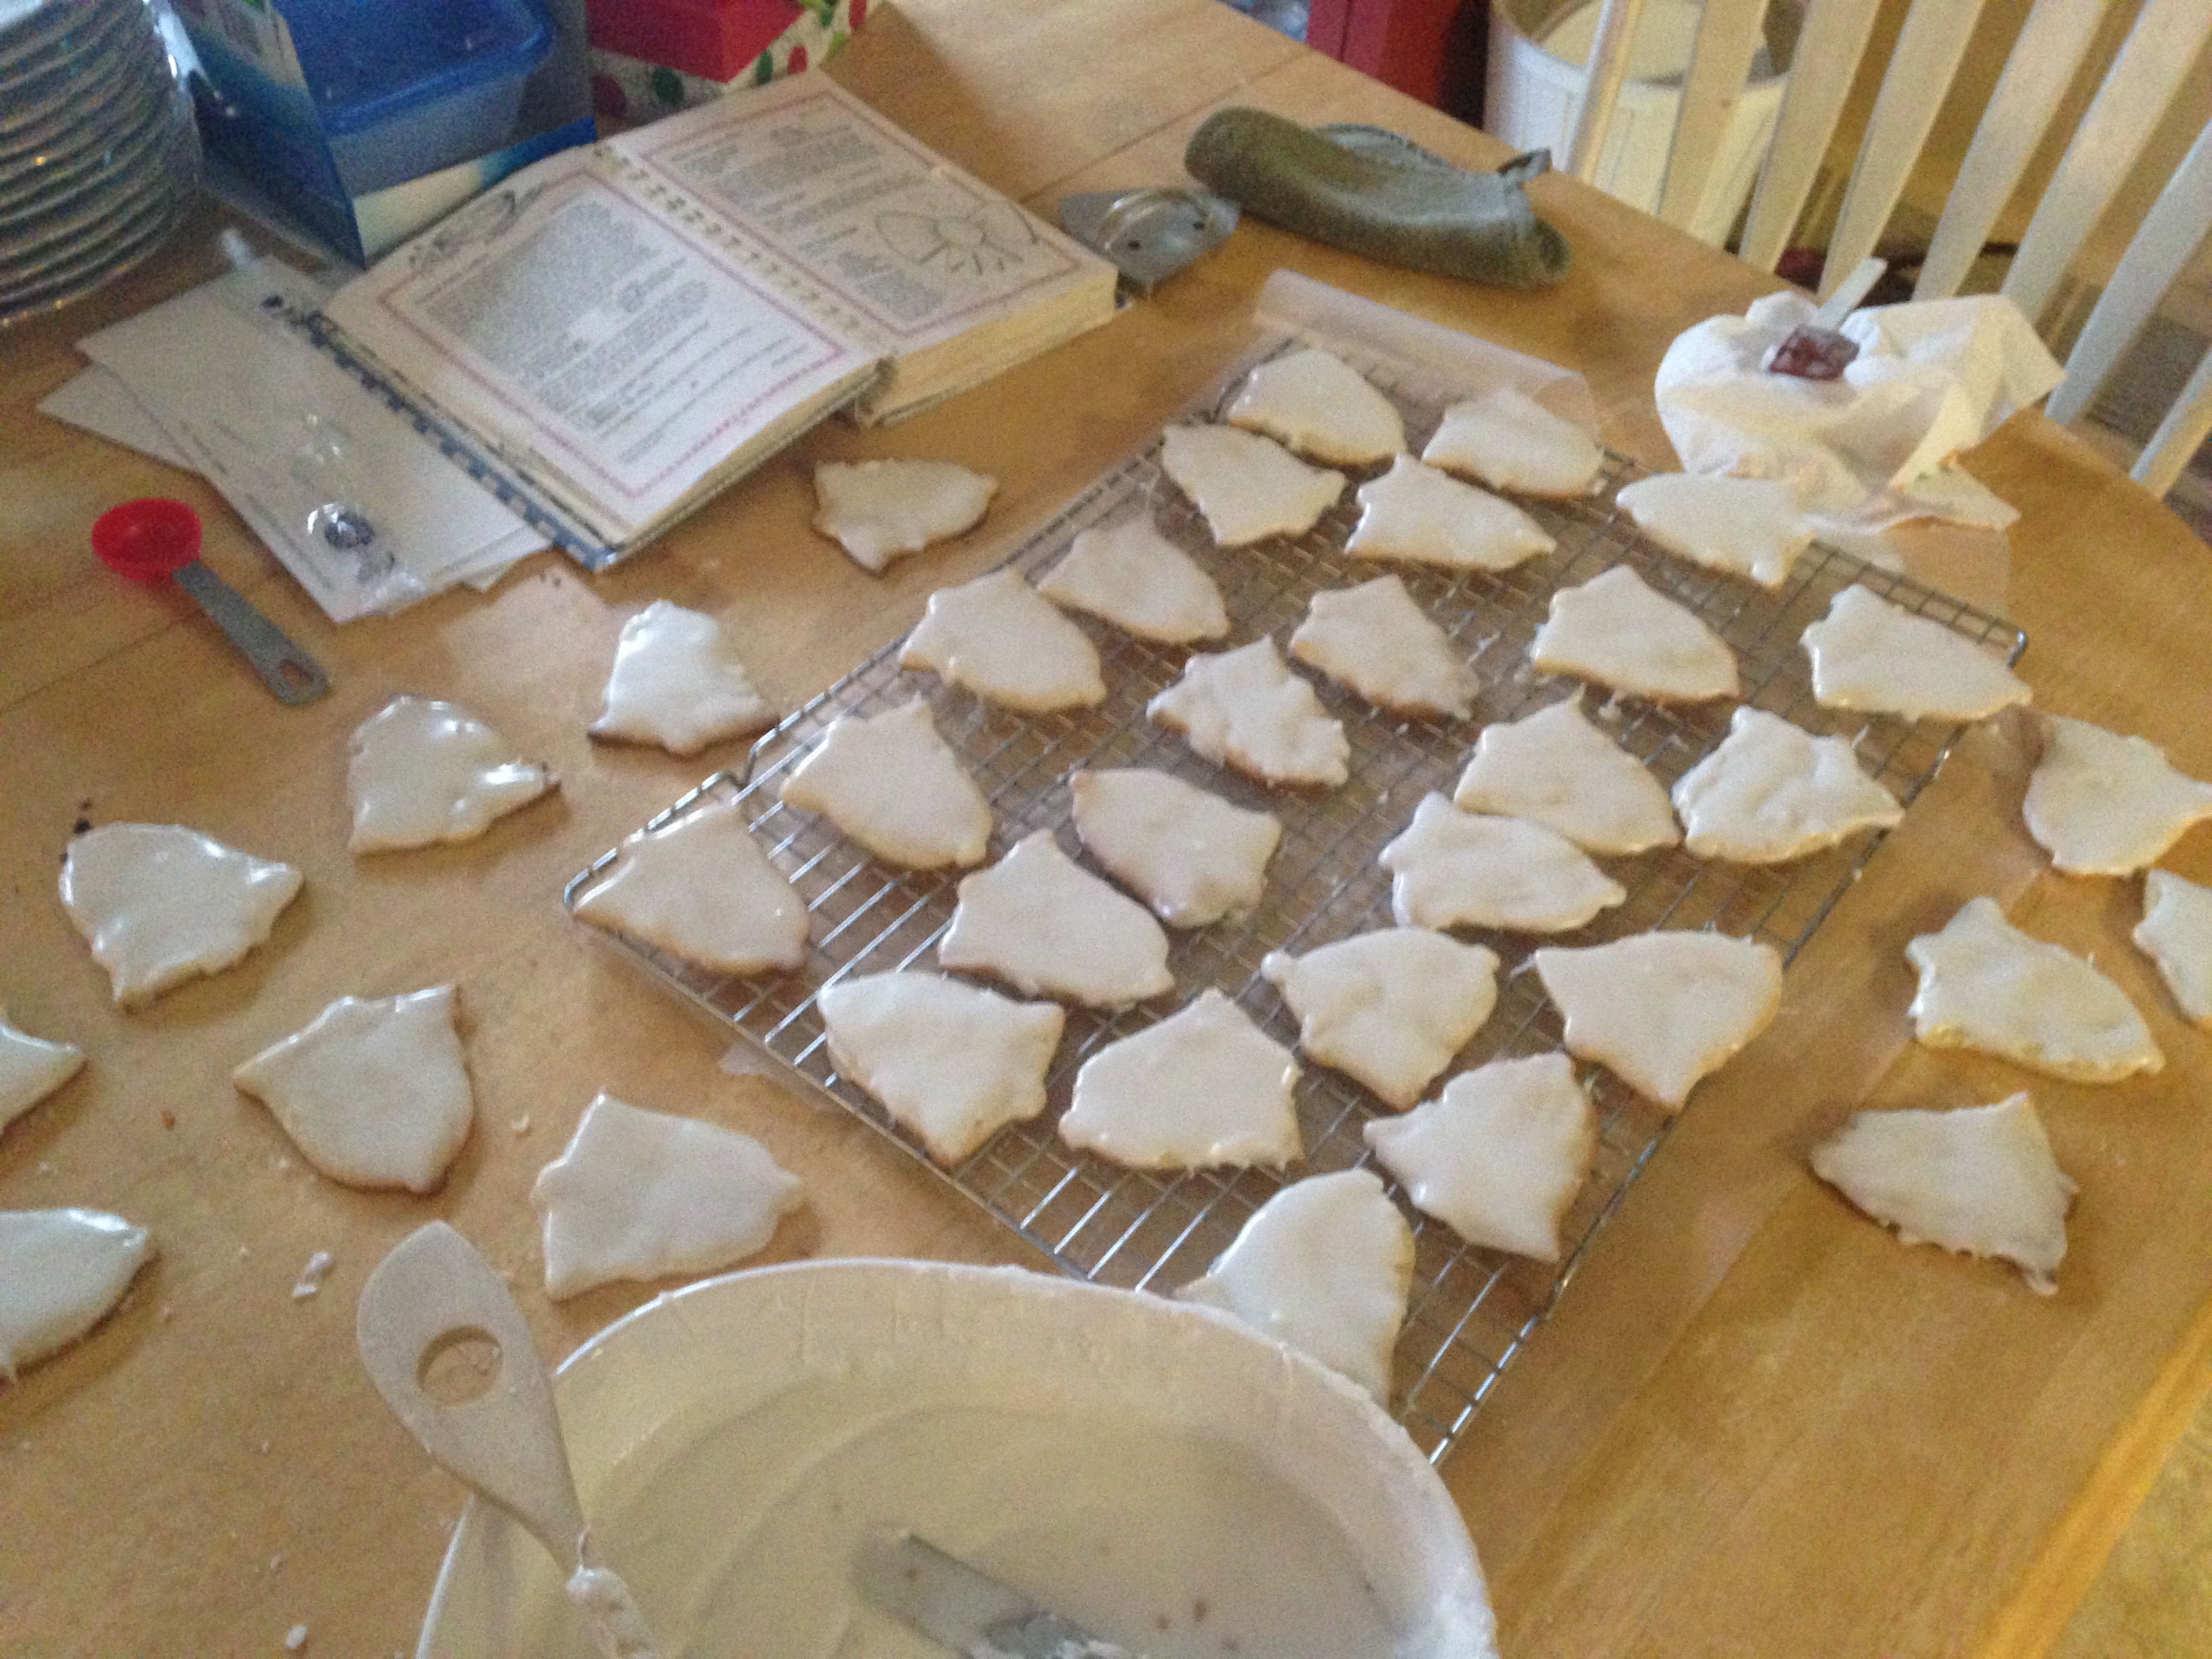
The frosting involved a pound of powdered sugar, and more orange juice and zest. This is probably the tastiest frosting I make, and the fresh ingredients only enhance it!

IMG_4541


As my kids noted, they aren’t all that orange. When I’ve made these with regular store-bought juice, they aren’t all that orange, either. But, they sure do taste (and smell…holy smokes, the smells in my kitchen…) great!

Orange Drop Cookies

(I’m sorry, I can’t remember where I got it from! If you do, let me know and I’ll credit it accordingly!)

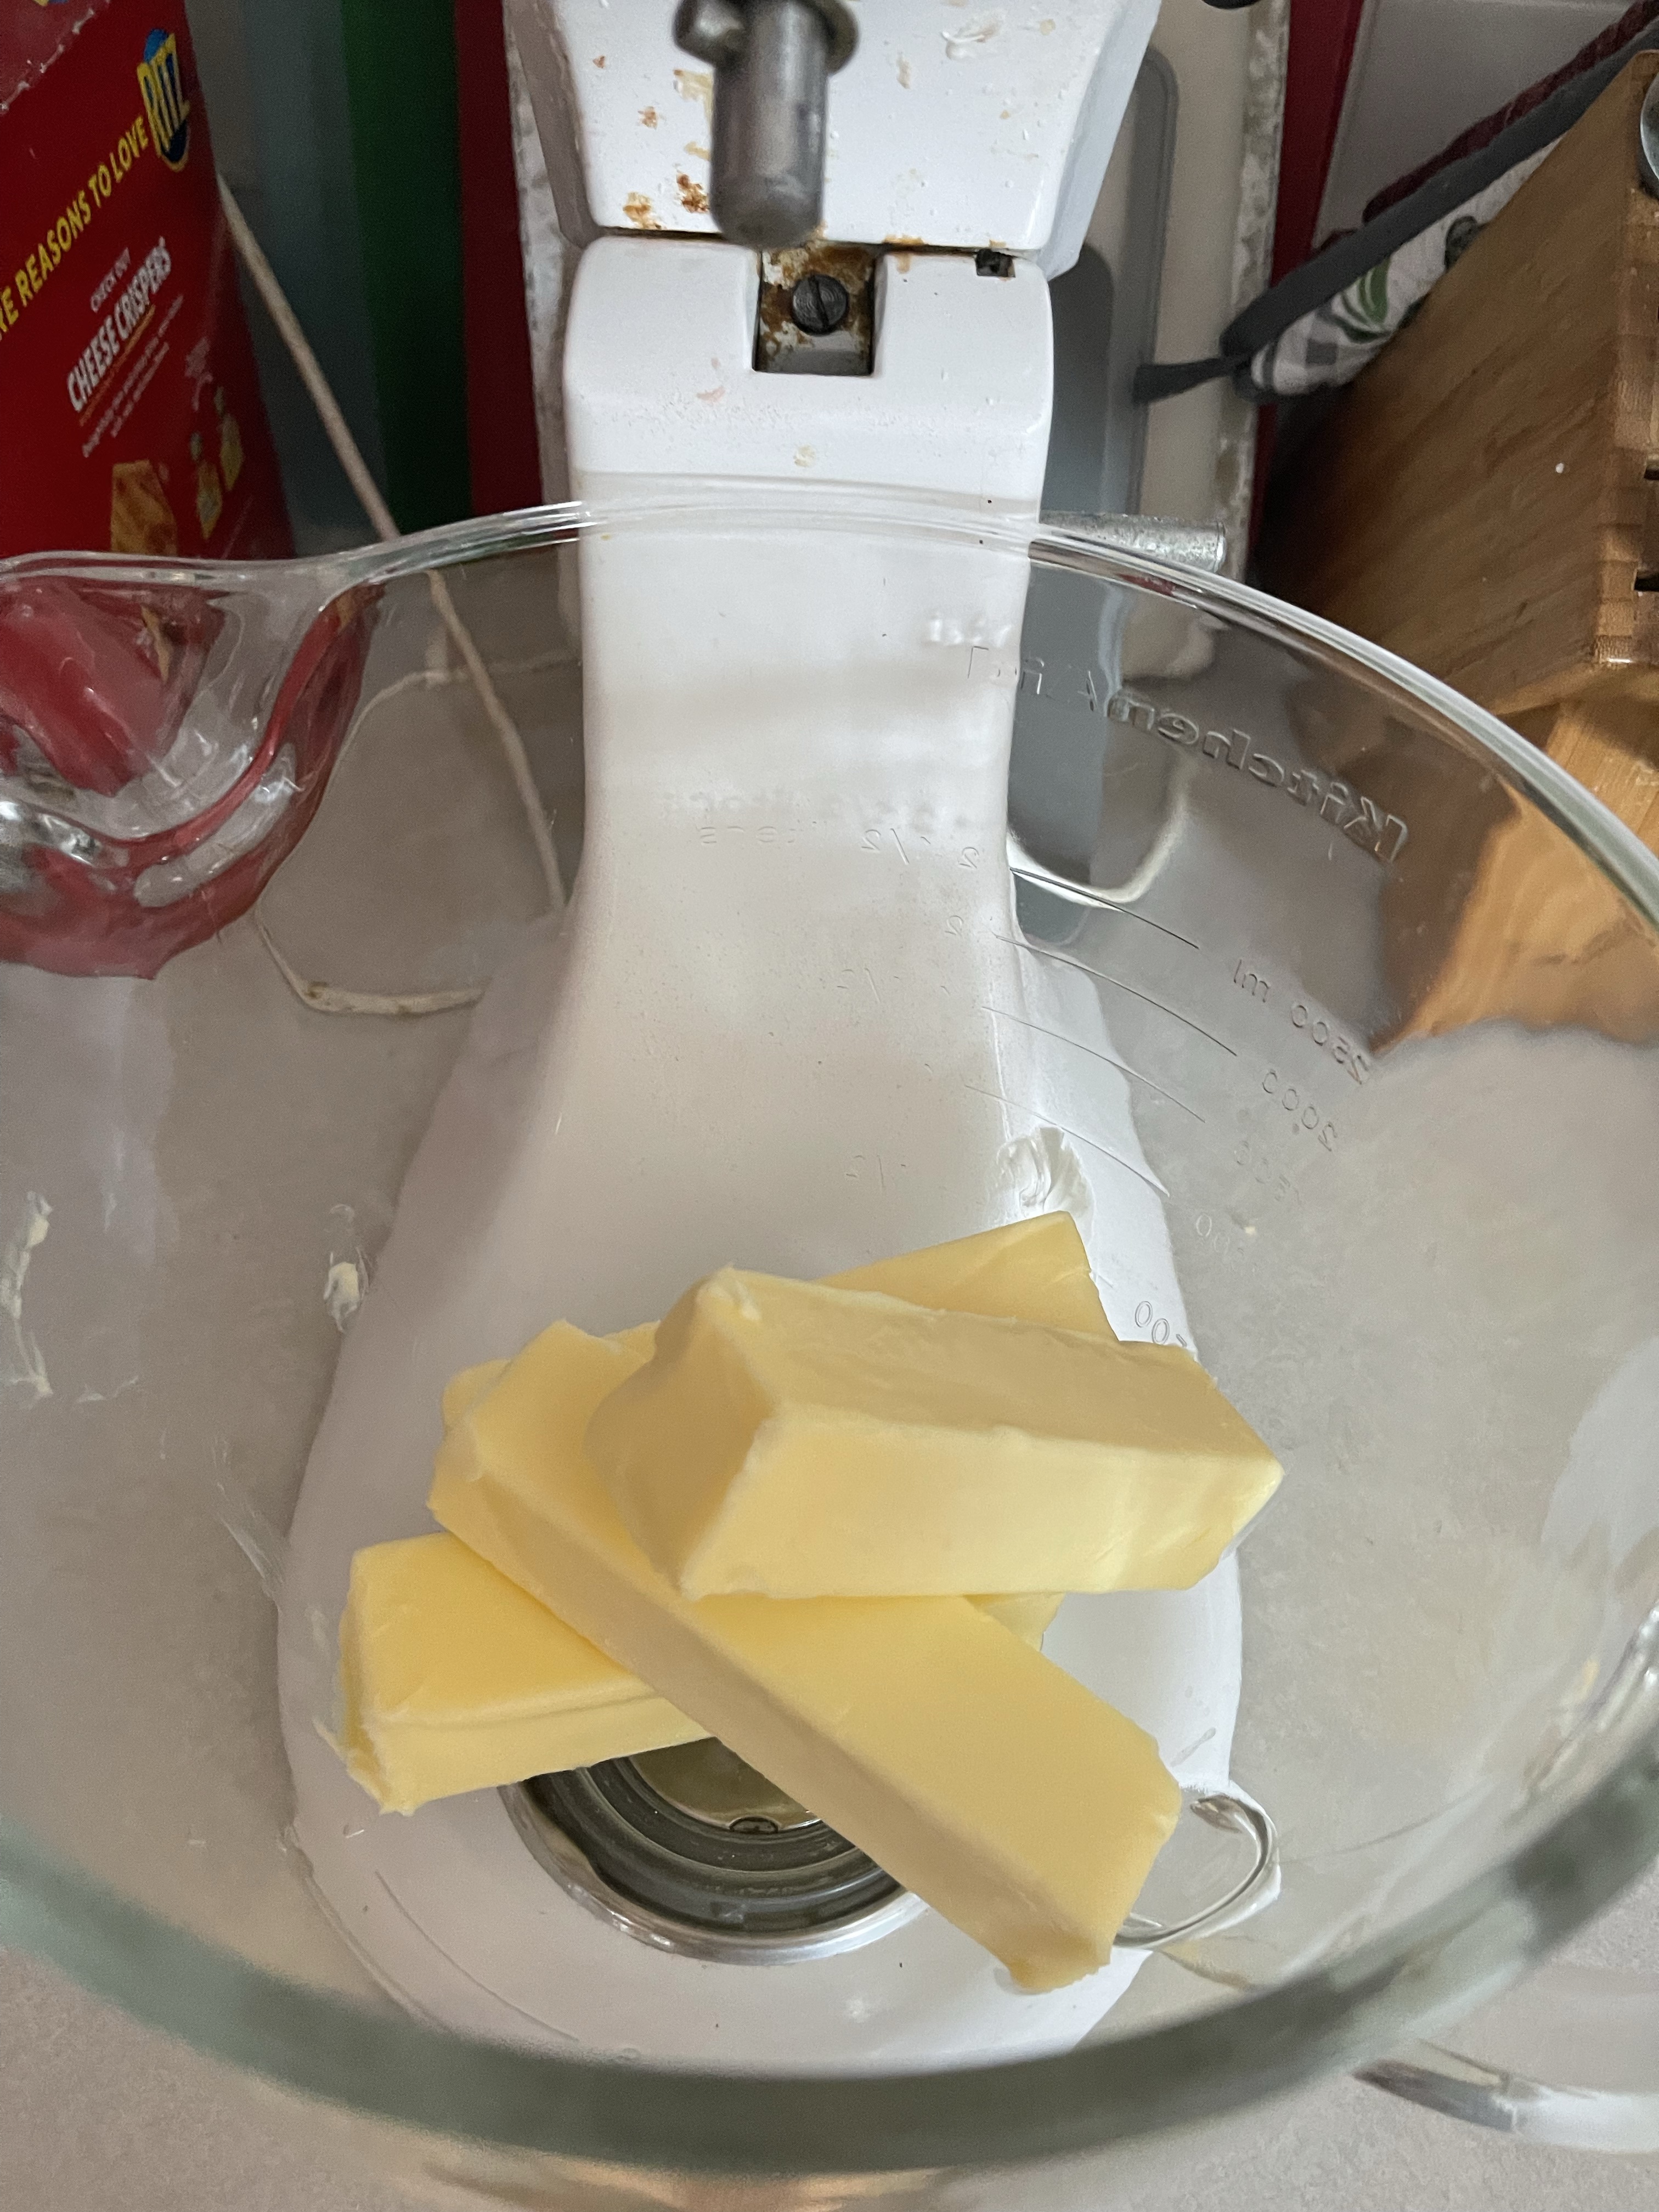
1/2 c shortening                                   2 1/2 c flour

1 c sugar                                             1/2 t salt

2 eggs                                                 1 T grated orange peel

1/2 c orange juice                                 1/2 c walnuts

1 1/2 t baking powder

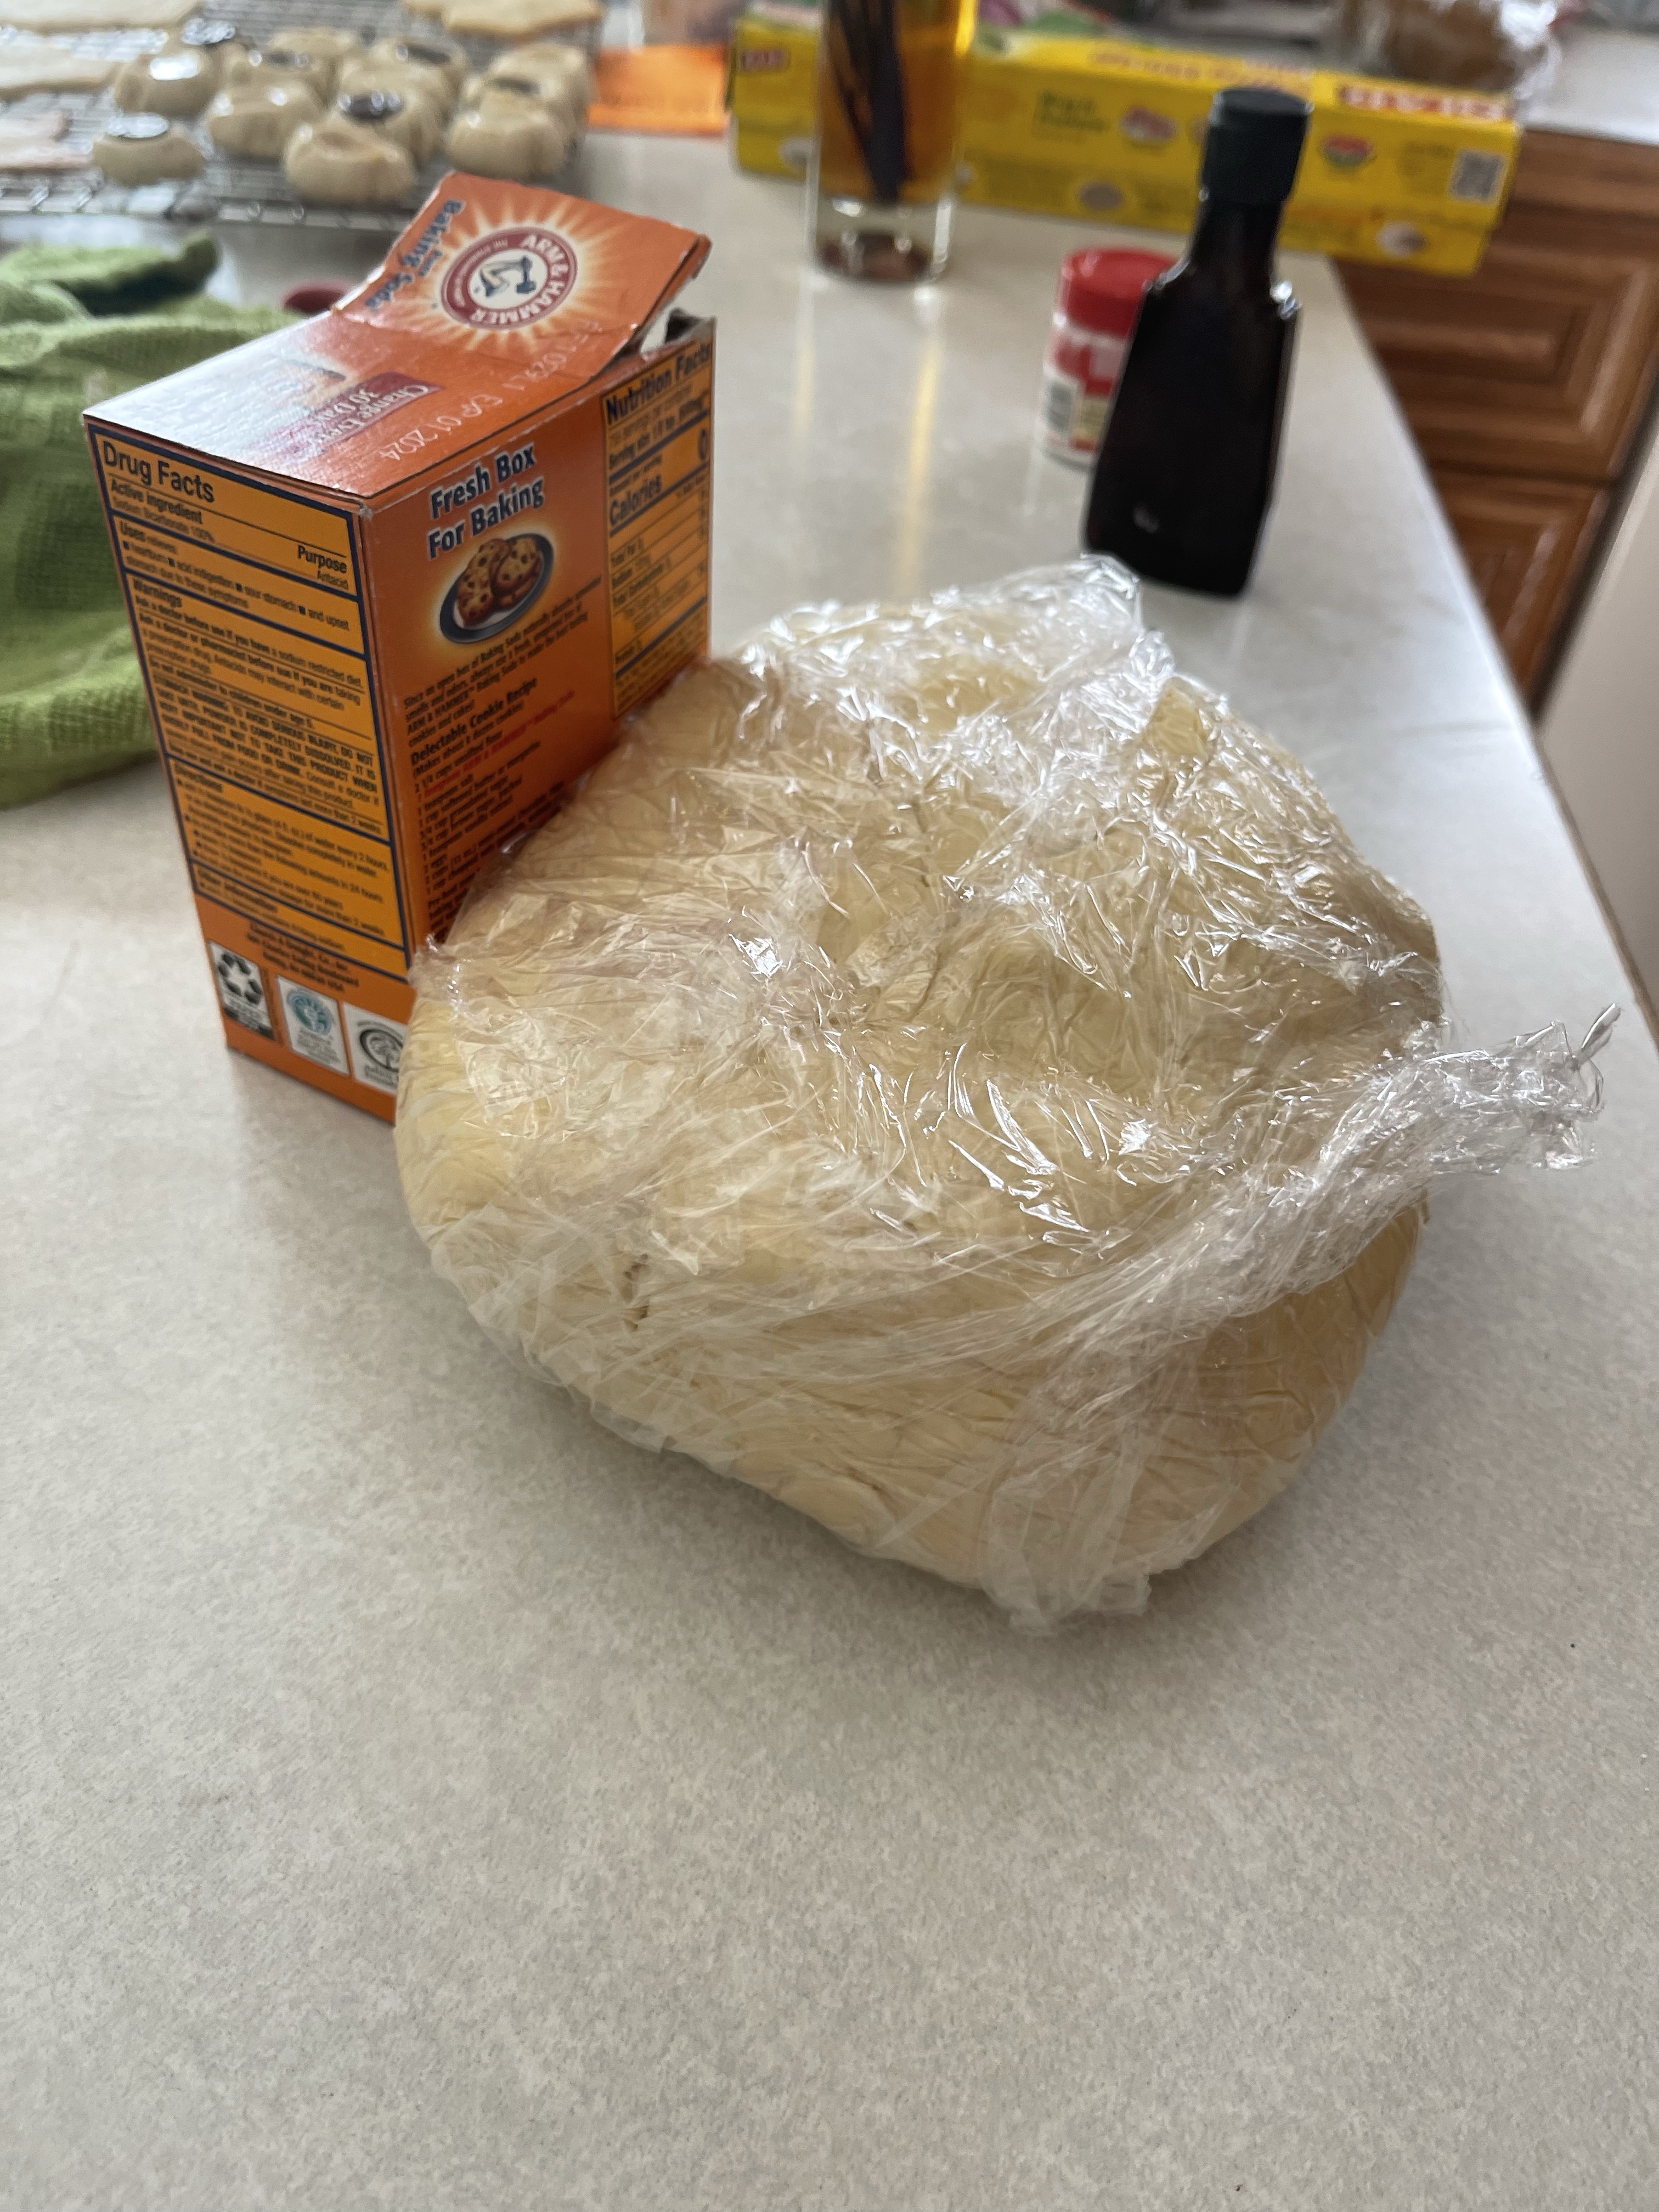
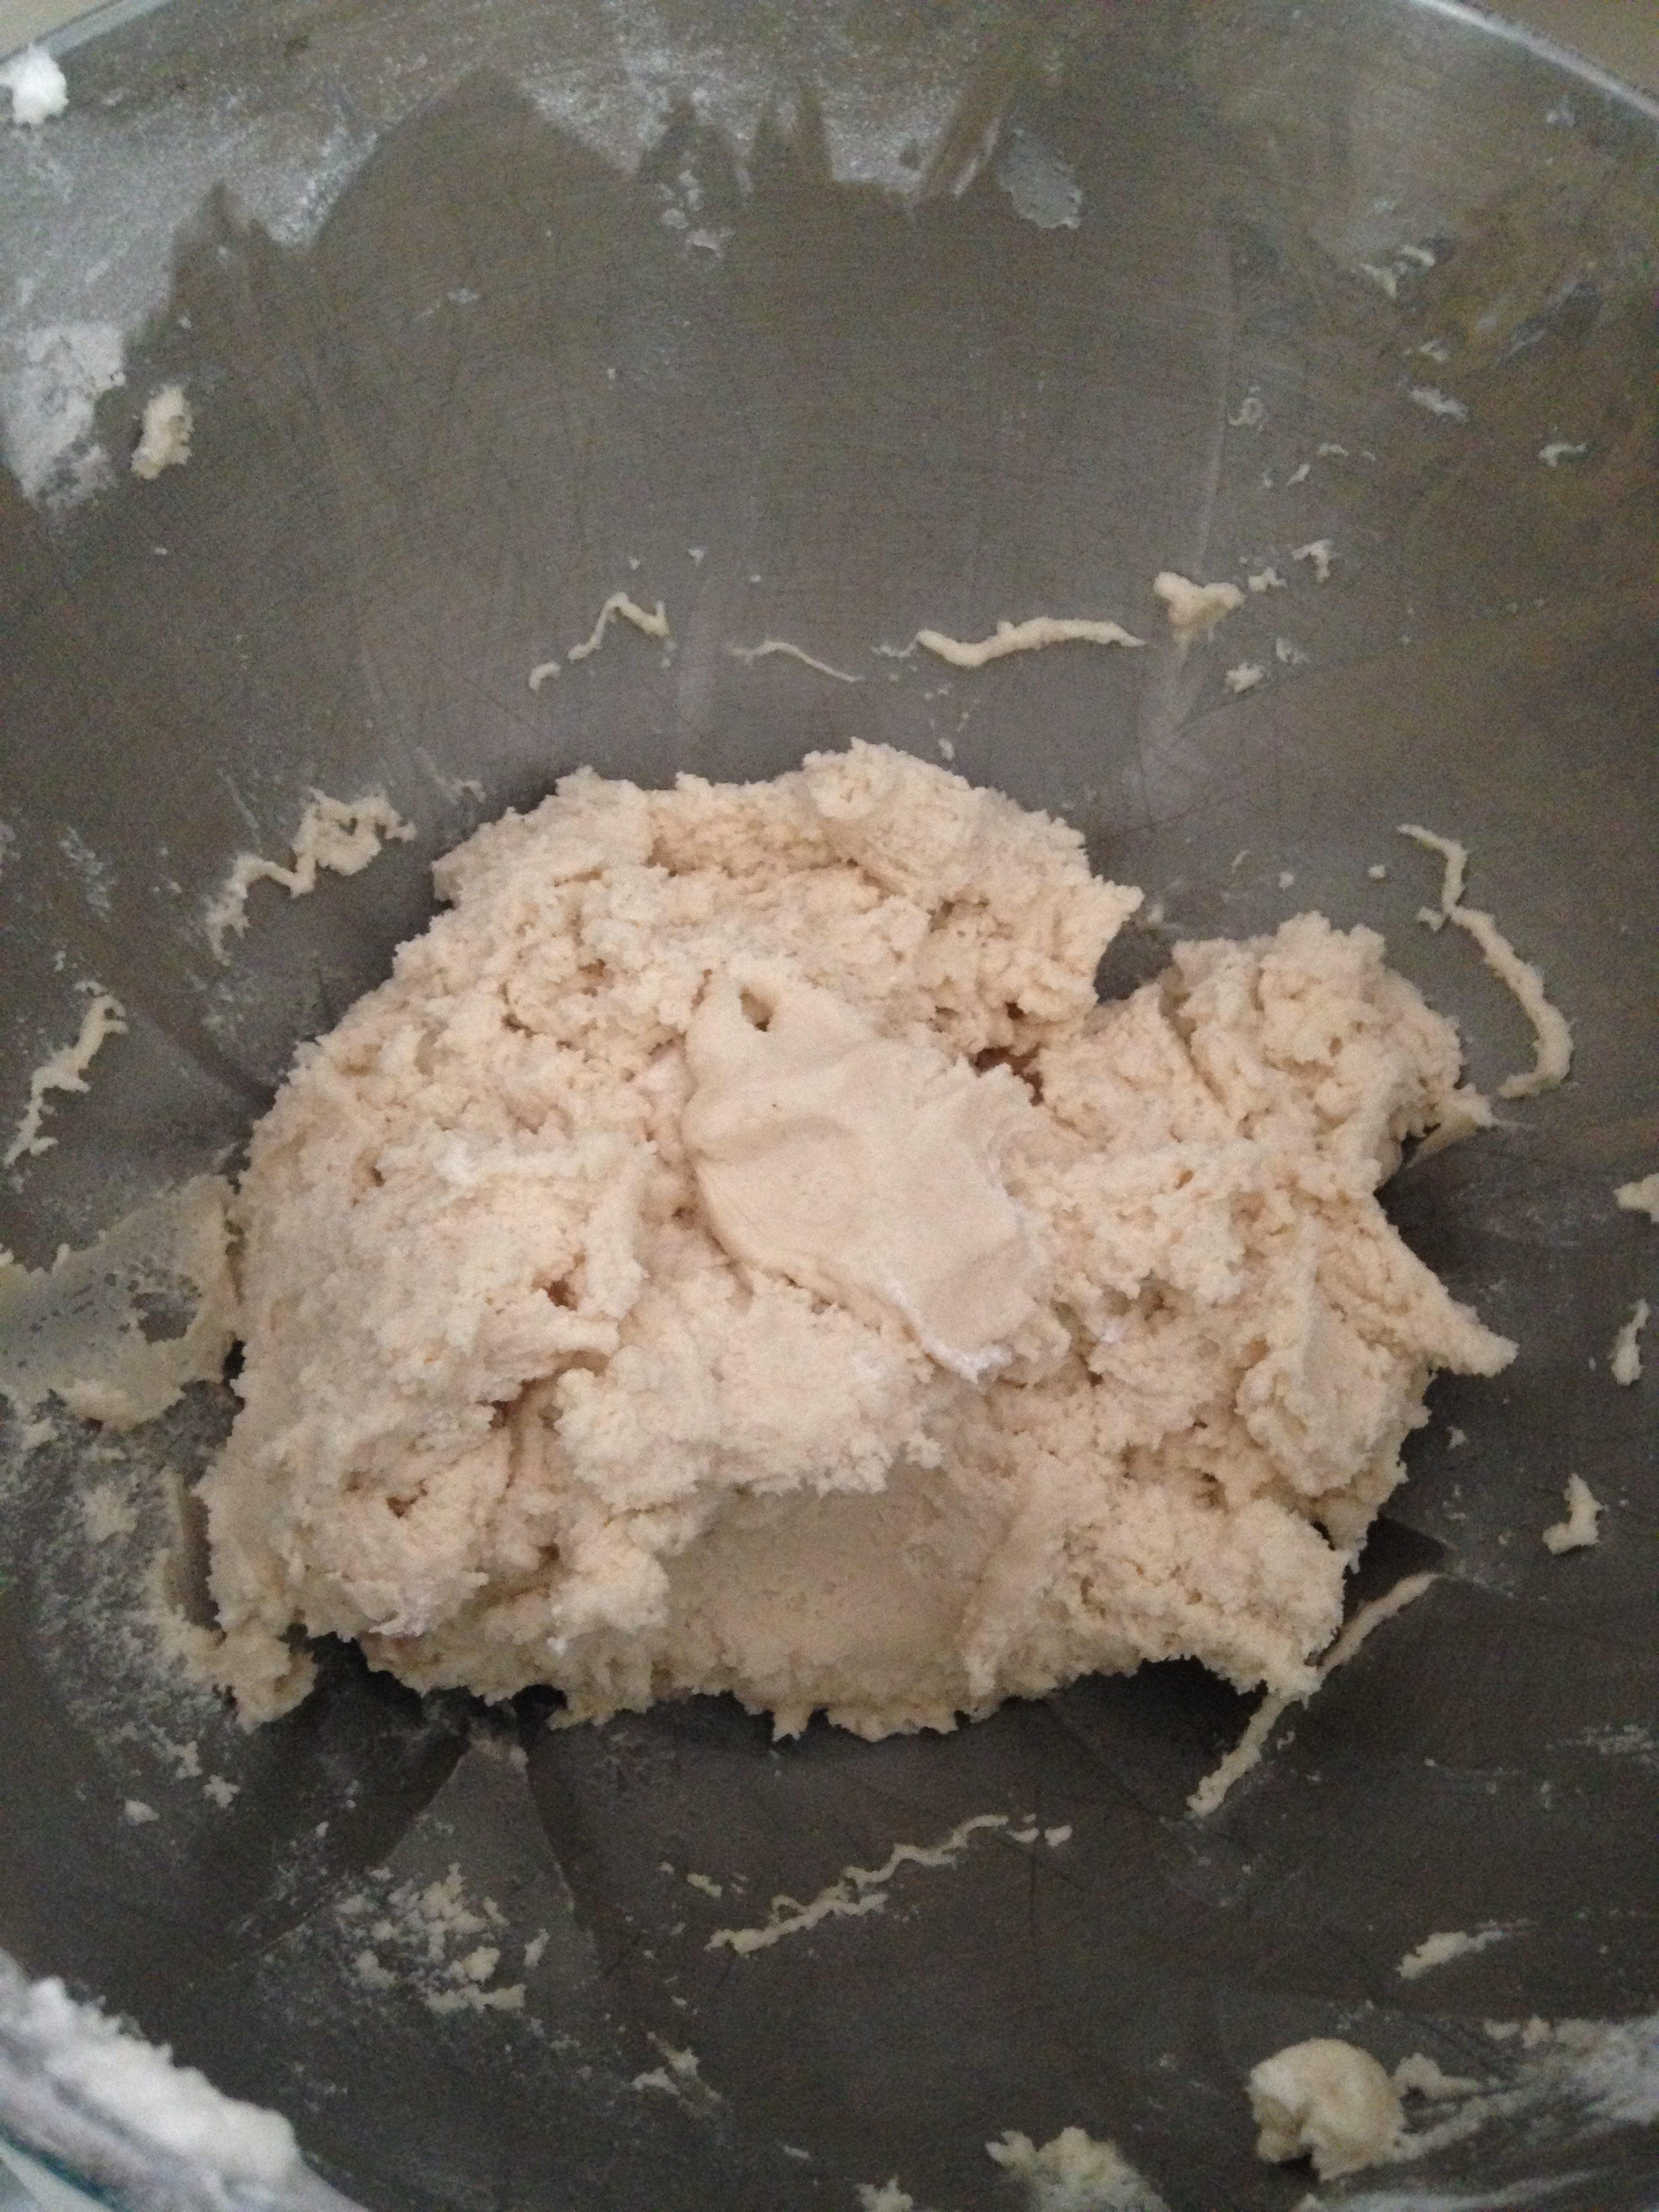
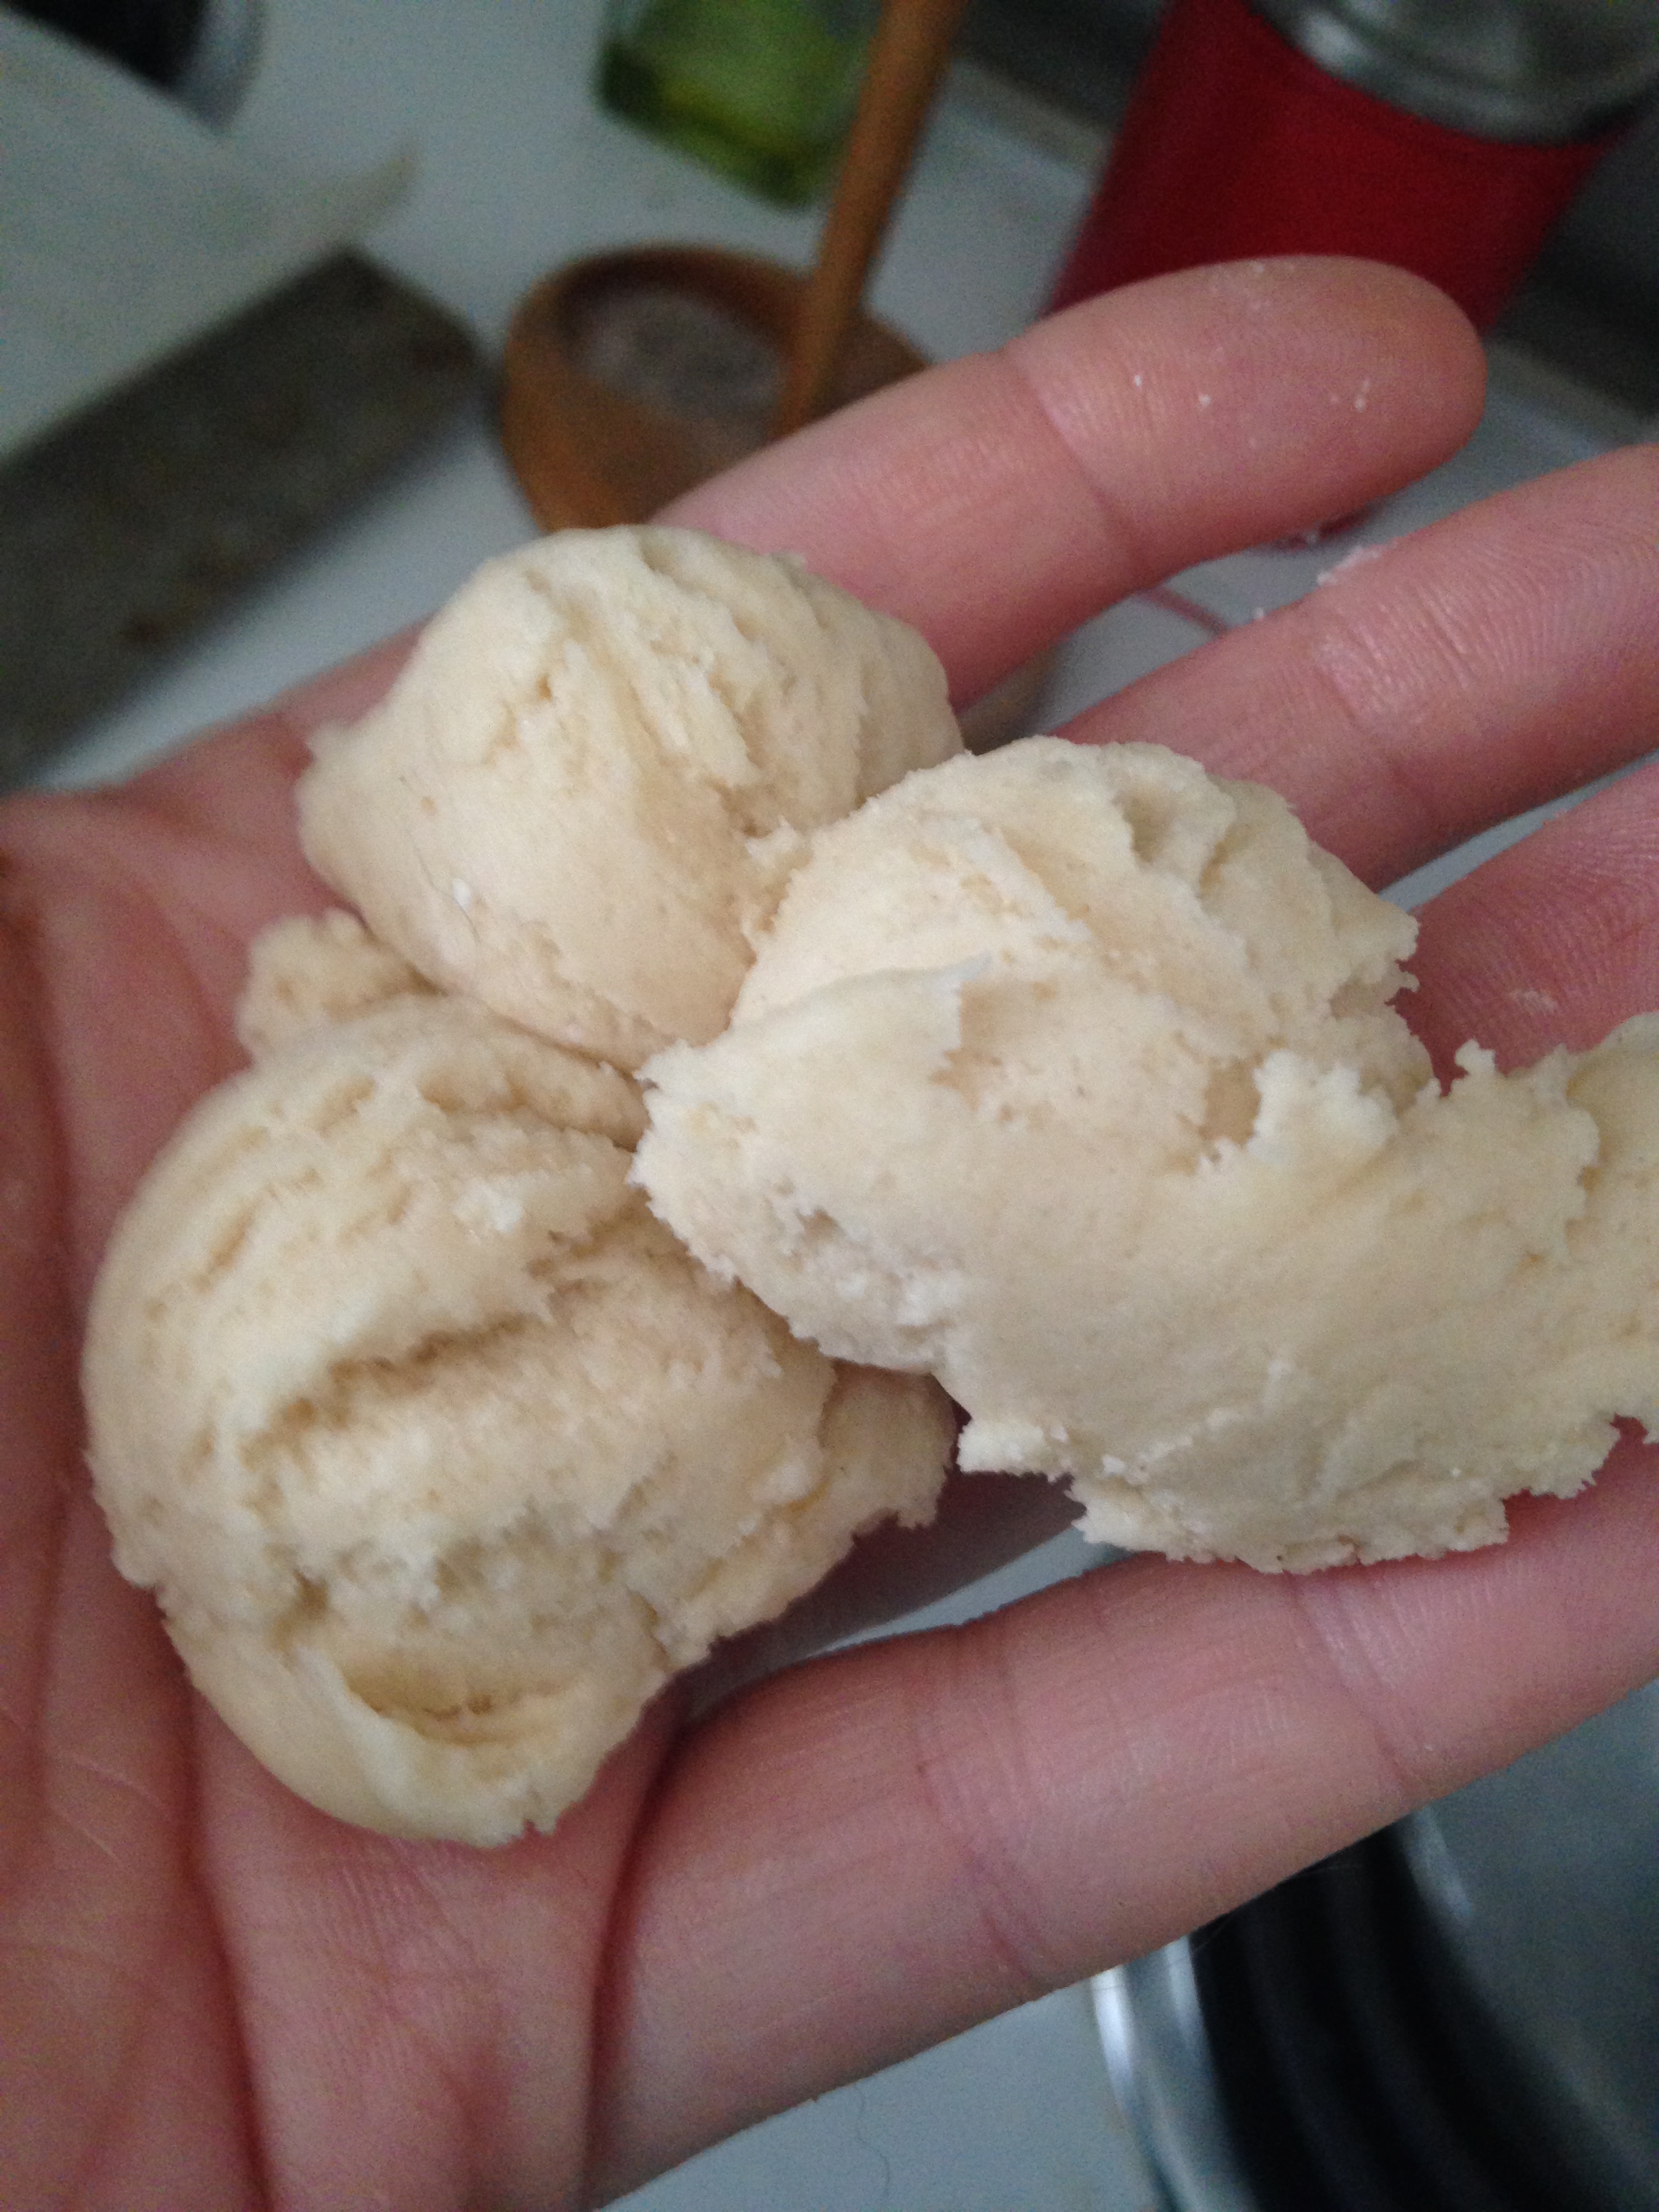
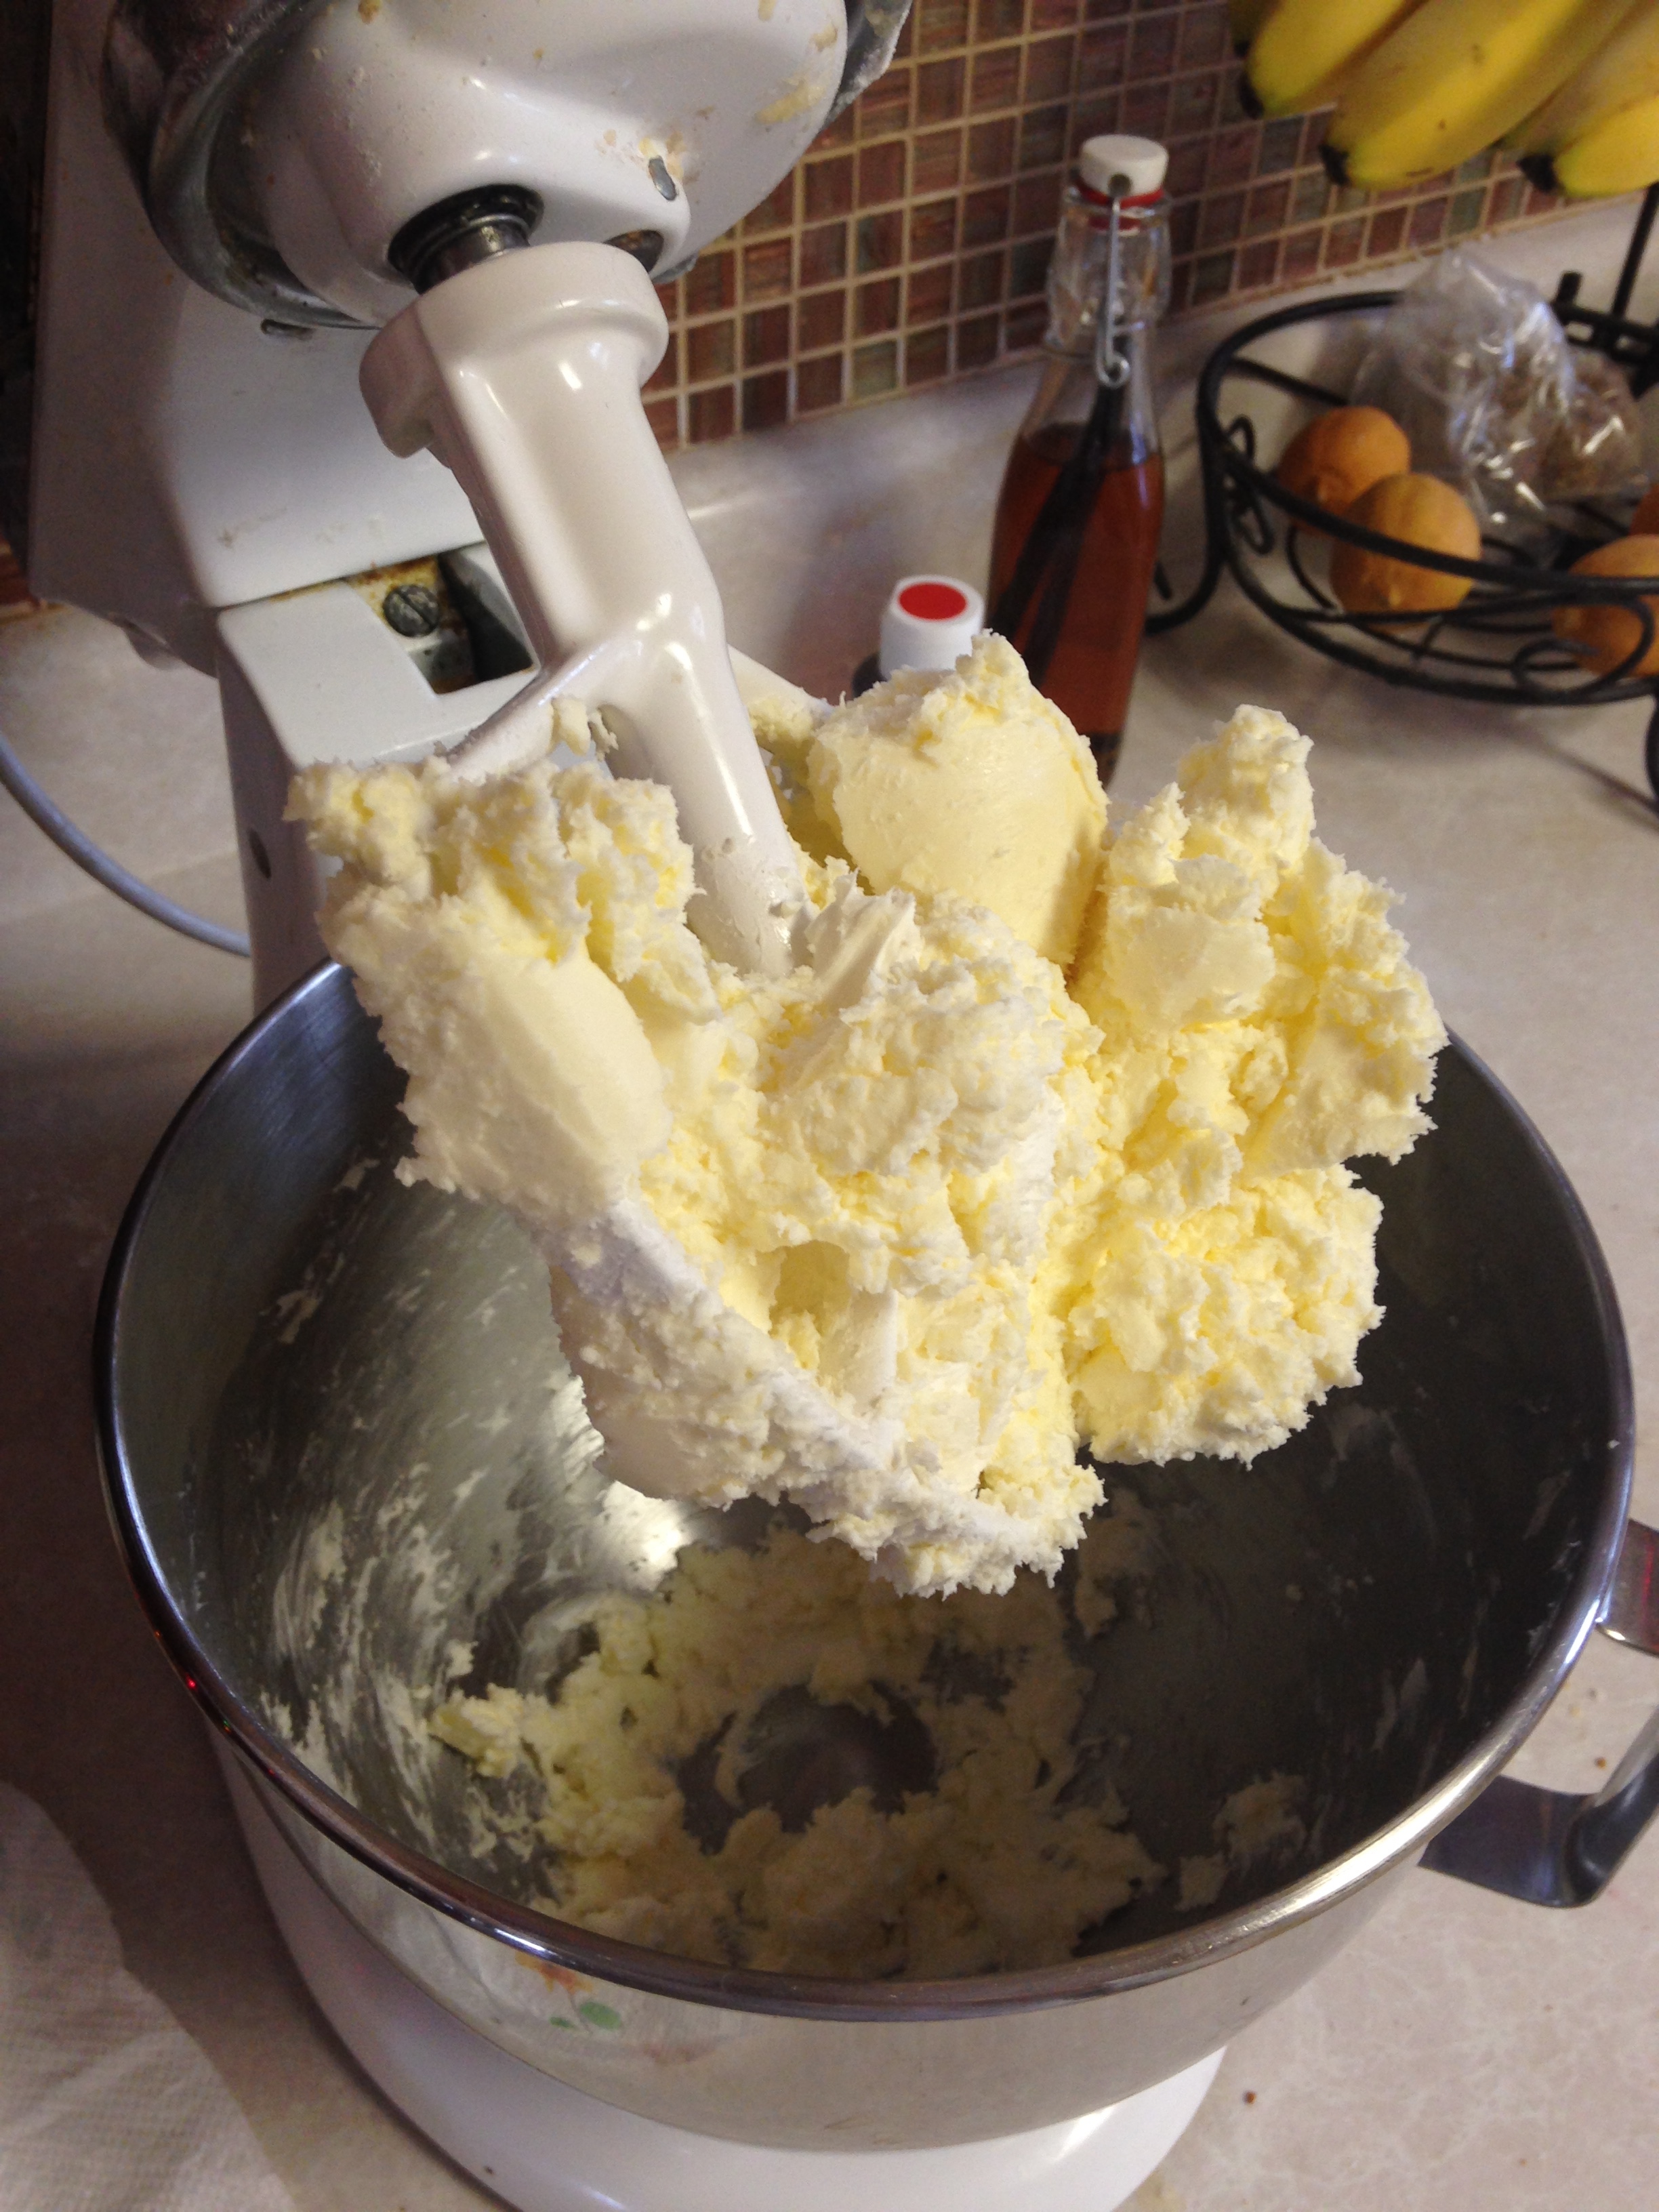
Cream together shortening and sugar, add eggs one at a time and beat well. Add orange juice and mix. Blend in dry ingredients. Drop onto cookie sheet. Bake at 350 for 10 minutes.

Orange Frosting:

6 T Butter                                              2 t grated orange peel

1 lb. bag of powdered sugar                    2 T orange juice

1 1/2 t vanilla

Cream together butter and orange peel; gradually add about half of the sugar, blending well. Beat in orange juice and vanilla. Add enough sugar to make spreading consistency.

December 10: White Velvet Cut-Outs

Standard

I started this recipe last night since it has to chill in the fridge for awhile. I don’t have picture of me mixing together the dough, since it’s pretty basic and I feel like you all have seen enough pictures of flour in my mixing bowl.

So this morning, I took out the dough and went to work. Now that I’m done with school for the semester, I theoretically have time to do cut-outs.

IMG_4354

Instead of my normal bell cookie cutter, I wanted to try something I saw on the internet–triangle trees, cut with just a pizza cutter.

IMG_4355

Worked out pretty well.

IMG_4356

I realized that isosceles triangles look better than equilateral, but since Mr. Harris (my high school geometry teacher) wasn’t here to yell at me about the difference, I just triangle-d in all different ways.

IMG_4357

I baked them as instructed, and went to work on the frosting. Now, online, the Christmas trees were in odd colors. Hey, I’m all about odd colors.

IMG_4363IMG_4360

I did my best to recreate what I saw on the internet. I mean, I could have brought it up, but that would have been no challenge at all.

IMG_4364

But when it came time to do the teal, it got a little messy. So I decided to just do some graffiti frosting drizzle at the end.

IMG_4365

Eh. They’ll do. 🙂

IMG_4368


White Velvet Cut Outs

(from Gooseberry Patch’s Old-Fashioned Christmas Cookies)

1 c. butter, softened                           1 egg yolk

3 oz. cream cheese, softened              1/2 t vanilla

1 c sugar                                          2 1/2 c flour

Cream butter and cream cheese together. Beat in sugar. Add egg yolk and vanilla, then stir in flour. Gather dough in a ball and chill overnight. To prepare, pre heat oven to 350. Rolll dough out to 3/16″ and cut into desired shapes. Bake for 12 minutes or until edges are light brown.

December 8: Peppermint Sugar Cookies with Cream Cheese Frosting

Standard

I bought some starlight mints the other day, and I’ve been itching to use them. (You’ll see why in a minute.)

I pinned these a few days ago because they looked pretty. But the instructions, as I discovered, are written by pretentious cookie snobs who want to make sure you are doing everything exactly right. Dear Control Freaks: You can’t control everything.

IMG_4291

This is my butter/crisco/sugar mix. According the instructions, this is supposed to be pale and fluffy.  (“In the bowl of an electric stand mixer, on medium speed, whip together butter, shortening and sugar until very pale and fluffy, about 4 minutes, scrapping down the sides of the bowl as needed.”) Um, it’s crisco and butter and sugar. Unless I’m sacrificing a goat in there, it’s going to be pale and fluffy no matter what. (Also? You spelled “scraping” wrong.)

I added the rest of my ingredients and then was met with this bossy instruction:

“Transfer dough to an airtight container and refrigerate 2 hours. Preheat oven to 375 during the last 10 minutes of refrigeration.”

Don’t tell me what to do.

IMG_4292

My mixer bowl and plastic wrap worked just fine, thank you.

When my chilling time was done, I scooped three balls into my hand with my 1T scoop because it calls for 3T. Math.

IMG_4293

And then…”Place dough ball on a lightly floured surface, sprinkle top lightly with flour, then using something flat and smooth (such as the storage container lid), press and evenly flatten dough to 1/2″ thick. Transfer flattened dough to a Silpat or parchment paper lined baking sheet and repeat process with remaining dough (you’ll have to use 2 cookie sheets).”

I have time and inclination for none of this.

IMG_4294

Worked just fine.

While my slummed-down cookies were baking, I mixed together the frosting.

IMG_4295

And I don’t care who you are: powdered sugar is going to get you.

IMG_4297

After all of this, my starlight mints were waiting.

IMG_4298

Hang on.

IMG_4299

That’s better.

Yes, I smash them to smithereens while in the wrappers and still in the bag. I find it controls the carnage better. And then you just unwrapped the wrappers and fill your bowl with mint bits.

IMG_4300

It’s such a good stress reliever.

IMG_4301

Cookies cooled and frosted, and decorated with the fruits of my labor.

IMG_4304

Peppermint Sugar Cookies with Cream Cheese Frosting

Prep Time: 25 minutes

Cook Time: 11 minutes

Yield: 15 bakery size cookies

Ingredients

    • 2 1/2 cups cake flour, plus more for dusting work surface
    • 2 tsp cornstarch
    • 1 1/2 tsp baking powder
    • 1/2 tsp salt
    • 1/2 cup unsalted butter, at room temperature
    • 1/4 cup all vegetable shortening (unflavored), at room temperature
    • 1 cup granulated sugar
    • 1 large egg
    • 1 large egg white
    • 2 tsp vanilla extract
    • 1/2 tsp peppermint extract
    • Crushed candy canes, for topping
Peppermint Cream Cheese Frosting
  • 4 oz cream cheese, softened
  • 4 Tbsp unsalted butter
  • 1/2 tsp peppermint extract
  • 2 1/2 cups powdered sugar

Directions

  • Sift flour, cornstarch, baking powder and salt into a large bowl, then whisk it just a few times, set aside. In the bowl of an electric stand mixer, on medium speed, whip together butter, shortening and sugar until very pale and fluffy, about 4 minutes, scrapping down the sides of the bowl as needed. Add in egg and mix until combine, then add egg white, vanilla and peppermint extract and mix until combine. With mixer running, slowly add in dry ingredients and mix just until combine. Transfer dough to an airtight container and refrigerate 2 hours. Preheat oven to 375 during the last 10 minutes of refrigeration.
  • Scoop dough out about 3 Tbsp at a time and roll into a ball. Place dough ball on a lightly floured surface, sprinkle top lightly with flour, then using something flat and smooth (such as the storage container lid), press and evenly flatten dough to 1/2″ thick. Transfer flattened dough to a Silpat or parchment paper lined baking sheet and repeat process with remaining dough (you’ll have to use 2 cookie sheets). Bake in preheated oven 9 – 11 minutes. Allow to cool 5 minutes on baking sheet before transferring to a wire rack to cool. Cool completely then frost with Cream Cheese Frosting and sprinkle with crushed candy canes.
  • For the frosting:
  • In the bowl of an electric stand mixer fitted with the paddle attachment, whip together cream cheese and butter until pale and fluffy. Add peppermint extract and powdered sugar and mix until pale and fluffy.

December 5: Frosted Rum Mounds

Standard

*Note: I forgot the official name of these and was about to write down “Rum Piles.”

In honor of the super awesome retro Christmas party I’m missing tonight (darn 1200 miles), I made a retro cookie from a retro book, given to me by my retro friend, Christina.

IMG_0598

So classy!

Let’s travel back in time to 1960, where smoking is still chic and healthy, the outfits are classy, and the world spelled cookie as “cooky.”

IMG_0599

It’s a pretty straight forward sugar cookie recipe. When it came time to flatten my balls (real mature, guys), I was out of my 1960 jelly jars, so I had to improvise.

IMG_4234

Turned out pretty well in the oven, so I got started on the frosting. I had to go to my favorite part of the pantry.

IMG_4238

You’re supposed to throw some nuts on top at the end, but I didn’t have any, so I used the flashiest, most carcinogen-laden sprinkles I could find. Because, if Mad Men taught me anything, it’s that the cancer doesn’t matter, as long as you look good. (I’m looking at you, Betty.)

IMG_4241

(Also good to note: eh, not my favorite. Like many things from 1960, tastes have changed.)

IMG_4232


December 9: Peppermint Meltaways

Standard

These were a big hit last year, and because I pander to the general public for attention, I decided I had to make them again.

IMG_0744

And the mess begins. Because this recipe calls for more corn starch than I used to use in battling my kids’ diaper rash, it got a little out of hand. And cup. And counter. I’ve clean it all up three times now, and I’m still slipping on the floor where it happened.

IMG_0745

I added some green Wilton food coloring to the batter this year, because I think you all know by now that my policy is “the more artificial colors there are, the better the cookies will taste.” This is the Kelly Green, and I think it turned out really well.

IMG_0746

With my handy-dandy (sorry, left-over from the kids’ Blue’s Clues days) cookie scooper, I doled out a dozen slippery spheres. And Hoover, my middle guy, decided it was his job to lick everything once I was done.

Hoover, making sure no leftover batter went to waste.

Hoover, making sure no leftover batter went to waste.

Let the cookies cool on a rack while you make up the frosting.

Gandalf kept an eye on these for me. (Don't worry, Mom, he didn't go on the table.)

Gandalf kept an eye on these for me. (Don’t worry, Mom, he didn’t go on the table.)

I used the recipe for the frosting, and had to actually make it twice because I ran out half-way through. I found it a little thick, so keep that in mind. And, of course, more food coloring. This time, it was from AmeriColor and it’s their “Super Red.” I wanted Wilton to go the distance for me, and in all colors but red they have. I needed something to put Santa to shame this year, and I’ve found it.

IMG_0751

I threw it (again) through my pastry bag with a big star tip and just plopped a big dollop on the tops of all of these cookies. I didn’t think about it at the time, but they have a certain rose-resembelance now.

IMG_0753

The fun part was crushing the candy canes. I put these guys in a ziploc bag–still with the wrappers on–and closed it. Then I took my super-heavy Pampered Chef meat tenderizer and crushed the hell out of them.

IMG_0754 IMG_0755

Side note: I made these last year the same way. Since then, I have noticed a notch missing from my stove. I could not figure out how this happened. Well, as I pounded this years brave peppermint soldiers, I figured it out. I must have hit the side of my stove with the meat tenderizer last year, because I did it again this year. So now I have a bigger notch missing from my stove, but fewer questions as to why.

IMG_0756

I sprinkled the candy cane ashes over my cookies as a garnish and boxed them up. These will certainly be the first cookies my kids devour in full this year.

IMG_0757 IMG_0760

Peppermint Meltaways

(from tasteofhome.com)

Ingredients

  • 1 cup butter, softened
  • 1/2 cup confectioners’ sugar
  • 1/2 teaspoon peppermint extract
  • 1-1/4 cups all-purpose flour
  • 1/2 cup cornstarch
  • FROSTING:
  • 2 tablespoons butter, softened
  • 1-1/2 cups confectioners’ sugar
  • 2 tablespoons 2% milk
  • 1/4 teaspoon peppermint extract
  • 2 to 3 drops red food coloring, optional
  • 1/2 cup crushed peppermint candies

Directions

In a small bowl, cream butter and confectioners’ sugar until light and fluffy. Beat in extract. Combine flour and cornstarch; gradually add to creamed mixture and mix well.

Shape into 1-in. balls. Place 2 in. apart on ungreased baking sheets.Bake at 350° for 10-12 minutes or until bottoms are lightly browned. Remove to wire racks to cool.

In a small bowl, beat butter until fluffy. Add the confectioners’sugar, milk, extract and, if desired, food coloring; beat until smooth. Spread over cooled cookies; sprinkle with crushed candies.

Store in an airtight container. Yield: 3-1/2 dozen.

Cookies today: 41

Cookies this year: 376

December 7: White Velvet Cut-Outs

Standard

A long time ago, in an apartment far, far away, I made my first cut-out cookie as an adult. Disgruntled Husband and I were newly married his oma (German for “Grandmother”) gave me a cookie cutter.

IMG_0638

That brought my count up to one. When Christmas rolled around, I brought out the cookie cookbook from my teens and made cut-out cookies with my one cookie cutter.

IMG_0637

I didn’t make these last year and I found that I missed them. The recipe is super simple, but makes for a very tasty cookie. Instead of narrating the entire process, I think I’ll just use the pictures I took today, along with the recipe at the end.

(Oh, and the icing method and recipe can be found on my pinterest board, or on the sole November 2014 post on this very blog.)

IMG_0633 IMG_0634 IMG_0639 IMG_0641 IMG_0642 IMG_0643 IMG_0644 IMG_0645 IMG_0646 IMG_0647

White Velvet Cut Outs

(from Gooseberry Patch’s Old-Fashioned Christmas Cookies)

1 c. butter, softened                           1 egg yolk

3 oz. cream cheese, softened              1/2 t vanilla

1 c sugar                                          2 1/2 c flour

Cream butter and cream cheese together. Beat in sugar. Add egg yolk and vanilla, then stir in flour. Gather dough in a ball and chill overnight. To prepare, pre heat oven to 350. Rolll dough out to 3/16″ and cut into desired shapes. Bake for 12 minutes or until edges are light brown.

Cookies today: 37

Cookies this year: 318