Thanks to ALL of your support over the years, 24 Days of Cookies is now out on Amazon!
Here you will find some fan favorites, some of my favorites, stories, photos, messes, and more!
Christmas Cookies are a love language. This book is has been 20 years in the making, as I started doing this in December of 2004. (Though didn’t make it here for the masses until about 10 years later).
24 Days of Cookies is available on Amazon in hard cover and ebook editions.
These are the best damn sugar cookies you’ll ever have.
What makes me so confident? I’ve had a lot of cookies. I’ve run a cookie blog for 8 years. I’m not exactly the 120 lb. daughter my mother always wanted, and I can tell you, I didn’t get this way eating salads. I’ve conducted sugar cookie research I didn’t even know I was doing, since I was 8 years-old.
As far as Christmas cookies go, they are number 1. Fight me bro. What makes them so good are the combination of both vanilla and almond extracts.
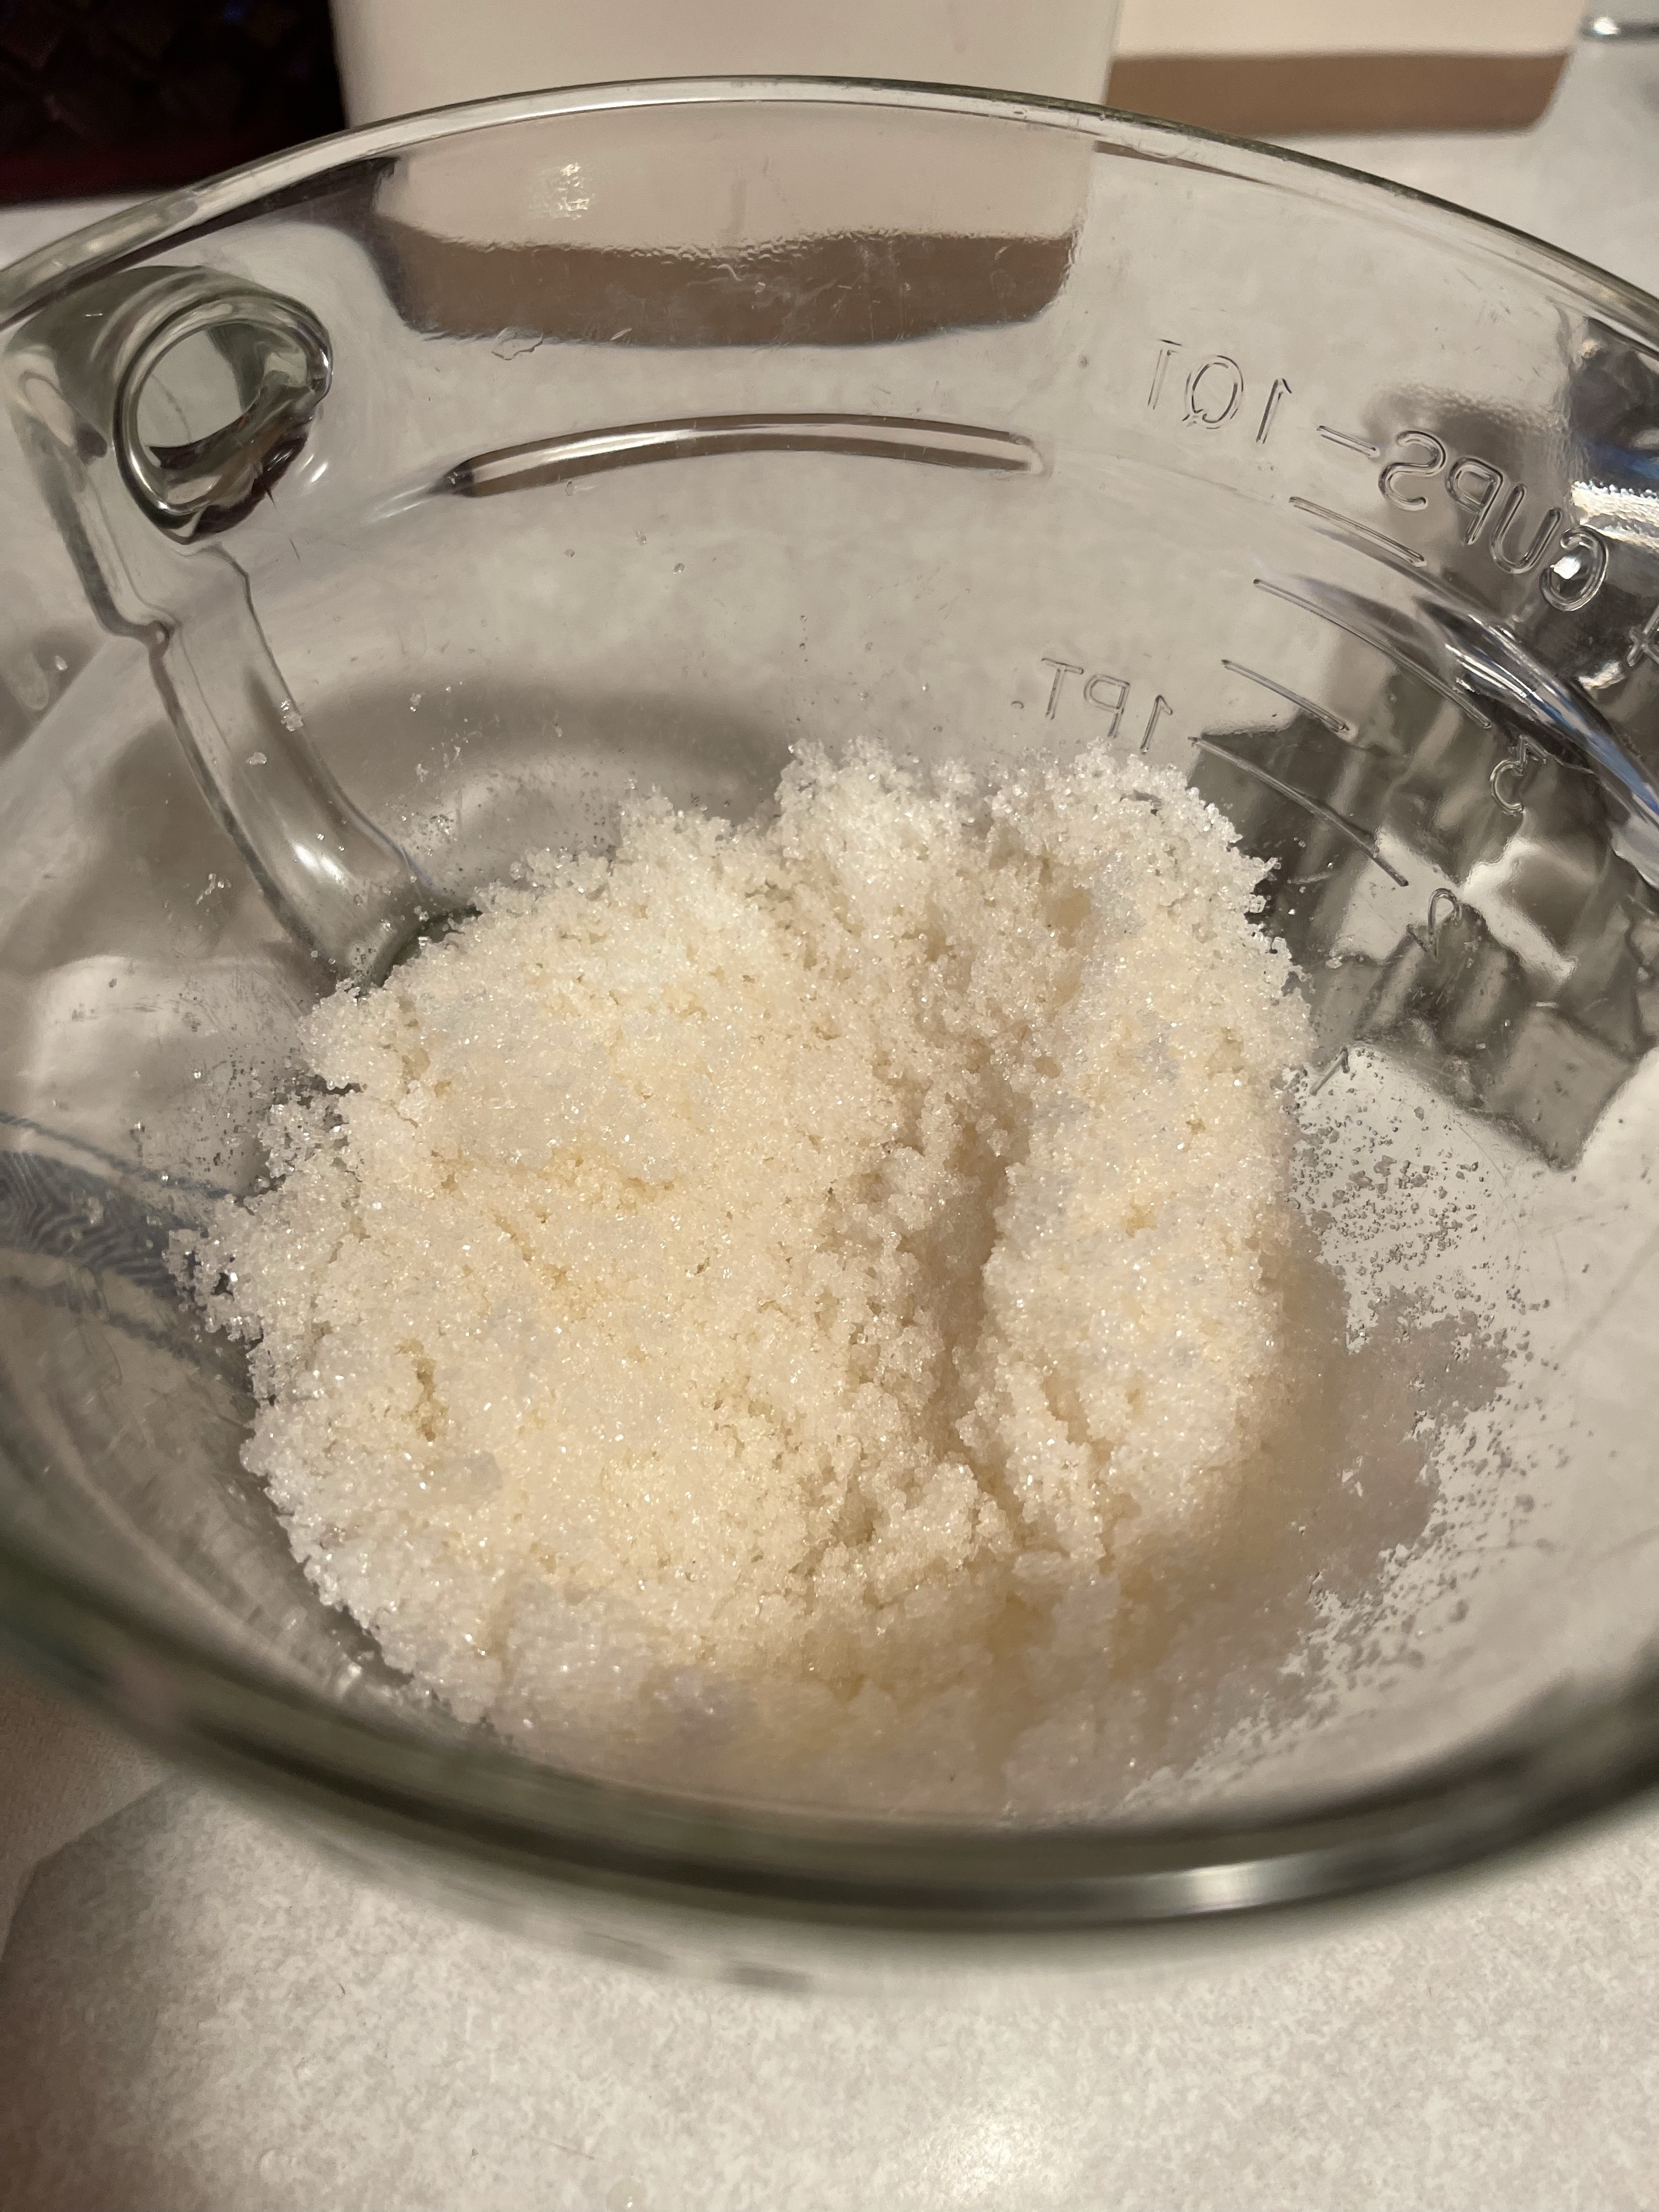
Jessica’s Best Sugar Cookies
1 1/2 c. sifted powdered sugar
1 c. butter
1 egg
1 t. vanilla
1/2 t. almond extract
2 1/2 c. flour
1 t. baking soda
1 t. cream of tartar
Directions
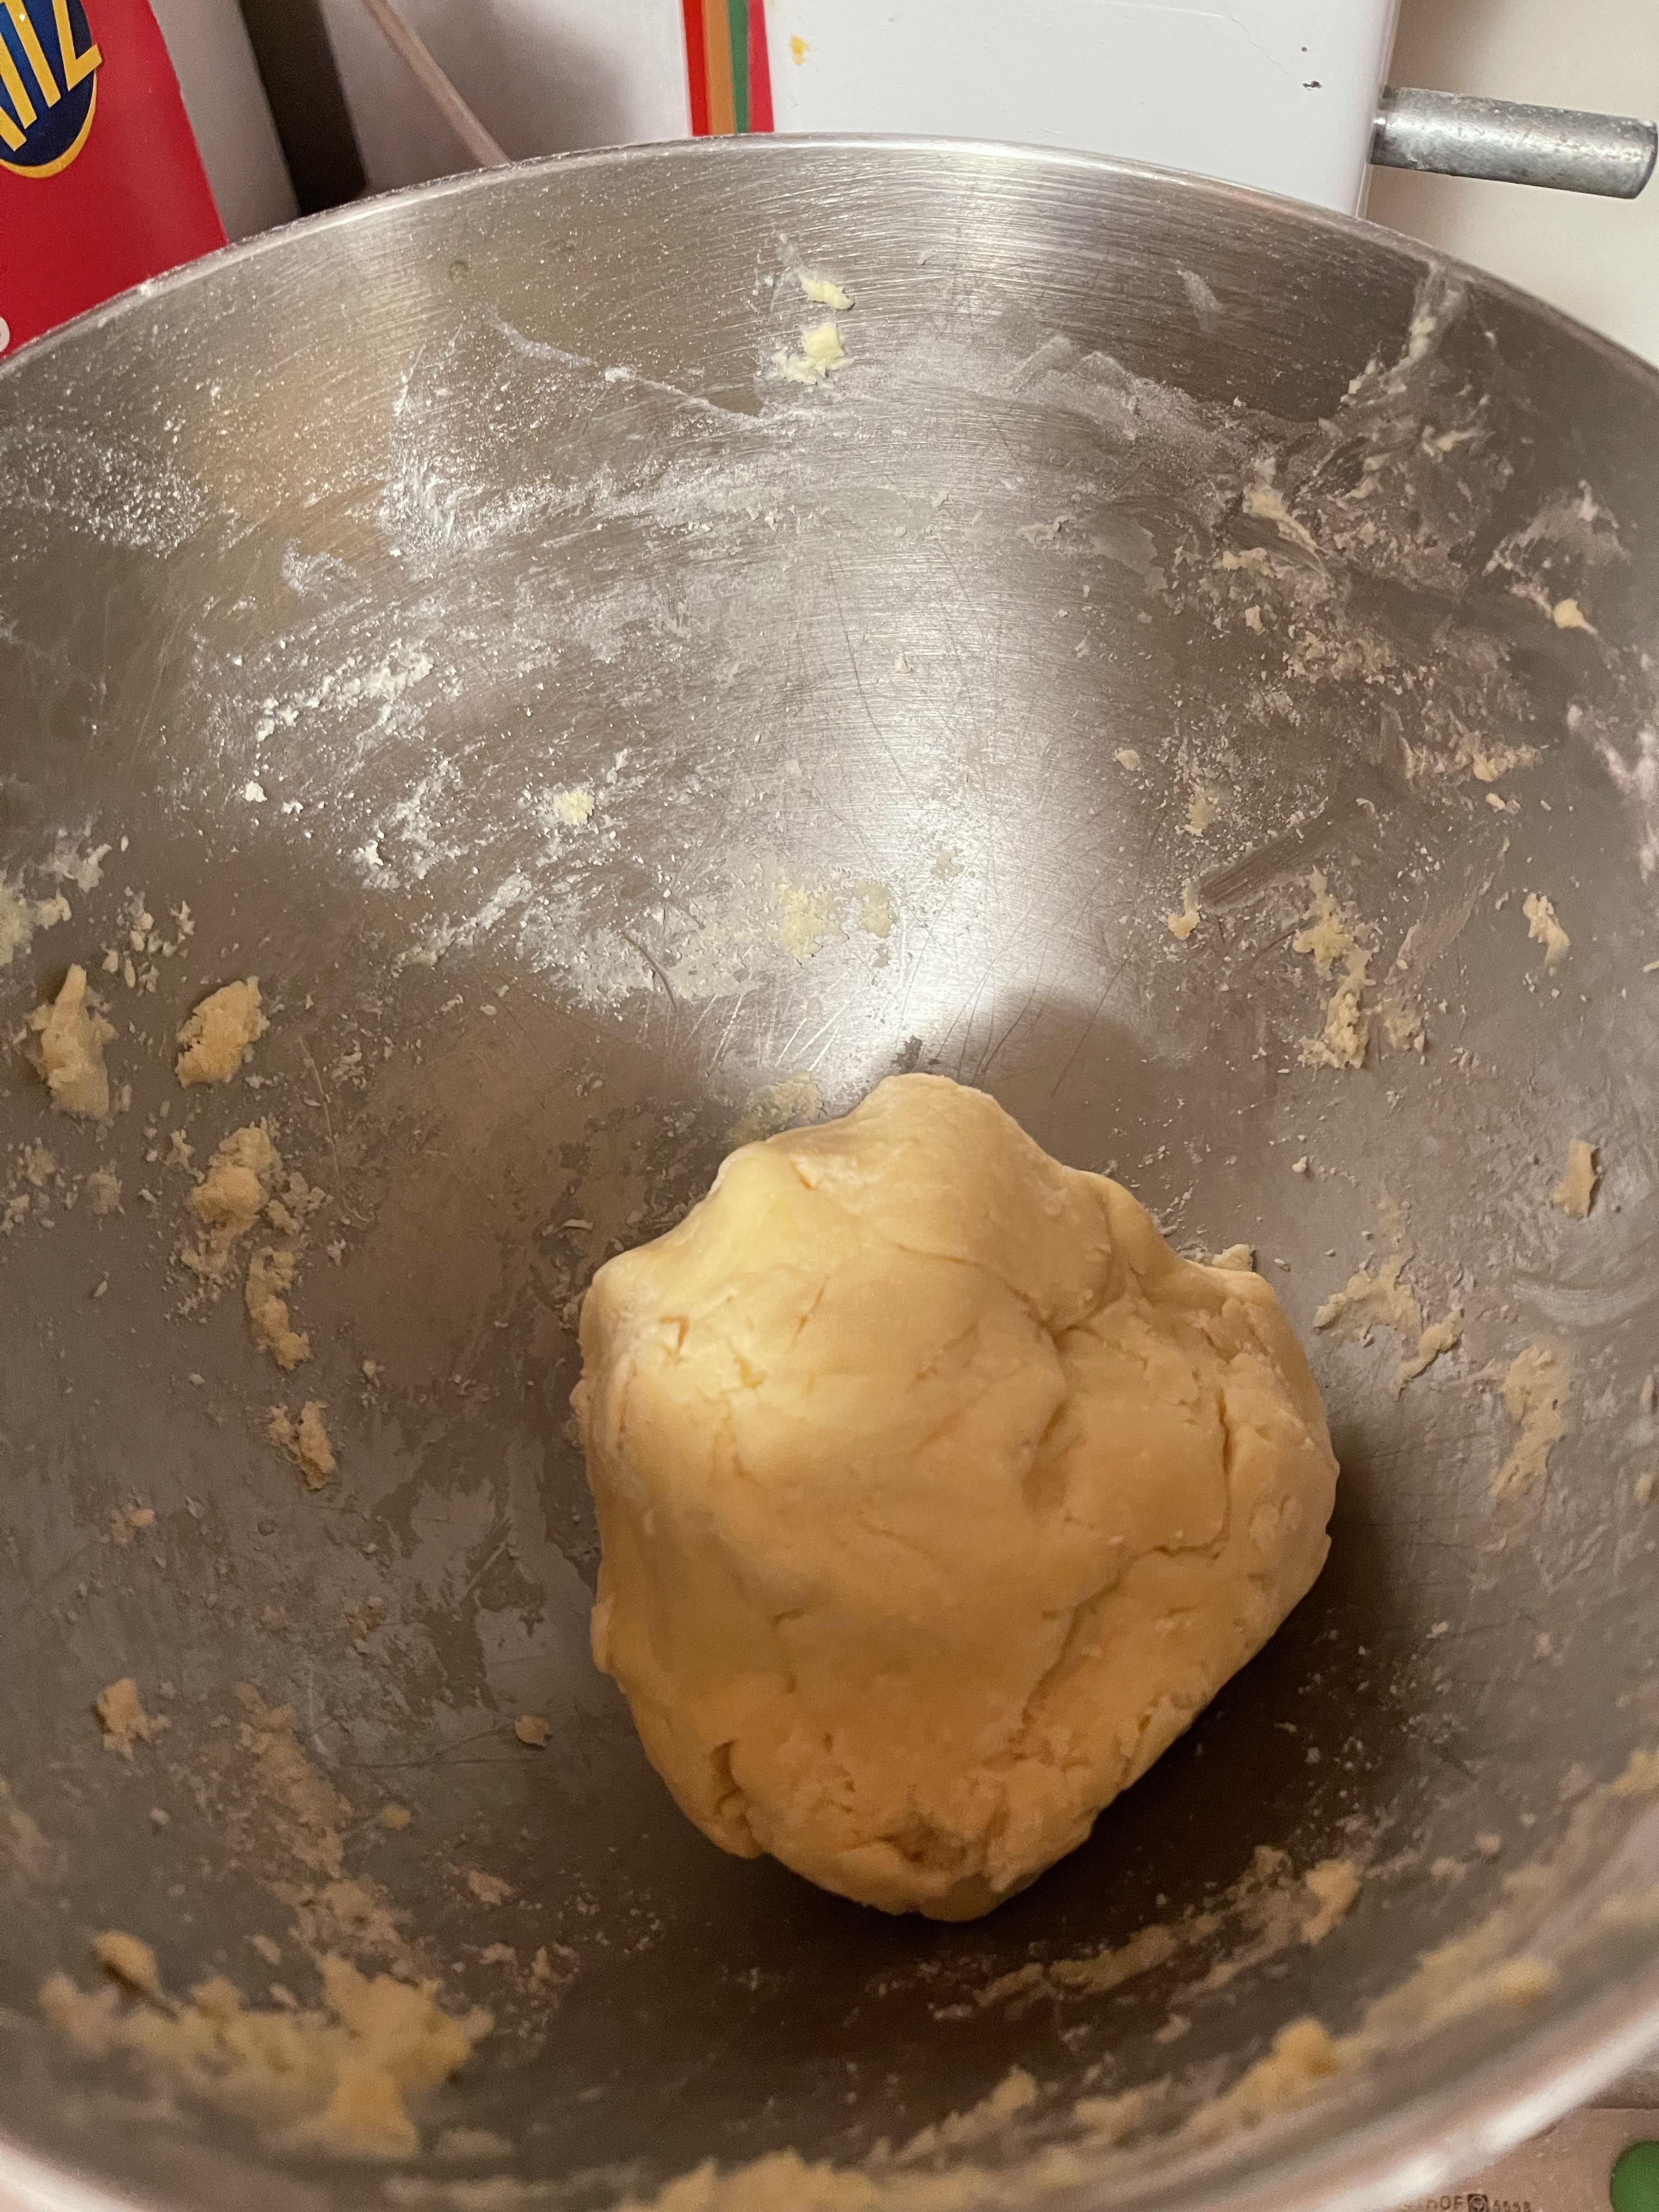
1. Cream butter and sugar. Mix in egg and extracts. Blend dry ingredients and stir in.
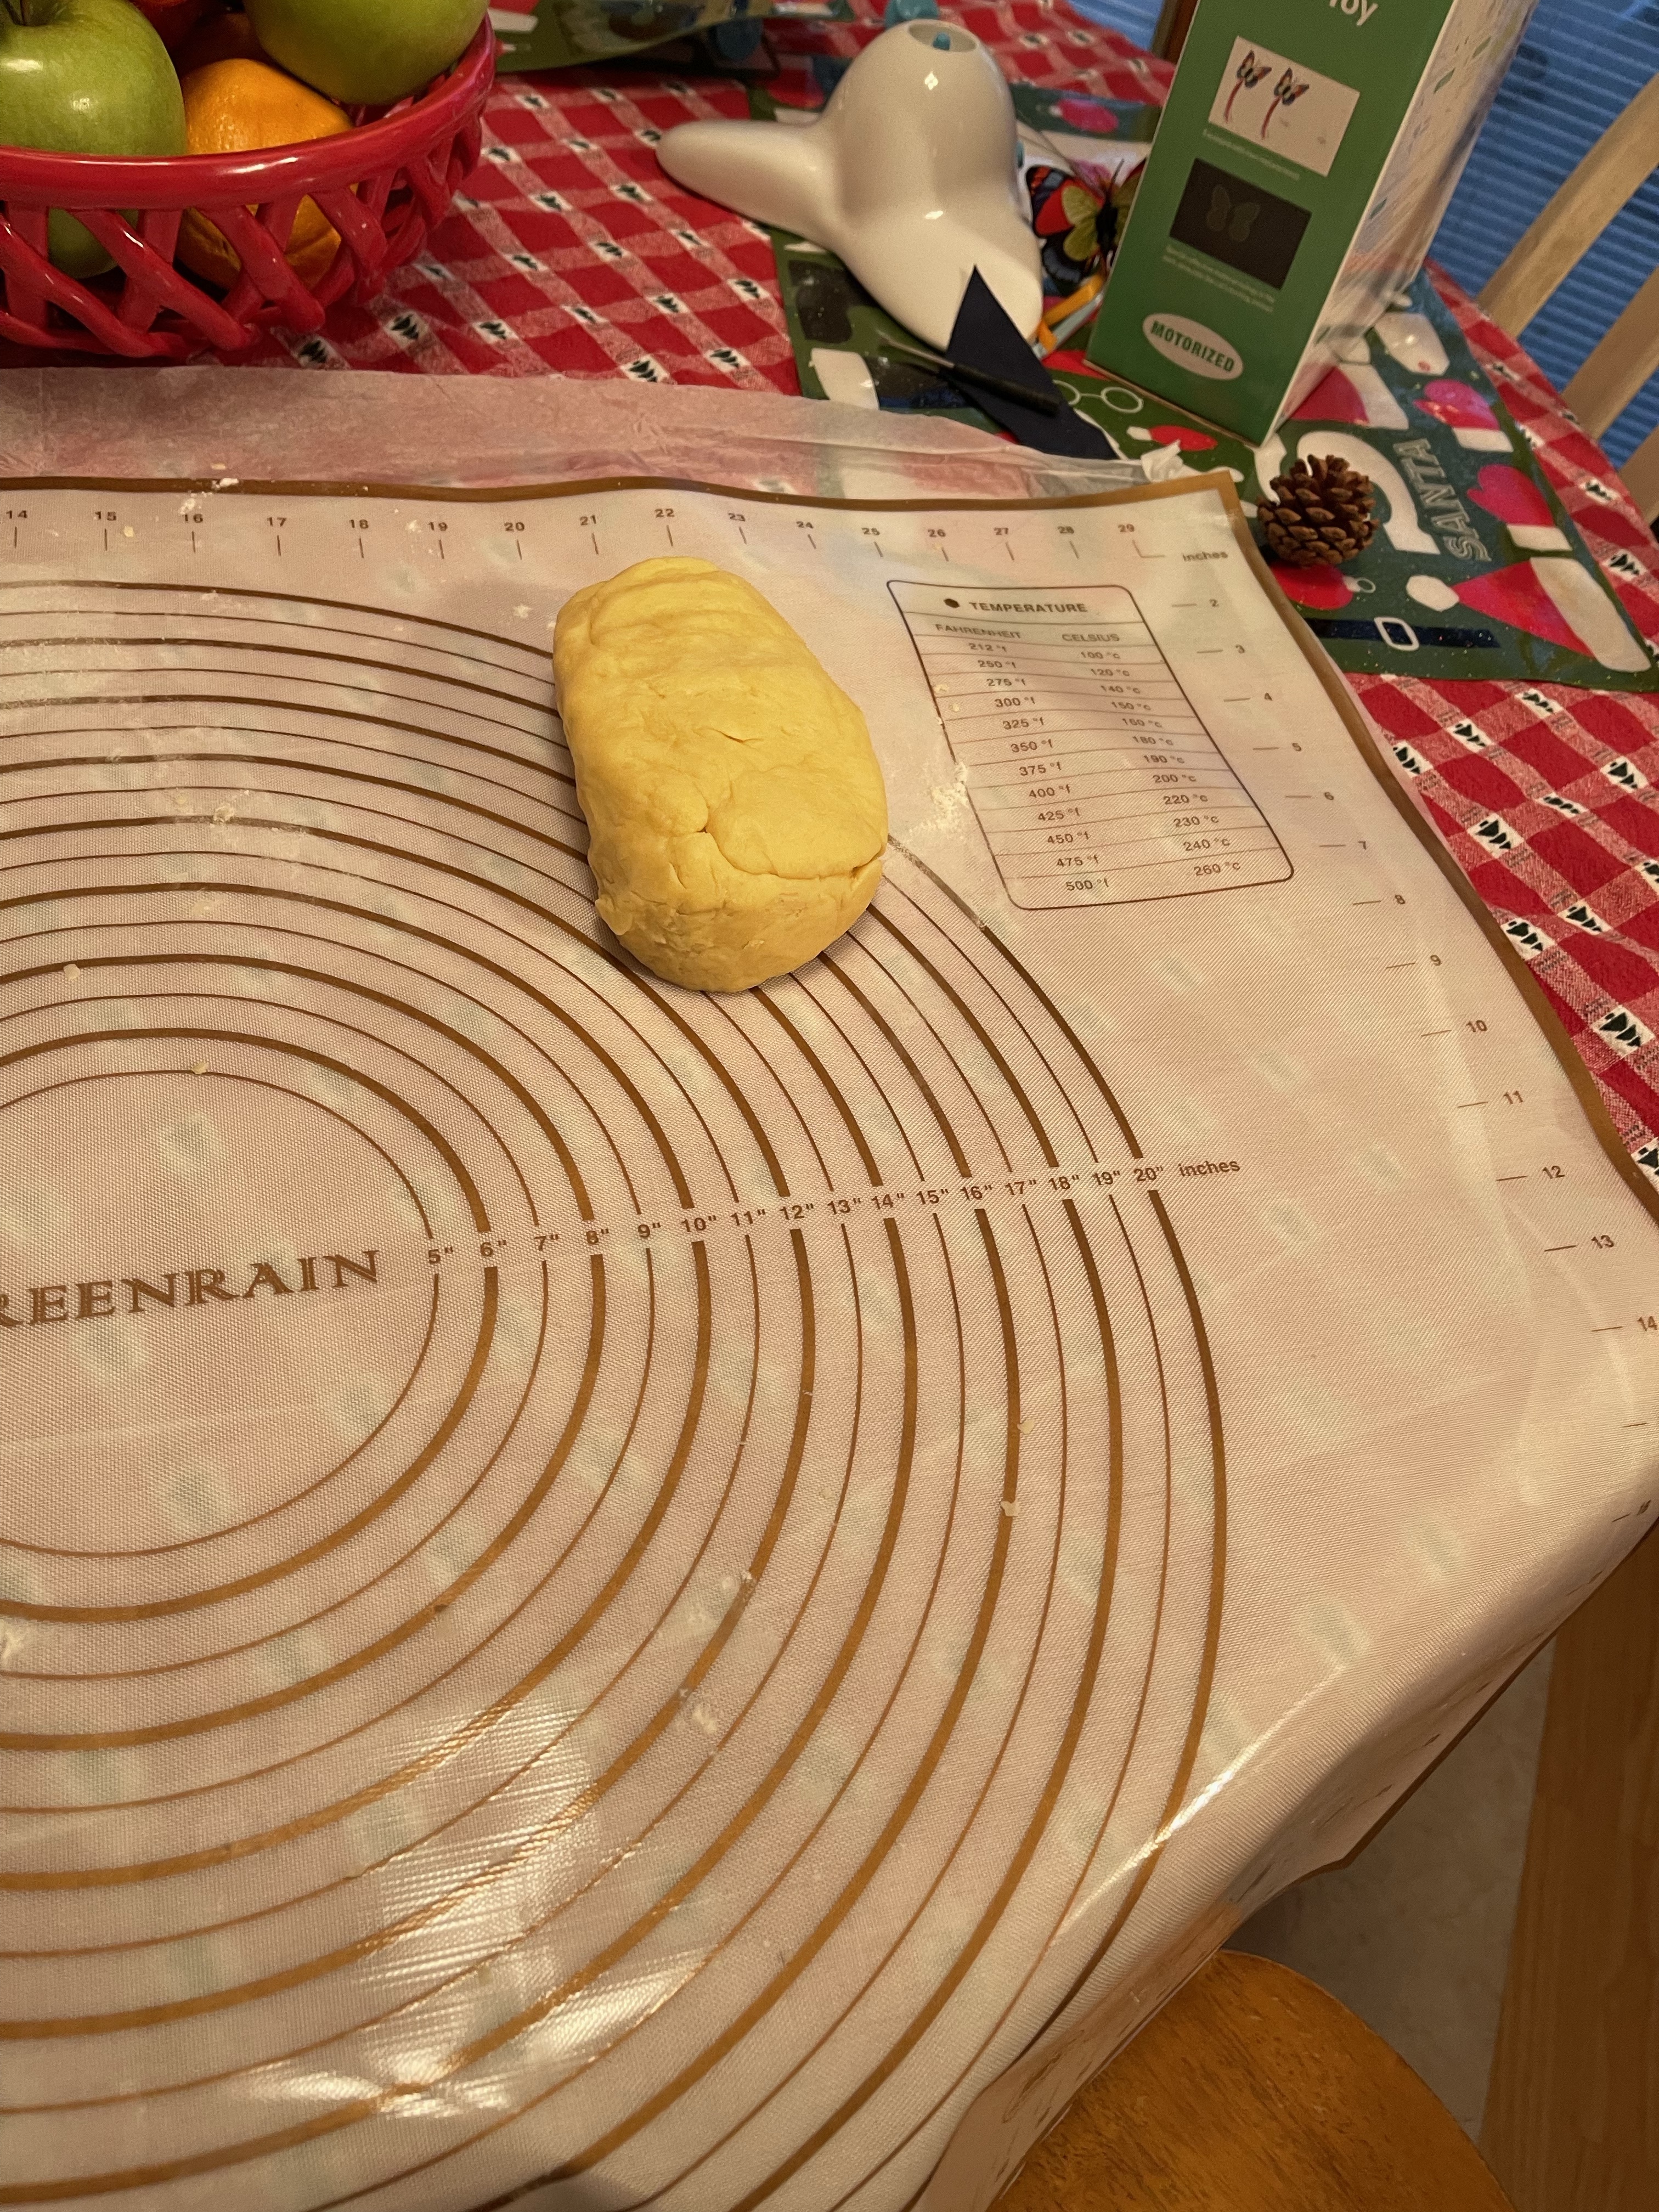
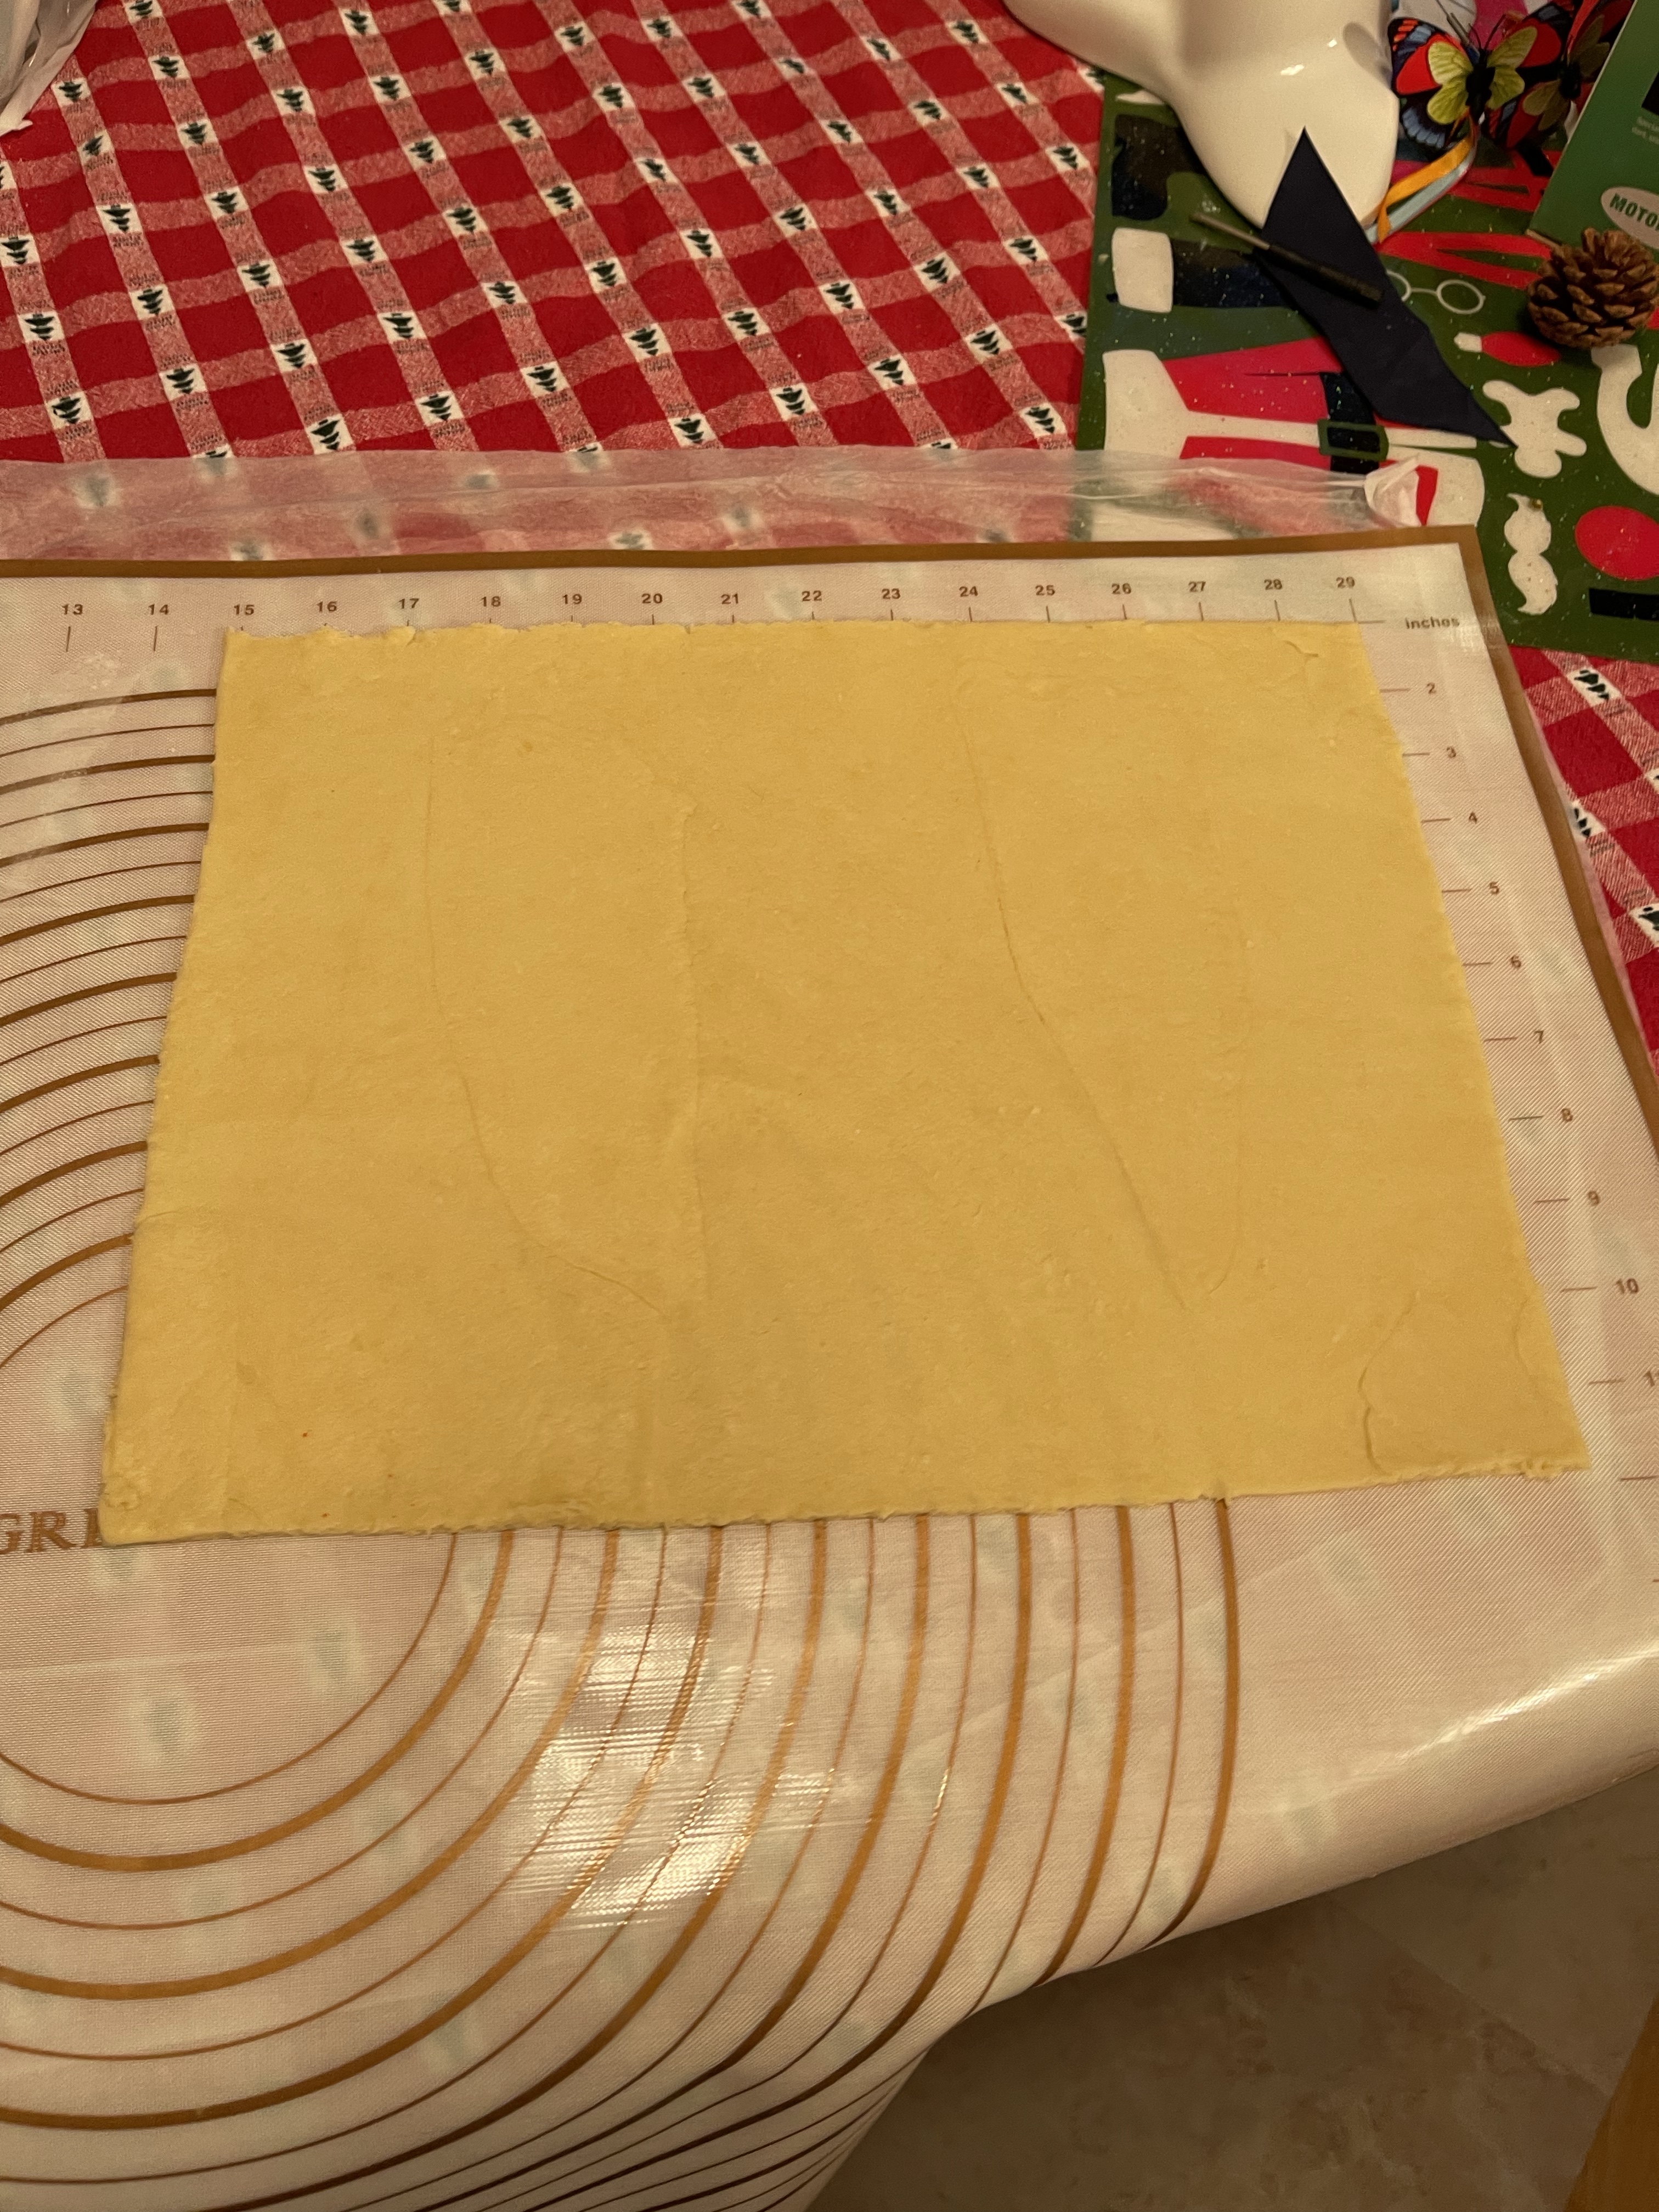
2. Refrigerate 2-3 hours. Divide dough in half and roll out. Cut out desired shapes.
3. Bake at 375 for 7-8 minutes.
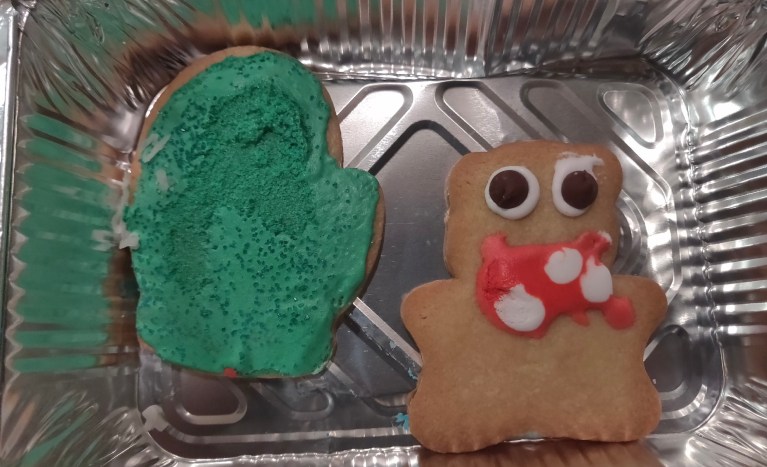
My little buddy Emmett again helped me with these cookies, since my own kids are large and old and mostly uninterested in cookie decorating these days. Emmett’s dad is one of my very best friends, and has been for 30 years. So when I need an expert kid cookie-decorator, Emmett is my go-to kid.
Emmett did a great job with decorating and saying please and thank yiu and also showing off his reading skills by taking his turn reading Christmas trivia to us.
I made these before Emmett and his chauffeur, I mean Dad, came over, just so we’d have more time to decorate them.
The day Emmett and his dad come over to do Christmas cookies is my favorite cookie day of the year. Maybe we can even do it twice this year. Love this kiddo, and his dad is pretty okay too.
We’re over the halfway point now. Am I sick of cookies yet? I wouldn’t say that. I’m not exactly excited by them, but I’m not dreading them. It also helps that my work told us we could work from home for awhile–since last week–and that means I can make dough at lunch, which definitely helps my motivation!
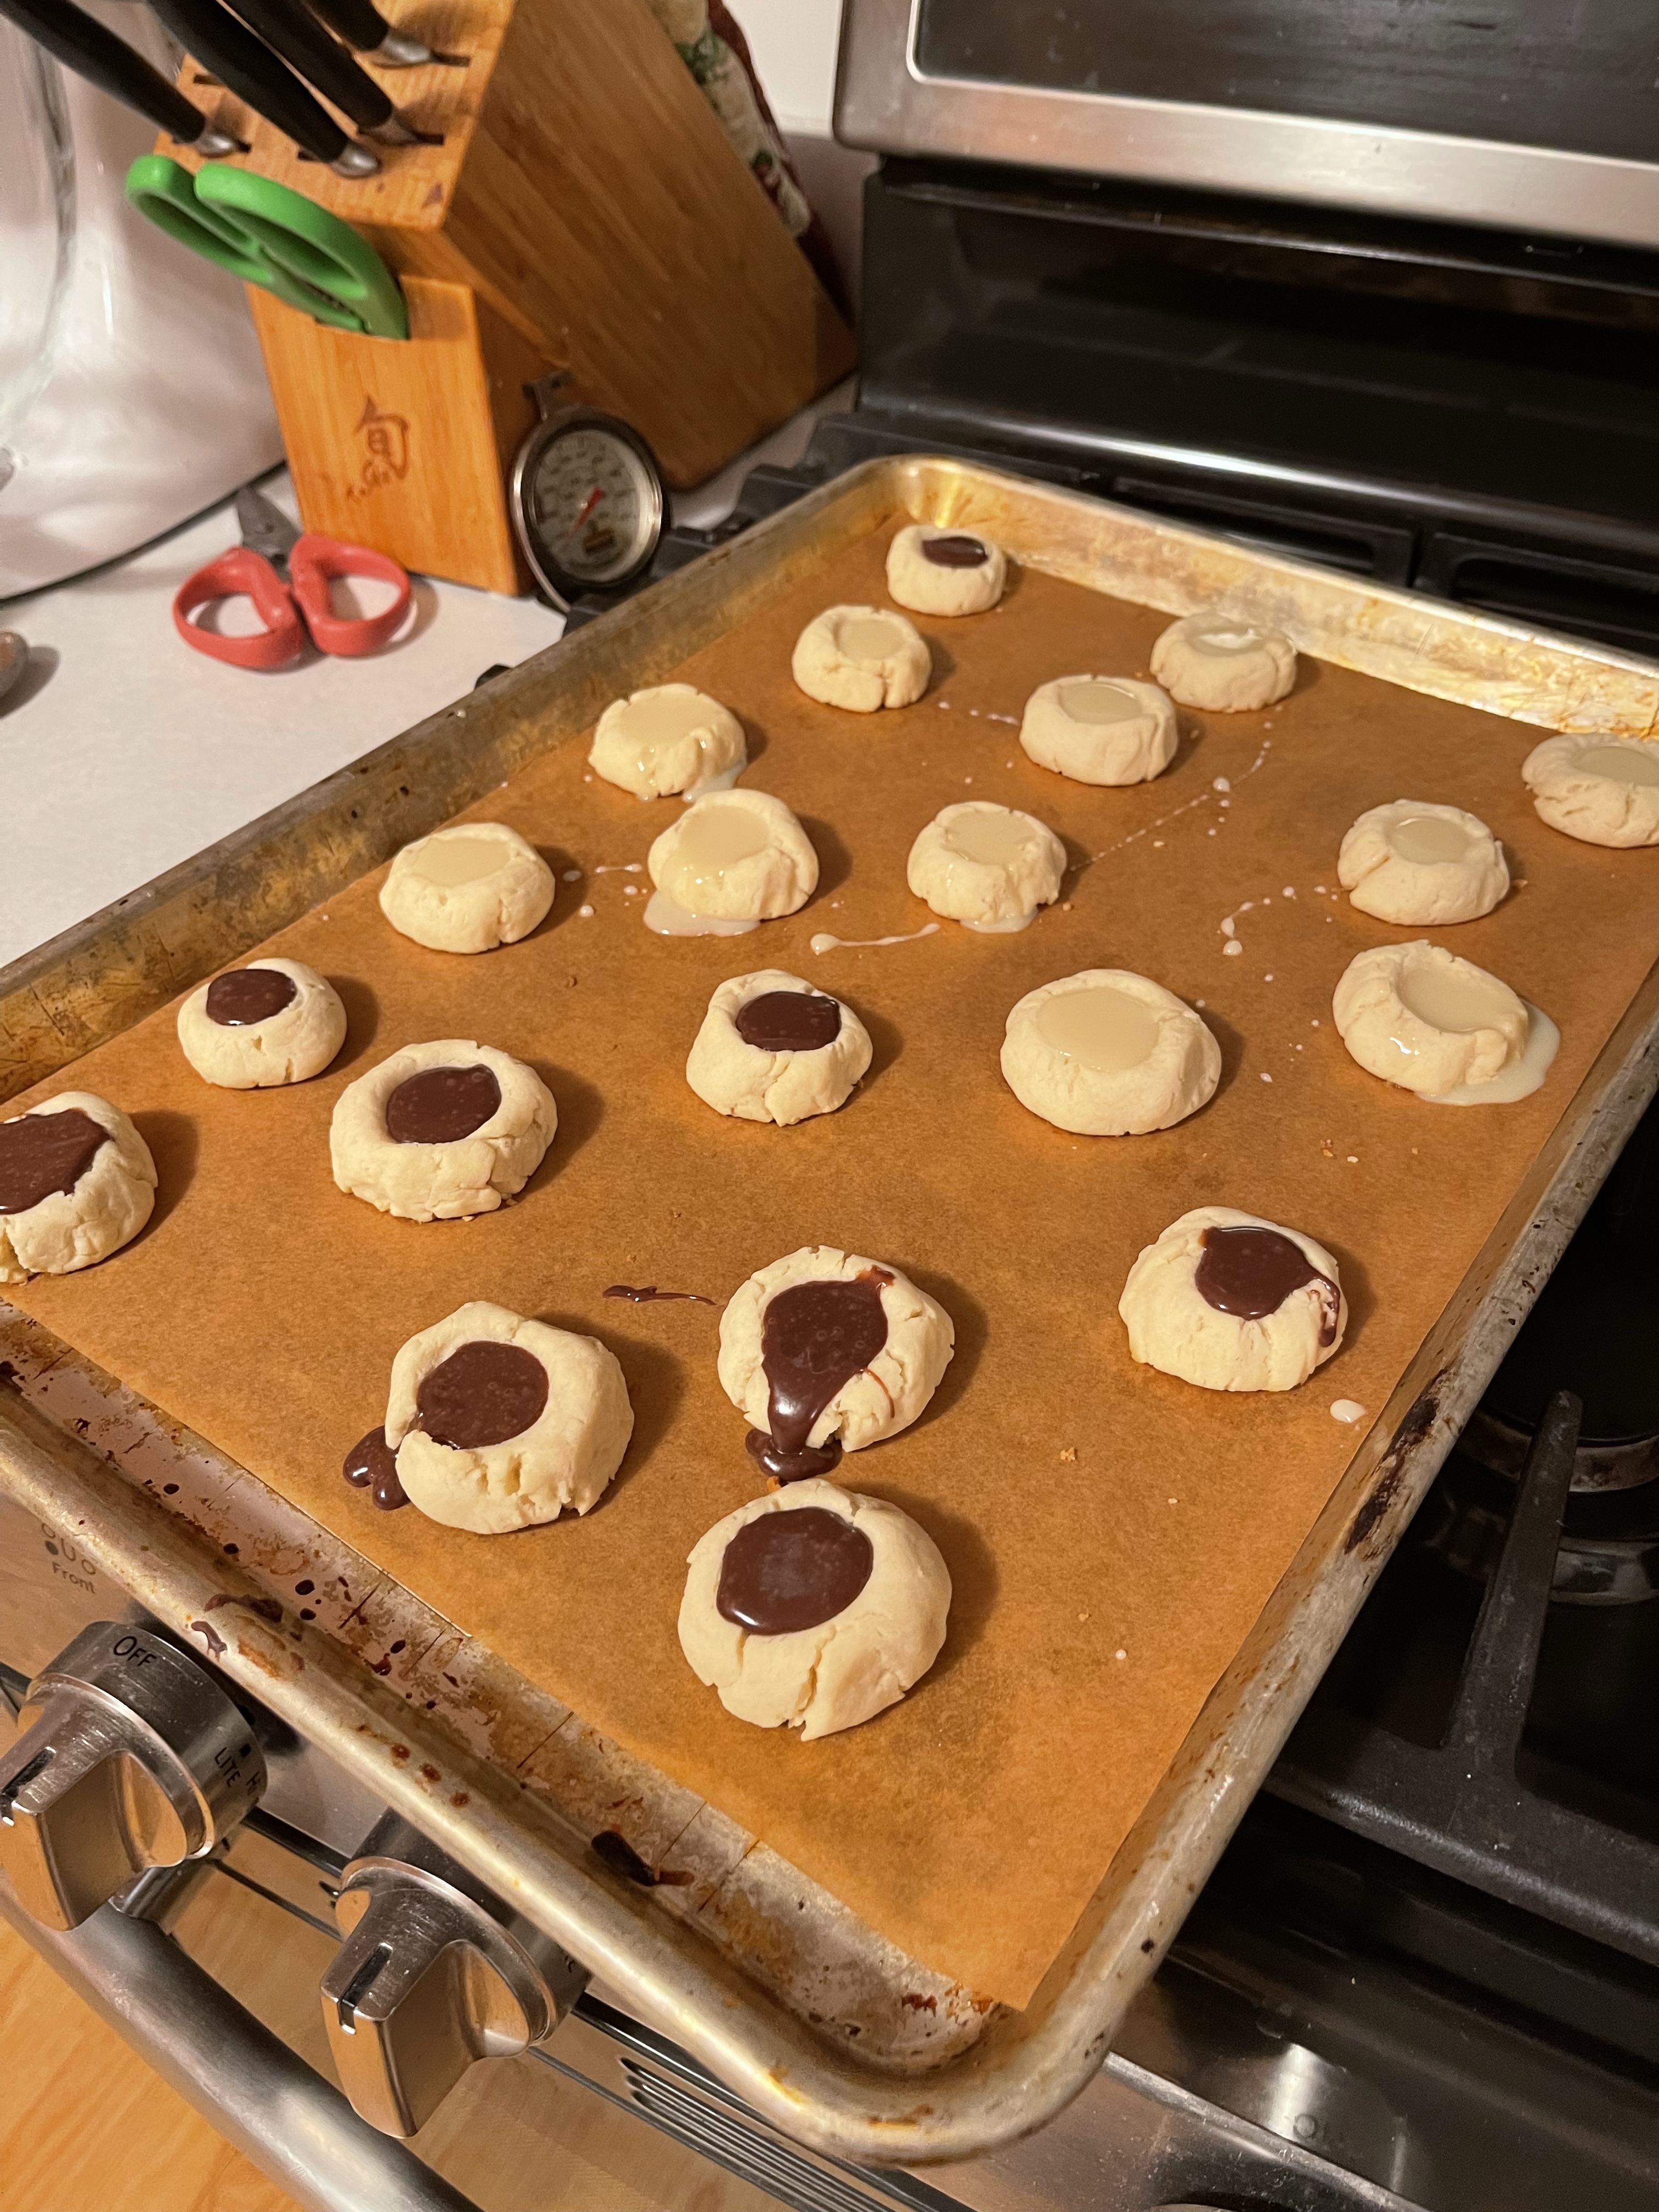
Today I did another new recipe, though I’ve seen them on Christmas cookie platters since I was an off-key kid singing at a Christmas pageant. I just didn’t know what they were called.
They are so easy, I feel dumb that I’ve never made them before!
1-2-3 Cookies
1 1/2 c. flour
1/2 c. cold butter, cubed
1/4 c. Sweetened Condensed Milk
In a mixing bowl rub the flour and butter until it resembles a wet sand like texture.
Add the condensed milk and combine to form a dough. If the dough feels sticky then feel free to add additional tbsp of flour to make it into a cookie dough.
Using a tbsp as the measurement, take out the portion of dough, shape it into a ball and place on a baking tray lined with parchment paper.
Using the back of your tsp make a well in the center of the cookie dough. Smooth any cracks if any.
Bake in a pre-heated oven of 350 for 8 to 10 mins until the bottom of the cookie is golden brown and the top is pale in color.
Once baked and still warm fill it with condensed milk or whatever filling you want
Let the cookies cool completely and then transfer to an air tight container and store for 1 week at room temperature.
I like condensed milk as much as the next person, but what I remember as a kid was that these were filled with chocolate. I melted some chocolate chips and mixed it with a little sweetened condensed milk and it’s yummy. I also did some with the sweetened condensed milk alone too.
I made these two hours ago, and I think I’m down to five. Kids say the cats like them. I think they might be telling me stories. But then I saw my 25lb cat licking his chops, so maybe they are telling the truth…
I realized I haven’t added as many new cookies to my rotation this year, so I went to the Google machine to look up some more creative Christmas cookies.
I found a list of like 25 Christmas Cookies You HAVE to Make Right Now or You Will Die a Painful Slow Death at the Hands of a Marketing Assistant Whose Job Depends on You Clicking The Link.
I’m in marketing. While that may not have actually been the list’s name, it’s the subtle subtext around it.
So I clicked. (Side note: it’s a shallow life goal to be included on one of these lists someday.)
And that’s where I found today’s beauty. Well, I found it on that list, but then went to the real site.
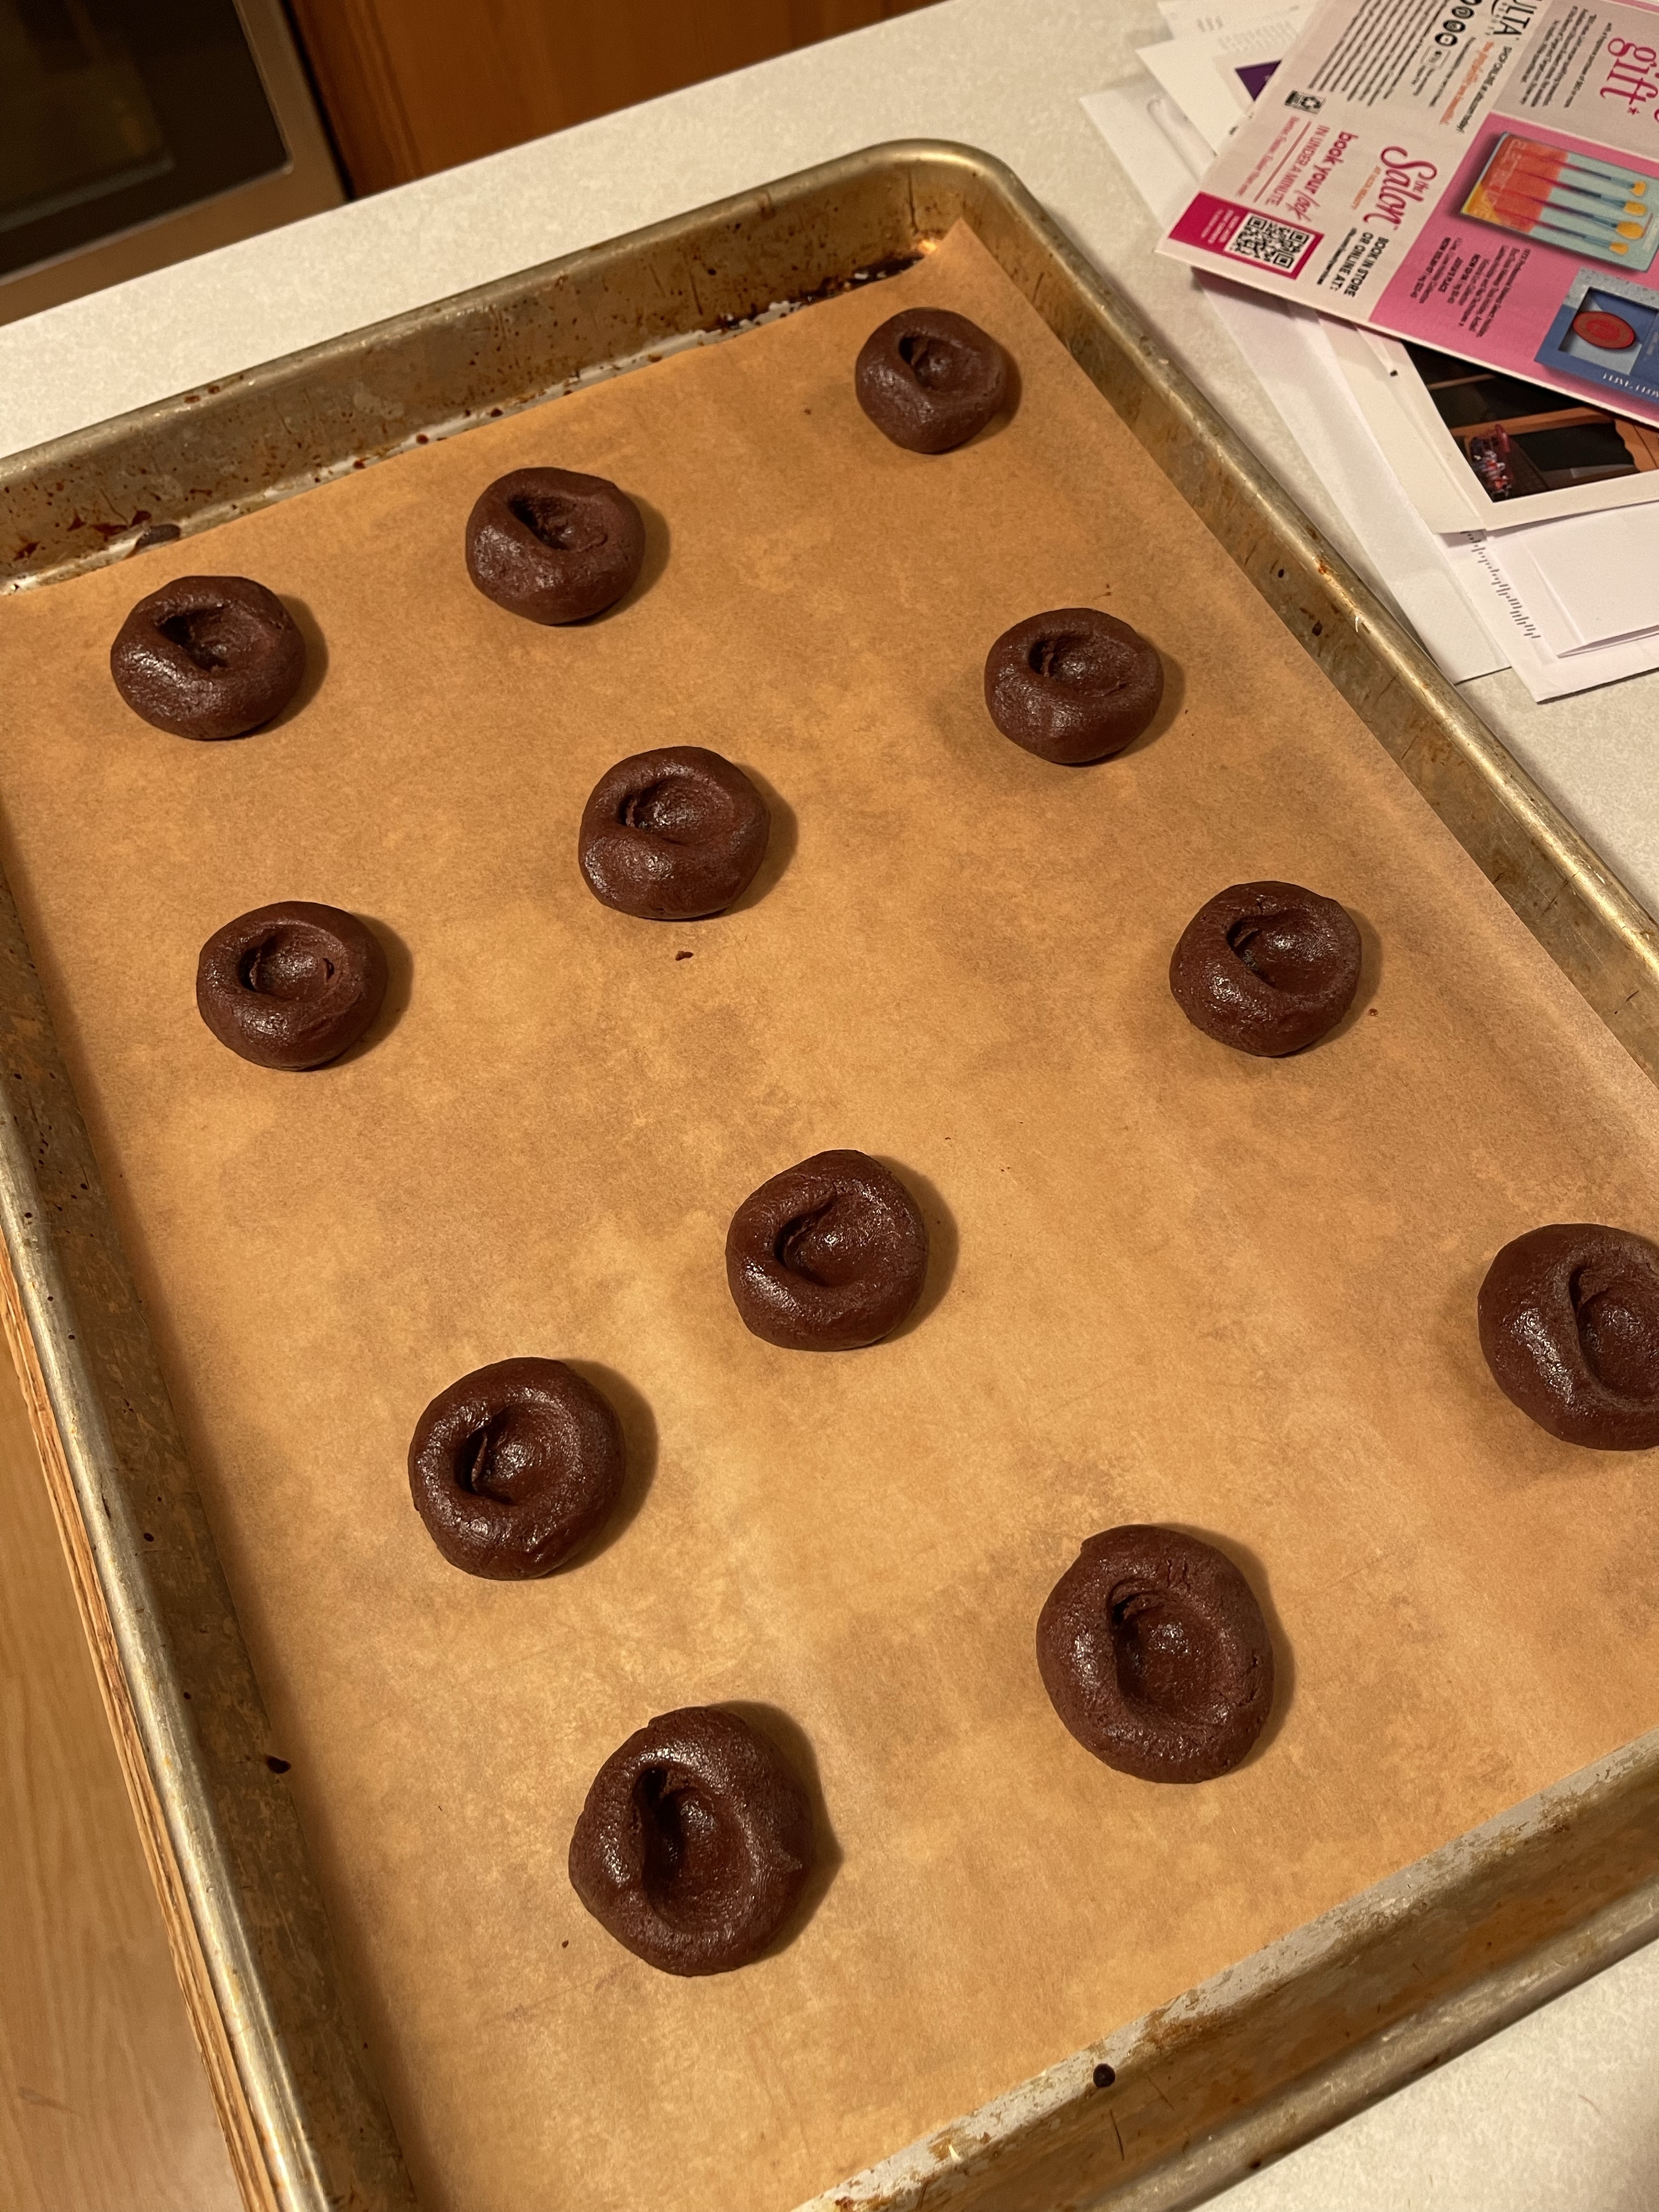
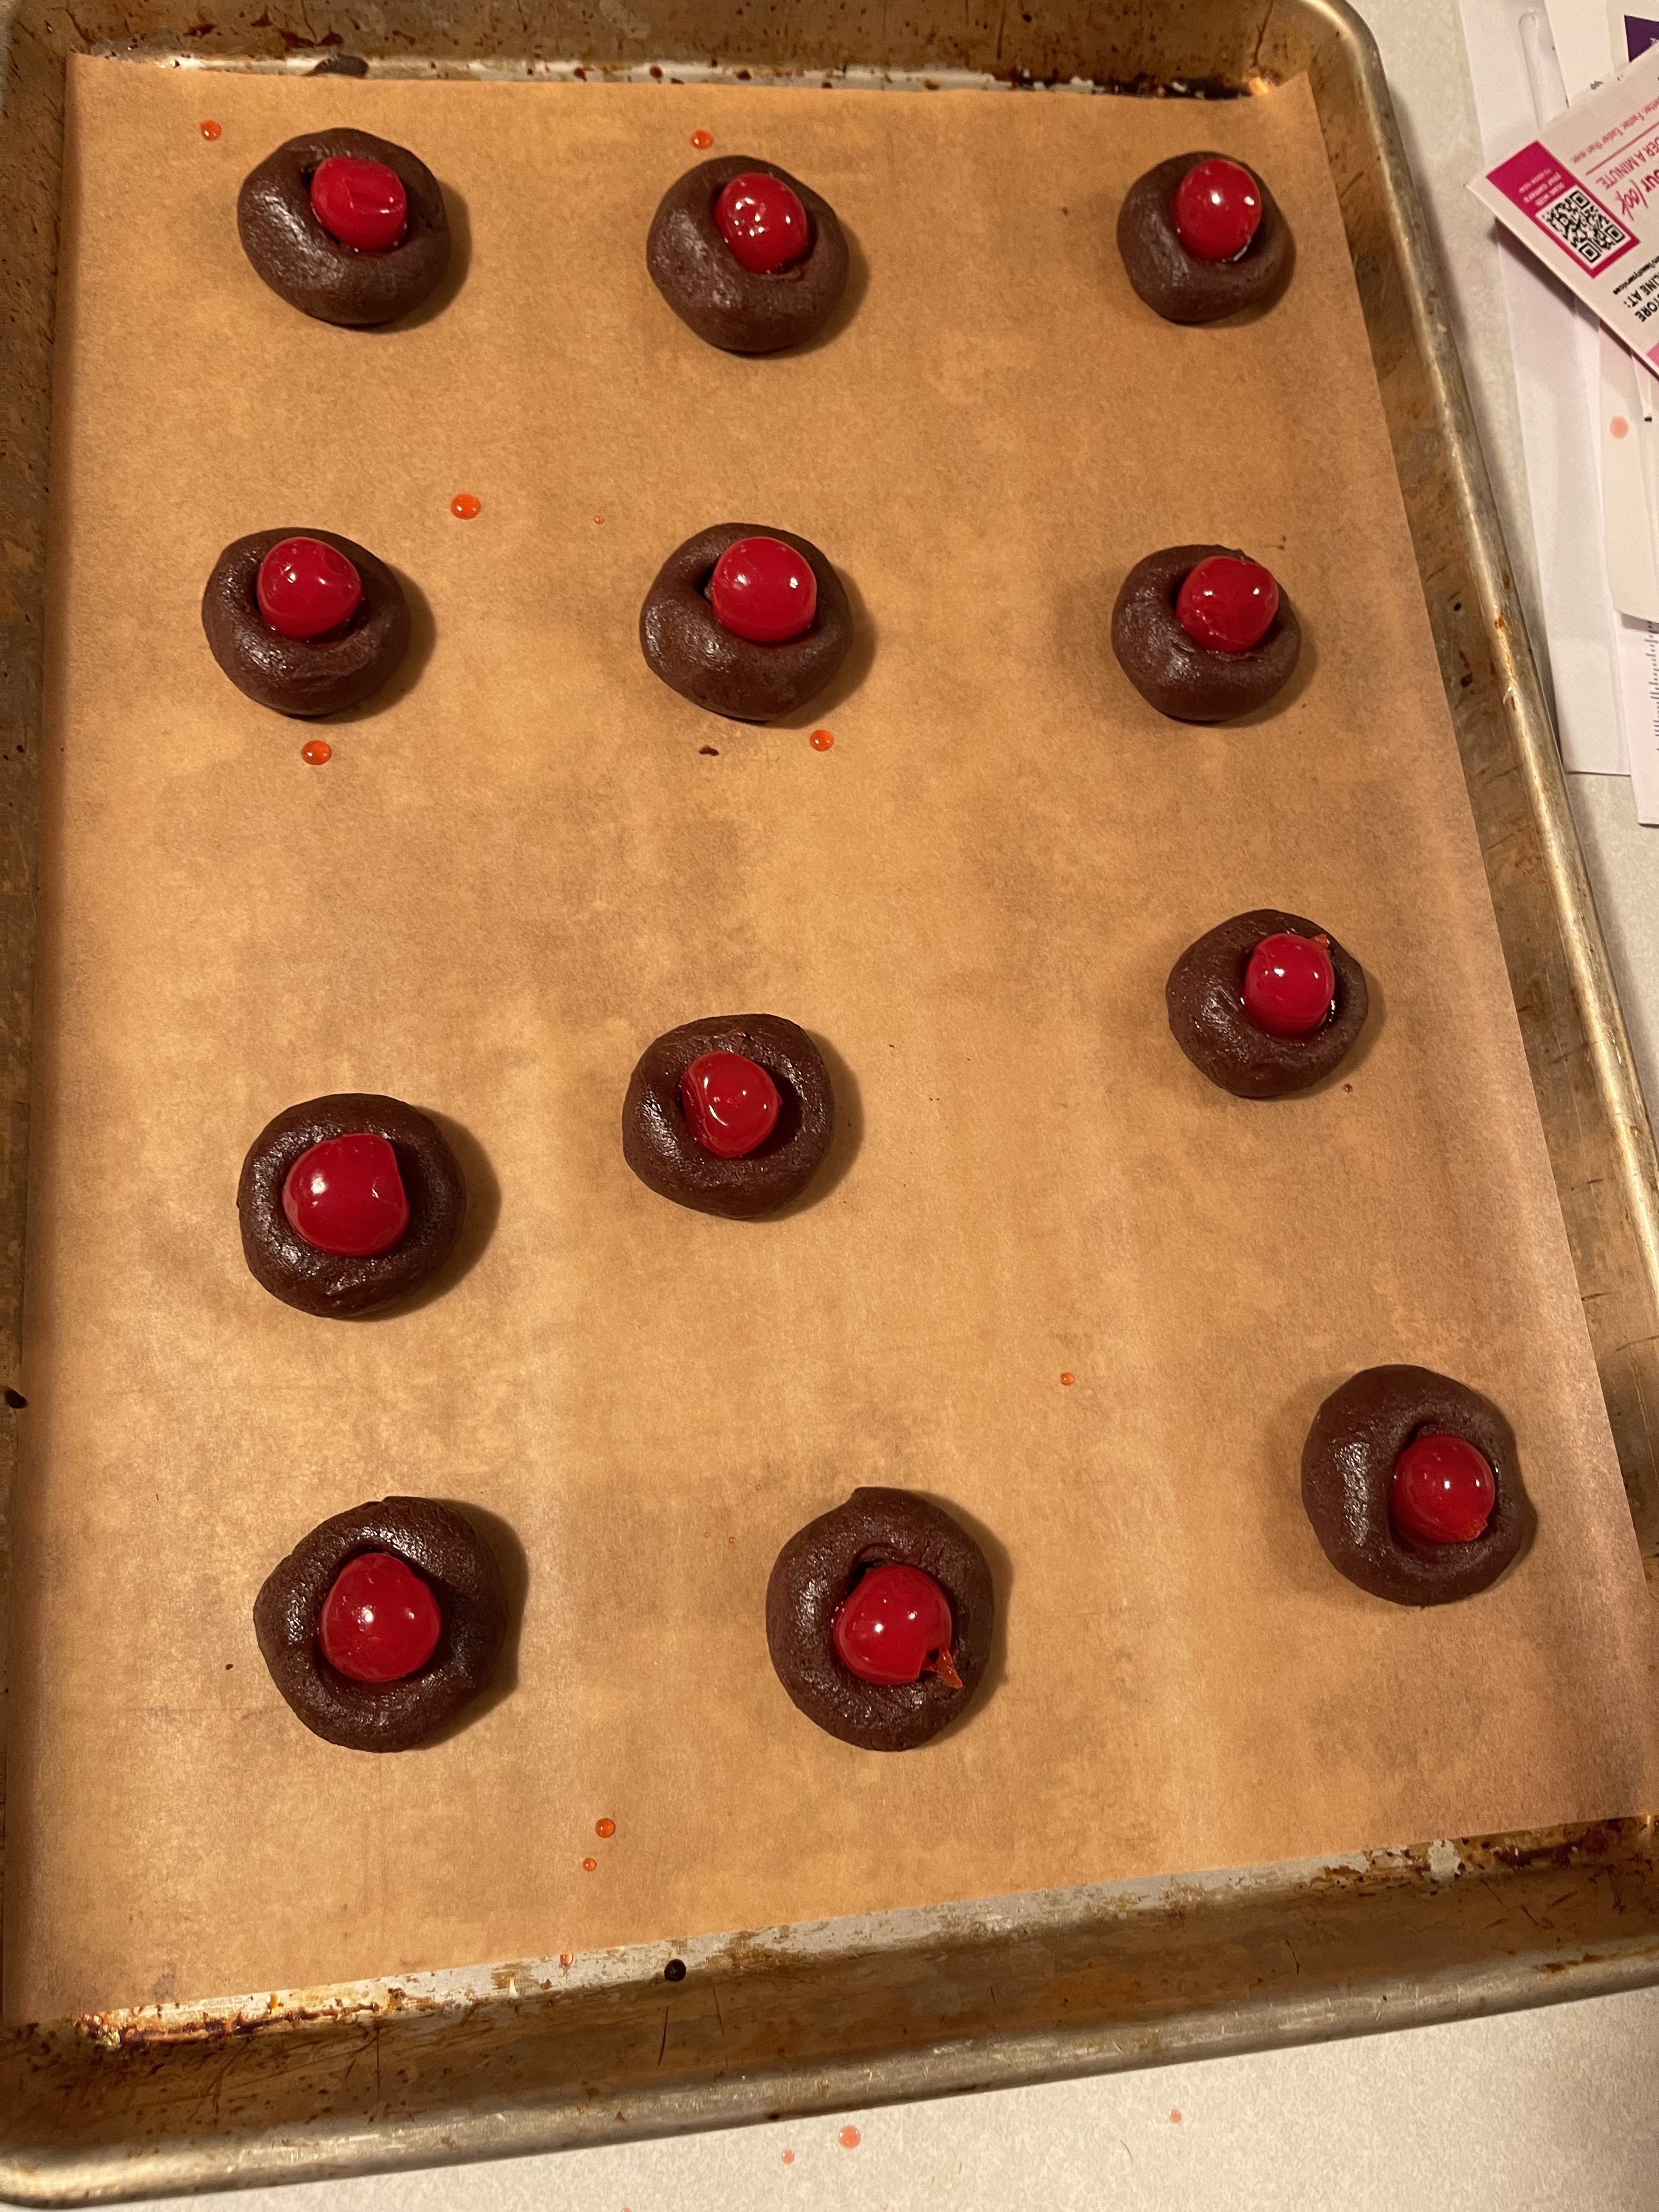
Double Chocolate Cherry Cookies
1/2 c. butter softened
1/2 c. sugar
1/2 c. brown sugar
2 eggs
1 1/2 c. all purpose flour
2/3 c. cocoa
1/4 t. salt
1/4 t. baking powder
1/4 t. baking soda
1 t. vanilla extract
2 t. cherry juice (from maraschino cherry jar)
30–36 jarred maraschino cherries
1/4 c. semi sweet chocolate chips
2 T. sweetened condensed milk
1 T. cherry juice (from maraschino cherry jar)
Preheat oven to 350 degrees.
Cream butter and both sugars with mixer. Add eggs one at a time and mix in.
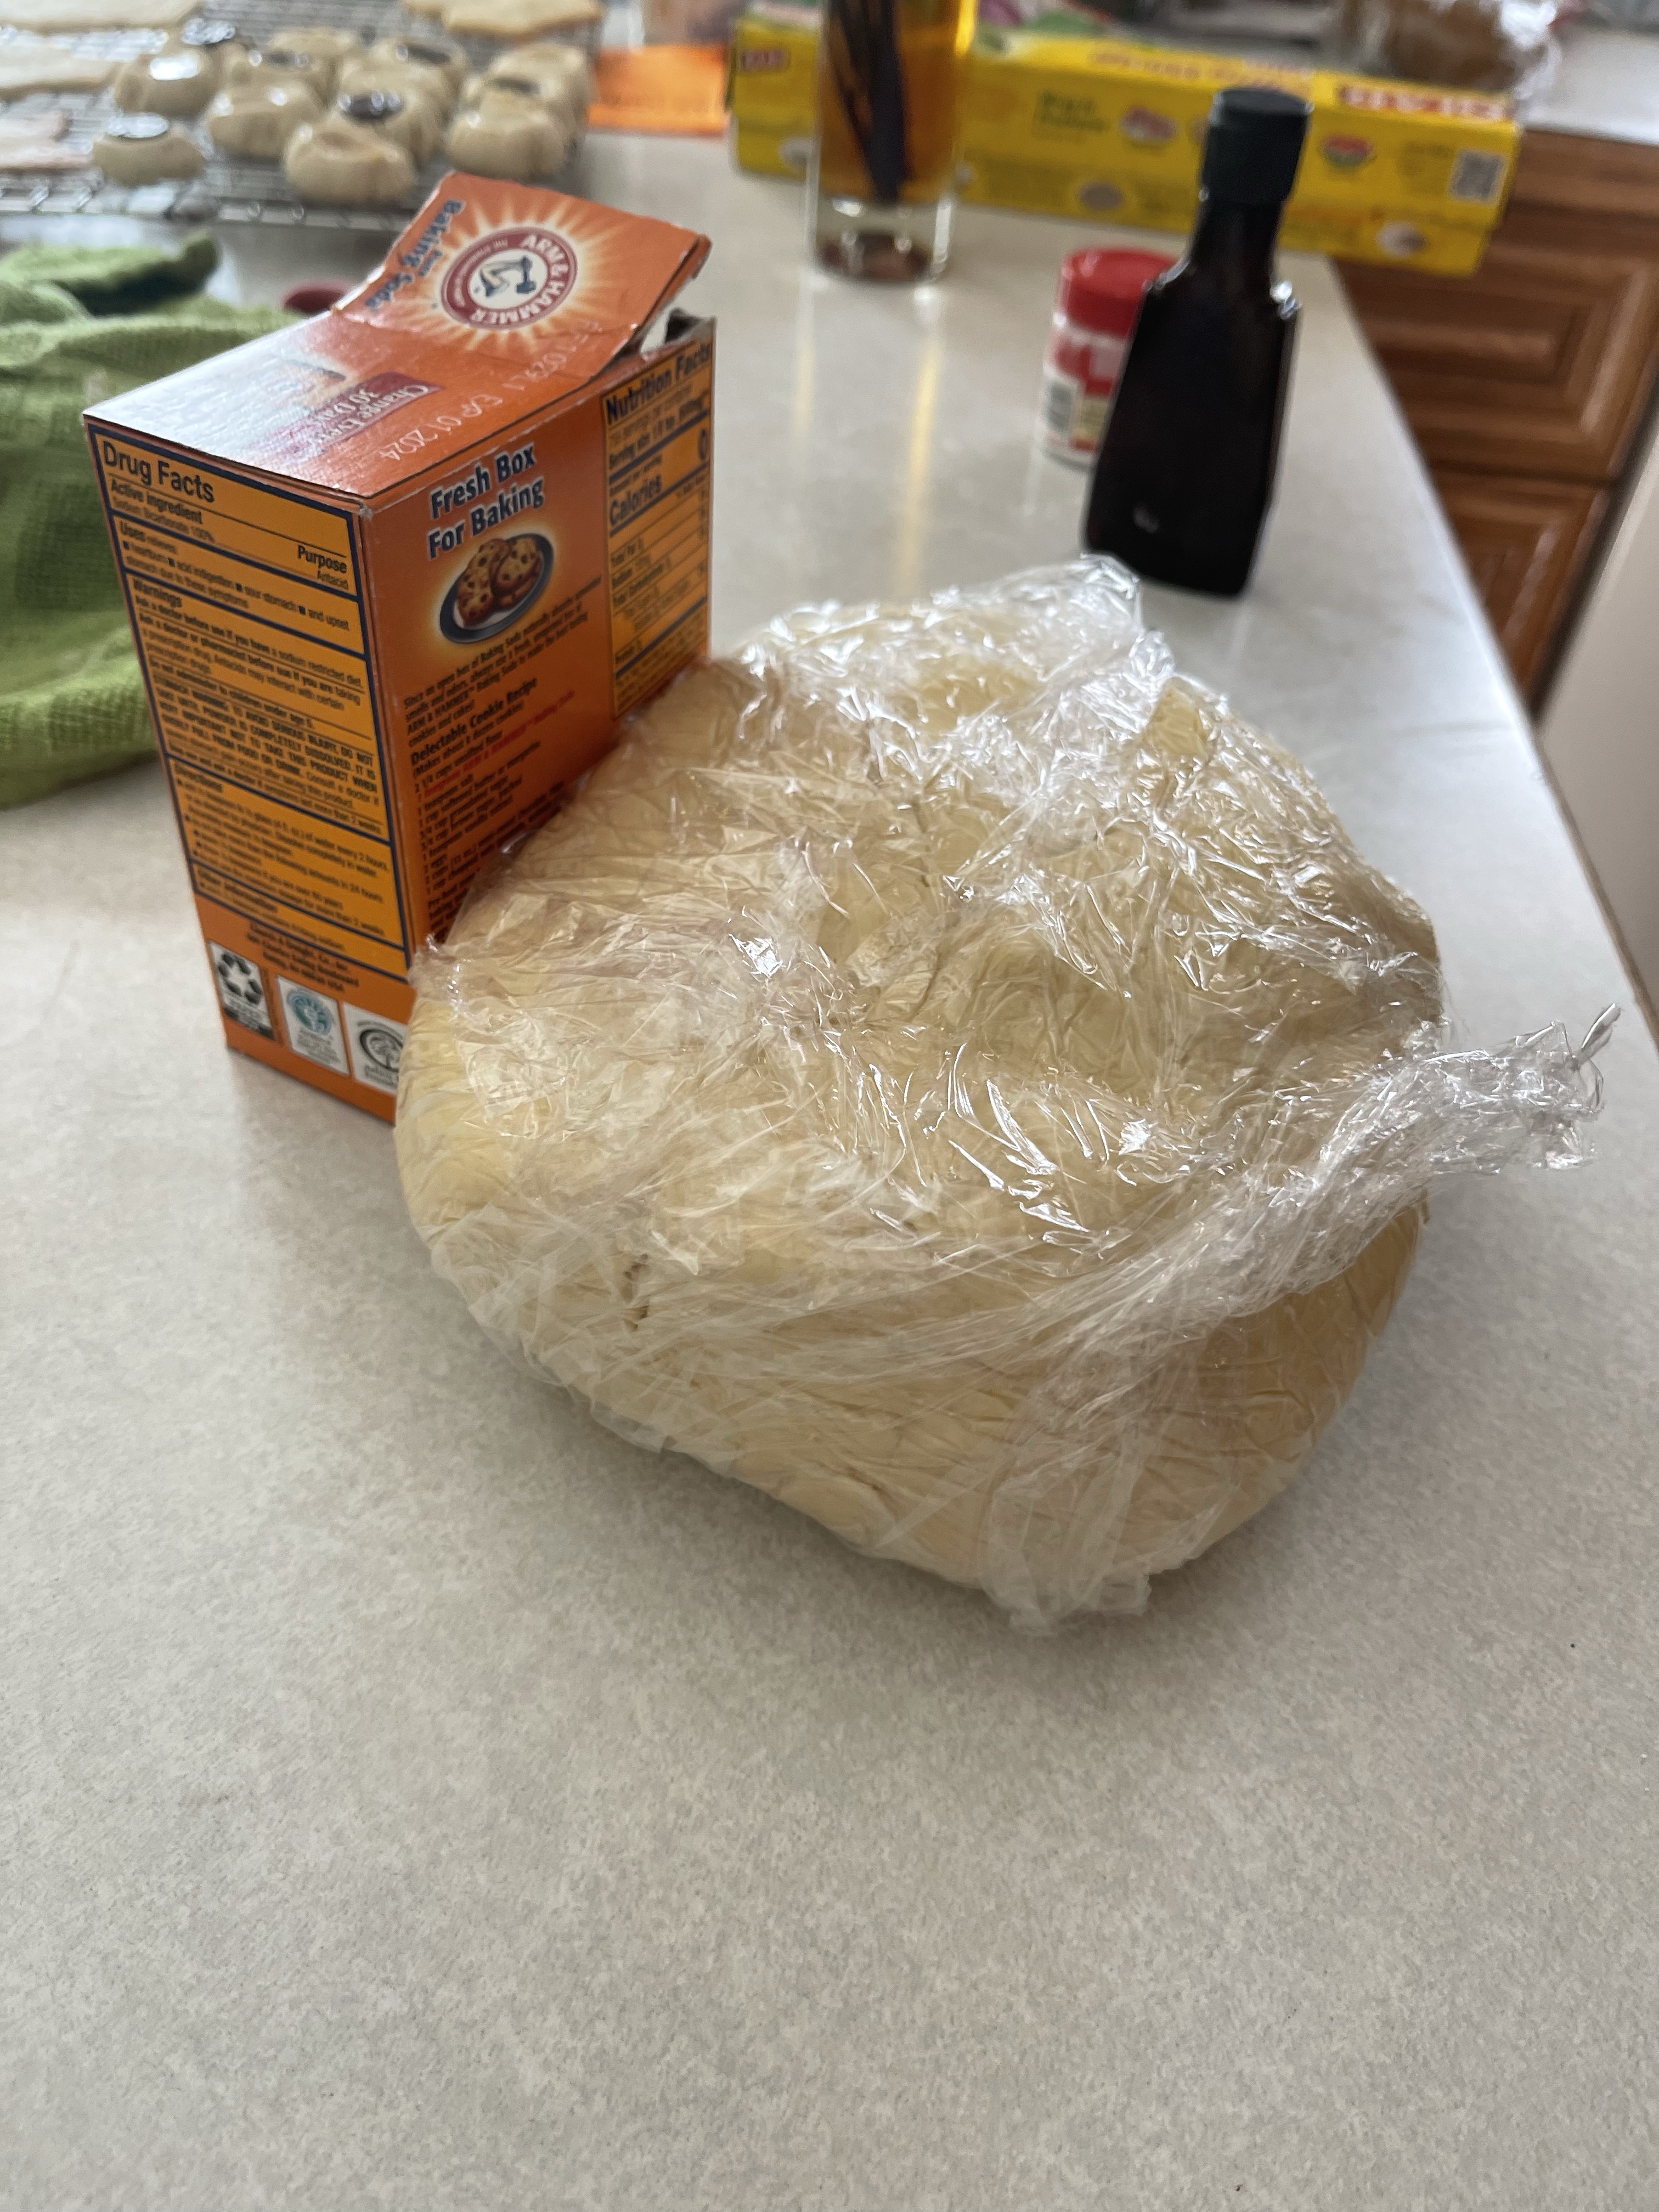
Combine flour, cocoa, salt, baking powder and baking soda in a medium bowl. Add 1/2 cup dry mixture to butter mixture at a time. Blending after each addition just until combined and scraping side of mixer bowl as needed. Add vanilla and 2 teaspoons cherry juice and mix just until combined. Remove bowl from mixer and refrigerate for 30 minutes
Butter hands and roll dough into 1 inch balls. Place on cookie sheet covered with parchment paper. Using thumb press small indentation in center of cookie and place maraschino cherry in hole.
Bake for 10 minutes.
Melt chocolate chips and sweetened condensed milk on low. When melted add 1 tablespoon cherry juice. Drizzle over cooled cookies.
I was intrigued by the ingredient list. I like cherries. I like chocolate. I like sweetened condensed milk, and I wanted to see what a recipe was like that called for salt, baking powder, and baking soda all at once, that wasn’t me at 8 years-old “making” my own recipe.
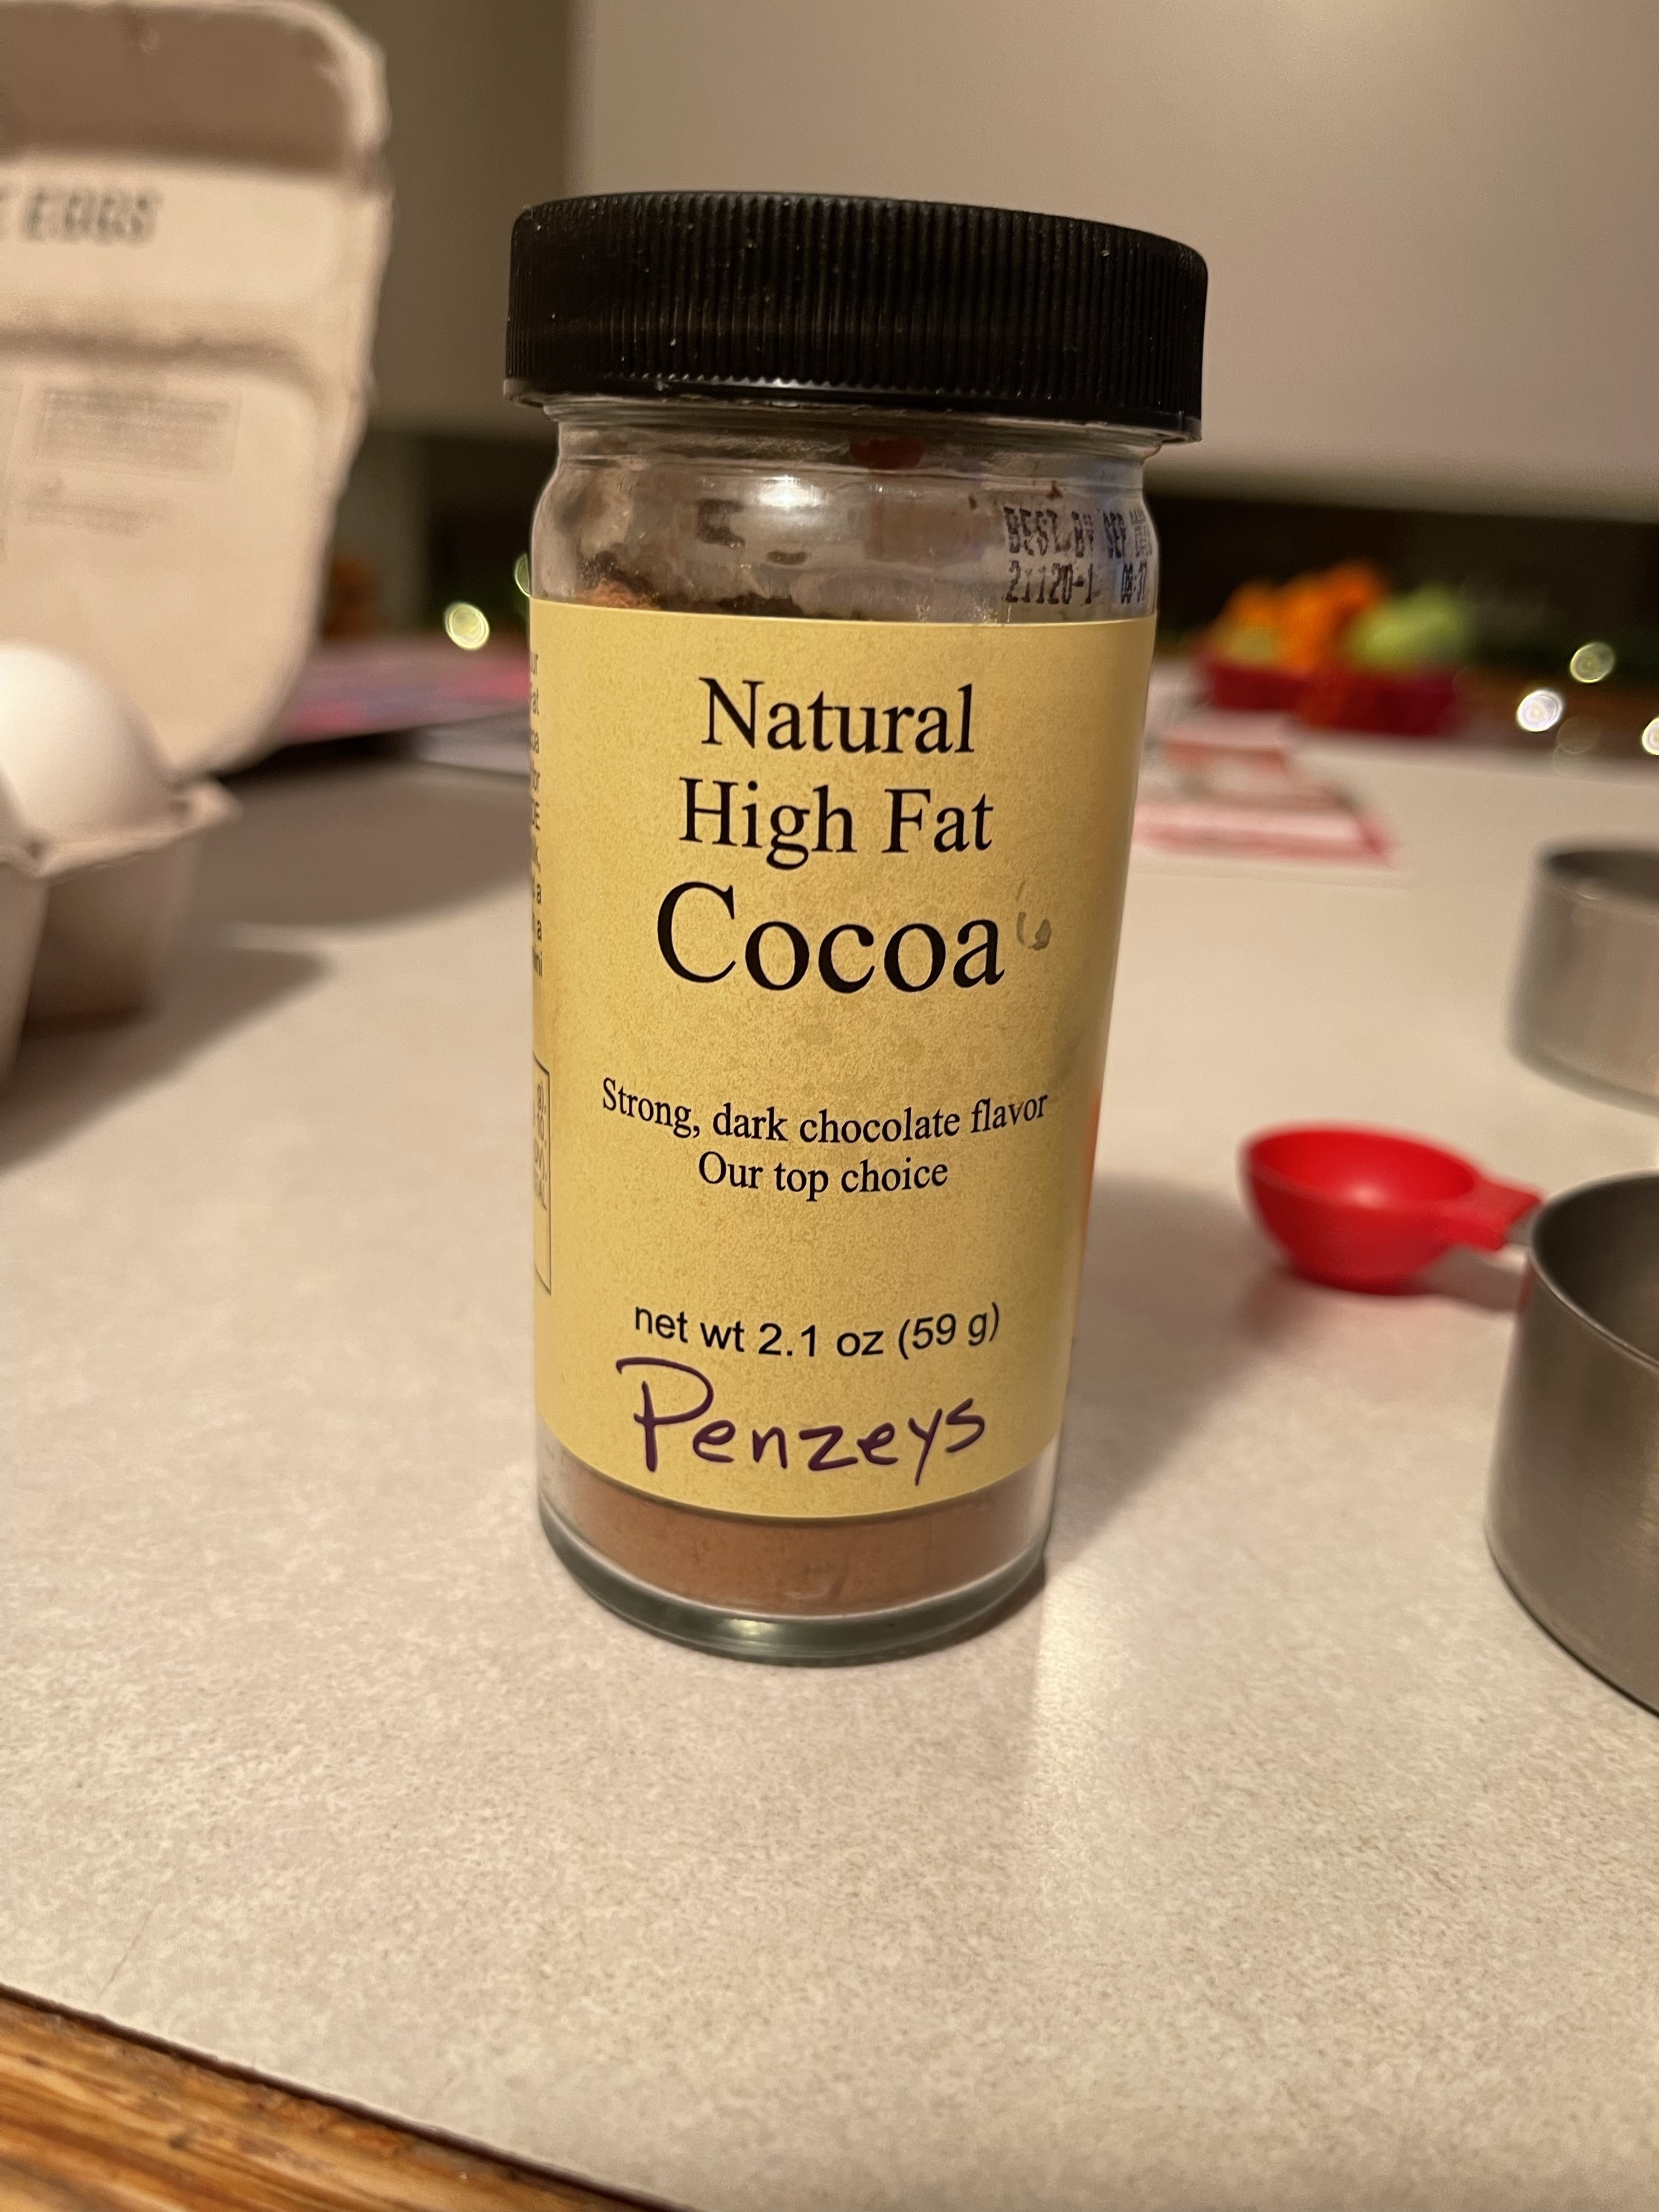
Shout out to Penzey’s once again!
In the interest of time, I’ll tell you. It turned out pretty darn well.
Now, as for that Marketing Assistant whose job I saved (and ultimately did not have to kill me), how about a little gratitude and include me on a cookie list?
I’m sure I say that about a lot of my cookies, but like claiming you don’t have a favorite child, you know in your heart you actually do.
(Calm down kids; I’m kidding.)
I love almond, and these are almond. They are so almond, every time I make them my middle son comes down and says he smells almond, and that hey, did you know that cyanide also smells like almond.
While I considered changing the name of these to Cyanide Butter Cookies, I decided that I’d deal with lawyers and investigations much less if I left the name alone.
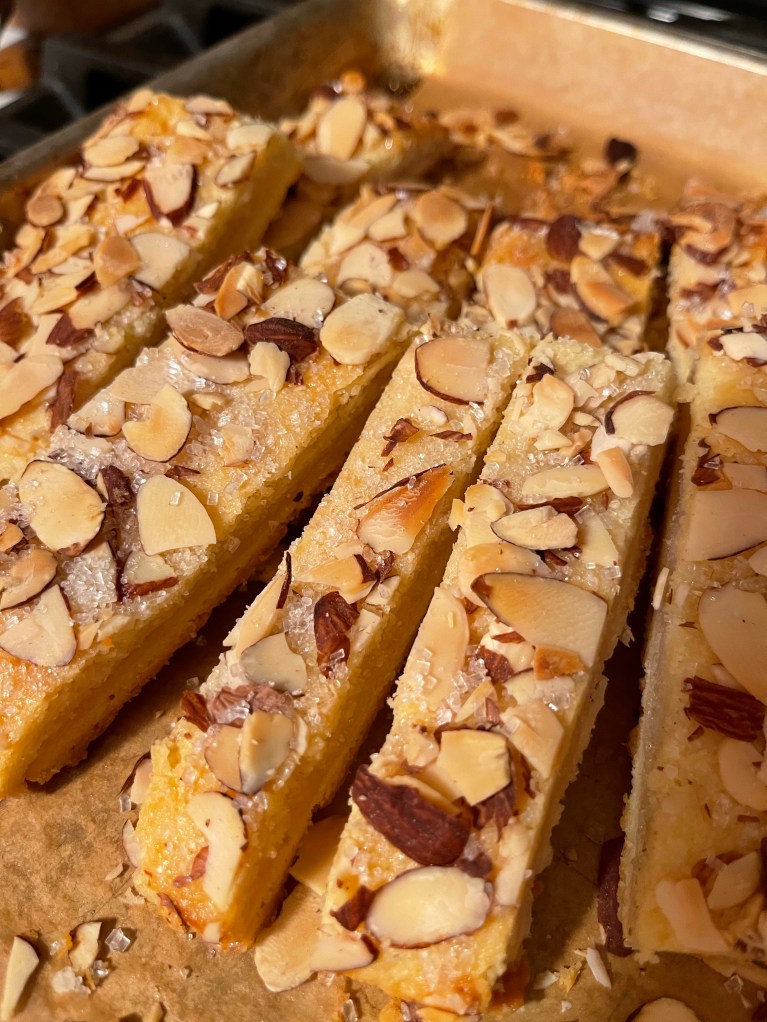
Almond Butter Sticks
3/4 cup granulated sugar
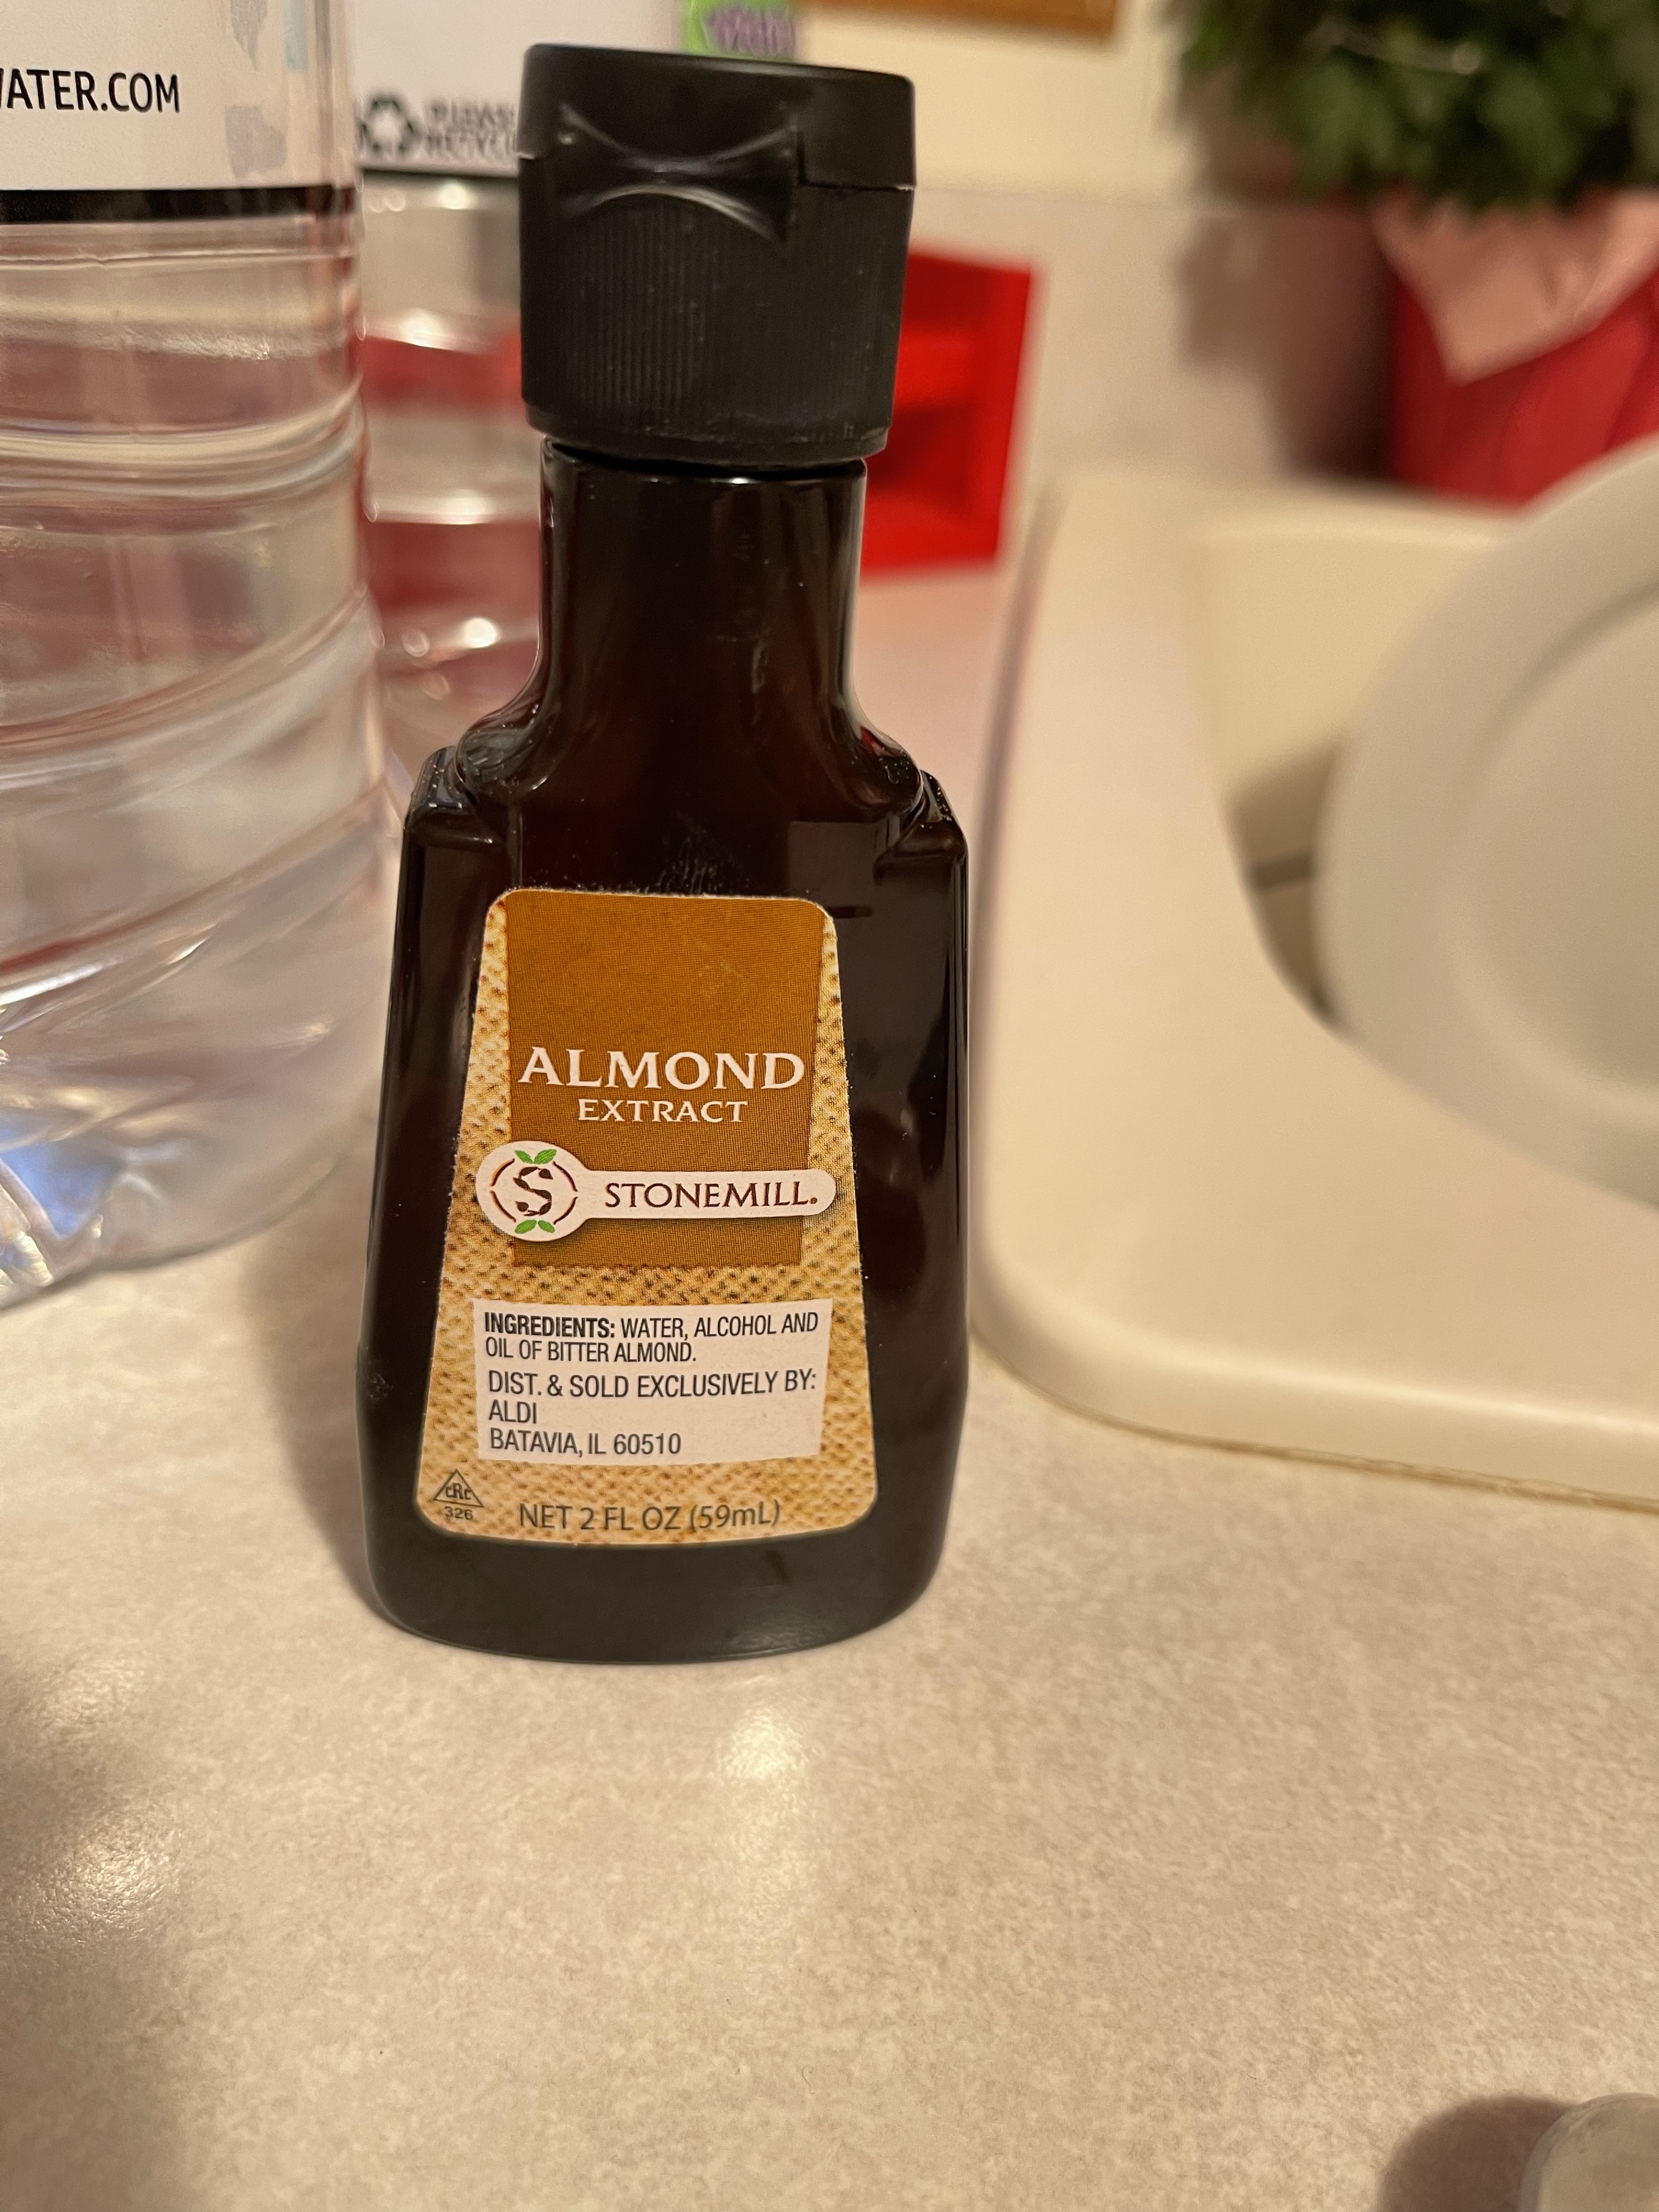
2 teaspoons almond extract
1/2 cup unsalted butter, plus 1 tablespoon (divided)
6 ounces cream cheese
1 1/2 cups unbleached all-purpose flour
3/4 teaspoon salt
1/2 teaspoon baking powder
1 egg, separated (white reserved for glazing)
1/3 cup sliced almonds
1 teaspoon coarse sugar for topping
Directions:
Preheat oven to 375 degrees.
Line a cookie sheet with parchment paper and set aside.
In a small bowl combine the sugar and almond extract; cover and set aside.
In a medium bowl whisk together the flour, salt and baking powder.
In a large mixing bowl combine 8 tablespoons (1/2 cup) butter and cream cheese. Beat on low until blended. Add the egg yolk and blend until smooth. Add half the flour mixture and beat on low until combined. Add the remaining flour and blend just until the dough starts to come together.
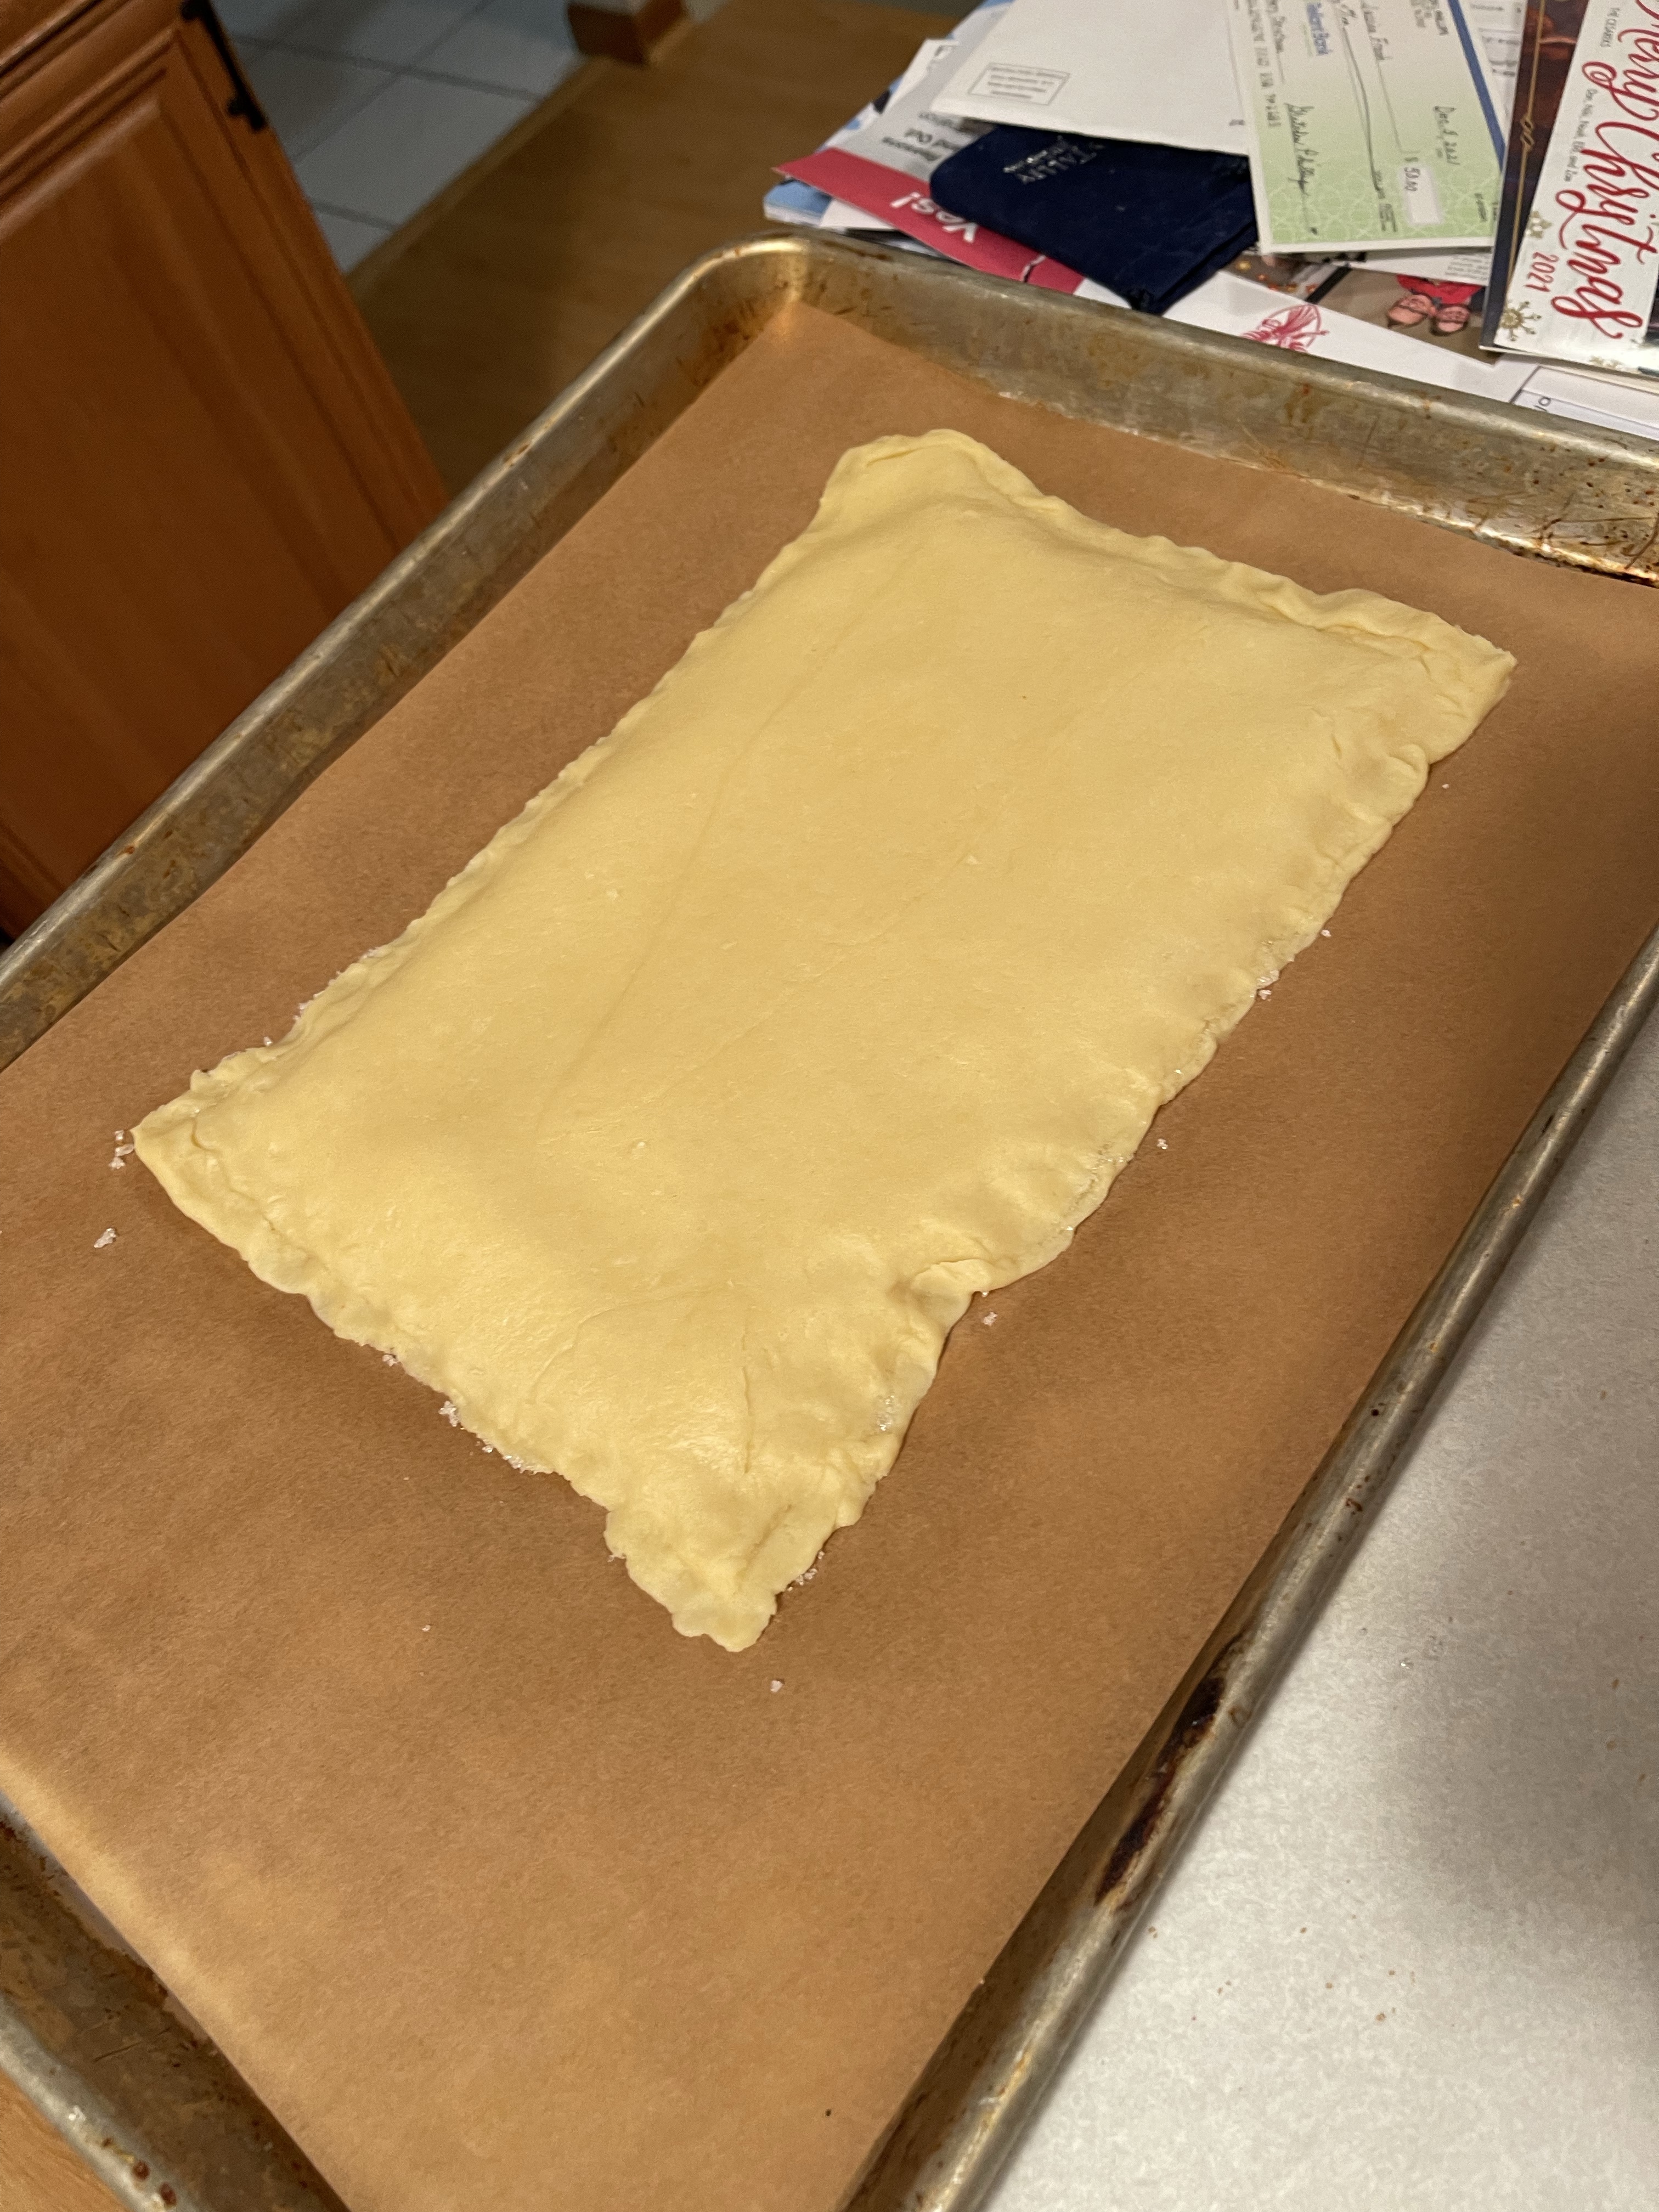
Transfer the dough to a floured work surface. Knead by hand about 25 strokes until the dough is pliable. Roll or press into a 12×12 inch square. Spread with the remaining 1 tablespoon of butter.
Cut the dough in half and place one half on the prepared cookie sheet, butter side up.
Spoon the sugar mixture to within 1/2-inch of the dough edges all the way around. Place the remaining dough half, butter side down, over the sugar. Press the edges tightly to seal.
Brush the dough with a lightly beaten egg white. Sprinkle with almonds and coarse sugar.
Bake 25-30 minutes or until golden brown. It’s best removed from the oven when you think it needs one or two more minutes.
Cool at least 30 minutes.
Cut the pastry in half lengthwise and then into 1/2 to 1 inch strips crosswise.
Store in an airtight container.
How my favorite cookies develops from nothing to something amazing.
I also like these because they have a bunch of almonds on top, and that throws kids off. Right now, I have three teenagers, and they are not allowed to eat my cookies without permission because they basically unhinge their jaw and swallow without chewing. Mom’s cookies deserve to be enjoyed and savored, not swallowed whole.
My point here is that they can have these cookies, but they don’t want them. Why? “Because there are nuts on the top.” I don’t point out that most of the cookies they like have nuts in them, because why change an outcome I benefit from. They don’t know what they’re missing and that’s fine by me!
I also know that I’ll be making these again before Christmas because someone has eaten most of my supply. ::sheepishly raises hand::
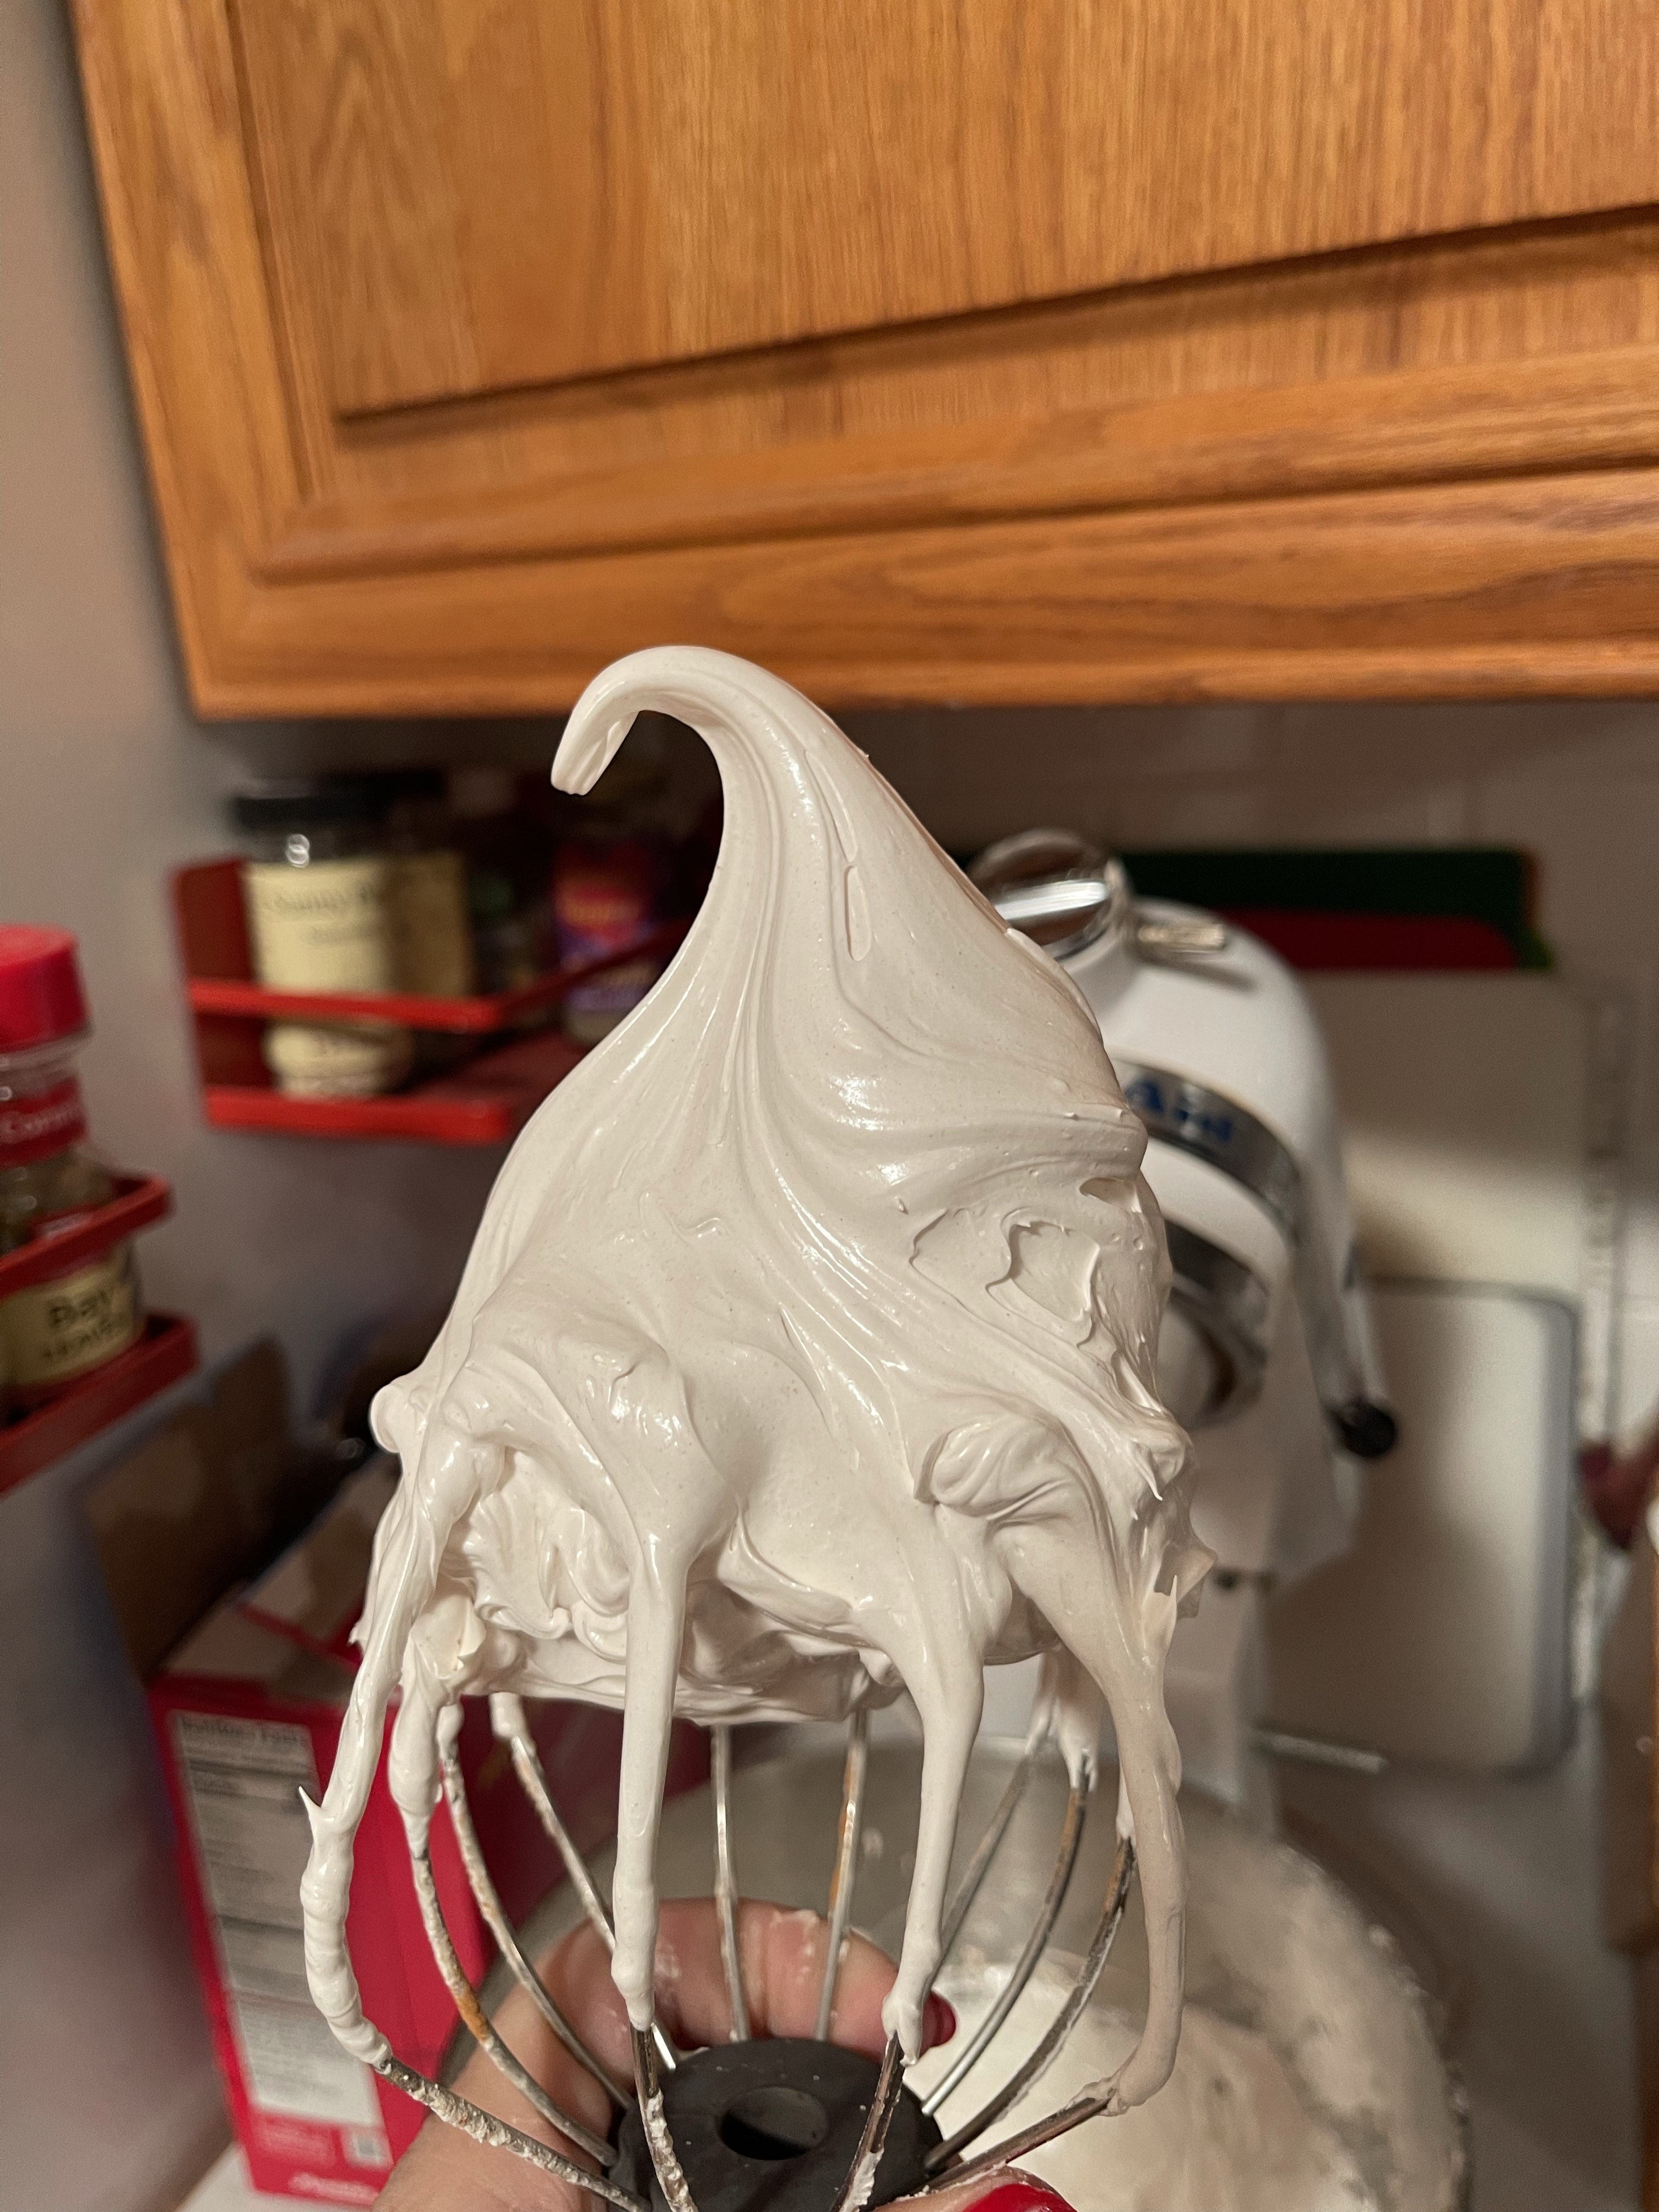
After my humiliating defeat in the world off egg whites last week, I knew I had to pull myself together and remind myself (and all of you) that I do know how to do this.
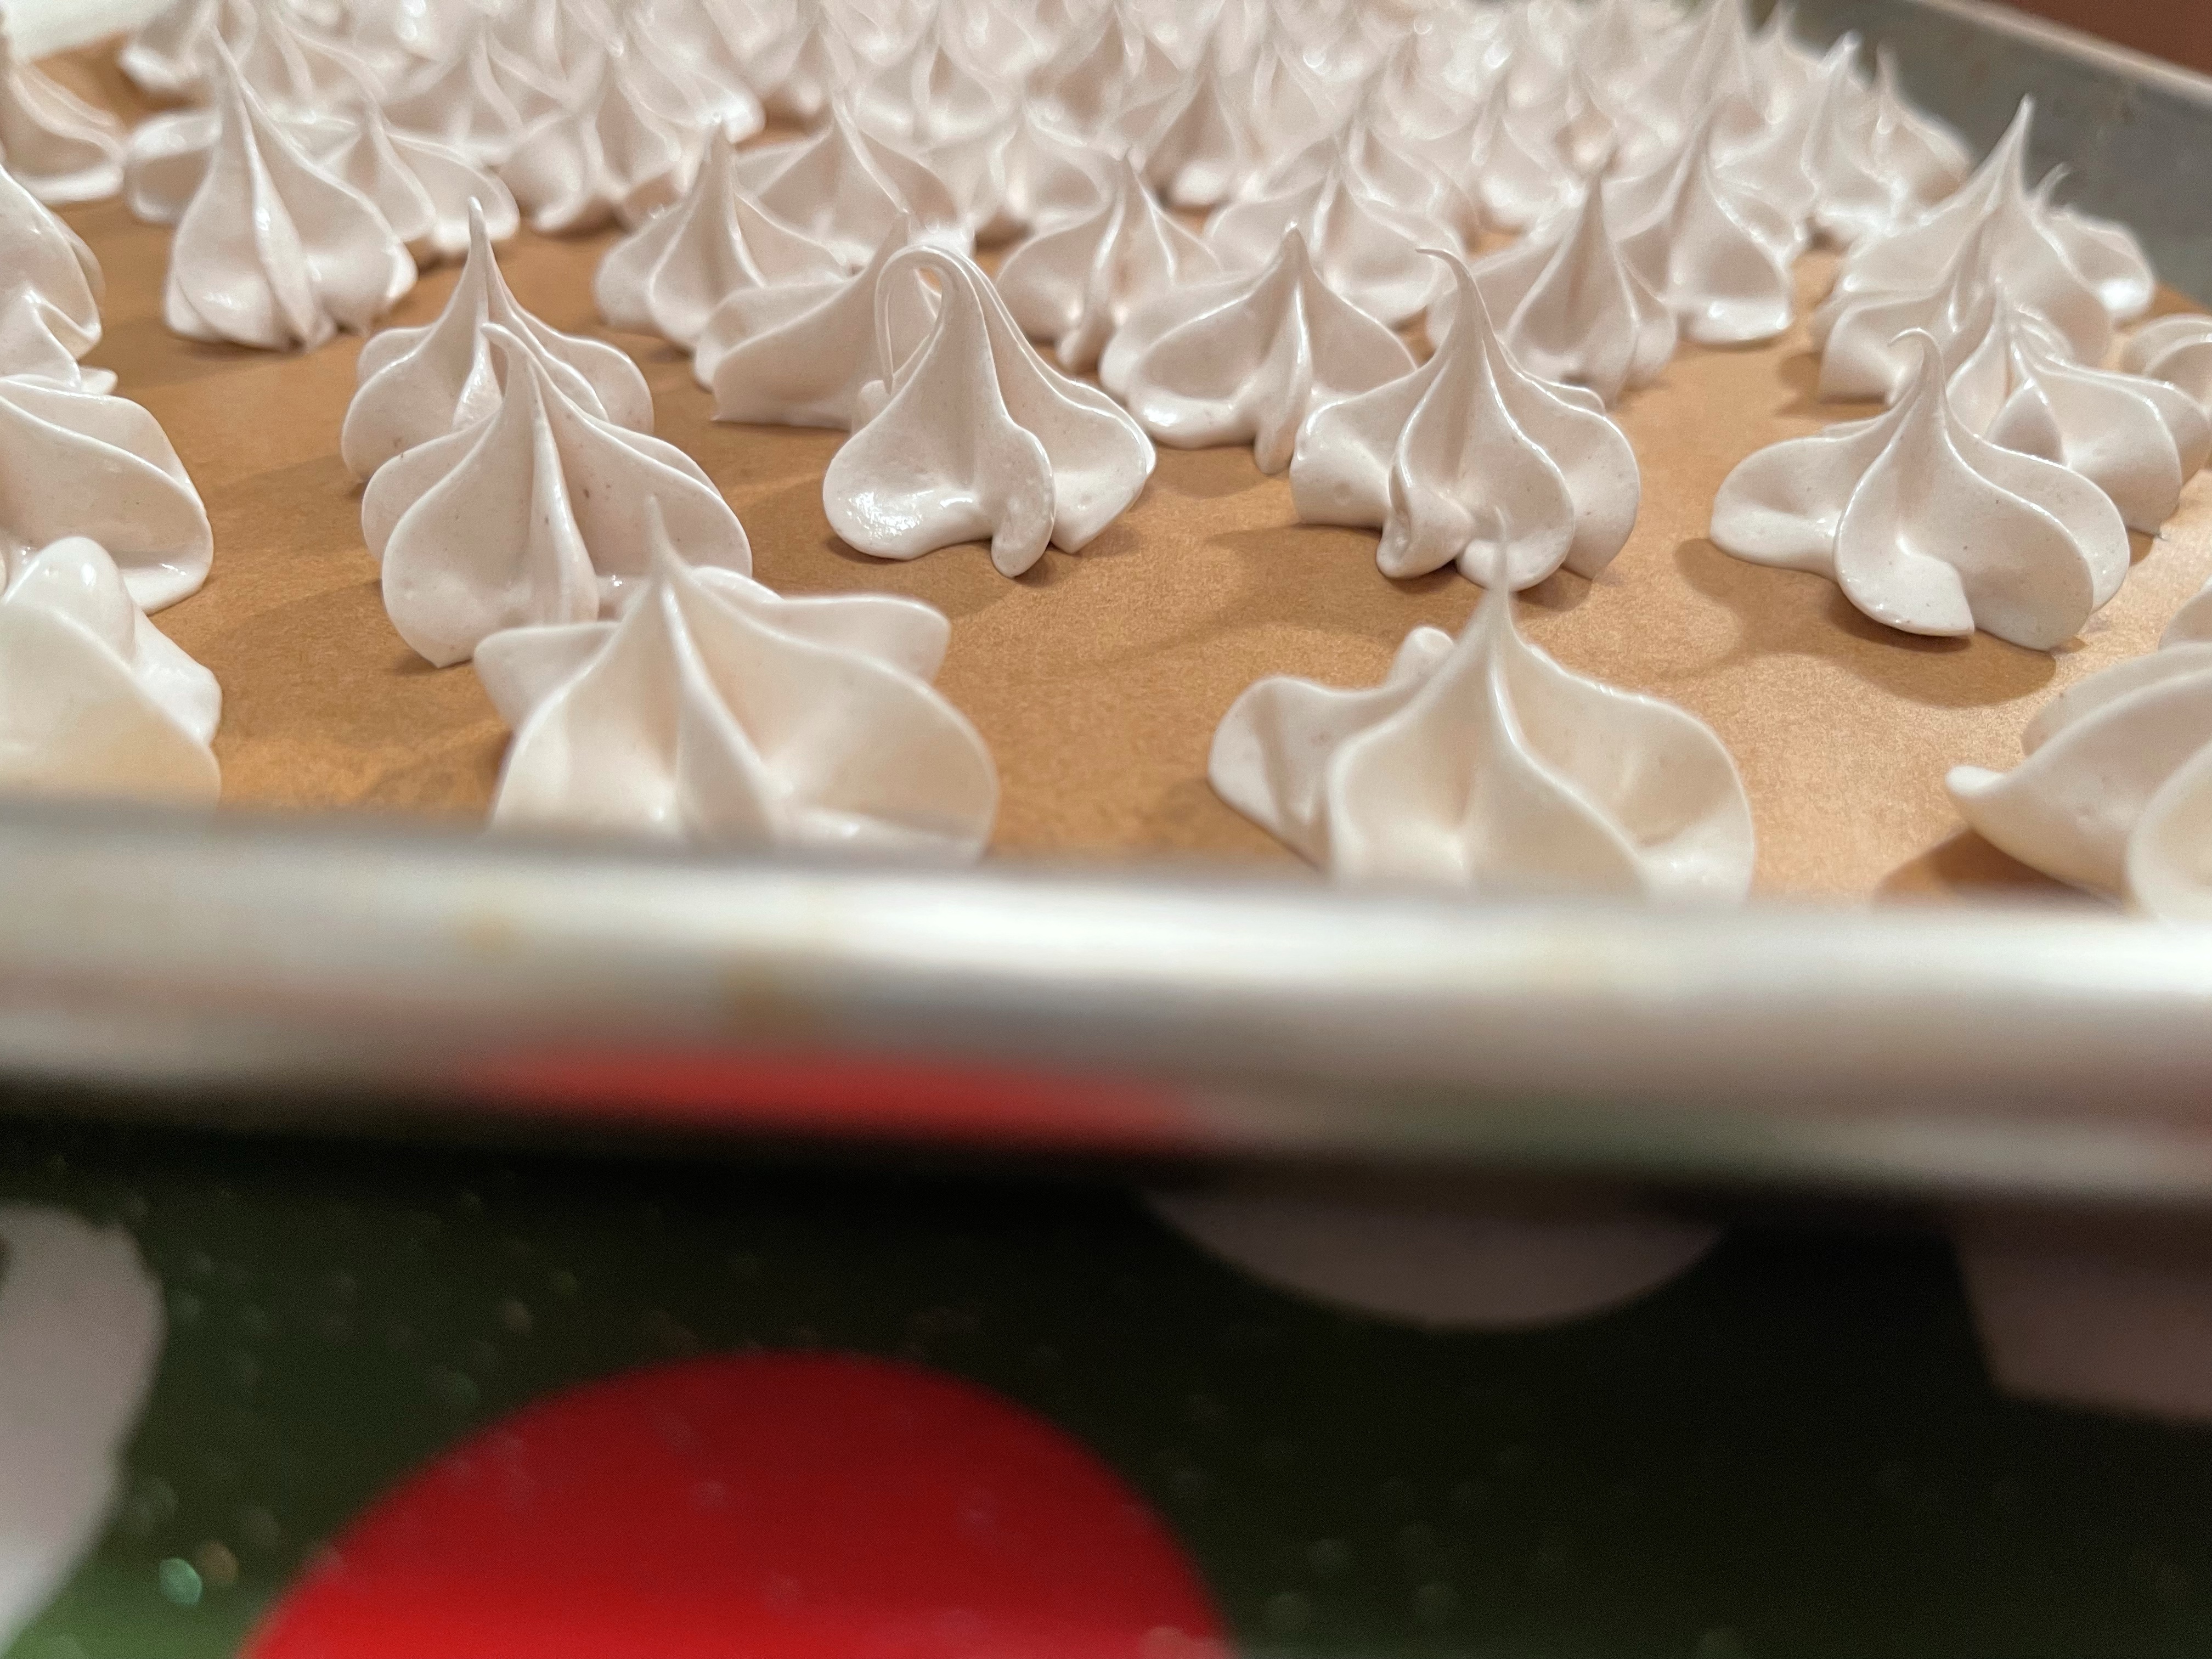
I’ve been making these so long, I decided it’s okay to change the name. In the beginning, they were supposed to be snowflakes or wreaths, and let’s just say my piping skills weren’t quite developed yet. But stars. Stars I could do. One plop. Hard to screw up.
I was hoping the same could be said for these. Fingers crossed!
Meringue Stars
4 egg whites
1 1/2 c. powdered sugar
1 t. almod extract
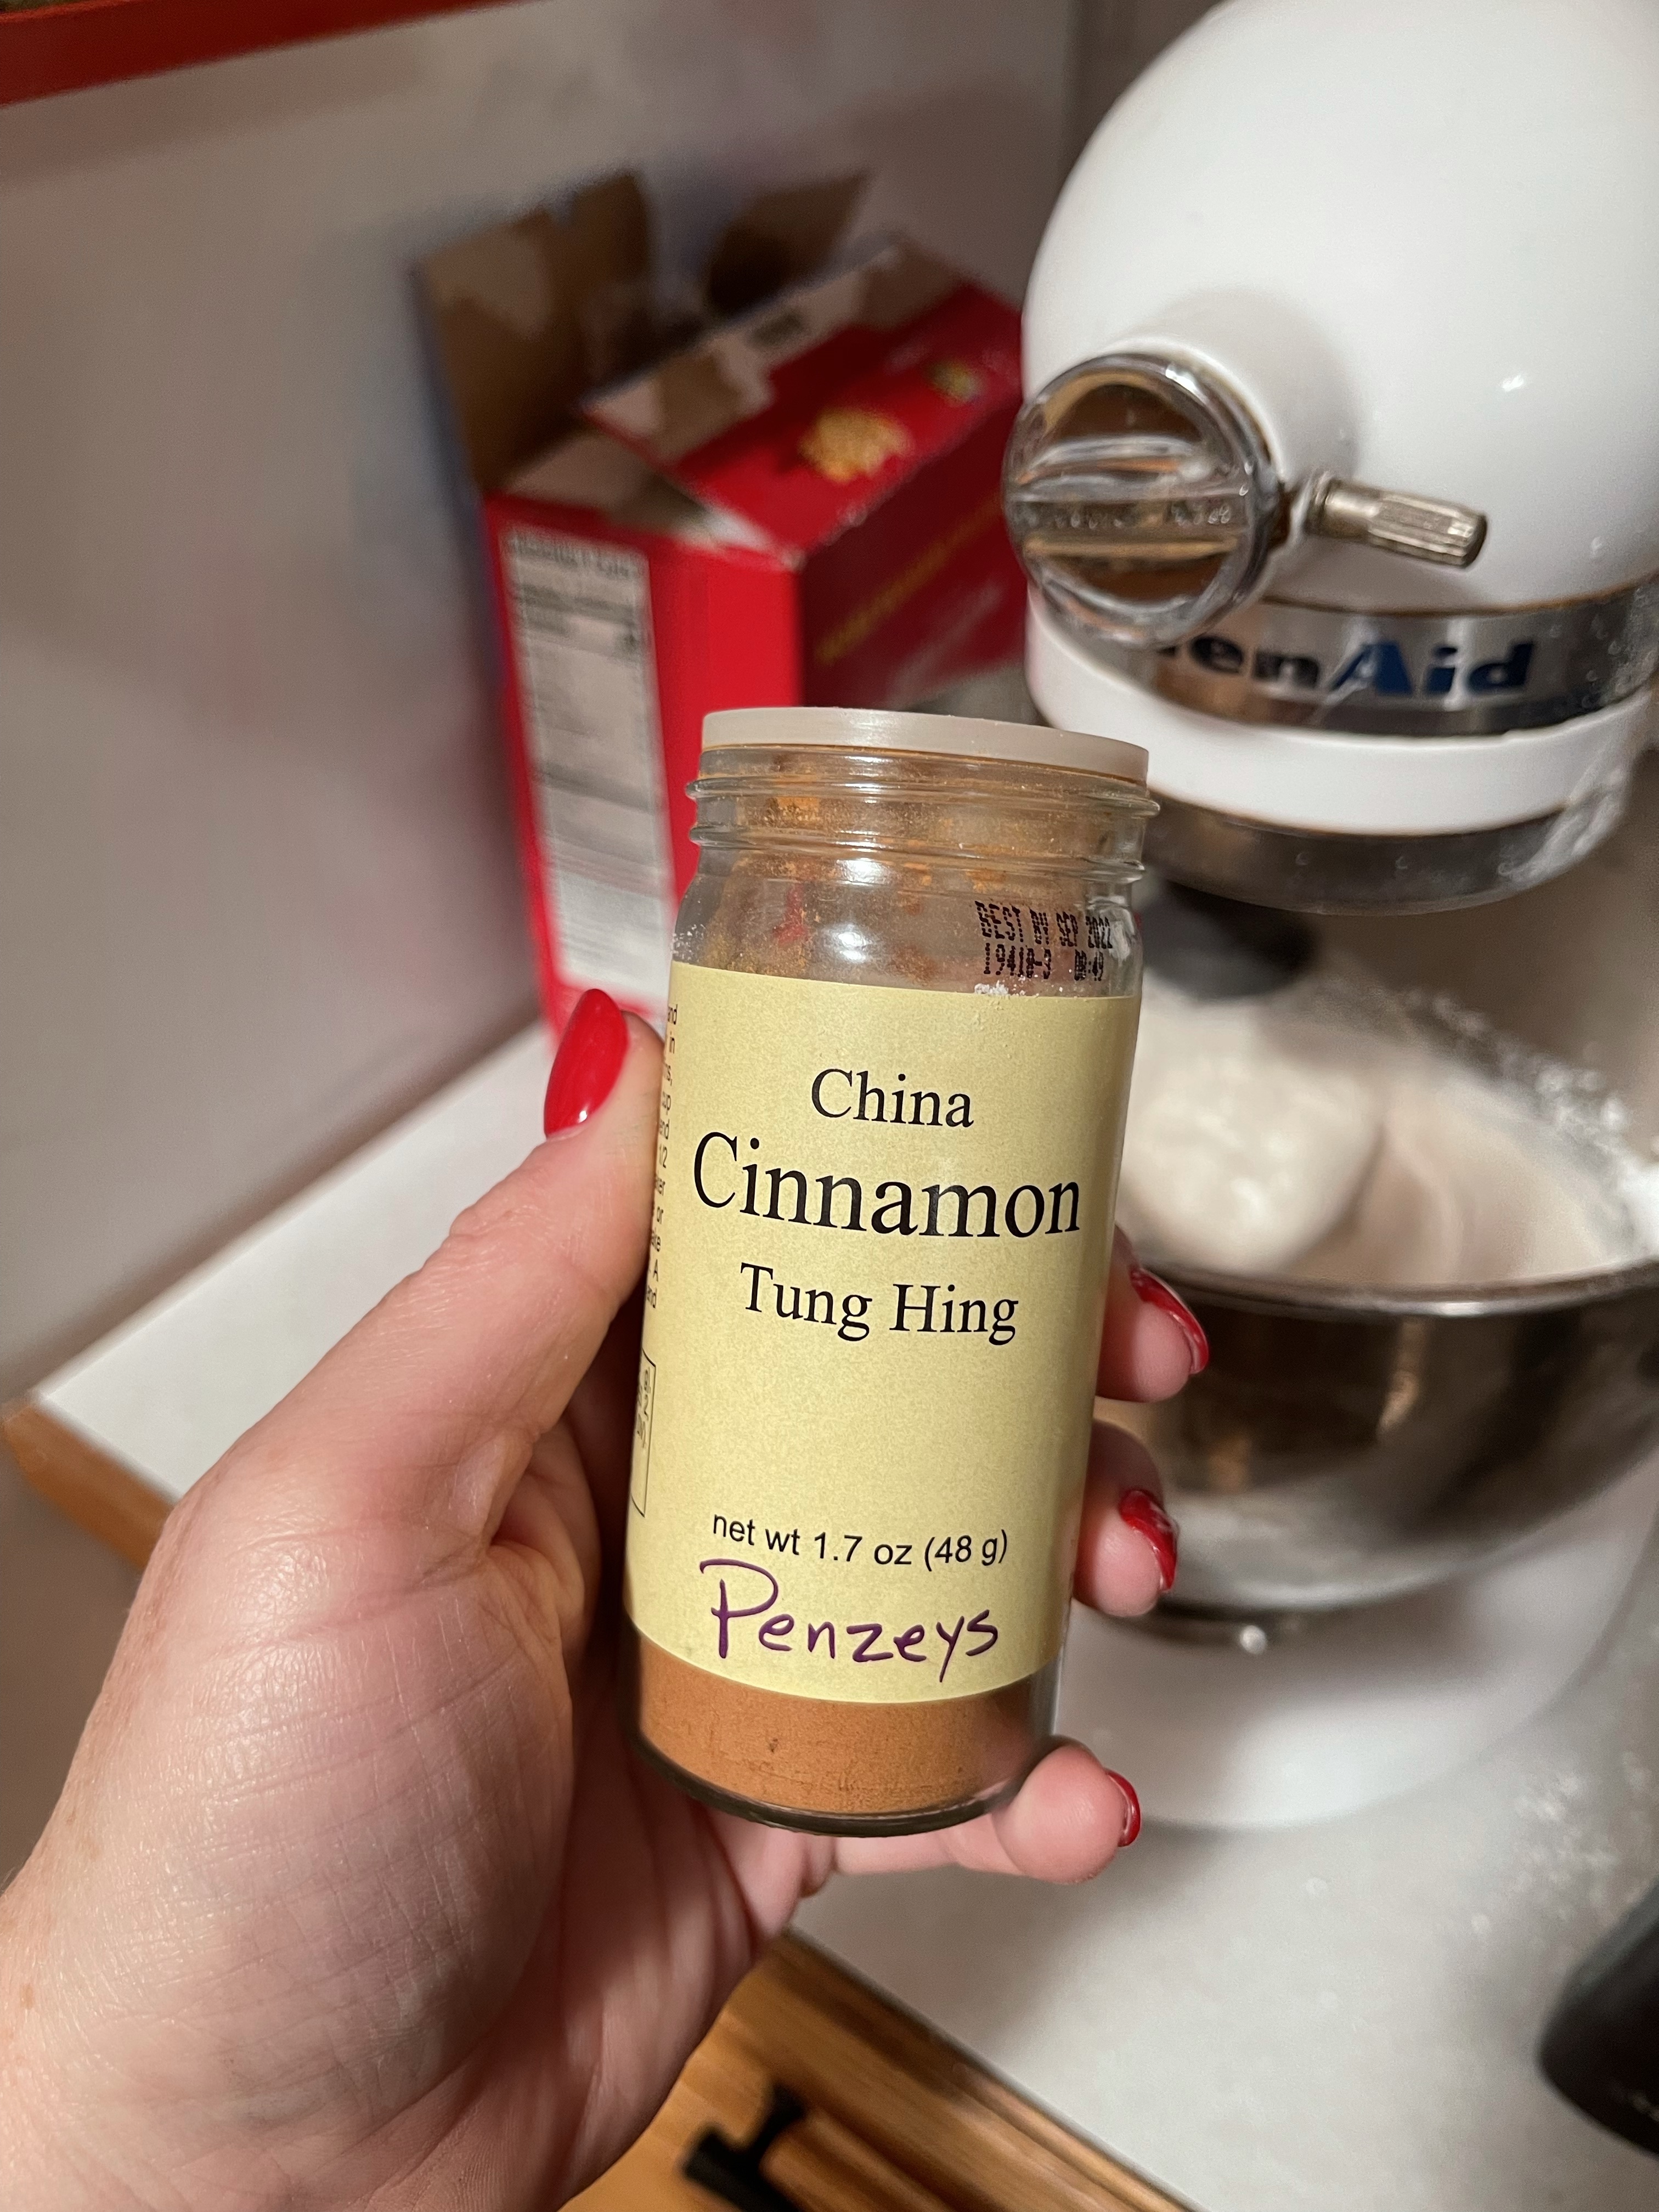
1/2 t. ground cinnamon
1/2 t. cream of tartar
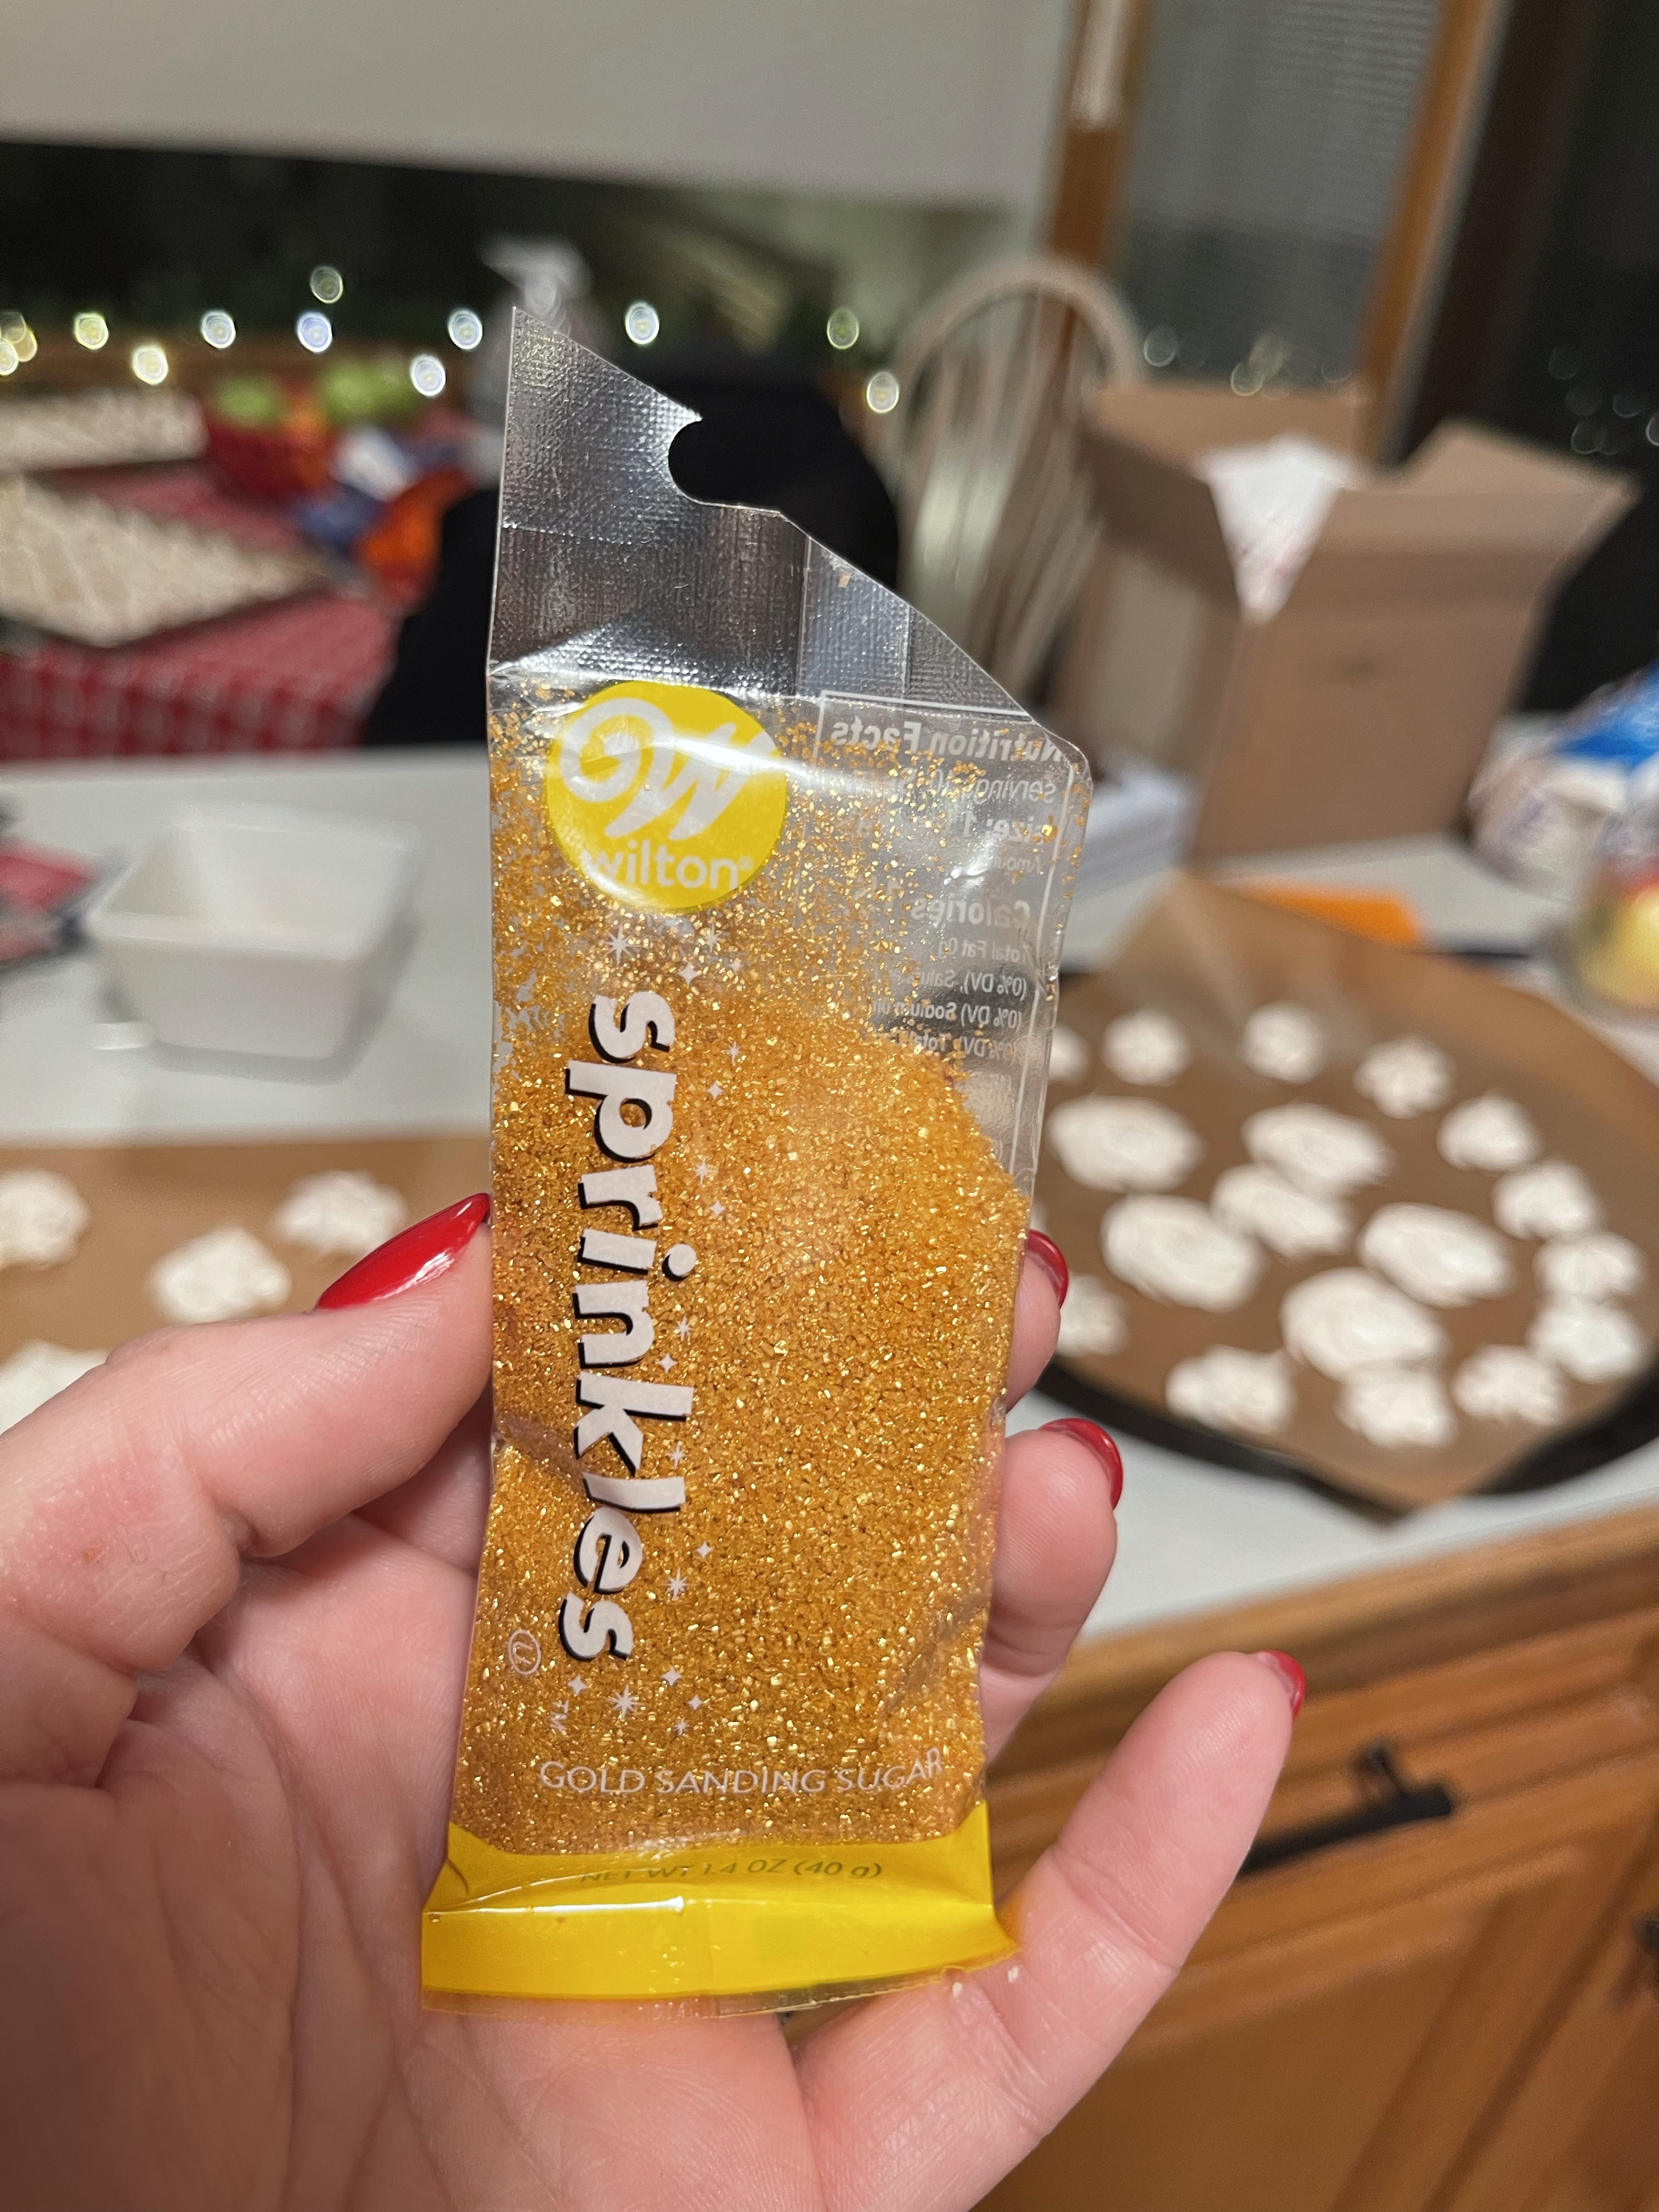
sanding sugar
Cover baking sheets with parchment/wax paper.
In a large bowl, beat egg whites until foamy. Add powdered sugar, almond extract, cinnamon, and cream of tartar; beat until very stiff.
Spoon meringue into a pastry bag fitted with a start tip. Plop stars on to wax/parchment paper. Decorate with sanding sugar
Let sit at room temperature for 30 minutes.
Yeah, that’s the way meringue is supposed to be.
My pride is restored.
The best and most surprising part of this recipe is the cinnamon. It’s subtle, and sets it apart from the rest of the Christmas cookies on the platter. Shout out to Penzey’s Spices, btw. I love that place.
After filling the pastry bag, start plopping away. You can really make any shape you like, but like I said earlier, I found stars to be the most simple. I broke out my gold sanding sugar and had the Christmas cookies looking pretty darn festive.
When they are dry, put them in an airtight container and hide them from your kids. These are my kids’ favorites!
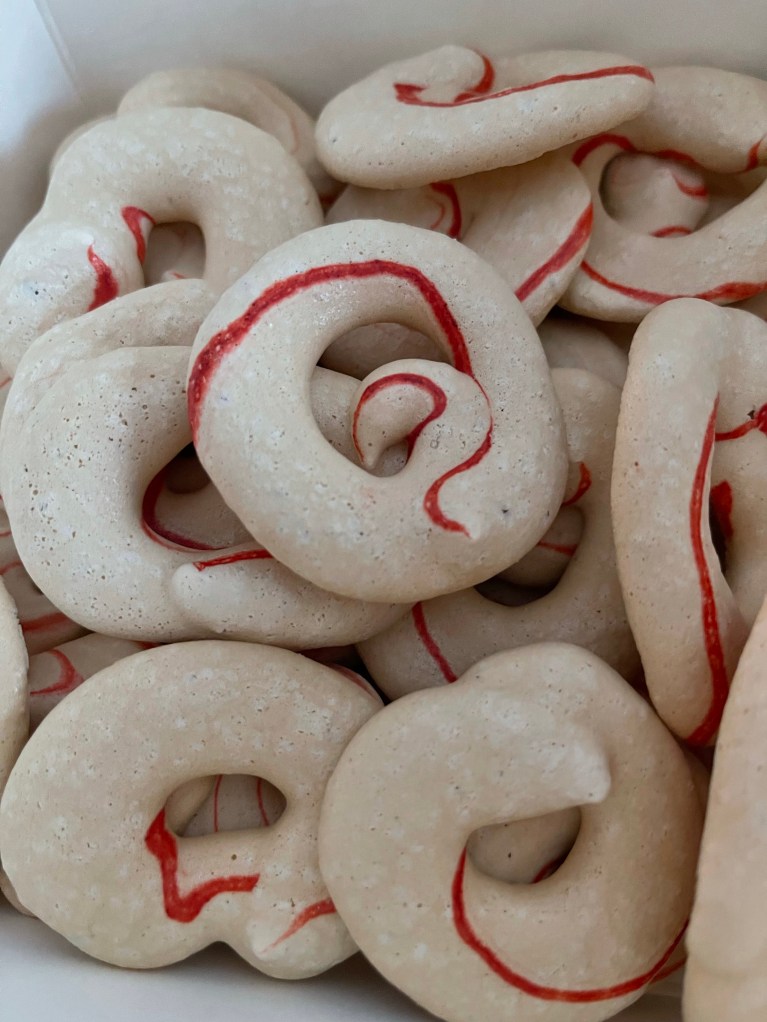
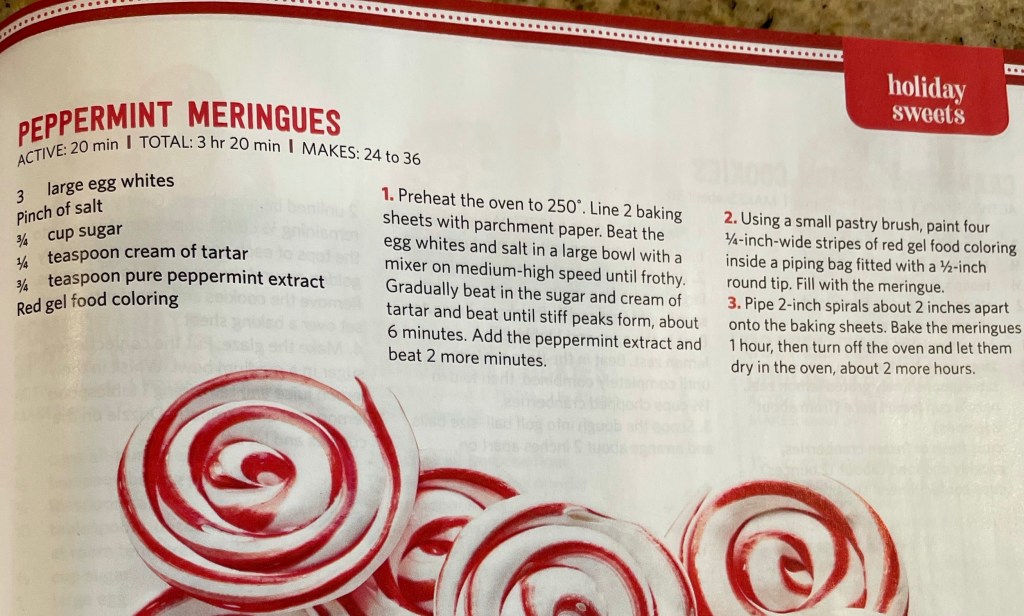
I made the Peppermint Meringues from the current Food Network magazine, and had a lot of trouble with them. Actually, nine times out of ten when I’ve made cookies from Food Network magazine, I’ve had trouble.
I’m not a baking novice by any stretch of the imagination, and if I were, this recipe would discourage me and make me think I just wasn’t cut out for baking cookies.
Again, no one is perfect. I certainly screw up. Even with cookies. At least once a year while I do my 24 days of cookies, one batch doesn’t work.
This is that batch.
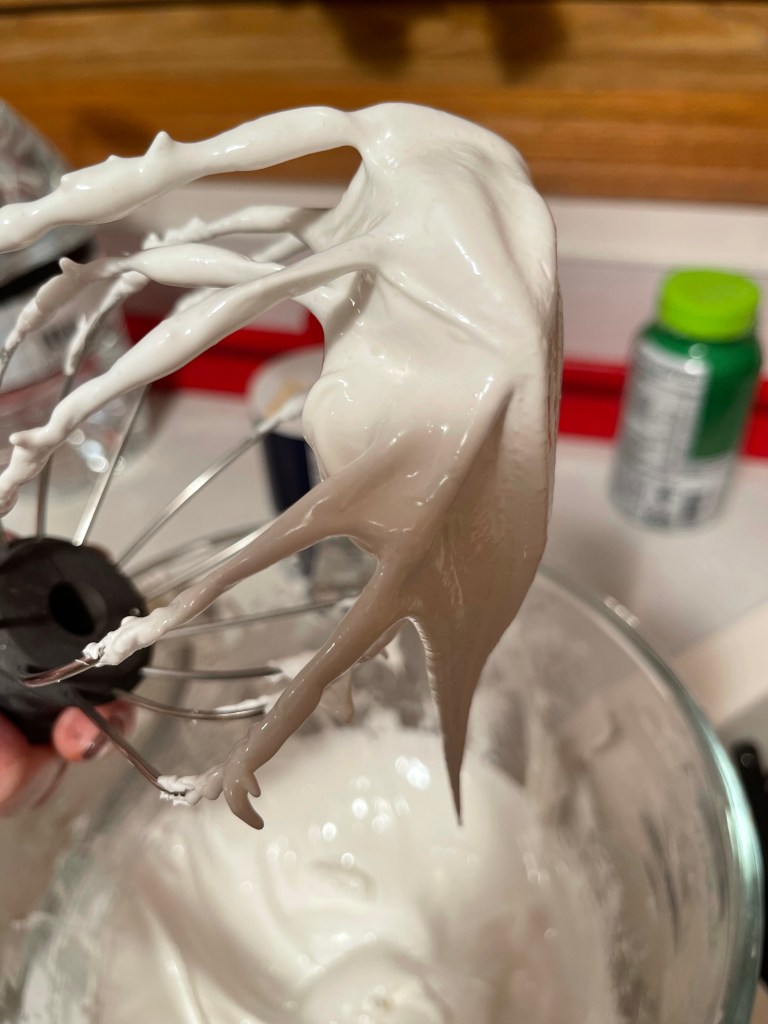
I make meringue cookies every year band have been doing so since Britney rocked a belly chain and low-rise jeans. I know the concept. So when my meringue didn’t set up (using the directions exactly as written), I was perplexed.
And then I started over. This time, I used powdered sugar instead of granular. While it wasn’t as bad as the first batch, it definitely wasn’t up to my meringue standards. That was the first problem.
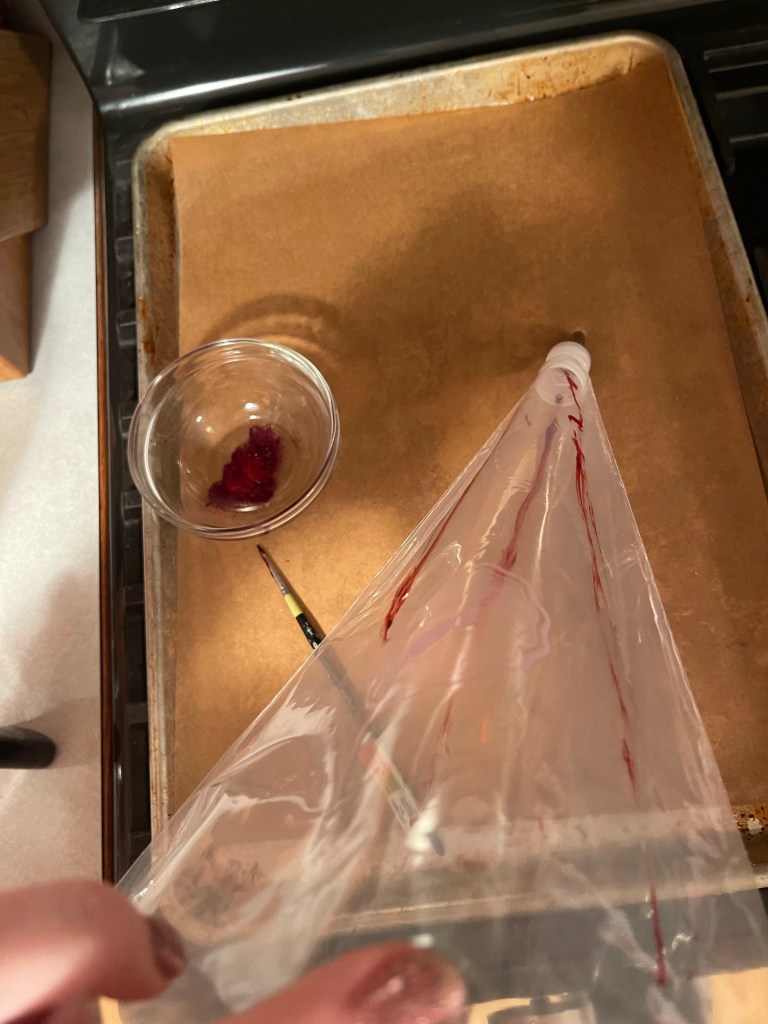
My second problem came when trying to paint the red stripes in the pastry bag. It’s tough to do, and I ended up using an unused paint brush from my arts and crafts collection. I tried a pastry brush before this, and it looked like a crime scene. It was too big, and the plastic pastry bag isn’t exactly the easiest surface to paint on.
Novice bakers aren’t going to necessarily know to try something else. Heck, I really didn’t know what to do. I totally winged it.
I piped the shapes on the parchment, and because it was a limp and runny meringue, the consistency was off. But I figured I’d try and see what happened. The red stripes did come through, but as I piped more, the color wasn’t as strong. This makes sense to me, but the photo editors at Food Network magazine didn’t get the memo that their picture was to actually look like the cookies their readers would be creating.
After the hour in the oven, I turned off the oven and had them sit in the oven for another 2 hours. As the directions state.
When I took them out, I was again not pleased.
Brown. My white runny meringues spent too long in the tanning bed before prom, and didn’t look like what they were supposed to look like. That was the final problem with this recipe.
Did anyone else make this recipe and have it turn out well? Because at this point, I’m not actually convinced anyone at the magazine tested this recipe.
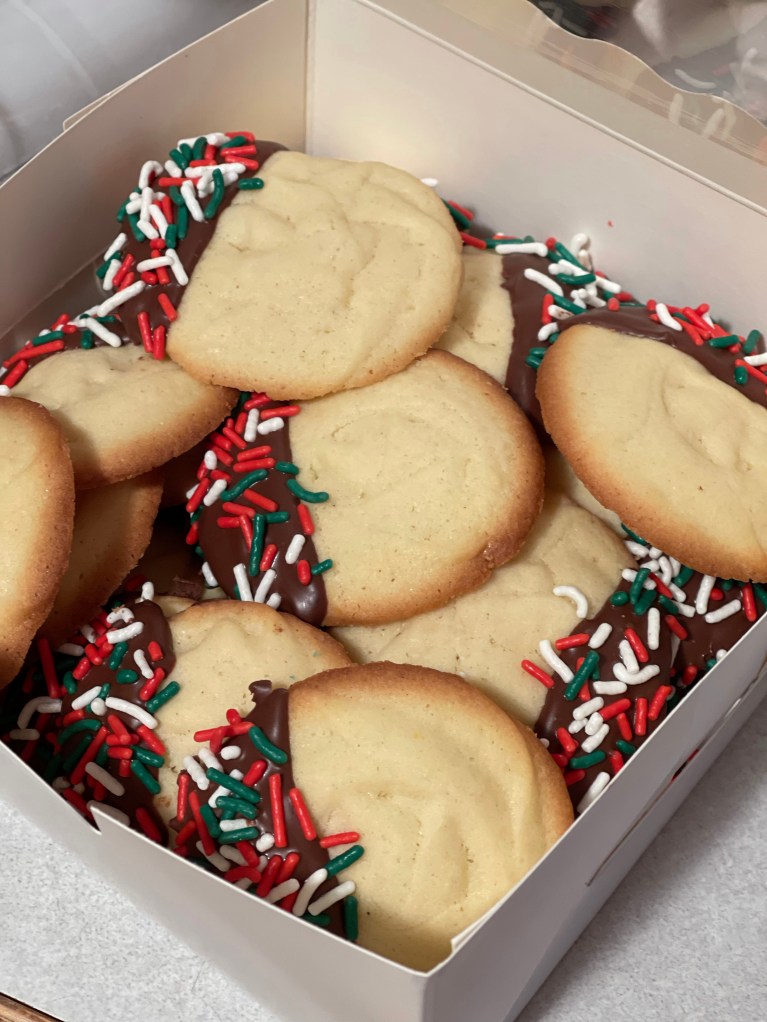
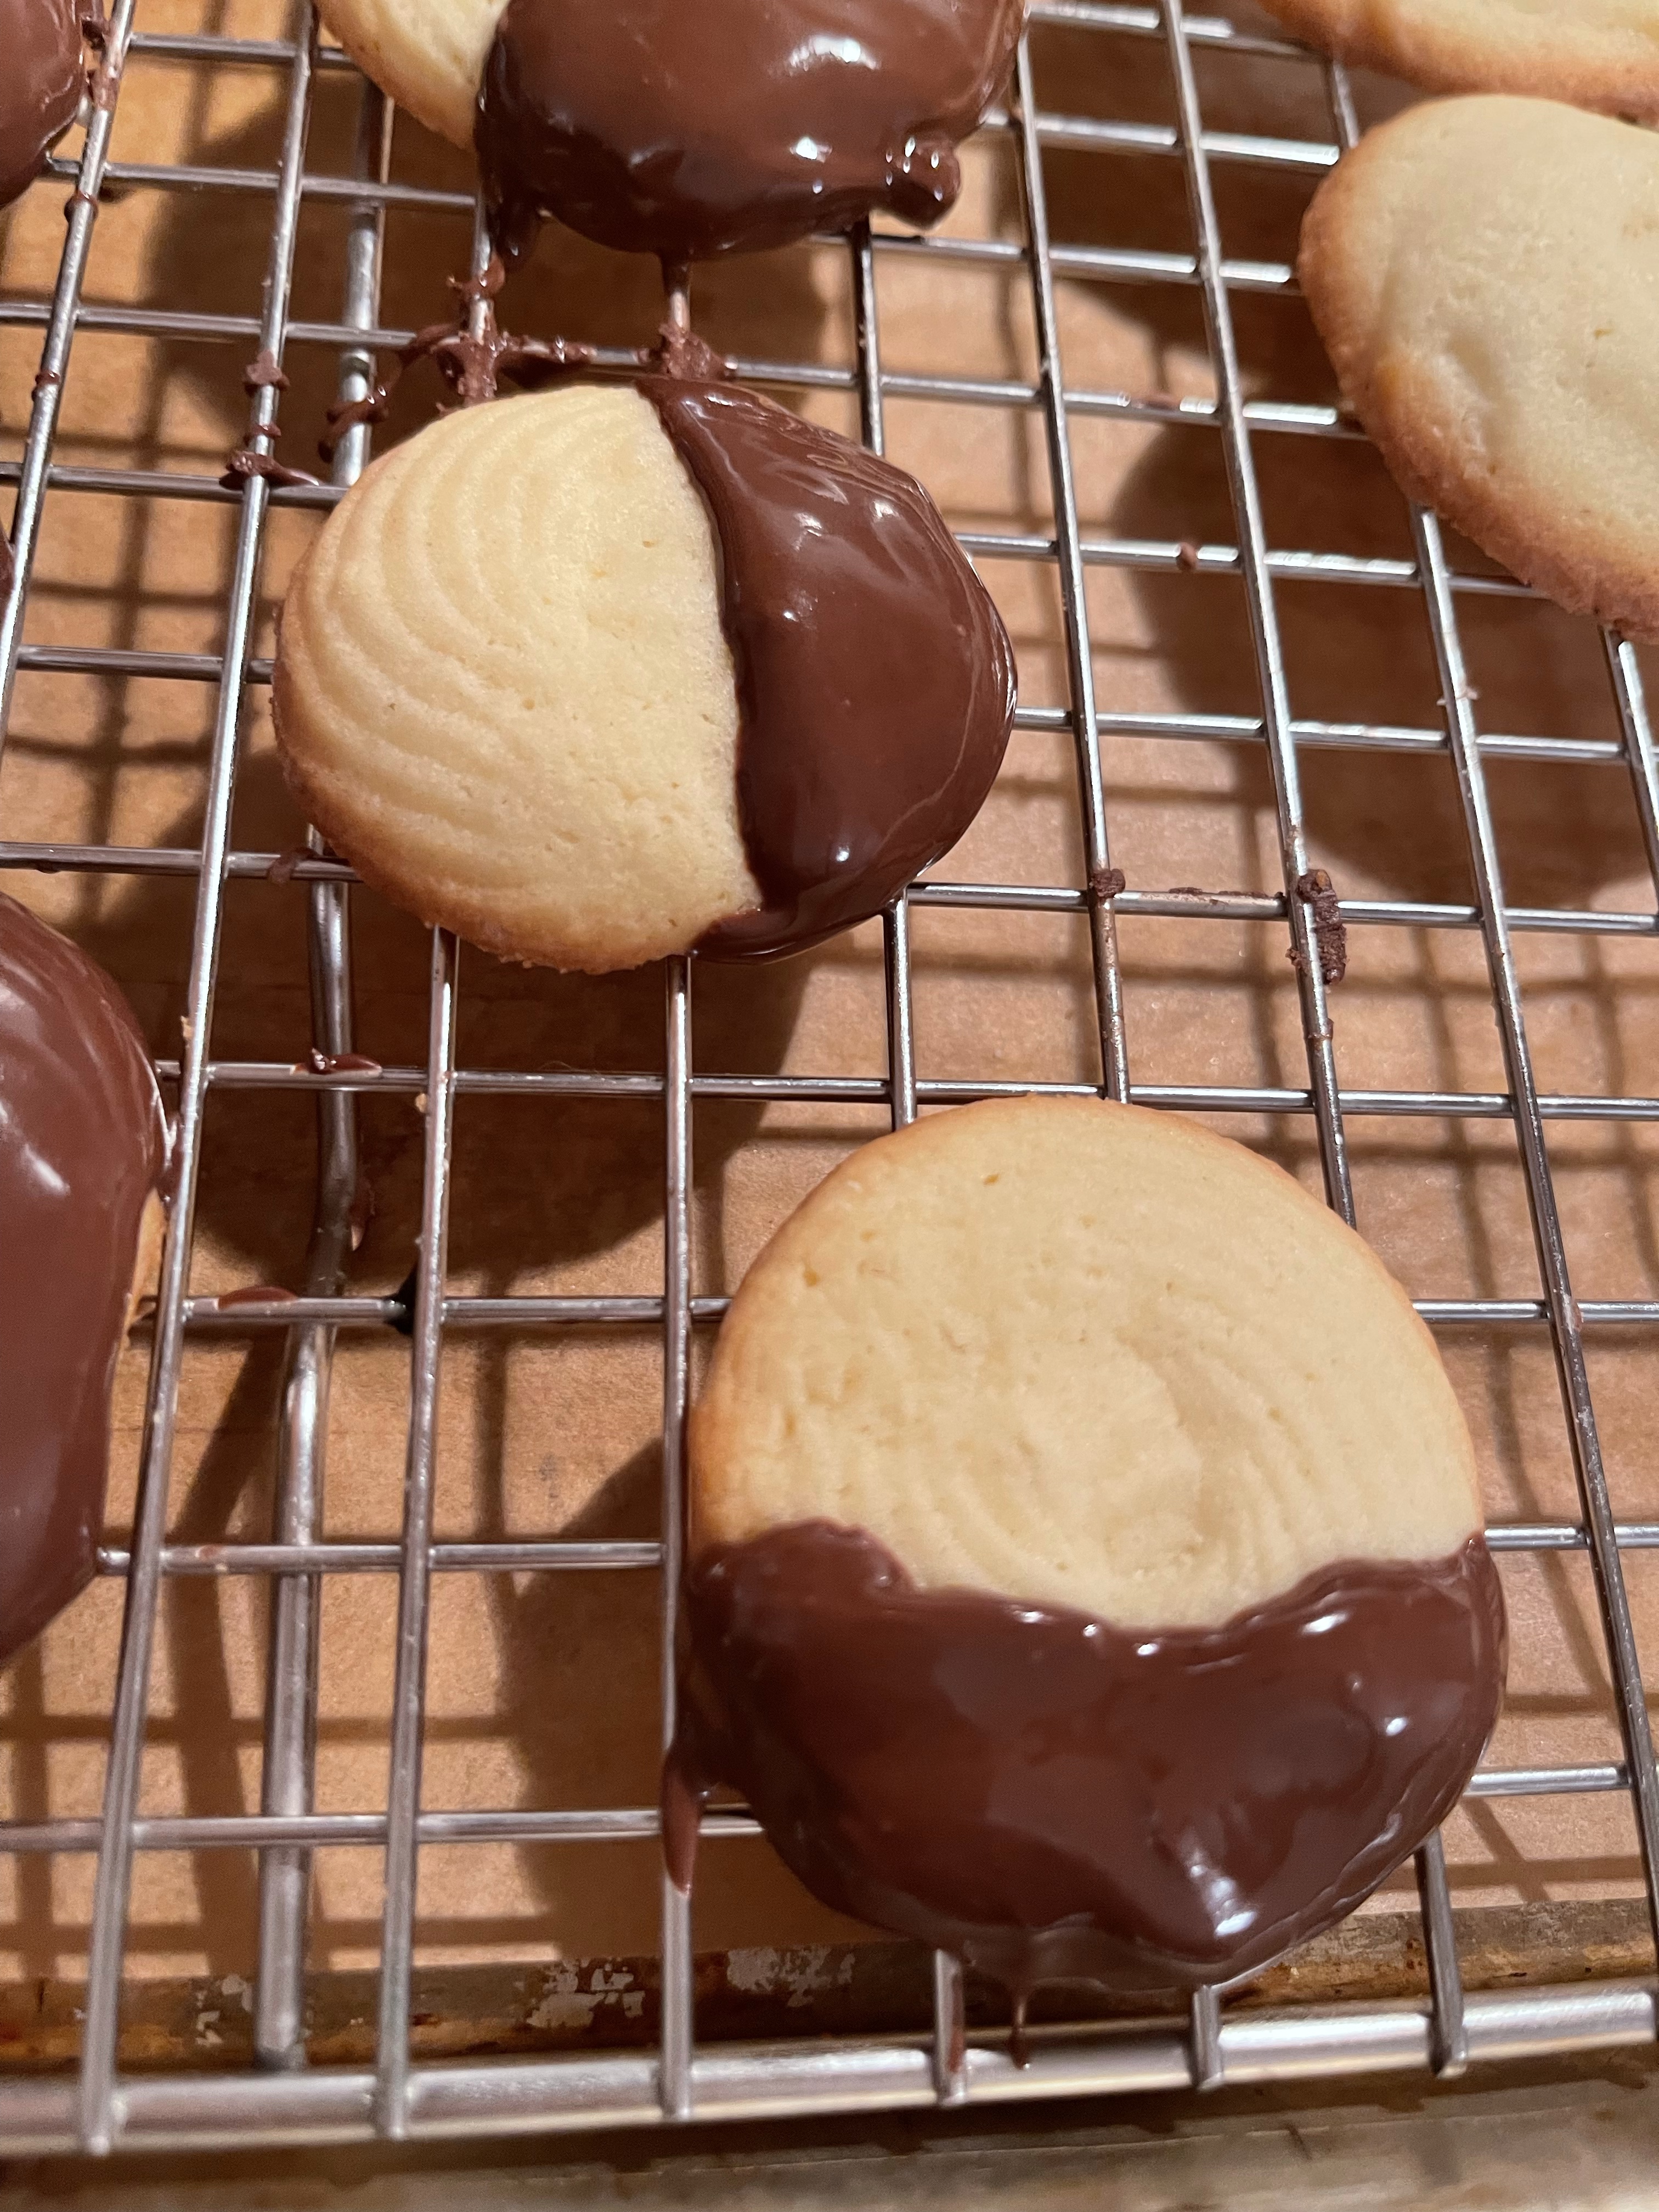
As I was saying yesterday, I felt the need to get to the bottom of the difference between Italian Sand Cookies and Italian Butter Cookies.
But first–the ever popular Italian Sand Cookies recipe.
Ingredients:
1 1/2 c flour
1/2 c cornstarch
1/2 c shortening
1/2 c butter
3/4 c. confectioners sugar
1/4 c. granulated sugar
1 1/2 t. vanilla extract
2 eggs
melted chocolate
jimmies or other sprinkles
Directions:
Cream together butter, shortening, sugars, vanilla, and eggs.
Add cornstarch and mix again
Add flour and mix again. The consistency should be like cake batter
Put batter through a pastry bag with a large start tip
Bake at 375 for 10-12 minutes. Edges should just start to be golden brown when you take them out.
Melt chocolate and dip or spoon the melted chocolate on half of the cooled cookie. Decorate with sprinkles or jimmies.
Yeah. None of that happened. (But can you imagine an International Journal of Cookie Pathology?! My scholar’s heart fills with happiness imagining such a scholarly source!)
So, I poured over research. I went to the International Journal of Cookie Pathology to find out what the difference between sand and butter cookies were. I contacted the head of culinary baking studies at the University of Rome. I put in my Freedom of Information request to Congress to open the sealed Italian Butter Cookies – Sand Cookies inquiry from the 70s.
There’s not a lot of research out there on this.
So I did my own. It was a taste test between the Butter Cookies and the Sand Cookies, and here are my scientific results:
The Italian Butter Cookies have more butter in them, and no cornstarch like the Italian Sand Cookies. And with that, the Butter Cookies are thicker and the Sand Cookies are lighter and spread out more.
As to why they are Italian? My best guess is based also on personal research: most of the best bakeries I’ve ever been to are Italian.
(I once helped plan, and then participate in, a cannoli tour in the North End of Boston. I think we went to 6 bakeries to determine which had the best cannoli. It was some of my best work.)
Thus concludes my research into this important matter.
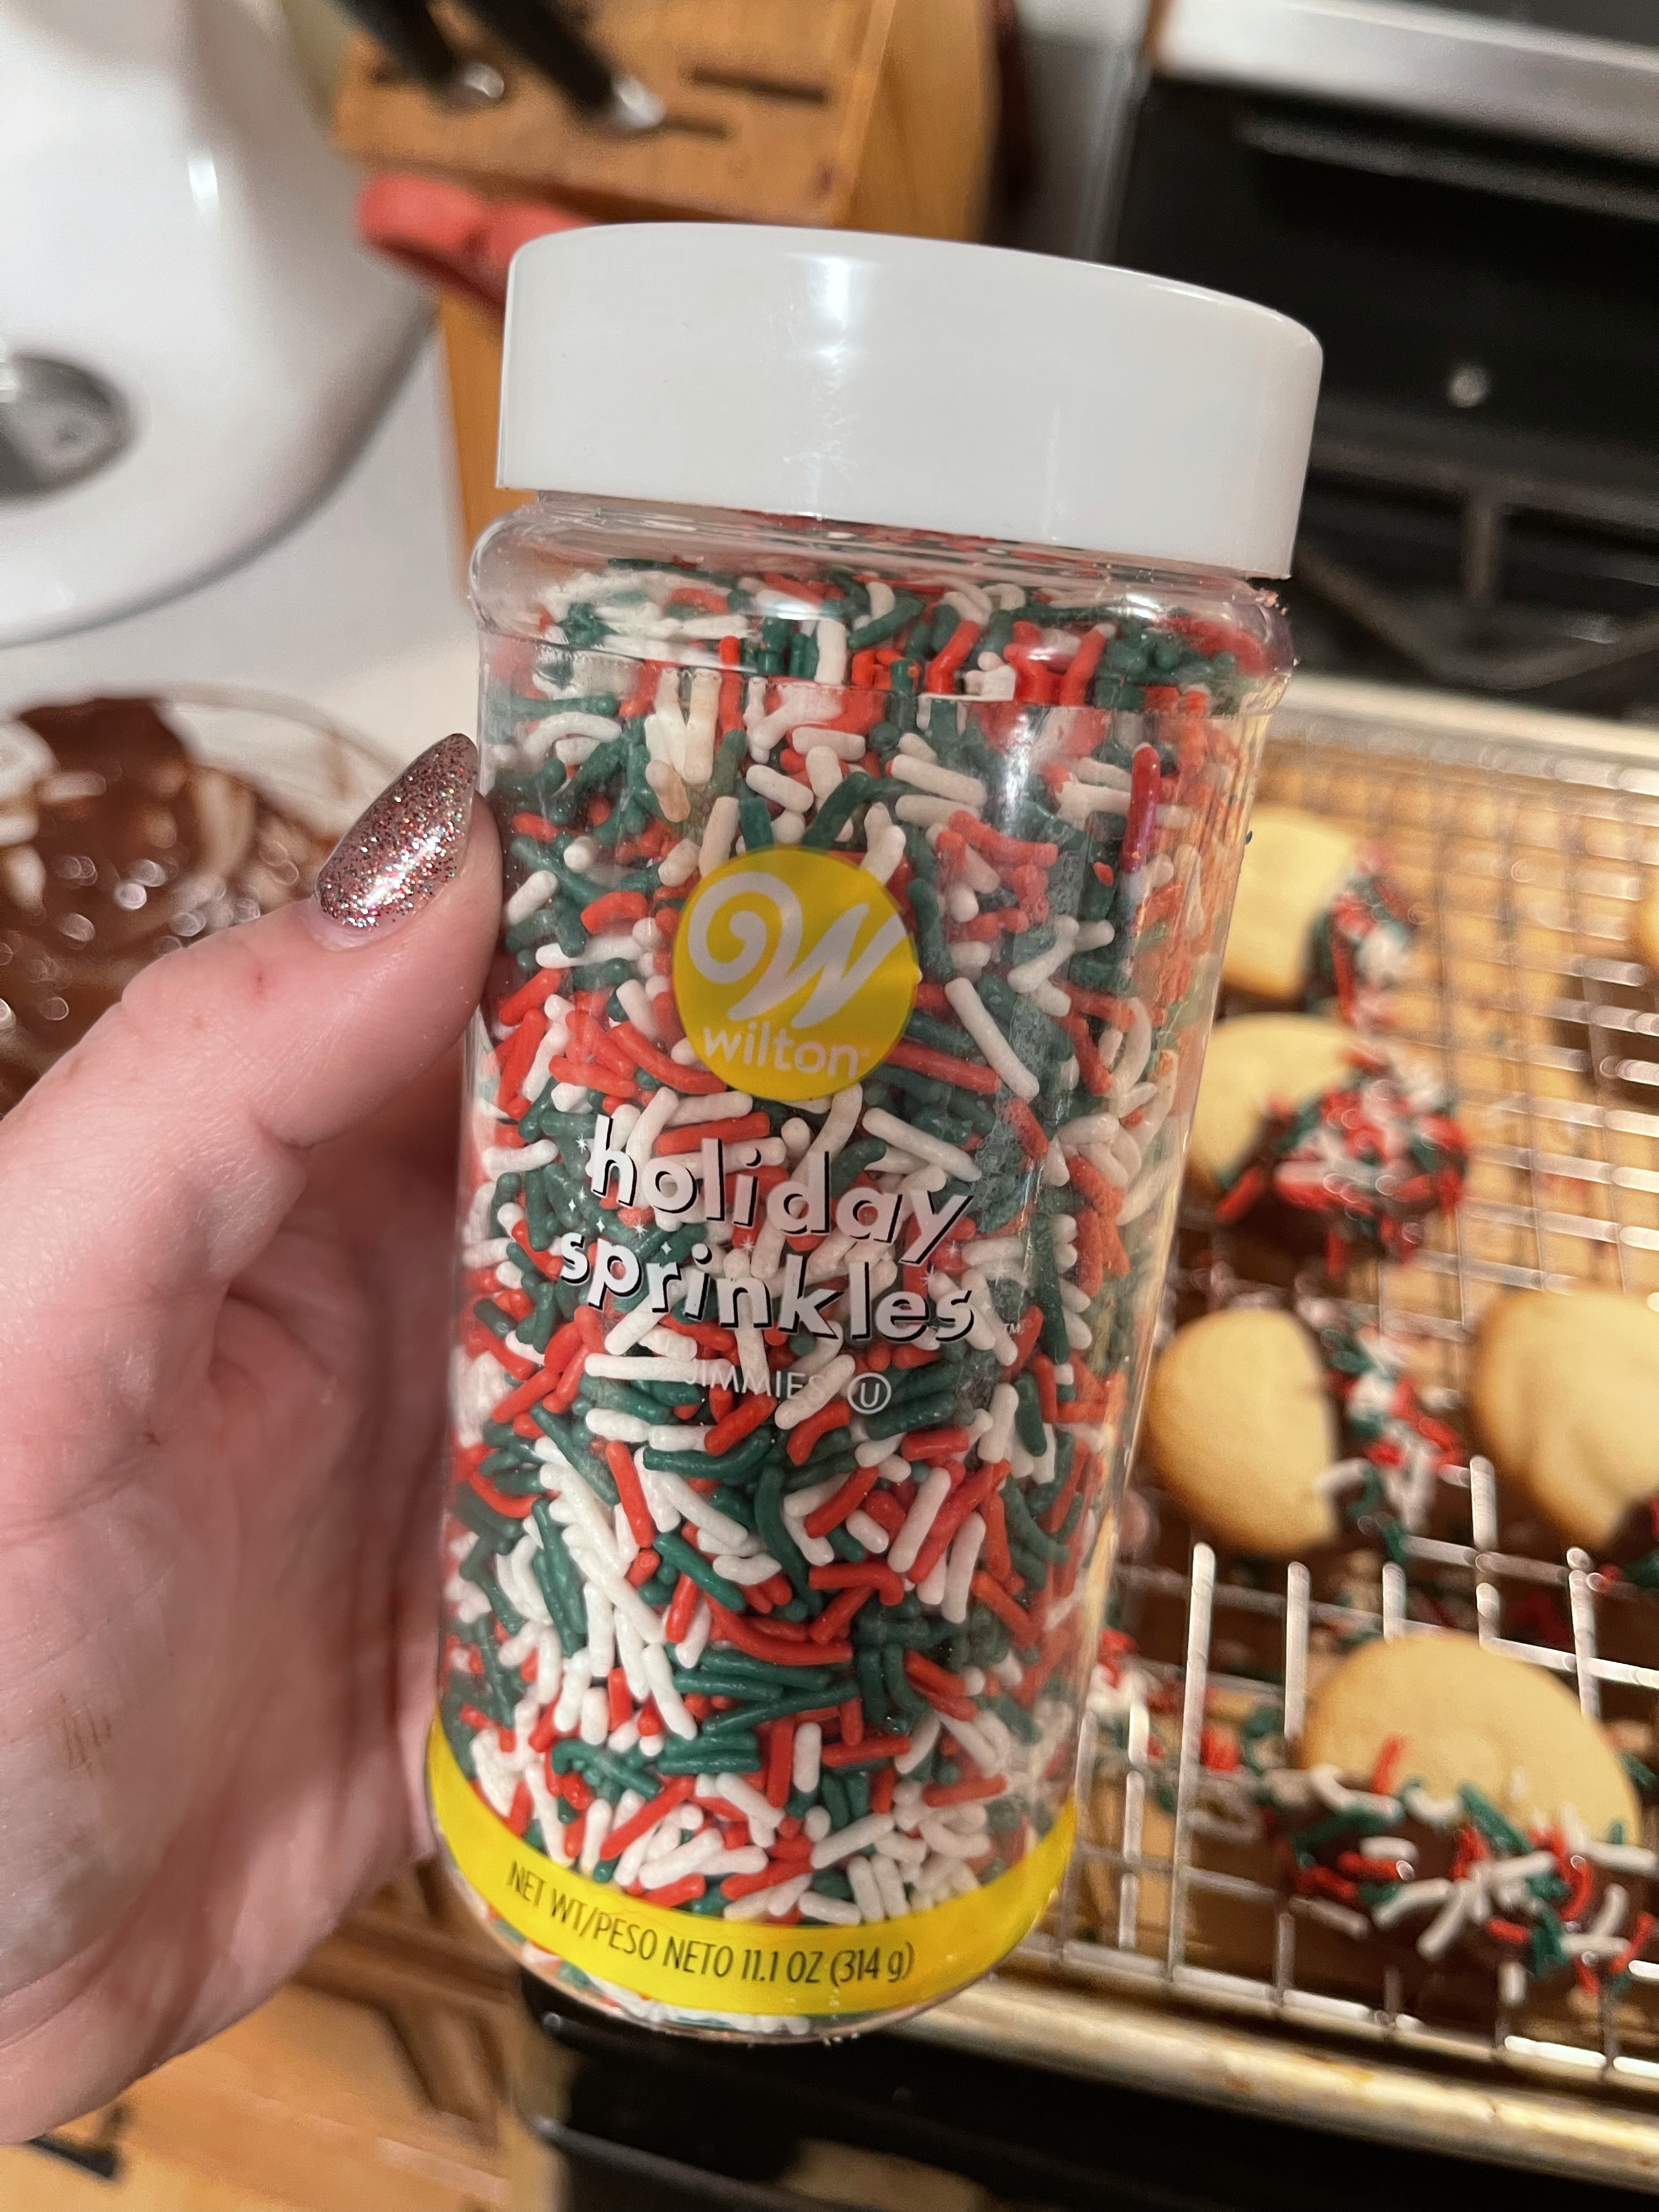
Oh, and I also replaced my supply of my jimmies for my Christmas cookies. The line at Joann’s was astronomical, especially for a weekday! Be nice to those retail workers–they showed up!
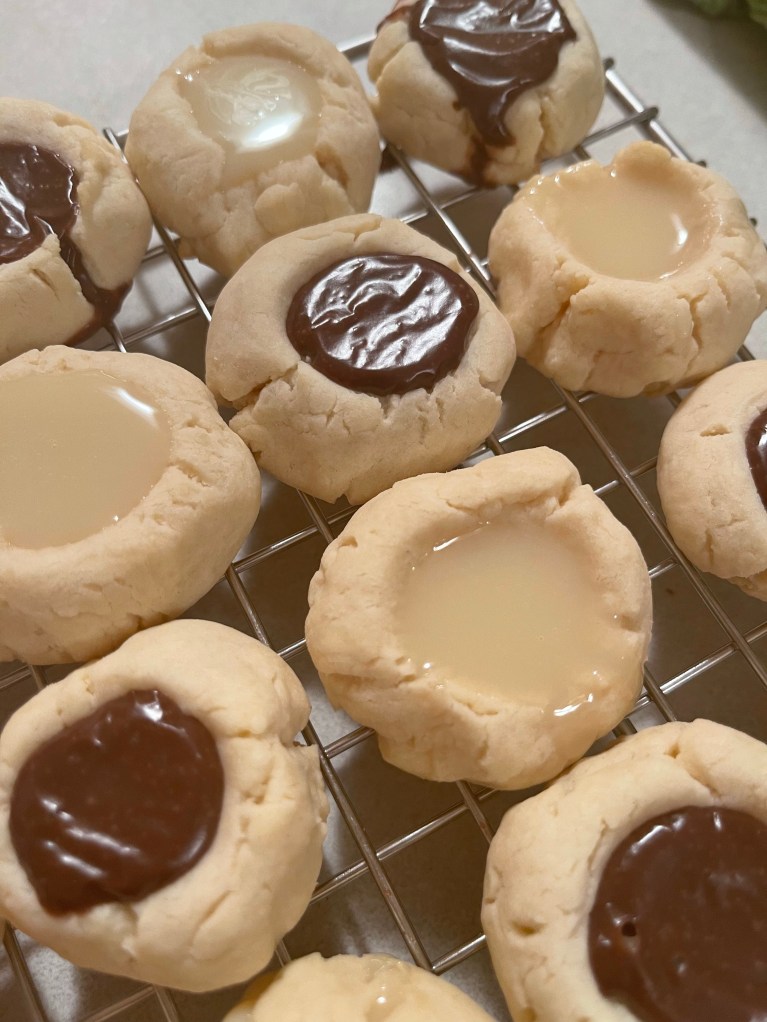
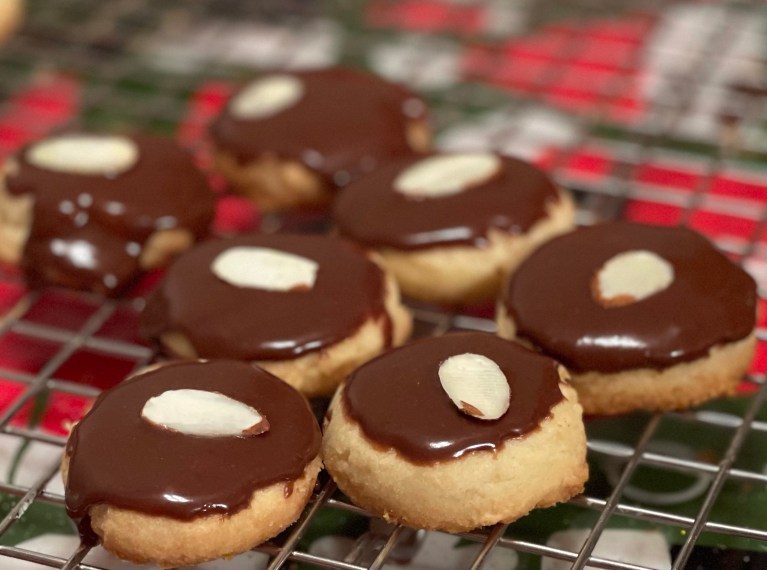
I have no idea why these are called Brown Eyed Susans. Maybe they look like eyeballs? But I don’t want to think about that for too long, nor do I want to think about why they are Susan’s eyeballs.
Brown Eyed Susans
Ingredients:
1 cup butter
3 T sugar
1 t almond extract
1/4 t salt
2 c all purpose flour
Cream the butter with a mixer and add sugar, almond extract, and salt. Add flour. Place on to parchment papered cookie sheet in rounded tablespoons, then flatten either with a glass or your fingers. Bake at 400 for 10-12 minutes. Cool on rack. Frost and top with sliced or chopped almonds.
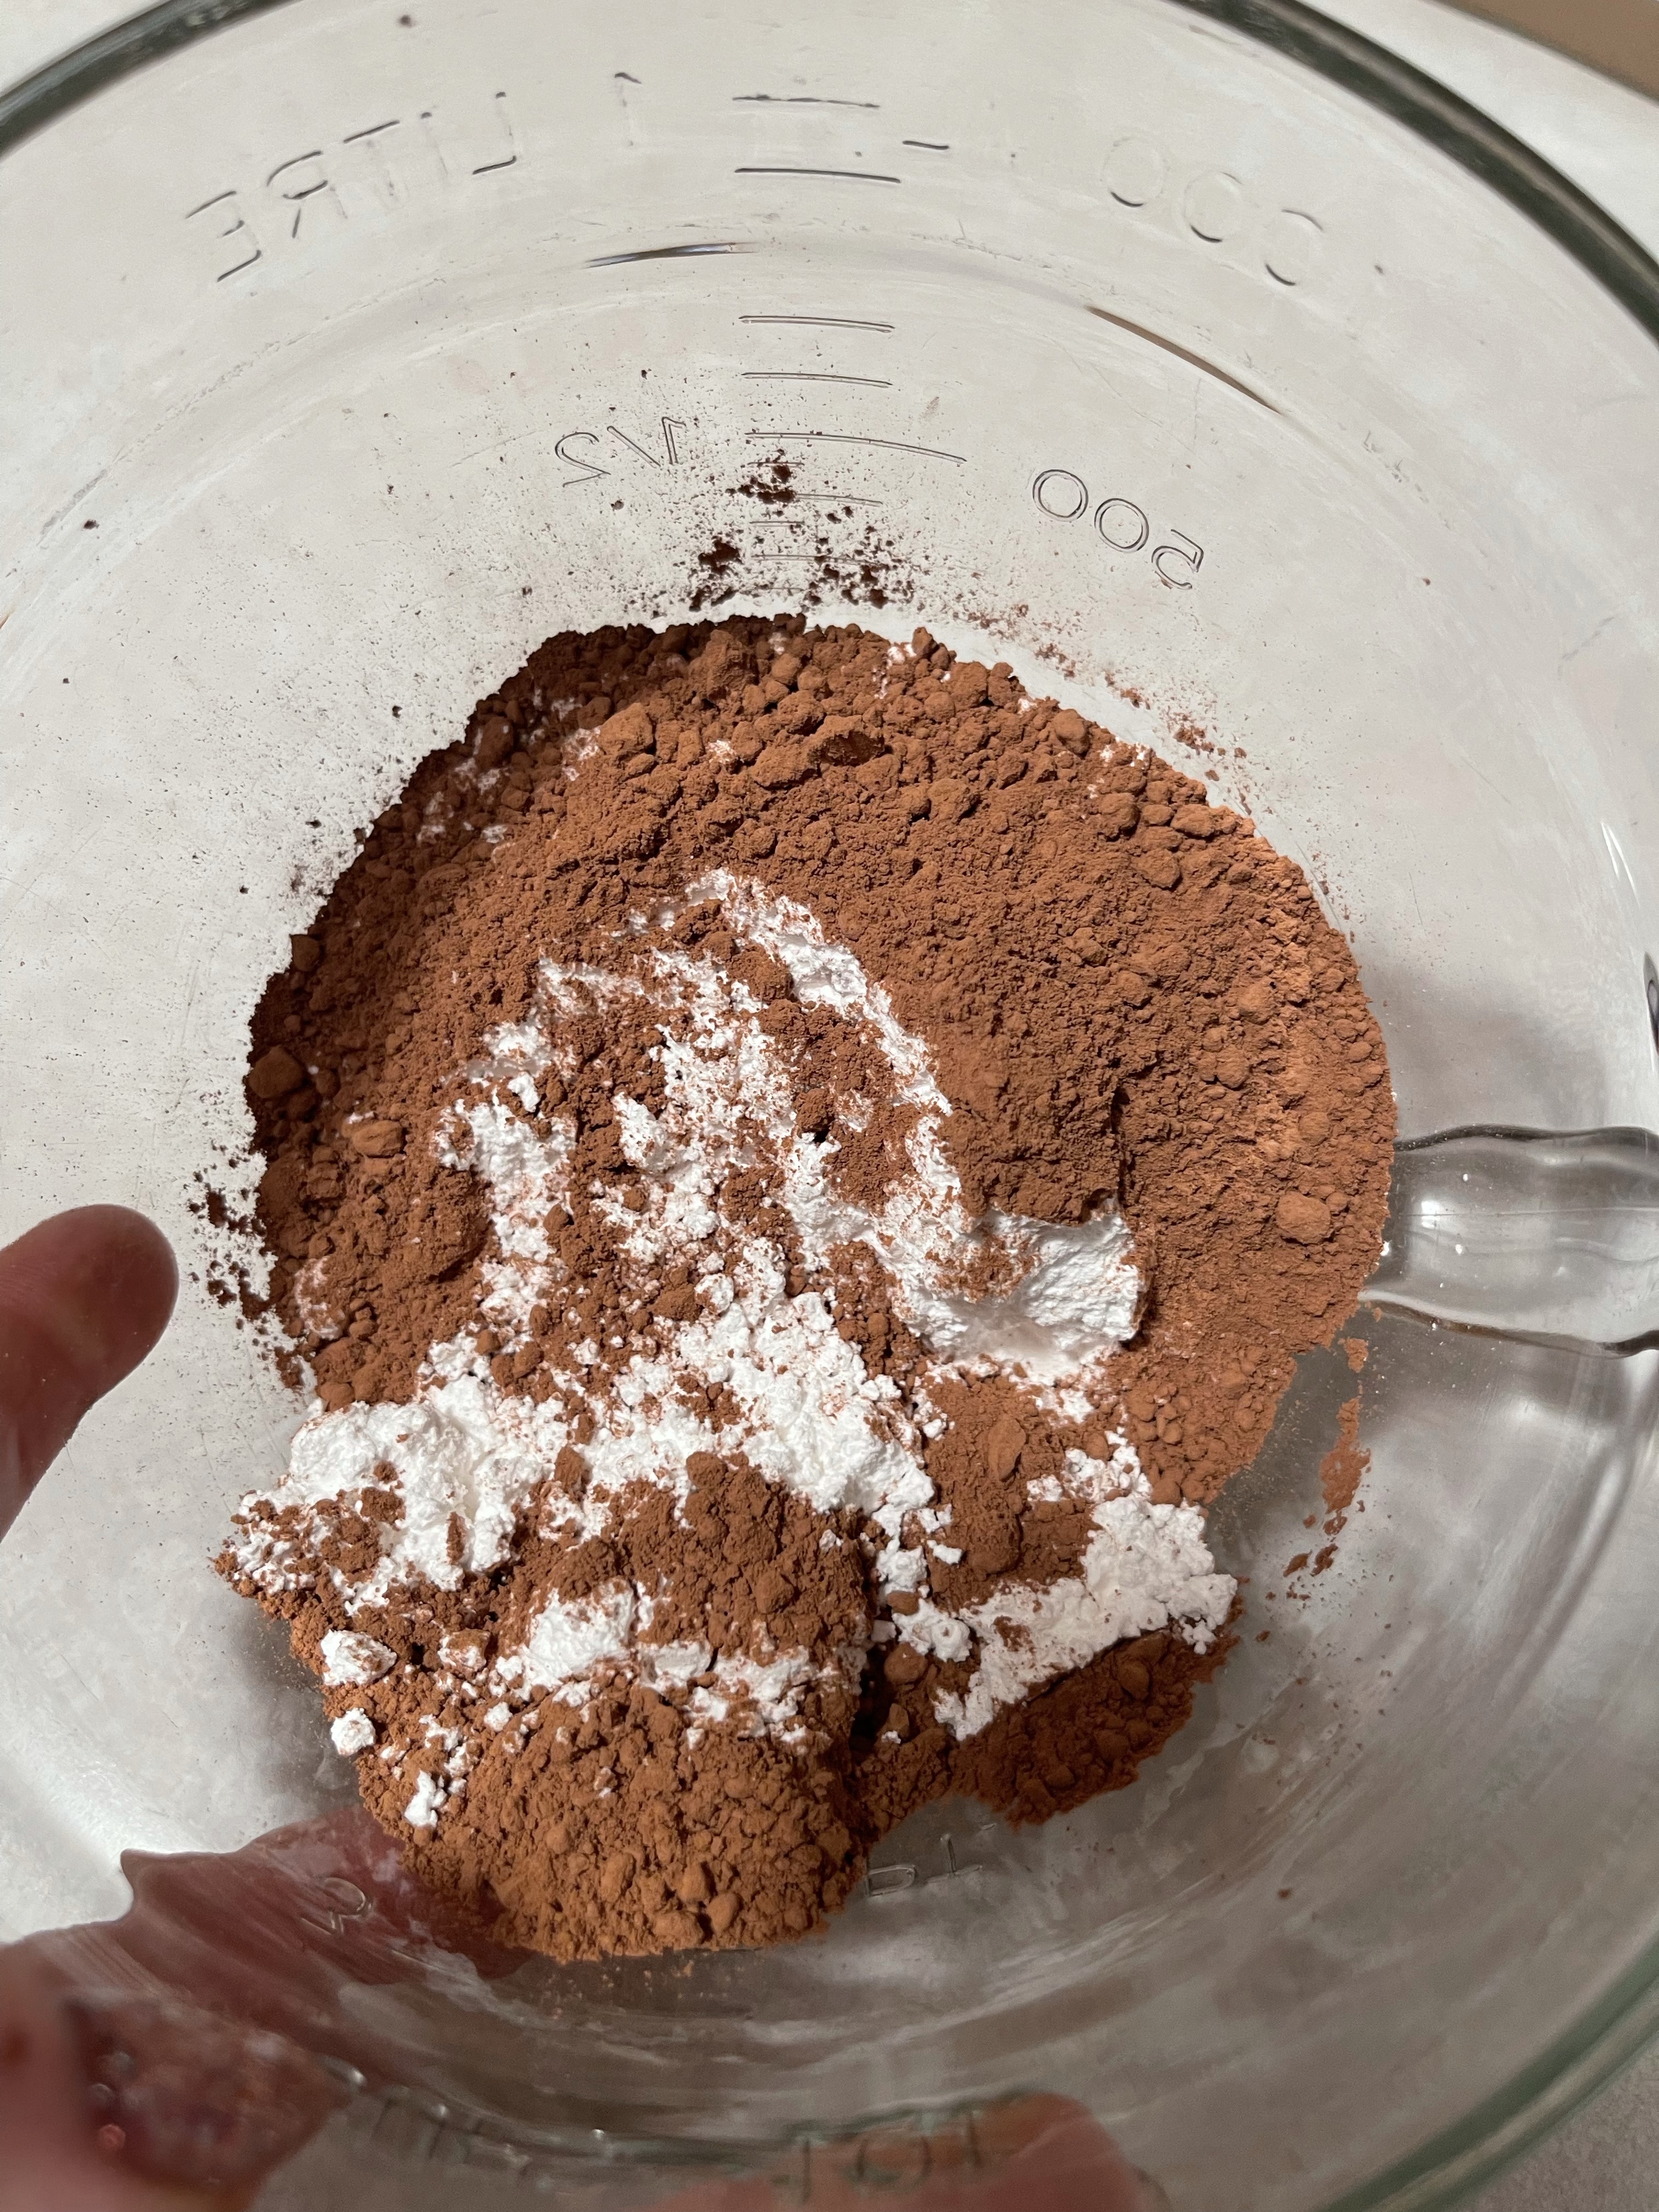
Frosting:
1 c powdered sugar
2 T cocoa
hot water
1/2 t vanilla
sliced or chopped almonds
Blend sugar and cocoa, add just enough hot water to make frosting spreading consistency. Stir with whisk. Add vanilla.
I will admit, I was skeptical with these. Only 3T of sugar? Weird frosting that asks for hot water, and not even a measurement with that? What sort of Christmas cookie sorcery is this?
But it all worked out.
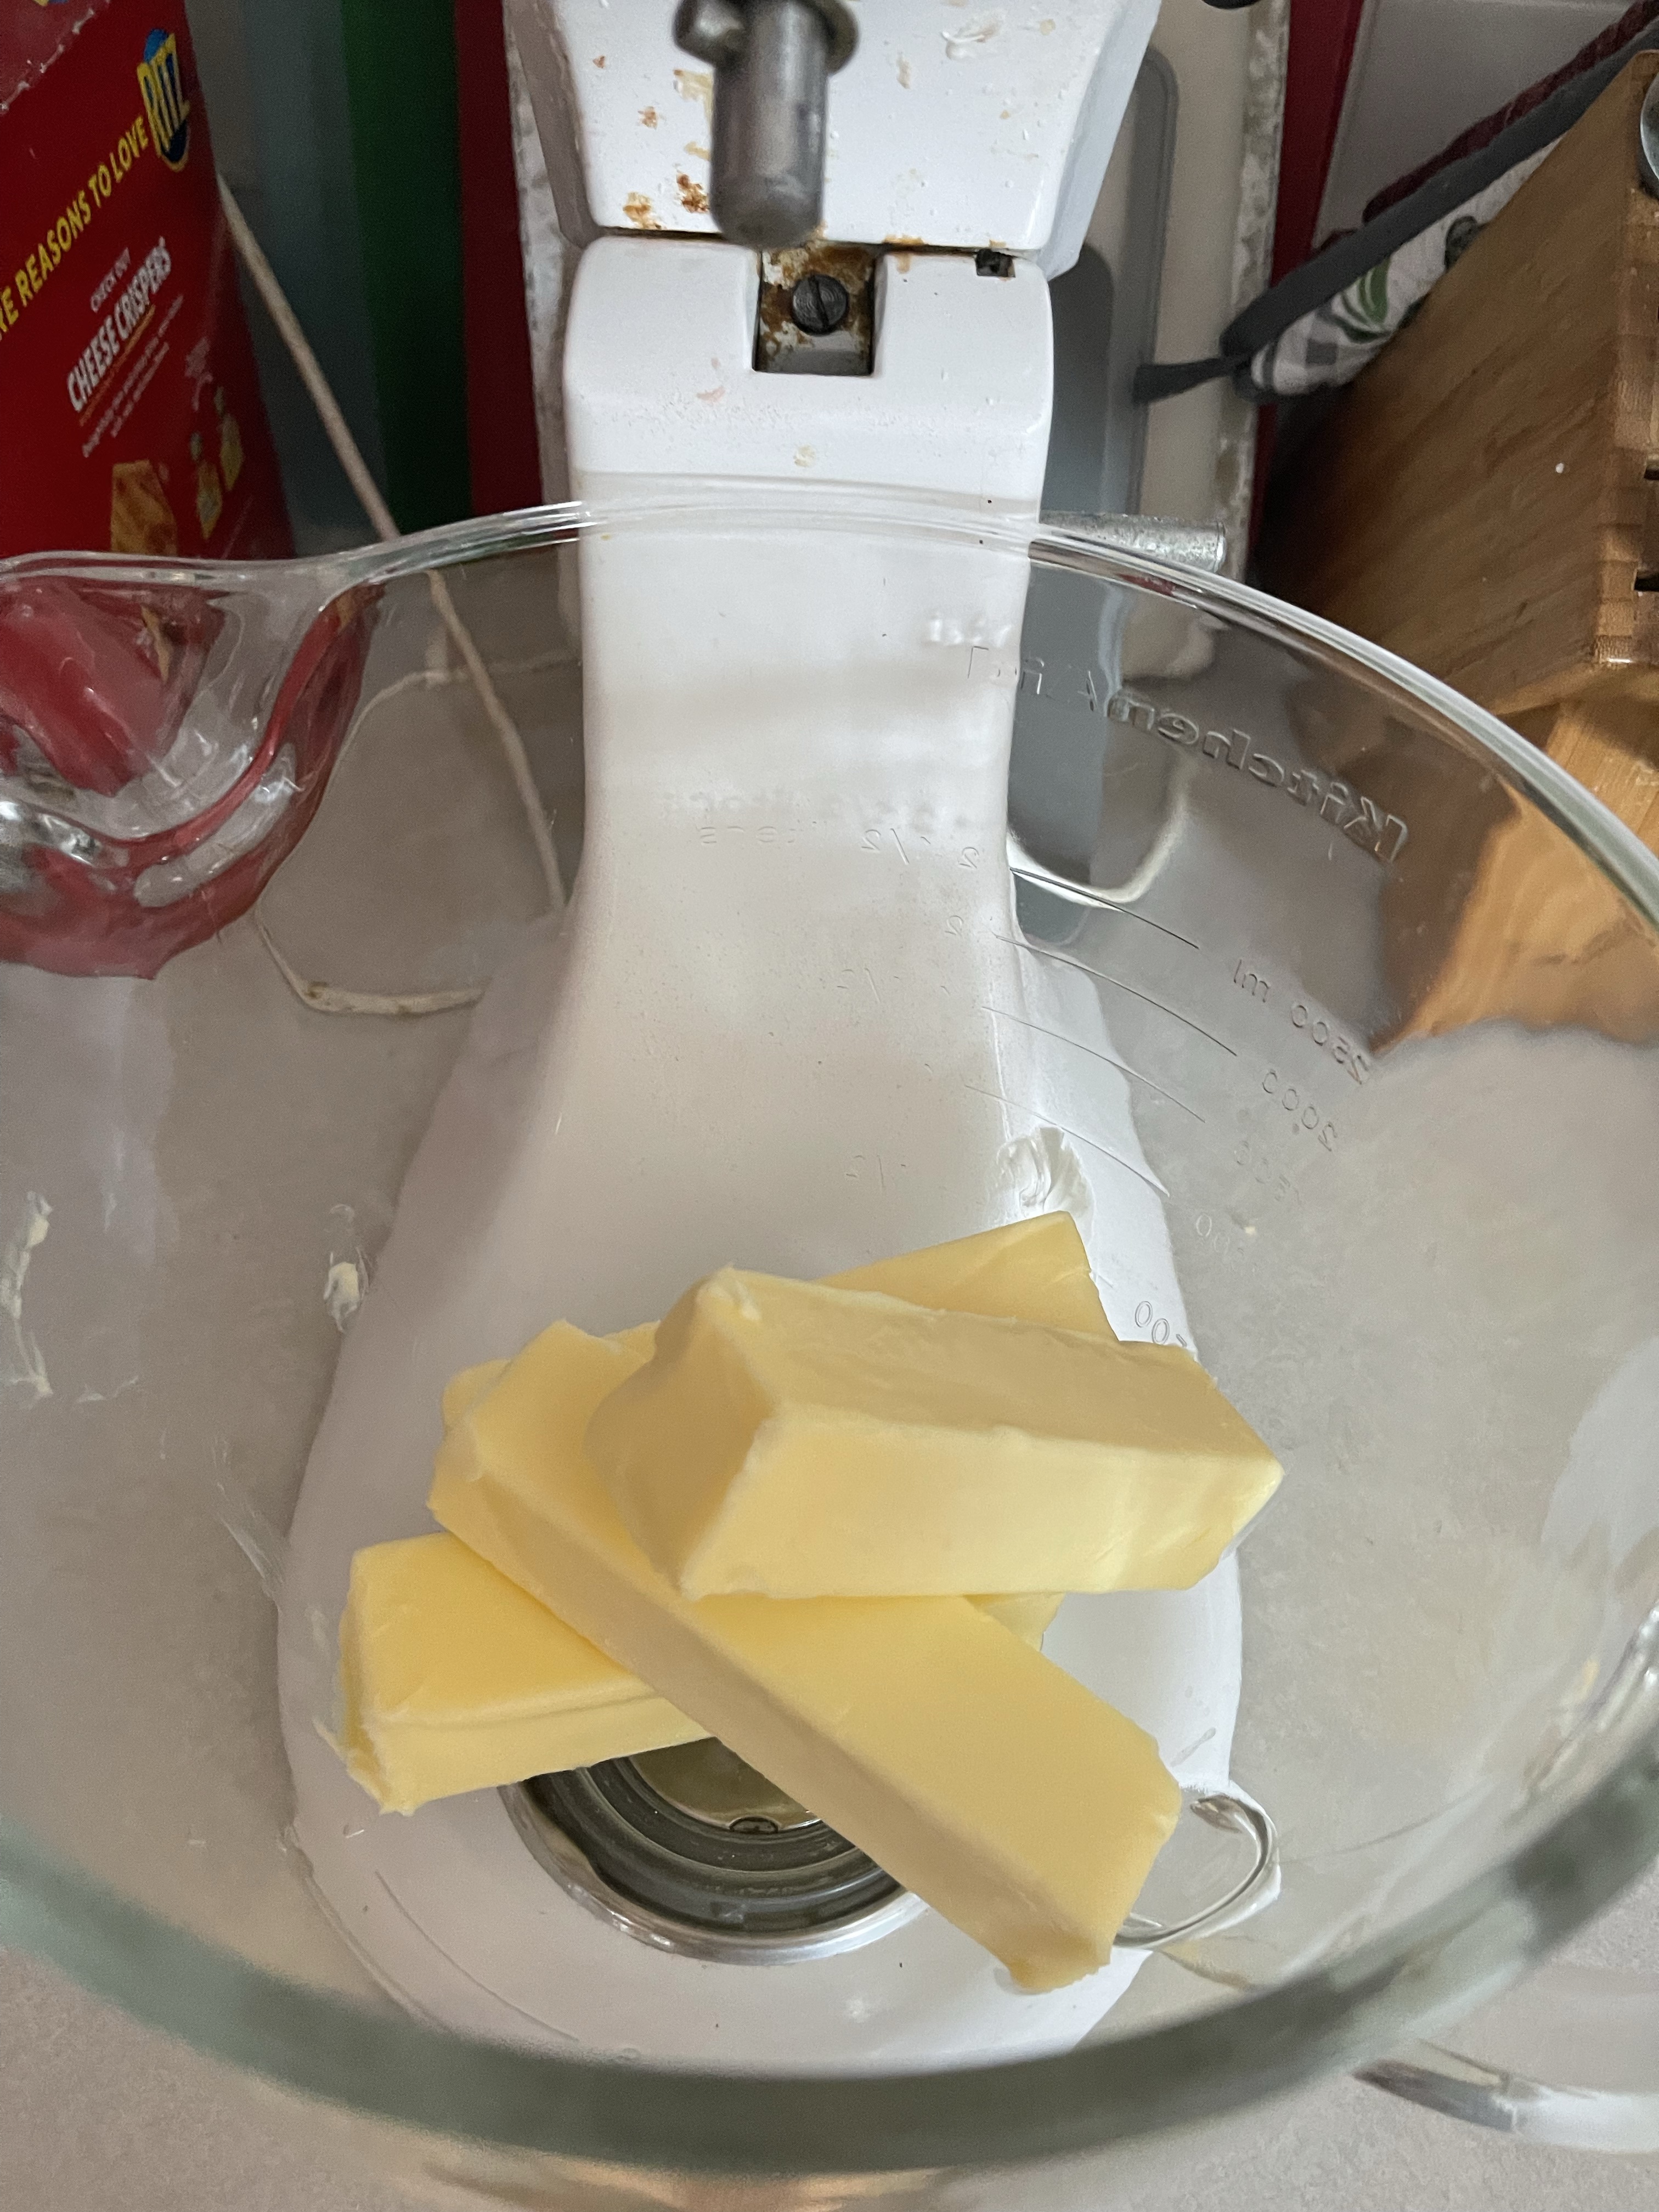
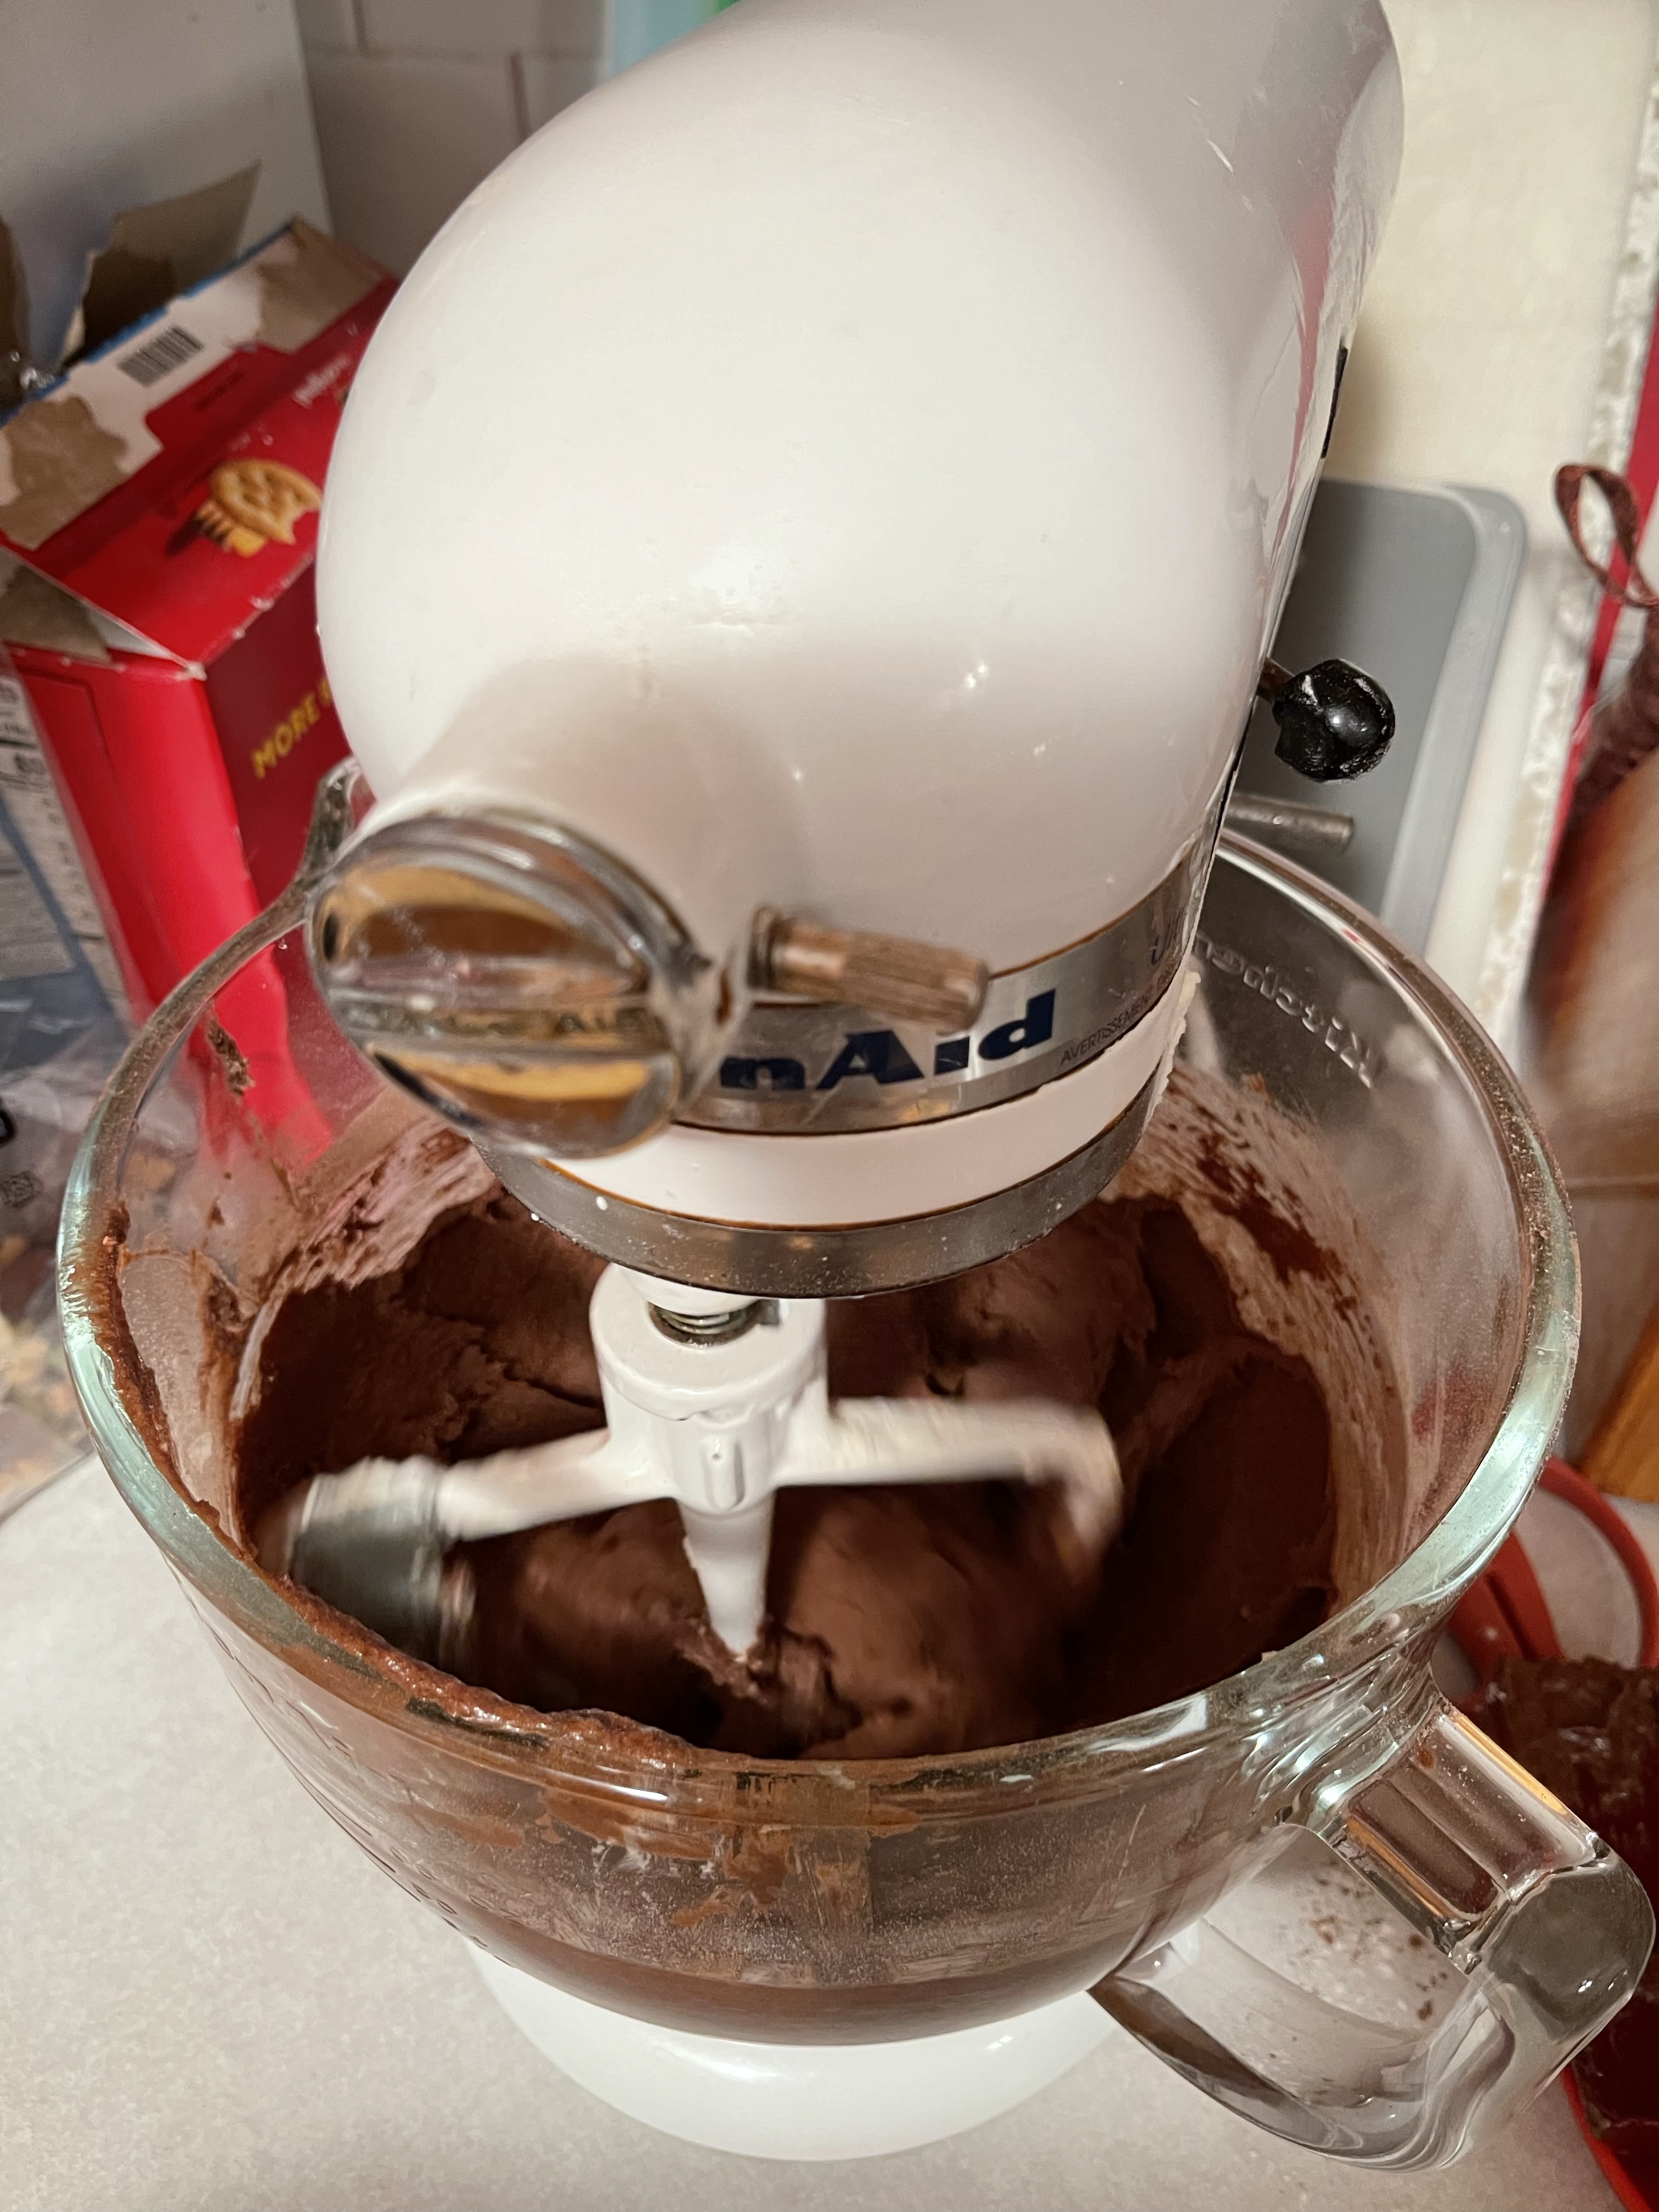
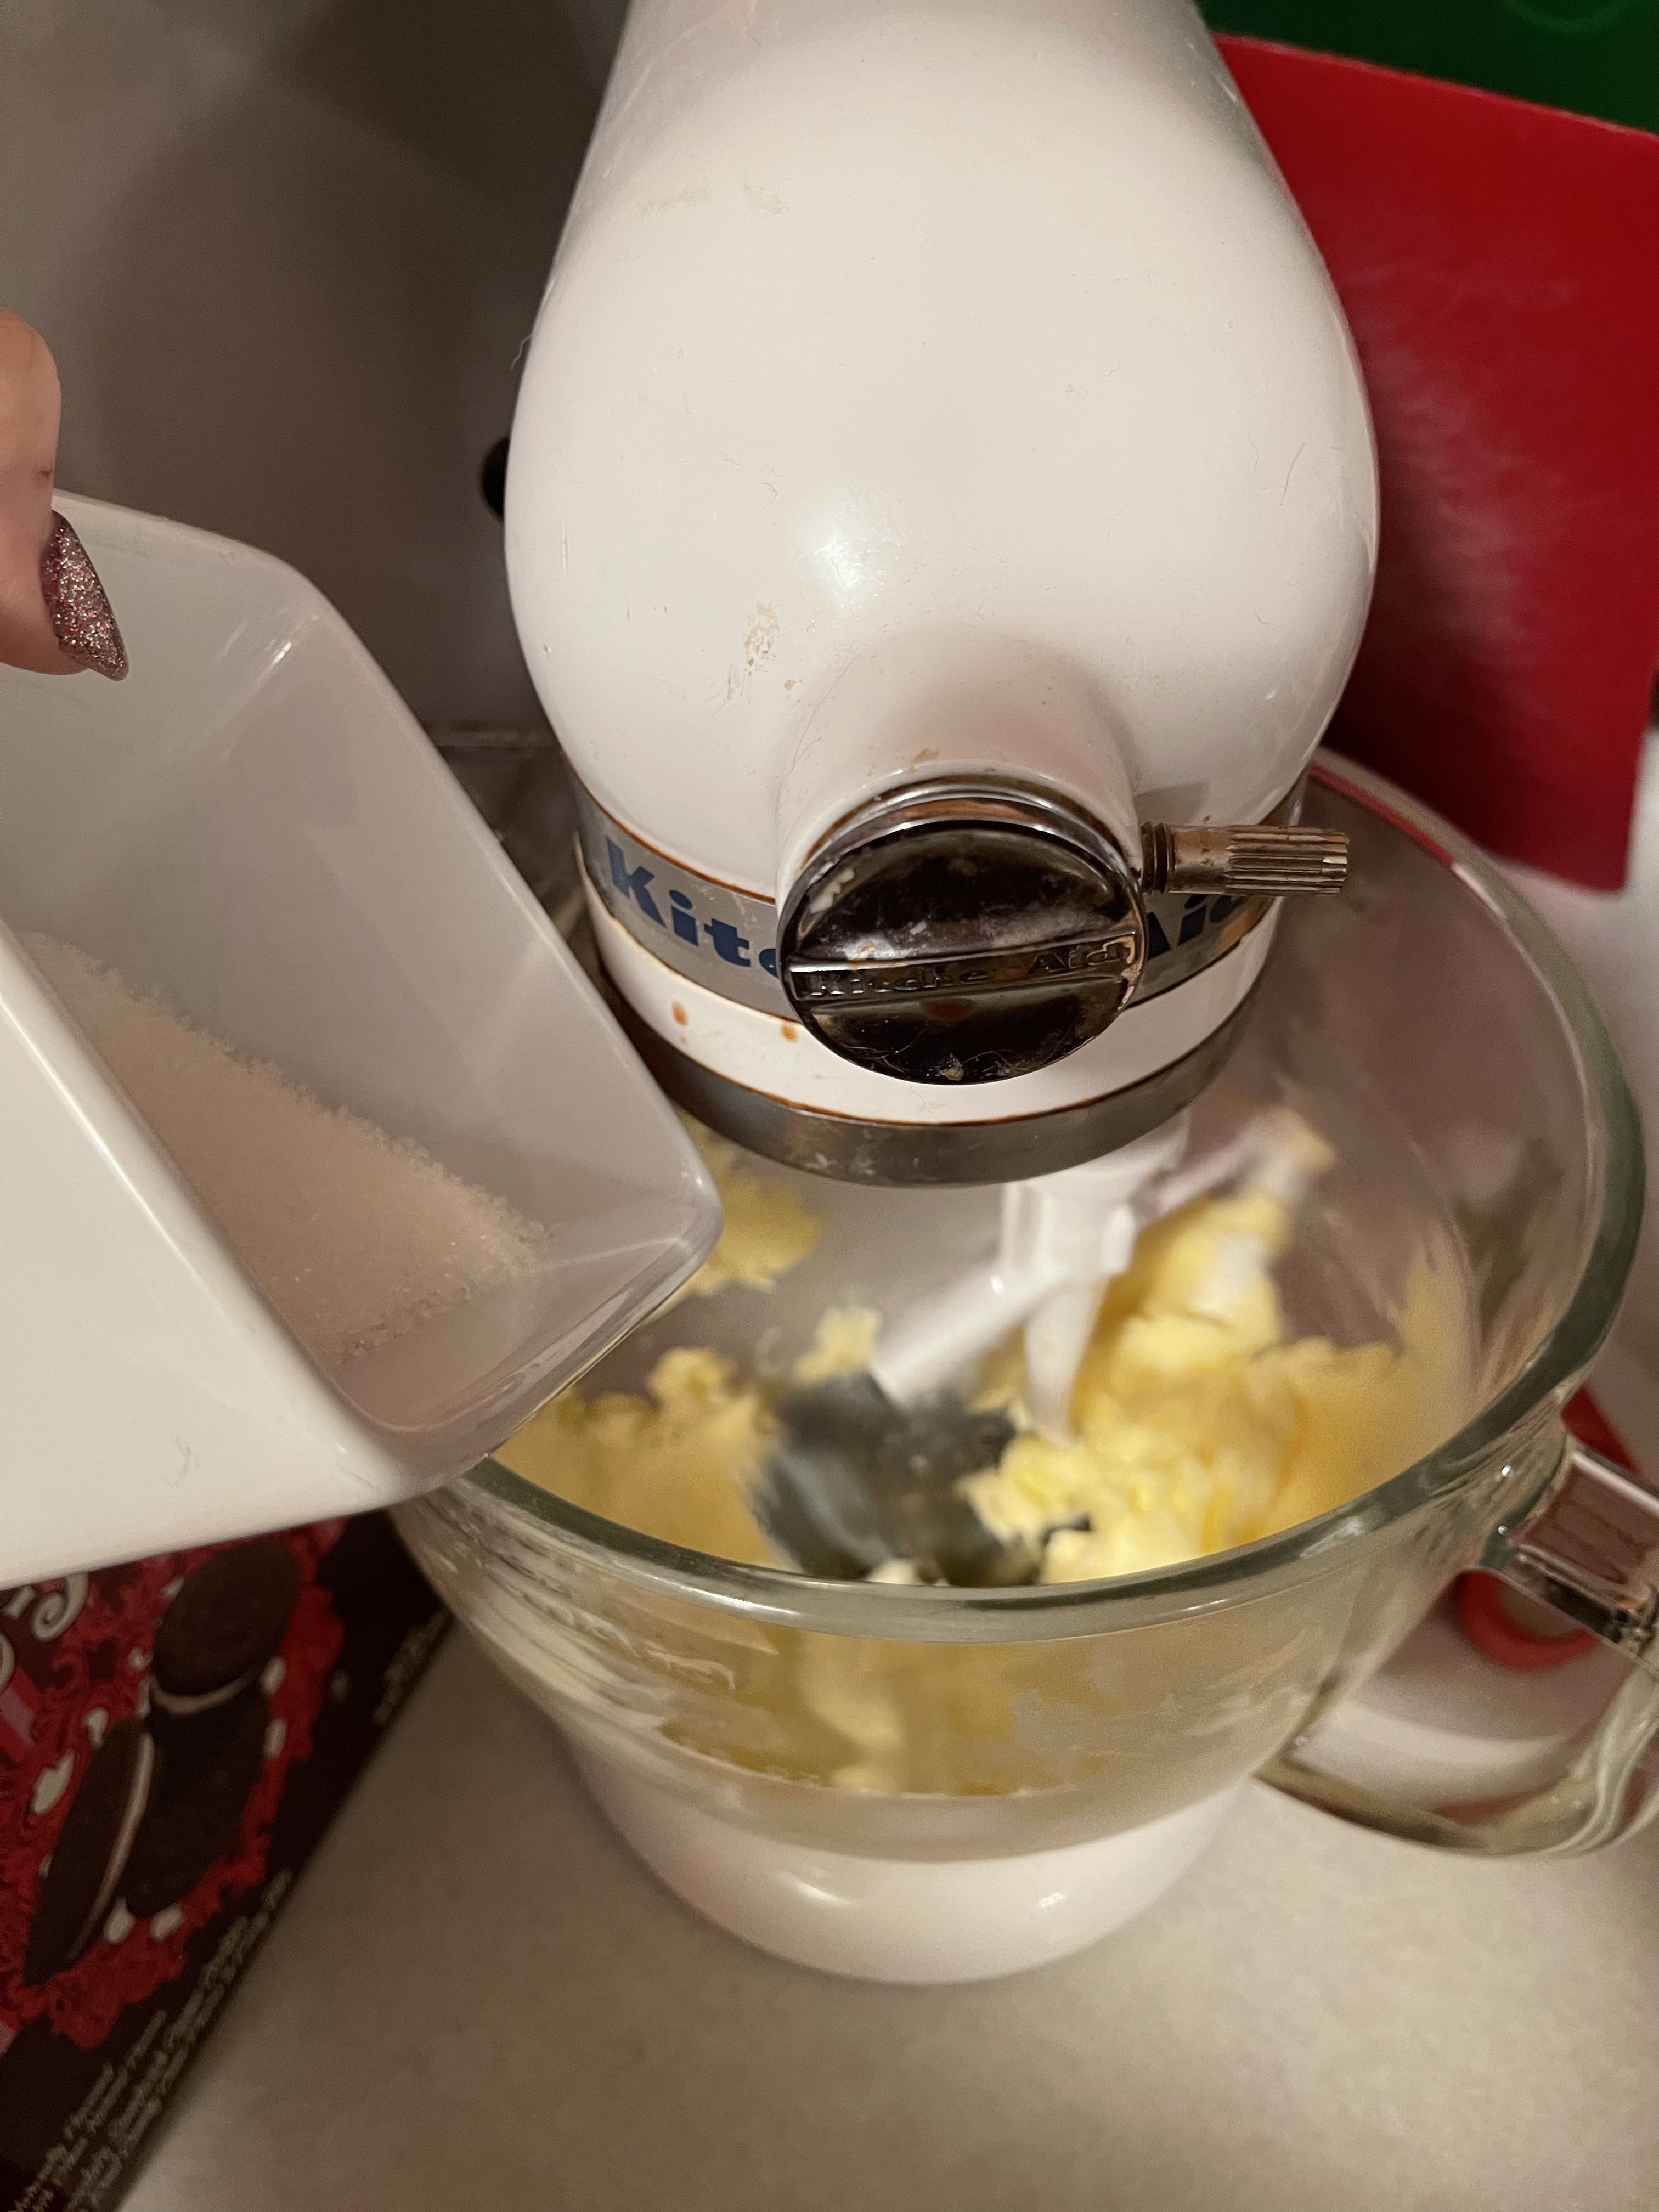
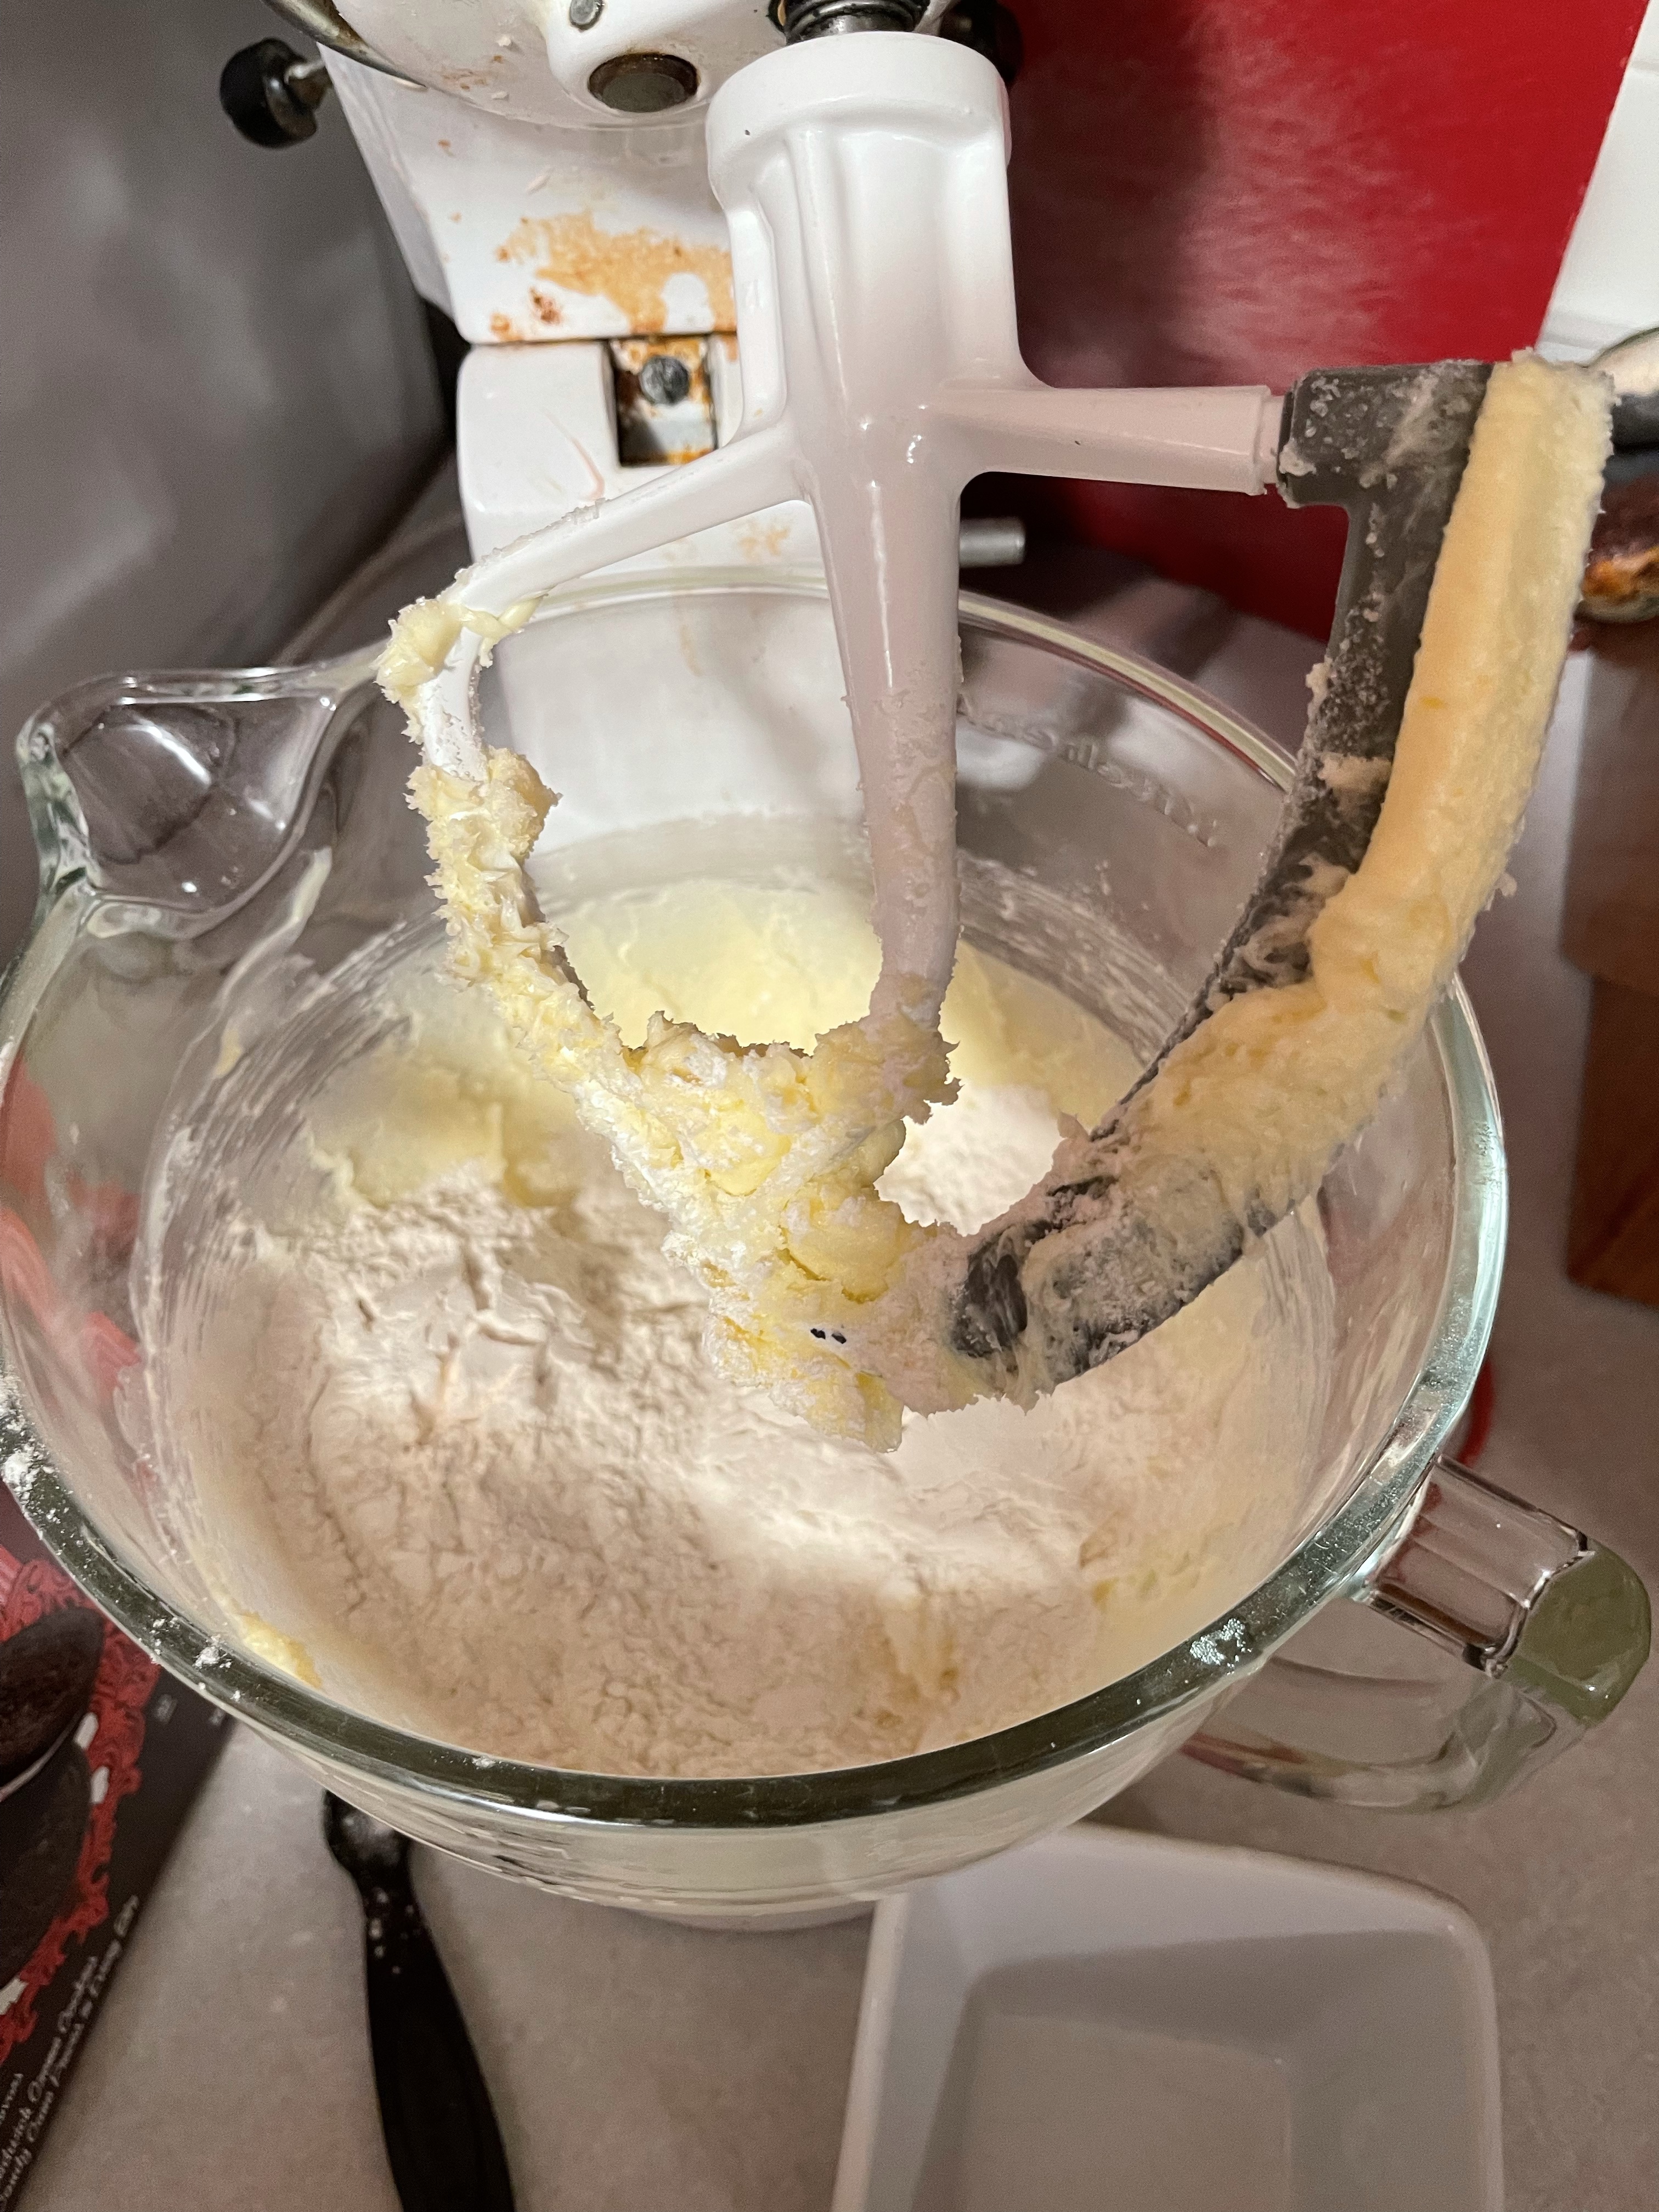
Oh, and hey, it turns out I haven’t gotten any better at not making a giant mess with the mixer.