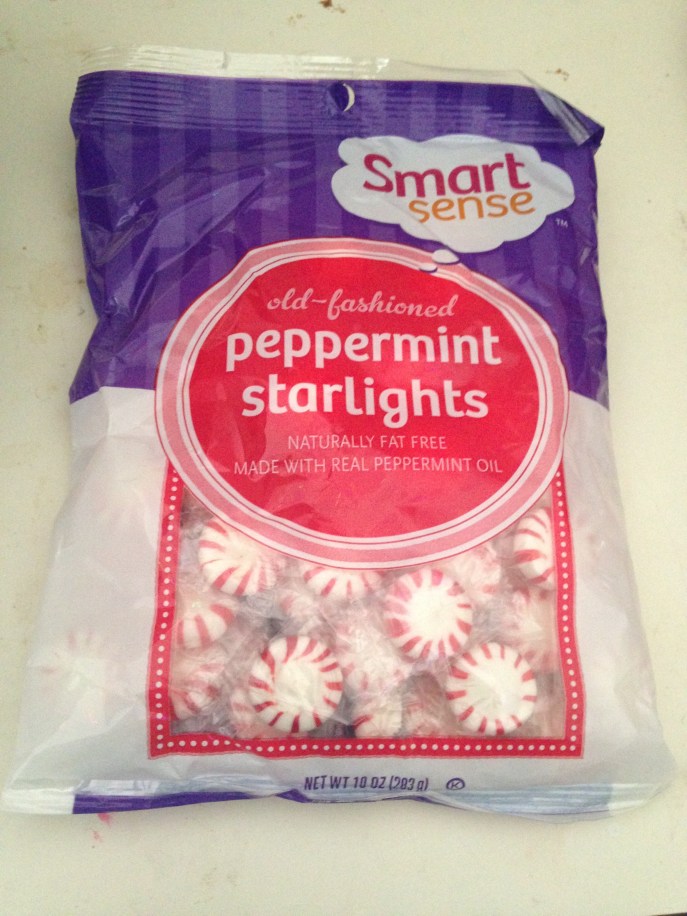
I bought some starlight mints the other day, and I’ve been itching to use them. (You’ll see why in a minute.)
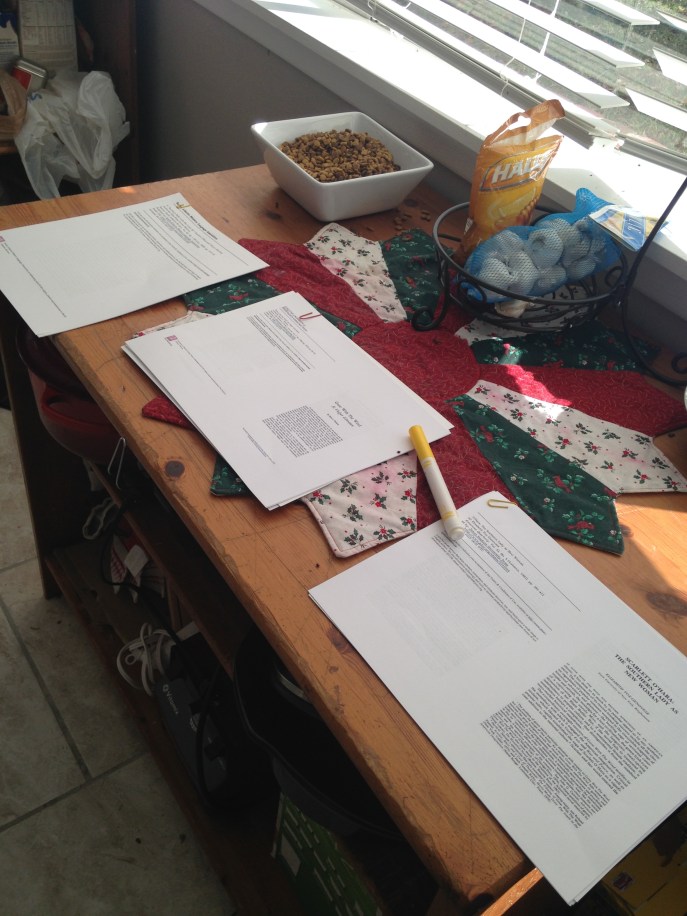
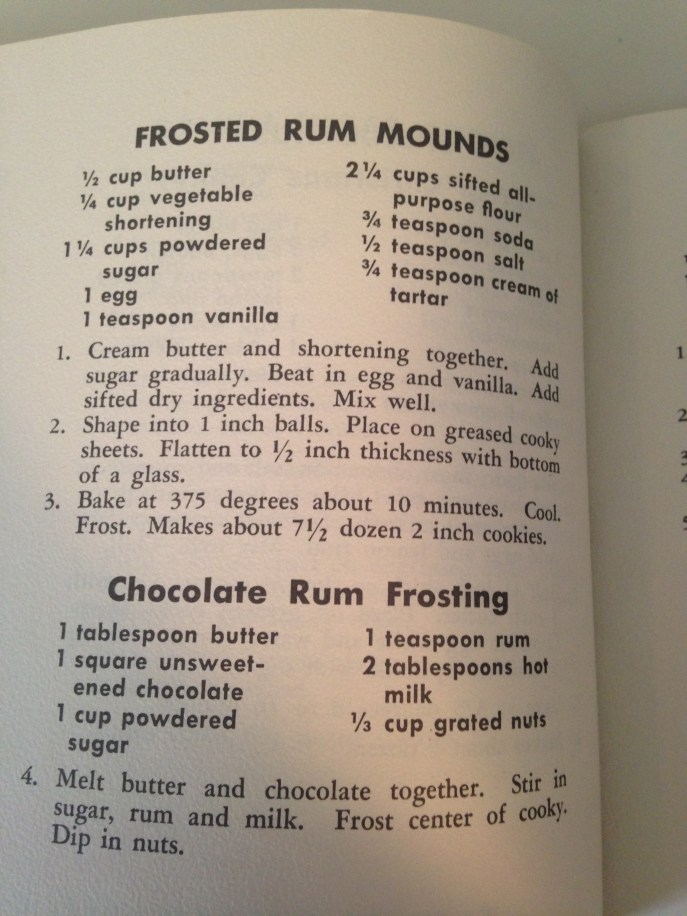
I pinned these a few days ago because they looked pretty. But the instructions, as I discovered, are written by pretentious cookie snobs who want to make sure you are doing everything exactly right. Dear Control Freaks: You can’t control everything.
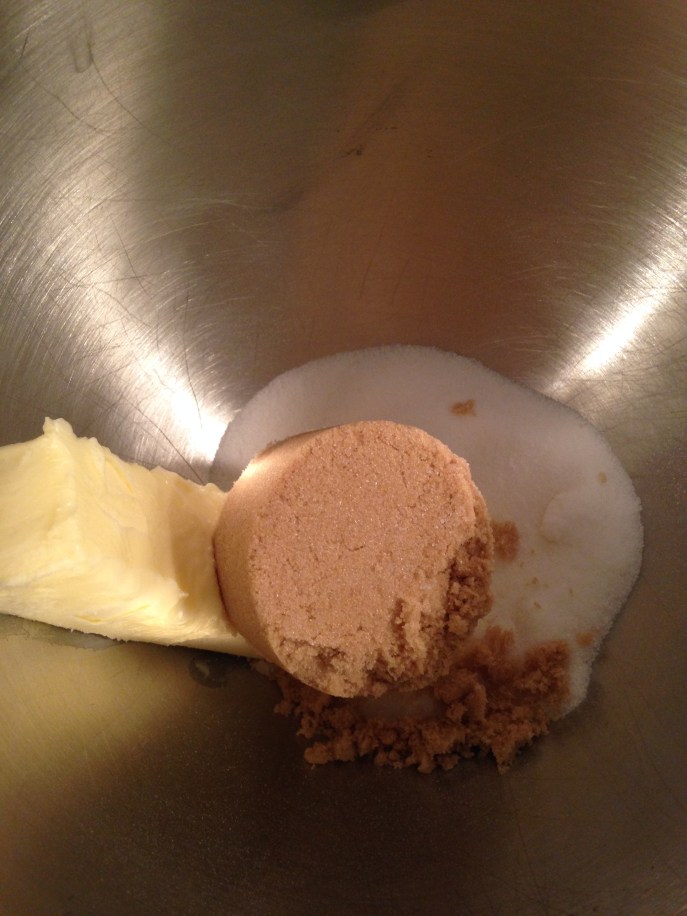
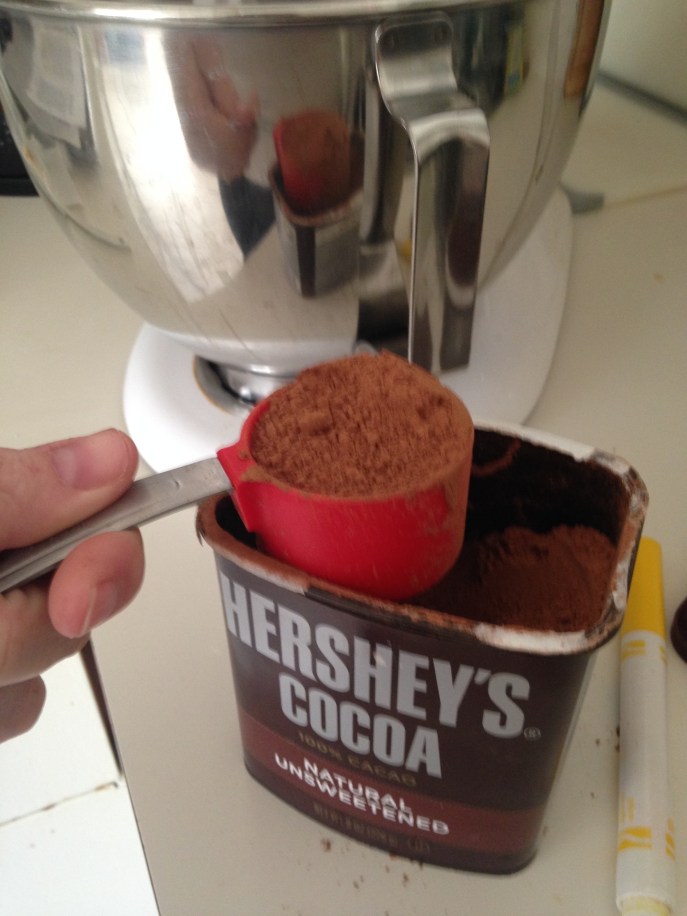
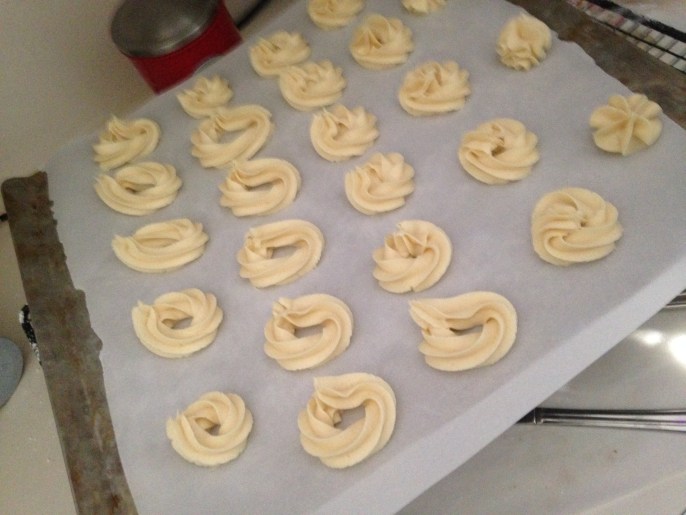
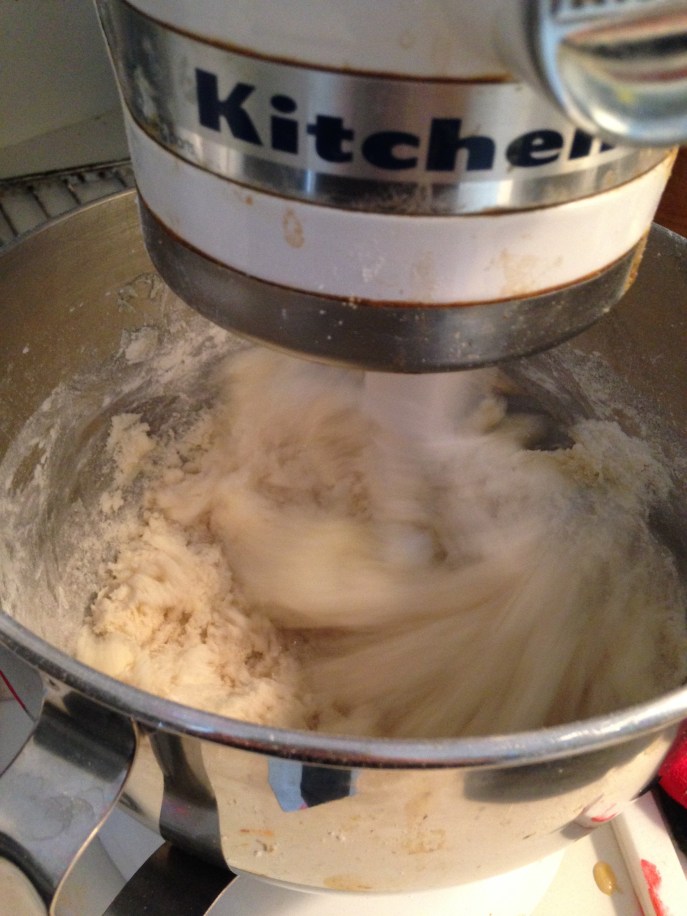
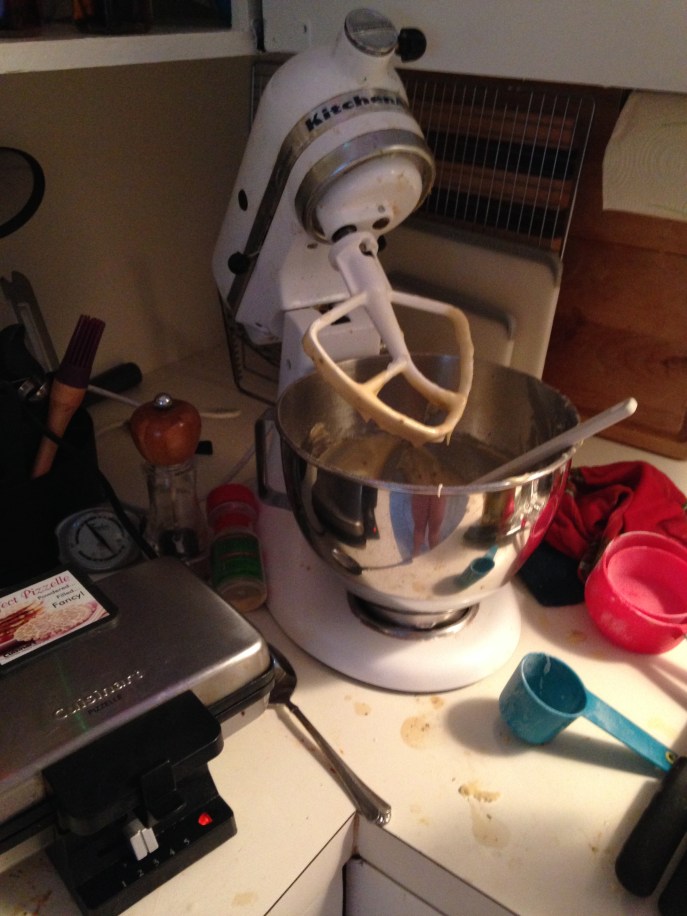
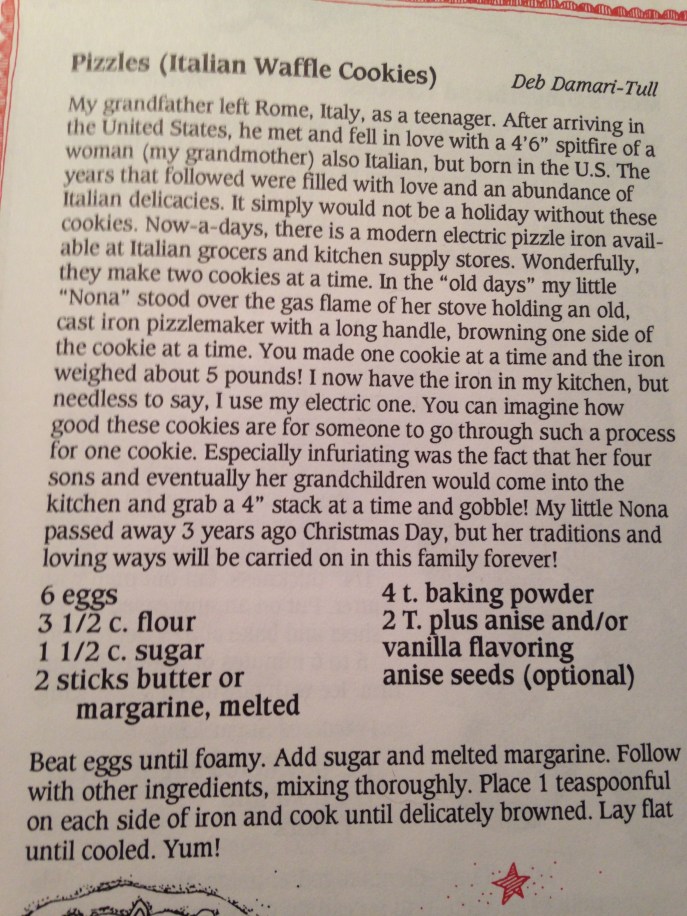
This is my butter/crisco/sugar mix. According the instructions, this is supposed to be pale and fluffy. (“In the bowl of an electric stand mixer, on medium speed, whip together butter, shortening and sugar until very pale and fluffy, about 4 minutes, scrapping down the sides of the bowl as needed.”) Um, it’s crisco and butter and sugar. Unless I’m sacrificing a goat in there, it’s going to be pale and fluffy no matter what. (Also? You spelled “scraping” wrong.)
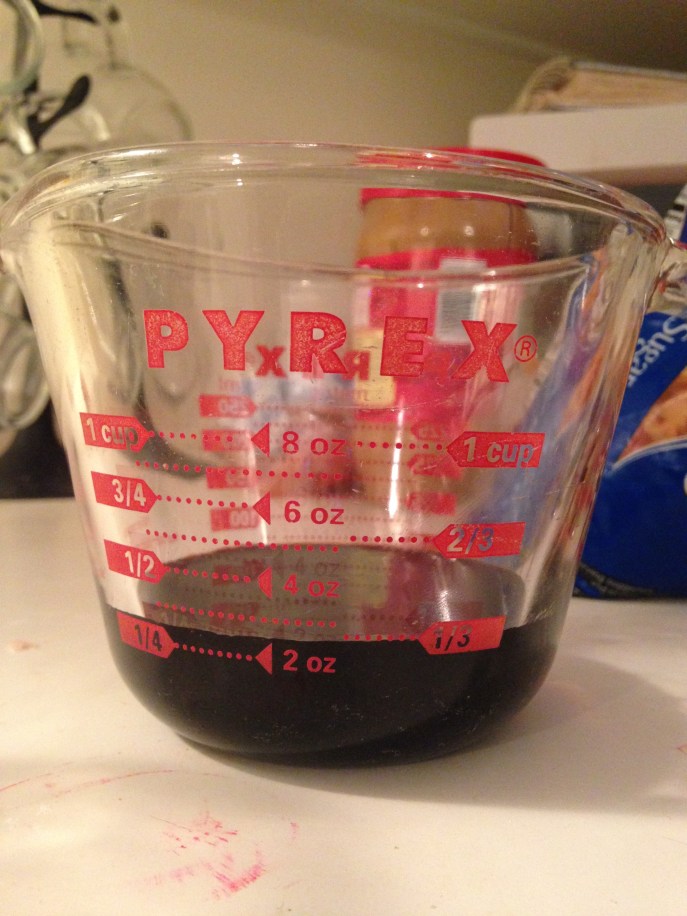
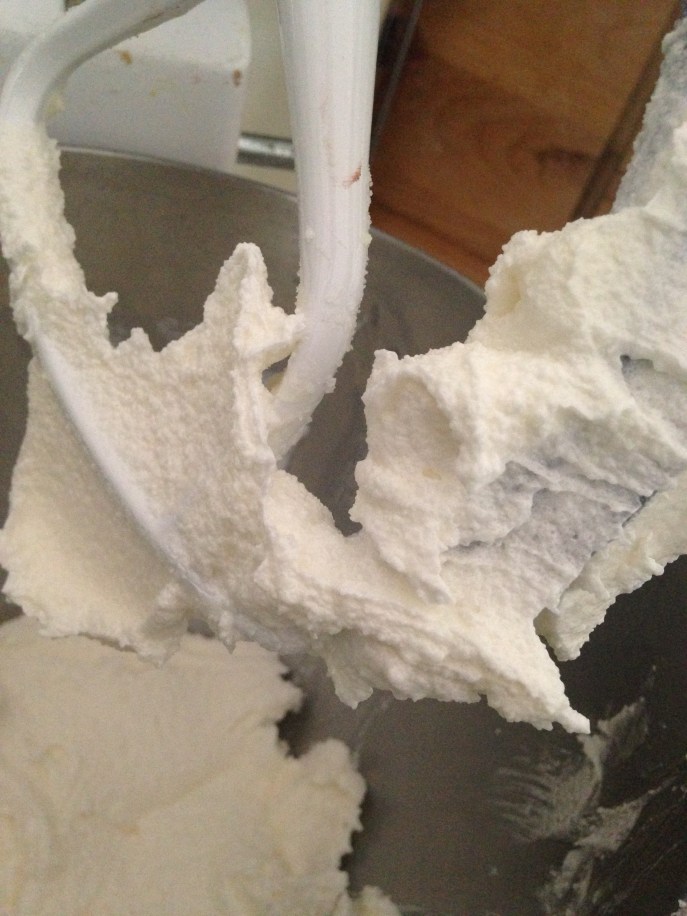
I added the rest of my ingredients and then was met with this bossy instruction:
“Transfer dough to an airtight container and refrigerate 2 hours. Preheat oven to 375 during the last 10 minutes of refrigeration.”
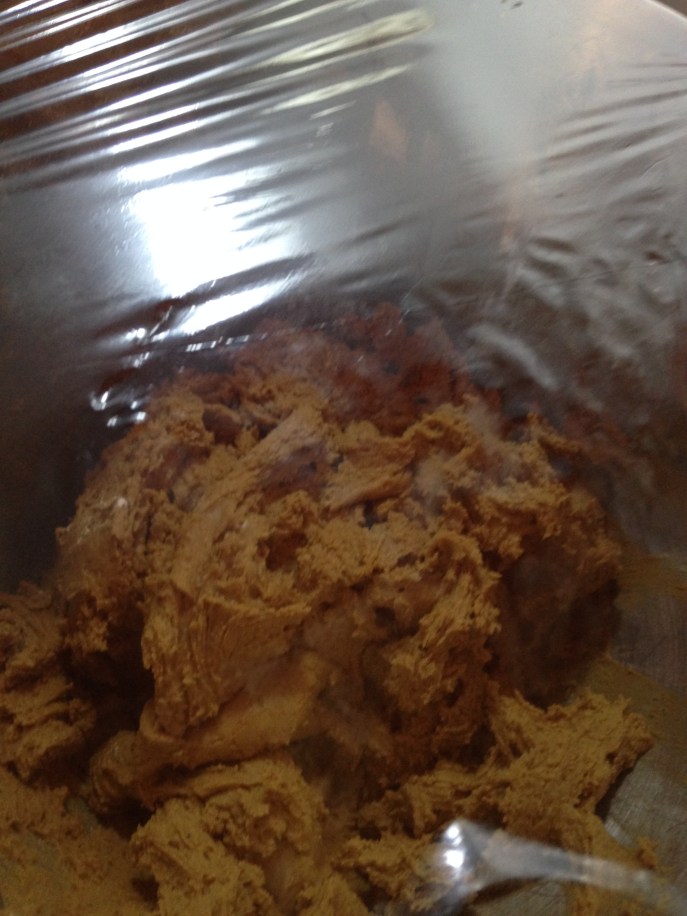
Don’t tell me what to do.
My mixer bowl and plastic wrap worked just fine, thank you.
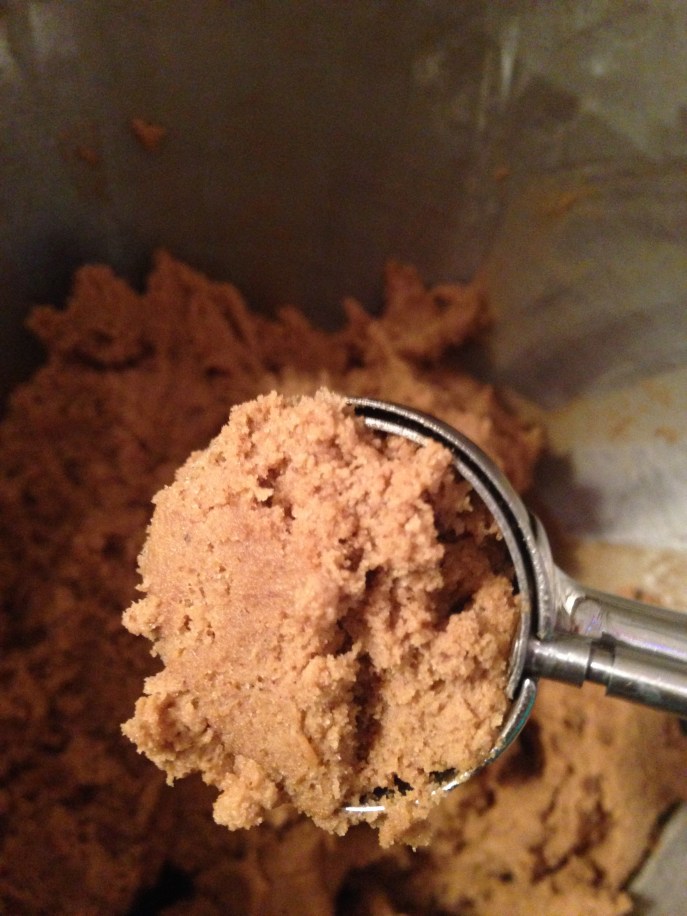
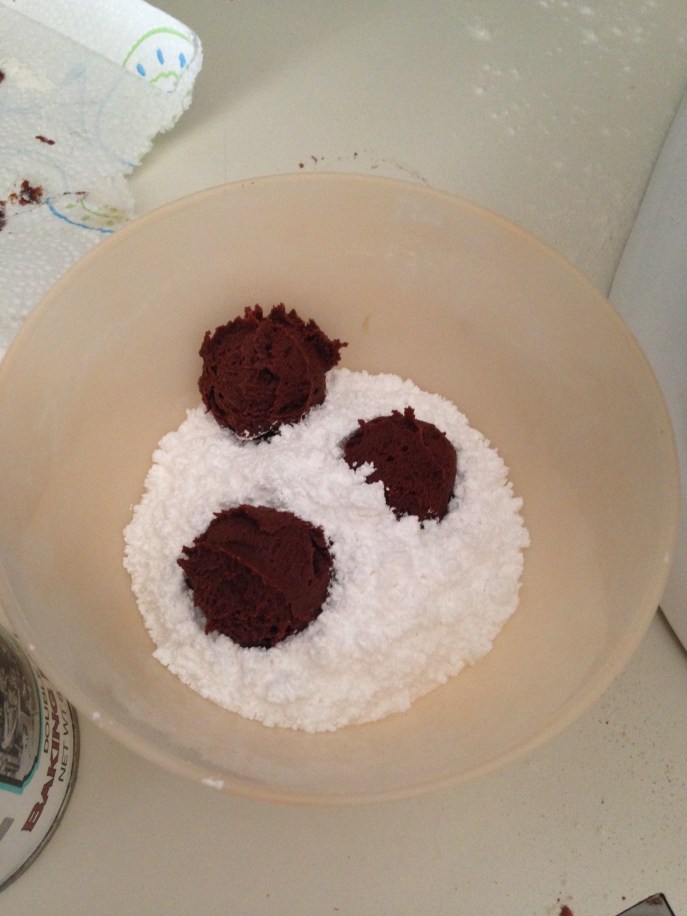
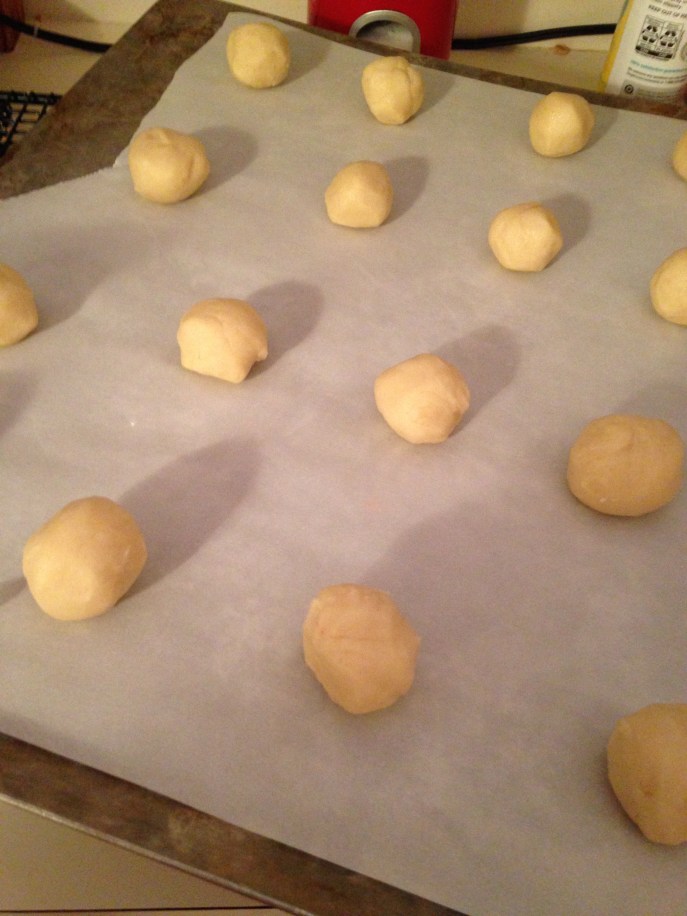
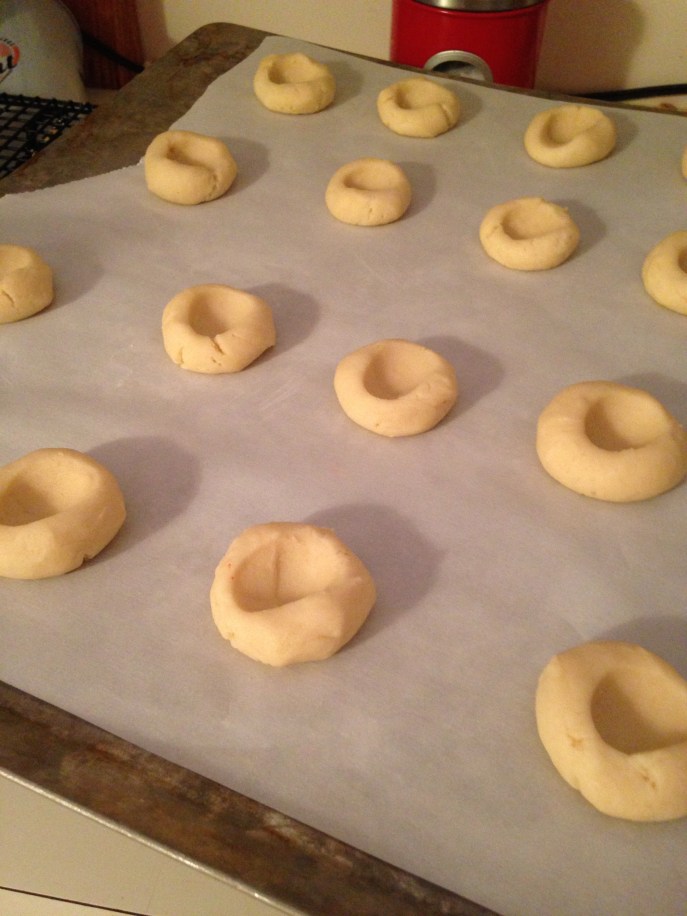
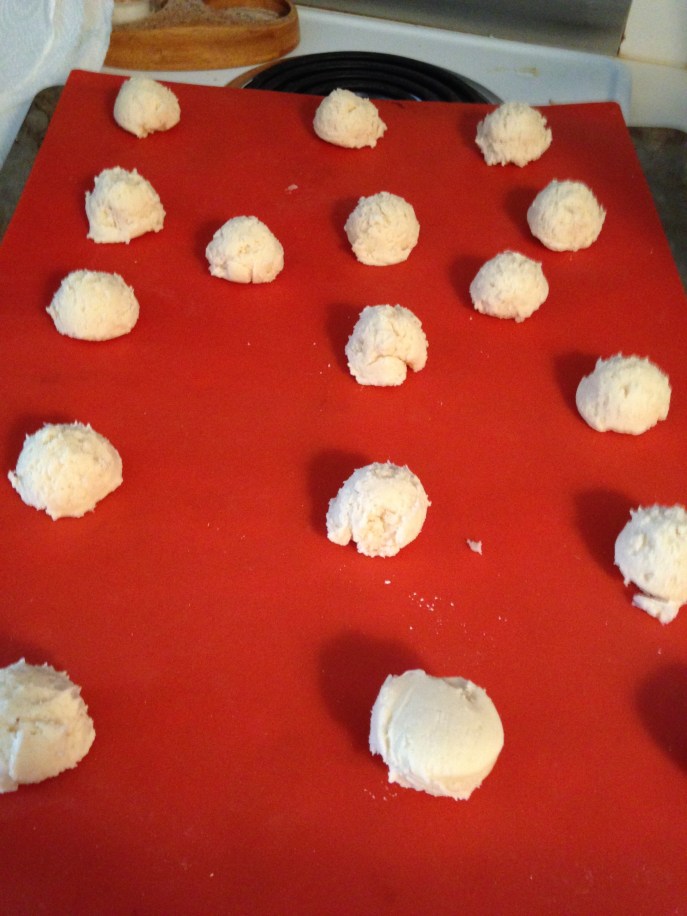
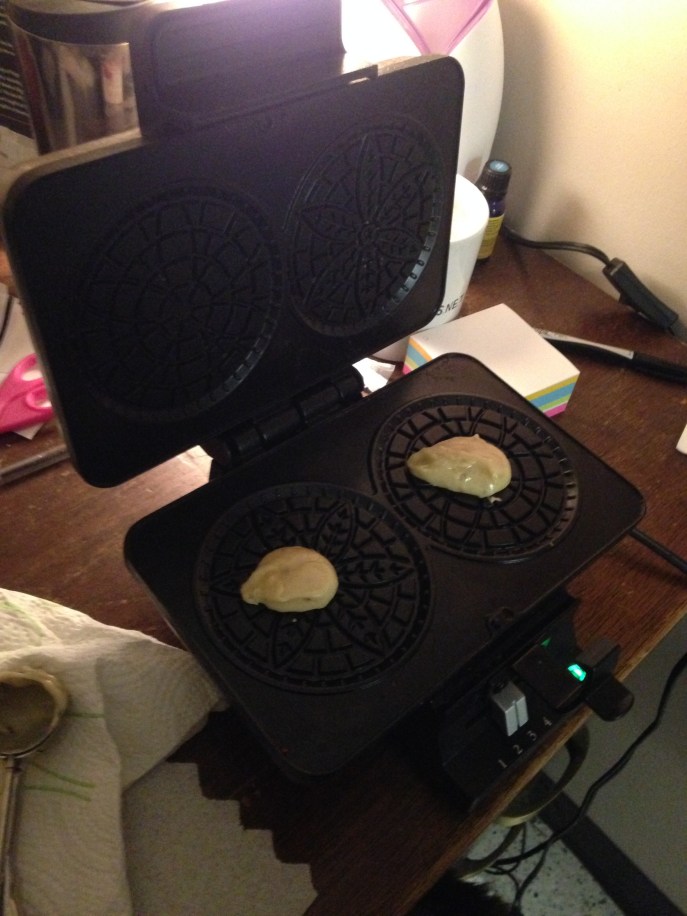
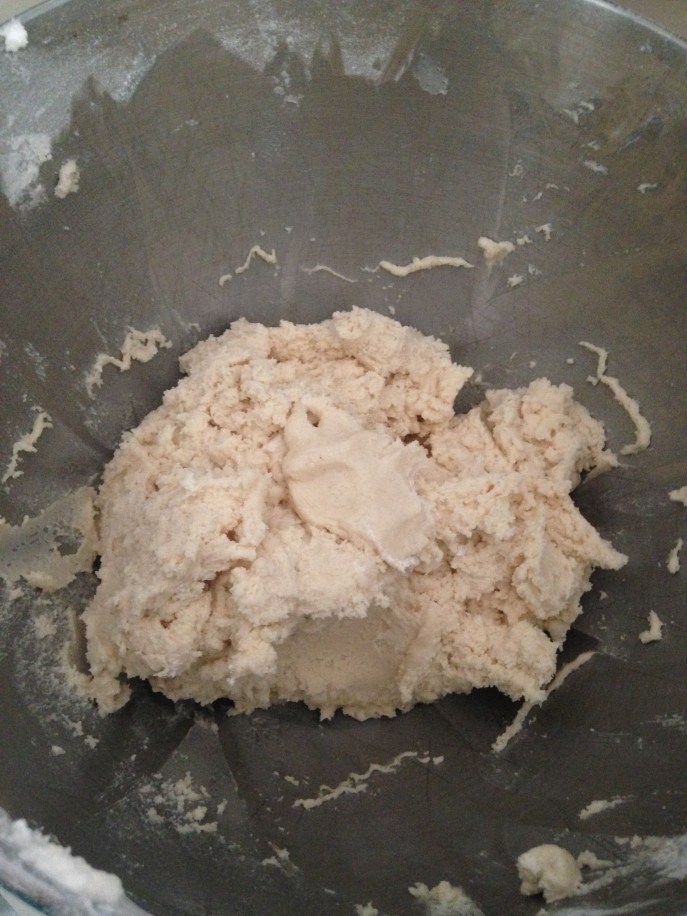
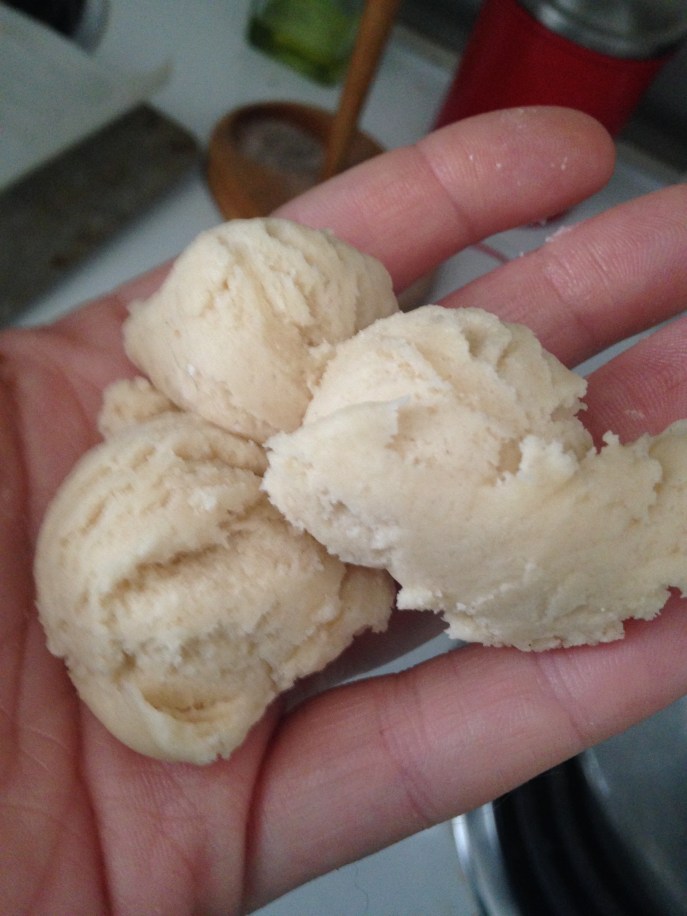
When my chilling time was done, I scooped three balls into my hand with my 1T scoop because it calls for 3T. Math.
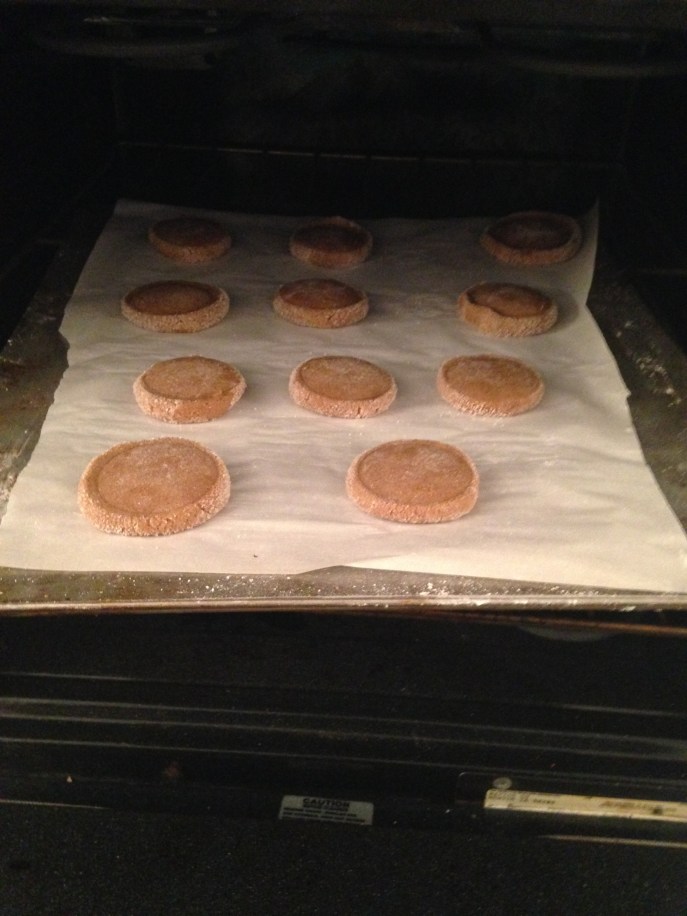
And then…”Place dough ball on a lightly floured surface, sprinkle top lightly with flour, then using something flat and smooth (such as the storage container lid), press and evenly flatten dough to 1/2″ thick. Transfer flattened dough to a Silpat or parchment paper lined baking sheet and repeat process with remaining dough (you’ll have to use 2 cookie sheets).”
I have time and inclination for none of this.
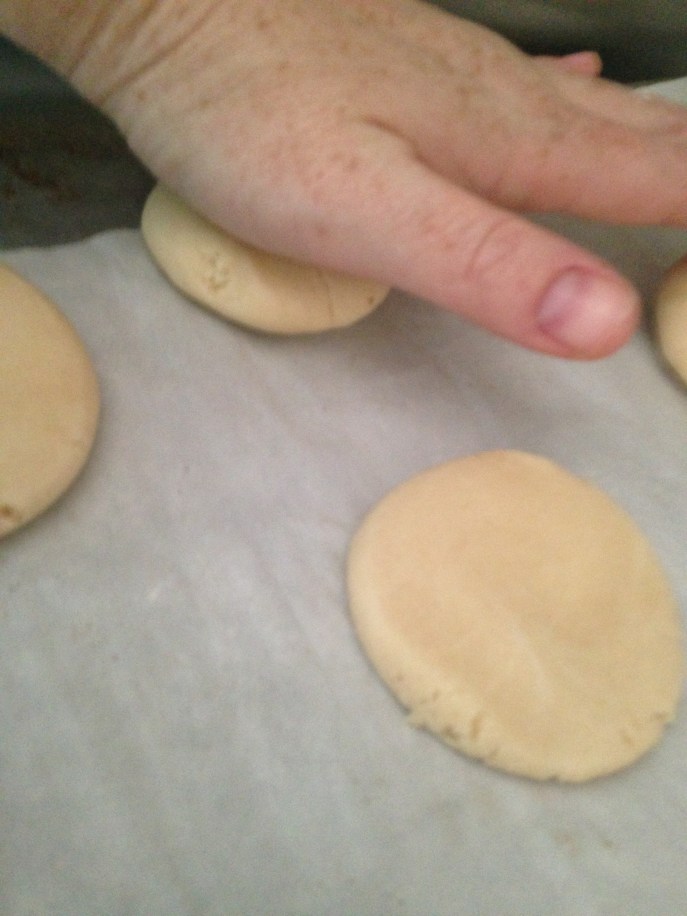
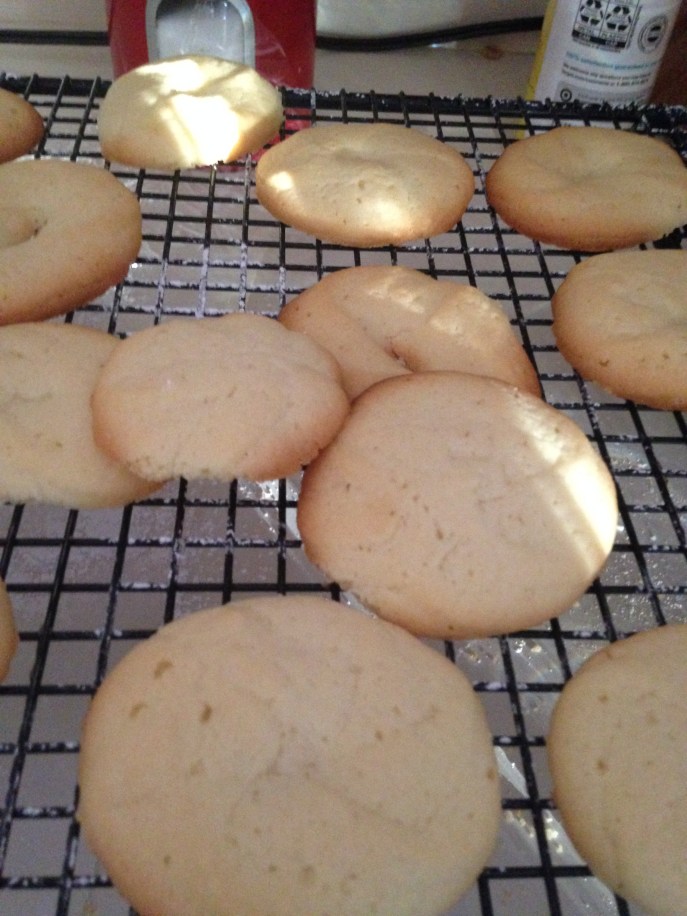
Worked just fine.
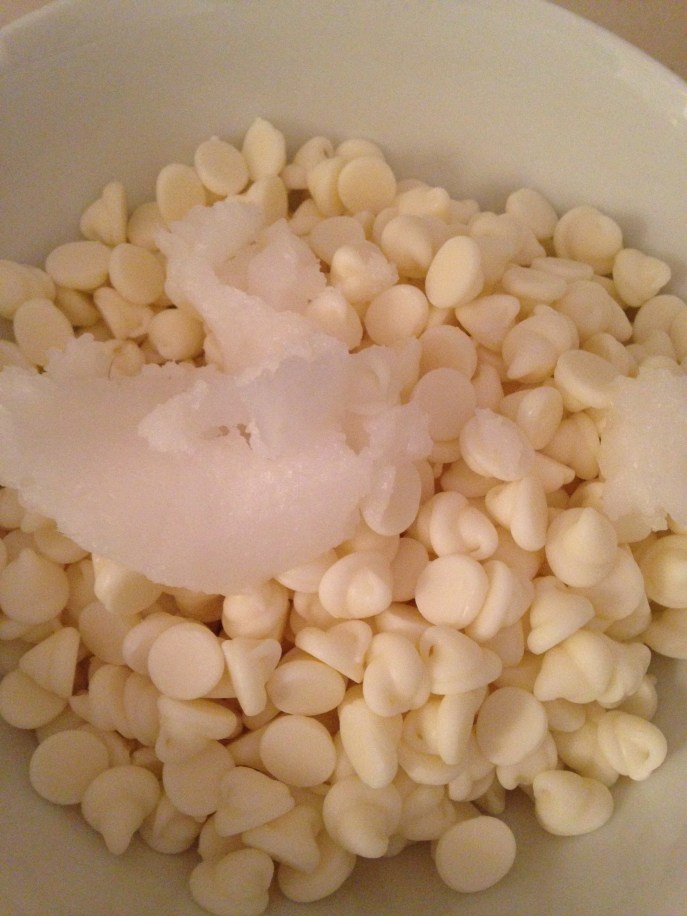
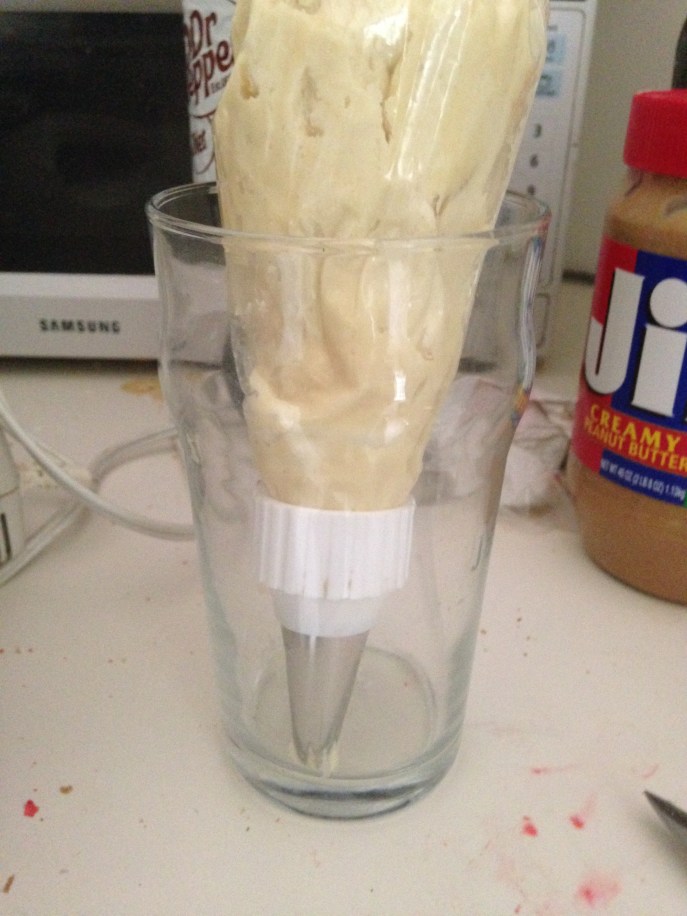
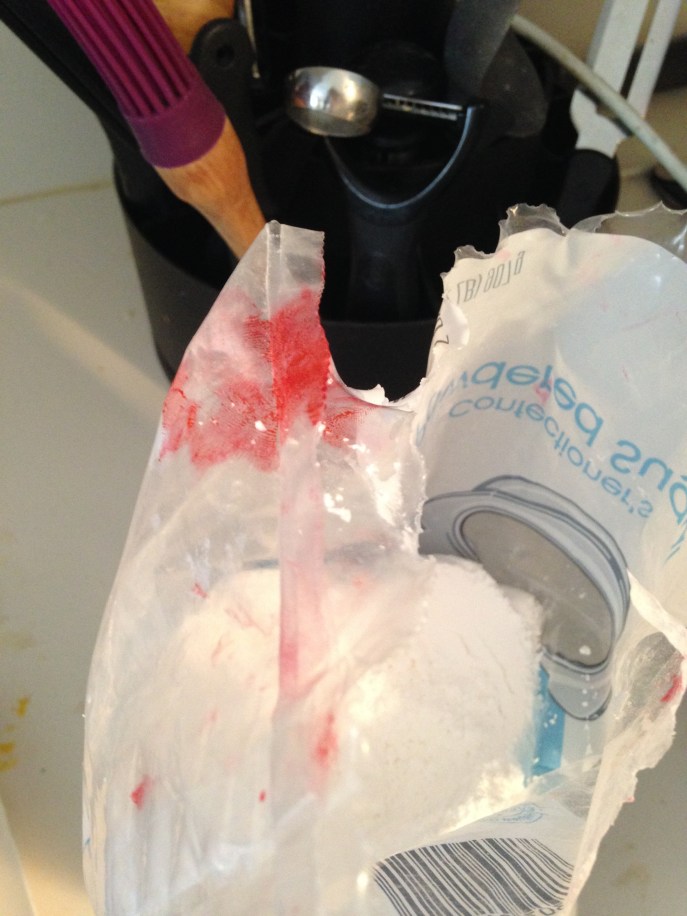
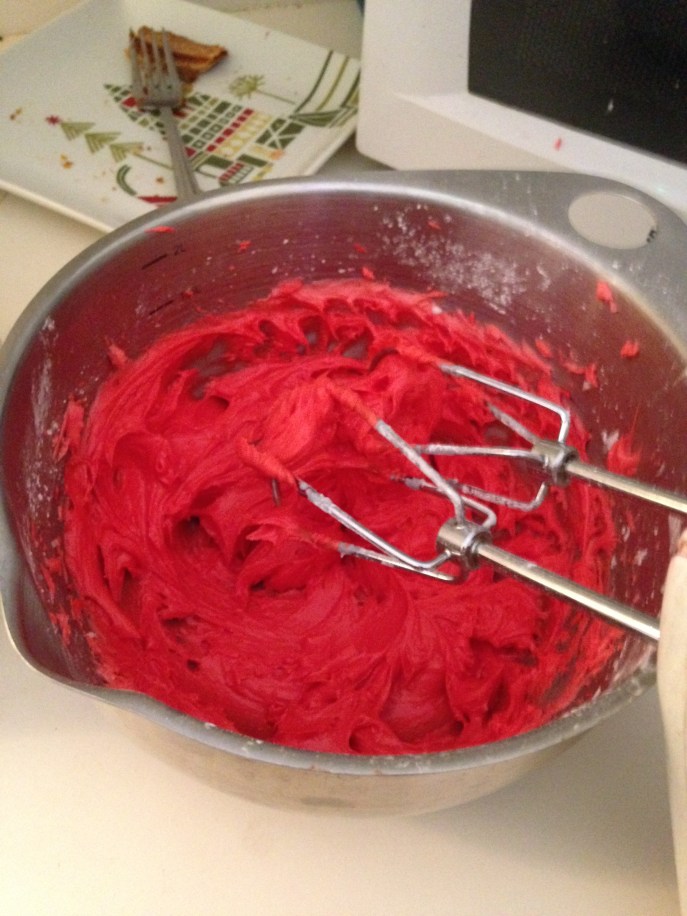
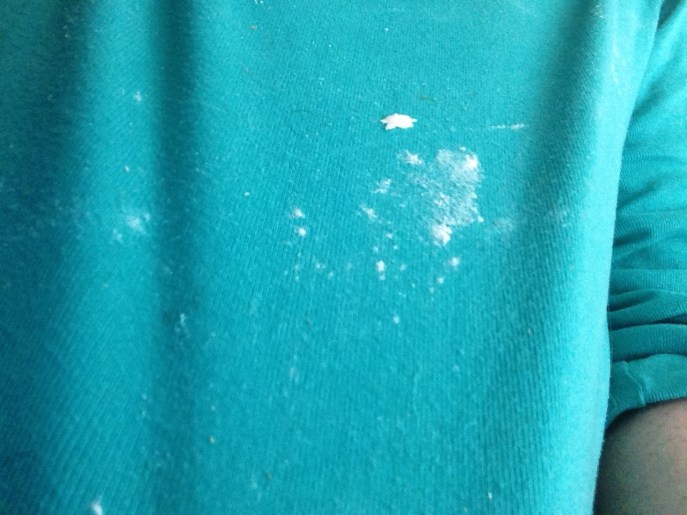
While my slummed-down cookies were baking, I mixed together the frosting.

And I don’t care who you are: powdered sugar is going to get you.
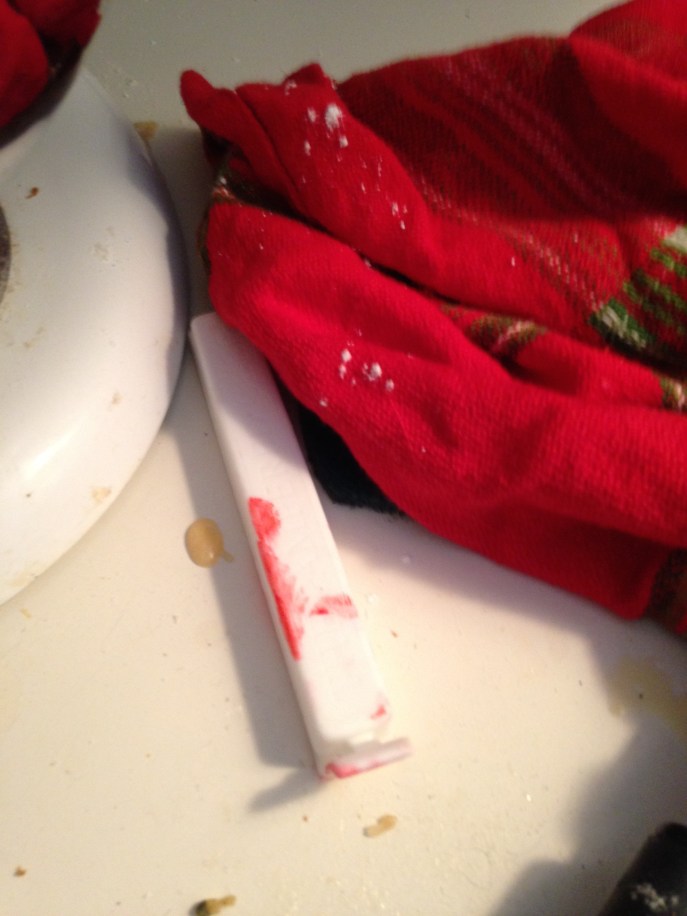
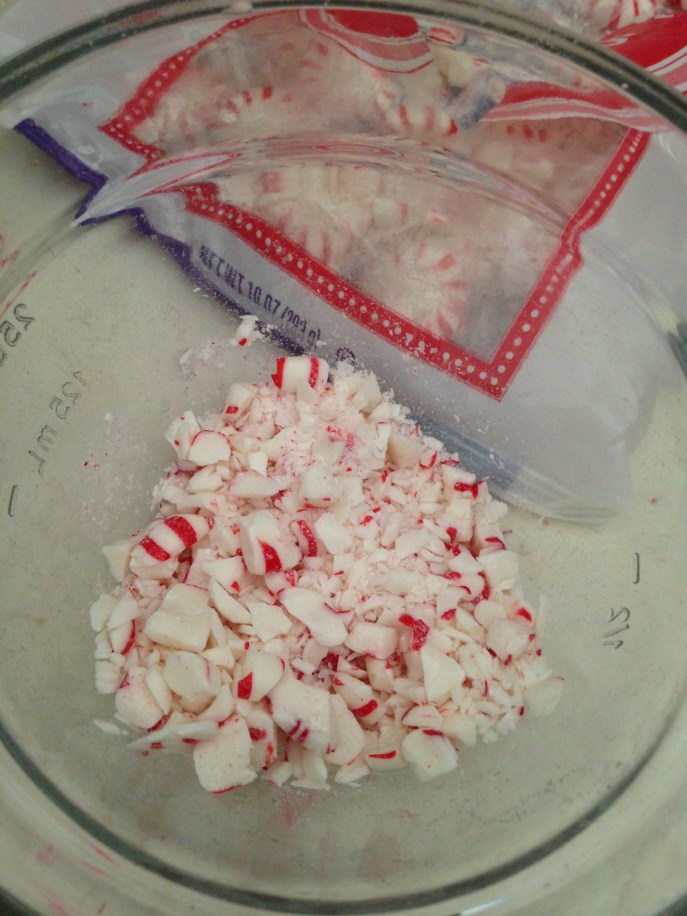
After all of this, my starlight mints were waiting.
Hang on.
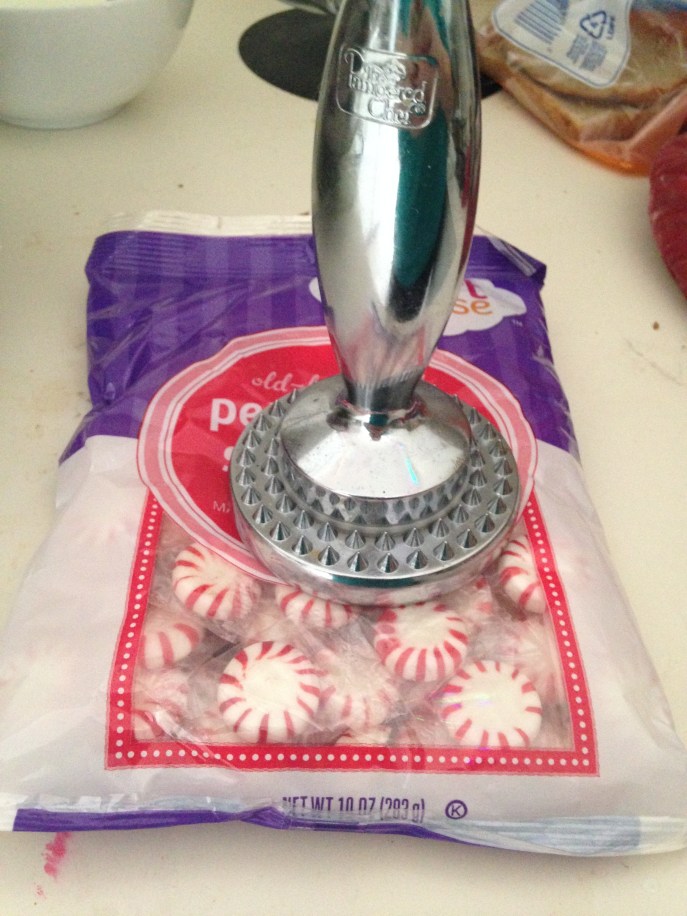
That’s better.
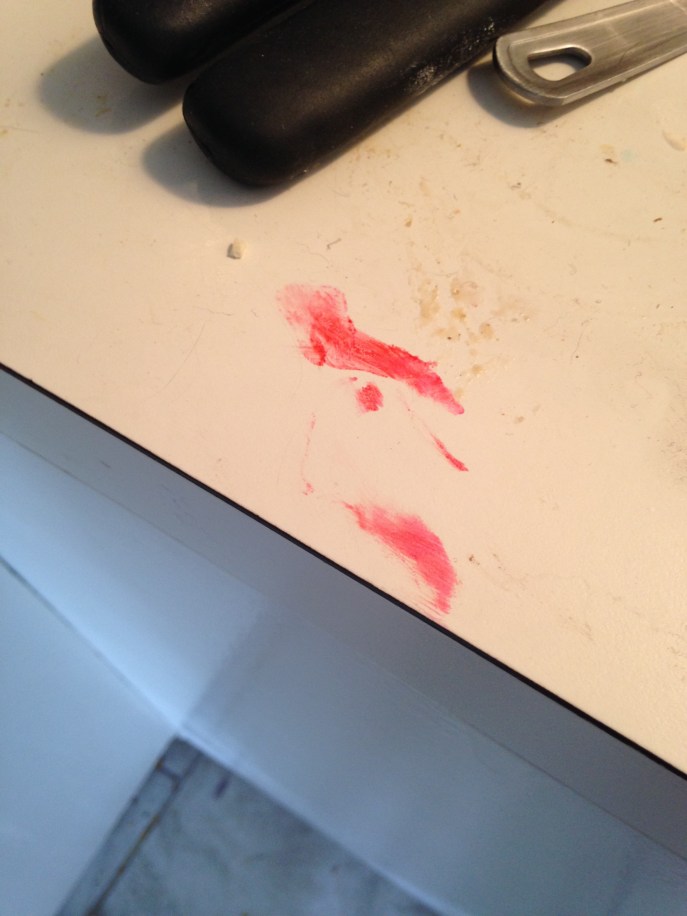
Yes, I smash them to smithereens while in the wrappers and still in the bag. I find it controls the carnage better. And then you just unwrapped the wrappers and fill your bowl with mint bits.

It’s such a good stress reliever.
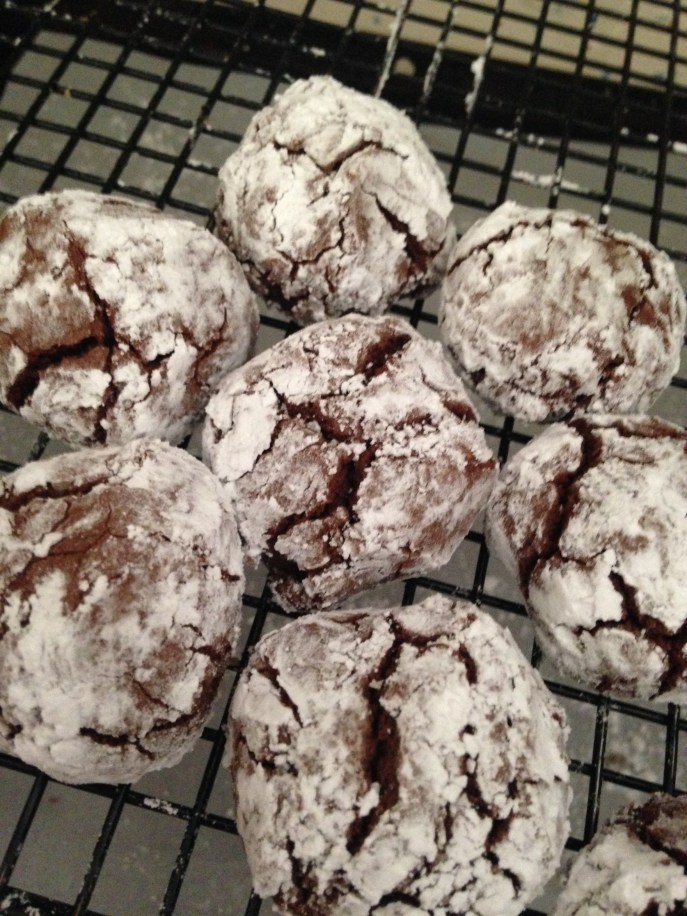
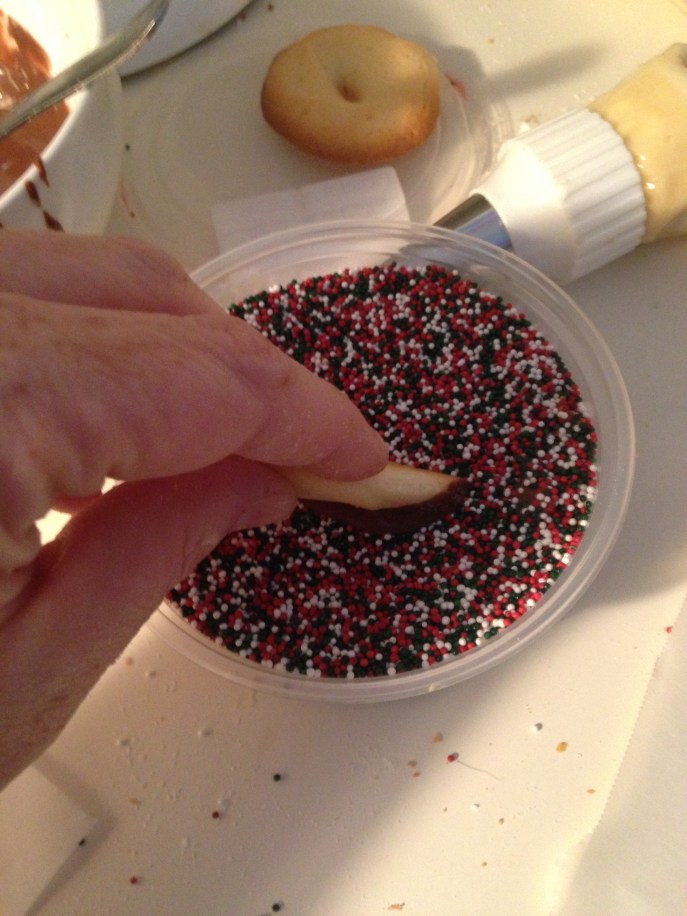
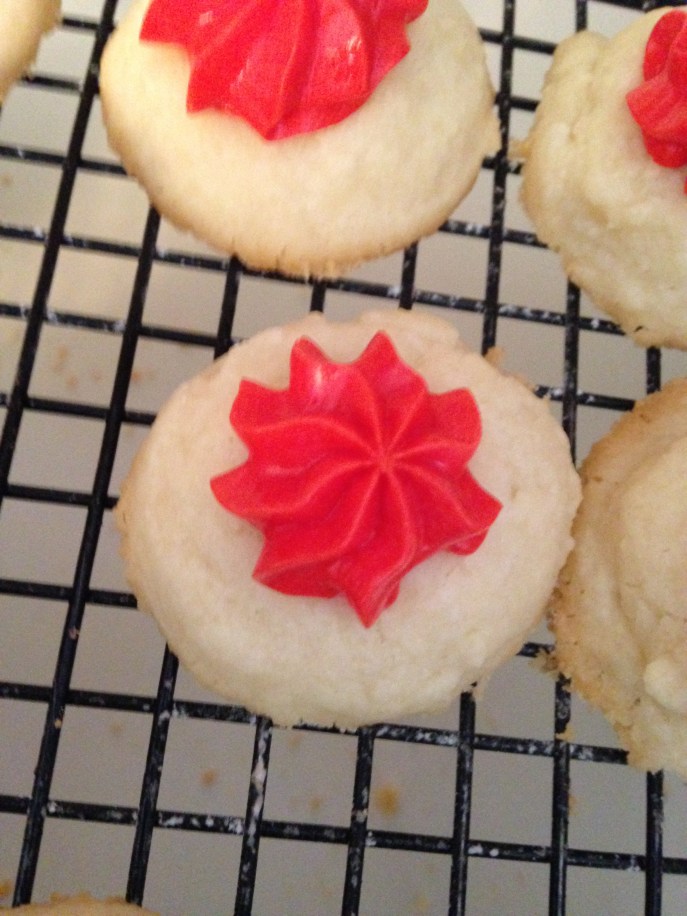
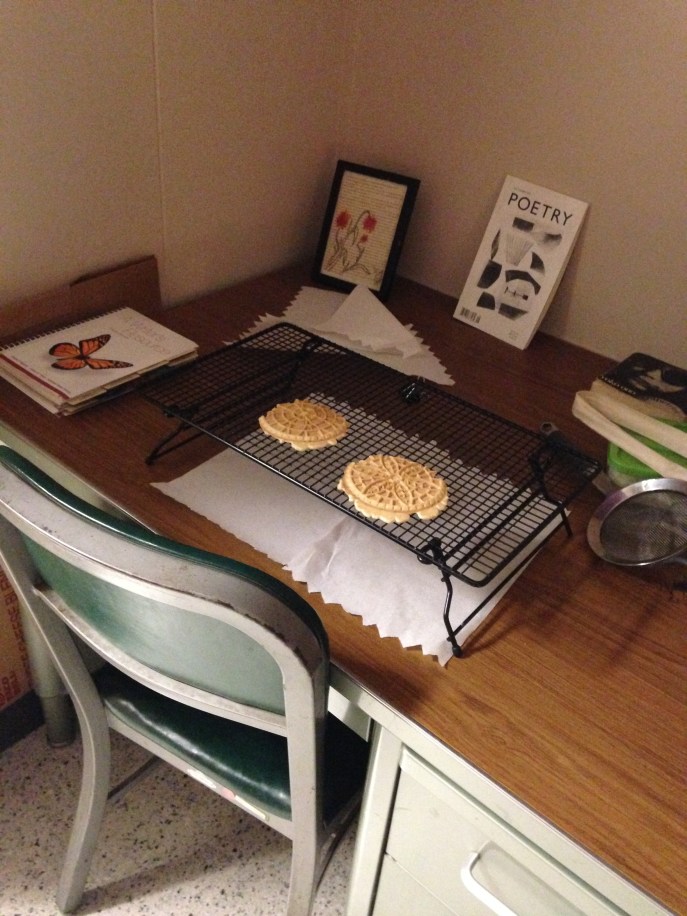
Cookies cooled and frosted, and decorated with the fruits of my labor.

—
Ingredients
- 2 1/2 cups cake flour, plus more for dusting work surface
- 2 tsp cornstarch
- 1 1/2 tsp baking powder
- 1/2 tsp salt
- 1/2 cup unsalted butter, at room temperature
- 1/4 cup all vegetable shortening (unflavored), at room temperature
- 1 cup granulated sugar
- 1 large egg
- 1 large egg white
- 2 tsp vanilla extract
- 1/2 tsp peppermint extract
- Crushed candy canes, for topping
- 4 oz cream cheese, softened
- 4 Tbsp unsalted butter
- 1/2 tsp peppermint extract
- 2 1/2 cups powdered sugar
Directions
- Sift flour, cornstarch, baking powder and salt into a large bowl, then whisk it just a few times, set aside. In the bowl of an electric stand mixer, on medium speed, whip together butter, shortening and sugar until very pale and fluffy, about 4 minutes, scrapping down the sides of the bowl as needed. Add in egg and mix until combine, then add egg white, vanilla and peppermint extract and mix until combine. With mixer running, slowly add in dry ingredients and mix just until combine. Transfer dough to an airtight container and refrigerate 2 hours. Preheat oven to 375 during the last 10 minutes of refrigeration.
- Scoop dough out about 3 Tbsp at a time and roll into a ball. Place dough ball on a lightly floured surface, sprinkle top lightly with flour, then using something flat and smooth (such as the storage container lid), press and evenly flatten dough to 1/2″ thick. Transfer flattened dough to a Silpat or parchment paper lined baking sheet and repeat process with remaining dough (you’ll have to use 2 cookie sheets). Bake in preheated oven 9 – 11 minutes. Allow to cool 5 minutes on baking sheet before transferring to a wire rack to cool. Cool completely then frost with Cream Cheese Frosting and sprinkle with crushed candy canes.
- For the frosting:
- In the bowl of an electric stand mixer fitted with the paddle attachment, whip together cream cheese and butter until pale and fluffy. Add peppermint extract and powdered sugar and mix until pale and fluffy.