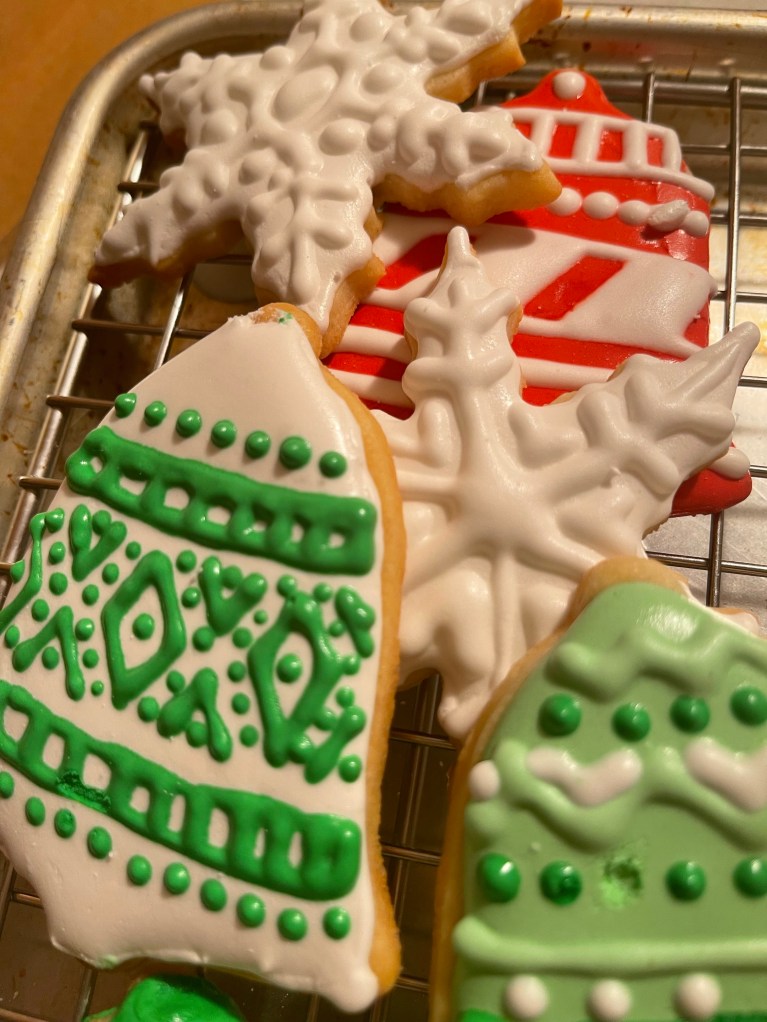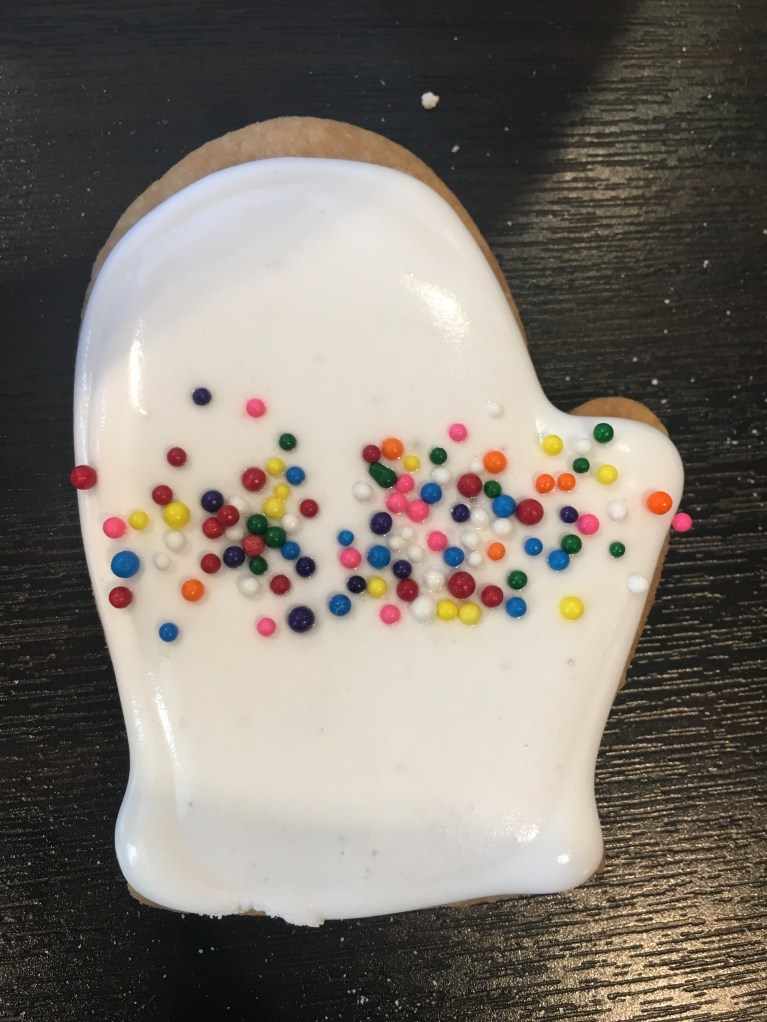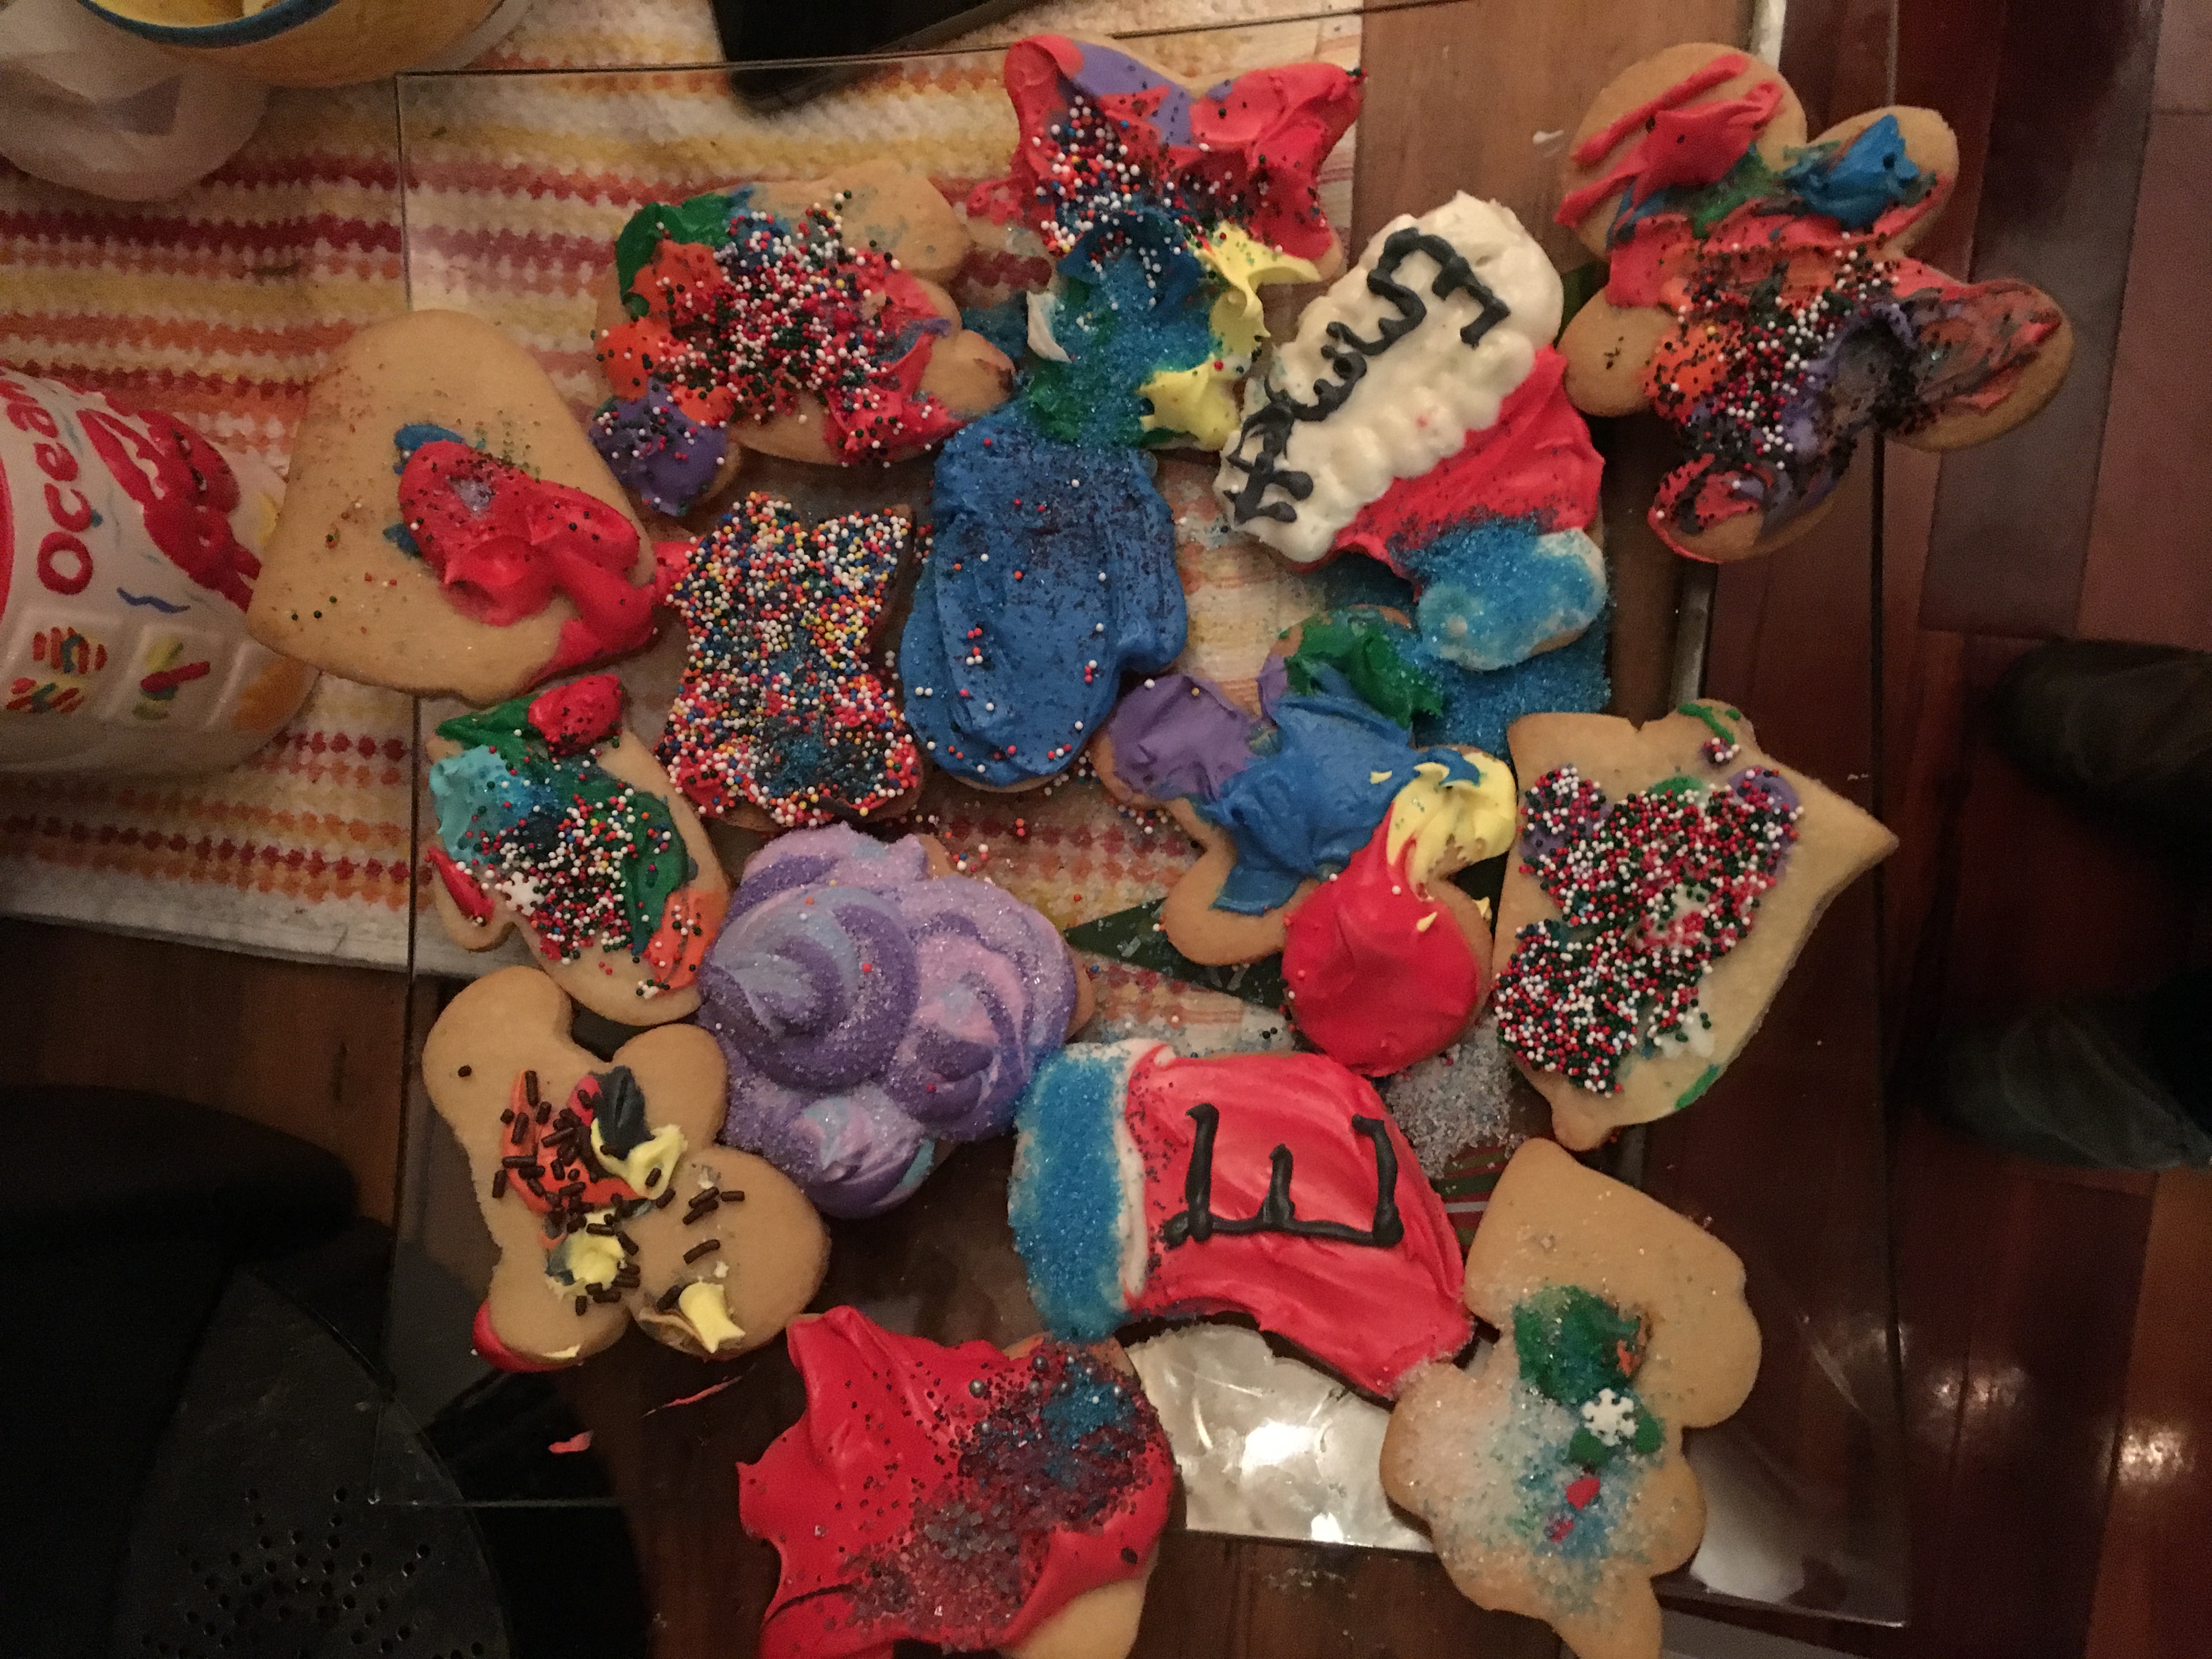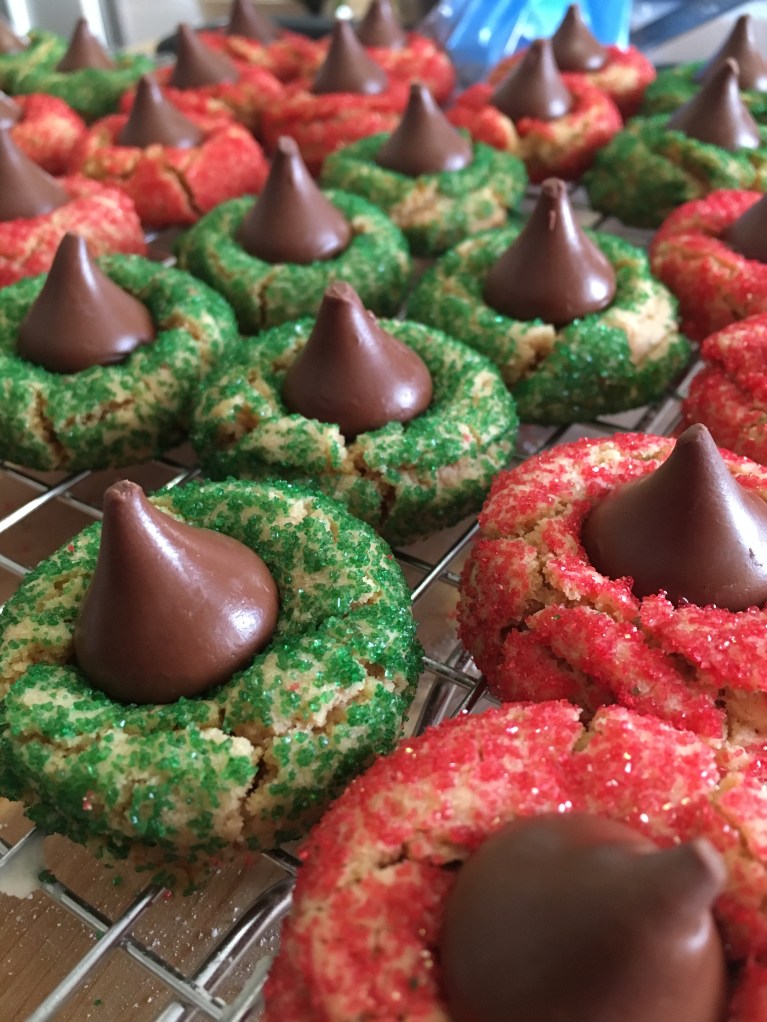
These are the best damn sugar cookies you’ll ever have.
What makes me so confident? I’ve had a lot of cookies. I’ve run a cookie blog for 8 years. I’m not exactly the 120 lb. daughter my mother always wanted, and I can tell you, I didn’t get this way eating salads. I’ve conducted sugar cookie research I didn’t even know I was doing, since I was 8 years-old.
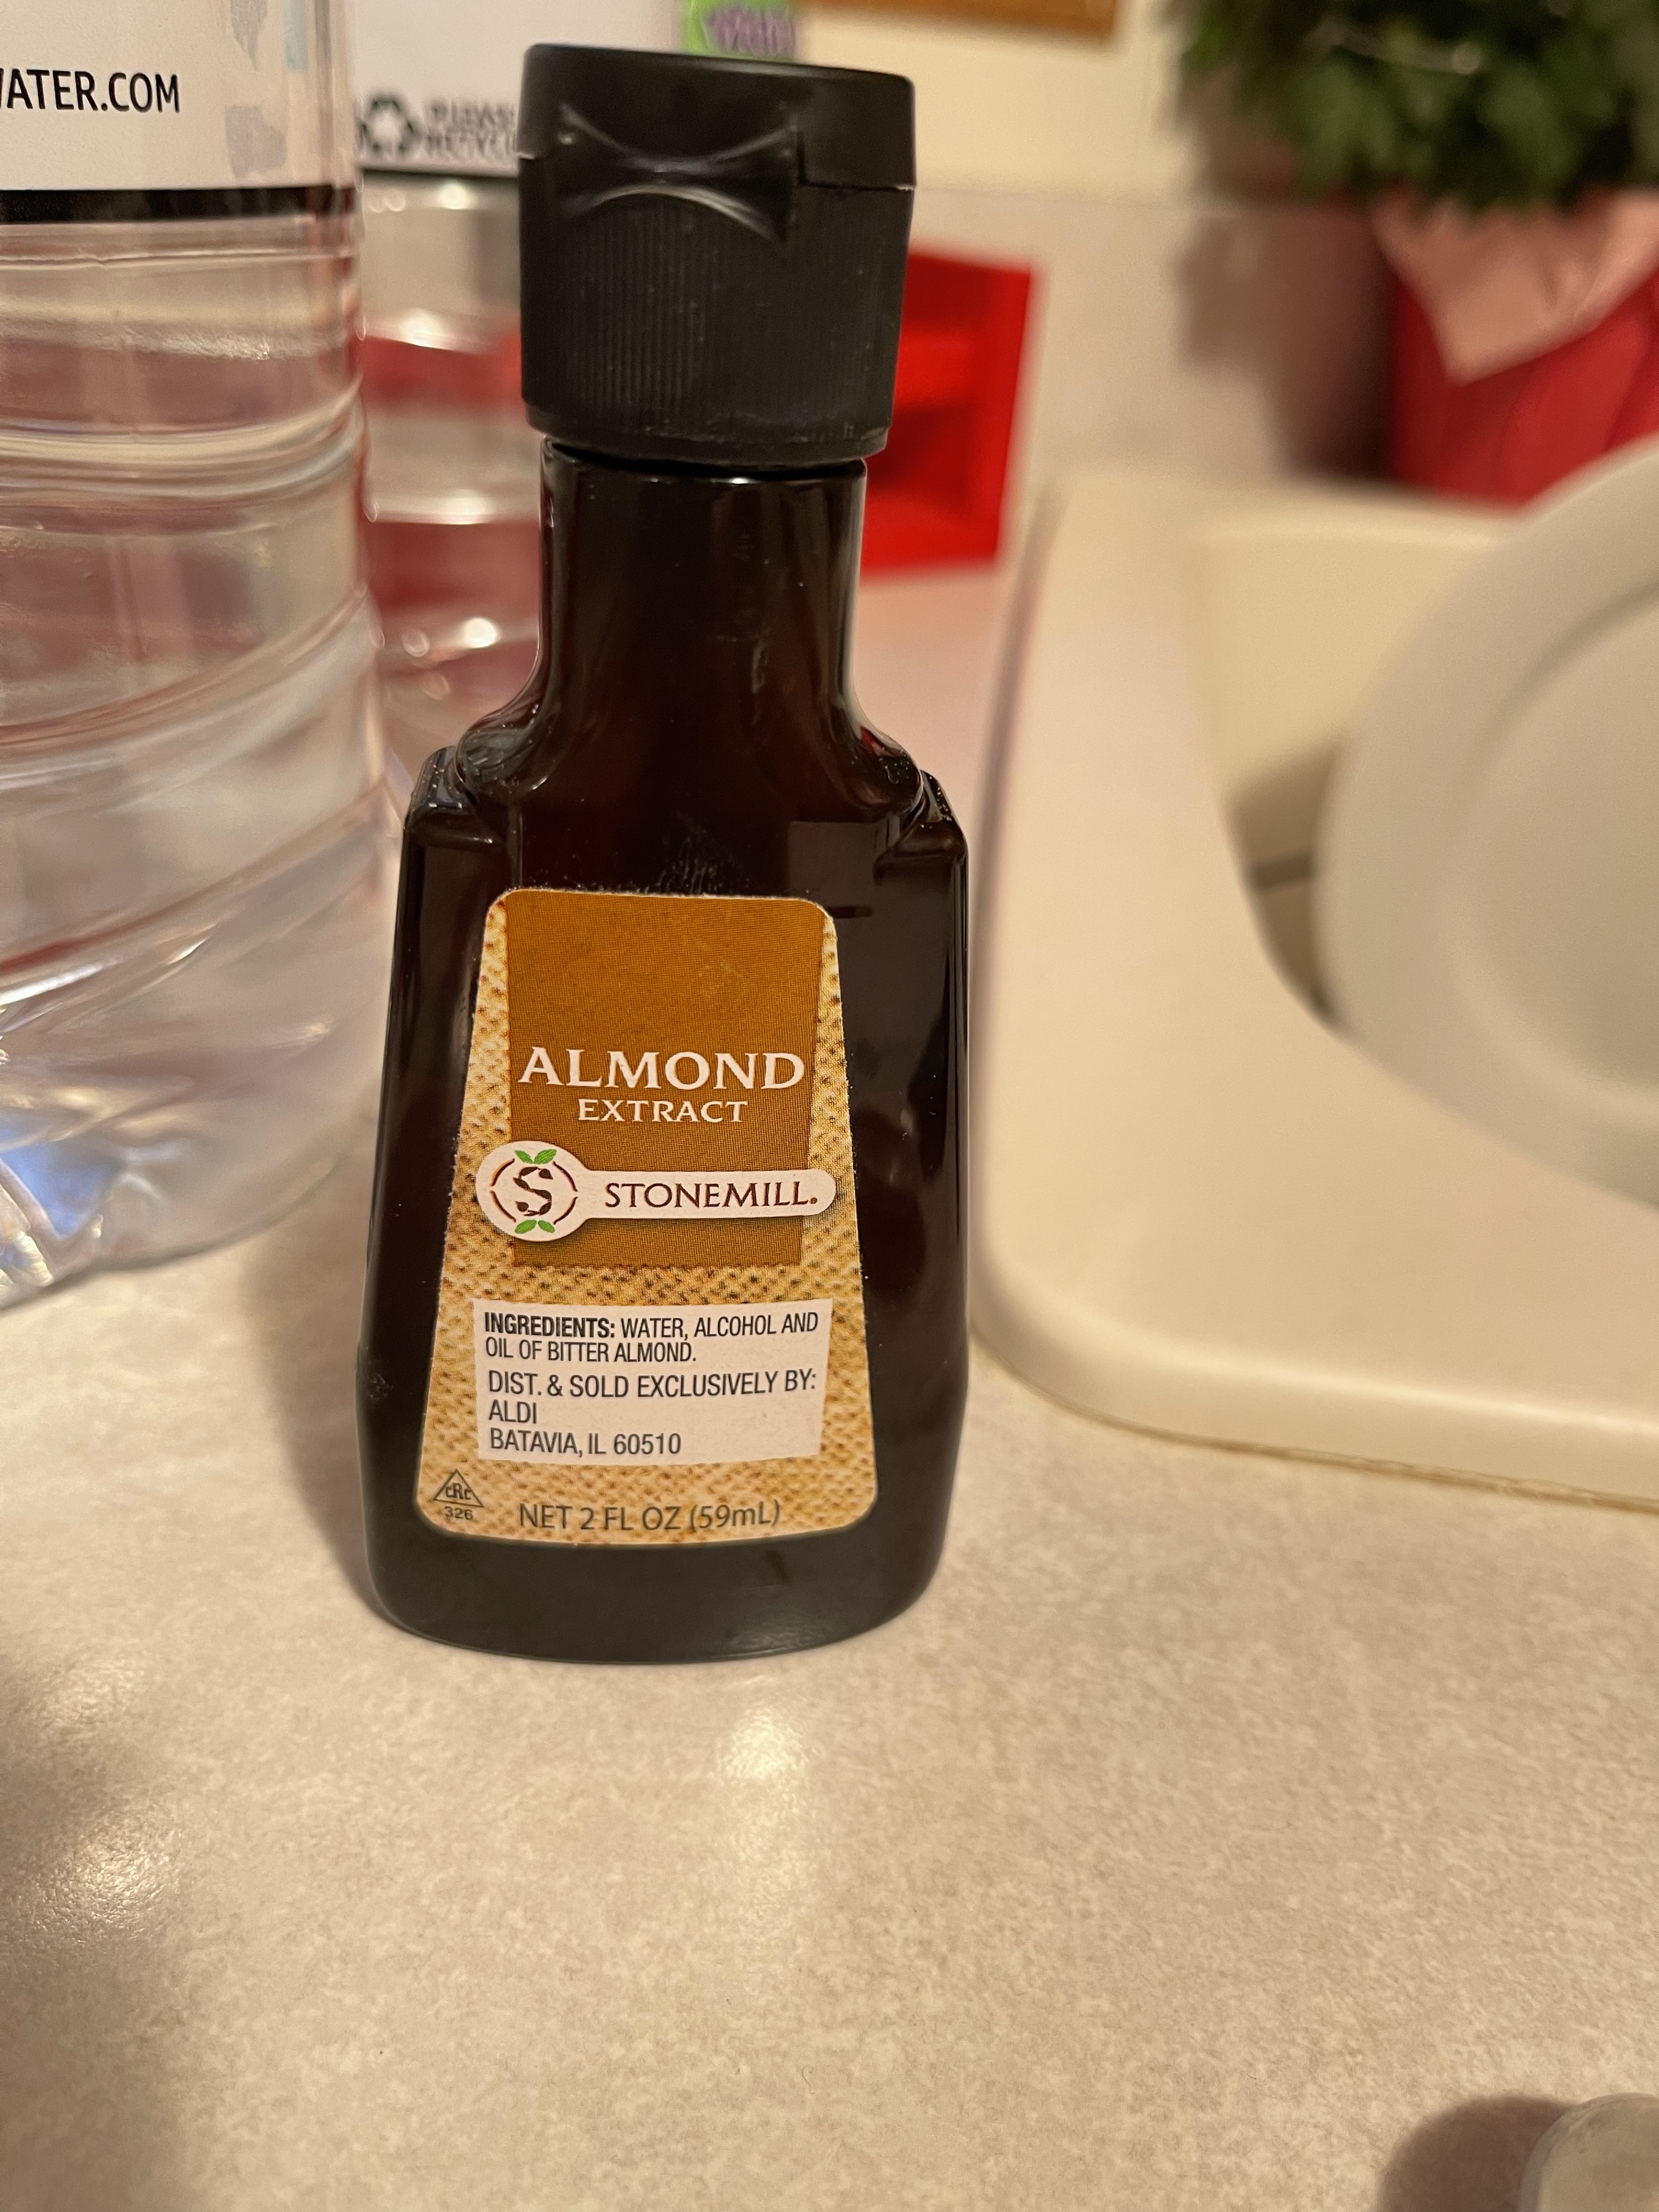
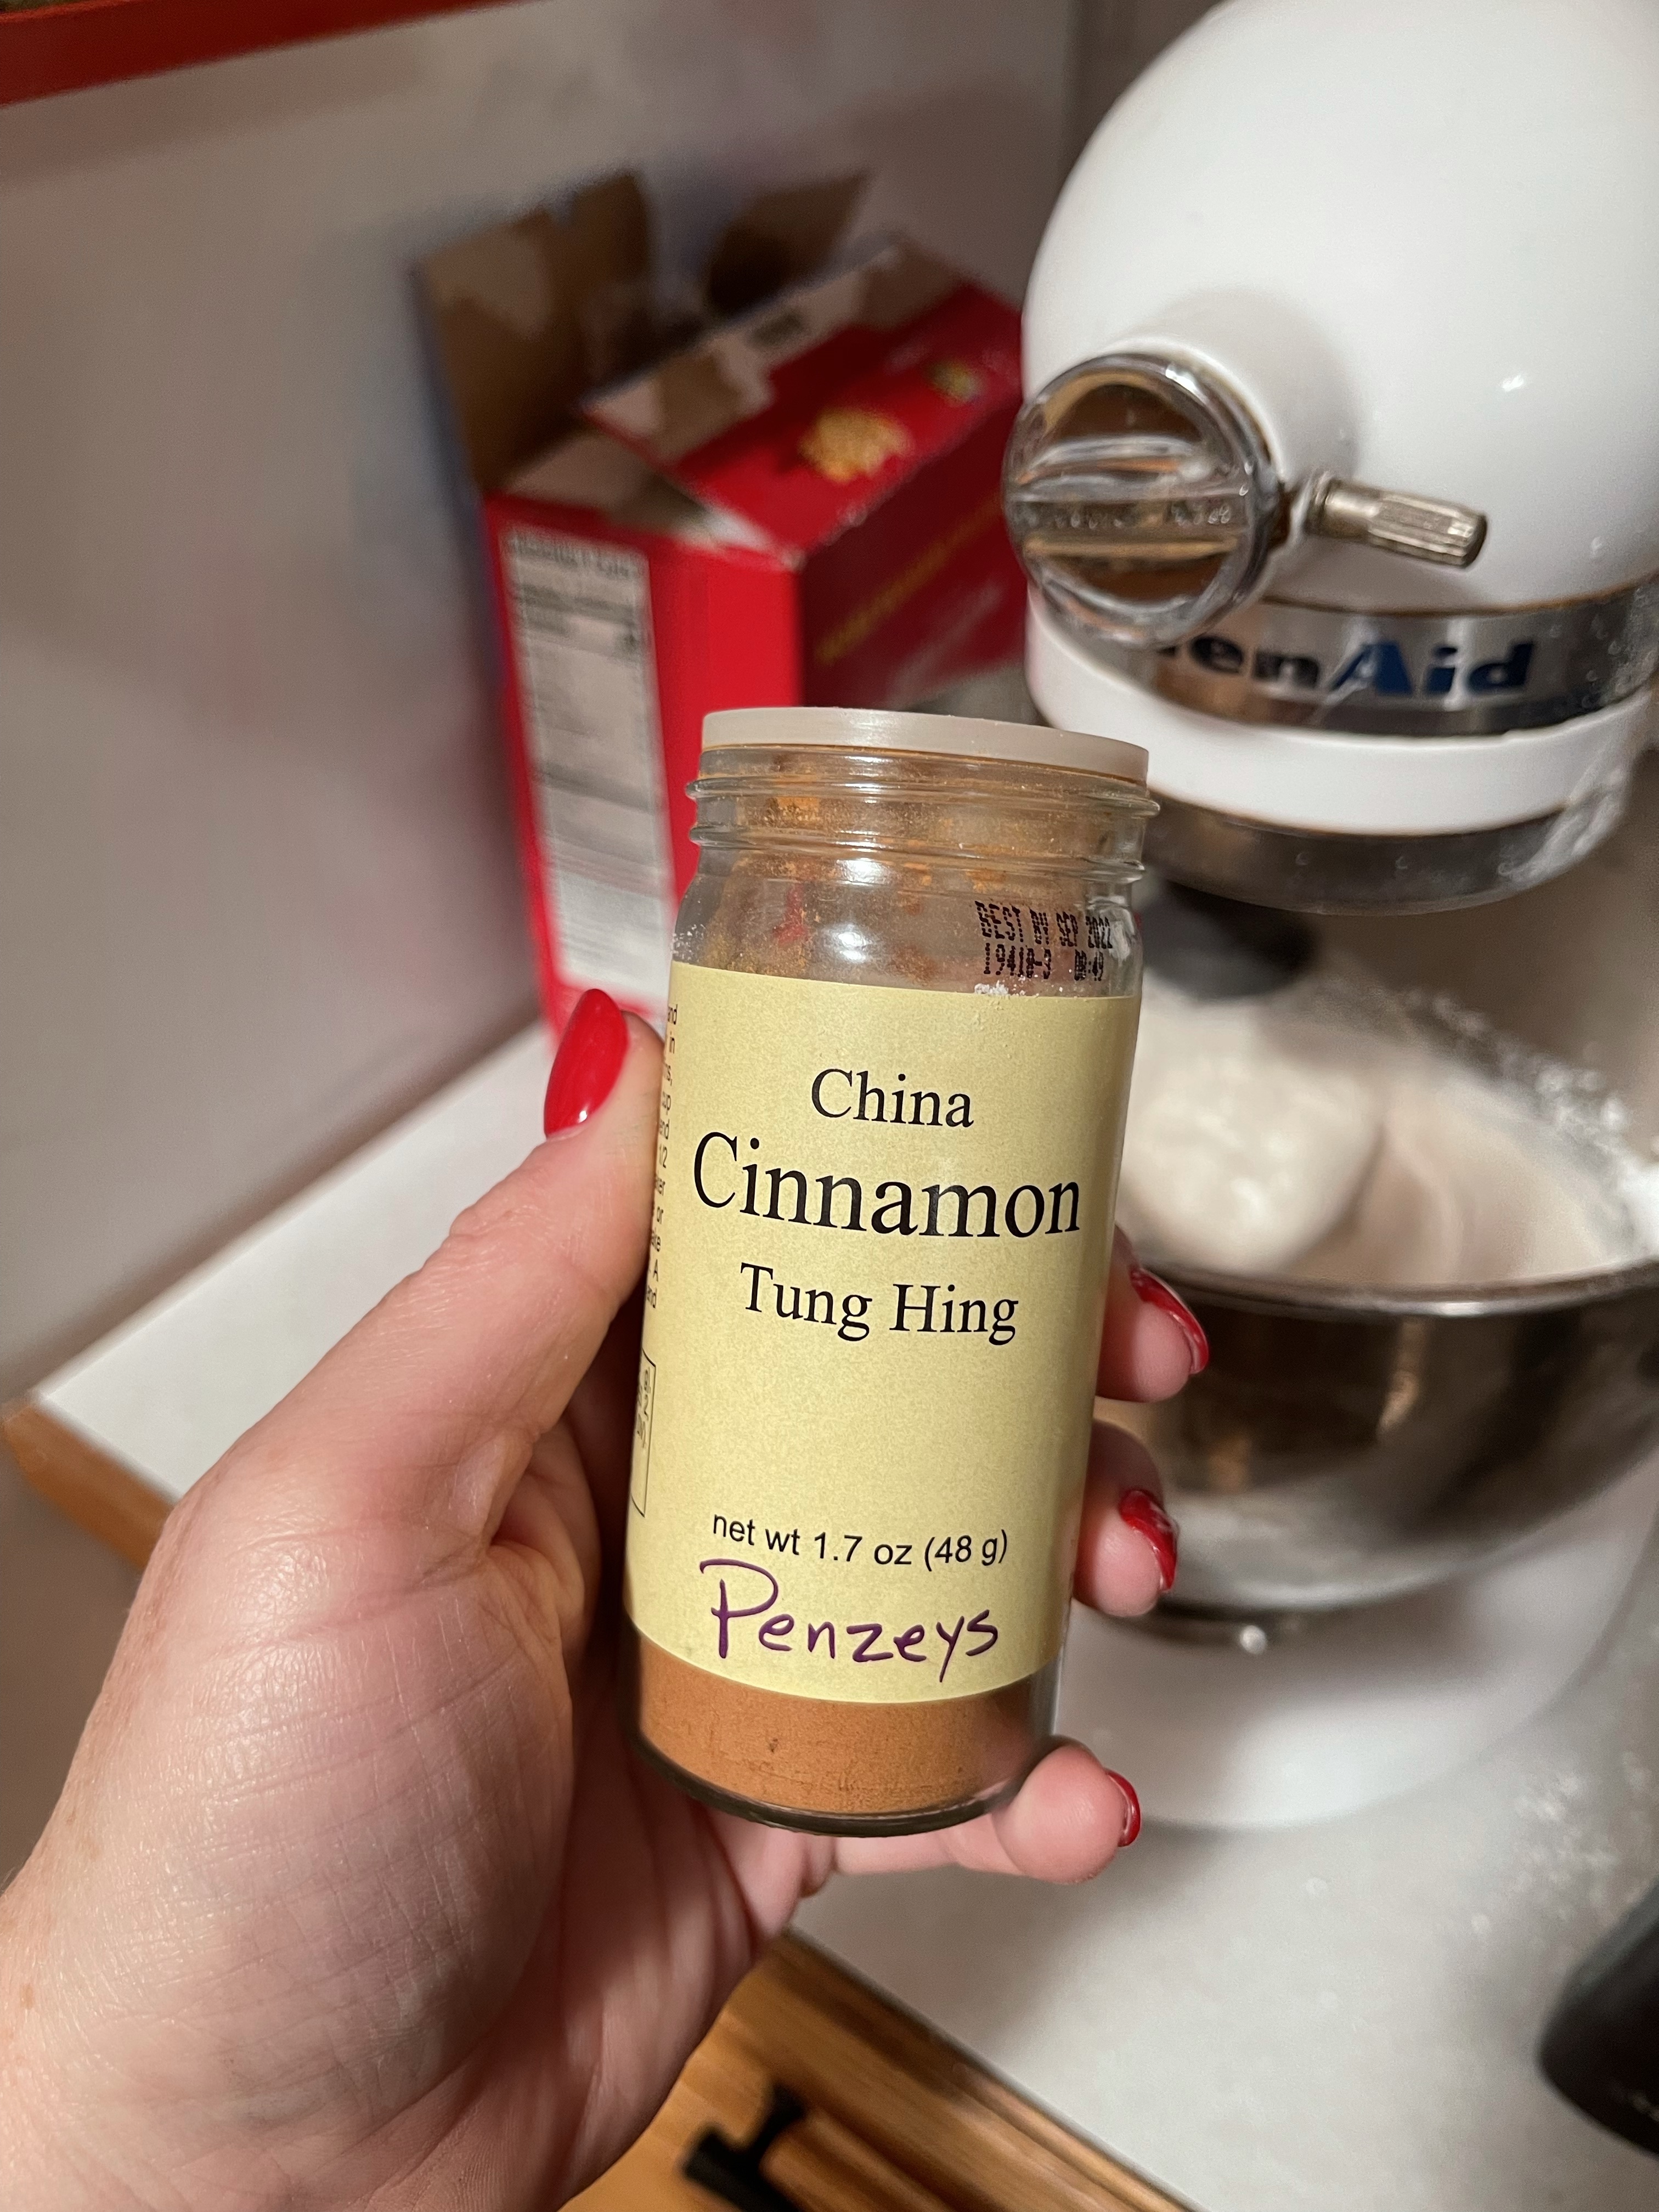
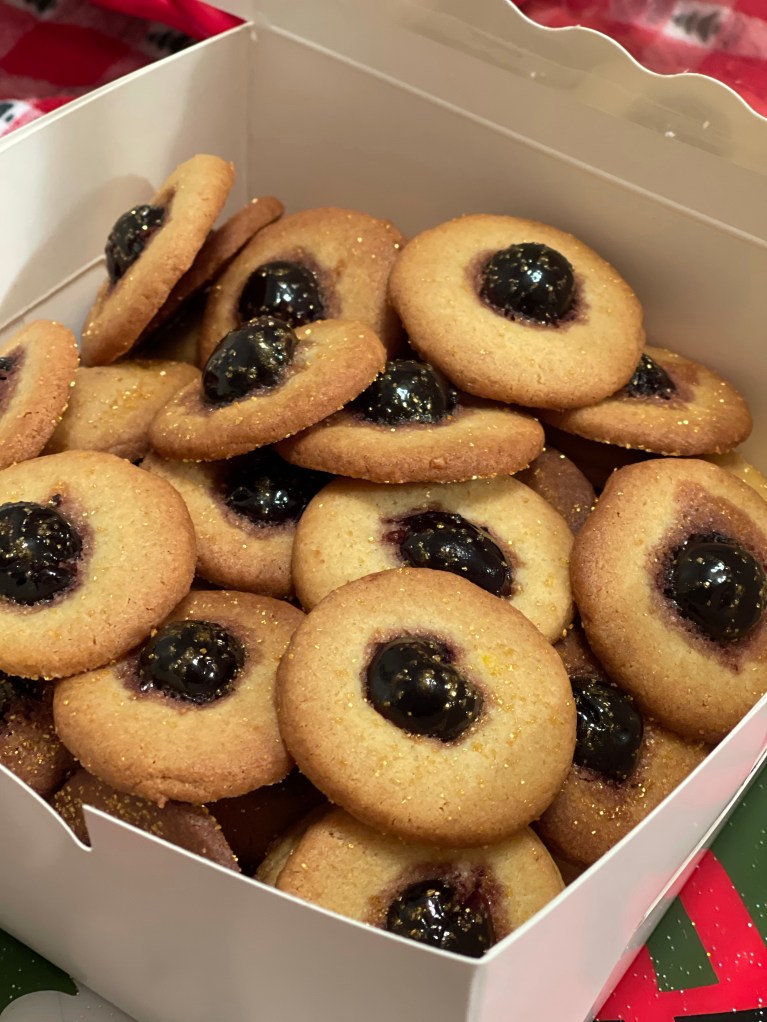
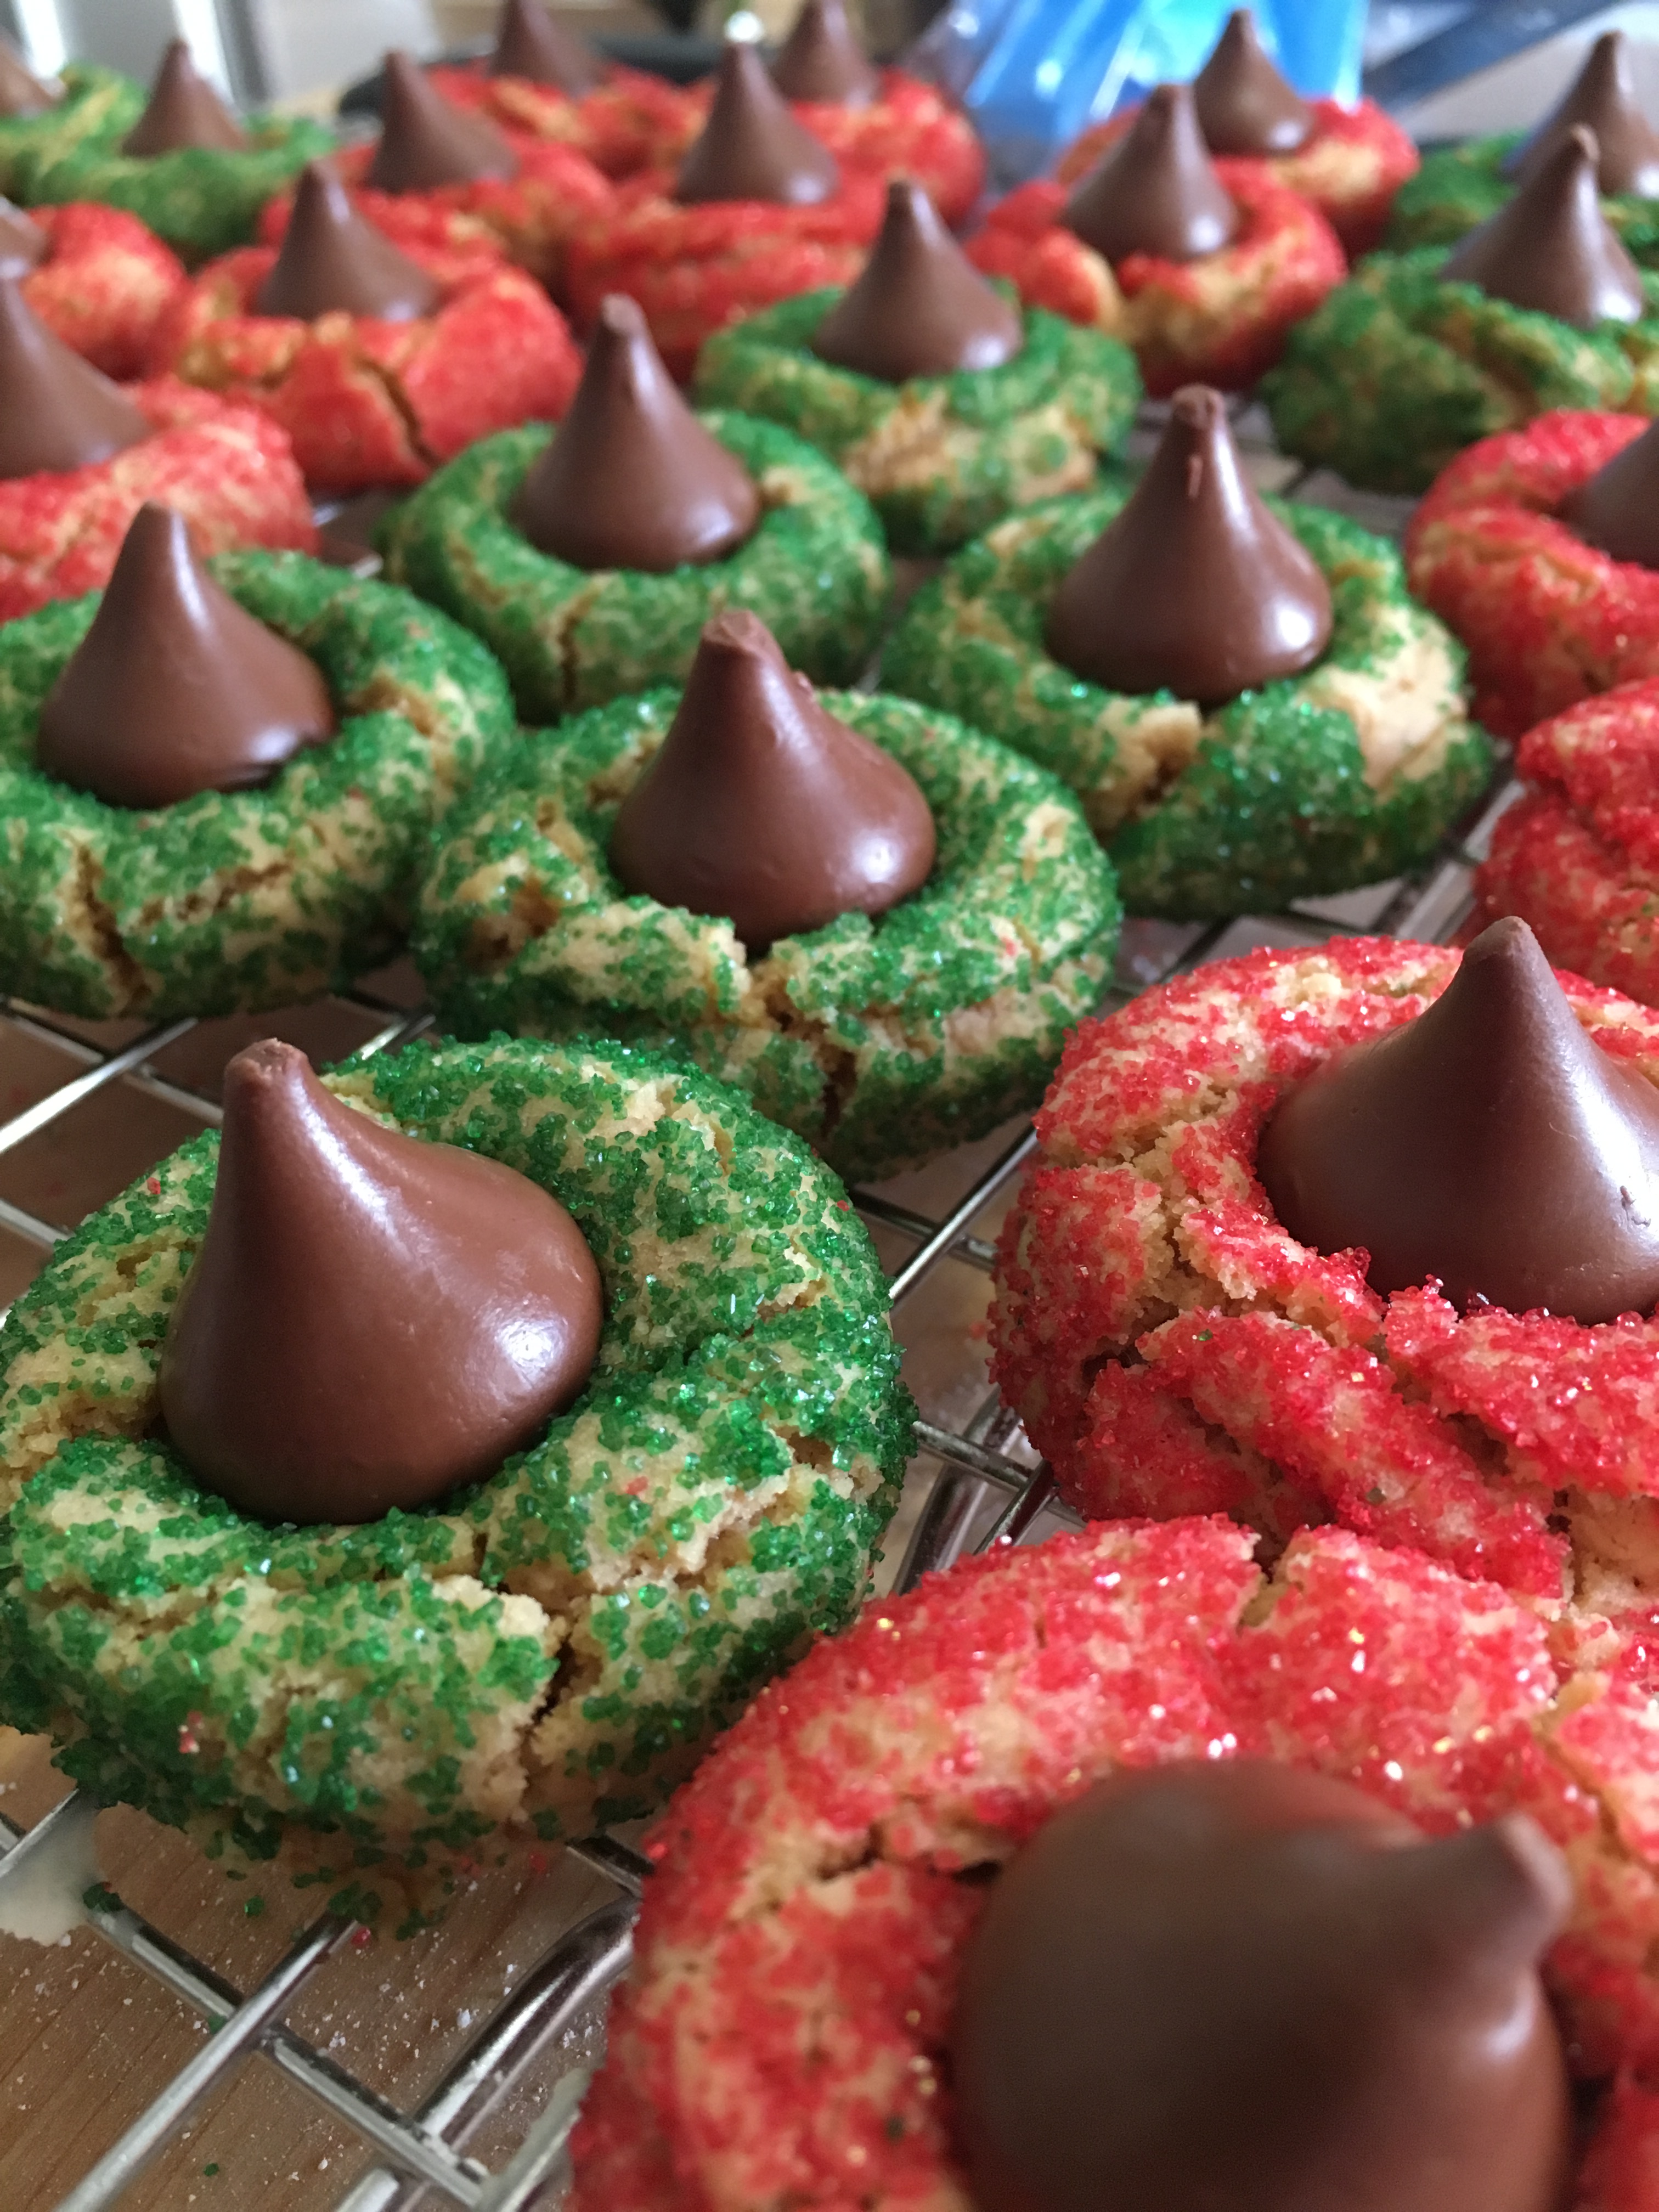
As far as Christmas cookies go, they are number 1. Fight me bro. What makes them so good are the combination of both vanilla and almond extracts.
Jessica’s Best Sugar Cookies
- 1 1/2 c. sifted powdered sugar
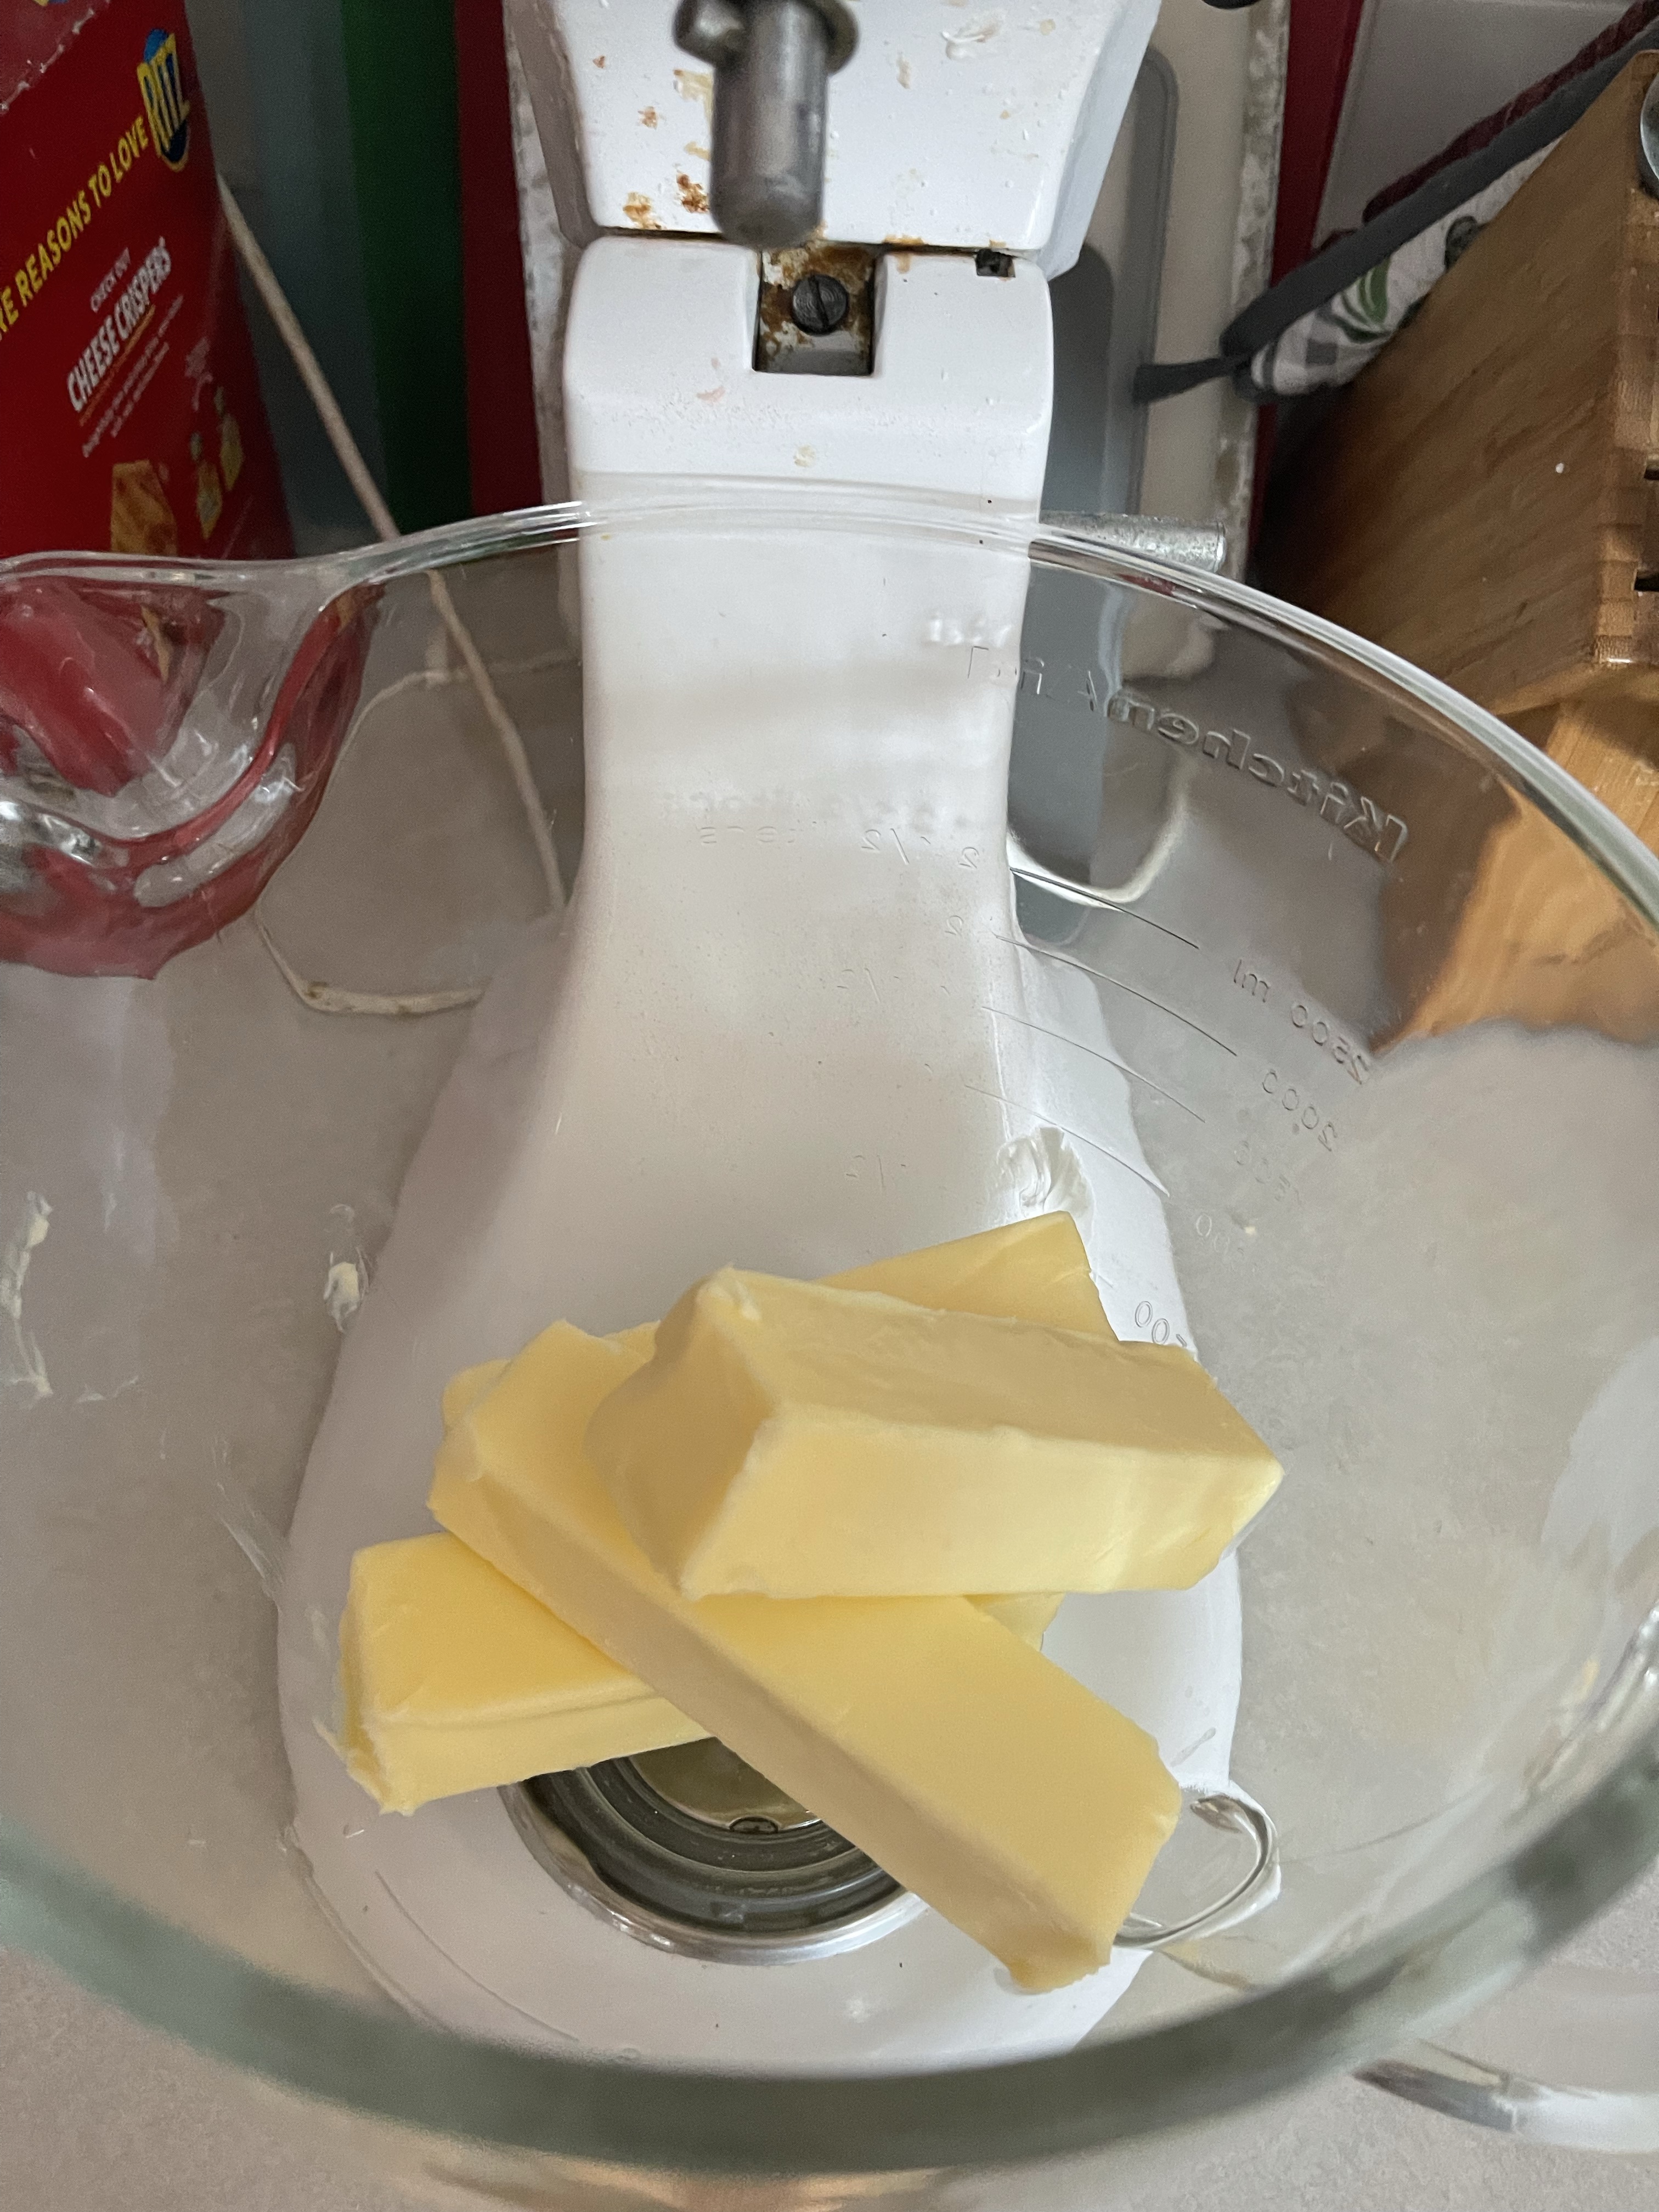
- 1 c. butter
- 1 egg
- 1 t. vanilla
- 1/2 t. almond extract
- 2 1/2 c. flour
- 1 t. baking soda
- 1 t. cream of tartar
Directions
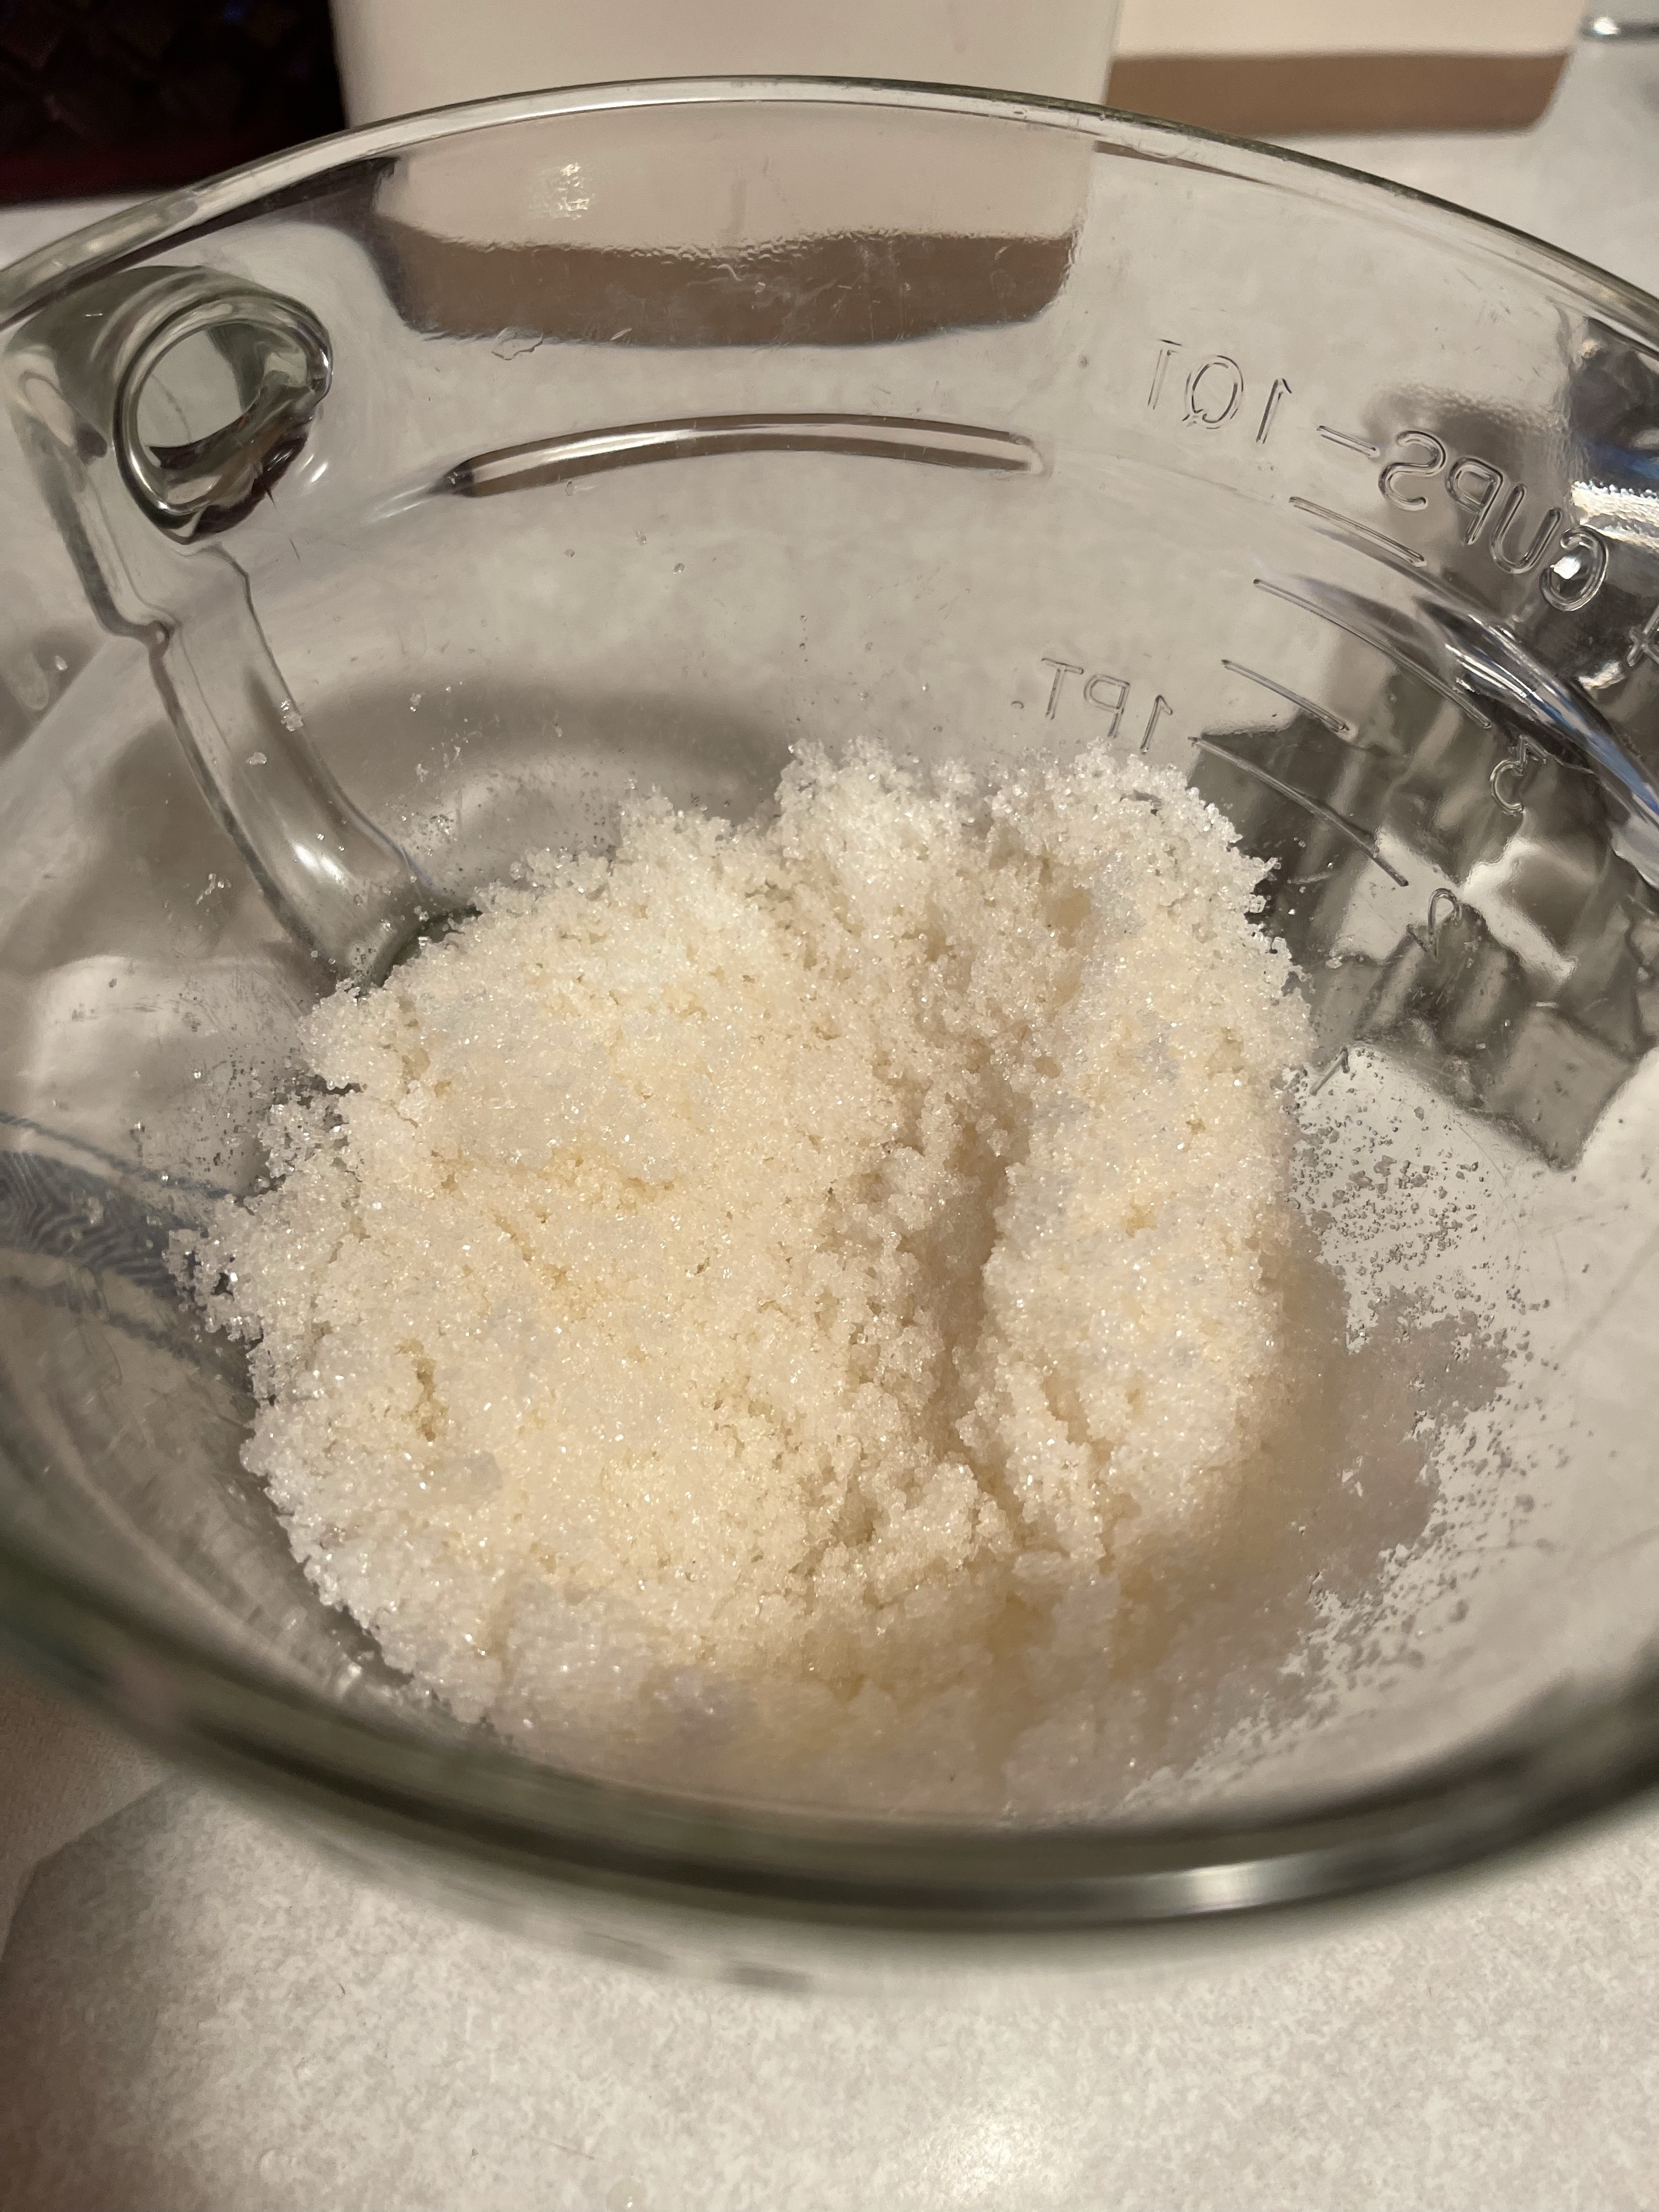
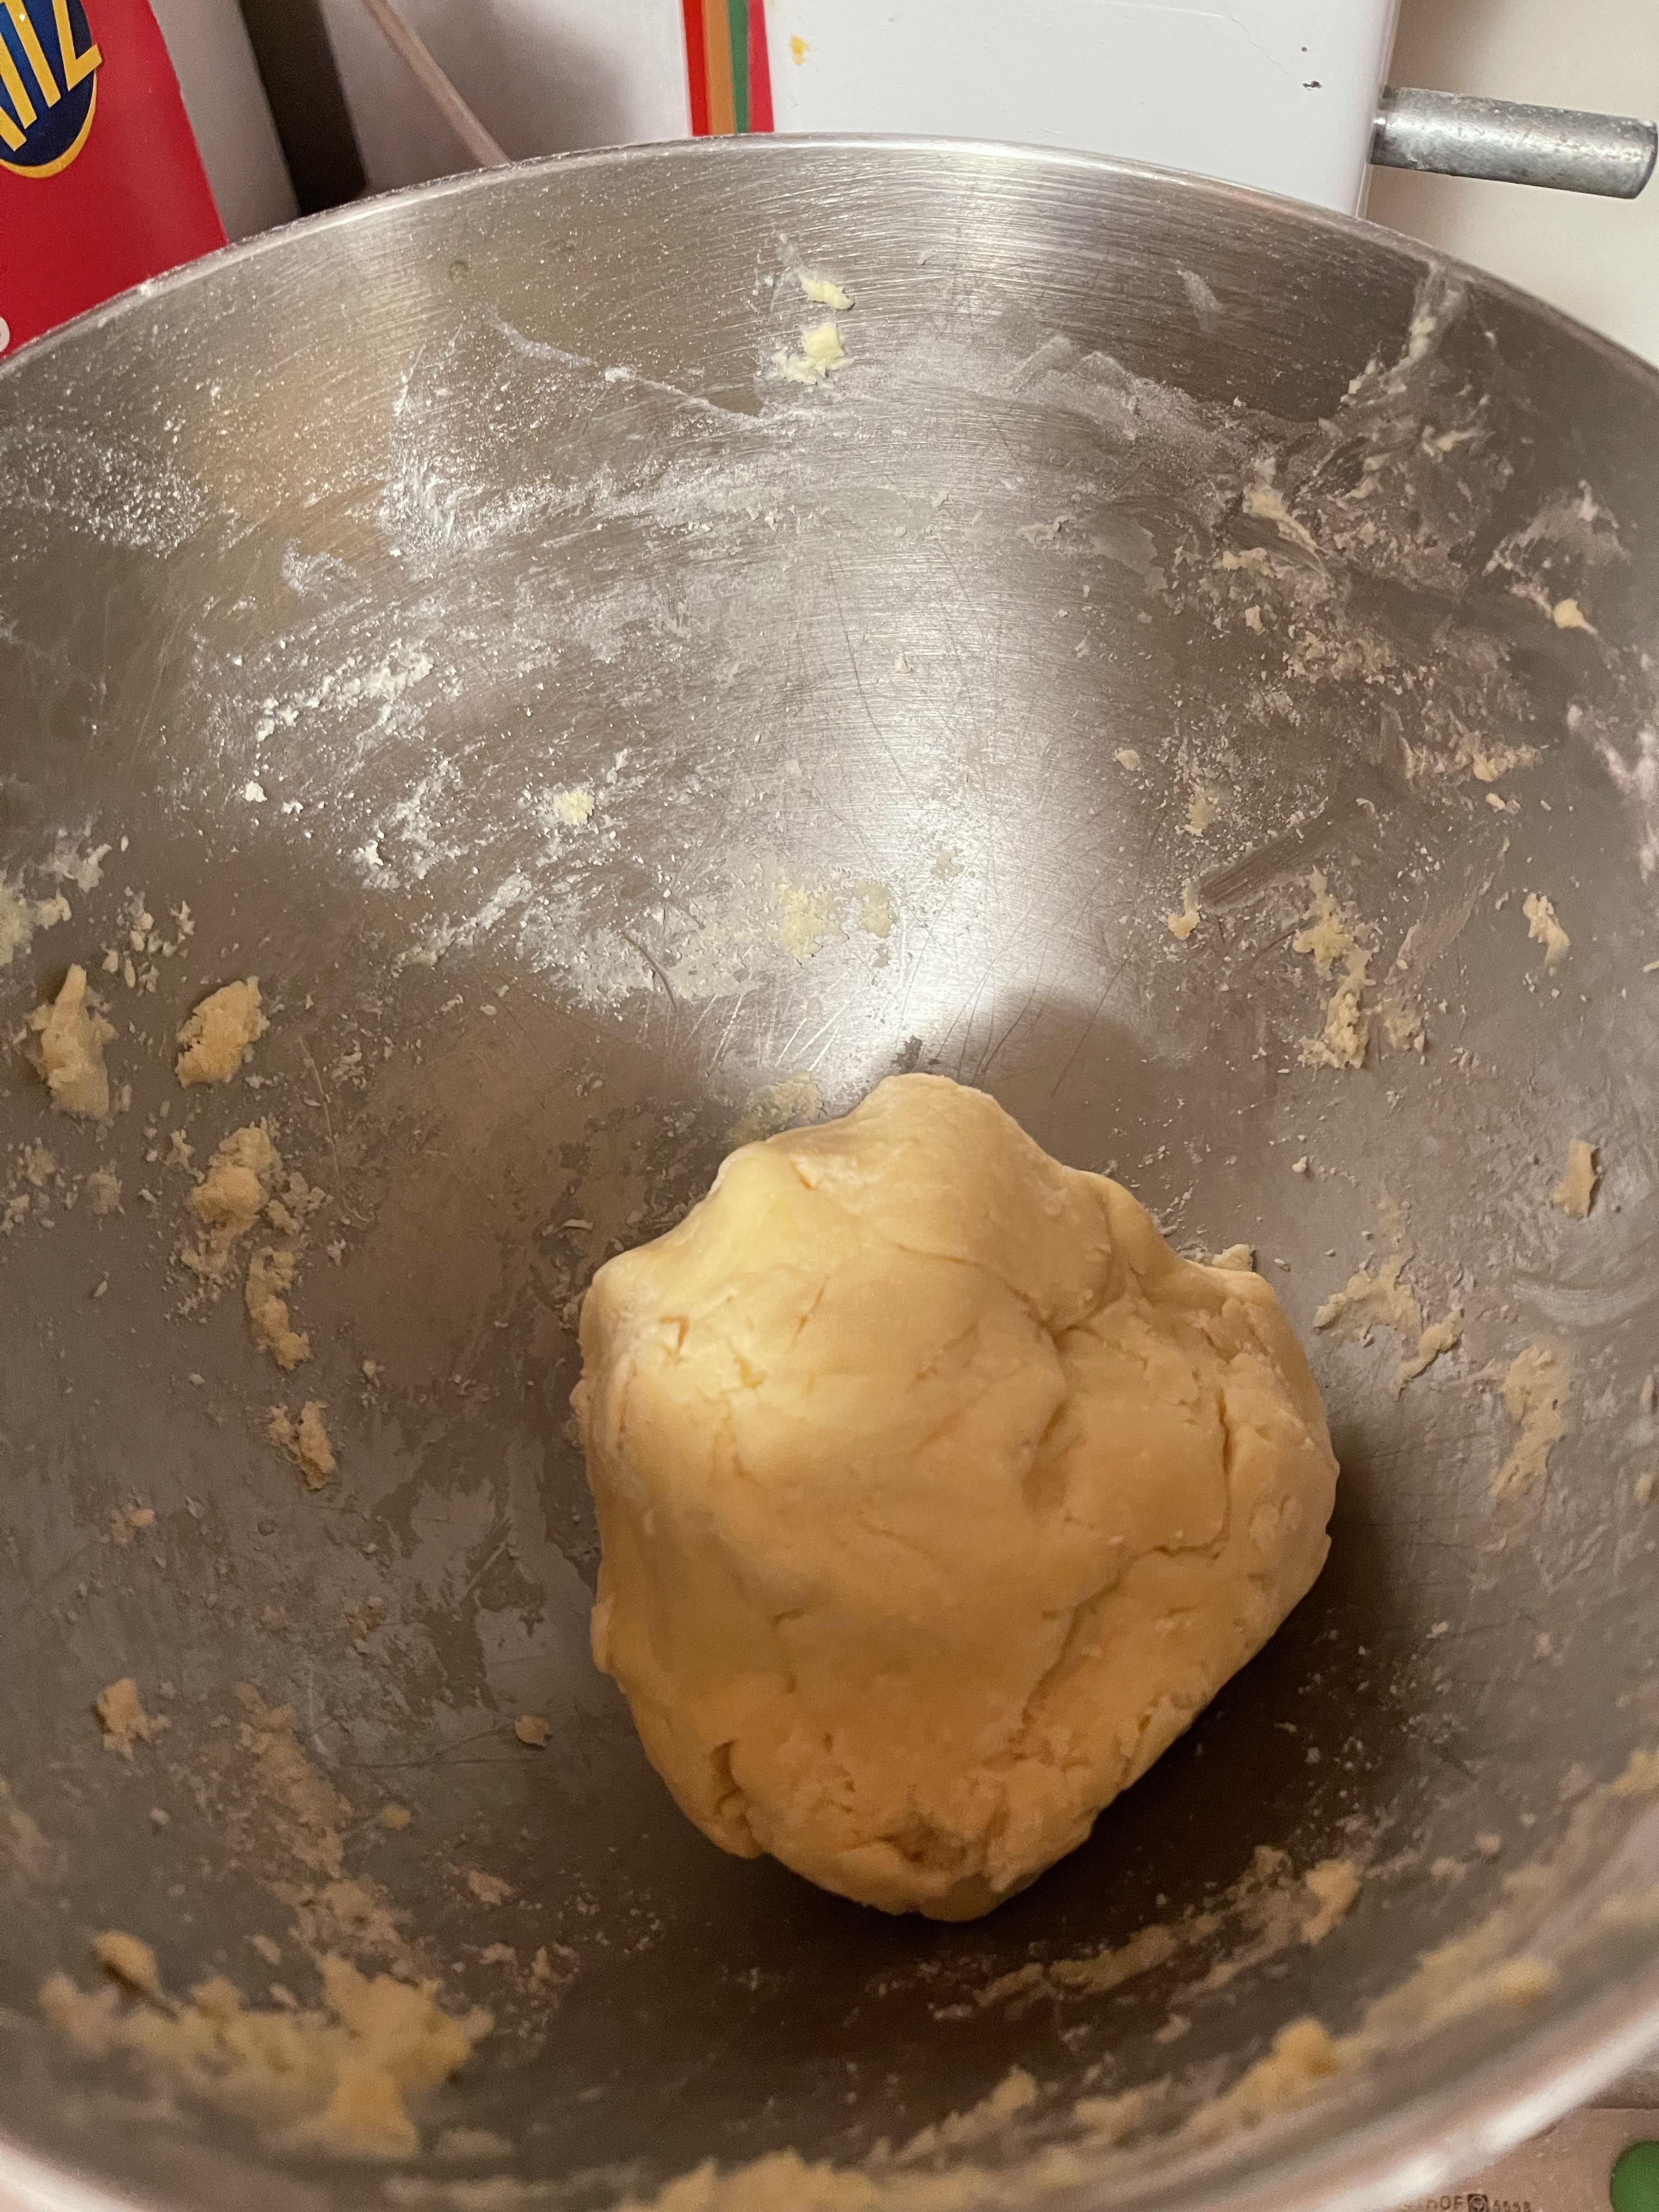
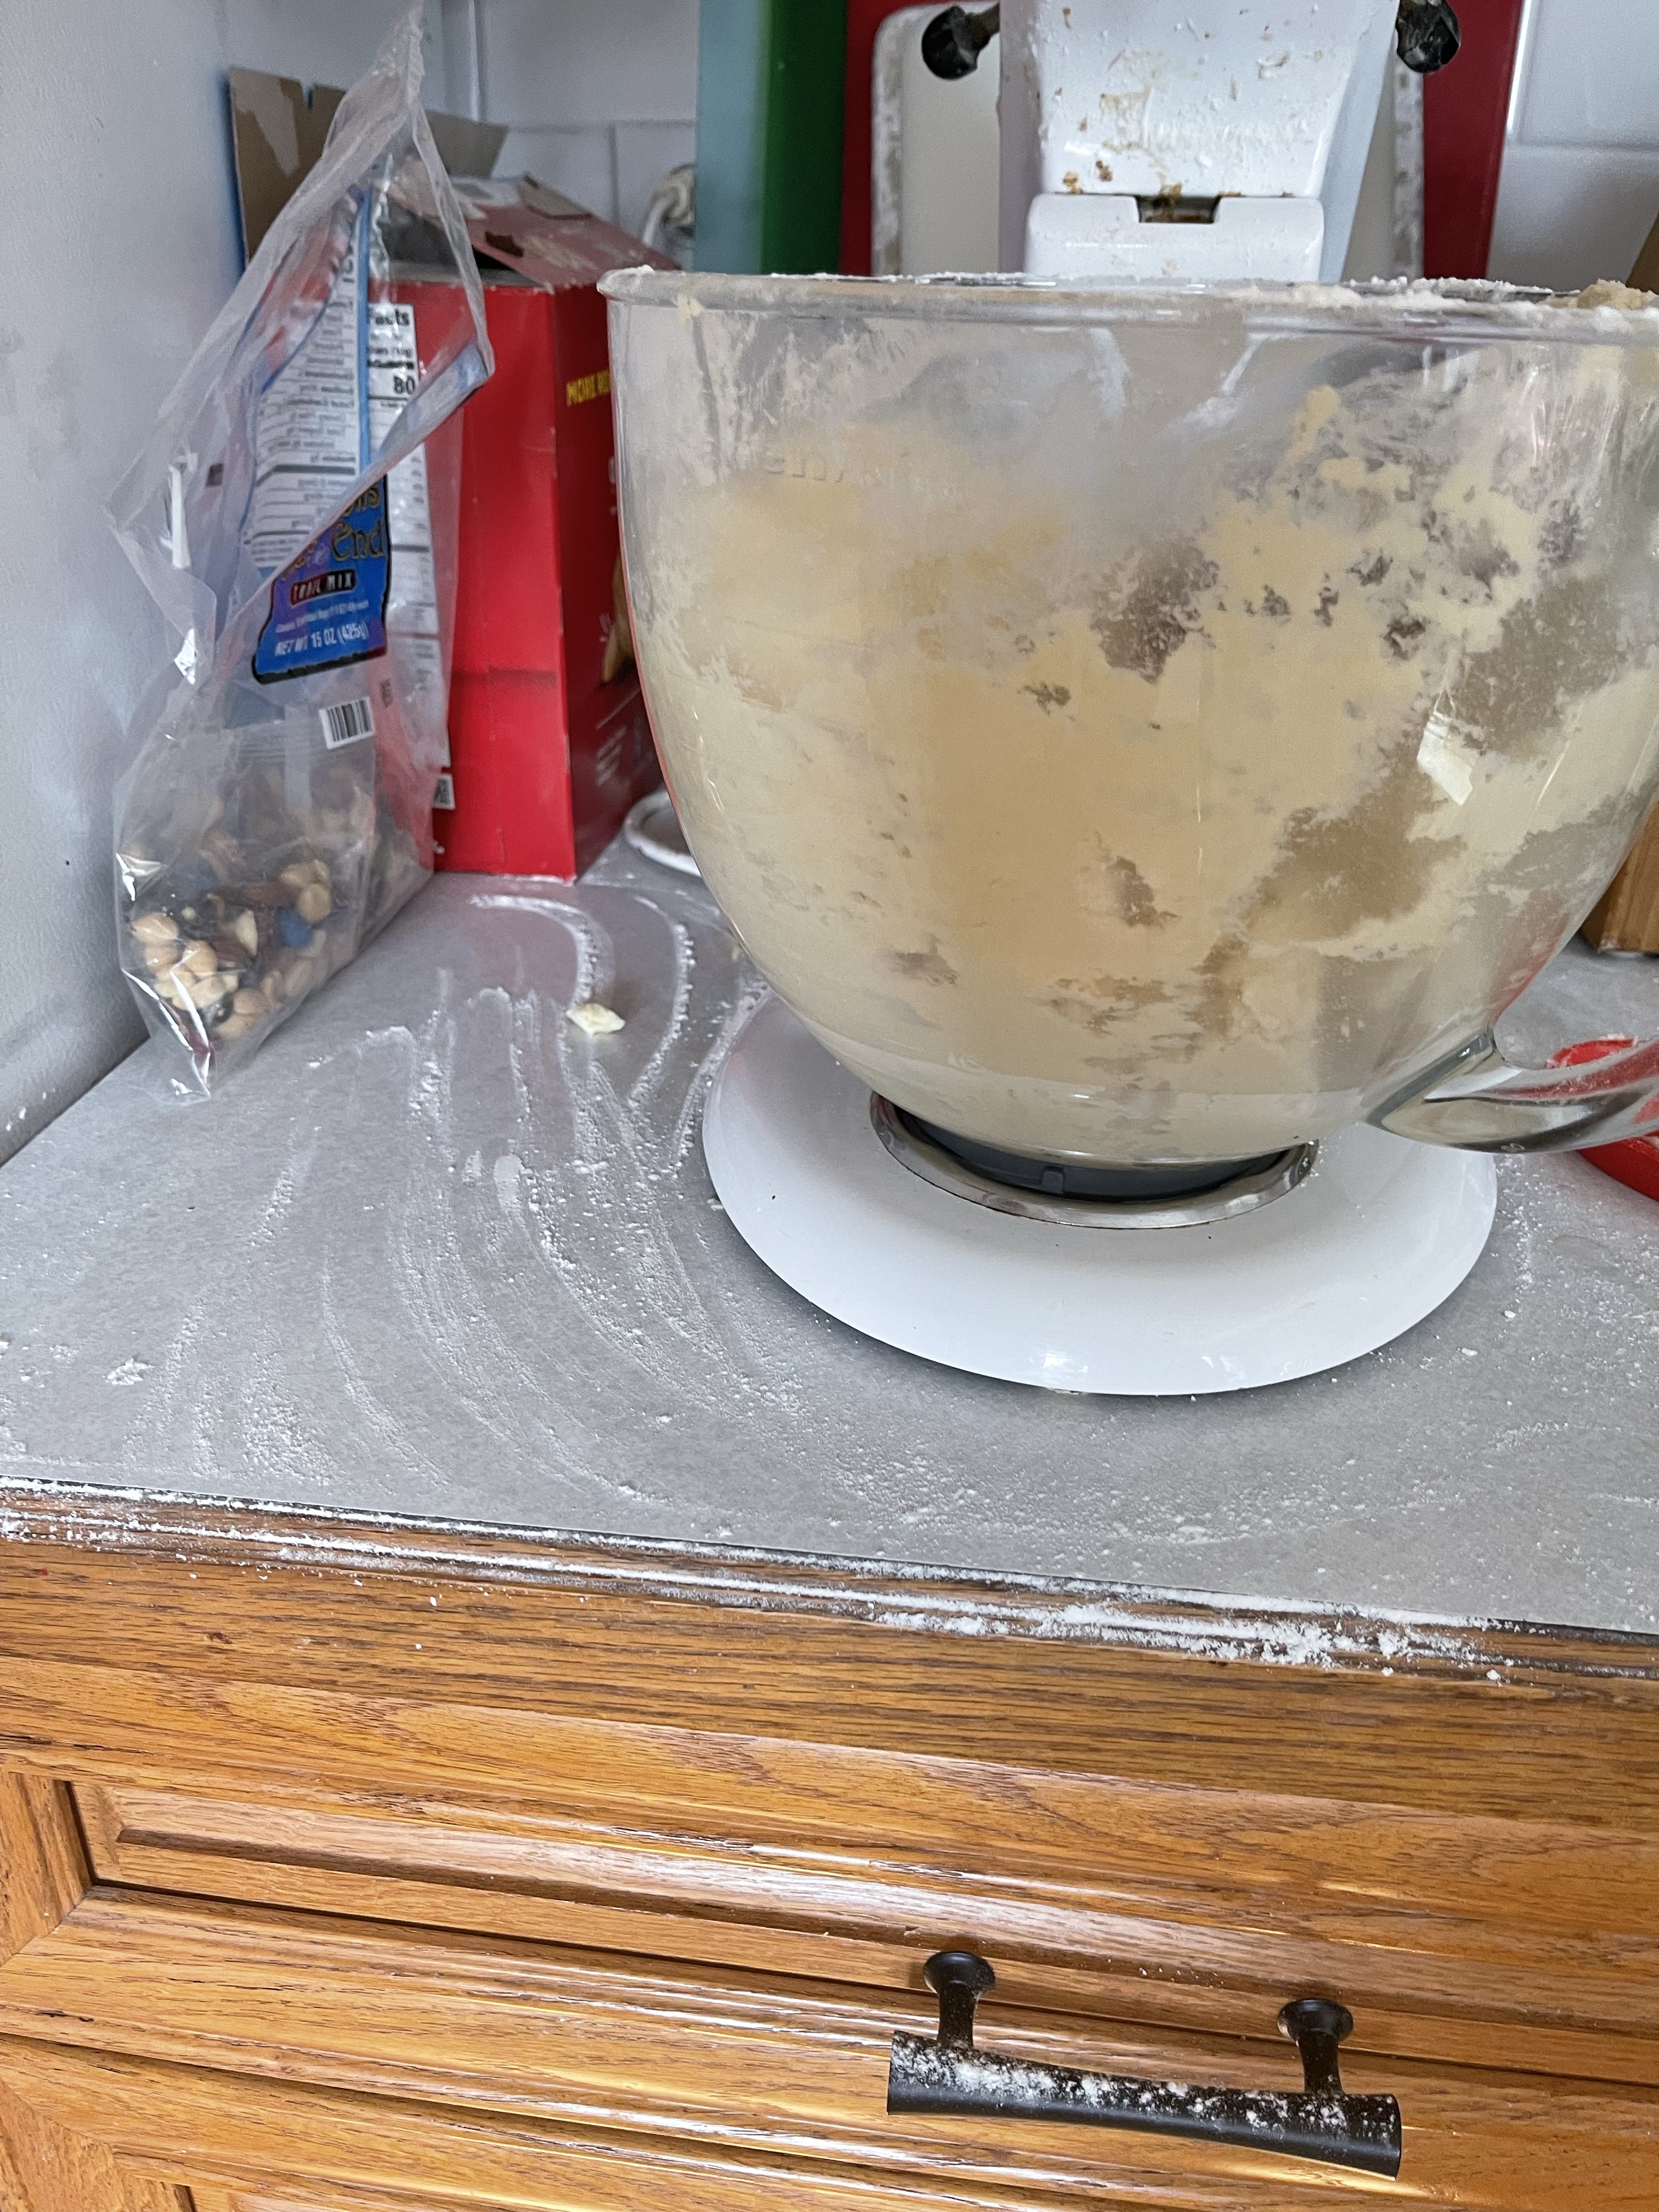
- 1. Cream butter and sugar. Mix in egg and extracts. Blend dry ingredients and stir in.
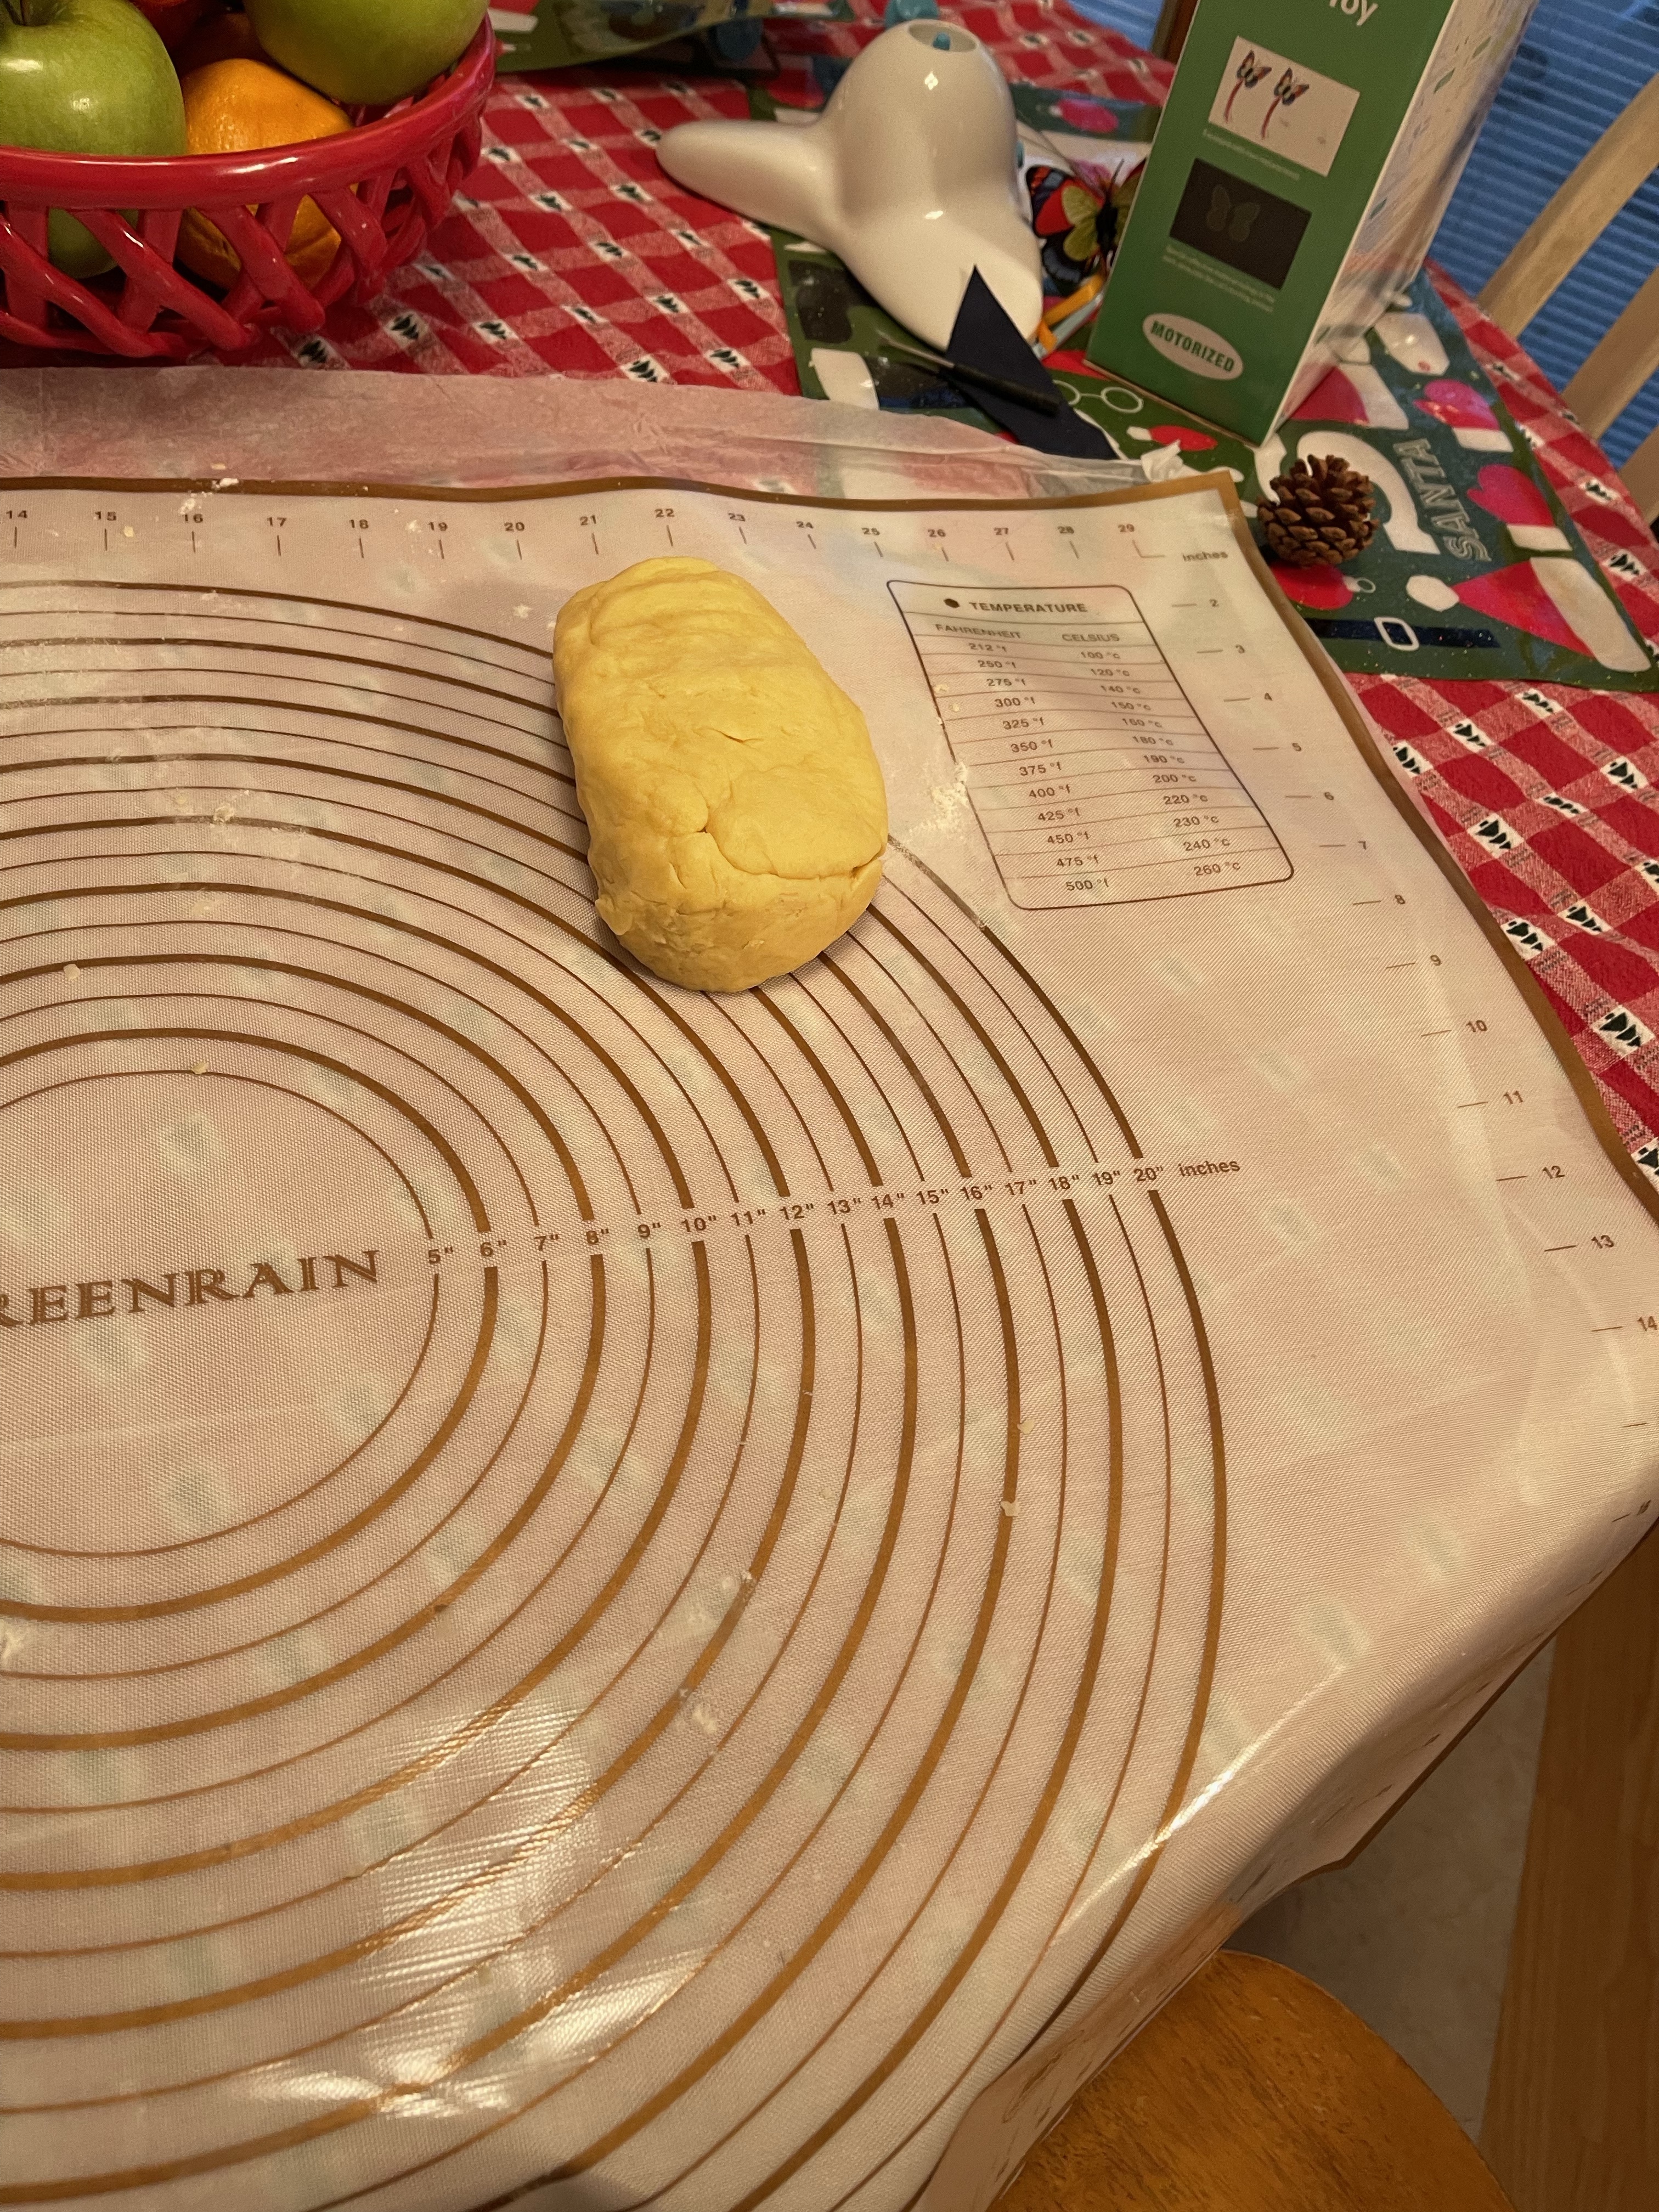
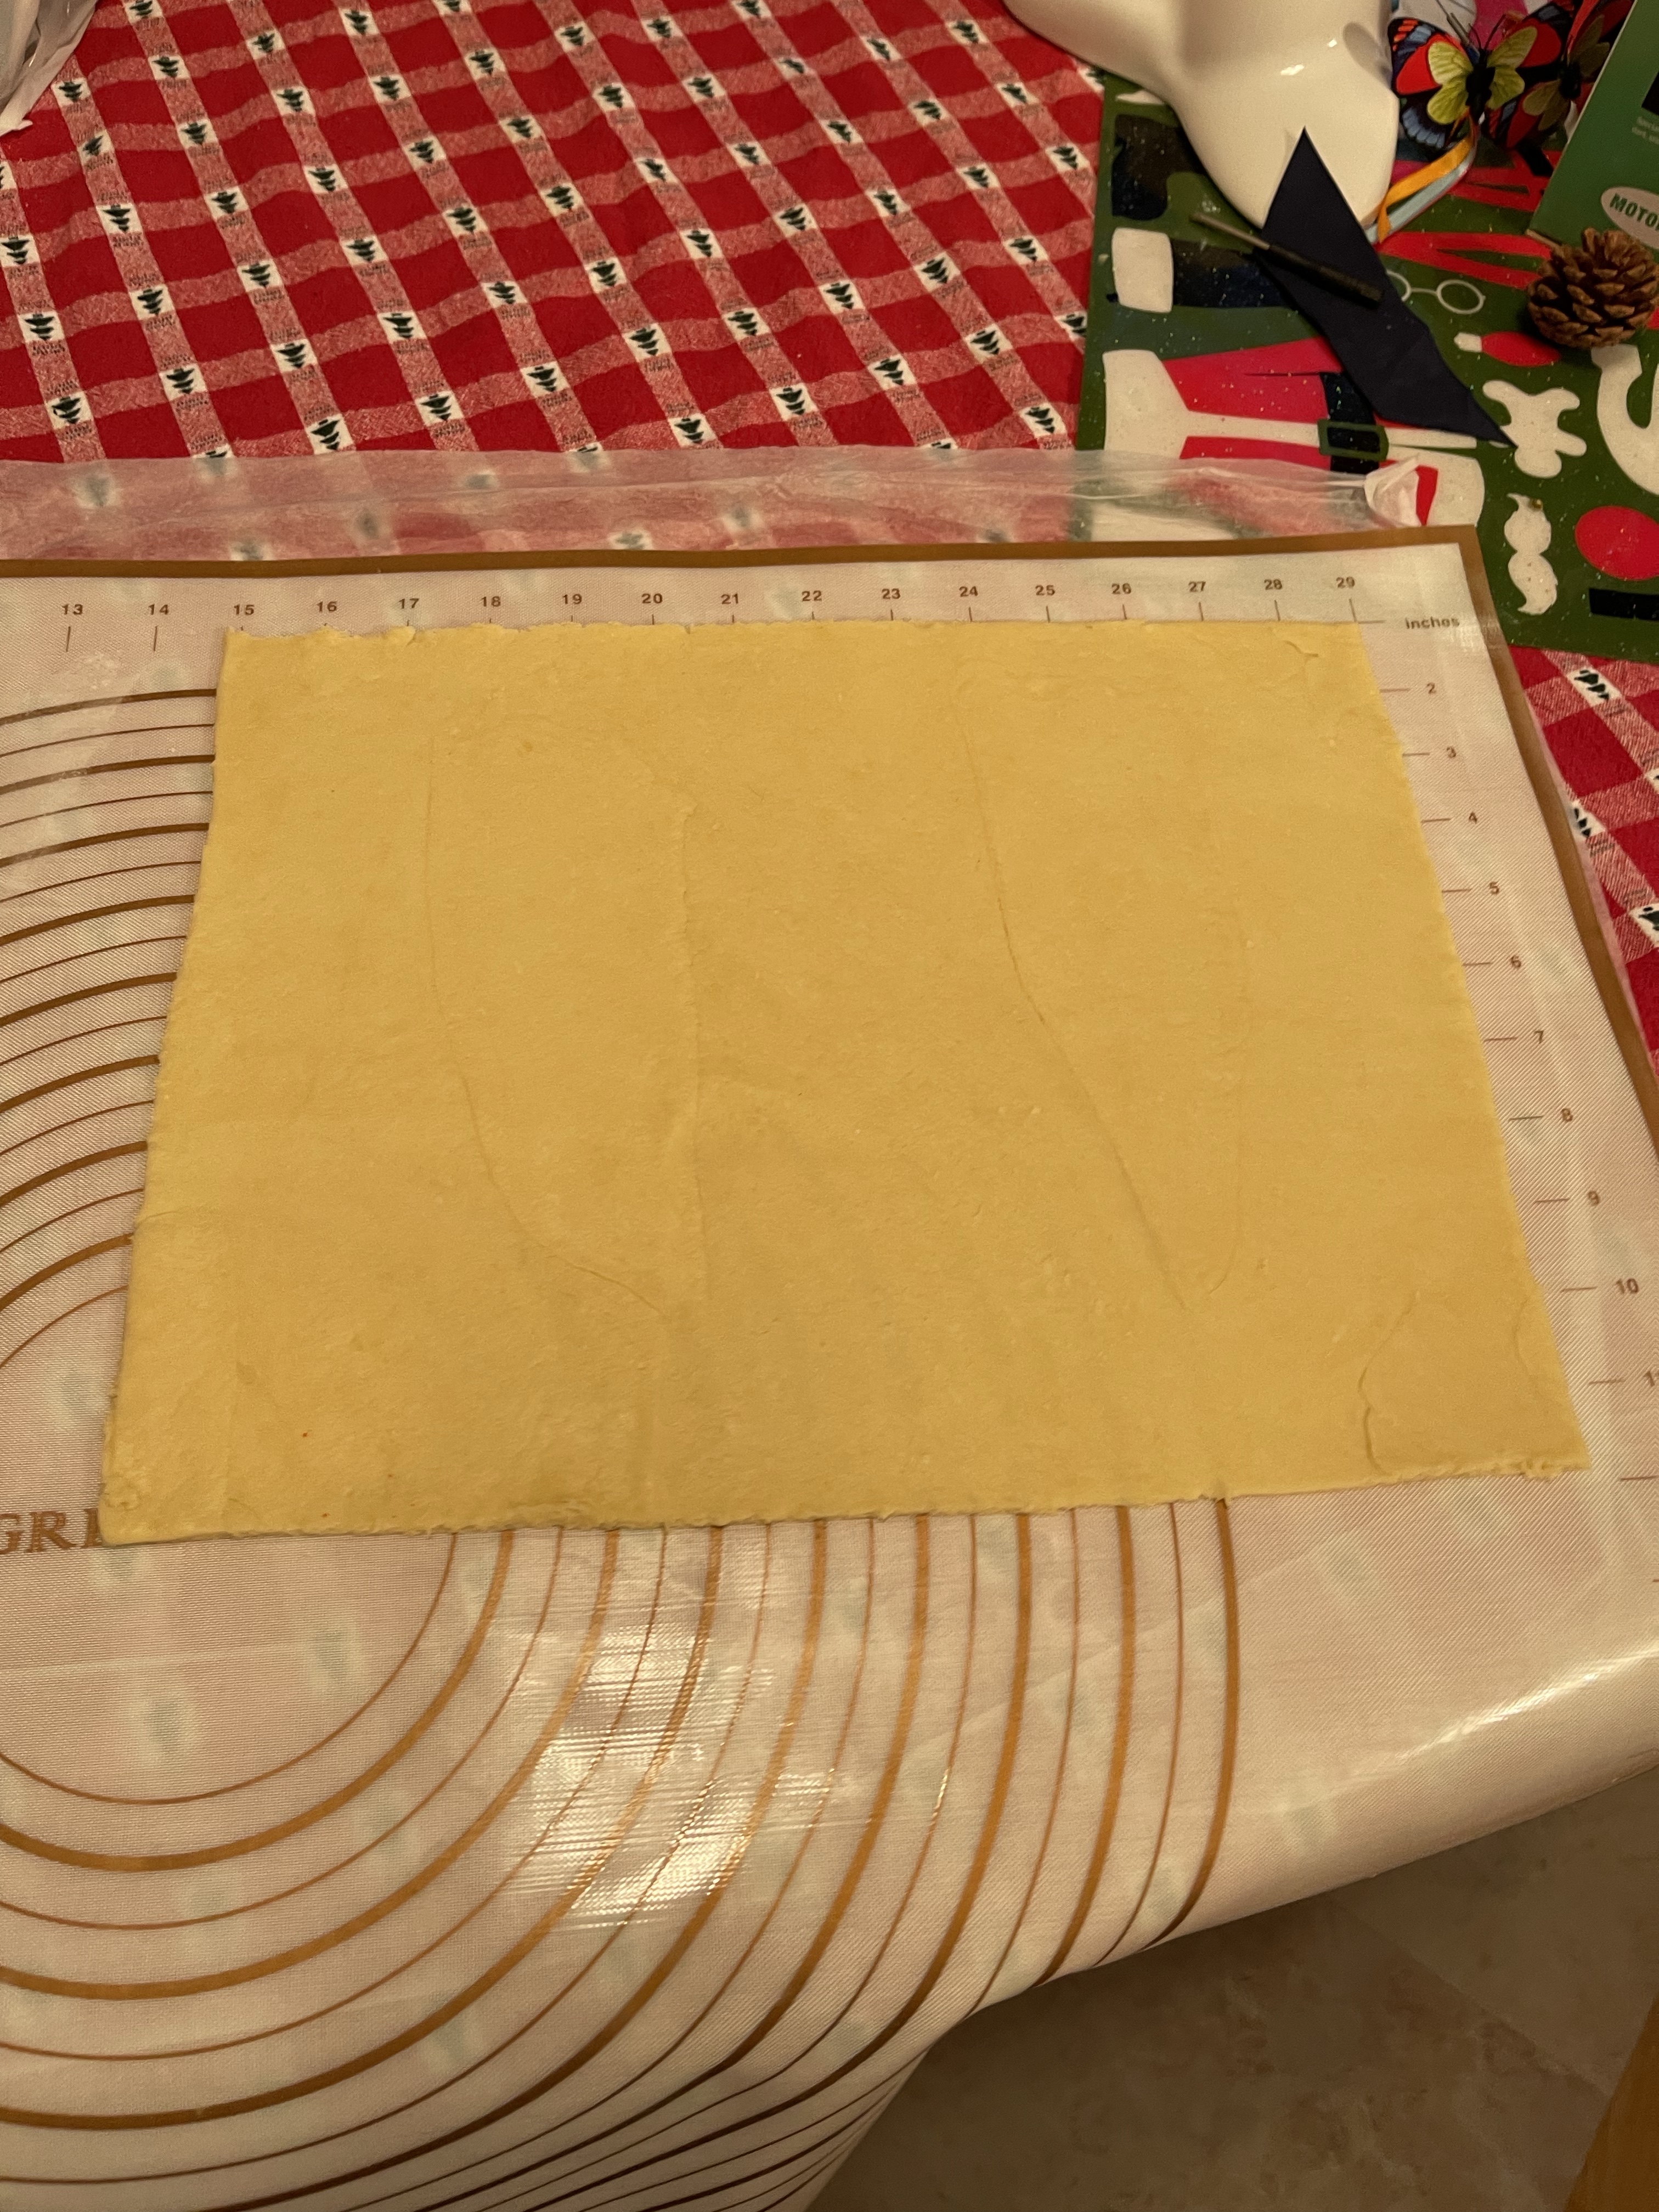
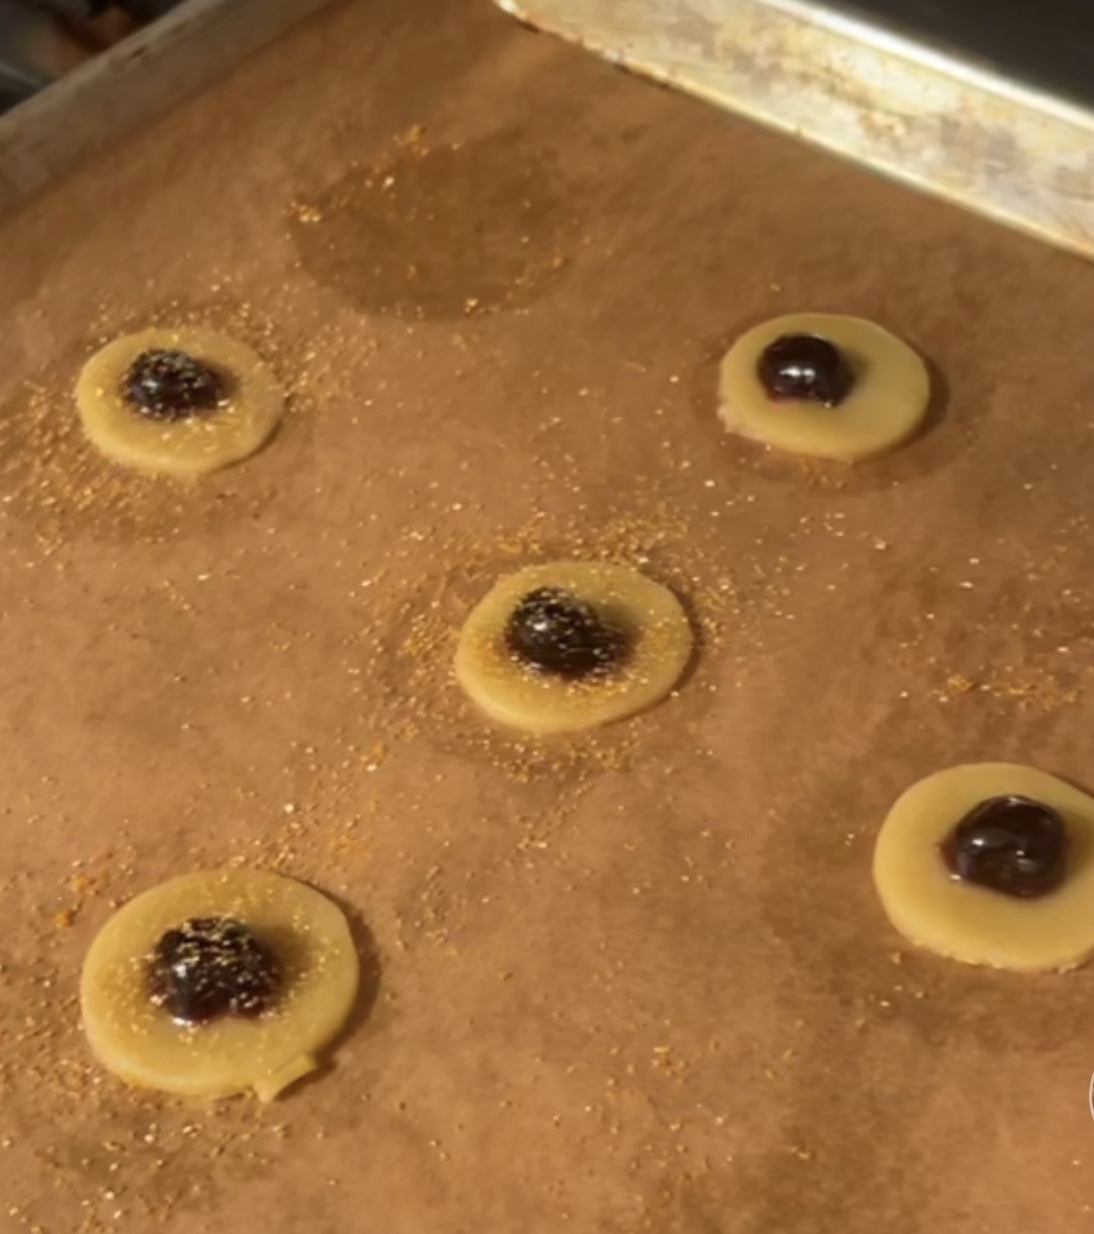
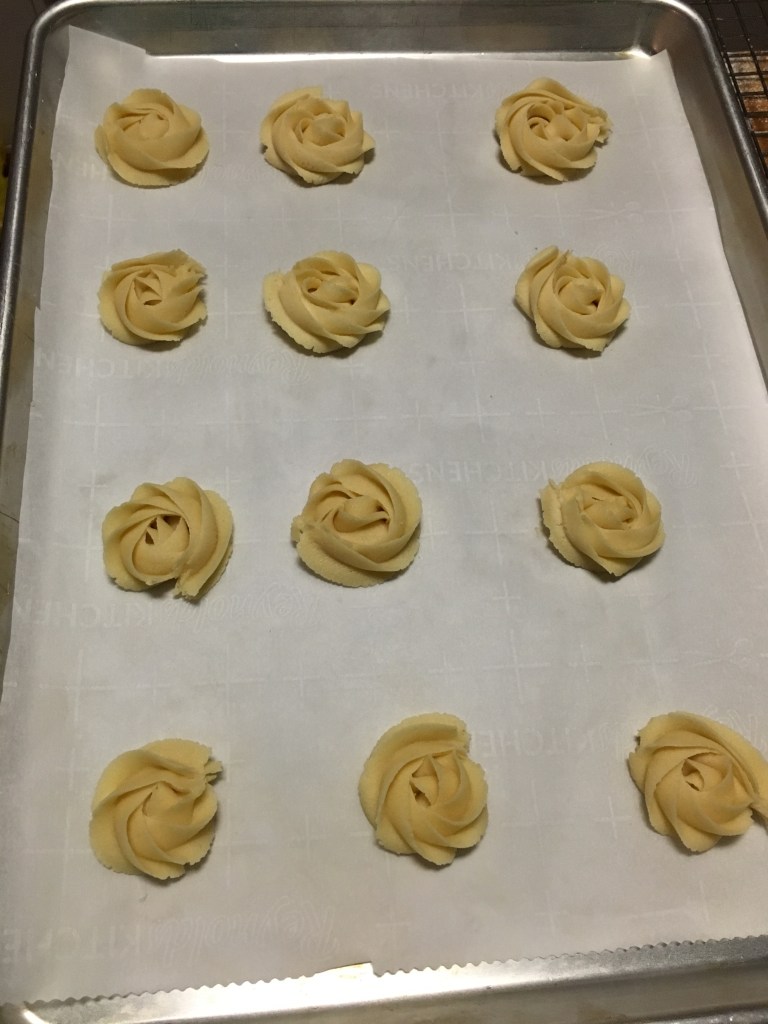
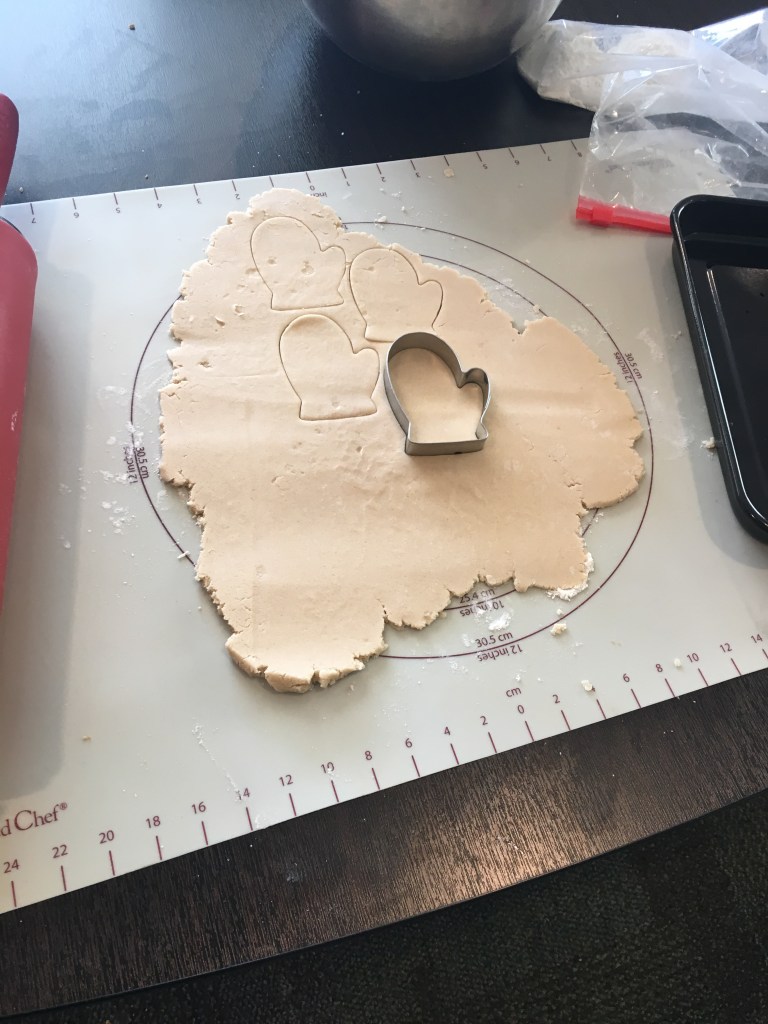
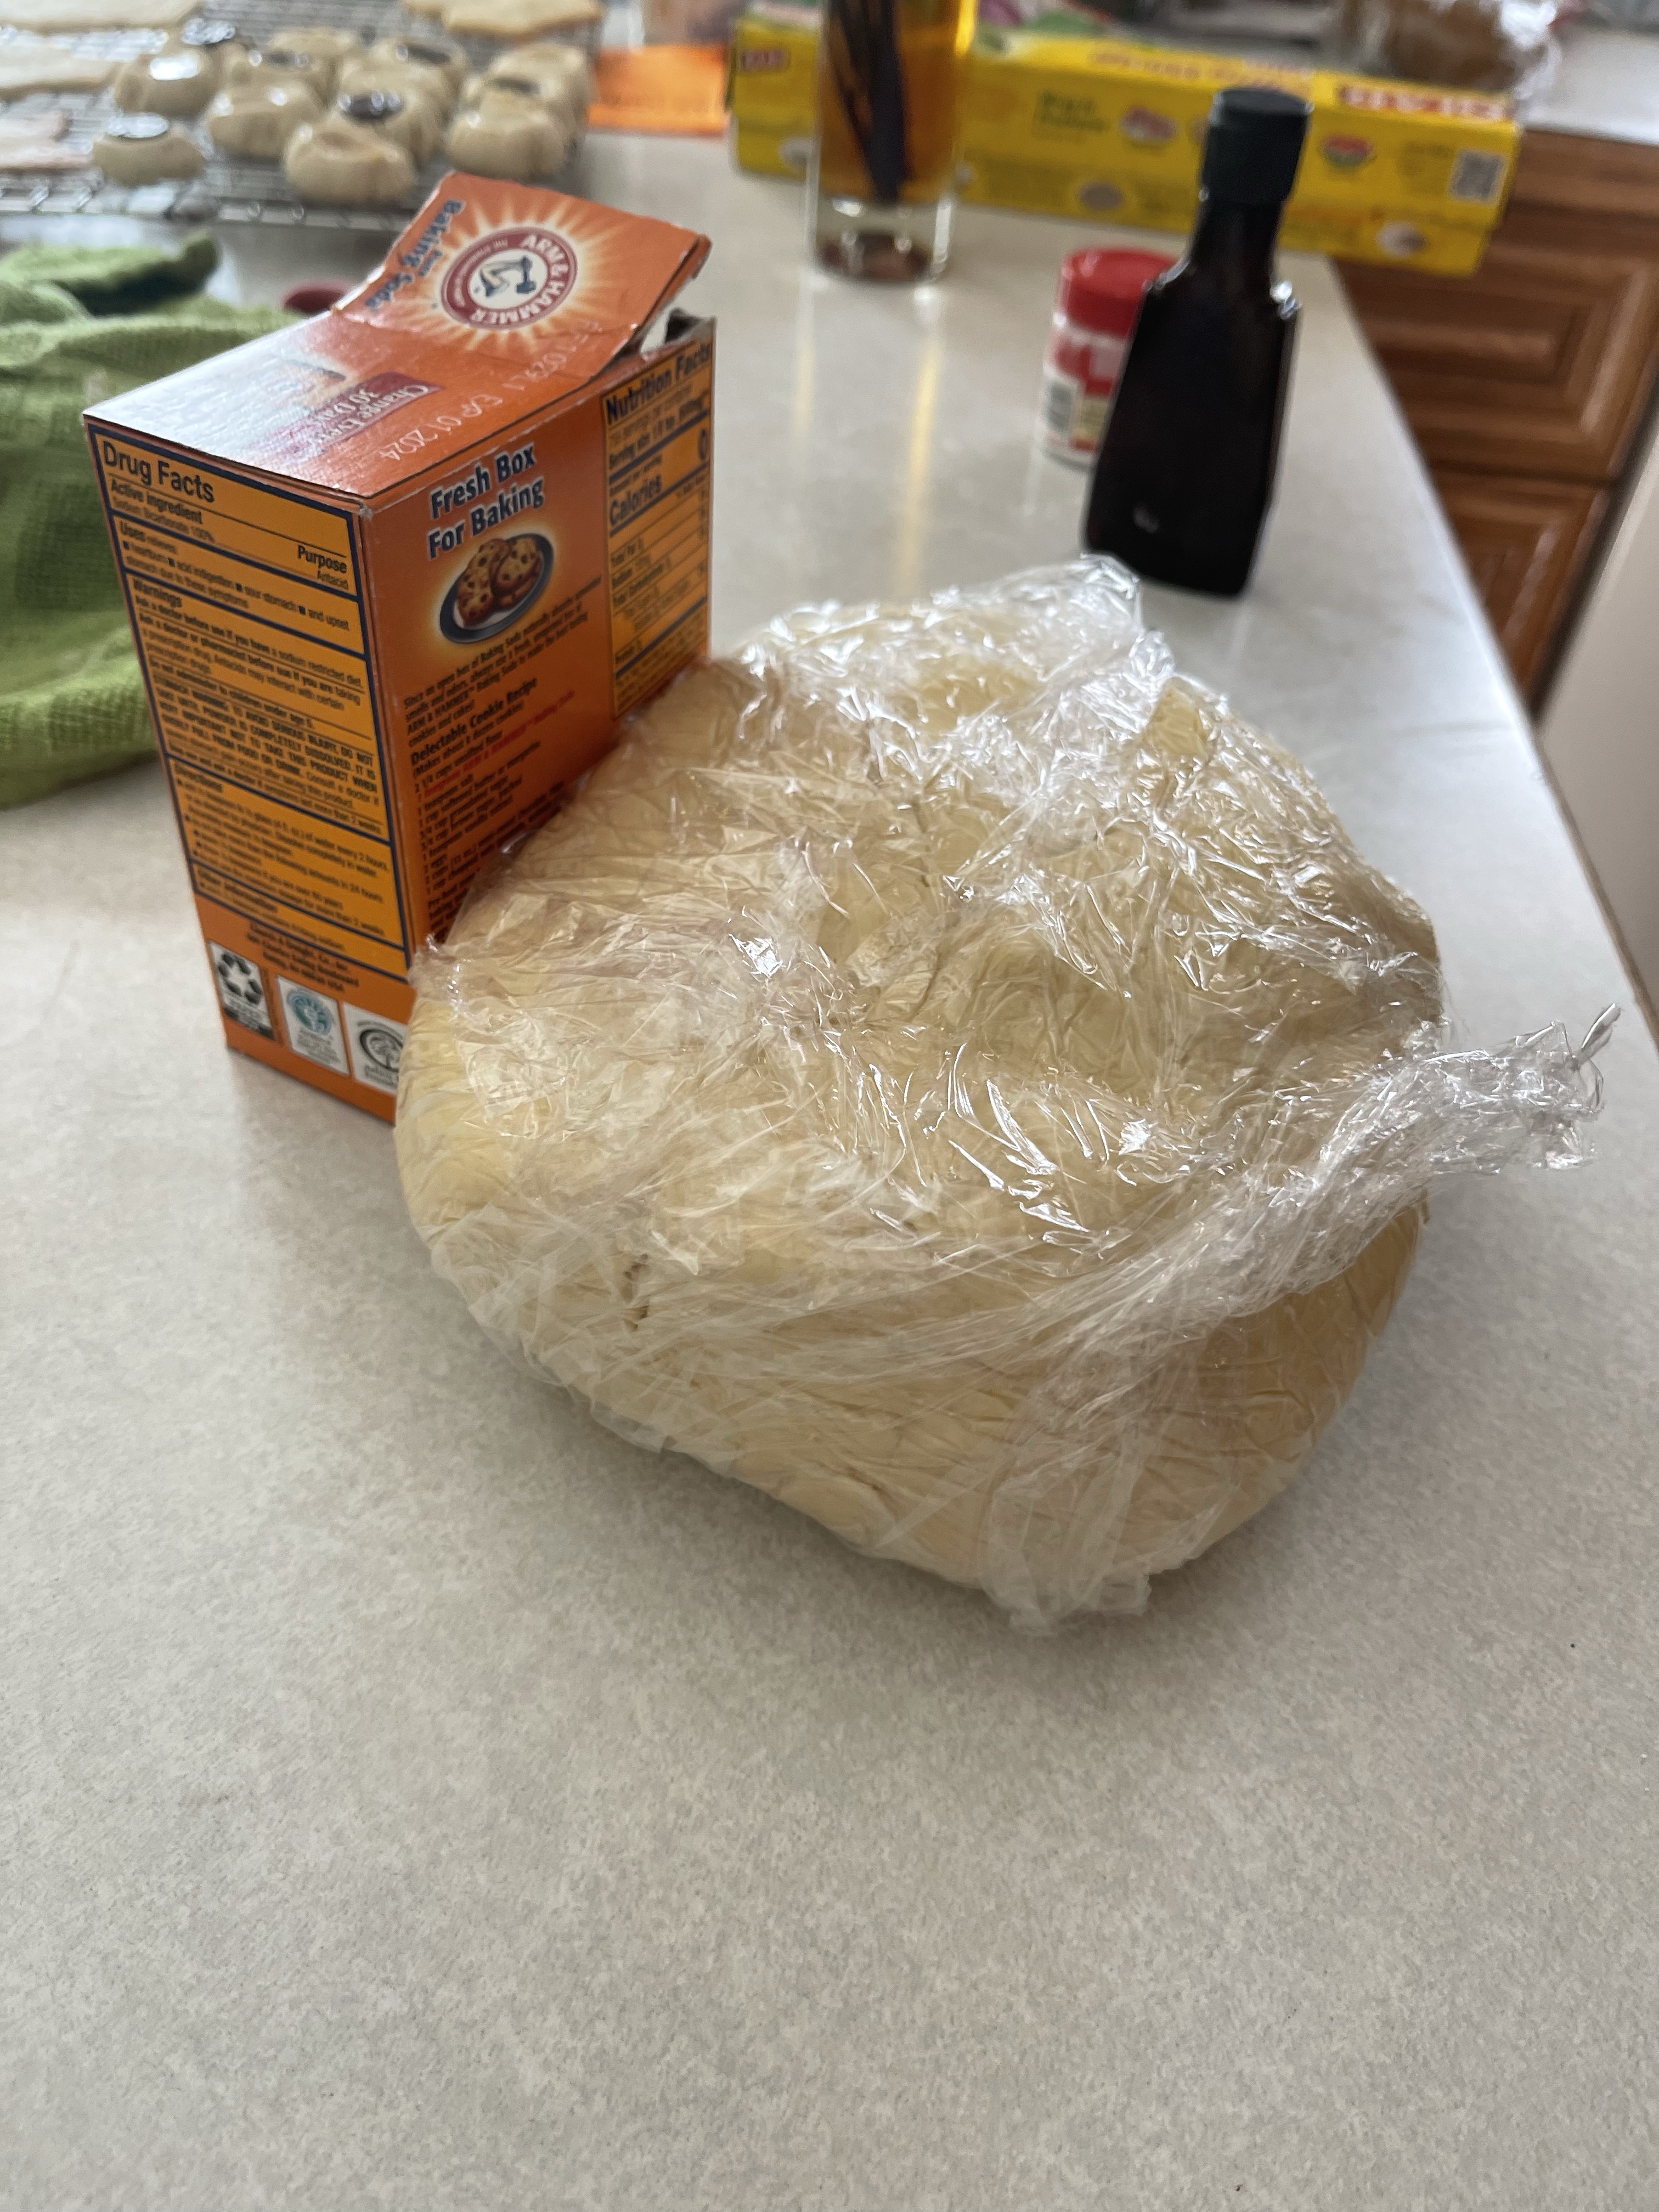
- 2. Refrigerate 2-3 hours. Divide dough in half and roll out. Cut out desired shapes.
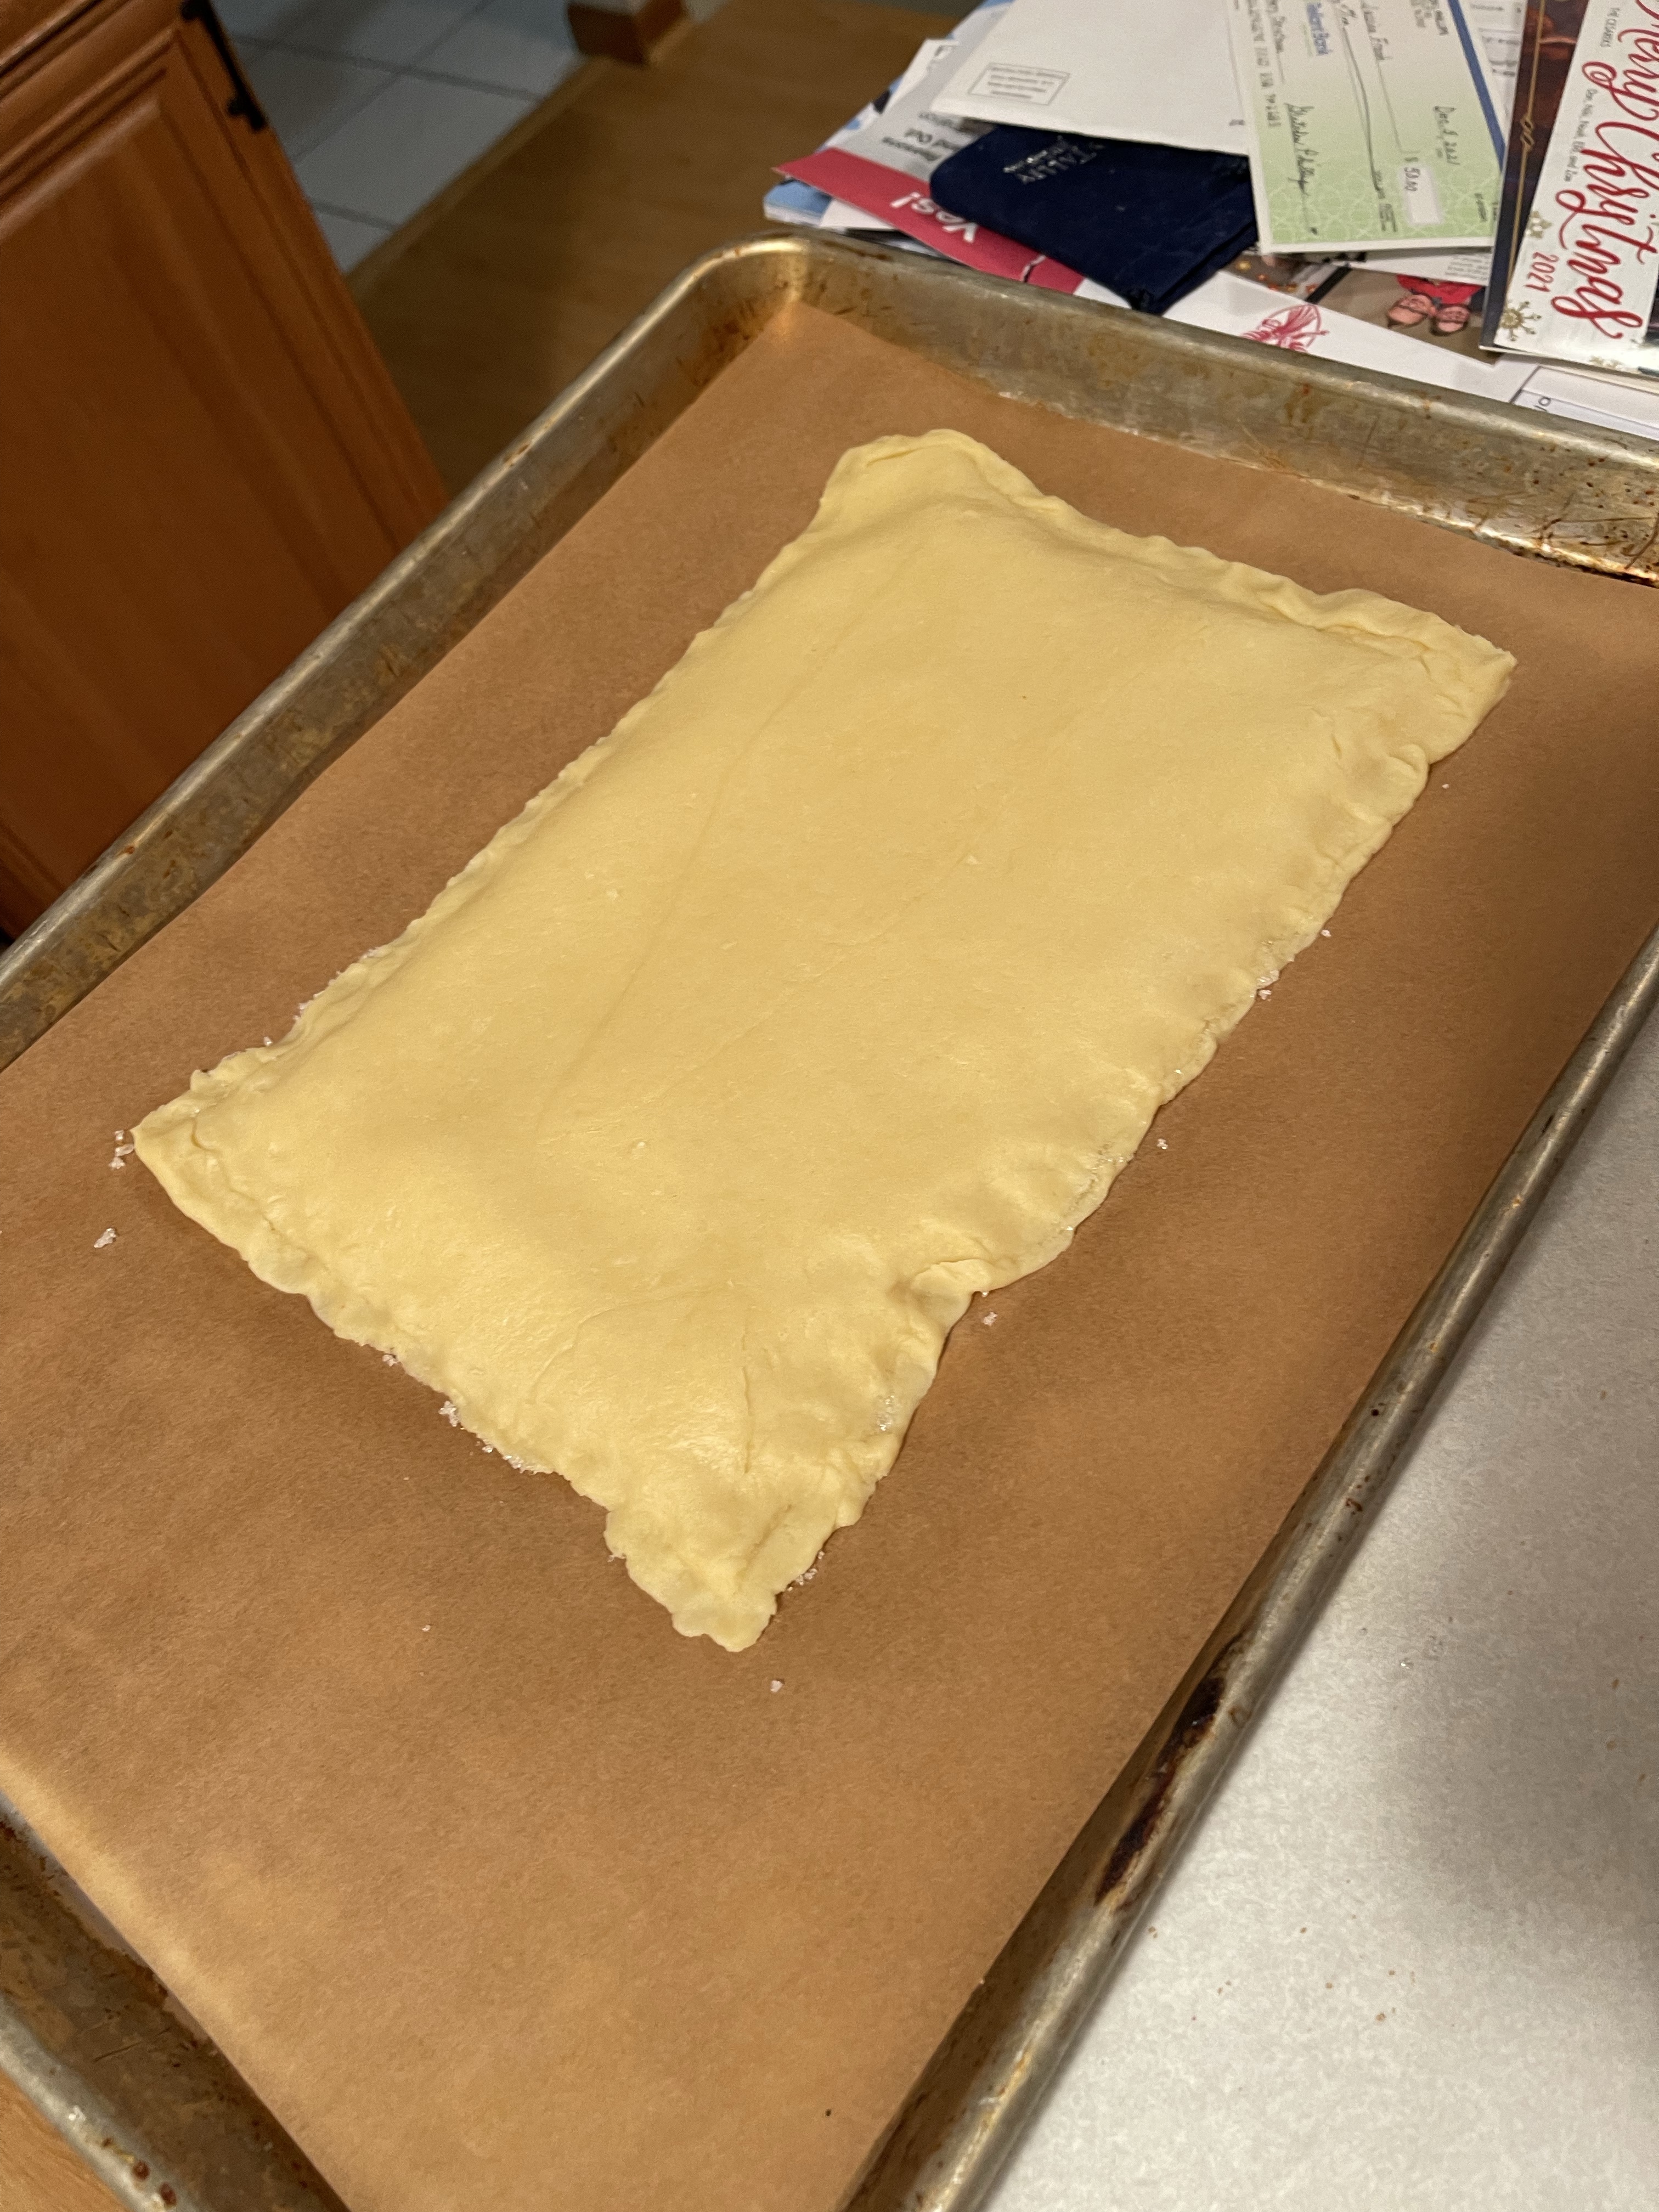
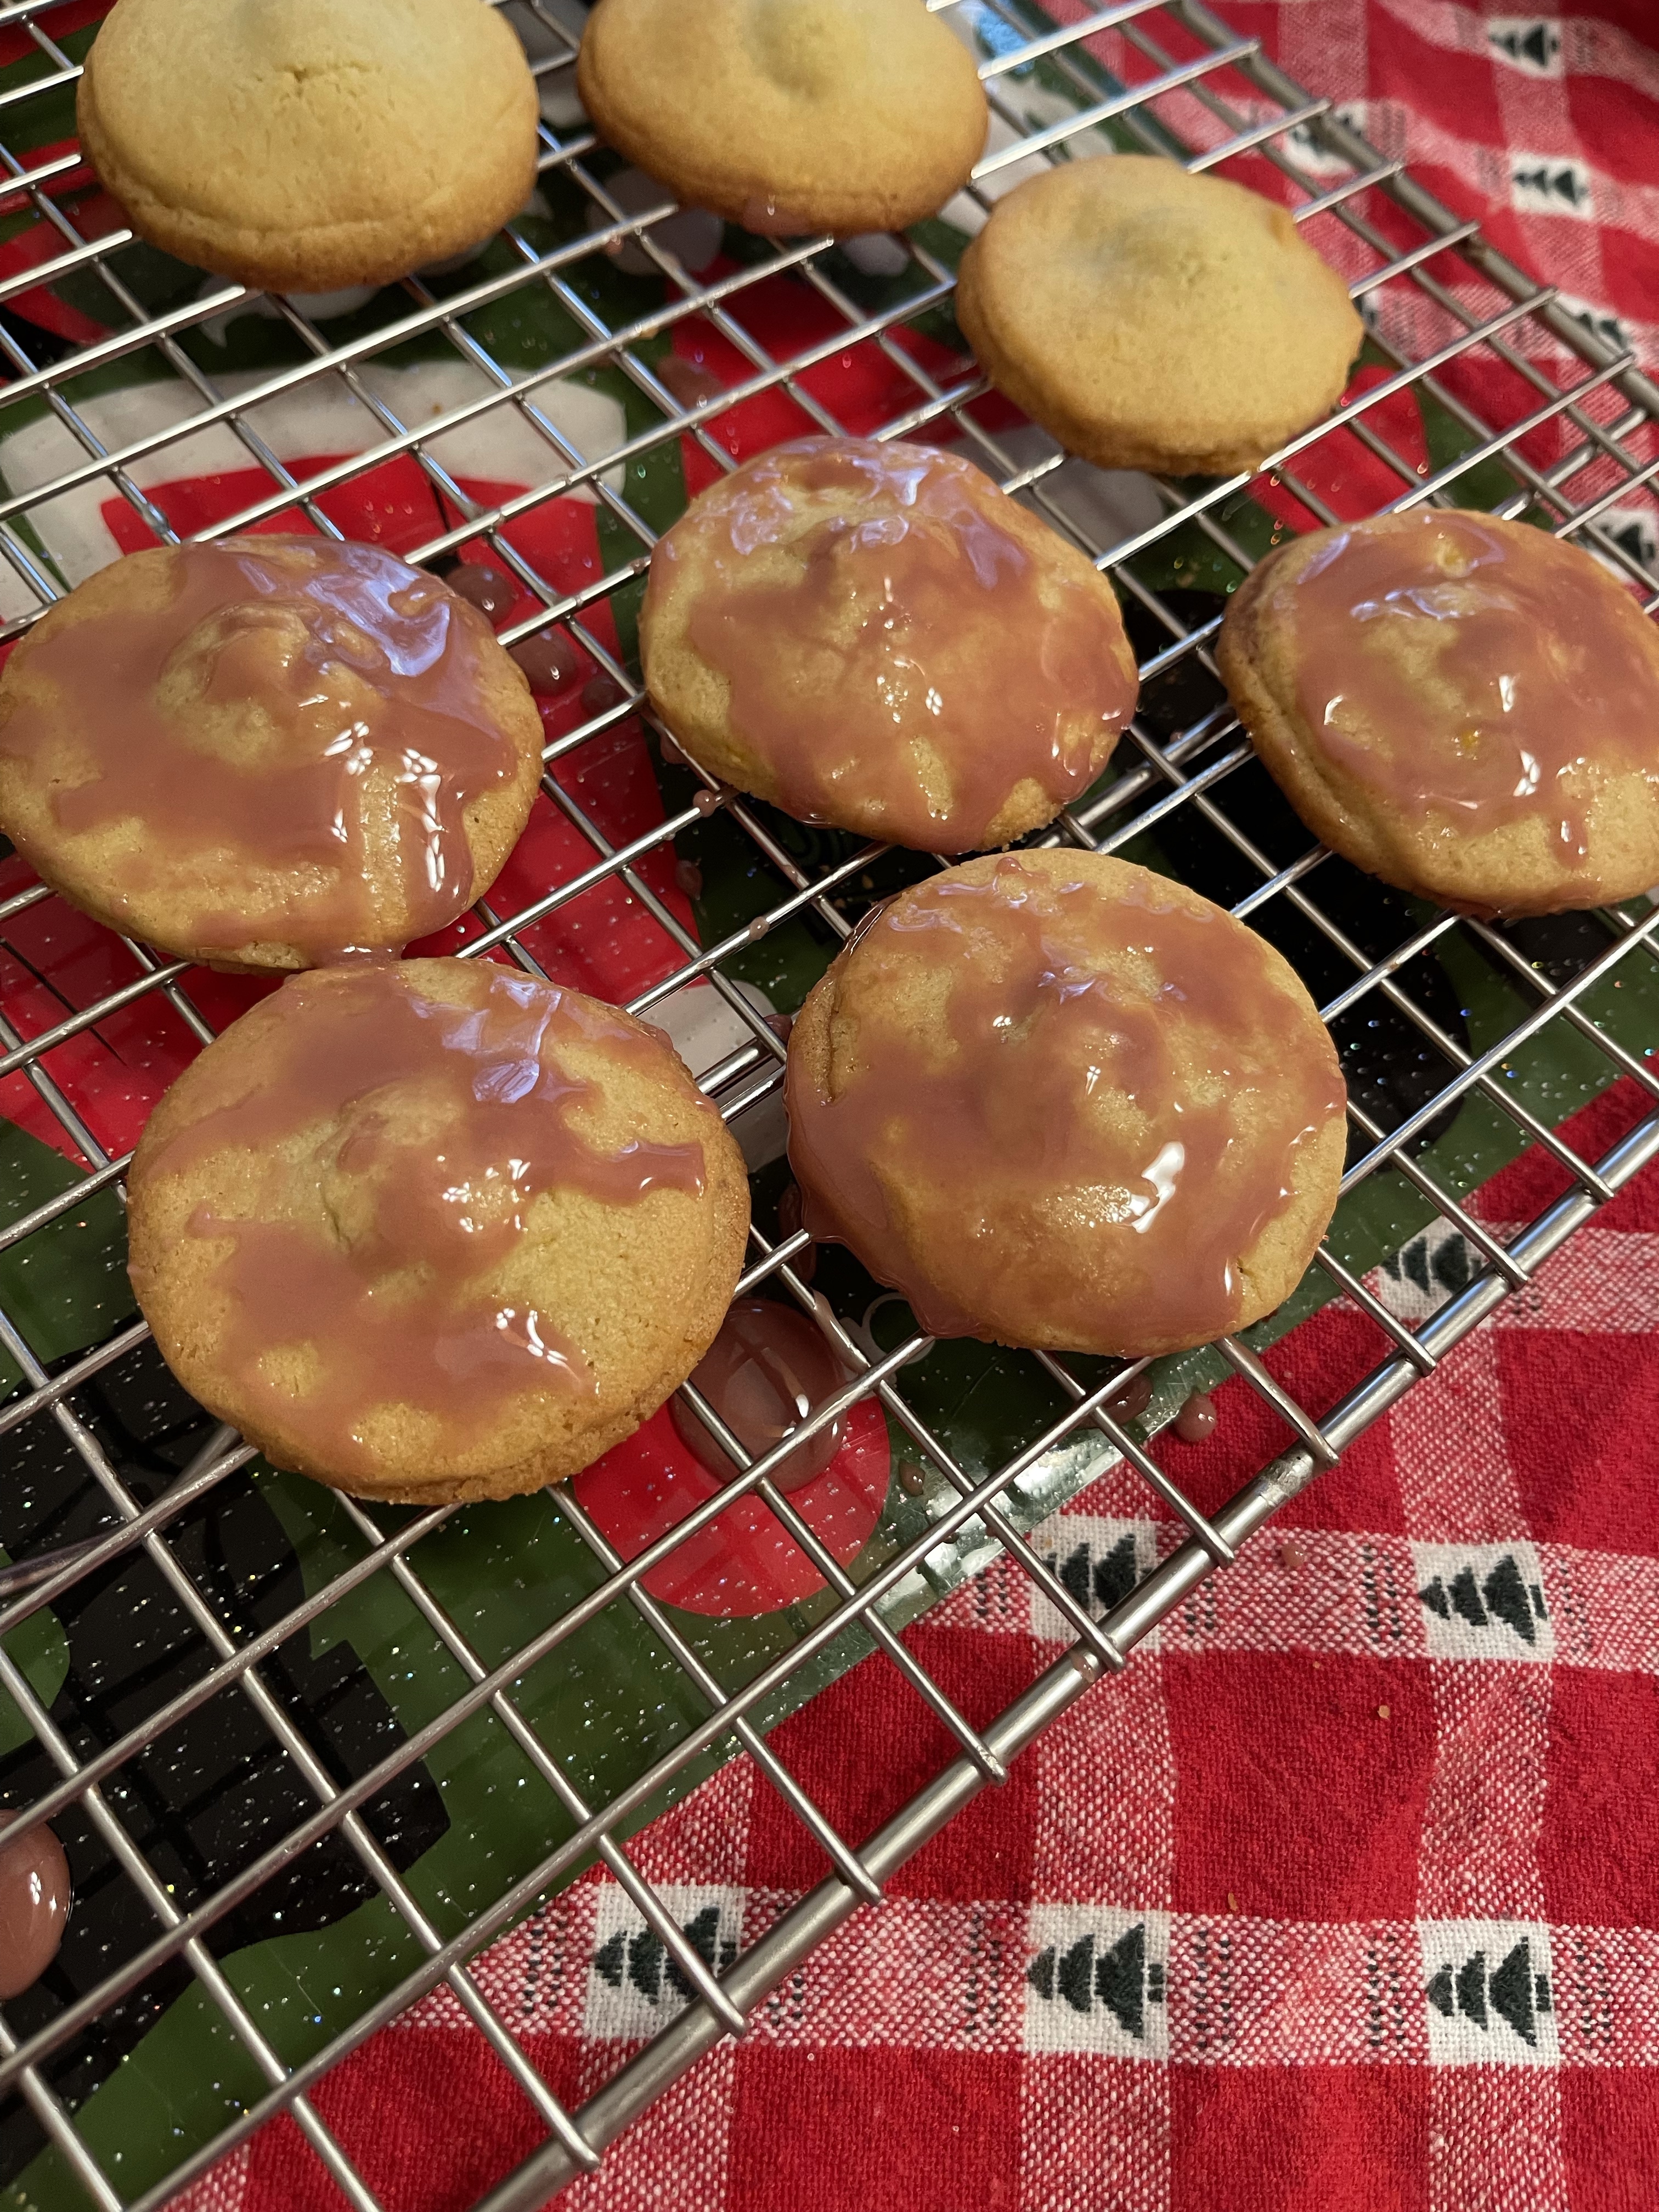
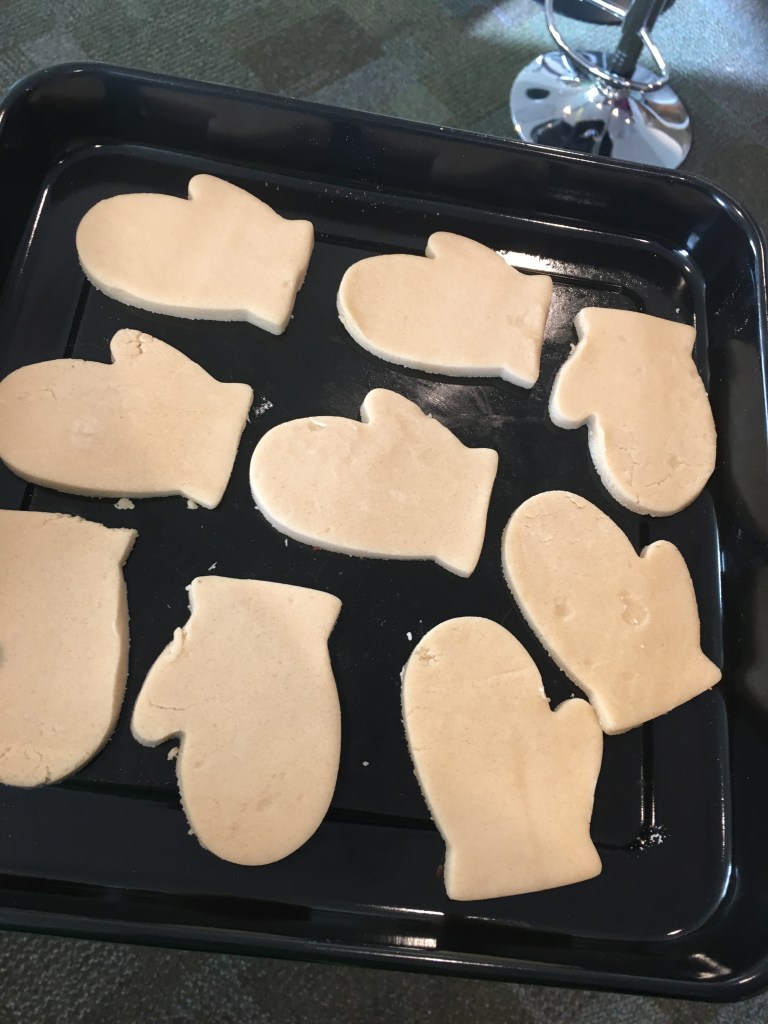
- 3. Bake at 375 for 7-8 minutes.
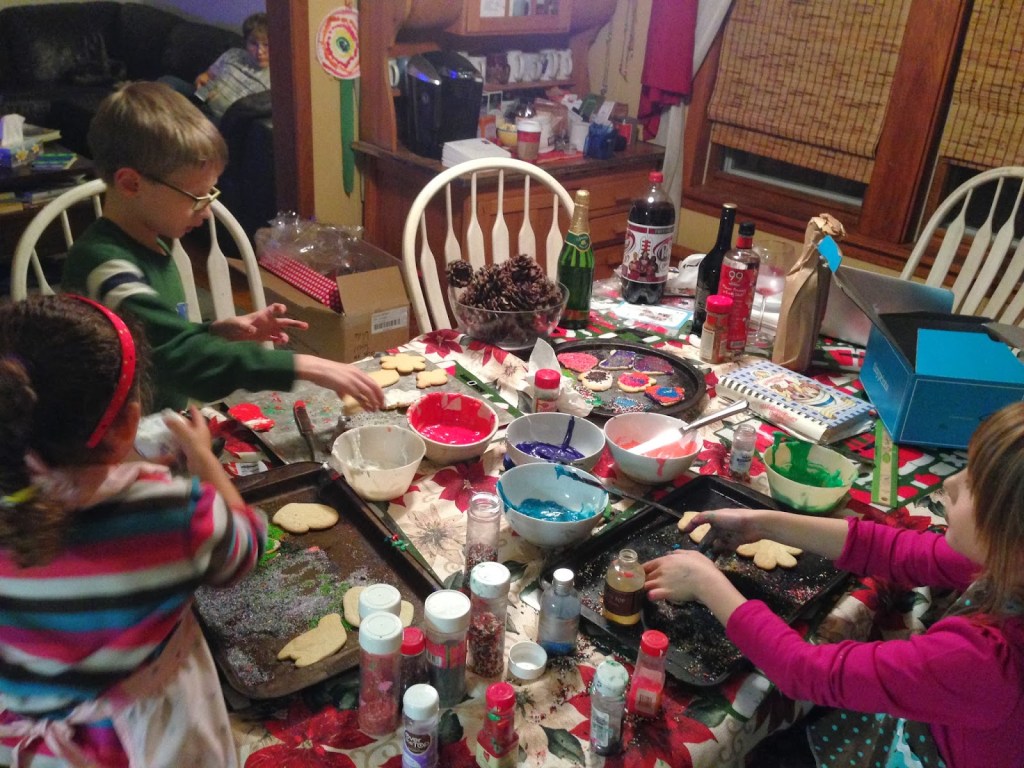
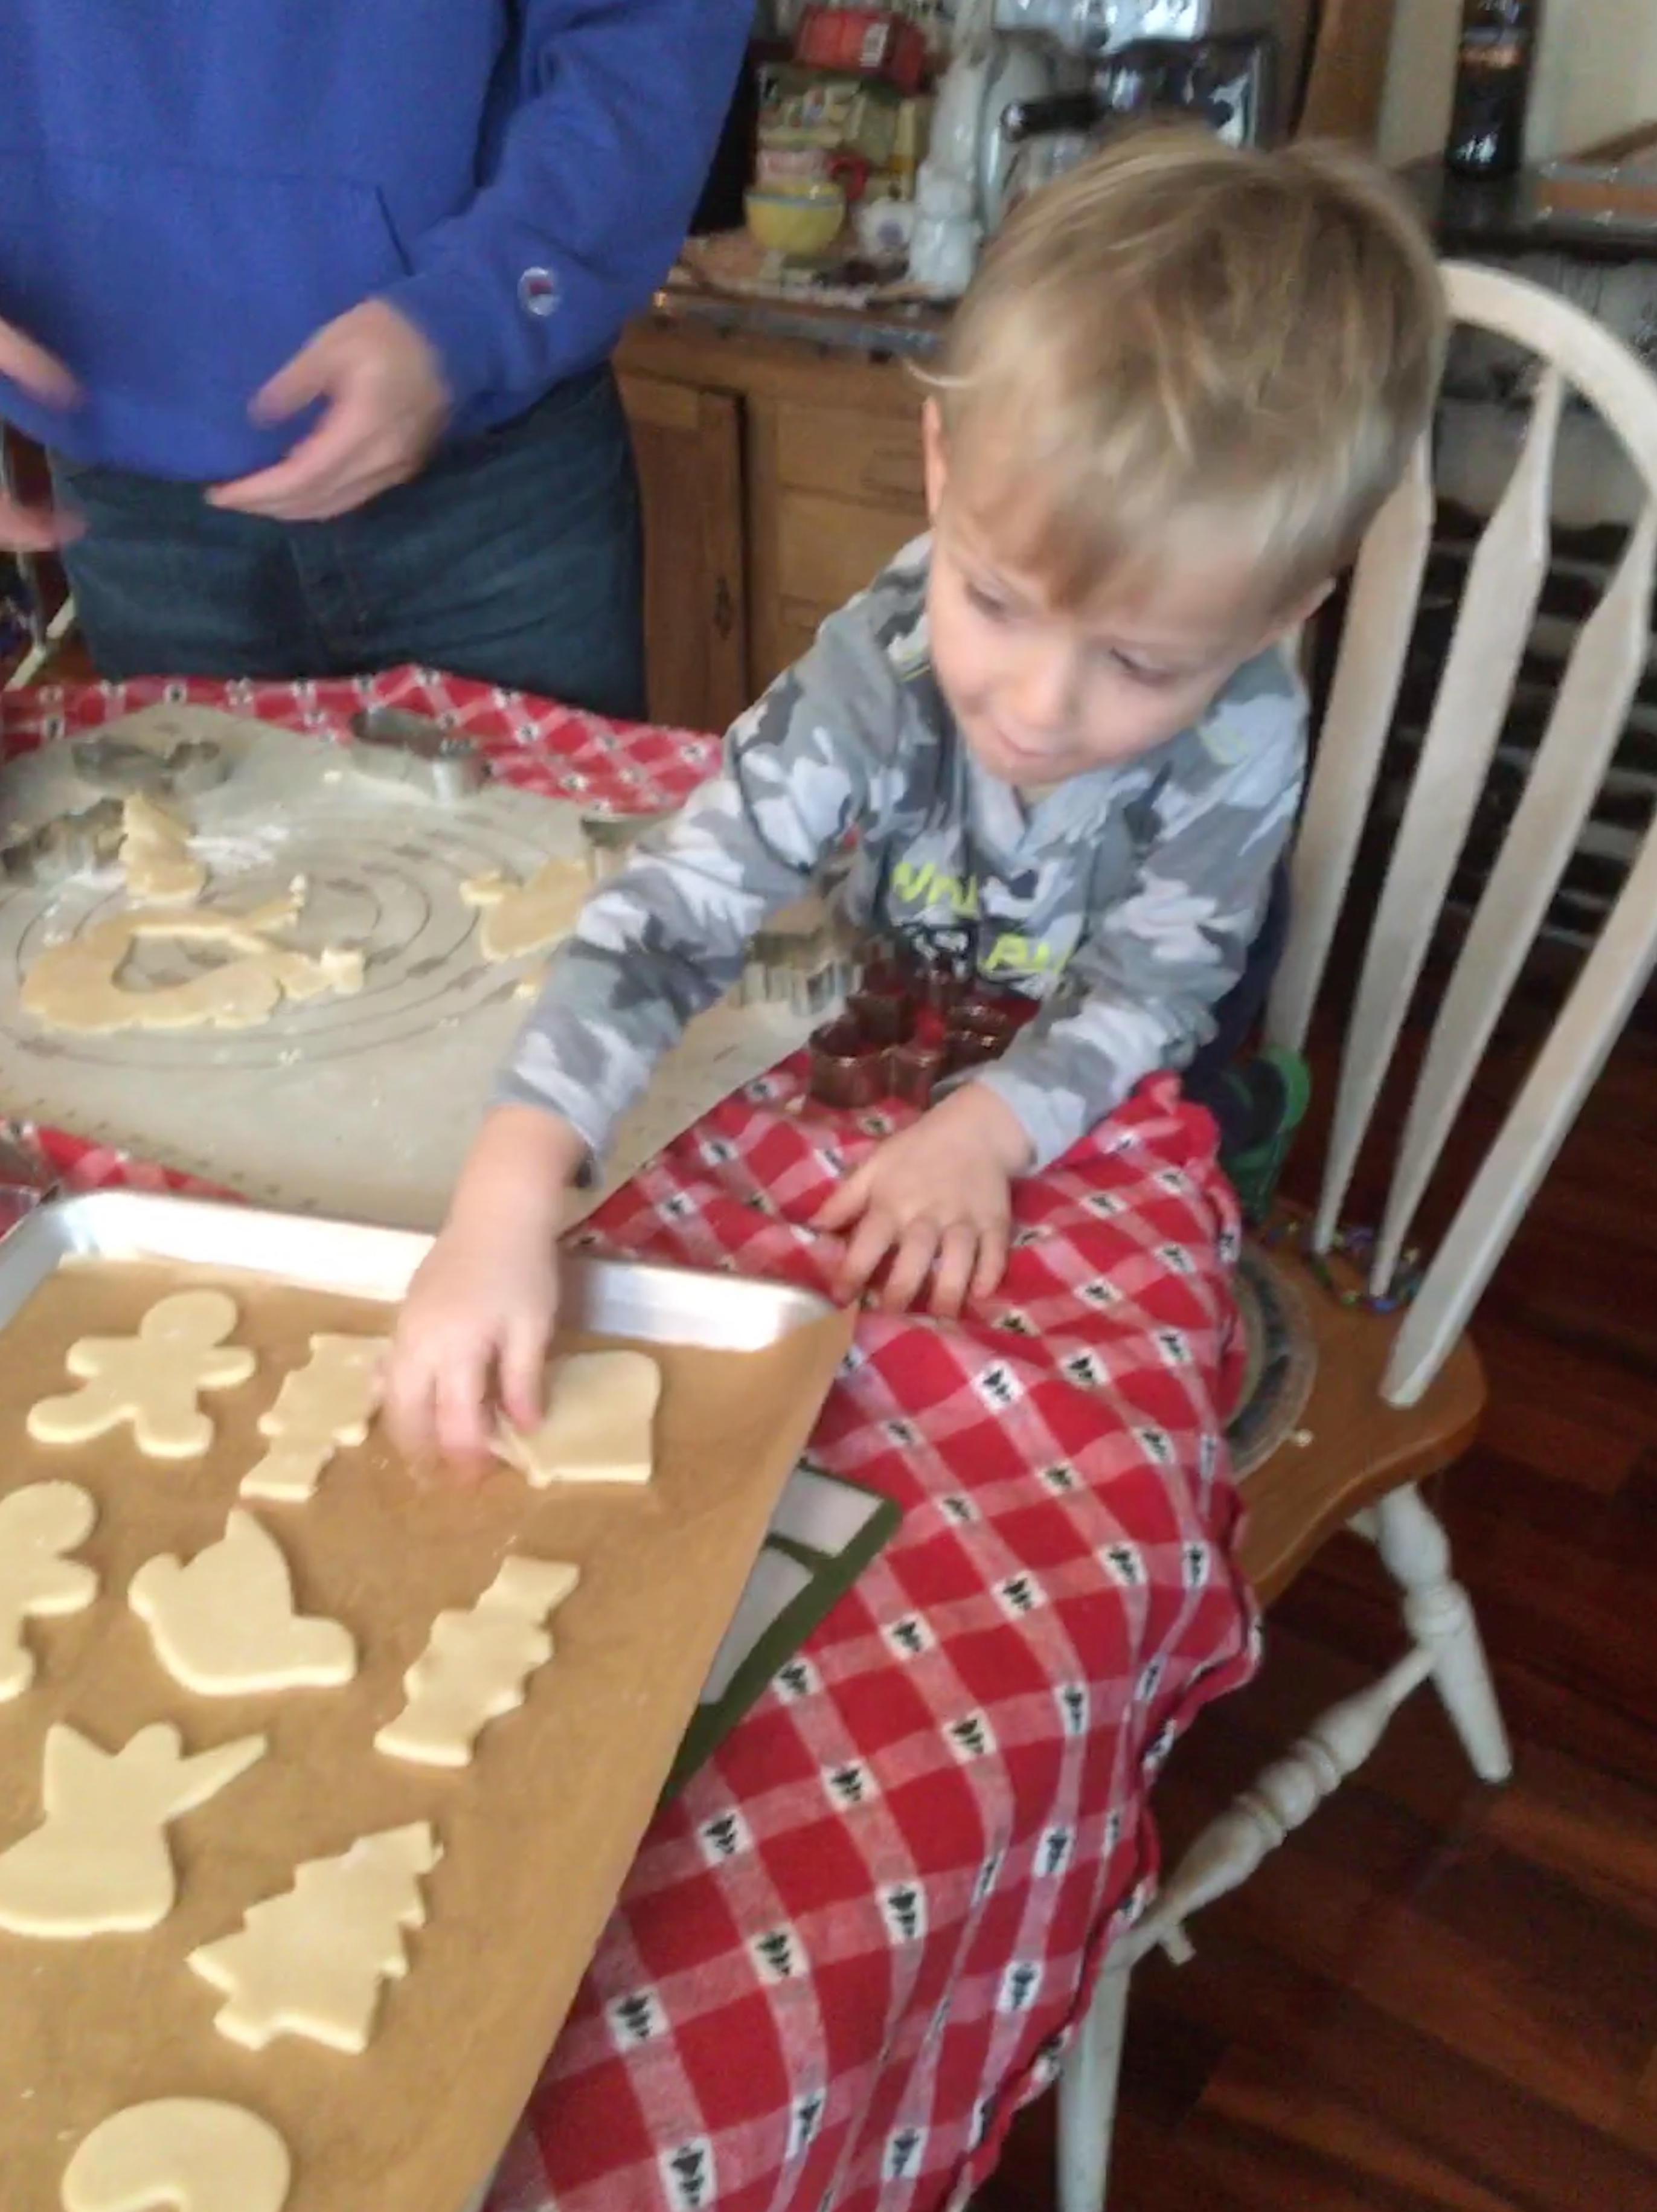
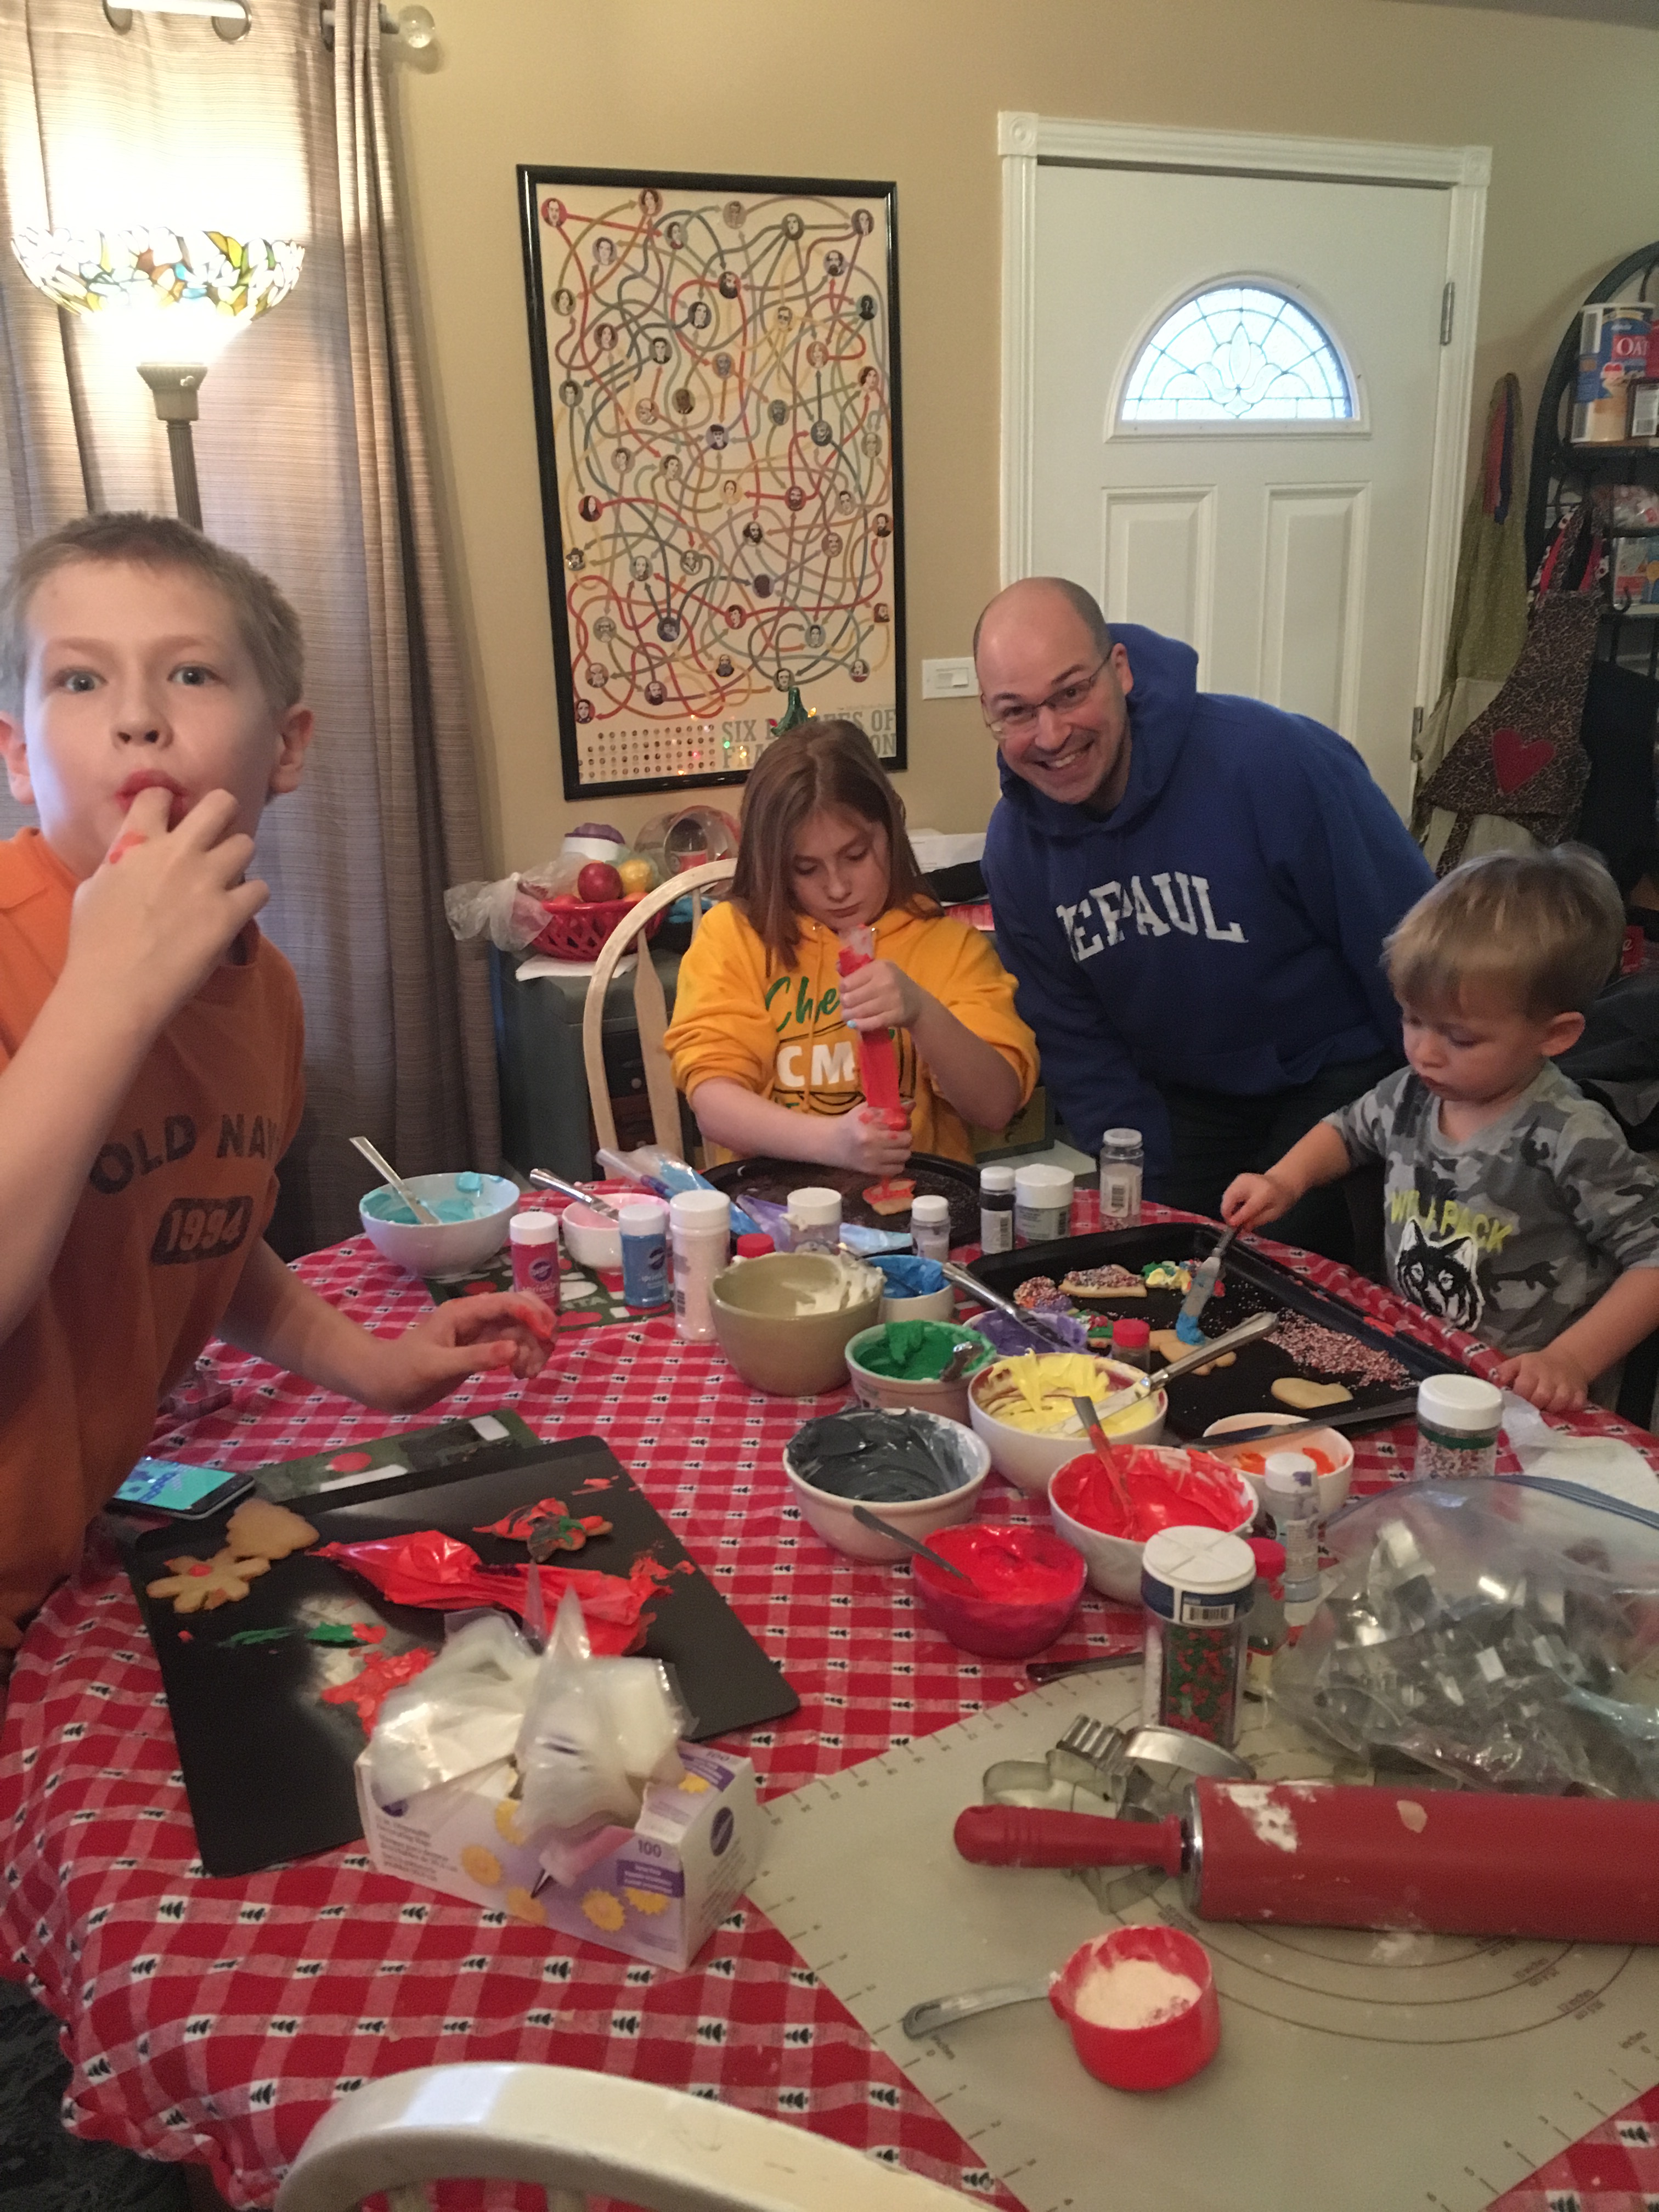
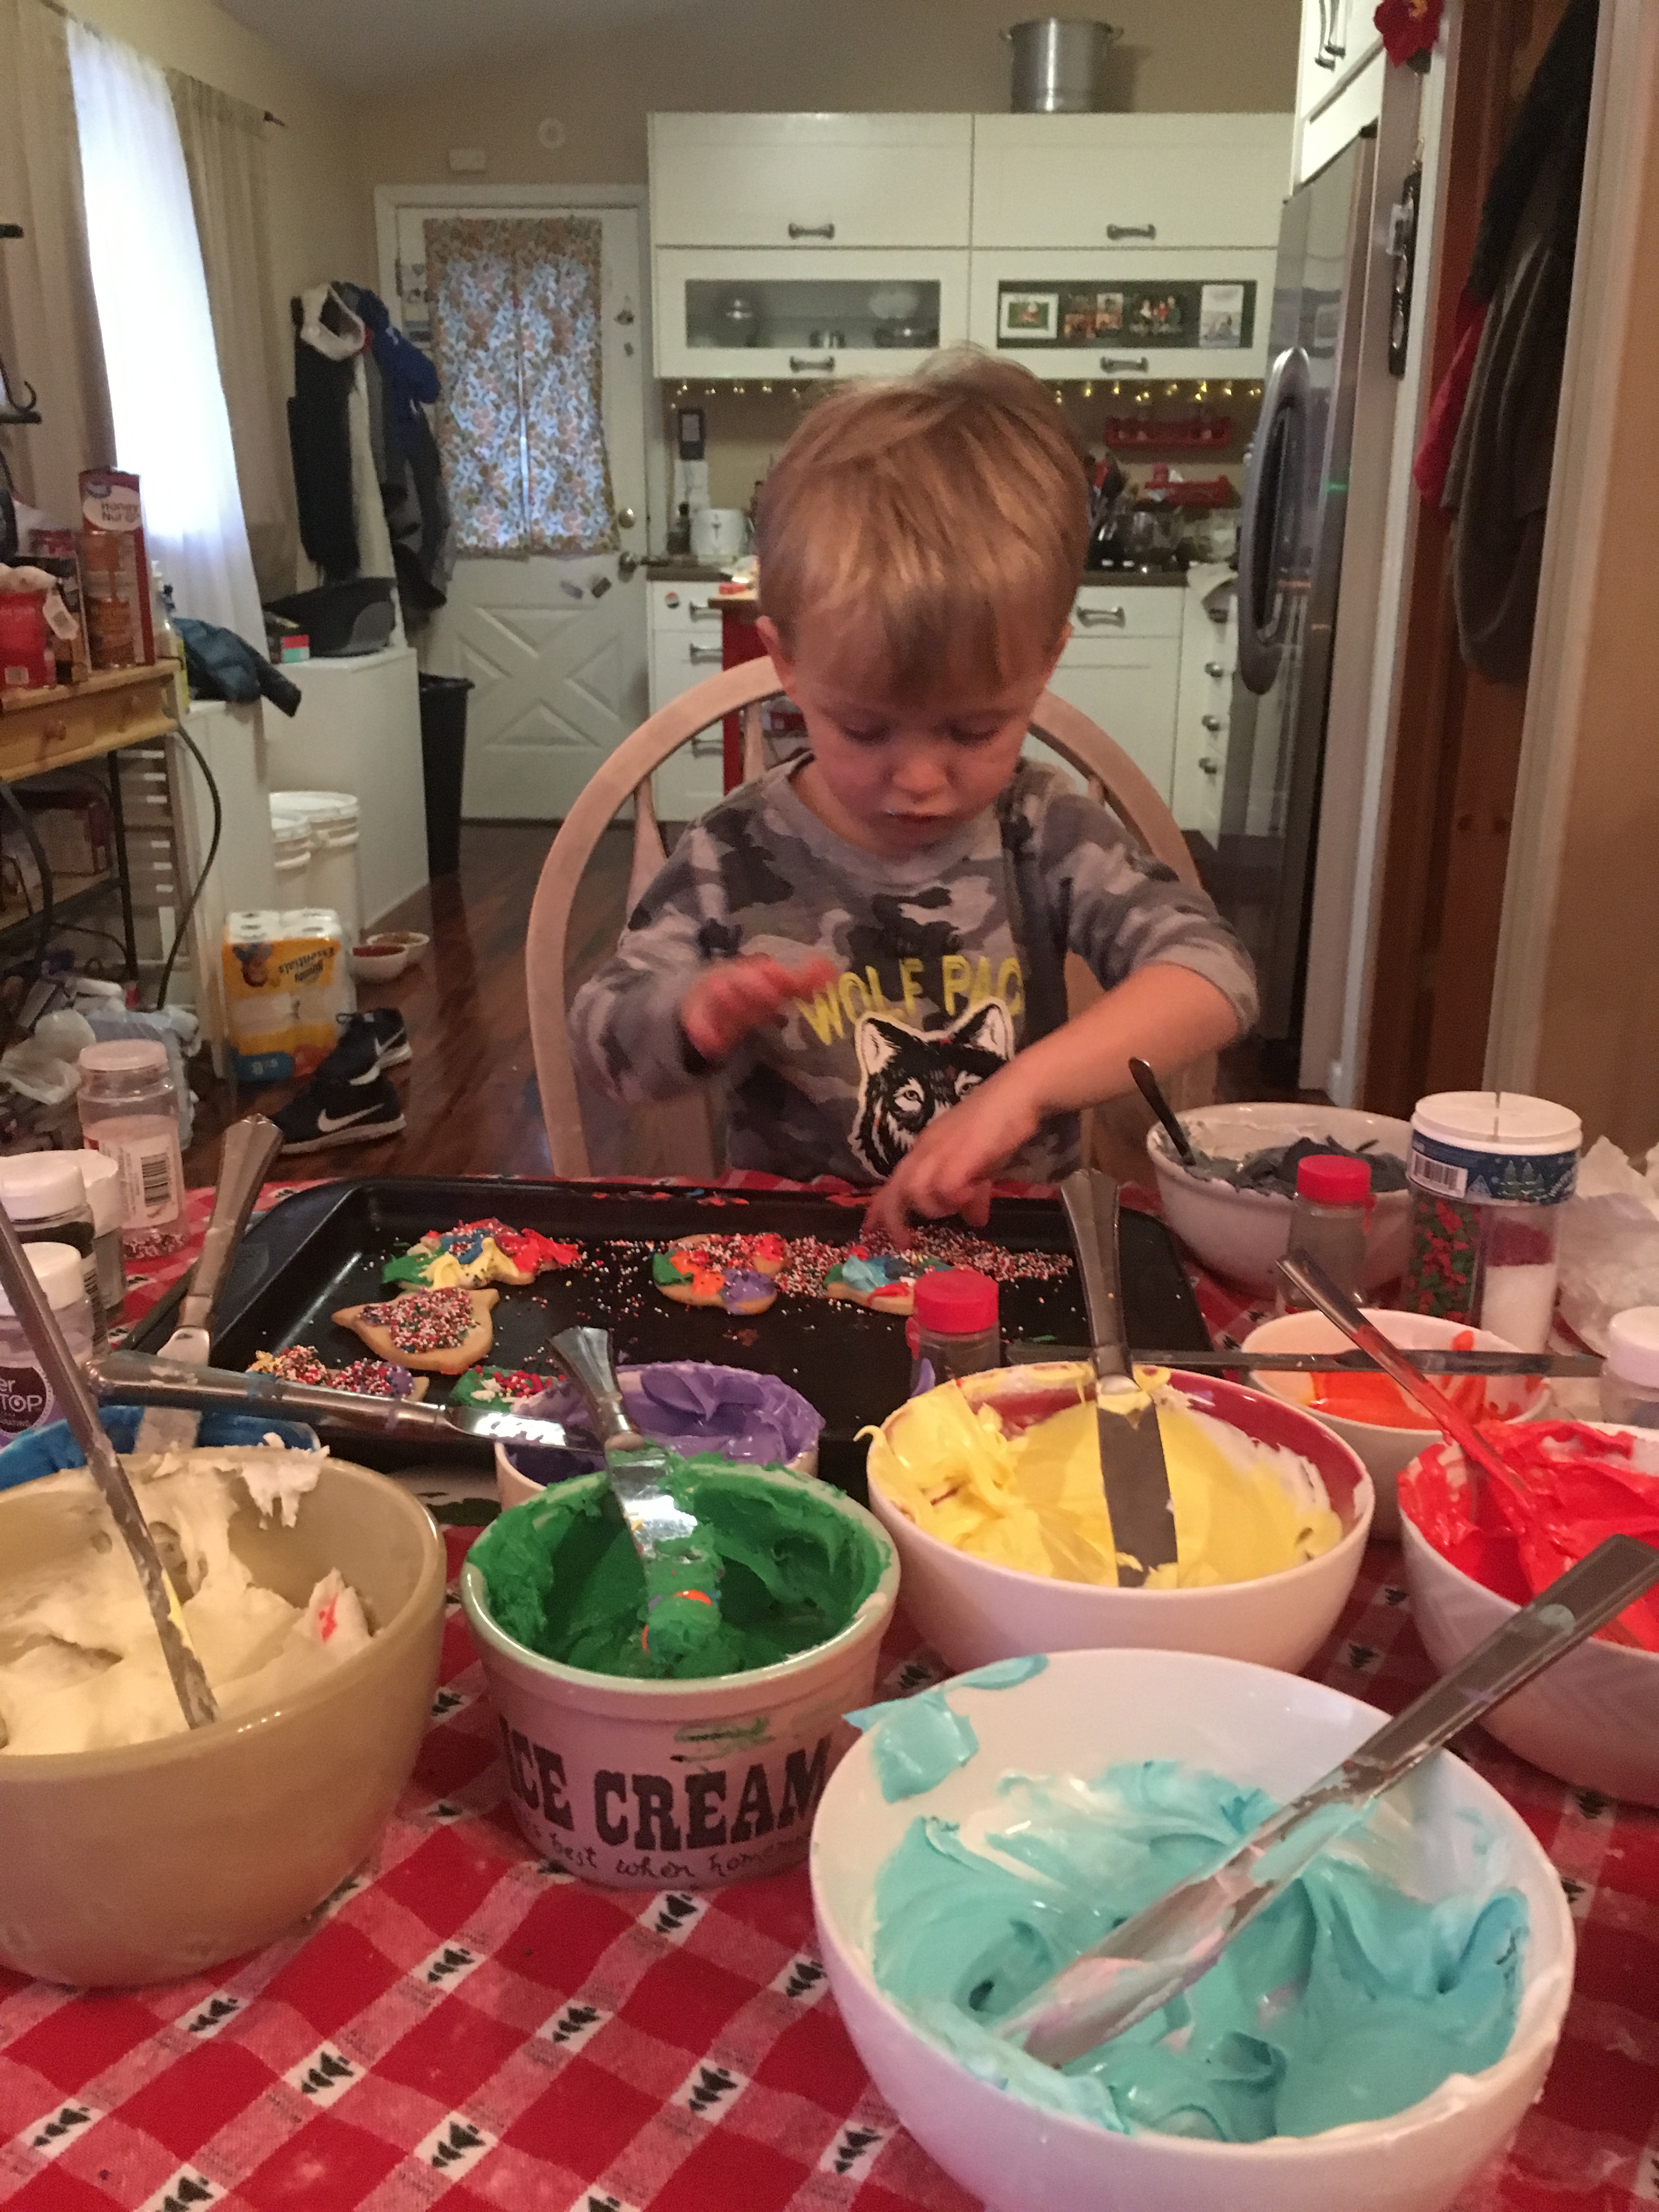
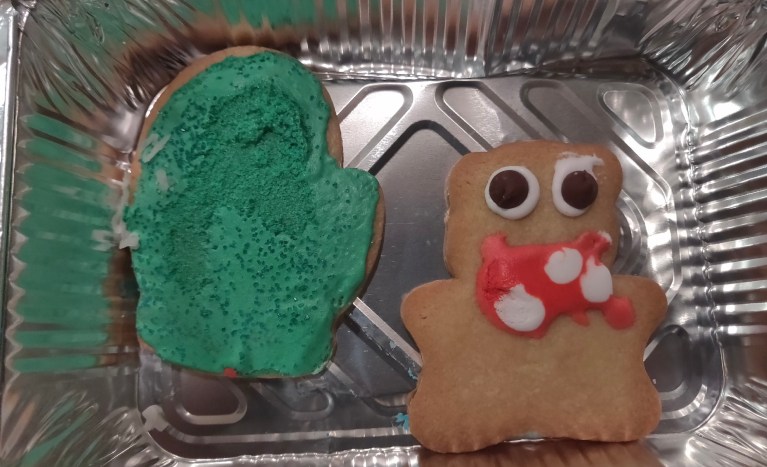
My little buddy Emmett again helped me with these cookies, since my own kids are large and old and mostly uninterested in cookie decorating these days. Emmett’s dad is one of my very best friends, and has been for 30 years. So when I need an expert kid cookie-decorator, Emmett is my go-to kid.

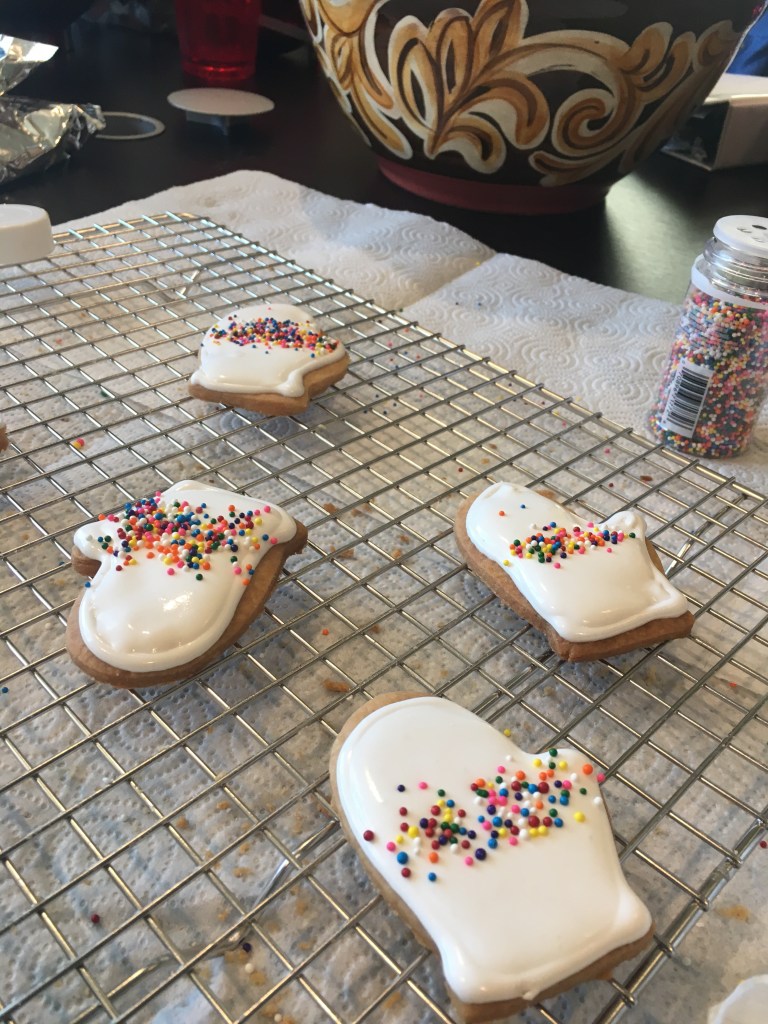
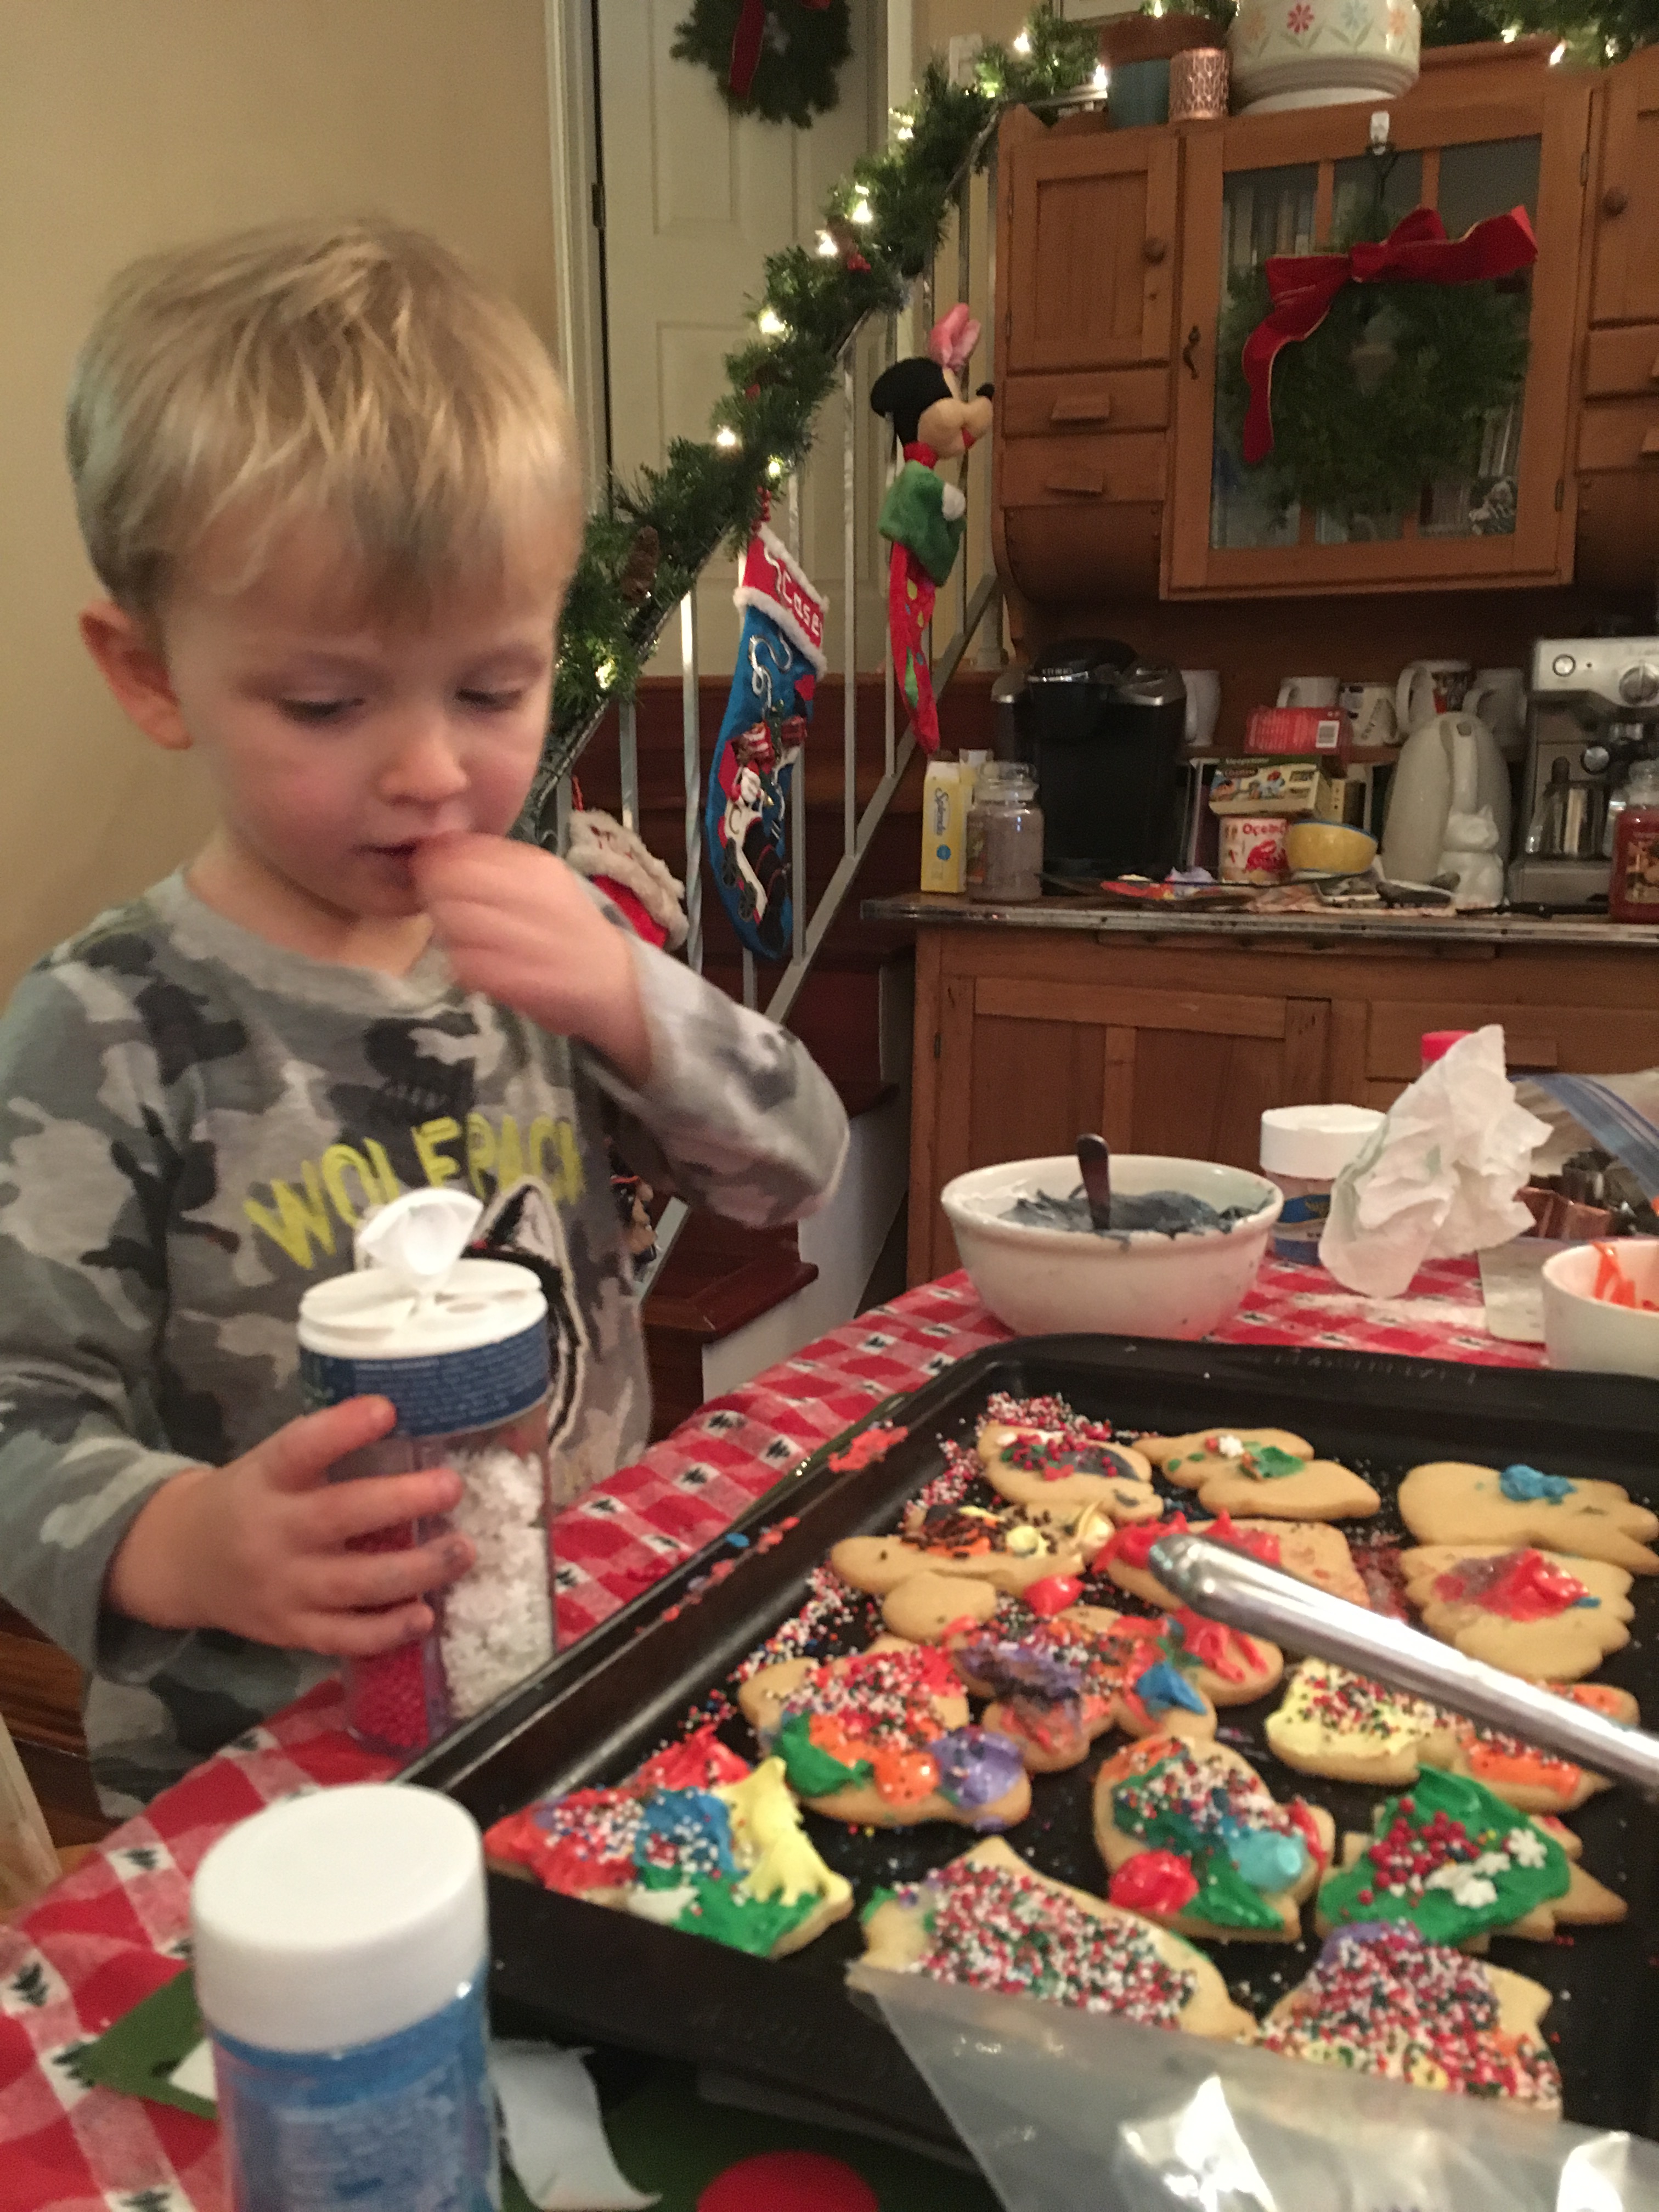
Emmett did a great job with decorating and saying please and thank yiu and also showing off his reading skills by taking his turn reading Christmas trivia to us.

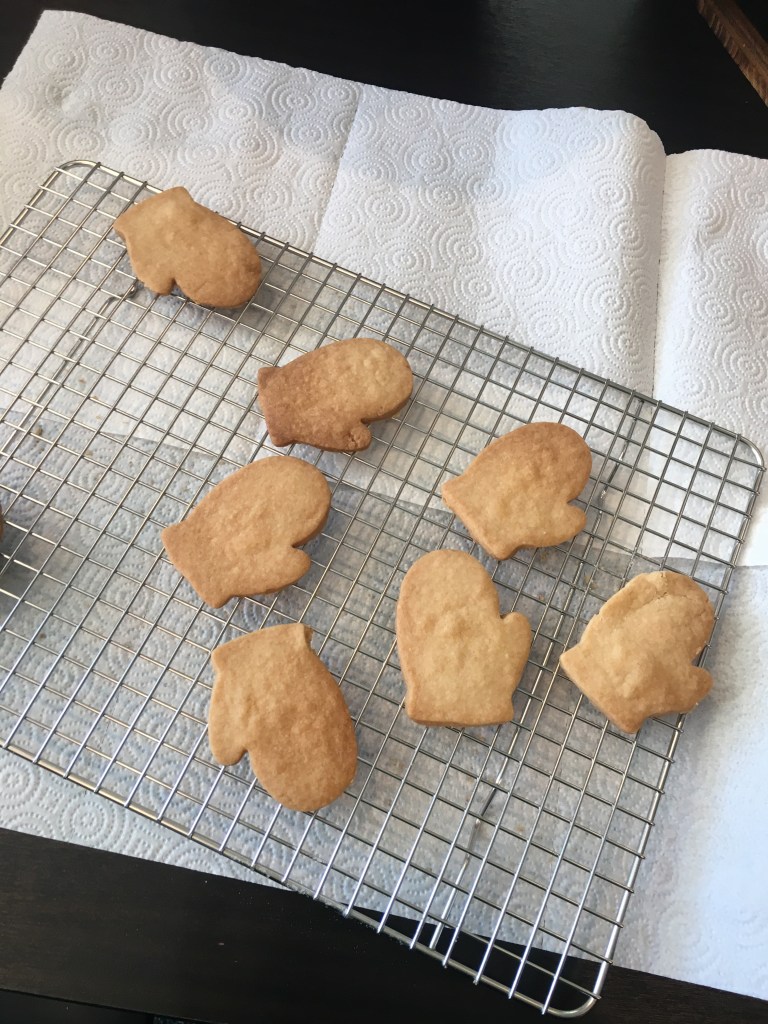
I made these before Emmett and his chauffeur, I mean Dad, came over, just so we’d have more time to decorate them.


The day Emmett and his dad come over to do Christmas cookies is my favorite cookie day of the year. Maybe we can even do it twice this year. Love this kiddo, and his dad is pretty okay too.