December 13: Chocolate Chip Cookies

Standard

(I took a week mental health break, but I’m back at documenting what was made. And they were made!)

It’s the old standard. The cookie everyone lists as their favorite. The kind that will evoke happy memories of home and love and deliciousness.

I try not to do a Chocolate Chip cookie for the blog, as I know there are so many others out there that beg for airtime. But, as I was home in Wisconsin for a weekend, two friends invited me to their home for Friend Christmas. They insisted I needn’t bring anything. I was okay with that, but thought I should bake a batch of cookies. Another friend, hearing all of this, went on a 10 minute spiel about what the perfect Chocolate Chip cookie was like. I was amused. After that, how I could I not make Chocolate Chip cookies?

I found this recipe a few years ago on Pinterest, looking to make a different kind of cookie. Well, the base for it (it was one of those “s’mores inside a chocolate chip cookie” cookie), is this recipe. The s’mores cookie turned out fine, but the real star was the Chocolate Chip cookie recipe.

IMG_4451

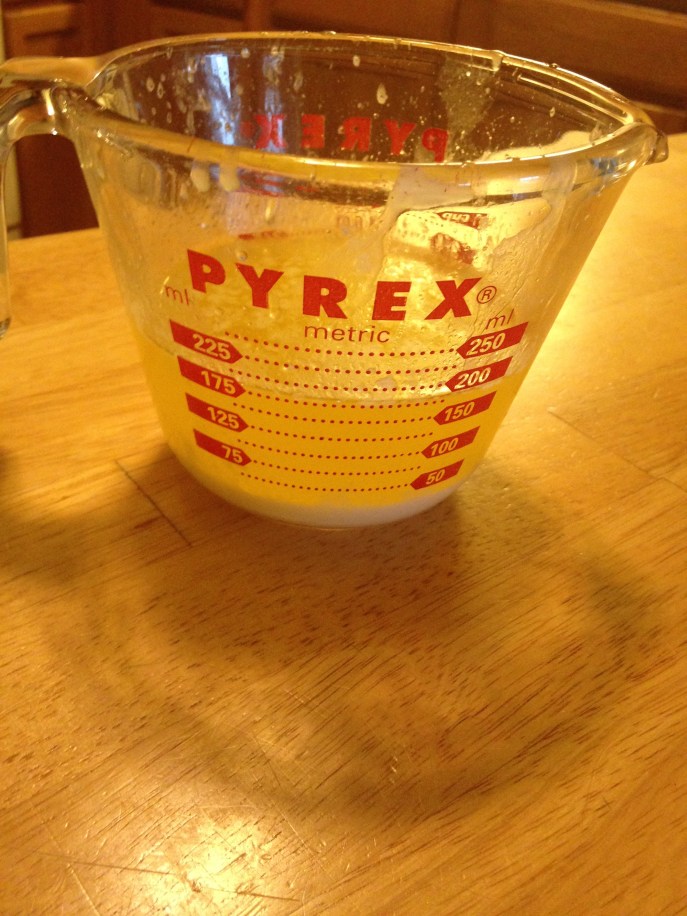
One of the key differences for this recipe is that it calls for 1 1/2 sticks of butter, melted, and then cooled off. It’s a weird request, and had the recipe not held up, I’d totally would have made fun of it. It holds ups, therefore, I hold my tongue.

IMG_4452

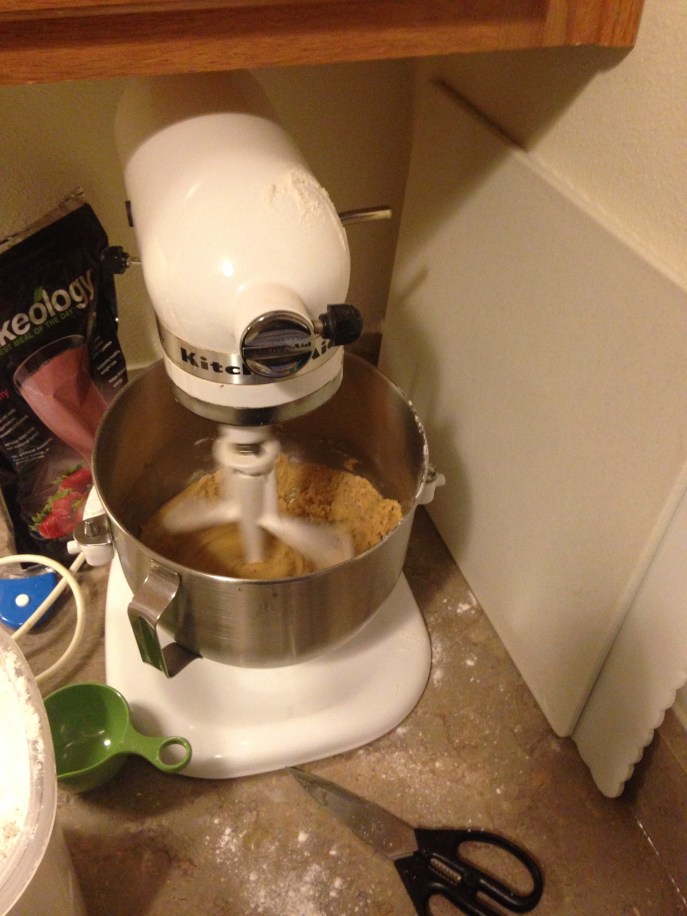
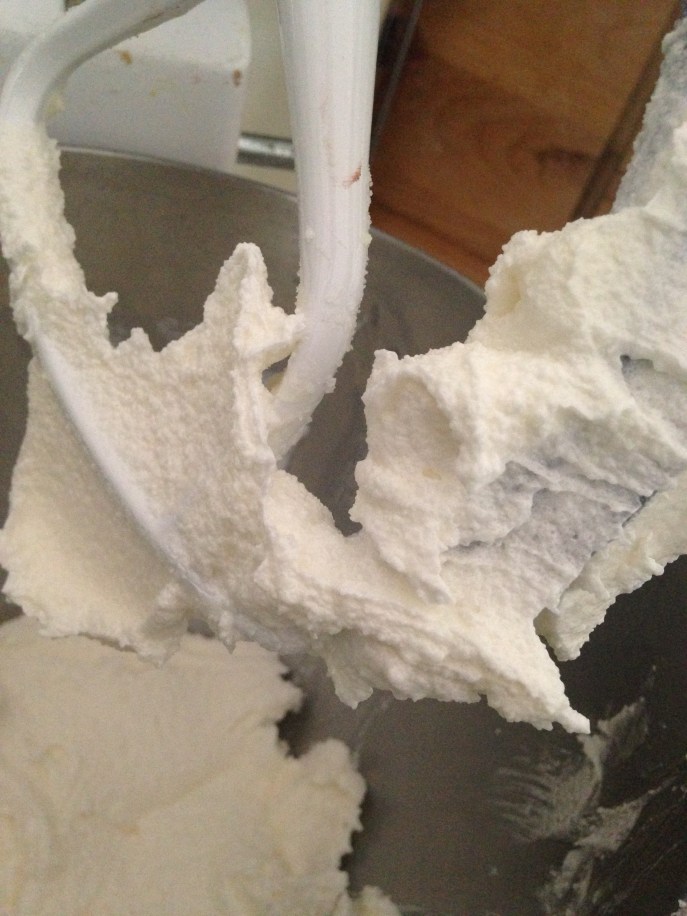
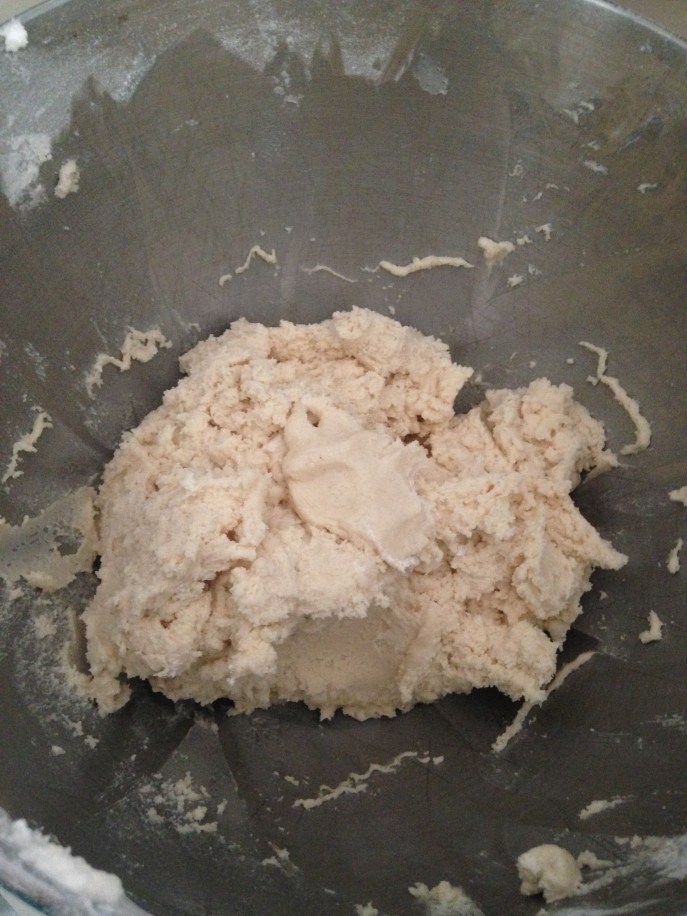
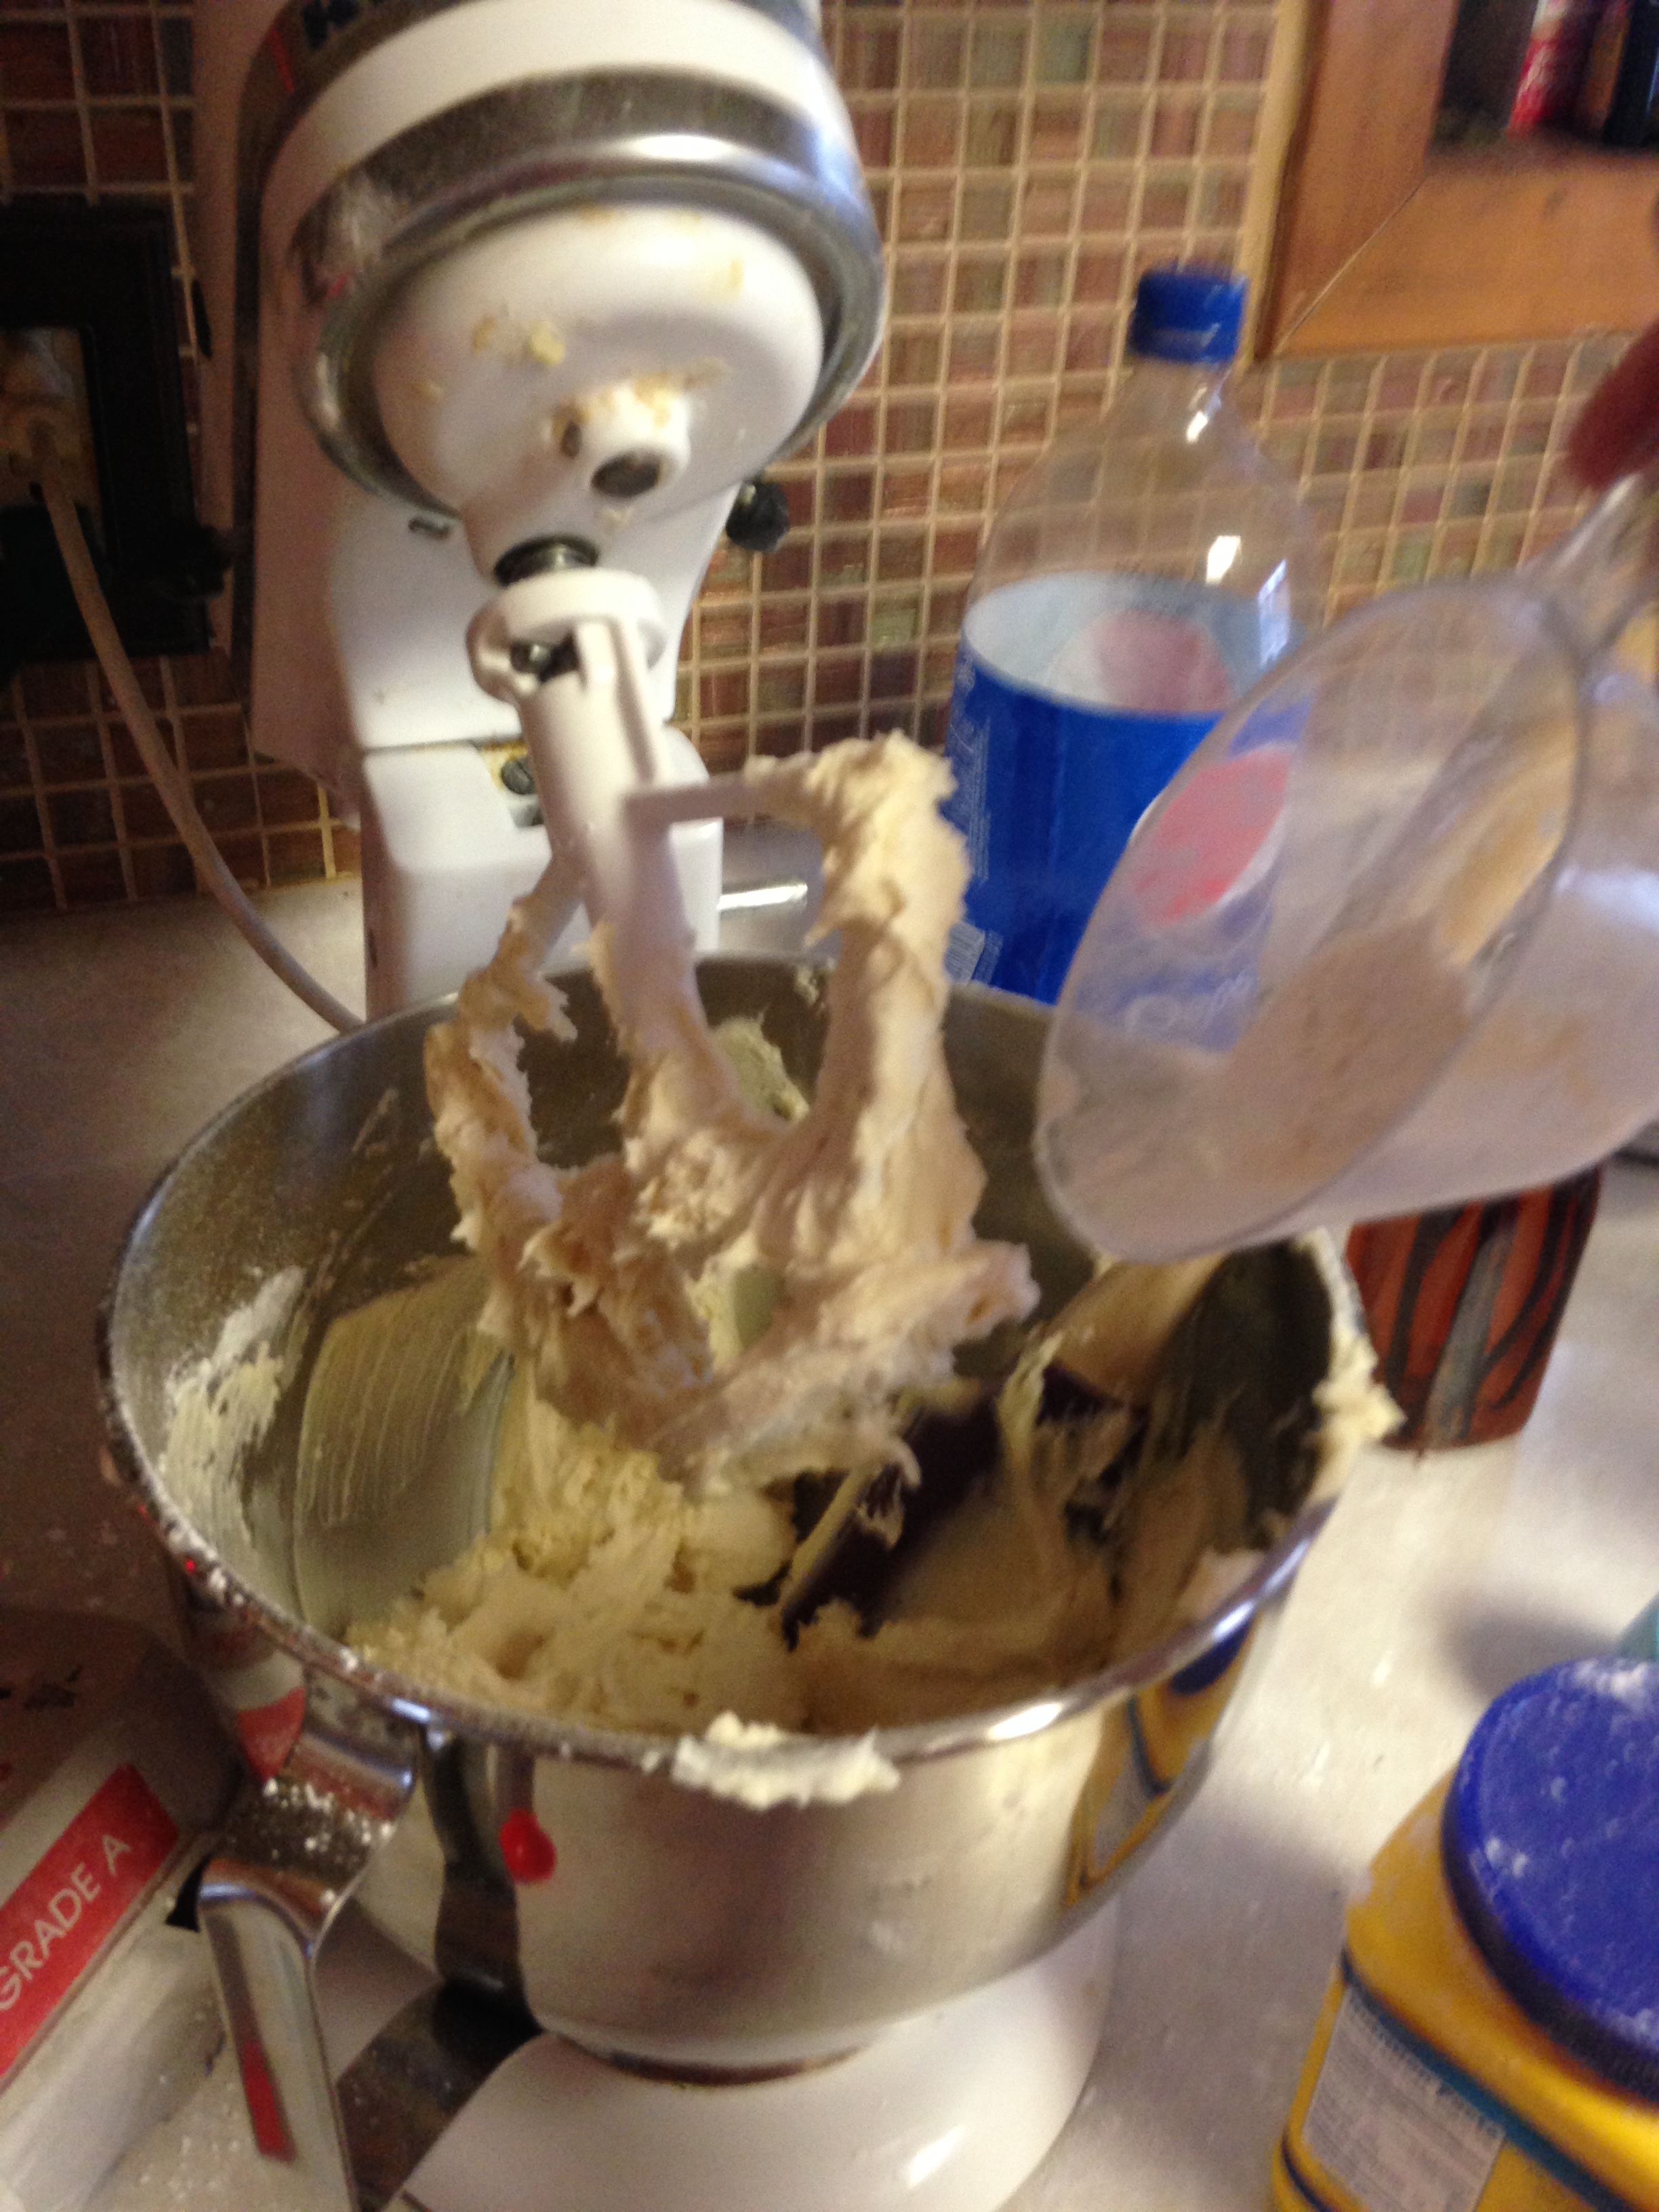
In went the rest of the ingredients into Nichole’s highly superior KitchenAid.

IMG_4454

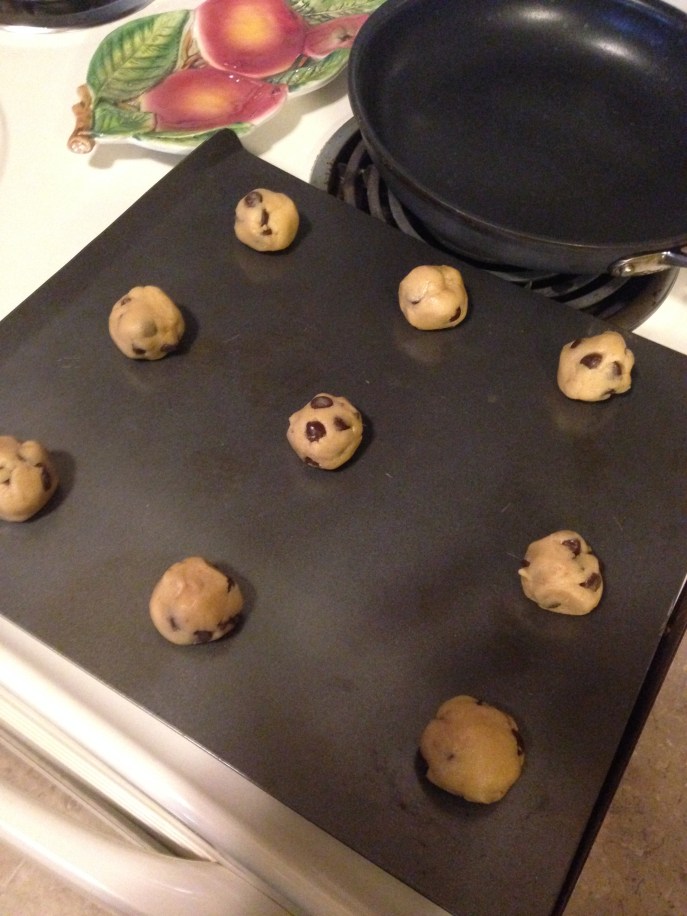
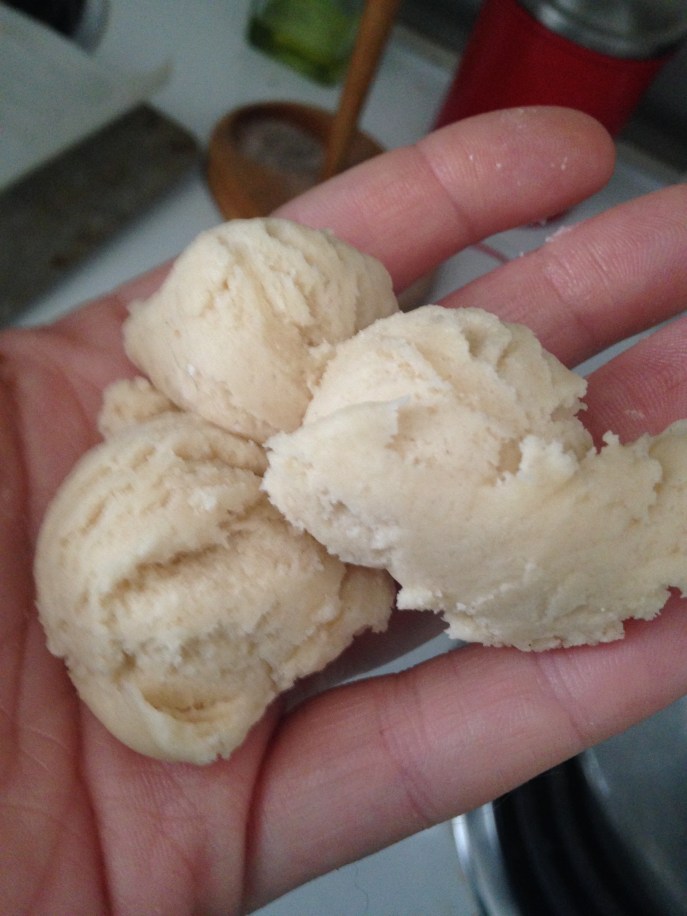
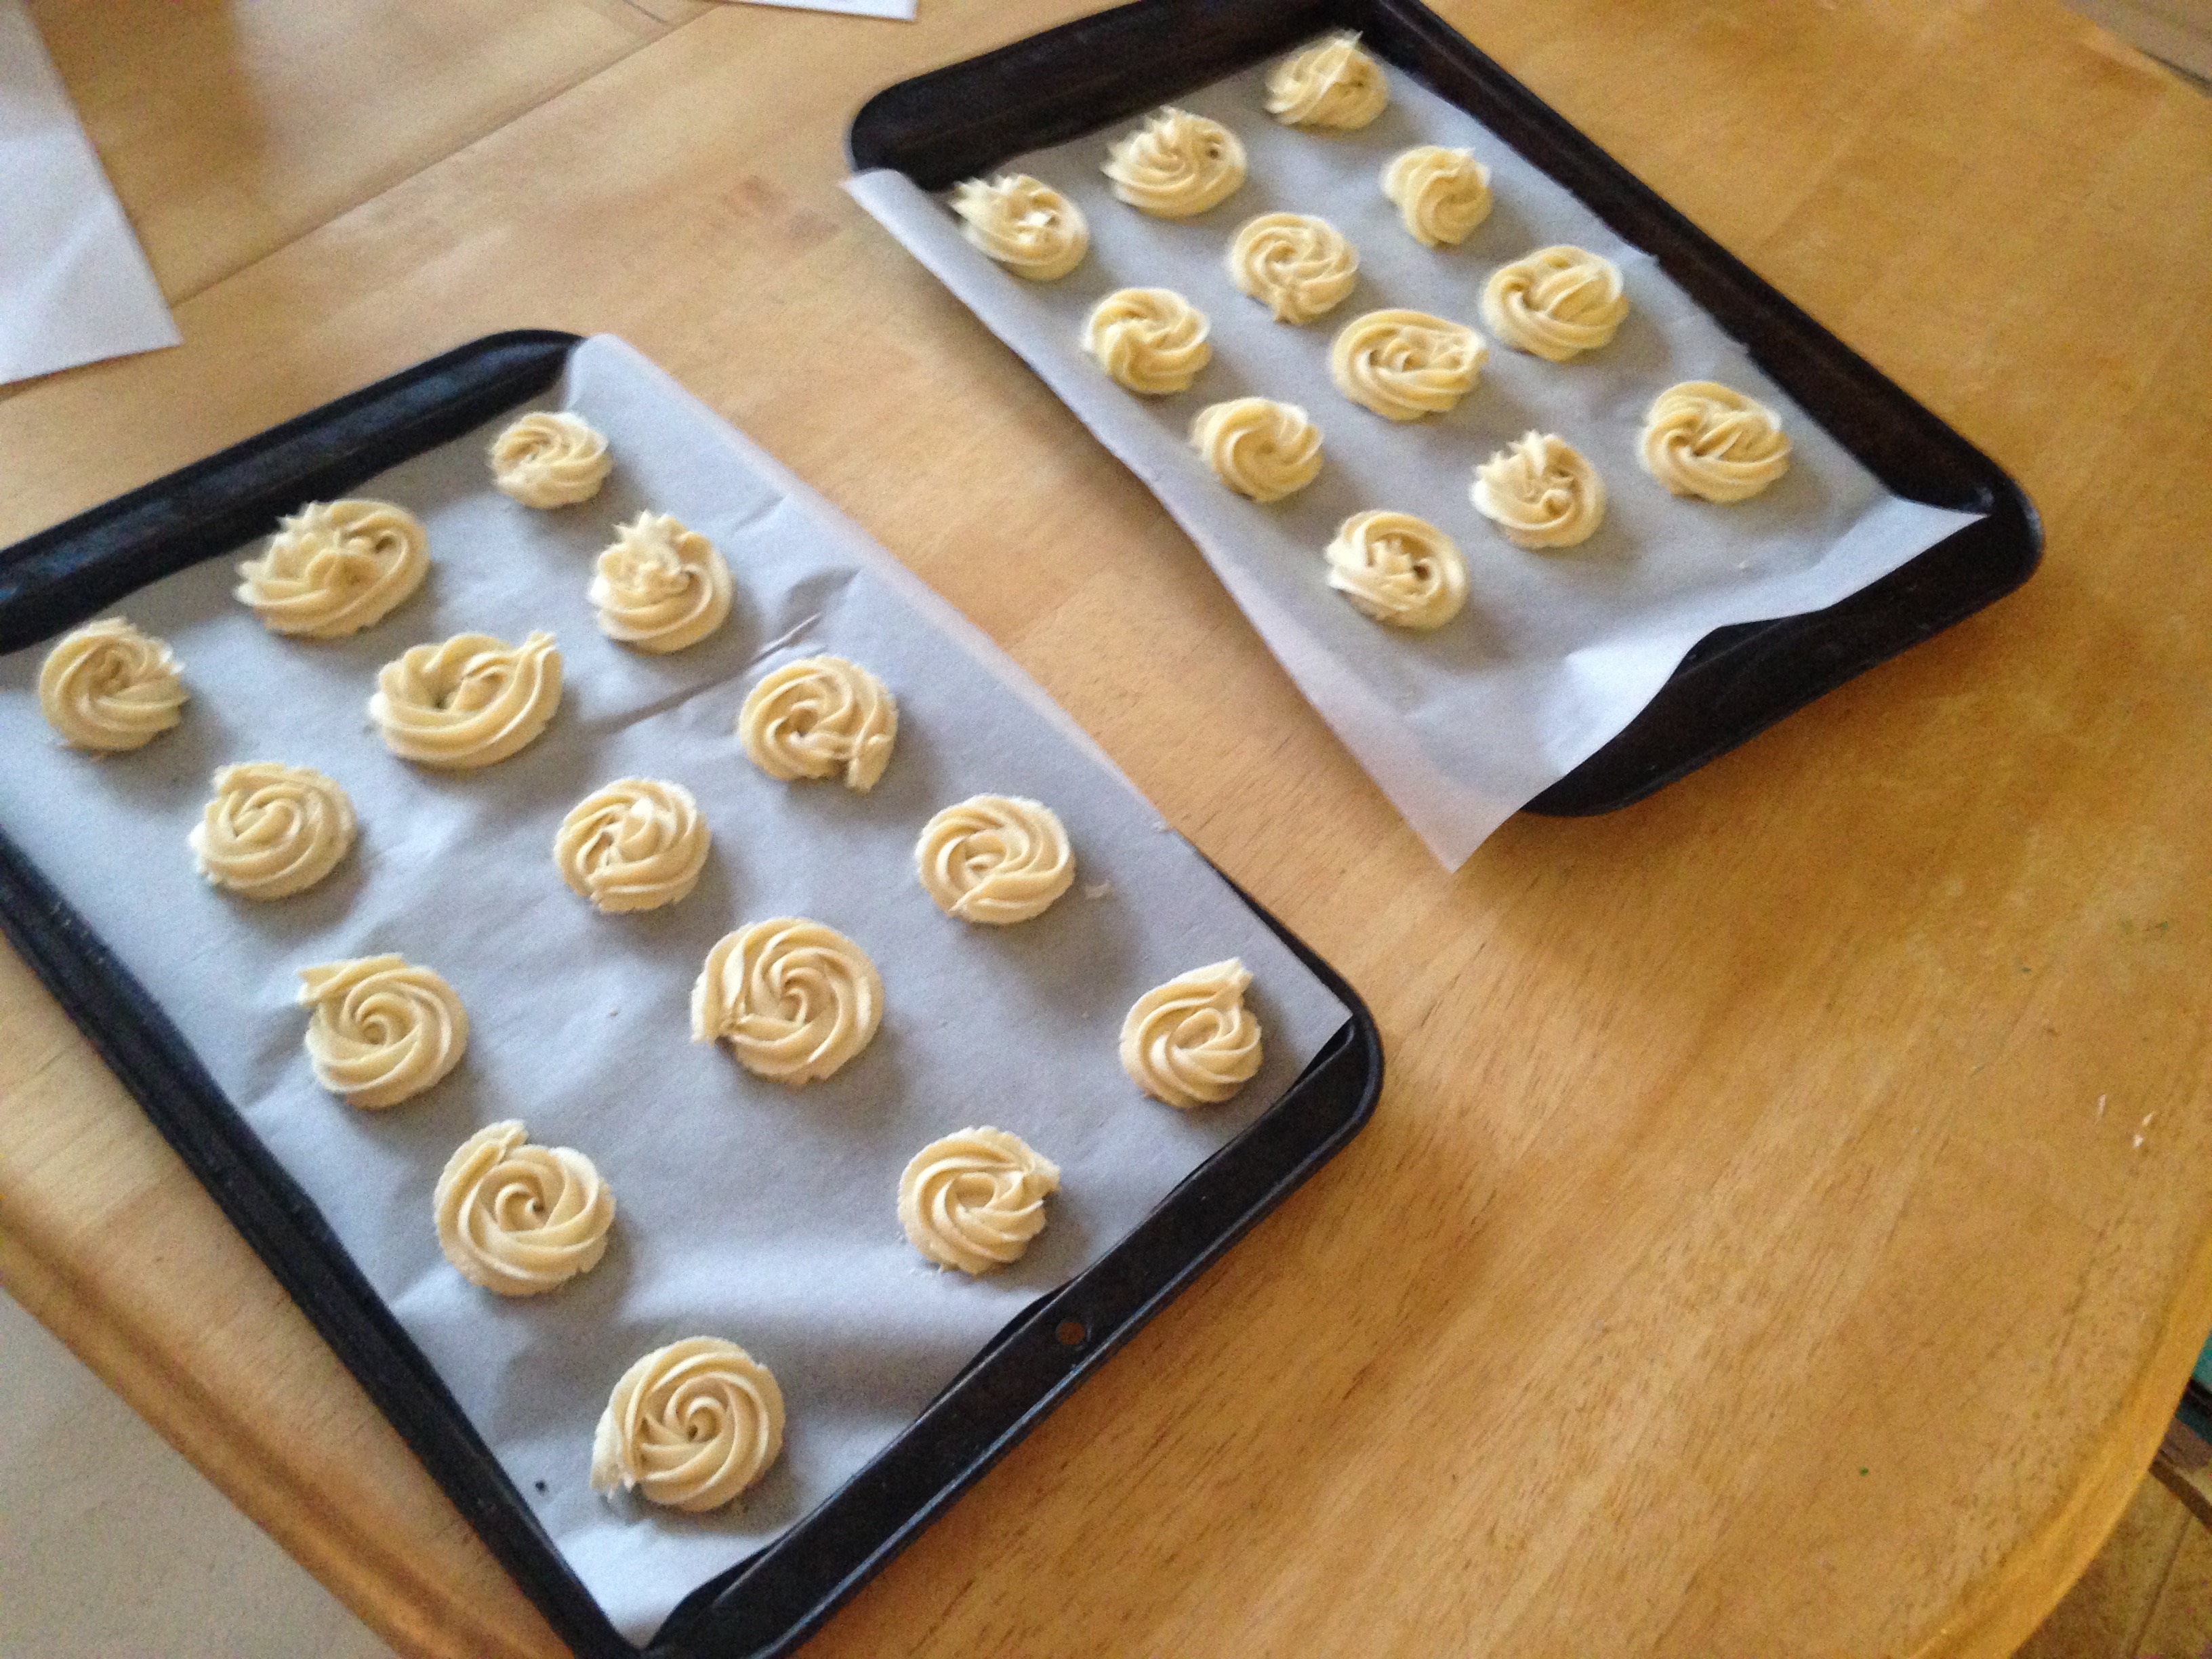
And I balled up the dough and baked them.

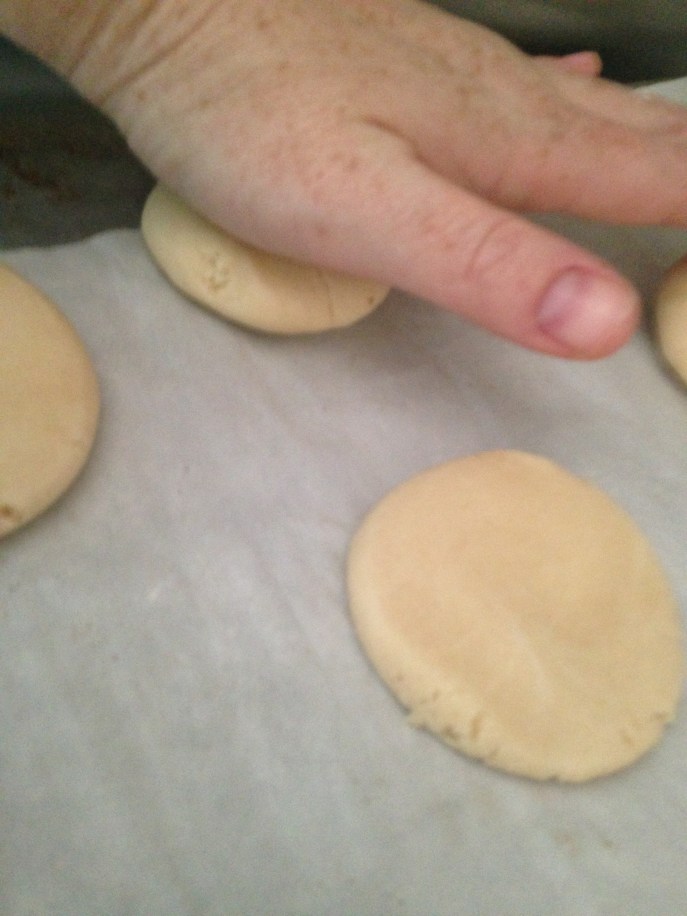
Now, the recipe does have some pretentious instructions as to how to bake these. Follow it, don’t follow it, it’s up to you. I’ve done the whole “break it apart, put the jagged edges up, turn every 5 minutes” thing, and I didn’t see much of a difference.

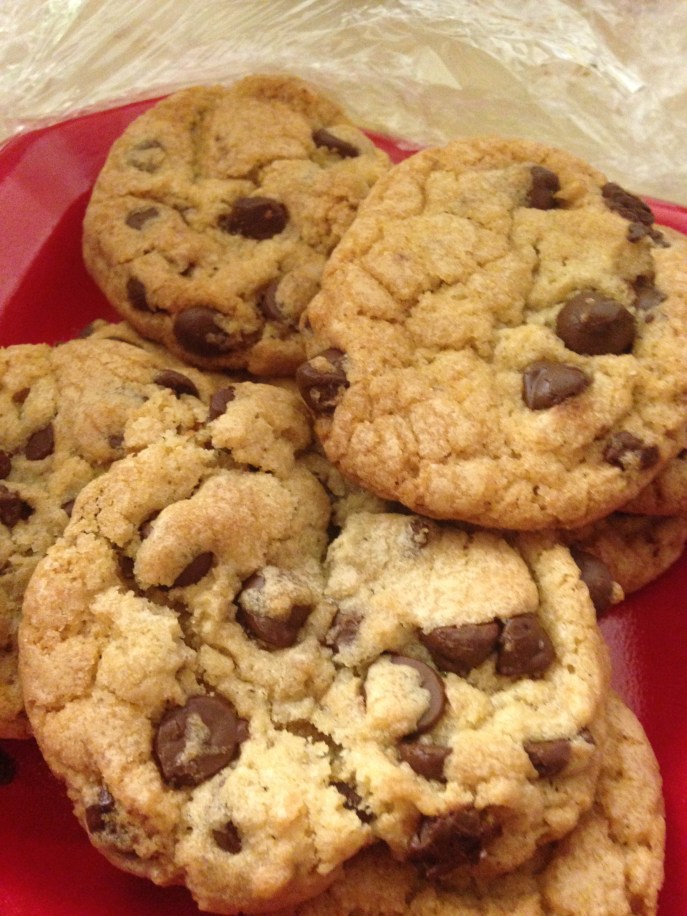
I don’t have too many pictures for this recipe, as I was making it while waiting for my ride to the party. My ride was also the friend that gave me the cookie specifications he expected, so he was the first one to sample. He said, “Mmm. Hhghgg. Orrr!” Which was loosely translated to “You got it right.”

IMG_4461

Thick and Chewy Chocolate Chip Cookies

(from http://www.smells-like-home.com)


  • 2 cups plus 2 tbsp (10 5/8 oz) all-purpose flour
  • ½ tsp baking soda
  • ½ tsp salt
  • 12 tbsp unsalted butter, melted and cooled until warm
  • 1 cup brown sugar, packed (7oz)
  • ½ cup granulated sugar (5oz)
  • 1 large egg plus 1 egg yolk
  • 2 tsp vanilla extract
  • 1 – 1 ½ cups semi-sweet chocolate chips
  1. Adjust oven racks to upper and lower-middle positions.Preheat oven 325°.Line two cookie sheets with parchment paper.
  2. Whisk dry ingredients together in a medium bowl; set aside.With electric mixer, or by hand, mix butter and sugars until thoroughly combined.Beat in egg, yolk, and vanilla until combined.Add dry ingredients and beat at low-speed just until combined.Stir in chocolate chips.
  3. Roll a scant half-cup of dough into a ball.Holding dough ball in fingertips of both hands, pull apart into two equal halves.Rotate halves 90 degrees and, with jagged surfaces facing up, place formed dough onto cookie sheet, leaving ample room between each ball.Bake, reversing position of cookie sheets halfway through baking, until cookies are light golden brown and outer edges start to harden yet centers are still soft and puffy (approximately 11-14 minutes).Do not overbake.


December 10: White Velvet Cut-Outs

Standard

I started this recipe last night since it has to chill in the fridge for awhile. I don’t have picture of me mixing together the dough, since it’s pretty basic and I feel like you all have seen enough pictures of flour in my mixing bowl.

So this morning, I took out the dough and went to work. Now that I’m done with school for the semester, I theoretically have time to do cut-outs.

IMG_4354

Instead of my normal bell cookie cutter, I wanted to try something I saw on the internet–triangle trees, cut with just a pizza cutter.

IMG_4355

Worked out pretty well.

IMG_4356

I realized that isosceles triangles look better than equilateral, but since Mr. Harris (my high school geometry teacher) wasn’t here to yell at me about the difference, I just triangle-d in all different ways.

IMG_4357

I baked them as instructed, and went to work on the frosting. Now, online, the Christmas trees were in odd colors. Hey, I’m all about odd colors.

IMG_4363IMG_4360

I did my best to recreate what I saw on the internet. I mean, I could have brought it up, but that would have been no challenge at all.

IMG_4364

But when it came time to do the teal, it got a little messy. So I decided to just do some graffiti frosting drizzle at the end.

IMG_4365

Eh. They’ll do. 🙂

IMG_4368


White Velvet Cut Outs

(from Gooseberry Patch’s Old-Fashioned Christmas Cookies)

1 c. butter, softened                           1 egg yolk

3 oz. cream cheese, softened              1/2 t vanilla

1 c sugar                                          2 1/2 c flour

Cream butter and cream cheese together. Beat in sugar. Add egg yolk and vanilla, then stir in flour. Gather dough in a ball and chill overnight. To prepare, pre heat oven to 350. Rolll dough out to 3/16″ and cut into desired shapes. Bake for 12 minutes or until edges are light brown.

December 8: Peppermint Sugar Cookies with Cream Cheese Frosting

Standard

I bought some starlight mints the other day, and I’ve been itching to use them. (You’ll see why in a minute.)

I pinned these a few days ago because they looked pretty. But the instructions, as I discovered, are written by pretentious cookie snobs who want to make sure you are doing everything exactly right. Dear Control Freaks: You can’t control everything.

IMG_4291

This is my butter/crisco/sugar mix. According the instructions, this is supposed to be pale and fluffy.  (“In the bowl of an electric stand mixer, on medium speed, whip together butter, shortening and sugar until very pale and fluffy, about 4 minutes, scrapping down the sides of the bowl as needed.”) Um, it’s crisco and butter and sugar. Unless I’m sacrificing a goat in there, it’s going to be pale and fluffy no matter what. (Also? You spelled “scraping” wrong.)

I added the rest of my ingredients and then was met with this bossy instruction:

“Transfer dough to an airtight container and refrigerate 2 hours. Preheat oven to 375 during the last 10 minutes of refrigeration.”

Don’t tell me what to do.

IMG_4292

My mixer bowl and plastic wrap worked just fine, thank you.

When my chilling time was done, I scooped three balls into my hand with my 1T scoop because it calls for 3T. Math.

IMG_4293

And then…”Place dough ball on a lightly floured surface, sprinkle top lightly with flour, then using something flat and smooth (such as the storage container lid), press and evenly flatten dough to 1/2″ thick. Transfer flattened dough to a Silpat or parchment paper lined baking sheet and repeat process with remaining dough (you’ll have to use 2 cookie sheets).”

I have time and inclination for none of this.

IMG_4294

Worked just fine.

While my slummed-down cookies were baking, I mixed together the frosting.

IMG_4295

And I don’t care who you are: powdered sugar is going to get you.

IMG_4297

After all of this, my starlight mints were waiting.

IMG_4298

Hang on.

IMG_4299

That’s better.

Yes, I smash them to smithereens while in the wrappers and still in the bag. I find it controls the carnage better. And then you just unwrapped the wrappers and fill your bowl with mint bits.

IMG_4300

It’s such a good stress reliever.

IMG_4301

Cookies cooled and frosted, and decorated with the fruits of my labor.

IMG_4304

Peppermint Sugar Cookies with Cream Cheese Frosting

Prep Time: 25 minutes

Cook Time: 11 minutes

Yield: 15 bakery size cookies

Ingredients

    • 2 1/2 cups cake flour, plus more for dusting work surface
    • 2 tsp cornstarch
    • 1 1/2 tsp baking powder
    • 1/2 tsp salt
    • 1/2 cup unsalted butter, at room temperature
    • 1/4 cup all vegetable shortening (unflavored), at room temperature
    • 1 cup granulated sugar
    • 1 large egg
    • 1 large egg white
    • 2 tsp vanilla extract
    • 1/2 tsp peppermint extract
    • Crushed candy canes, for topping
Peppermint Cream Cheese Frosting
  • 4 oz cream cheese, softened
  • 4 Tbsp unsalted butter
  • 1/2 tsp peppermint extract
  • 2 1/2 cups powdered sugar

Directions

  • Sift flour, cornstarch, baking powder and salt into a large bowl, then whisk it just a few times, set aside. In the bowl of an electric stand mixer, on medium speed, whip together butter, shortening and sugar until very pale and fluffy, about 4 minutes, scrapping down the sides of the bowl as needed. Add in egg and mix until combine, then add egg white, vanilla and peppermint extract and mix until combine. With mixer running, slowly add in dry ingredients and mix just until combine. Transfer dough to an airtight container and refrigerate 2 hours. Preheat oven to 375 during the last 10 minutes of refrigeration.
  • Scoop dough out about 3 Tbsp at a time and roll into a ball. Place dough ball on a lightly floured surface, sprinkle top lightly with flour, then using something flat and smooth (such as the storage container lid), press and evenly flatten dough to 1/2″ thick. Transfer flattened dough to a Silpat or parchment paper lined baking sheet and repeat process with remaining dough (you’ll have to use 2 cookie sheets). Bake in preheated oven 9 – 11 minutes. Allow to cool 5 minutes on baking sheet before transferring to a wire rack to cool. Cool completely then frost with Cream Cheese Frosting and sprinkle with crushed candy canes.
  • For the frosting:
  • In the bowl of an electric stand mixer fitted with the paddle attachment, whip together cream cheese and butter until pale and fluffy. Add peppermint extract and powdered sugar and mix until pale and fluffy.

December 4: Italian Sand Cookies

Standard

I saw this recipe on Pinterest, but wasn’t going to make it. I liked reading about the search to get this “secret” recipe right, and it brought back memories of also getting this cookie in bakeries over my lifetime. (Note: I have yet to meet a bakery I didn’t like.)

But this recipe was like an ear-worm, only it was in my brain. I couldn’t stop thinking about it–remembering the cookie myself, and then the blogger’s quest to find the recipe. It’s something I can understand doing (To this day, I fantasize about a cookie I had a few years ago and can’t find the recipe. I’m sure one of these days I’m just going to try to figure it out for myself.)

You may have eaten these in the past, too. When I was a kid, they were in the top shelf of the display at Kings’ Bakery, in the tray closest to the front. They aren’t anything fancy, but boy were they good. The ones they had came with some rainbow sprinkles on them.

So, the good people (or person..I think it’s just one fabulous lady) at Chef Tess Bakeresse went in search of the recipe. There’s a whole post devoted to the mission at http://cheftessbakeresse.blogspot.com/2010/06/evil-italian-butter-cookies.html and it really is adorable.

"Creaming method" adding of the flour.

“Creaming method” adding of the flour.

I love how the instructions are simply “creaming method,” as if it’s saying “if you don’t know what we mean, then you probably should stick with ready-made cookies.” It’s just an easy way to say mix the butter, shortening, and sugar together, then add the vanilla and eggs, and then finally the rest of the ingredients.

(I will say though that my dough was a little to sticky when I followed the recipe. I could have chilled it, but instead I added a little more flour–about another 1/3 c. In hindsight, it probably could have been a little less, but they turned out just fine.)

Once that is done, you get out a big star tip and a pastry bag, and fill it with the dough. Pastry bags are nothing to fear. It’s just a matter of getting the right tip with the right consistency of dough. And, like this recipe, most of the time it will tell you which one to use.

My tasty little Italian babies, all ready for the oven.

My tasty little Italian babies, all ready for the oven.

I piped circles on the parchment paper and filled them in. There are two schools of thought on this…either go from the inside out, or the outside in. Either way, they will taste the same, so do whatever makes you happy.

After they came out of the oven and cooled, my kids were home from school. And of course, I had a little helper. After I melted the chocolate chips (with just a little bit of coconut oil for consistency reasons), Mini Me informed me she was the official sprinkle-putter-onner. That lasted for one tray of cookies. She abandoned me for Sofia the First, and I had to sadly finish the cookies myself.

A simple recipe that tastes like a million bucks!

A simple recipe that tastes like a million bucks!

I let the cookies dry on wax paper, but then decided to speed up the process by throwing the cookies (stilon wax paper, now back on cookie sheets) into the freezer for 10 minutes.

After trying one, Disgruntled Husband had a look of shock on his face and said, “These are REALLY good.”

(Thanks for the vote of confidence, dear.)

The (much shorter) video about said recipe:

 SAND COOKIES

(from www.cheftessbakeresse.com)

1 1/2 cups flour (we used AP)
1/2 cup cornstarch
1/2 cup shortening
1/2 cup butter
1 1/4 cups confectioners sugar *
1 1/2 t. vanilla extract
2 eggs
*(we also liked 3/4 c. conf sugar & 1/4 c. granulated which made them a slight bit sweeter)

Creaming method. Put through bag with large star tip. Bake @ 375 F for 12-15 minutes or until lightly brown. Decorate with choc chips, sprinkles or leave plain and dip half in melted choc., etc.

Cookies today: 37

Cookies this year: 230

December 3: Swirled Sugar Cookies

Standard

I don’t know what previous generations did without Pinterest. I really don’t. I can find jokes, recipes, directions on making plutonium from common household items (come on, what movie?), and a vast array of urban legends people post. One of these days, I’m going to put something on there super outrageous, just to see how many people try it. (“The secret of younger skin is found in the litter box!”)

But I digress.

I found these on Pinterest and the pictures were just so pretty, I couldn’t not try to make them myself. It’s from a site called salt tree.com. I followed the basic sugar cookie recipe from that website, and then split the dough in half and dyed one part of it Royal Blue.

Nothing in nature is this color, which makes it fun!

Nothing in nature is this color, which makes it fun!

And I don’t care who you are, you will somehow always get food coloring on you somewhere when you work with this stuff. It looks like I committed a Smurf-icide.

Both doughs got wrapped in plastic wrap and chilled in my fridge for an hour. I then rolled it out and uttered some not-Christmas friendly terms. Putting one layer of dough on top of another requires patience and precision, of which I have neither. But somehow, I made it work.

I think I may have actually broken out "Son of a Nutcracker" whilst trying to make this work.

I think I may have actually broken out “Son of a Nutcracker” whilst trying to make this work.

Here’s a (much shorter) video on how I did it, and then how I did the next part–rolling the whole damn thing in sprinkles.

After I let the roll hang out on my front porch, I sliced the roll into 1/4″ slices and baked them. And, thanks to Salttree.com and Pinterest, it turned out exactly as it looked online! Win!

So pretty!

So pretty!

Swirled Sugar Cookies

(From Salttree.com)

Sugar cookie recipe:

3 cups all-purpose flour
1 teaspoon baking powder
1/2 teaspoon salt
1 cup butter, softened
1 1/2 cups white sugar
2 eggs
2 teaspoons vanilla extract

Cream it all together.

Then split it in half and dye one (or both, I suppose) with food coloring.

On a lightly floured surface, roll out each ball of dough separately to about 1/4 inch thickness.

Using a pastry brush, apply a little water to the darker layer of dough.  Roll the lighter colour of dough around the rolling pin and transfer it on top of the darker coloured layer of dough.  The little bit of water will help them stick together.

Trim the edges so you end up with a neat and tidy rectangle.  Save the scraps! (I did and made smaller rolls with them.)

Roll it up, jelly roll style and pour out a container of sprinkles. (Take it from me, it’s easier to use a cookie sheet or something.) Brush the log with a little water and roll in the sprinkles.

Cover with plastic wrap and let chill for an hour.

Slice them about 1/4″ thick and place on cookie sheet (I line mine with parchment paper). Bake for about 10 minutes at 350.

Cookies today: 105

Cookies this year: 193