December 12: Snickerdoodles

Standard

I think the cat’s out of the bag now. I’m resuming my status as a Cheesehead for one weekend only.

My friend Nichole was nice enough to put me up for my time here. I’ve known Nichole for 8 years now, and amongst the many things I know about her, I know that her favorite cookie is Snickerdoodles. While she was at work this morning, I decided to whip up a batch to thank her for letting me stay with her.

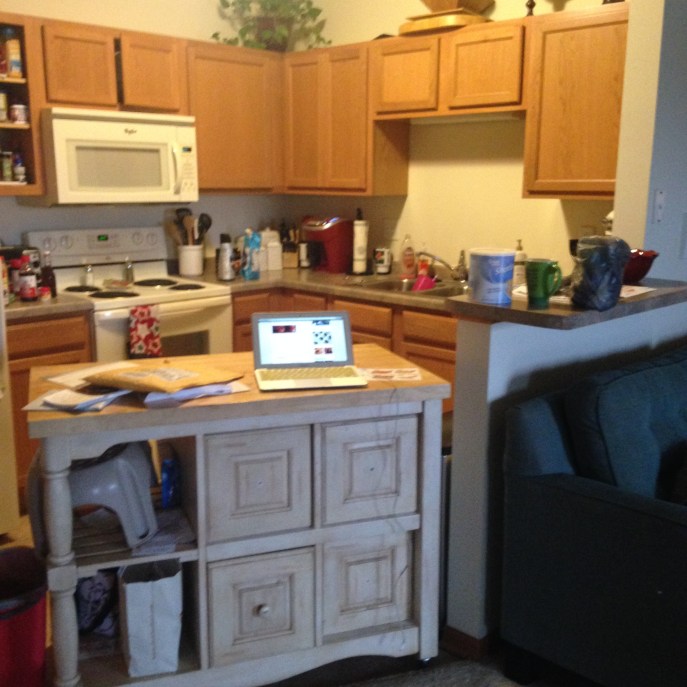
Have you ever tried to cook at someone else’s house? What about bake? Thankfully, she had all of the ingredients on hand for Snickerdoodles (which I pretty much knew she would, since she and I are cut from the same cloth), but trying to find all that I needed was another story. Thankfully, I did find it all, minus the potholders, but I used her nice hot pink hand towel for that. (Surprise, Nichole!)

IMG_4384

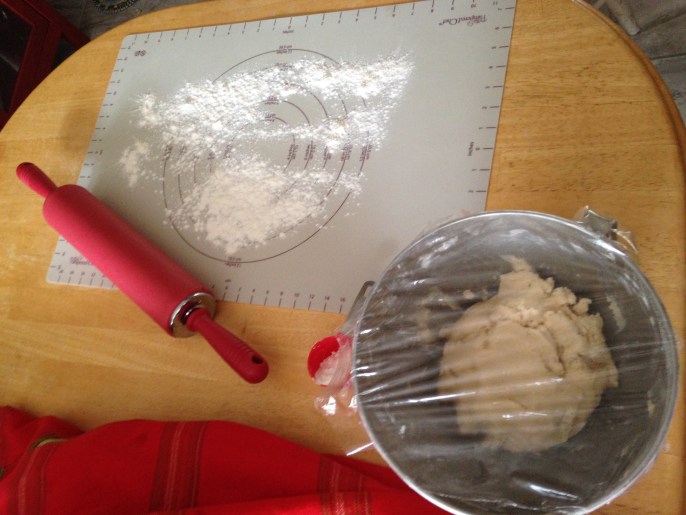
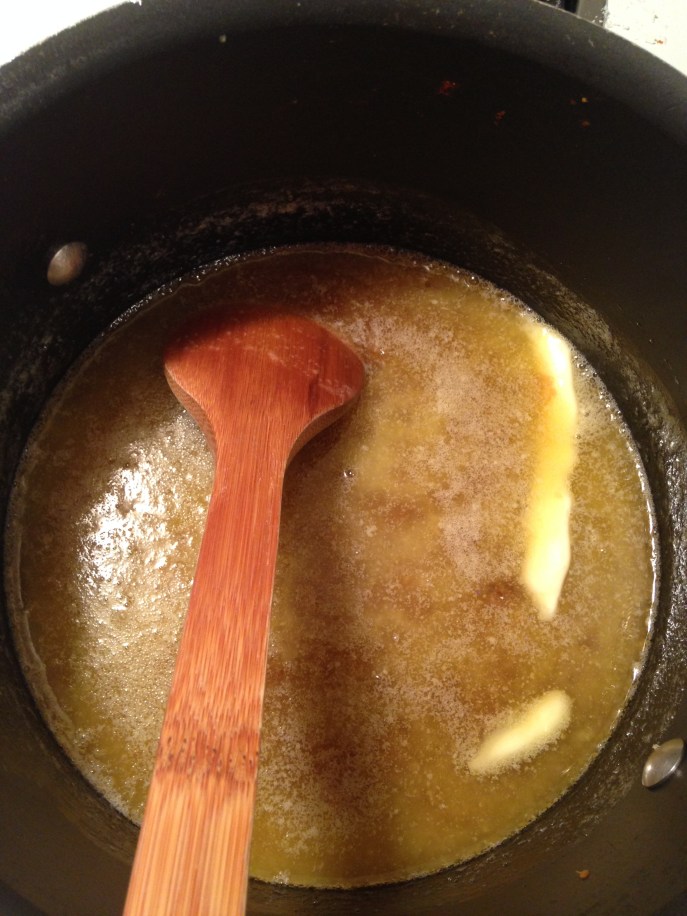
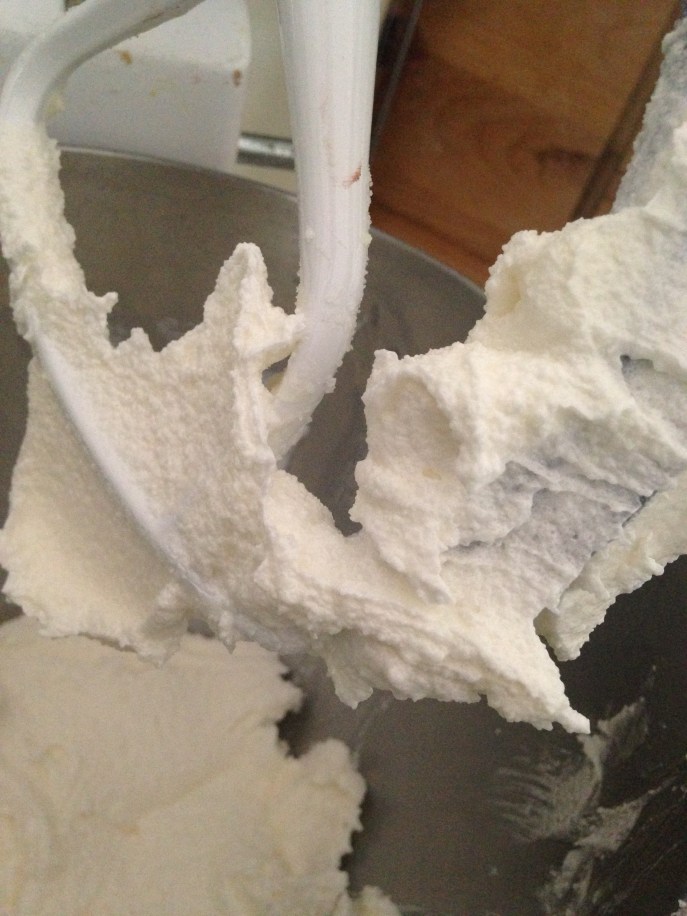
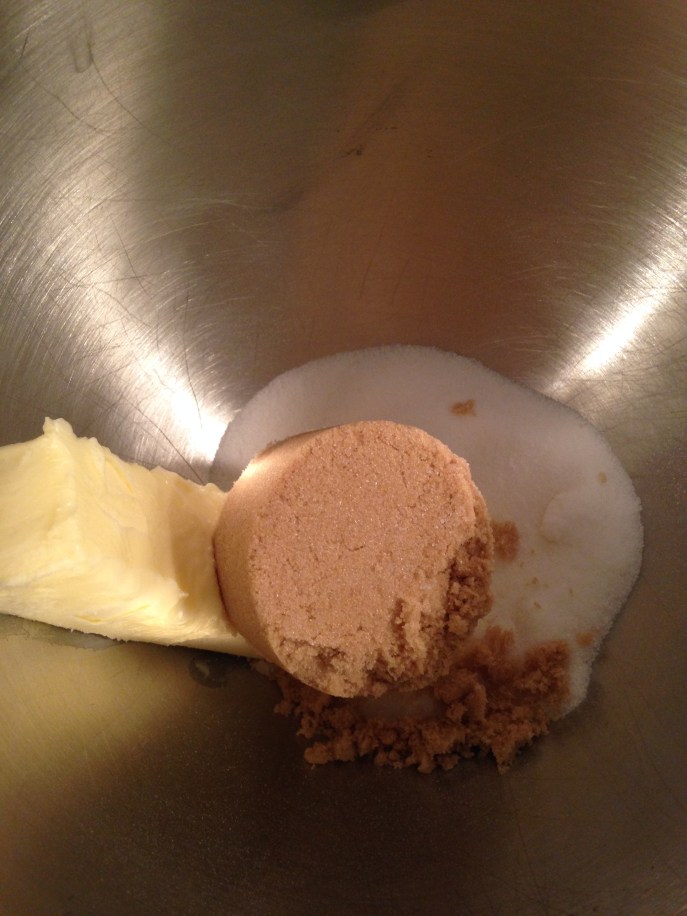
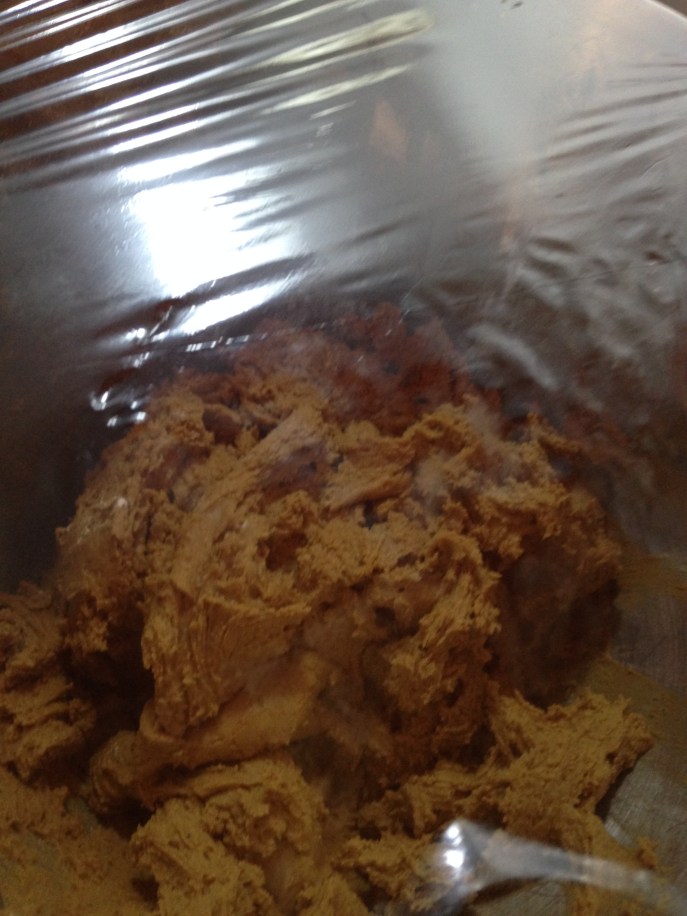
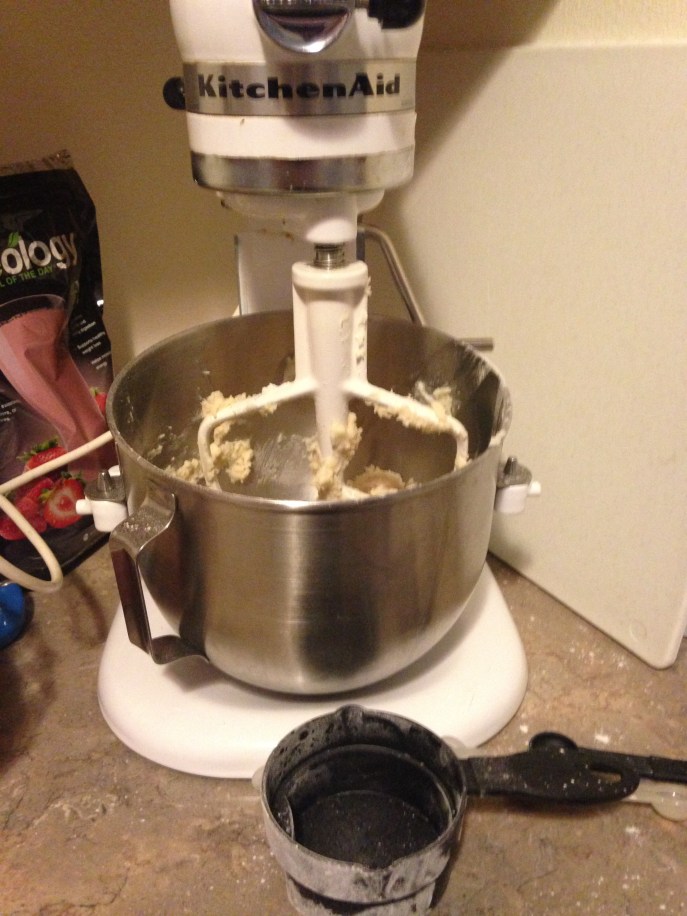
Again, you guys have seen many pictures of the inside of my mixing bowl, so I don’t need to take you through what it looks like when you cream butter, shortening, sugar, and eggs together.

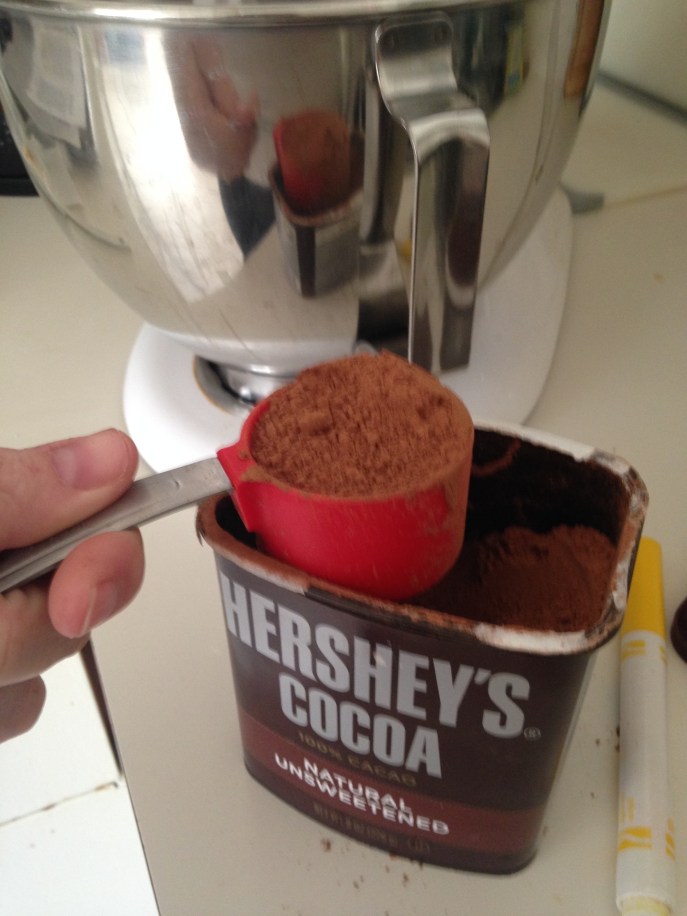
But Nichole’s mixer is far superior to mine, so I thought we should all admire it for a minute.

IMG_4389

(A few years ago, she brought her old mixer to where we both worked so our friend could try to fix it. He ended up electrocuting himself. So now she has this one.)

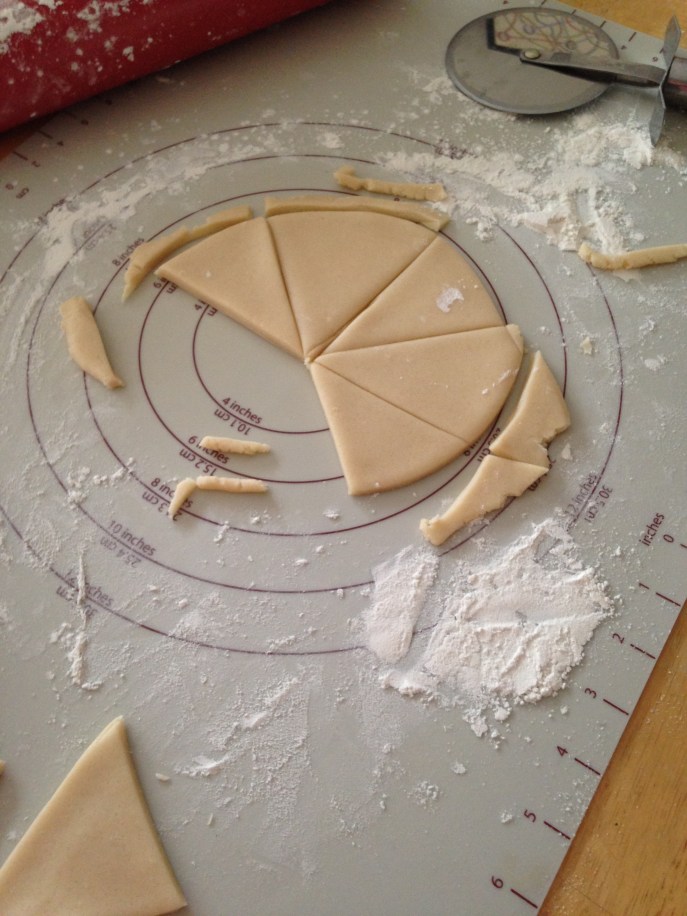
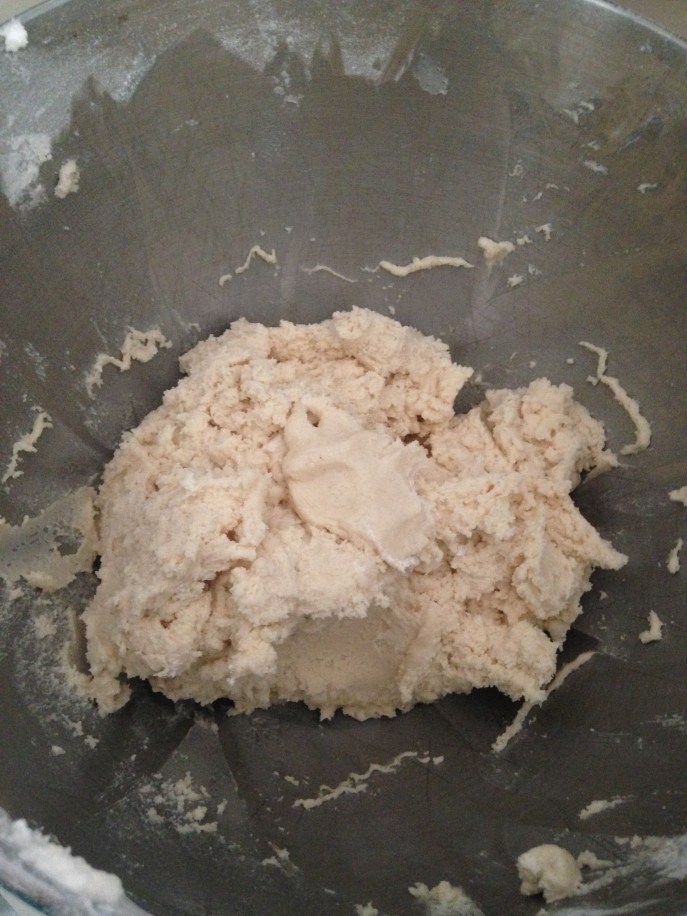
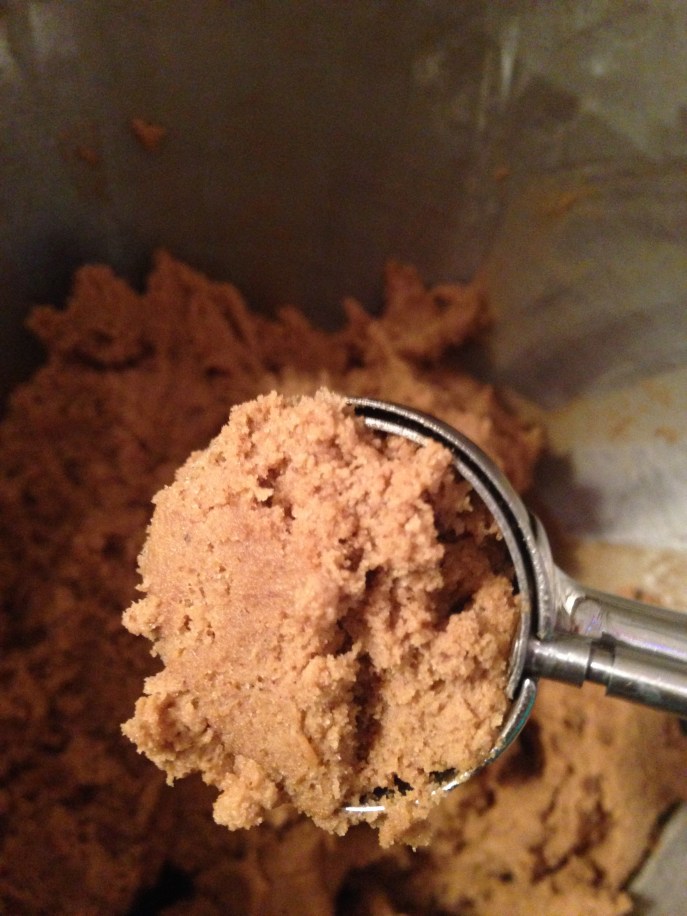
When it came time to add the 2 3/4 c of flour, I went rogue. You see, another thing I know about Nichole is that she likes to incorporate whole wheat flour whenever she can. This is her flour bin:

IMG_4391

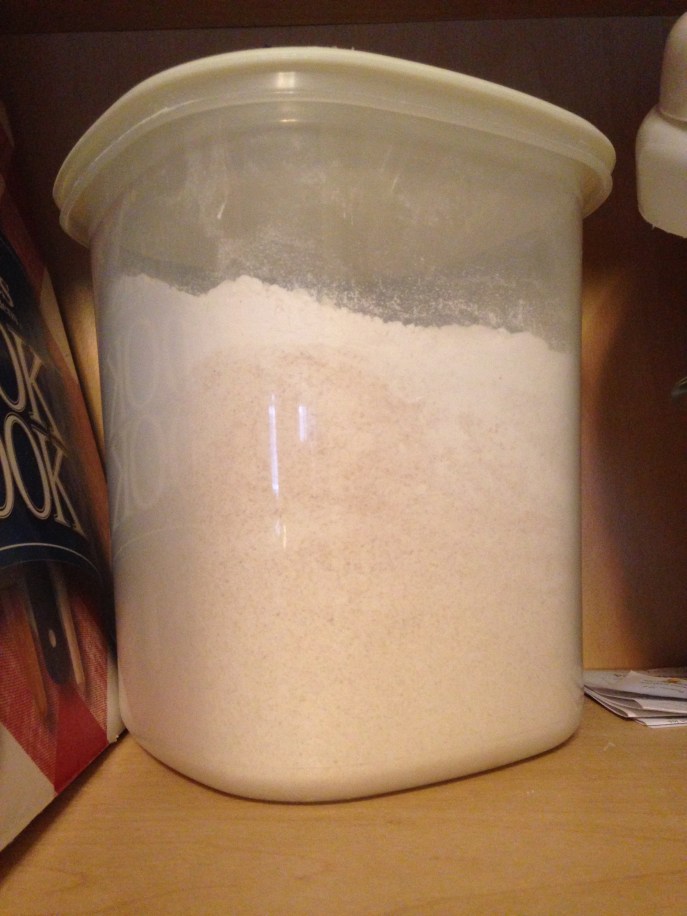
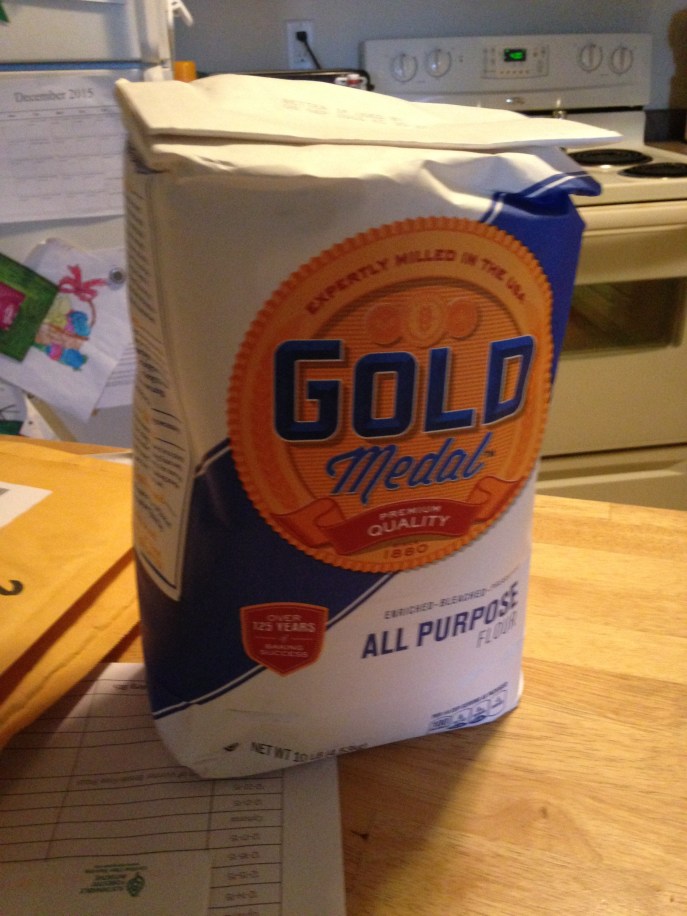
And I could tell it was a mix of all-purpose and whole wheat. Some sleuthing in her pantry uncovered this, and it’s what I used. She’ll thank me later.

IMG_4392

Also, when I bake someone surprise thank you cookies, I like to make a mess of their wonderfully clean kitchen. It’s an important part of the process.

IMG_4393

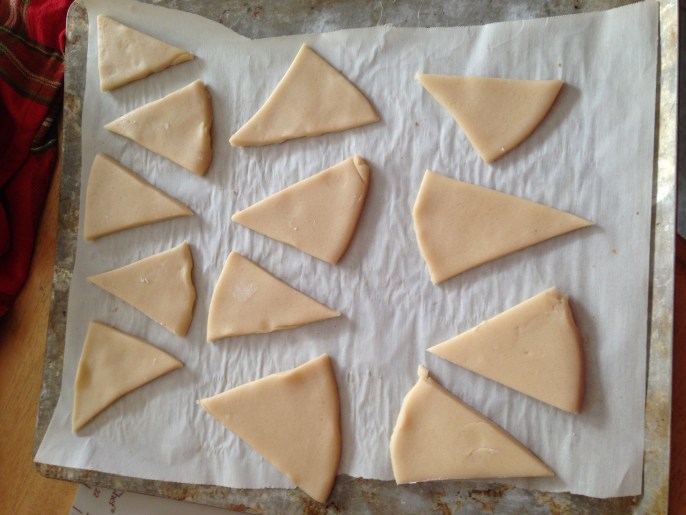
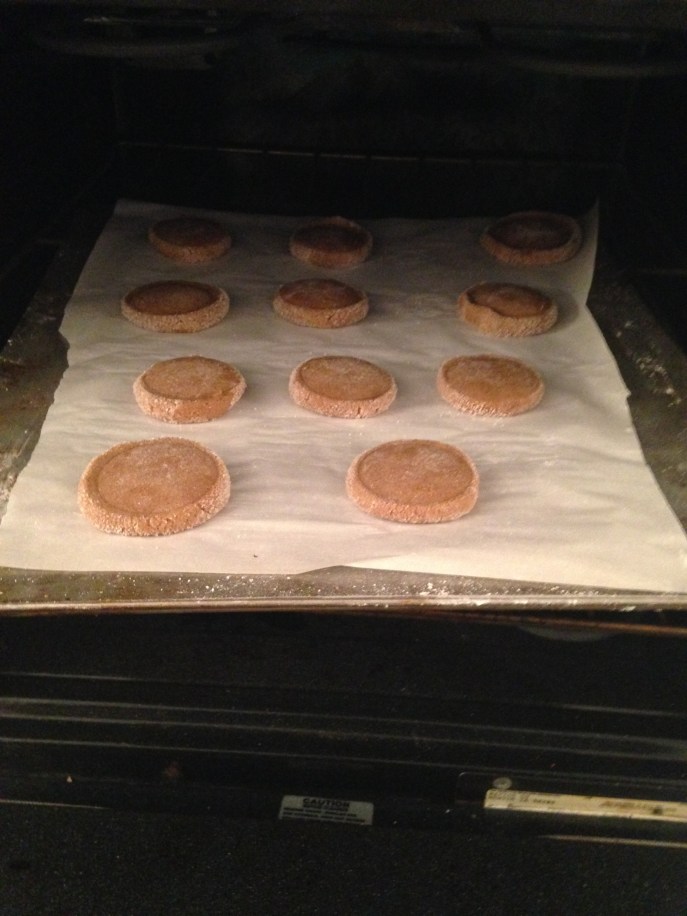
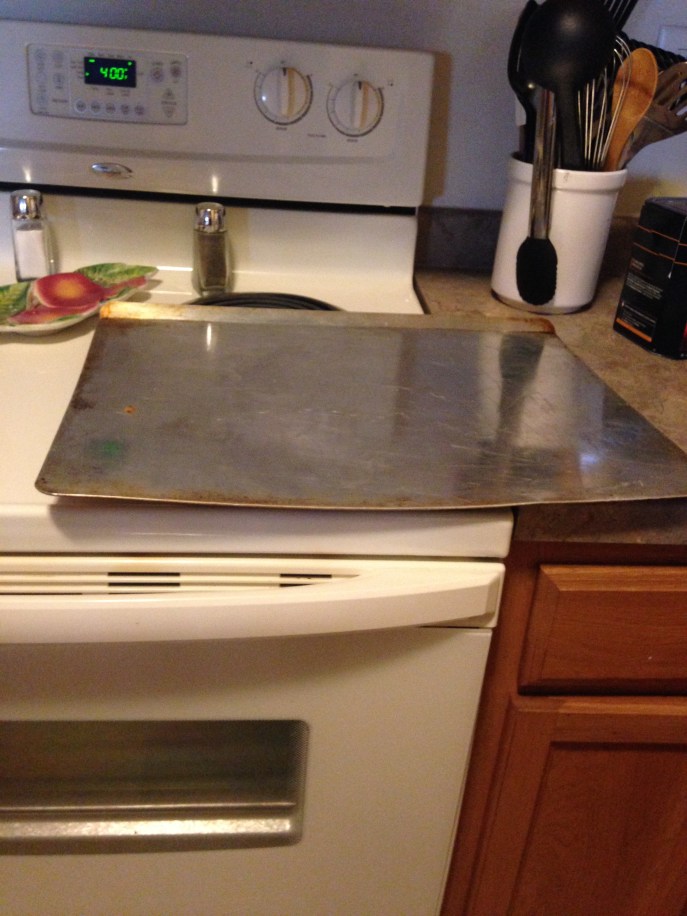
When it came time to bake the cookies, I looked for a cookie sheet, only to discover that Nichole has the largest cookie sheet known to man. If you need a gross of cookies baked at once, see Nichole. She can lend you this pan.

IMG_4395

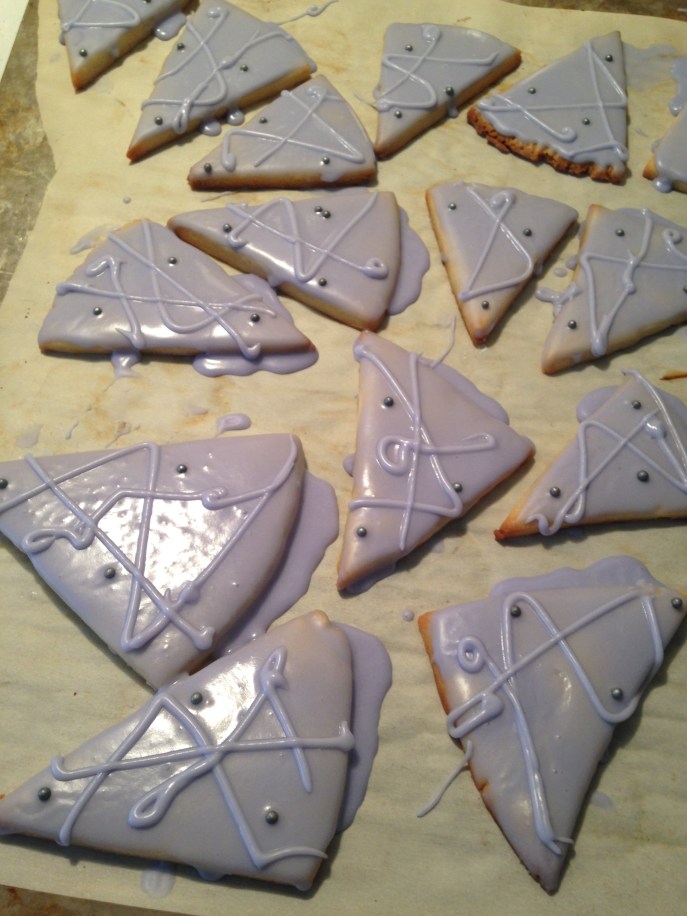
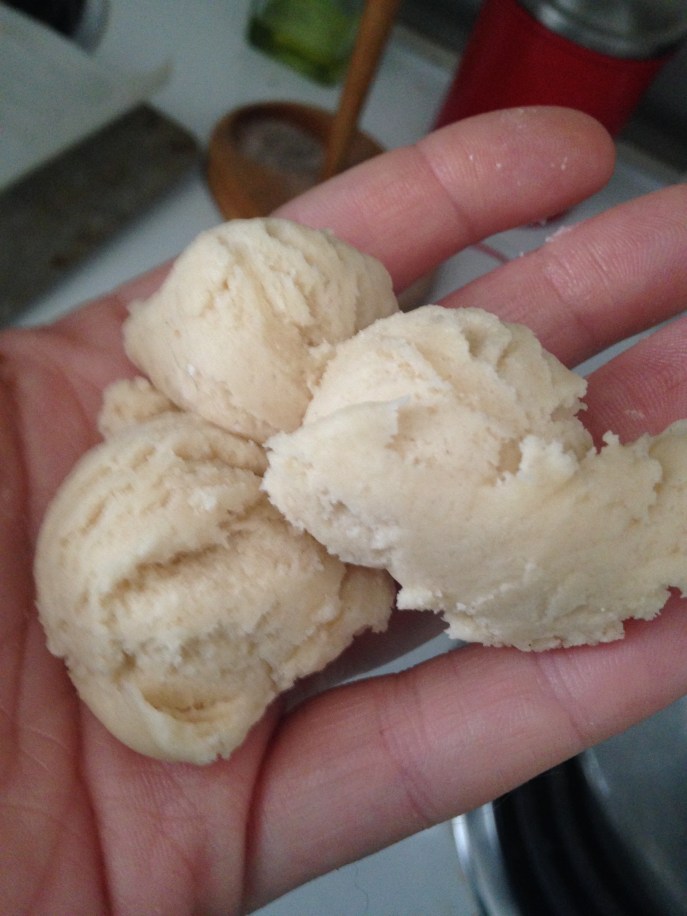
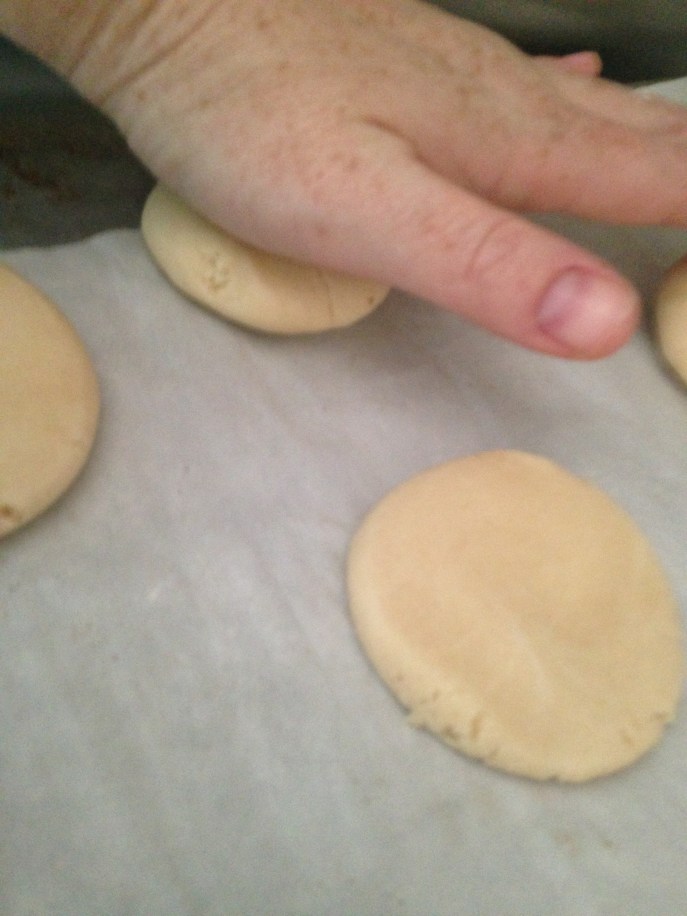
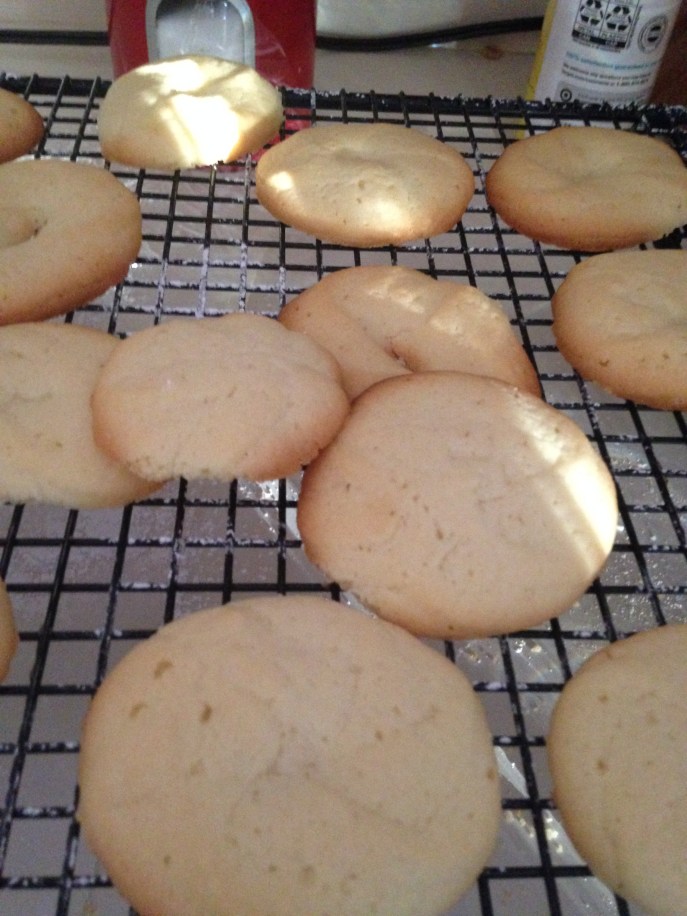
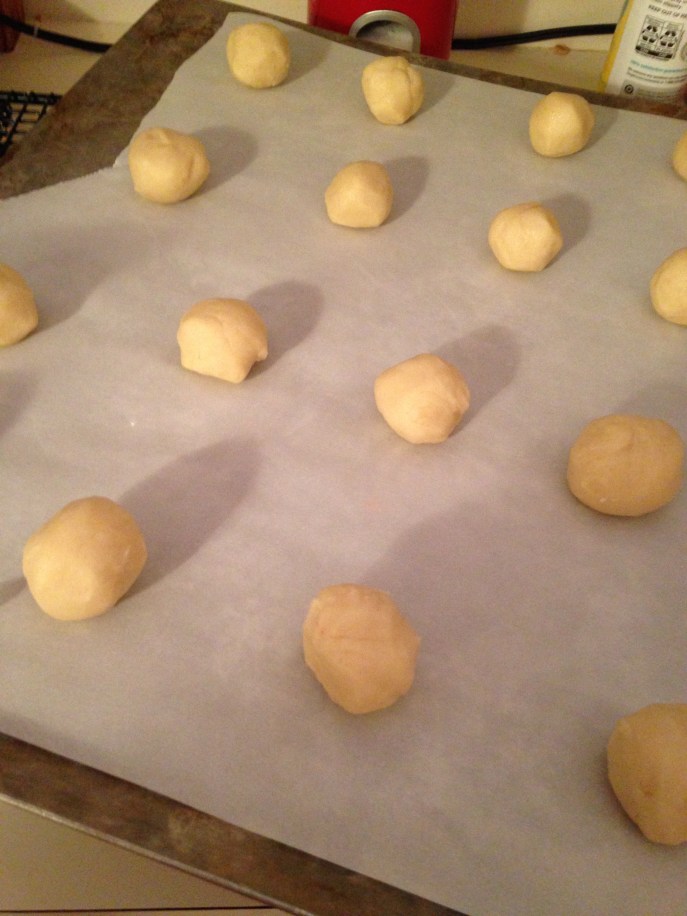
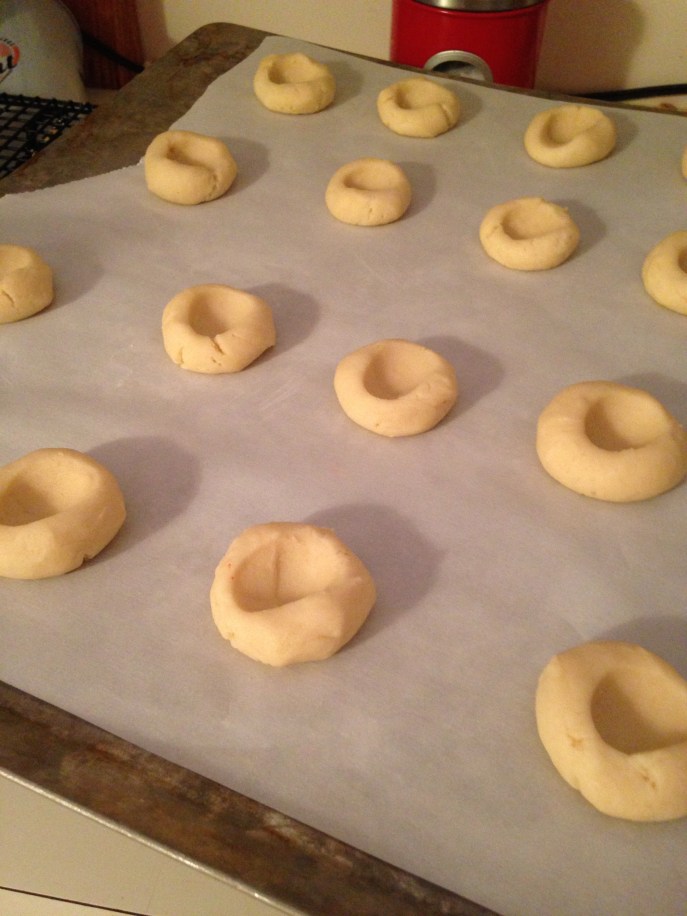
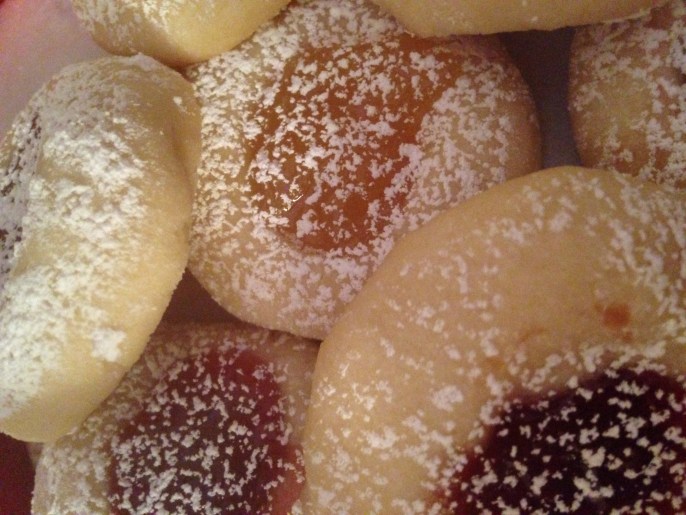
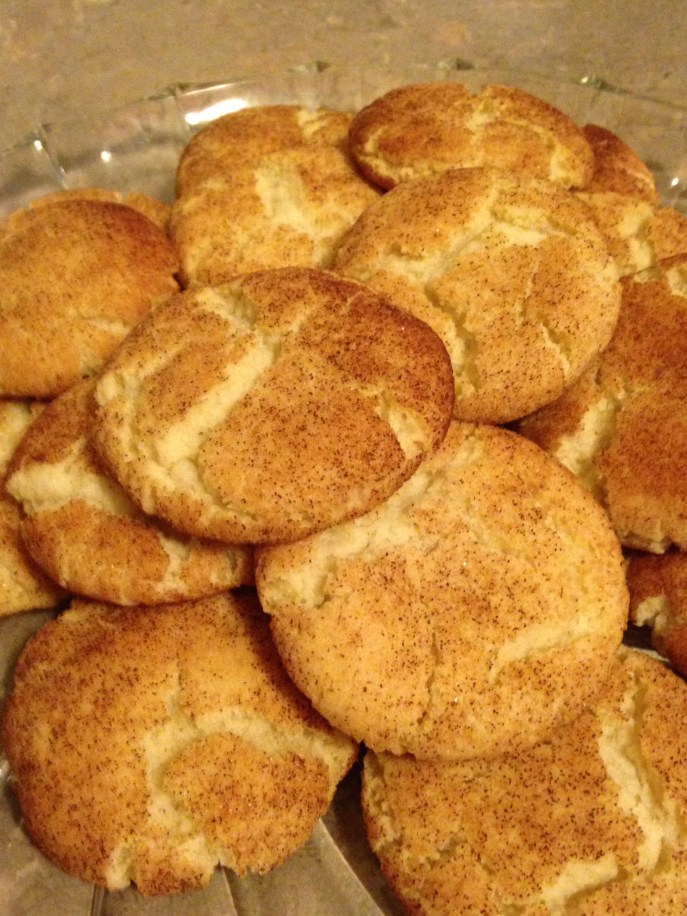
I rolled the dough in cinnamon and sugar and baked them at 400 for 10 minutes. When they came out, I put them on paper towels because I didn’t know where her wire rack was. Unlike all the rest of my cookies, this batch is just for one person.

Well, most of it.

IMG_4397

I hope the rest of these make it until she gets home.

IMG_4398

Trisha Yearwood’s Snickerdoodles

(from http://www.foodnetwork.com)

Ingredients

1/2 cup salted butter, softened
1/2 cup vegetable shortening
1 1/2 cups plus 2 tablespoons sugar
2 medium eggs
2 3/4 cups all-purpose flour
2 teaspoons cream of tartar
1 teaspoon baking soda
1/4 teaspoon fine salt
2 teaspoons ground cinnamon

Directions

Preheat the oven to 400 degrees F.

In a large bowl, combine the butter, shortening, 1 1/2 cups sugar and the eggs and mix thoroughly with an electric mixer on medium speed until creamy and well combined, 1 to 2 minutes. Sift together the flour, cream of tartar, baking soda and salt, and stir into the shortening mixture.

In a small bowl, stir together the remaining 2 tablespoons sugar with the cinnamon.

Shape the dough into 1 1/2-inch balls (1 tablespoon per ball), and roll each ball in the cinnamon-sugar. Arrange the dough balls 2 inches apart on ungreased cookie sheets. Bake two sheets at a time until the edges of the cookies are set but the centers are still soft, 8 to 10 minutes, rotating the sheets halfway through. Transfer the cookies to wire racks for cooling. Repeat with the remaining dough balls. Store in an airtight container.


December 10: White Velvet Cut-Outs

Standard

I started this recipe last night since it has to chill in the fridge for awhile. I don’t have picture of me mixing together the dough, since it’s pretty basic and I feel like you all have seen enough pictures of flour in my mixing bowl.

So this morning, I took out the dough and went to work. Now that I’m done with school for the semester, I theoretically have time to do cut-outs.

IMG_4354

Instead of my normal bell cookie cutter, I wanted to try something I saw on the internet–triangle trees, cut with just a pizza cutter.

IMG_4355

Worked out pretty well.

IMG_4356

I realized that isosceles triangles look better than equilateral, but since Mr. Harris (my high school geometry teacher) wasn’t here to yell at me about the difference, I just triangle-d in all different ways.

IMG_4357

I baked them as instructed, and went to work on the frosting. Now, online, the Christmas trees were in odd colors. Hey, I’m all about odd colors.

IMG_4363IMG_4360

I did my best to recreate what I saw on the internet. I mean, I could have brought it up, but that would have been no challenge at all.

IMG_4364

But when it came time to do the teal, it got a little messy. So I decided to just do some graffiti frosting drizzle at the end.

IMG_4365

Eh. They’ll do. 🙂

IMG_4368


White Velvet Cut Outs

(from Gooseberry Patch’s Old-Fashioned Christmas Cookies)

1 c. butter, softened                           1 egg yolk

3 oz. cream cheese, softened              1/2 t vanilla

1 c sugar                                          2 1/2 c flour

Cream butter and cream cheese together. Beat in sugar. Add egg yolk and vanilla, then stir in flour. Gather dough in a ball and chill overnight. To prepare, pre heat oven to 350. Rolll dough out to 3/16″ and cut into desired shapes. Bake for 12 minutes or until edges are light brown.

December 9: J-Dub’s Toffee Grahams

Standard

Because of last year’s phone/text tutorial to J-Dub (see here for a re-cap), I can’t not think of her with these cookies.

I have since re-named them in her honor.

You’re welcome, J-Dub.

IMG_3190

Me and J-Dub. I will pay dearly for this. It’s worth it.

These are what you can make when you have 30 minutes to make something homemade and need something you can’t really screw up.

(Also, the heart of why J-Dub now has these named in her honor.)

The first step in this recipe–at least in my house–is to fetch the dirty pot from the sink and wash it. (Shut it. You know it’s the first step at your house, too.)

IMG_4327

I put in the two sticks of butter and cup of brown sugar. Rocket science, I tell you.

IMG_4332

And–helpful hint–you can use the wrappers from the butter to grease your cookie sheet. I’m like Martha Stewart and Pinterest, all rolled up into one fabulous red-headed baker-slash-poet.

IMG_4328

And then there’s the not so secret ingredient:

IMG_4329

This recipe calls for 24 squares of graham crackers, which because of my Yankee grocery store, I never understood. The south has the monopoly on square graham crackers. (I’ve only seen rectangles in the past.)

IMG_4330

Line up the graham crackers wall-to-wall.

IMG_4331

And after the butter and sugar mixture has boiled for two minutes…

IMG_4333

…pour it on the graham crackers and spread it out…

IMG_4334

..and add pecans, then throw it in the oven for 10 minutes.

IMG_4338

Once it’s done and has cooled (this is cooling part is very important, unless you’d like to visit your dentist unexpectedly), cut into little strips.

IMG_4340

Easier than putting in a bakery order; slightly harder than pushing a cart through CostCo.

J-Dub’s Toffee Grahams

(from Gooseberry Patch’s Old Fashioned Country Cookies)

24 square graham crackers

2 sticks butter

1 c. brown sugar

1 c. chopped pecans

Preheat oven to 325. Arrange cracker squares on a lightly greased cookie sheet with edges around it. In a saucepan, bring the butter and sugar to a boil and boil for 2 minutes. Pour over crackers, covering them well. Sprinkle with nuts and bake for about 10 minutes. Cool slightly and cut into 24 squares or 48 “fingers.”

December 8: Peppermint Sugar Cookies with Cream Cheese Frosting

Standard

I bought some starlight mints the other day, and I’ve been itching to use them. (You’ll see why in a minute.)

I pinned these a few days ago because they looked pretty. But the instructions, as I discovered, are written by pretentious cookie snobs who want to make sure you are doing everything exactly right. Dear Control Freaks: You can’t control everything.

IMG_4291

This is my butter/crisco/sugar mix. According the instructions, this is supposed to be pale and fluffy.  (“In the bowl of an electric stand mixer, on medium speed, whip together butter, shortening and sugar until very pale and fluffy, about 4 minutes, scrapping down the sides of the bowl as needed.”) Um, it’s crisco and butter and sugar. Unless I’m sacrificing a goat in there, it’s going to be pale and fluffy no matter what. (Also? You spelled “scraping” wrong.)

I added the rest of my ingredients and then was met with this bossy instruction:

“Transfer dough to an airtight container and refrigerate 2 hours. Preheat oven to 375 during the last 10 minutes of refrigeration.”

Don’t tell me what to do.

IMG_4292

My mixer bowl and plastic wrap worked just fine, thank you.

When my chilling time was done, I scooped three balls into my hand with my 1T scoop because it calls for 3T. Math.

IMG_4293

And then…”Place dough ball on a lightly floured surface, sprinkle top lightly with flour, then using something flat and smooth (such as the storage container lid), press and evenly flatten dough to 1/2″ thick. Transfer flattened dough to a Silpat or parchment paper lined baking sheet and repeat process with remaining dough (you’ll have to use 2 cookie sheets).”

I have time and inclination for none of this.

IMG_4294

Worked just fine.

While my slummed-down cookies were baking, I mixed together the frosting.

IMG_4295

And I don’t care who you are: powdered sugar is going to get you.

IMG_4297

After all of this, my starlight mints were waiting.

IMG_4298

Hang on.

IMG_4299

That’s better.

Yes, I smash them to smithereens while in the wrappers and still in the bag. I find it controls the carnage better. And then you just unwrapped the wrappers and fill your bowl with mint bits.

IMG_4300

It’s such a good stress reliever.

IMG_4301

Cookies cooled and frosted, and decorated with the fruits of my labor.

IMG_4304

Peppermint Sugar Cookies with Cream Cheese Frosting

Prep Time: 25 minutes

Cook Time: 11 minutes

Yield: 15 bakery size cookies

Ingredients

    • 2 1/2 cups cake flour, plus more for dusting work surface
    • 2 tsp cornstarch
    • 1 1/2 tsp baking powder
    • 1/2 tsp salt
    • 1/2 cup unsalted butter, at room temperature
    • 1/4 cup all vegetable shortening (unflavored), at room temperature
    • 1 cup granulated sugar
    • 1 large egg
    • 1 large egg white
    • 2 tsp vanilla extract
    • 1/2 tsp peppermint extract
    • Crushed candy canes, for topping
Peppermint Cream Cheese Frosting
  • 4 oz cream cheese, softened
  • 4 Tbsp unsalted butter
  • 1/2 tsp peppermint extract
  • 2 1/2 cups powdered sugar

Directions

  • Sift flour, cornstarch, baking powder and salt into a large bowl, then whisk it just a few times, set aside. In the bowl of an electric stand mixer, on medium speed, whip together butter, shortening and sugar until very pale and fluffy, about 4 minutes, scrapping down the sides of the bowl as needed. Add in egg and mix until combine, then add egg white, vanilla and peppermint extract and mix until combine. With mixer running, slowly add in dry ingredients and mix just until combine. Transfer dough to an airtight container and refrigerate 2 hours. Preheat oven to 375 during the last 10 minutes of refrigeration.
  • Scoop dough out about 3 Tbsp at a time and roll into a ball. Place dough ball on a lightly floured surface, sprinkle top lightly with flour, then using something flat and smooth (such as the storage container lid), press and evenly flatten dough to 1/2″ thick. Transfer flattened dough to a Silpat or parchment paper lined baking sheet and repeat process with remaining dough (you’ll have to use 2 cookie sheets). Bake in preheated oven 9 – 11 minutes. Allow to cool 5 minutes on baking sheet before transferring to a wire rack to cool. Cool completely then frost with Cream Cheese Frosting and sprinkle with crushed candy canes.
  • For the frosting:
  • In the bowl of an electric stand mixer fitted with the paddle attachment, whip together cream cheese and butter until pale and fluffy. Add peppermint extract and powdered sugar and mix until pale and fluffy.

December 7: White Chocolate Dipped Ginger Cookies

Standard

I finally broke down today and bought molasses.

I know I didn’t let you in on this personal journey of mine, but let me assure you, it was difficult. Molasses is one of those things that stays in my fridge for 11.5 months of the year; it’s a main ingredient in many gingerbread-esque cookies. But every year, I take my old bottle out, bang it on the counter and swear at it until it starts flowing, and then realize I don’t have enough for what I want to do and have to buy a new, non-refridgerated bottle anyway.

We didn’t bring any molasses with us from Wisconsin, so this little tradition of mine was skipped this year, and I knew it would be it. Honestly, it wasn’t the same buying the bottle of molasses without the epic battle beforehand.

So to turn this bittersweet moment into a celebration, I decided to make a recipe that called for molasses. Thanks for this one, Pinterest.

I started the recipe with butter, sugar, and brown sugar, and mixed it up in Ol’ Trusty.

IMG_4274

And the measuring of the molasses went smoothly. Thanks for asking; I know you were thinking of me. I hunted high and low for my liquid measuring cup because that’s about the only thing I was ever marked down for in Mrs. Nardini’s 7th grade cooking class. Lessons of a lifetime.

IMG_4275

In went the rest of the ingredients. I saran-wrapped it and put it in the fridge.

IMG_4276

An hour later, I took it out and formed my cookies. My cookie shaper is about 1 T, and these were to be about 1 1/2 T sized, so I made them with 1 1/2 scoops. I rolled them in sugar and pressed them with a glass. (After they were on the cookie sheet of course; it’s hard to do it in mid-air.)

IMG_4278

IMG_4279

While they were baking, I mixed up my white chocolate dip. This recipe calls for 3 cups of white chocolate. Yeah. That was never going to happen. Whatever is in a bag of chocolate chips was the amount I used, with about a T of coconut oil. Microwaved the chocolate responsibly until it was melted.

IMG_4281

When the cookies came out of the oven (looking good, btw), I cooled them and then the real decisions were made.

I wasn’t going to mix up royal icing just to make a little holly berry on each cookie. I mean, the pictures on Pinterest are beautiful, but I’m still wrestling with that paper from yesterday (about halfway done) and needed to opt for sprinkles instead. The question was: which ones?

IMG_4283

I have a slight sprinkle problem. And colored sugar problem. And jimmie problem. Basically, if it can decorate the top of a cupcake, I’m into it and have the collection to prove it.

After three trial runs, there was a clear winner.

IMG_4284

Thank you, Bekah Kate’s in Baraboo, Wis. for stocking this stellar gold sprinkle last year, just for these cookies.

IMG_4285

White Chocolate Dipped Ginger Cookies

(from http://www.cookingclassy.com)

Ingredients

  • 2 1/4 cups all-purpose flour
  • 1 tsp baking soda
  • 1/2 tsp salt
  • 2 tsp ground ginger
  • 1 tsp ground cinnamon
  • 1/4 tsp ground cloves
  • 1/4 tsp ground nutmeg
  • 3/4 cup unsalted butter, softened
  • 1/2 cup + 3 Tbsp granulated sugar, divided
  • 1/2 cup packed light-brown sugar
  • 1 large egg
  • 1/4 cup molasses
  • 2 tsp vanilla extract
  • 3 cups white chocolate chips
  • 3 Tbsp shortening
  • sprinkles

Directions:

  • In a mixing bowl whisk together flour, baking soda, salt, ginger, cinnamon, cloves and nutmeg for 20 seconds, set aside.
  • In the bowl of an electric stand mixer fitted with the paddle attachment, cream together butter, 1/2 cup granulated sugar and brown sugar until well blended. Mix in egg, then blend in molasses and vanilla. With mixer set on low speed, slowly add in dry ingredients and mix until combined. Cover bowl with plastic wrap and chill 1 hour. Preheat oven to 350 degrees during last 10 minutes of chilling.
  • Scoop dough out about 1 1/2 Tbsp at a time, shape into balls then roll in remaining 3 Tbsp granulated sugar. Transfer to Silpat or parchment paper lined baking sheets, spacing cookies 2 inches apart (keep dough chilled that is not currently baking), flatten tops just slightly (to evenly level). Bake in preheated oven 8 – 10 minutes. Cool on baking sheet several minutes then transfer to a wire rack to cool completely.
  • In a microwave safe bowl, melt 1 cup white chocolate chips with 1 Tbsp shortening at a time in microwave on HIGH power in 10 second intervals, stirring between intervals, until melted, smooth and fairly runny (I did batches of it because it will cool as your dipping, plus its easy to burn so you don’t want to work with too much of it at a time. Then once you’ve used it up melt more, you may not need all 3 cups). Dip half of each cookie in melted white chocolate mixture then run bottom of cookie slightly along edge of bowl to remove excess, then return to Silpat or parchment paper to set at room temperature.
  • Sprinkle sprinkles on top, after the long journey to decide which ones to use


December 6: Chocolate Crinkle Cookies

Standard

So, we’re at the end of the weekend now. Generally, by the end of the first weekend of December, I have at least one frosted cookie in the bunch.

But now I’m a grad student. I don’t have time to frost any cookies (nor make any cookies that take hours) until I finish my last assignment for the semester. It’s due Tuesday, and I wrote my first paragraph and thesis statement last night. I want to hammer out the rest today and be done with it.

Here’s my desk:IMG_4251

And during the downtime of baking, here’s my make-shift work space:

IMG_4252

Yes, that’s the table my cat’s eat on. I hope they like reading academic journals.

(Oh, the working title of my last paper is: “Constricting Ideals of Femininity Lead to Feminism in Margaret Mitchell’s Gone with the Wind,” but I toyed with the idea of comparing Scarlett O’Hara to Regina George. My friend Andrew talked me out of this, saying he didn’t think Mean Girls was academic enough. He’s probably right. But, come on, wouldn’t that have been a rad paper?!)

(Aren’t you glad you asked?)

Also, I keep hearing this speech in my head as I bake and research:

I left a stick of butter out to soften and when it was ready, I combined it with my brown sugar and eggs. And then the piece de resistance:

IMG_4254

Combined the rest of my ingredients and rolled little balls of chocolate goodness into powdered sugar.

IMG_4255

Then I placed them on to a cookie sheet and into my oven.

IMG_4256

If T.S. Eliot measured out his life in coffee spoons, then I supposed I measure mine in minutes on the oven timer.

IMG_4257

(While I waited between batches, my yellow magic marker and I tackled the JSTOR reading.)

Chocolate crinkles completed, I am now back at my desk, determined to crank out several pages of brilliance.

IMG_4259

Chocolate Crinkle Cookies

(from http://www.somethingswanky.com)

INGREDIENTS:


  • 1/2 cup (1 stick) unsalted butter, at room temperature
  • 1 cup light brown sugar
  • 2 large eggs
  • 1 1/4 cups all-purpose flour
  • 3/4 cup unsweetened cocoa powder
  • 1 1/2 teaspoons baking powder
  • 1/4 teaspoon salt
  • 1/2 cup confectioners’ sugar

DIRECTIONS:

Preheat oven to 350ºF. Prepare a baking sheet by lining it with paper or a silicone baking mat.

Cream together the butter and brown sugar until light and fluffy. Mix in the eggs.

Add the flour, cocoa powder, baking powder, and salt. Mix just until soft dough forms.

Scoop by rounded tablespoons and roll each ball in the powdered sugar, evenly coating each one.

Bake until cookies are set and the tops cracked, about 13 minutes. Transfer to a wire rack to cool completely.

Store in an airtight container at room temperature for 3-4 days.

December 5: Frosted Rum Mounds

Standard

*Note: I forgot the official name of these and was about to write down “Rum Piles.”

In honor of the super awesome retro Christmas party I’m missing tonight (darn 1200 miles), I made a retro cookie from a retro book, given to me by my retro friend, Christina.

IMG_0598

So classy!

Let’s travel back in time to 1960, where smoking is still chic and healthy, the outfits are classy, and the world spelled cookie as “cooky.”

IMG_0599

It’s a pretty straight forward sugar cookie recipe. When it came time to flatten my balls (real mature, guys), I was out of my 1960 jelly jars, so I had to improvise.

IMG_4234

Turned out pretty well in the oven, so I got started on the frosting. I had to go to my favorite part of the pantry.

IMG_4238

You’re supposed to throw some nuts on top at the end, but I didn’t have any, so I used the flashiest, most carcinogen-laden sprinkles I could find. Because, if Mad Men taught me anything, it’s that the cancer doesn’t matter, as long as you look good. (I’m looking at you, Betty.)

IMG_4241

(Also good to note: eh, not my favorite. Like many things from 1960, tastes have changed.)

IMG_4232


December 4: Italian Sand Cookies

Standard

Back by popular demand!

(That would be *my* popular demand.)

I found these last year, and they were one of my favorites. They reminded me of going to any number of bakeries over the years and the kinds of cookies that were nestled in the top rack.

(I do fancy myself a bakery connoisseur. Go ahead and judge.)

Once I mixed up the recipe in Ol’ Trusty (who’s motor may be sputtering out…I have to look into Kitchen Aid’s warranty), I filled my pastry bag with the dough.

IMG_4220

Now, if you’ve never filled a pastry bag, let me let you in inn a little secret: a tall glass is your friend.

I piped the dough on cookie sheets.

IMG_4221

They spread out more than I may have wanted. I was a little worried, until I tasted them. Oh yes. This is the stuff.

IMG_4222

I melted half a bag of chocolate chips with a tablespoon of coconut oil and dipped the cookie in it, then into a big container of sprinkles.

IMG_4223IMG_4224IMG_4225

And life was good.

IMG_4226

SAND COOKIES

(from www.cheftessbakeresse.com)

1 1/2 cups flour (we used AP)
1/2 cup cornstarch
1/2 cup shortening
1/2 cup butter
1 1/4 cups confectioners sugar *
1 1/2 t. vanilla extract
2 eggs
*(we also liked 3/4 c. conf sugar & 1/4 c. granulated which made them a slight bit sweeter)

Creaming method. Put through bag with large star tip. Bake @ 375 F for 12-15 minutes or until lightly brown. Decorate with choc chips, sprinkles or leave plain and dip half in melted choc., etc.

December 3: Buttery Jam Thumbprint Cookies

Standard

Still on my quest to not go to the grocery store, I found another recipe that requires no eggs.

Helpful hint: when a recipe says to use preserves, use preserves. After I mixed my dough, rolled it into balls, and pressed my finger into said balls, I took inventory of what I had to work with for filling.IMG_4196IMG_4197IMG_4198

It was red currant jelly, lemon curd, and strawberry preserves. I wanted to be “fancy” so I made some with the red currant jelly and a few with the lemon curd. I wanted to make sure the lemon curd would work and didn’t want to waste the cookies. Or the curd. Lemon curd is one of the things I’d bring with me on a dessert island

IMG_4200

It started looking good.

IMG_4199

And then, it looked like a murder scene.

IMG_4202

Turns out, the jelly wasn’t thick enough and ran all over the cookie sheet. But the lemon curd? Turned out amazingly.

The strawberry preserves held up well. So let that be a lesson to all of you: always preserve if it’s going into the oven.

IMG_4199IMG_4207

Buttery Jam Thumbprint Cookies

(from http://www.chewoutloud.com)

INGREDIENTS
  • 1 cup salted butter, softened
  • ½ cup confectioners’ (powdered) sugar, plus ¼ cup more for dusting
  • 2 teaspoons pure vanilla extract
  • ¼ tsp table salt
  • 2 cups all purpose flour
  • ½ cup fruit preserves
DIRECTIONS
  1. Preheat oven to 325°F. Line a baking sheet with parchment paper.
  2. In the bowl of a stand mixer fitted with paddle attachment, blend butter and sugar until fluffy and light, 2 minutes. Add vanilla and salt, scraping down bowl as needed. Switch to low and gently mix in flour, just until combined. Don’t over mix.
  3. Roll tablespoonfuls of dough into 1-inch balls. Place dough balls on parchment lined baking sheets. Press down the center of each ball with a spoon (or your thumb!) making a slight depression.
  4. Fill cookie centers with a teaspoonful of preserves. Bake 12-15 minutes or until golden brown and puffy, but take care not to overbake. Let cool a few minutes on baking sheet, then transfer to finish cooling on wire rack.
  5. When cookies are completely cooled, dust with confectioners’ sugar. Cookies can be kept in airtight container at room temp for a few days.