Sometimes, it’s 11:30 at night and you’ve accidentally had a bottle of red wine. And sometimes, you decide to create your own recipe at that time (and condition). And sometimes, it actually turns out.
That’s how these cookies were born.
(Sometimes, you want to call them Midnight Cookie and dye the batter black, and wake up and decide that perhaps that was one red wine-fueled decision too far. Hey, you can’t win them all.)
Luxardo Cookies
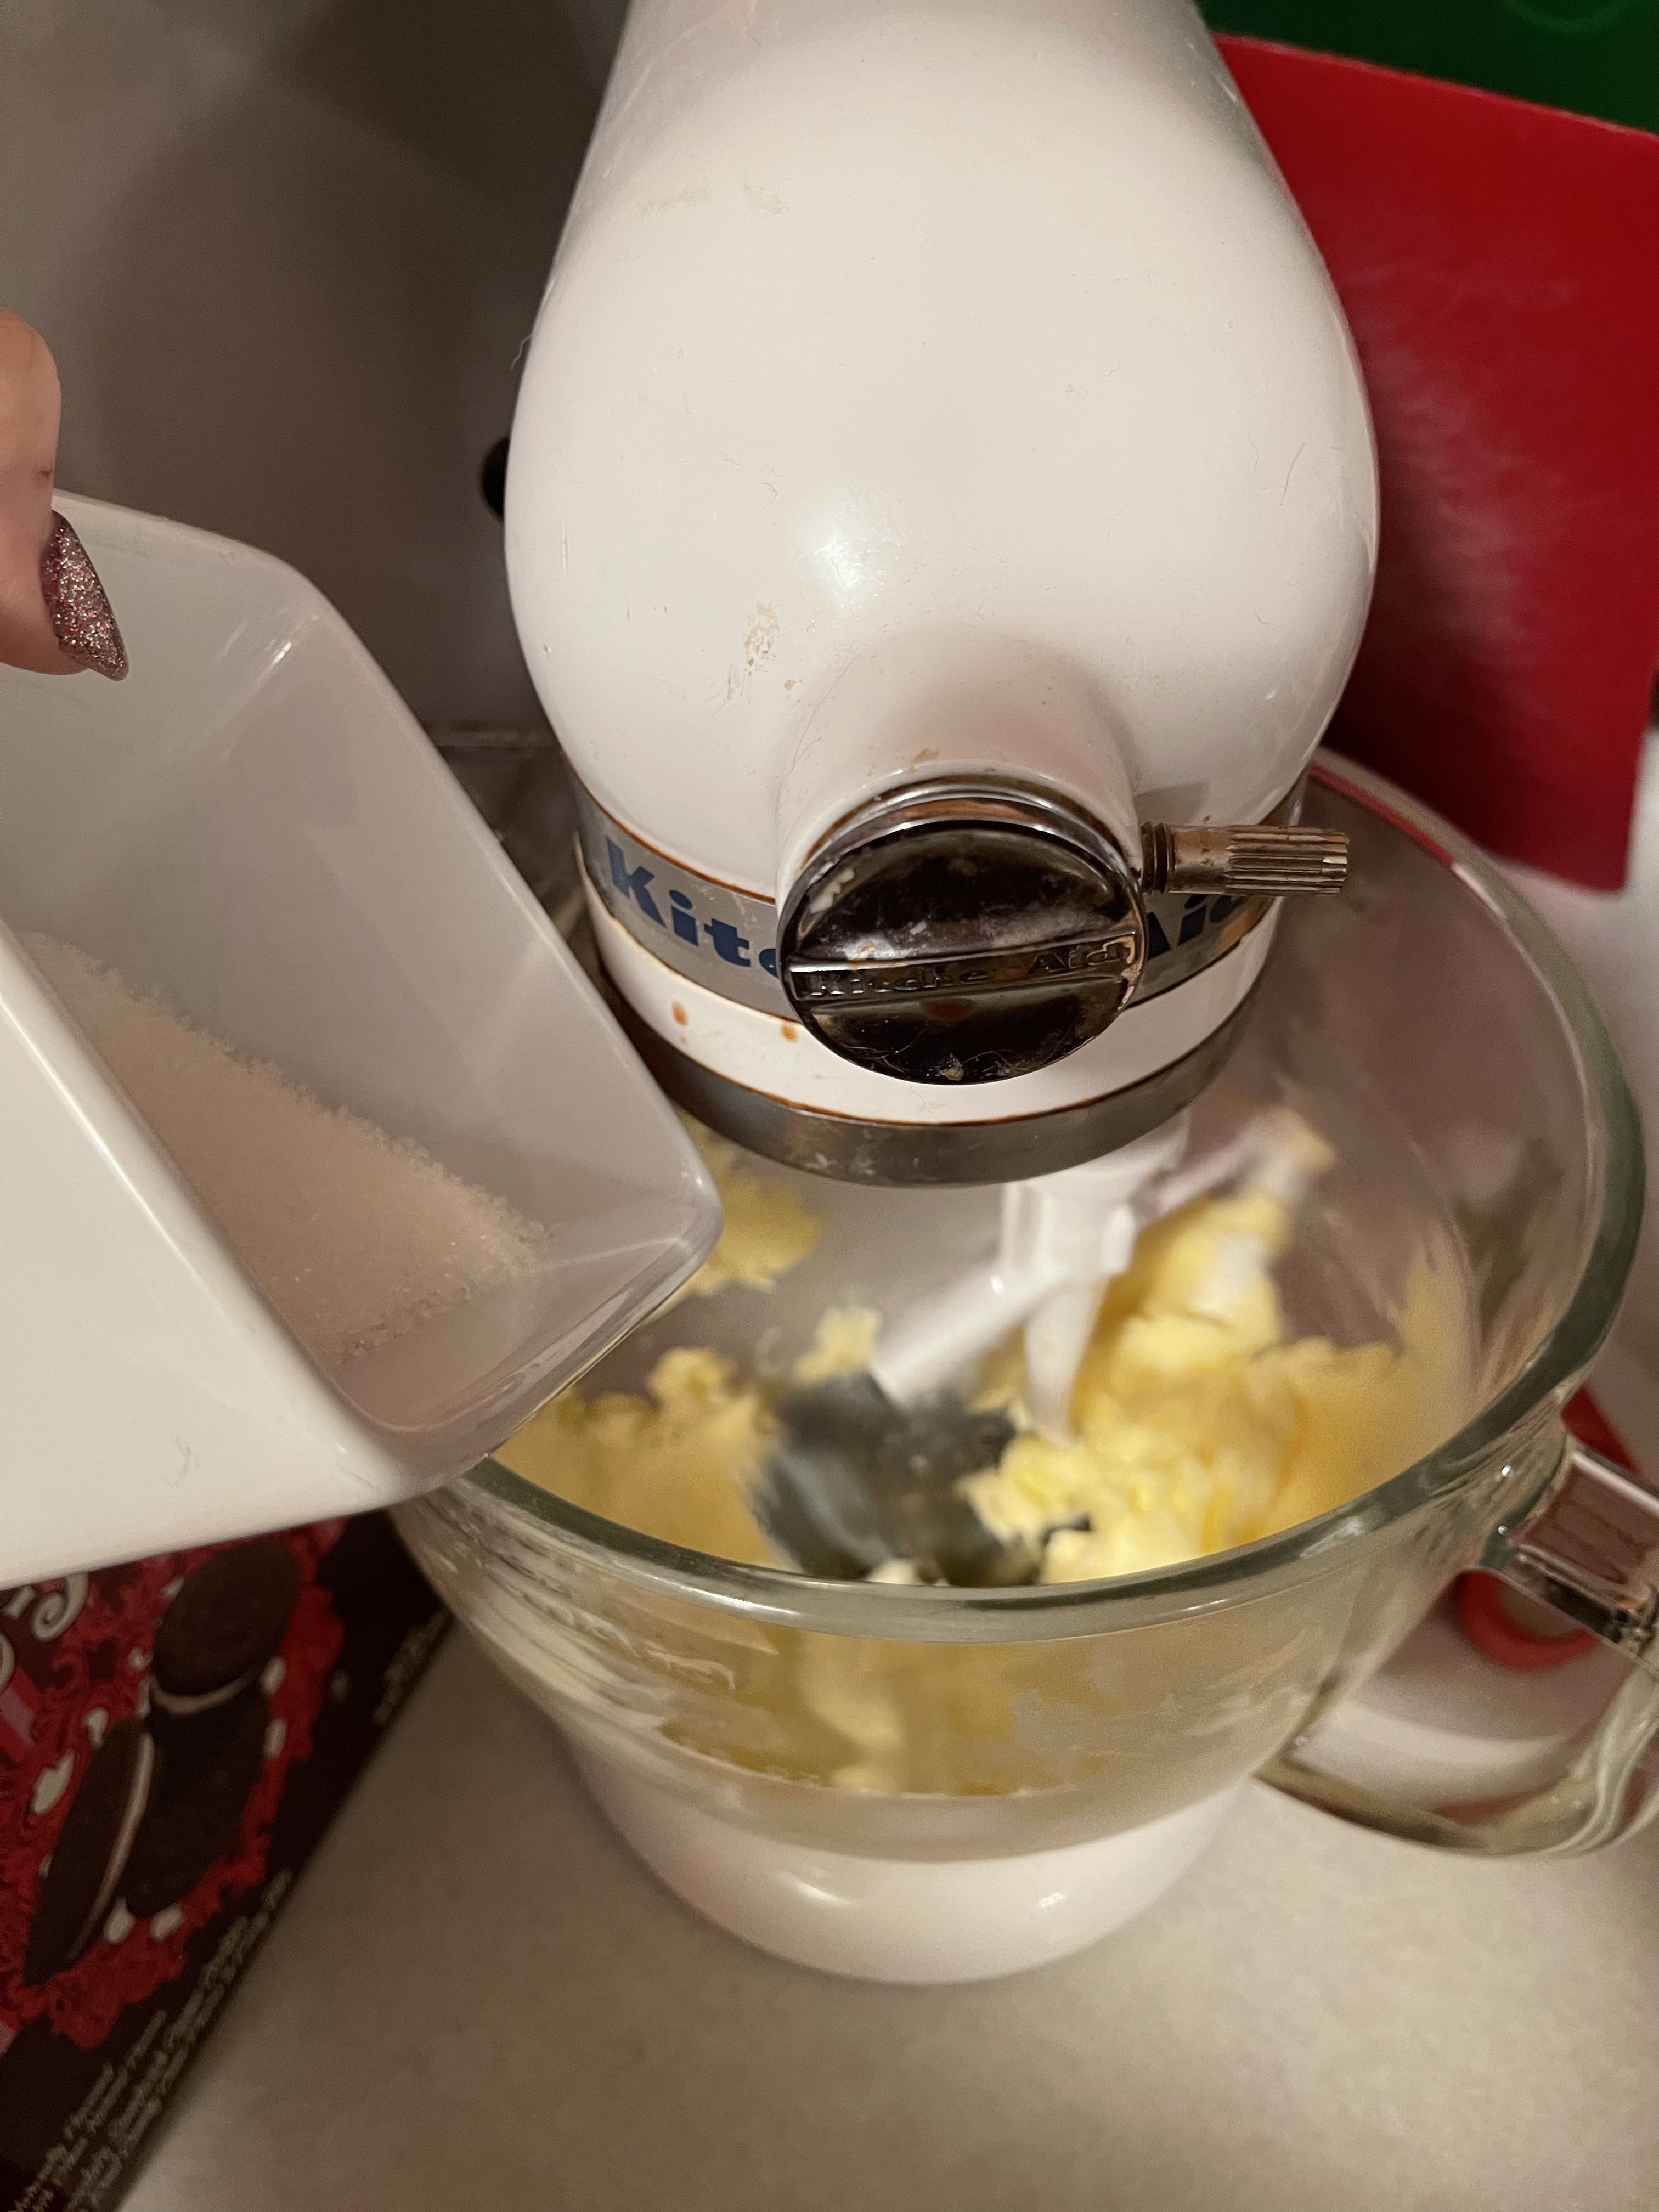
- 1 c. butter
- 1 1/2 c. sugar
- 6 egg yolks
- 1 t. cherry extract
- 1/2 t. almond extract
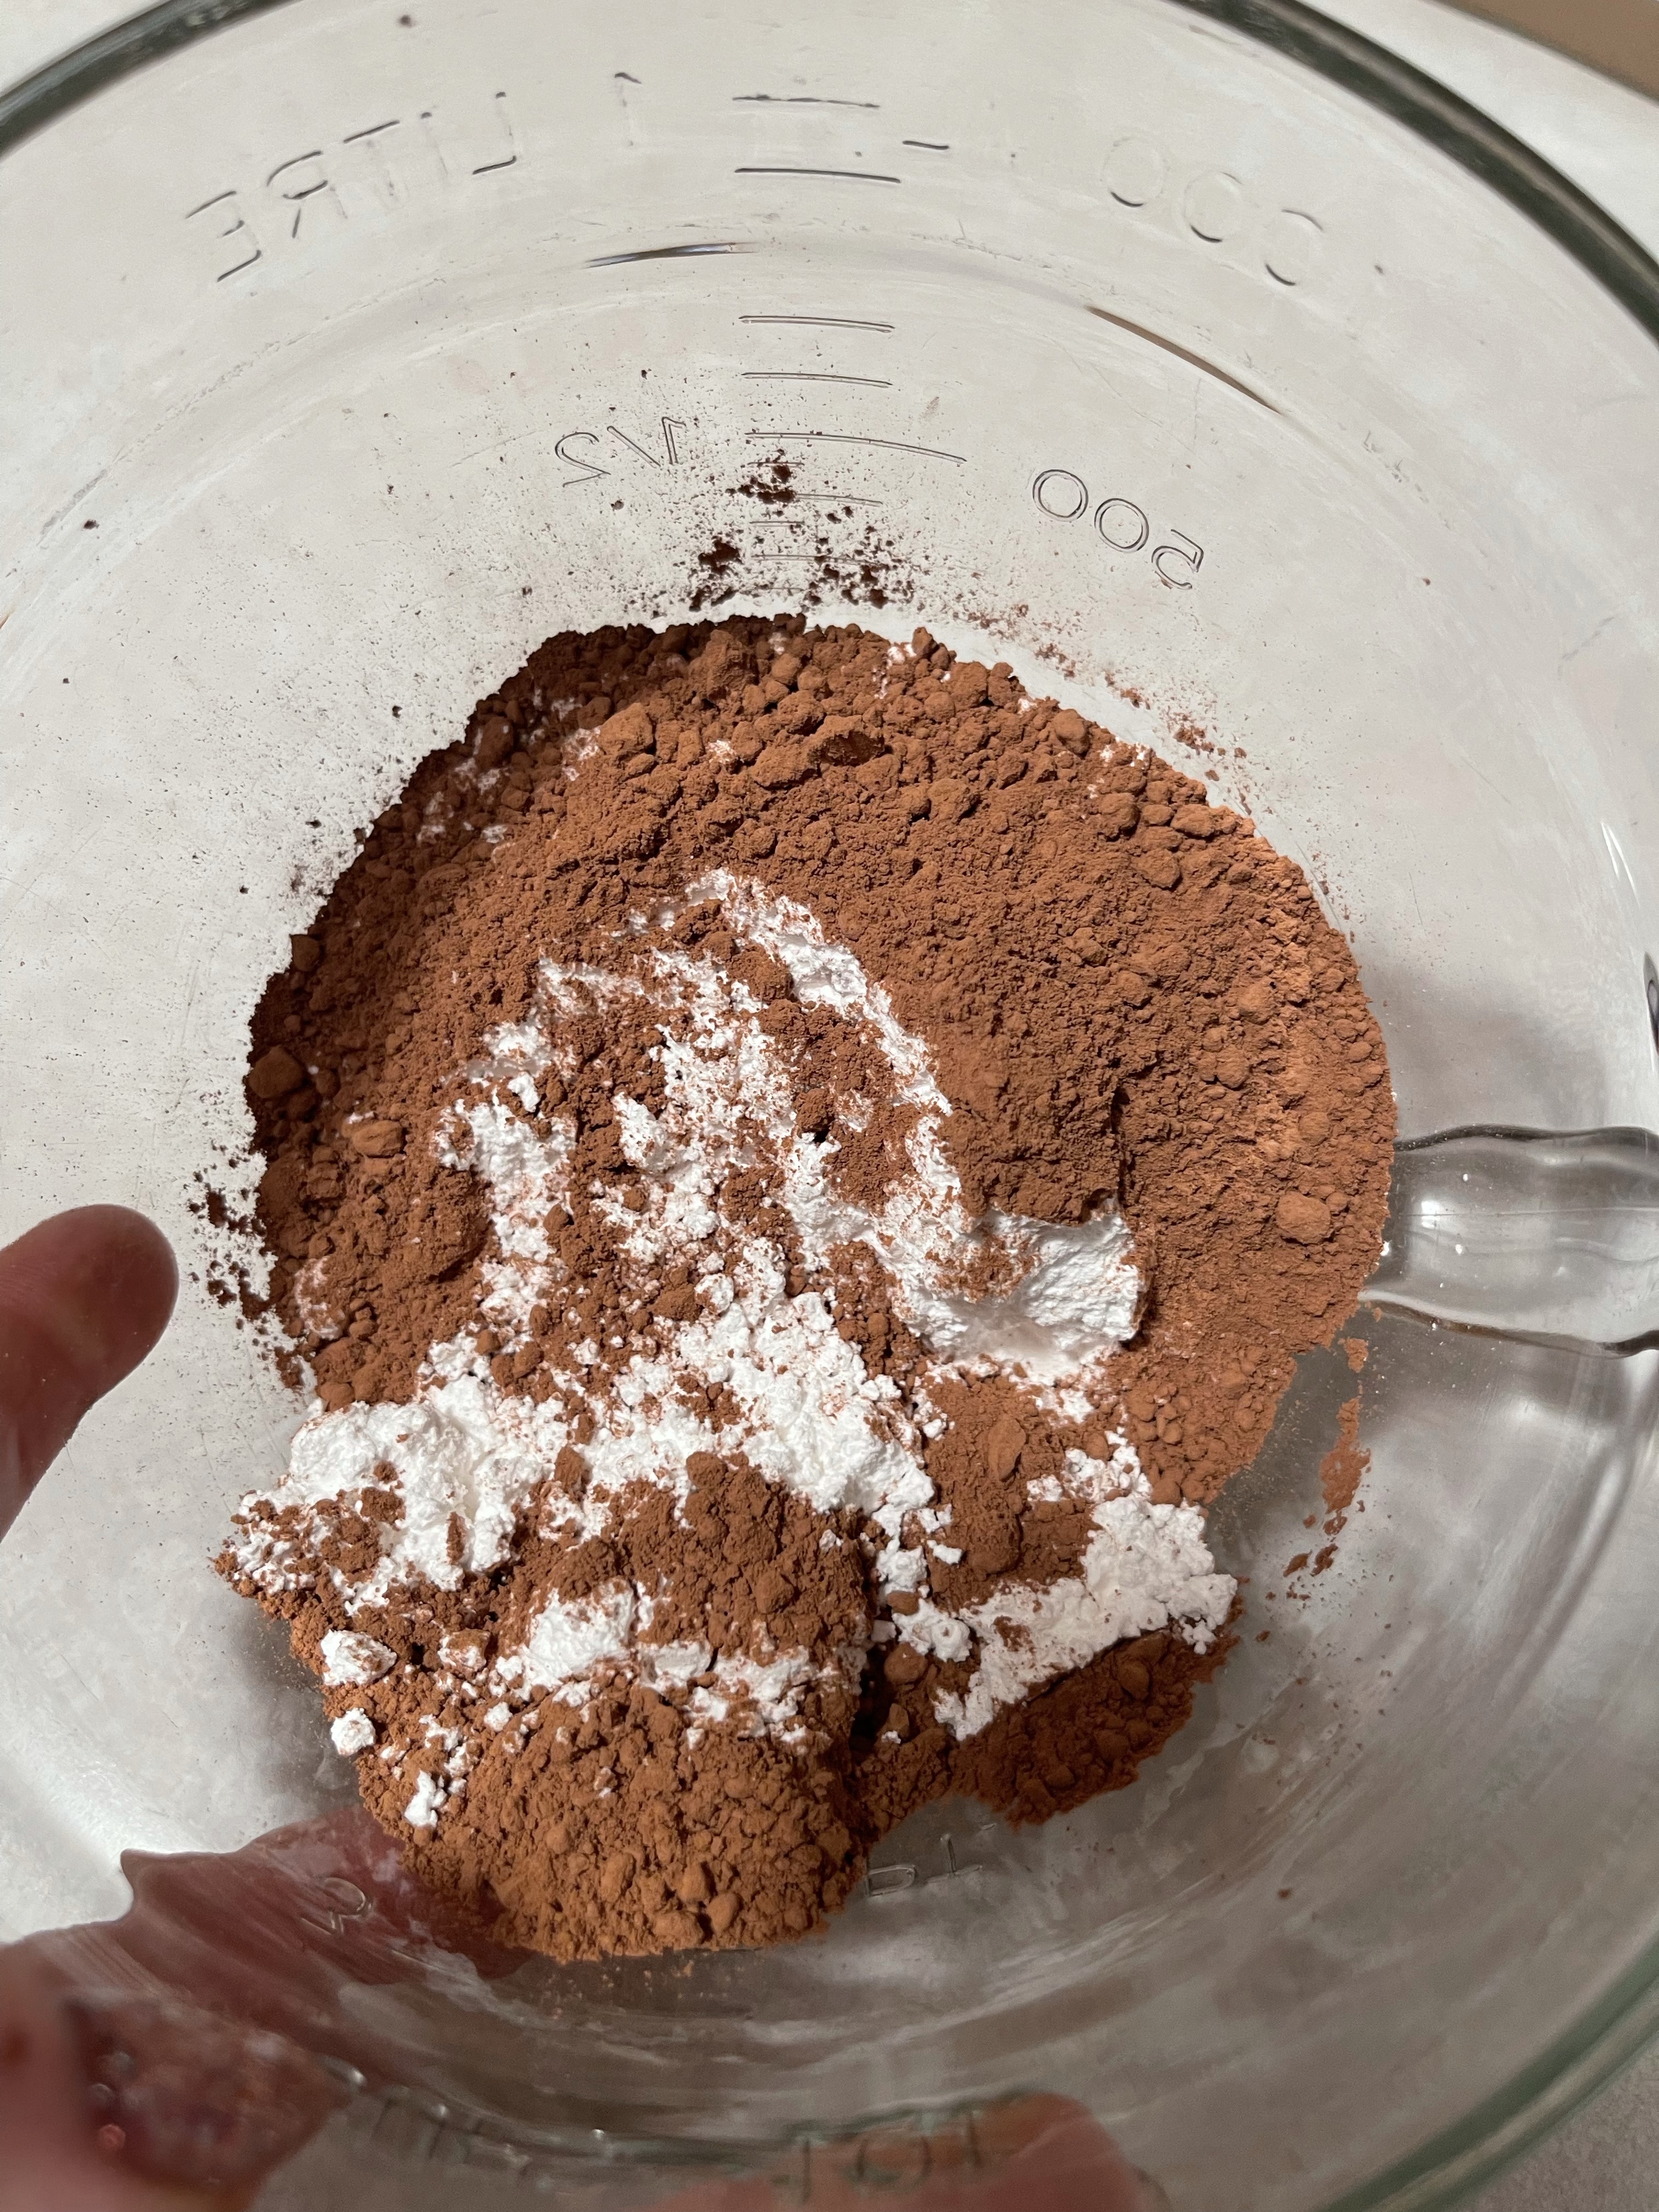
- 1 t. baking soda
- 1 t. cream of tartar
- 2 1/2 c. all purpose flour
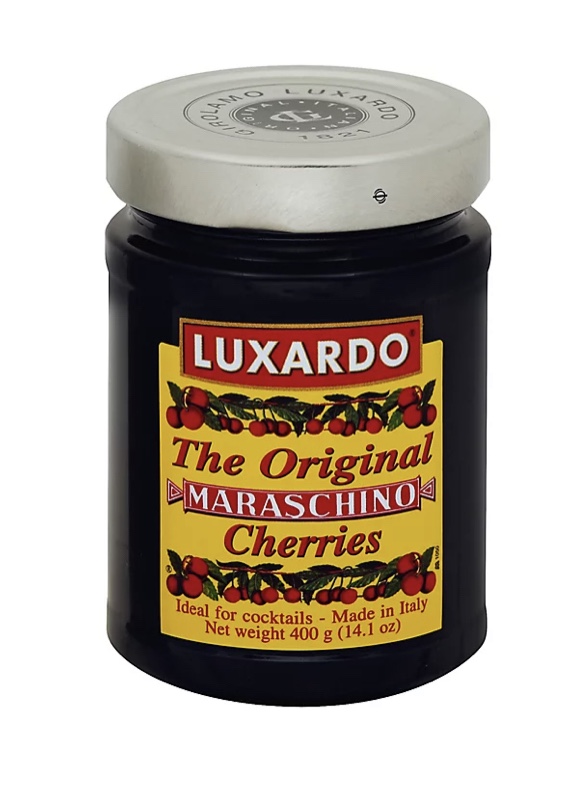
- 1 T. Luxardo cherry syrup (what the cherries are in)
- 20 or so Luxardo cherries.
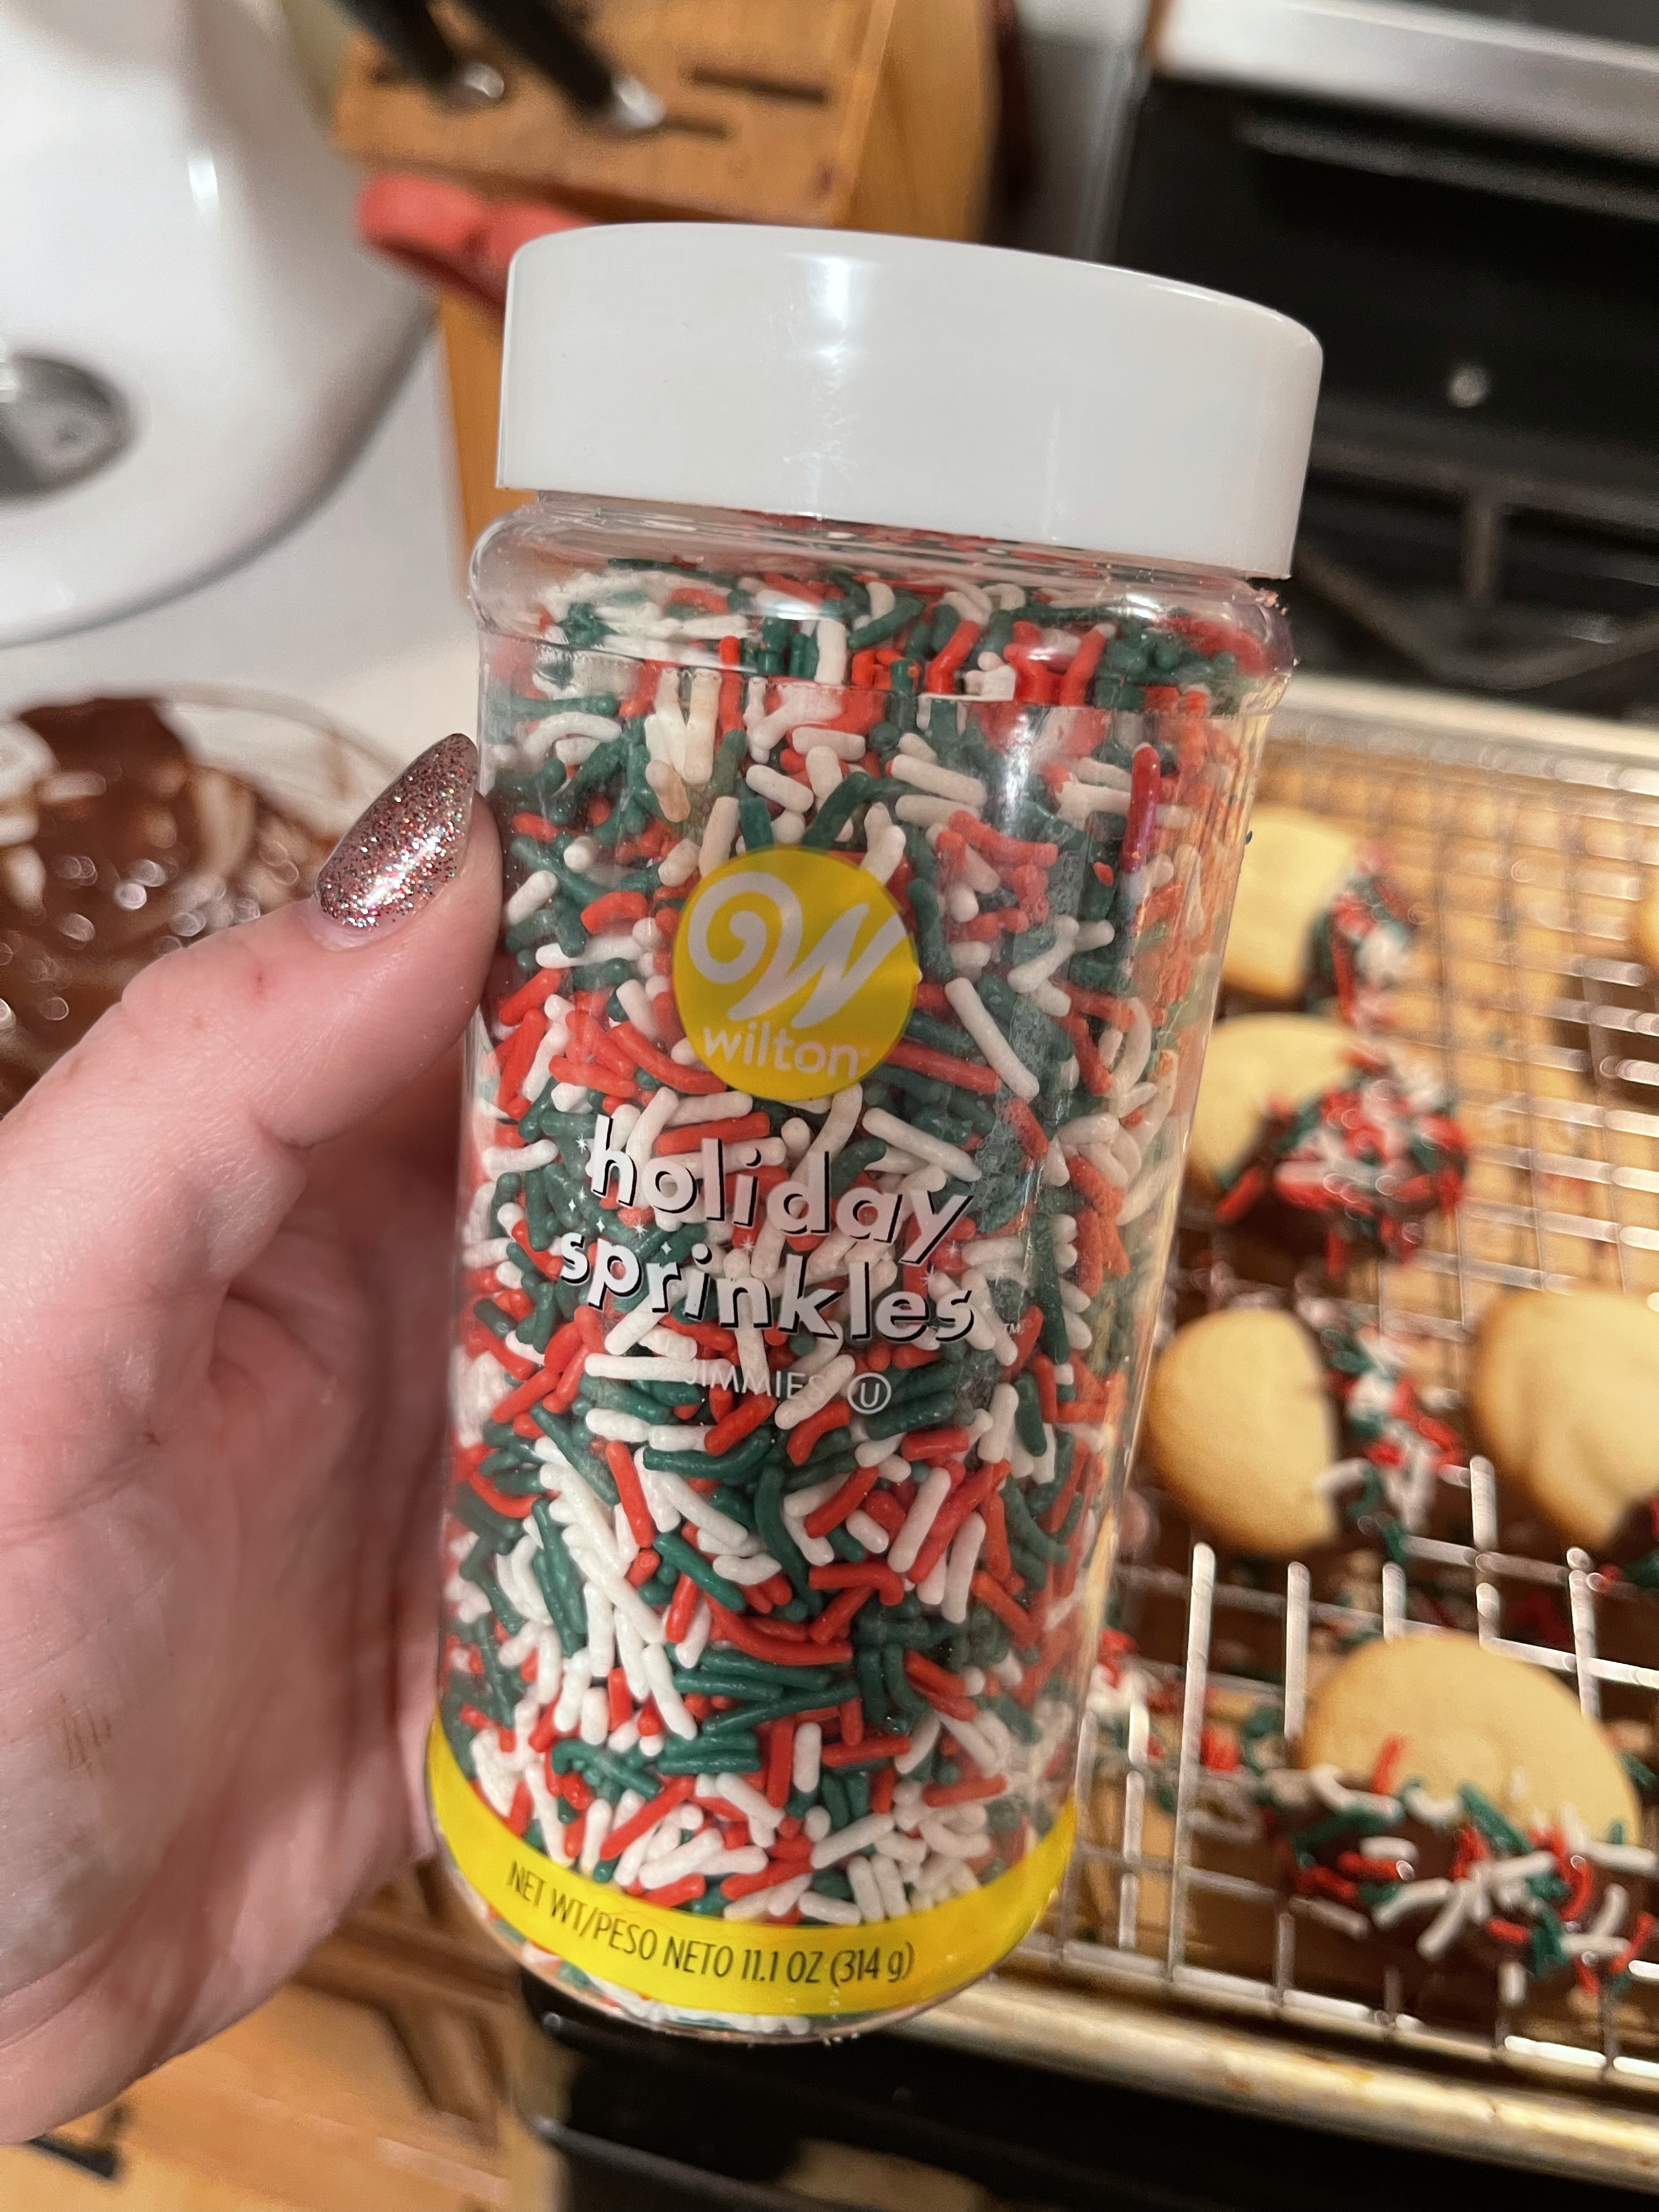
- Gold sprinkles
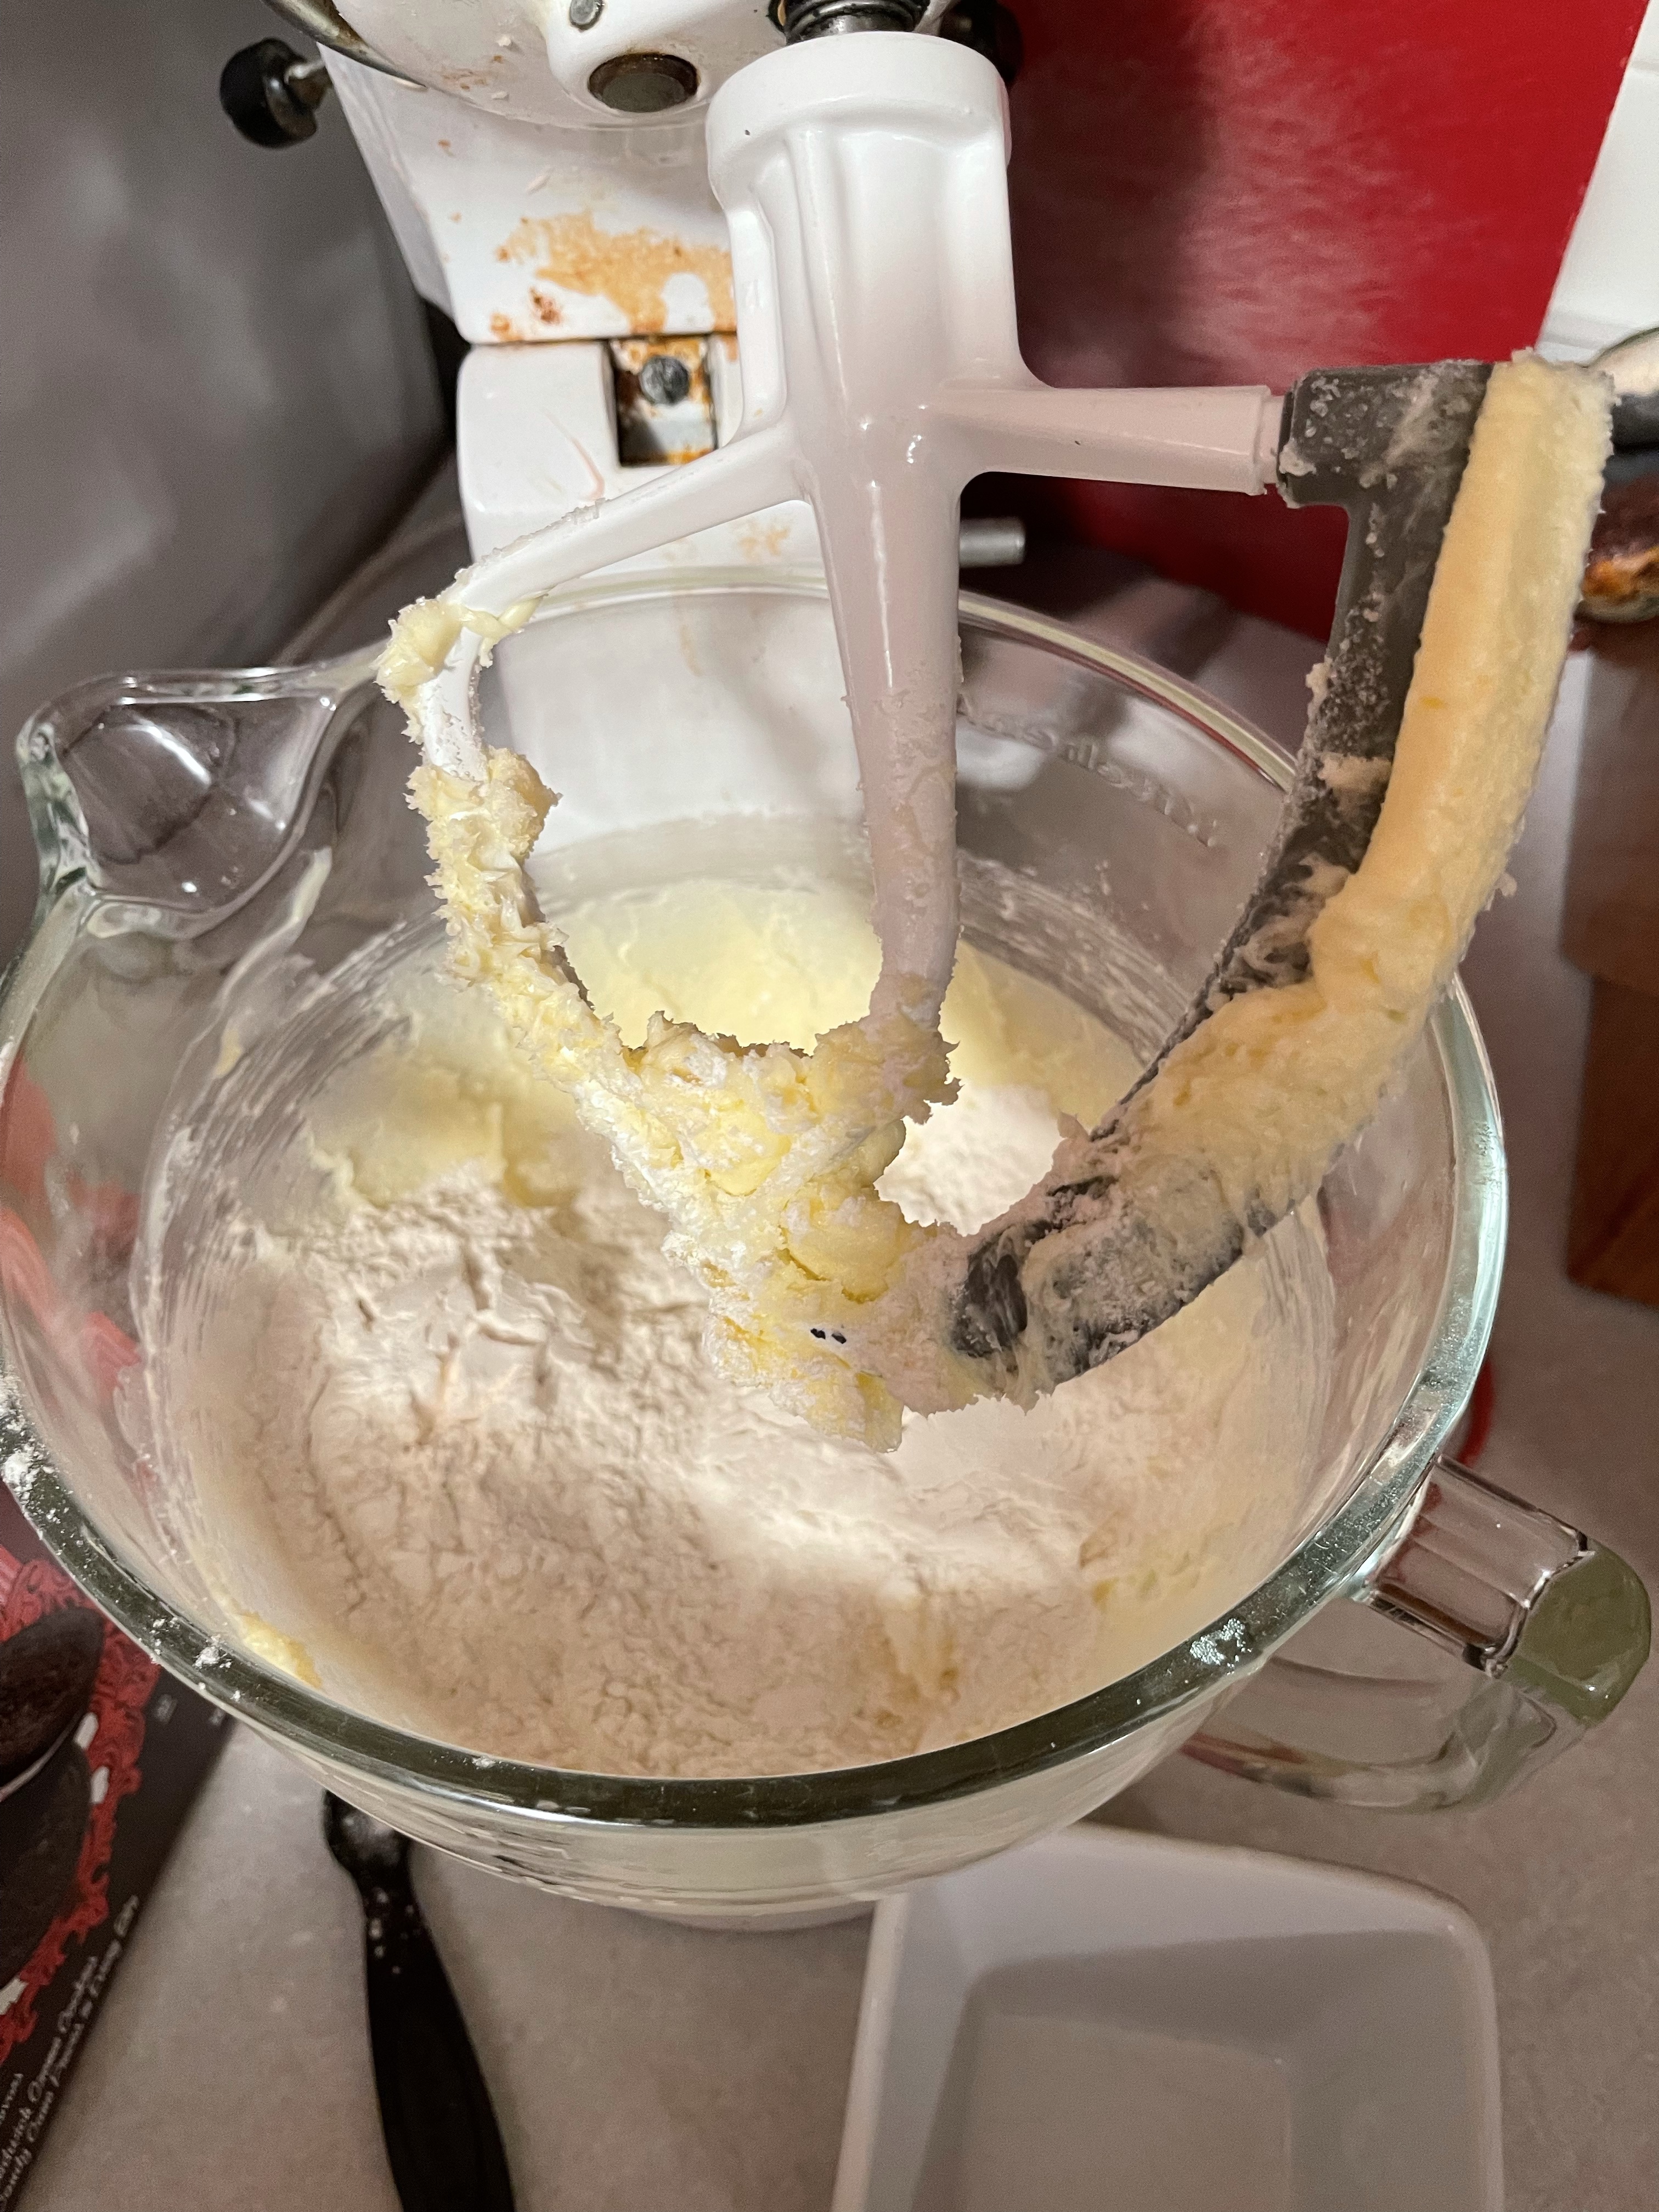
- Cream butter and sugar together; add egg yolks.
- Add cherry and almond extracts, as well as baking soda and cream of tartar
- Mix together.
- Add flour a little at a time and mix after each addition.
- Add the tablespoon of Luxardo cherry syrup.
- Mix one last time.
- Refrigerate for at least an hour.
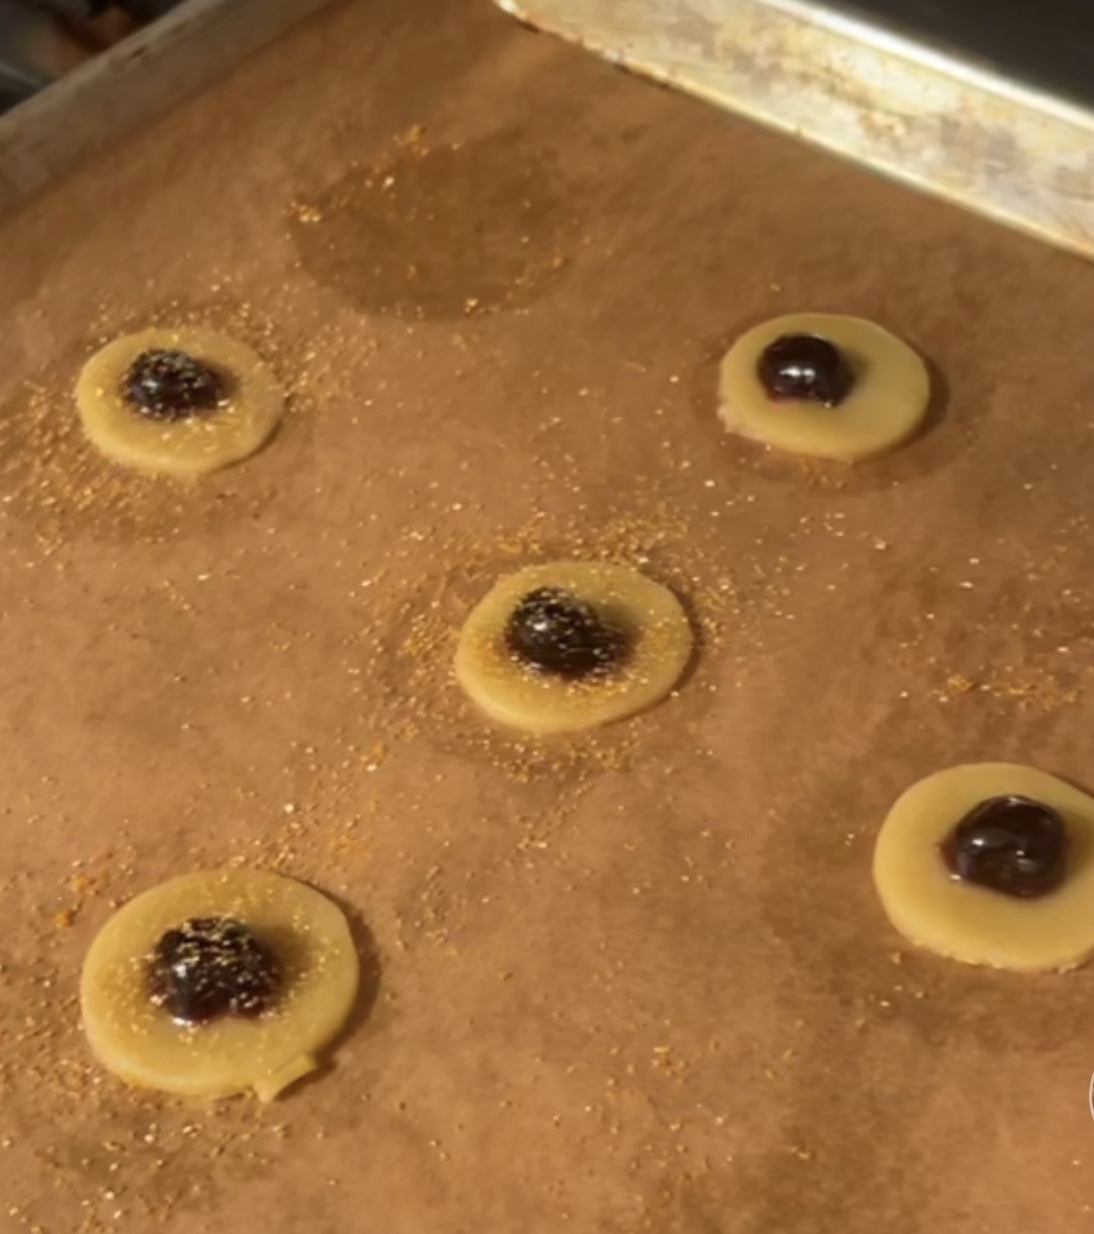
- Roll out and cut 1-2″ circles. (I used a cocktail jigger as my cookie cutter!)
- Cut Luxardo cherries in half.
- Top each cookie disk with half of a Luxardo cherry; top with gold sprinkles.
- Bake at 350 for 8-10 minutes until cookies are a golden color.
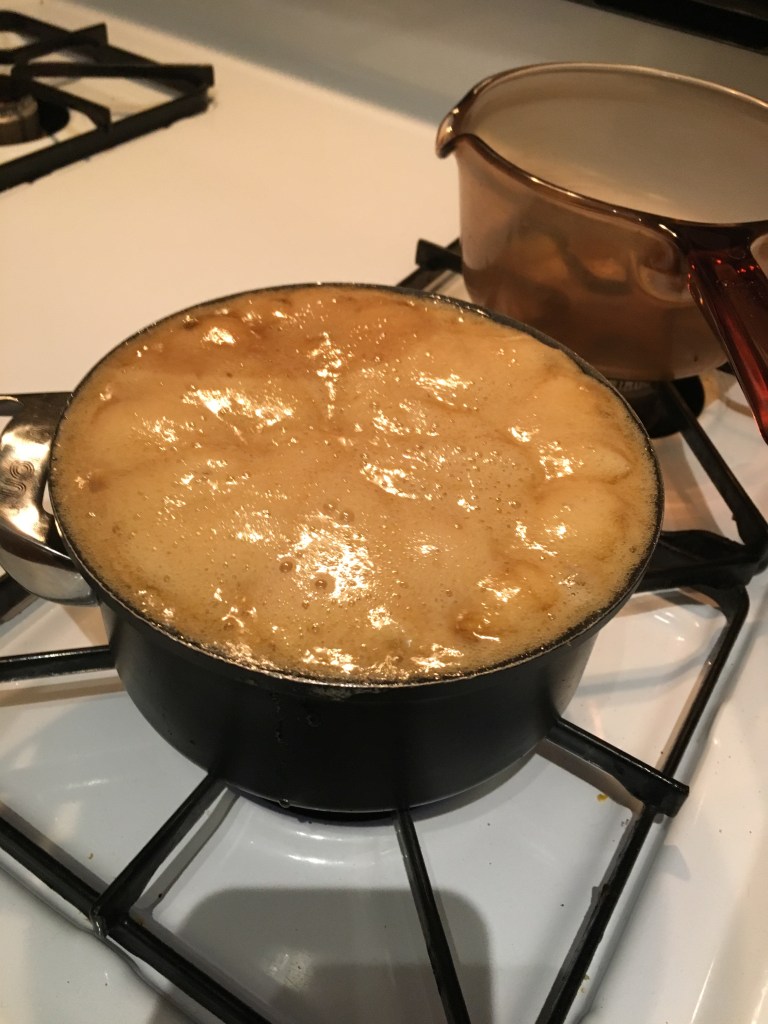
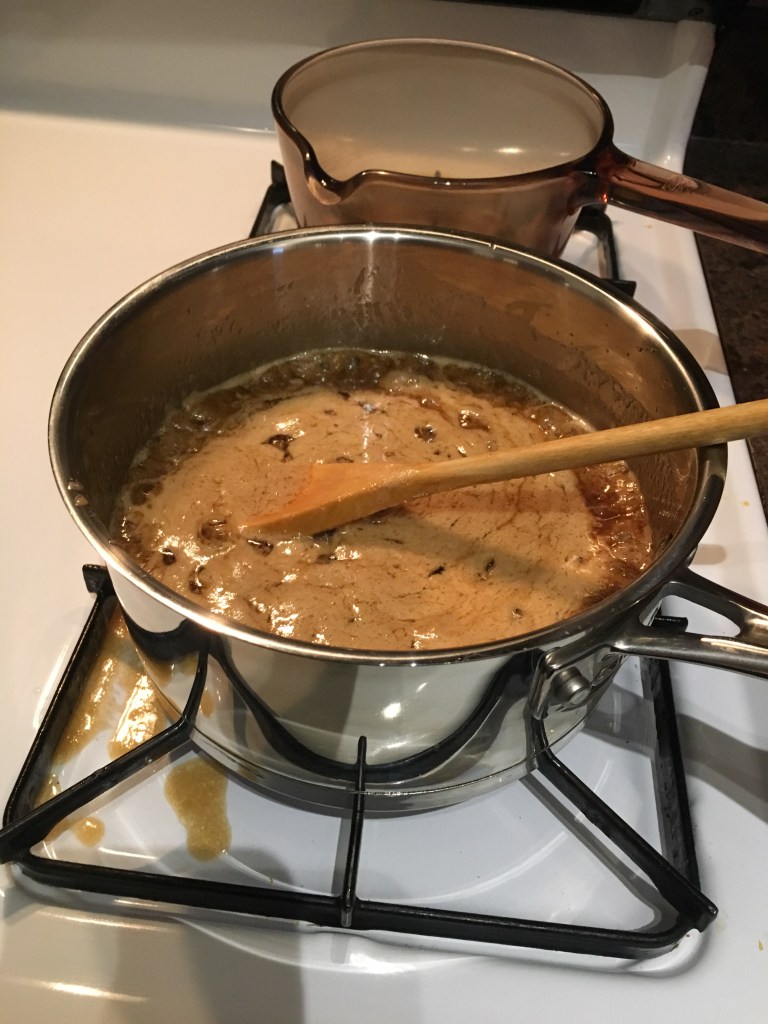
Because of the time of night and…other…situations, I don’t have many pictures of the dough. (I did put it on TikTok, which I’m amazed I did.) I needed a dough to use the six egg yolks that were left over from my meringue fails earlier. I looked online and didn’t see any recipes that looked good, but I saw one that had a similar base, so I gave it a shot.
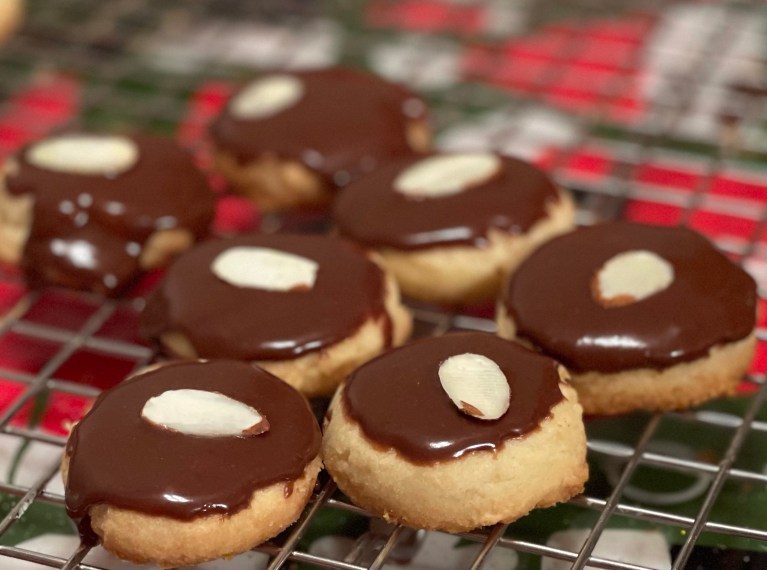
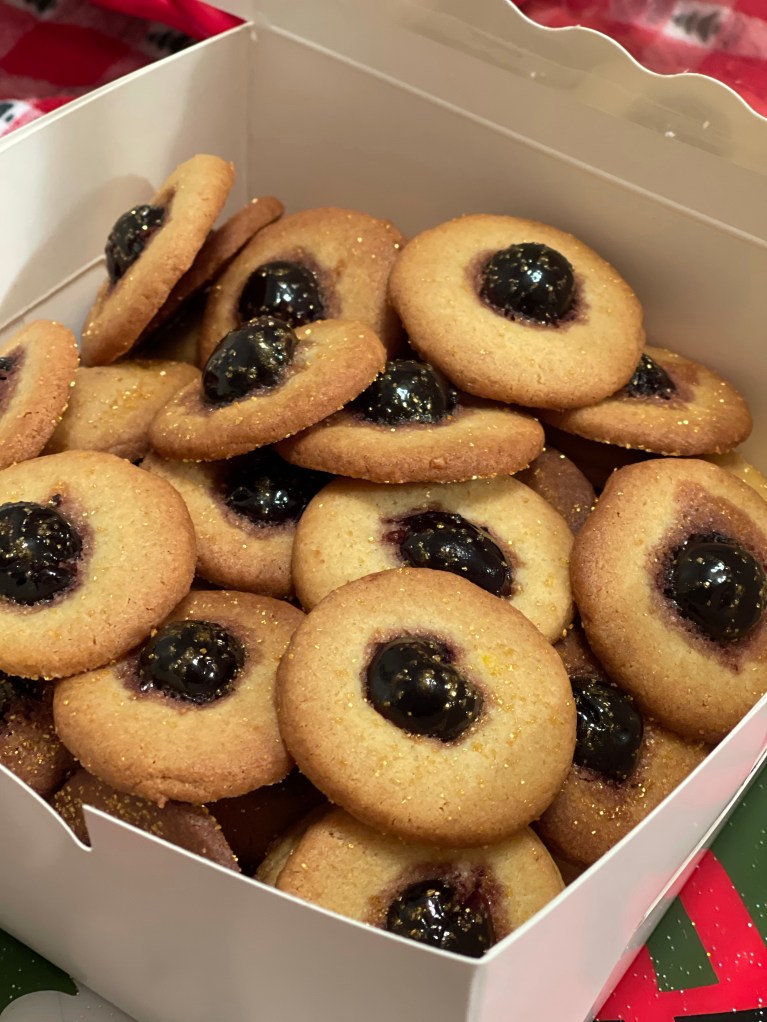
After I baked them, I knew the flavors were all there, but the presentation needed work.

I tried many different ideas. Whole cherries inside the cookie. Half cherries inside the cookie. Chopped cherries inside the cookie. A frosting made of Luxardo cherry syrup and powdered sugar on top of a cherry-stuffed cookie. And finally, I settled on half a cherry on the cookie, no second dough disk on top, with gold sprinkles.
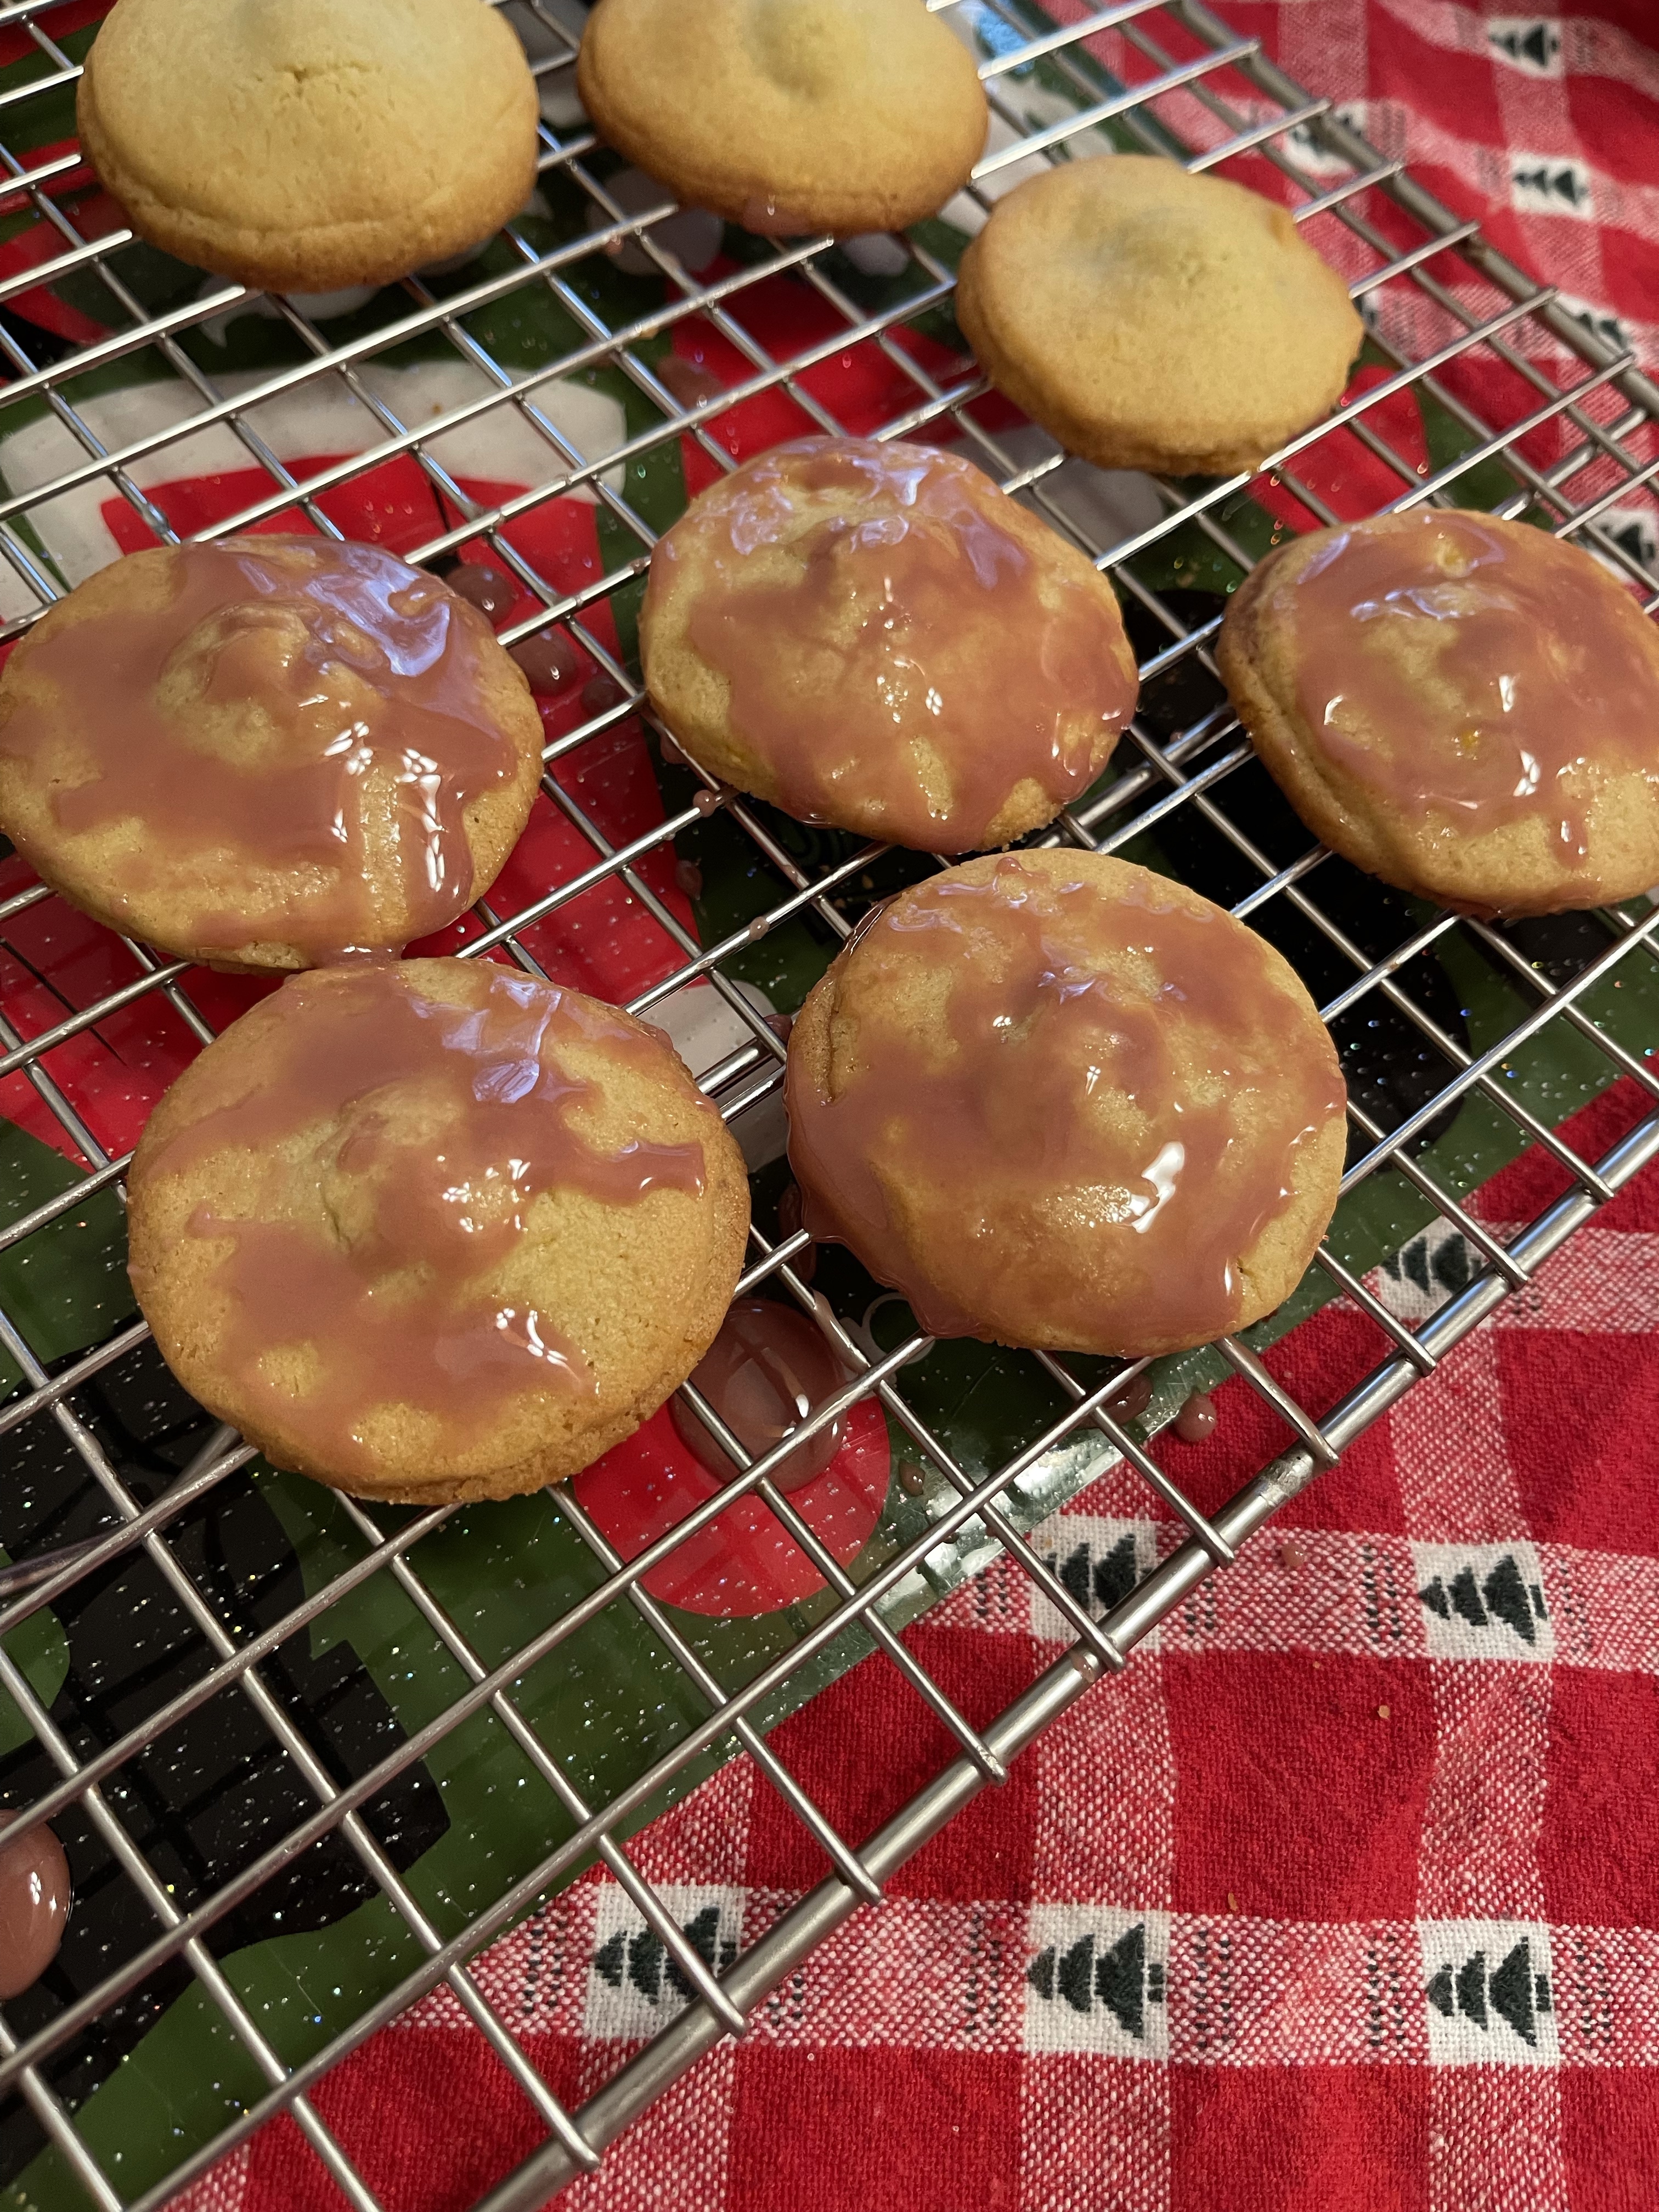
Honestly, this was the wow factor I was looking for with these Christmas cookies. Or cocktail Christmas cookies, as the only time I use Luxardo cherries are with cocktails.
Luxardo cherries are a pricey indulgence, for sure. But I wanted this to be a bougie cookie. I also tried it with regular maraschino cherries, and it worked just fine, but I use maraschino cherries in many of my Christmas cookies. I wanted to try something different.
I love the way these turned out! I feel like I need to have a glass of champagne with this as it eat it! The dark purple with the gold sprinkles really makes this pop; it’s a shimmery and fun addition to my Christmas cookie platter.