Because I’m in a typhoon of grading/writing/shuttling kids, I’m going to leave this one as a pictorial today, along with the recipe. It’s like all these people that pay me expect me to finish my work on time.
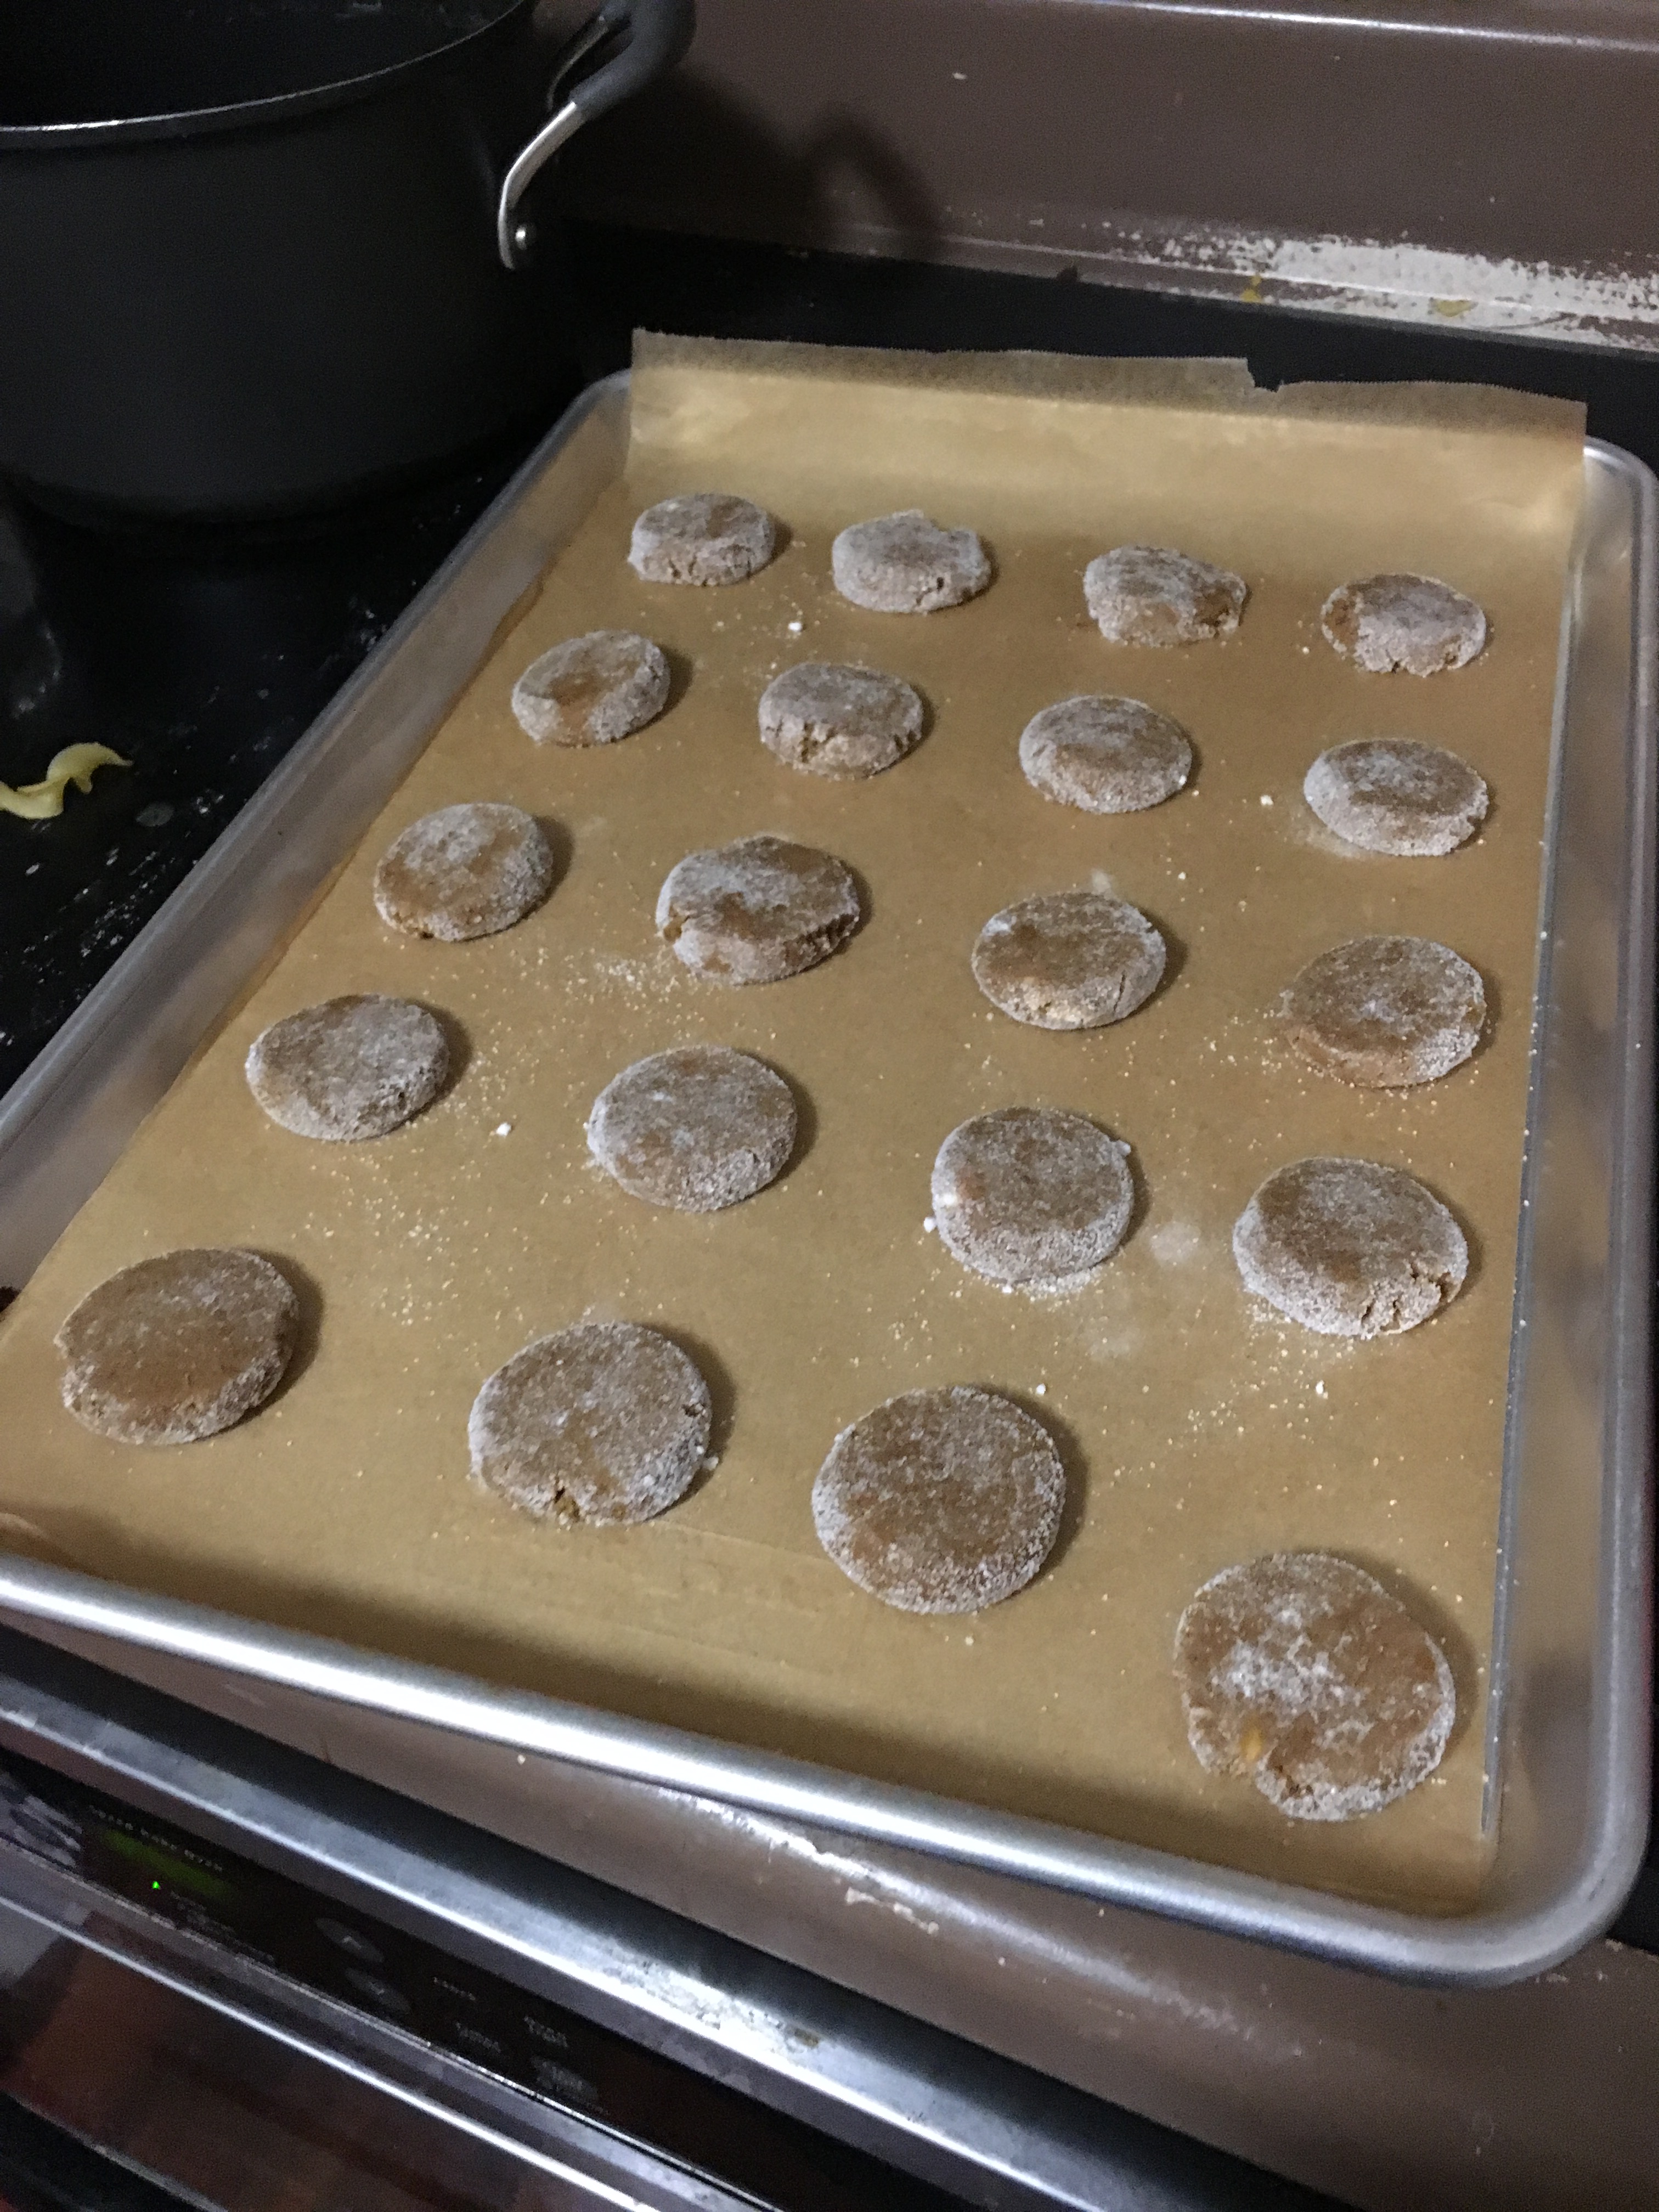
Do the recipe. Roll in sugar. Smash with glass and bake.
In a mixing bowl whisk together flour, baking soda, salt, ginger, cinnamon, cloves and nutmeg for 20 seconds, set aside.
In the bowl of an electric stand mixer fitted with the paddle attachment, cream together butter, 1/2 cup granulated sugar and brown sugar until well blended. Mix in egg, then blend in molasses and vanilla. With mixer set on low speed, slowly add in dry ingredients and mix until combined. Cover bowl with plastic wrap and chill 1 hour. Preheat oven to 350 degrees during last 10 minutes of chilling.
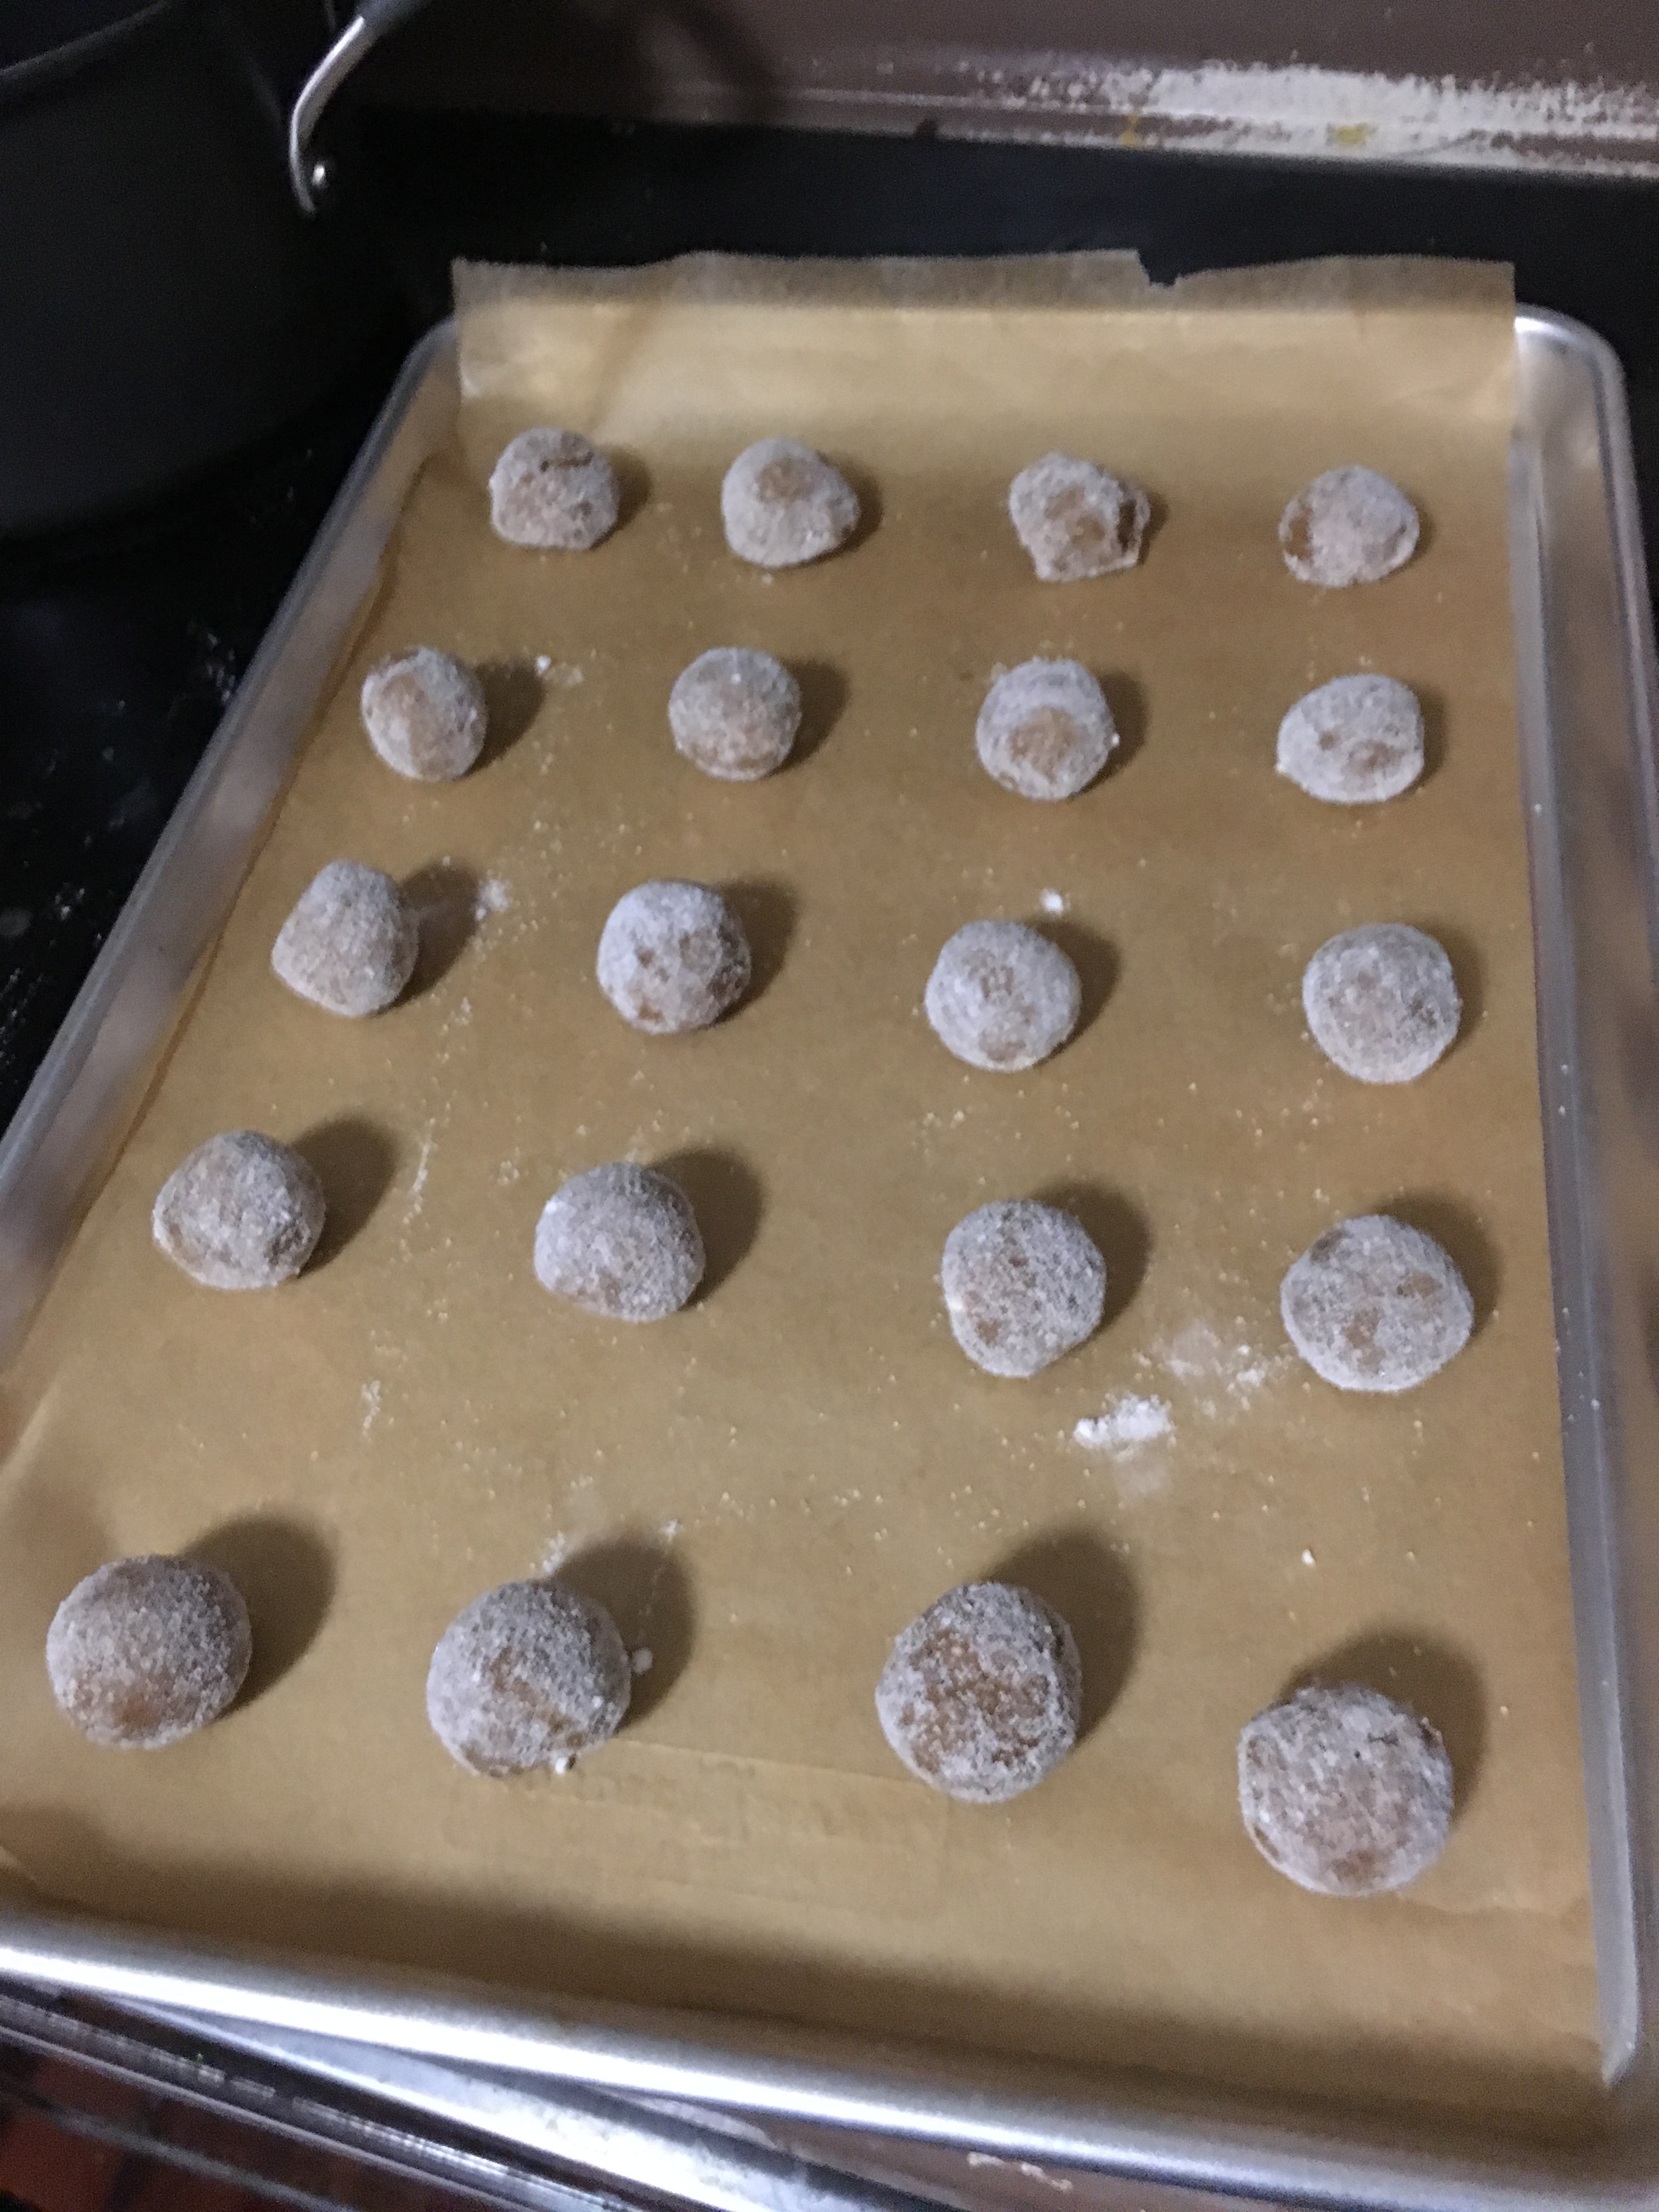
Scoop dough out about 1 1/2 Tbsp at a time, shape into balls then roll in remaining 3 Tbsp granulated sugar. Transfer to Silpat or parchment paper lined baking sheets, spacing cookies 2 inches apart (keep dough chilled that is not currently baking), flatten tops just slightly (to evenly level). Bake in preheated oven 8 – 10 minutes. Cool on baking sheet several minutes then transfer to a wire rack to cool completely.
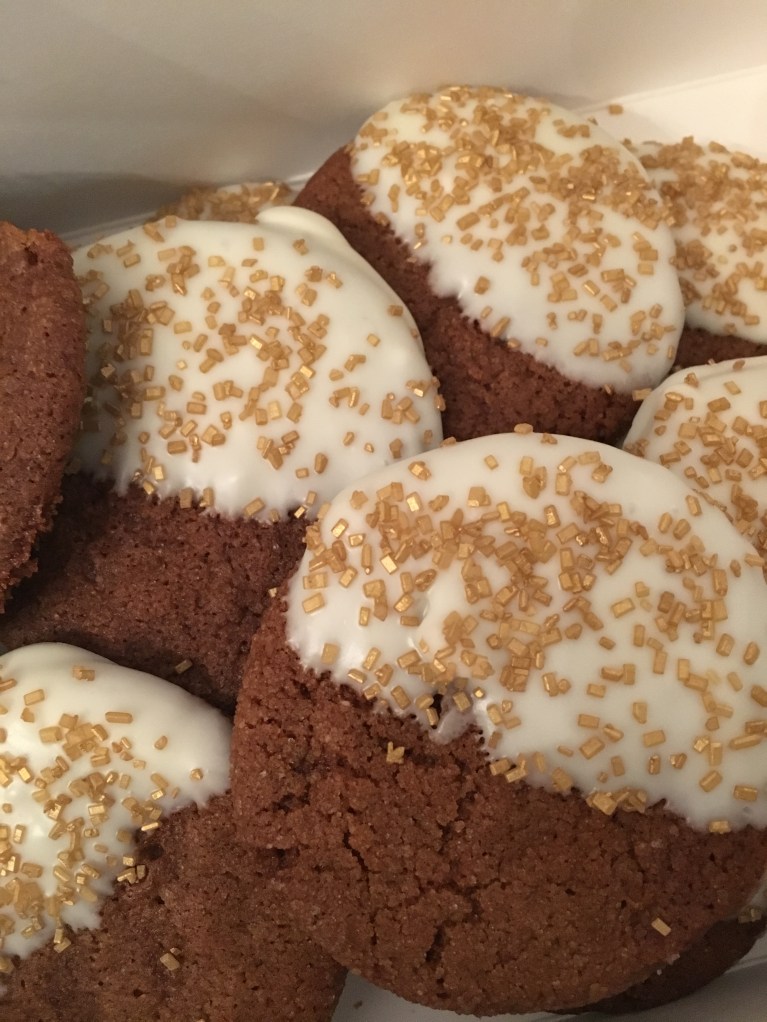
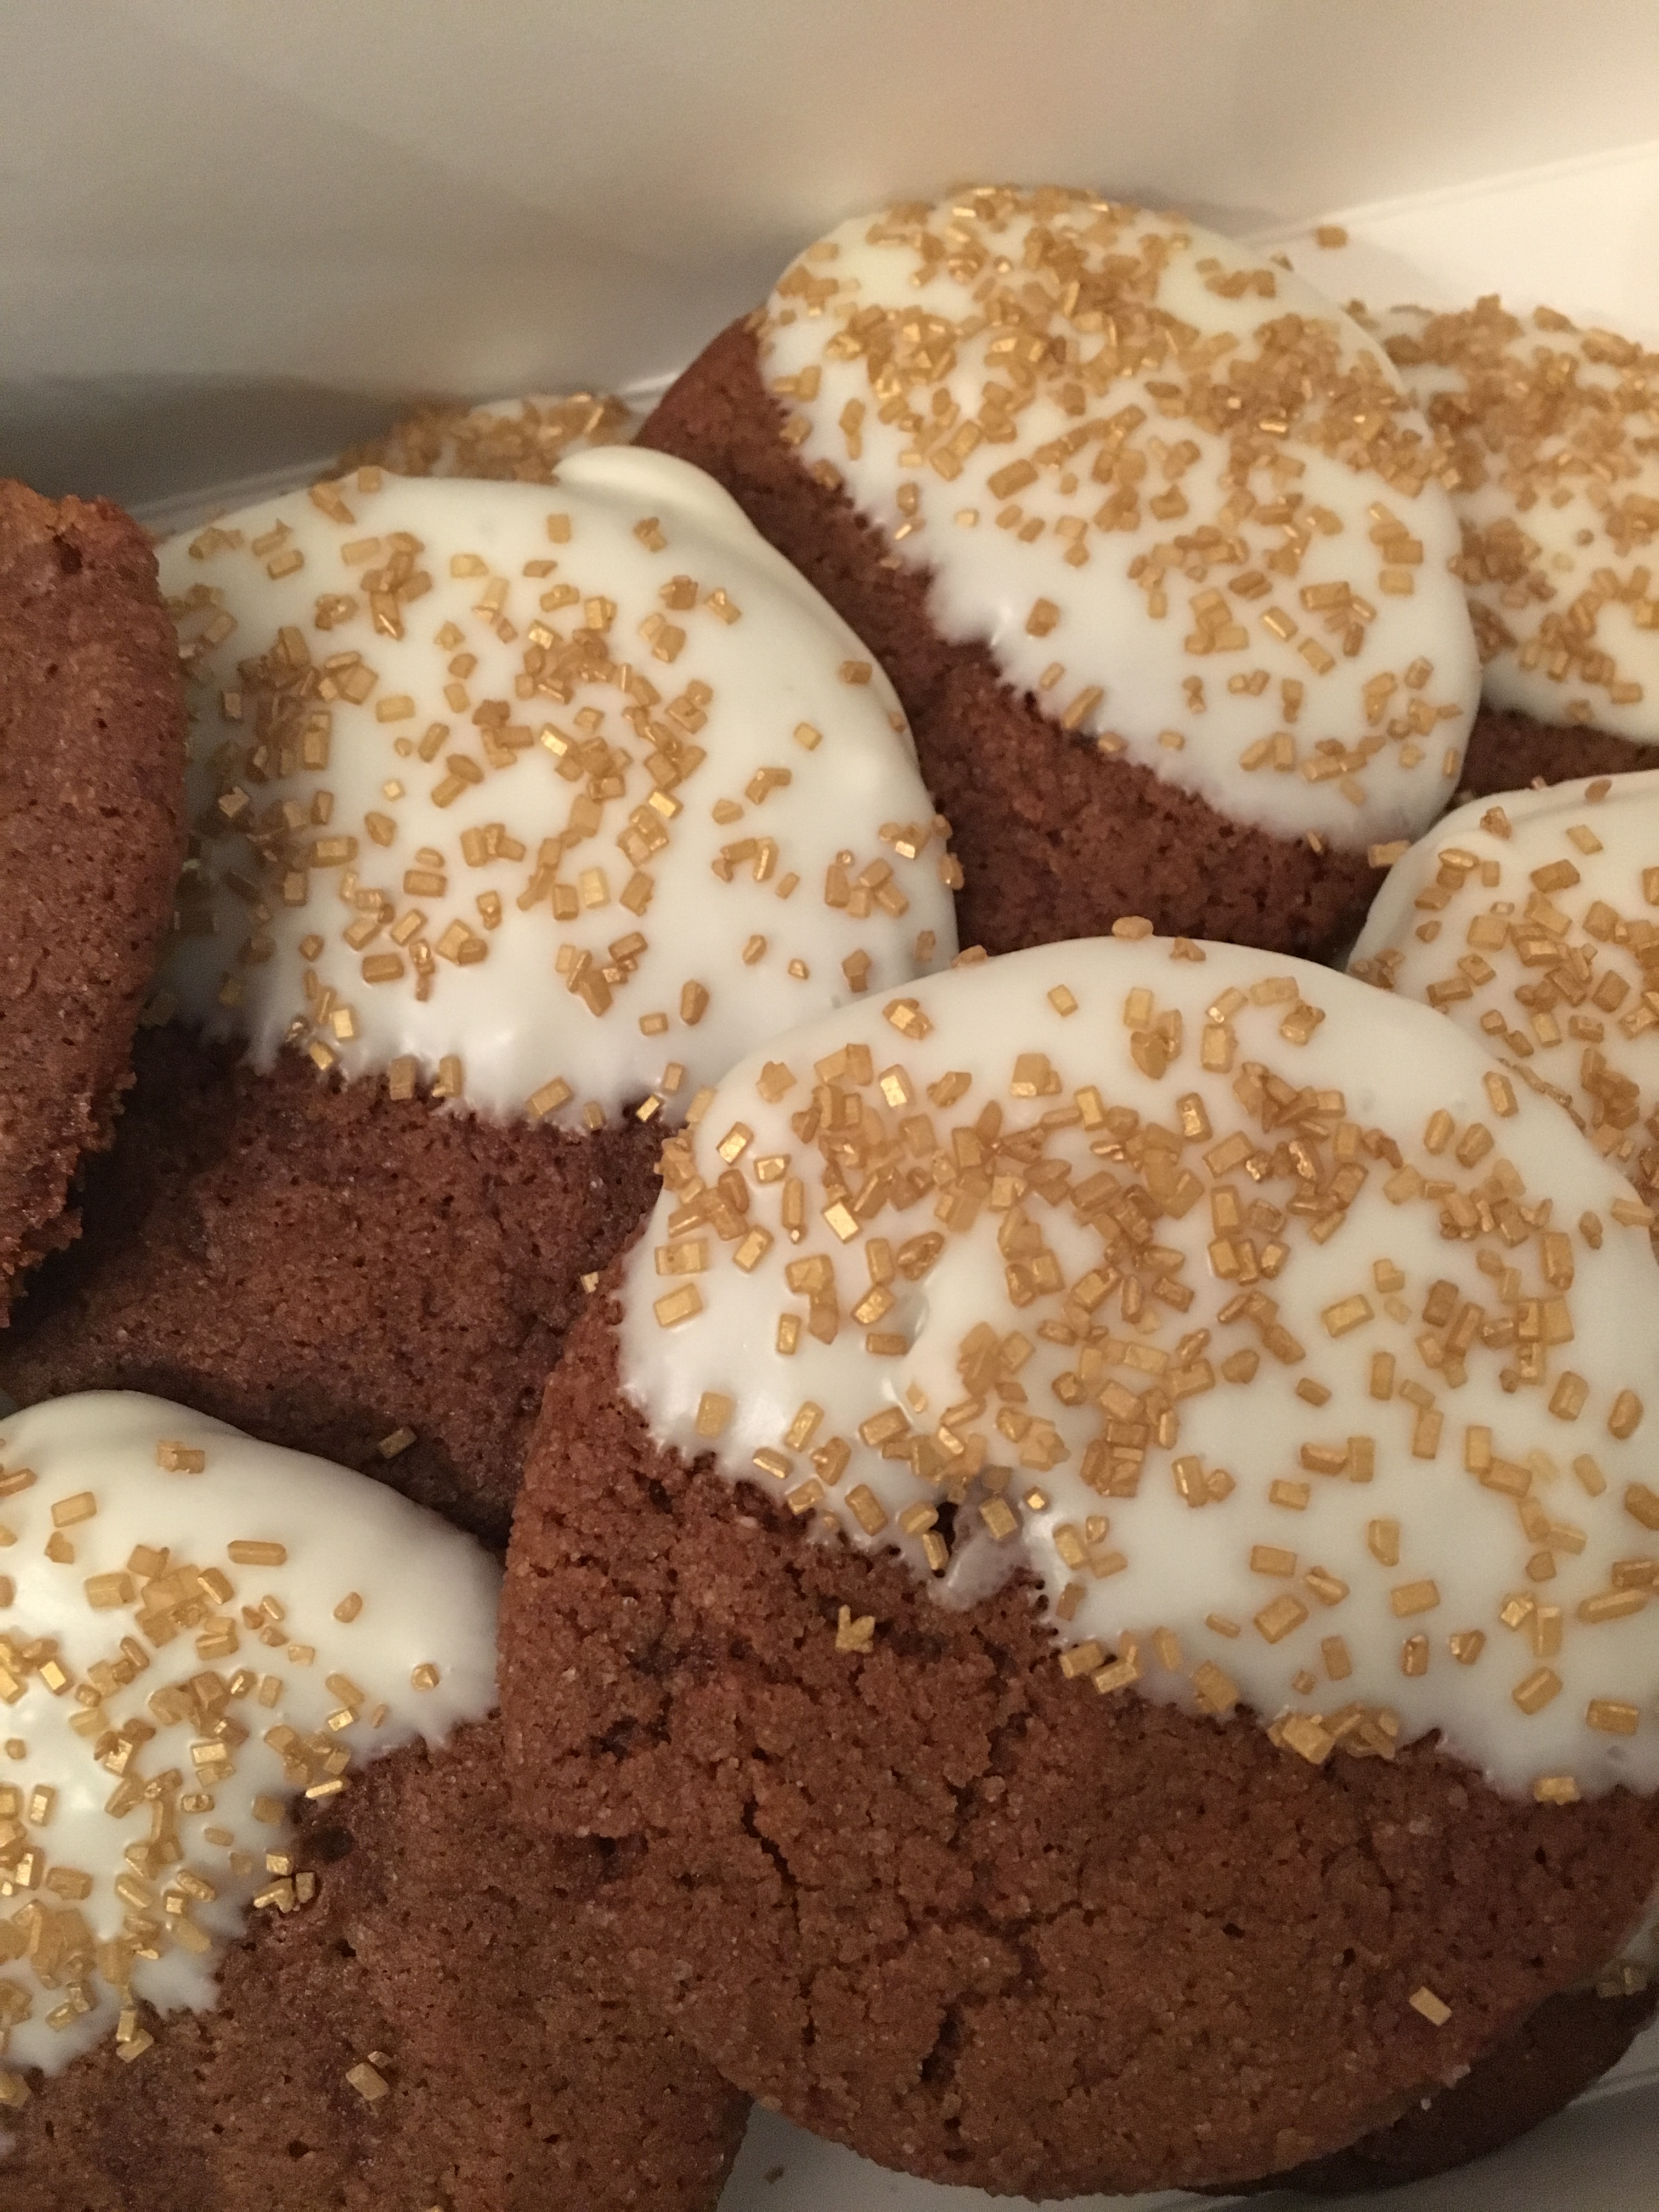
In a microwave safe bowl, melt 1 cup white chocolate chips with 1 Tbsp shortening at a time in microwave on HIGH power in 10 second intervals, stirring between intervals, until melted, smooth and fairly runny (I did batches of it because it will cool as your dipping, plus its easy to burn so you don’t want to work with too much of it at a time. Then once you’ve used it up melt more, you may not need all 3 cups). Dip half of each cookie in melted white chocolate mixture then run bottom of cookie slightly along edge of bowl to remove excess, then return to Silpat or parchment paper to set at room temperature.
Sprinkle sprinkles on top, after the long journey to decide which ones to use
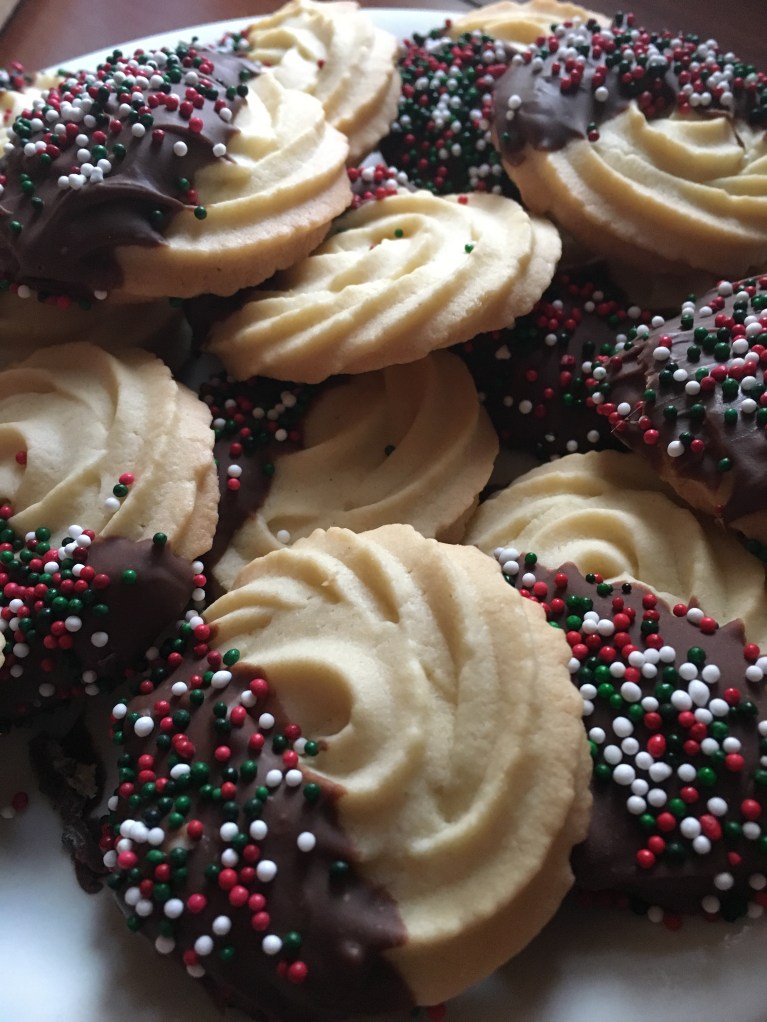
Yesterday was my last day of the semester, so now it’s just grading to get done and I’m free until January! Well, minus my other gigs and parenting and general adulting. But I’m not worrying about those things today. Today, it was sleeping in, cleaning, and making Italian Sand Cookies.
I found the recipe for this years ago on Pinterest, and ever since, they’ve been a staple in my December cookie baking. However, during the three Louisiana years, they didn’t turn out quite right. I’m not sure if it was the humidity or my own distraction (you know, leaving the mixer on too long while I write another paragraph about Elizabeth Barrett Browning), but they spread out way too much there. We still ate them, so I’m not exactly sure what I’m complaining about.
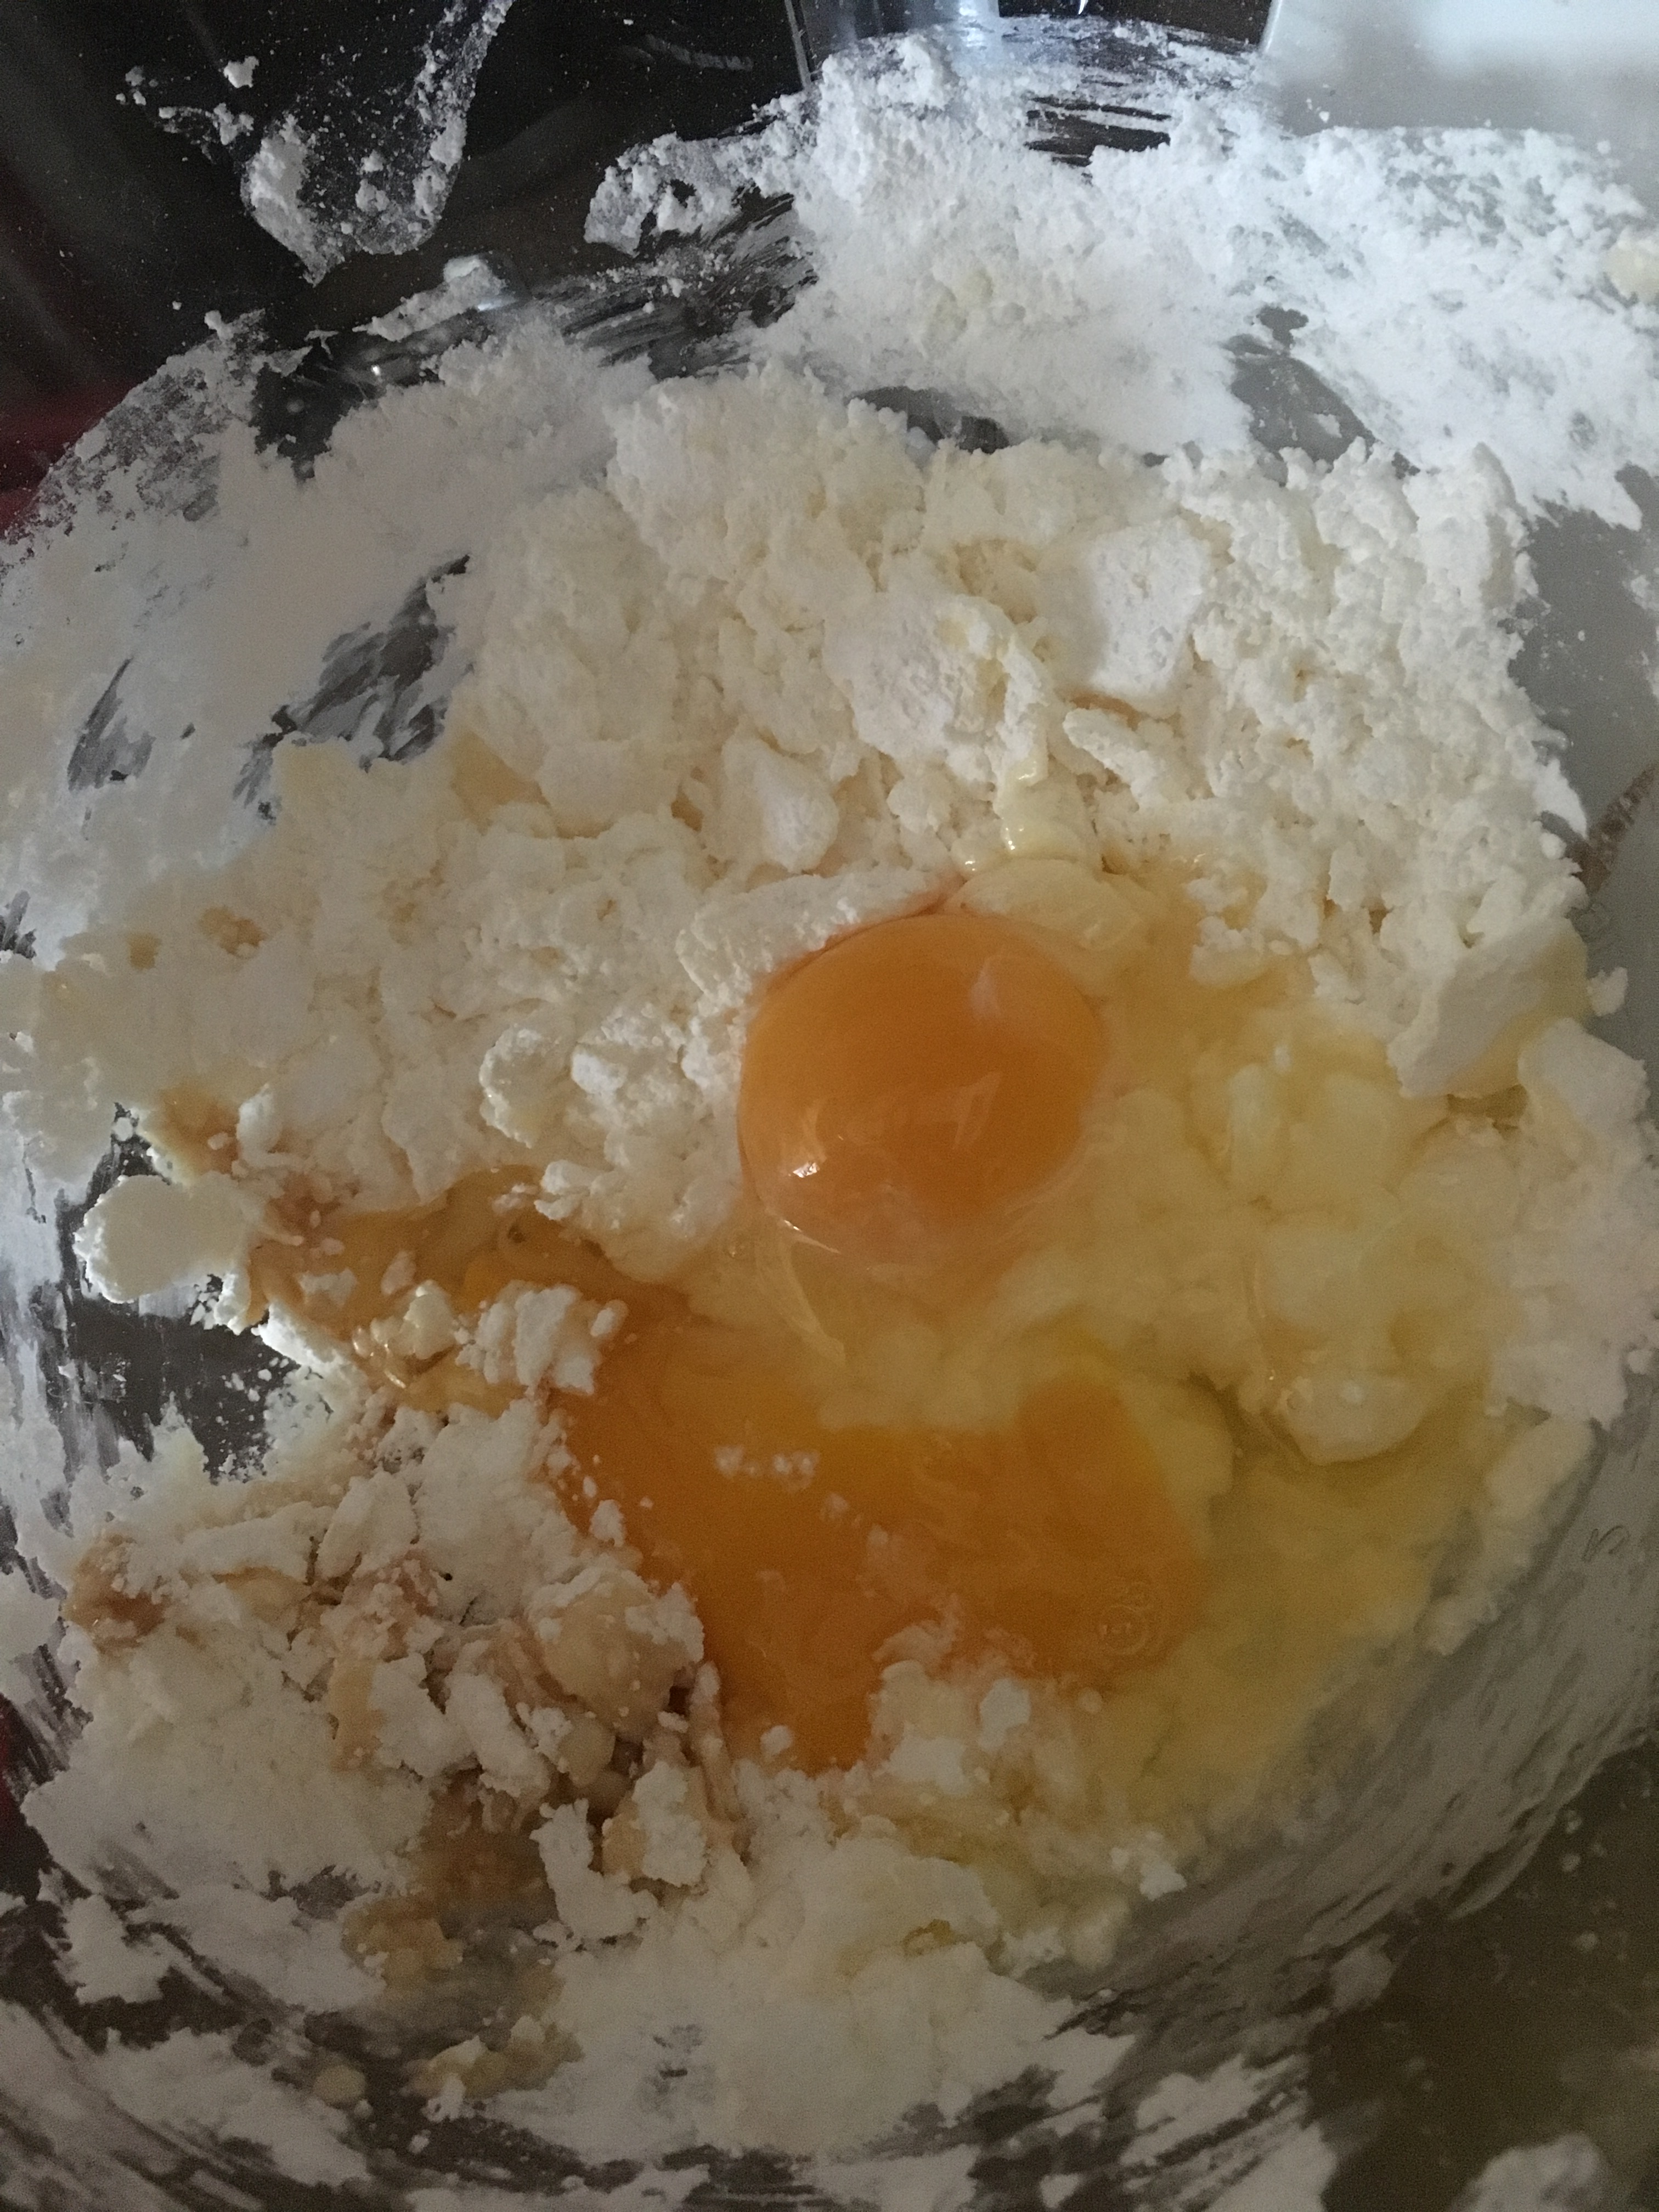
Again, the recipe amuses me. It lists all of the ingredients, and for the directions, it says, “Creaming method.” If you don’t know what that is, it’s mixing together the butter, sugar, eggs, and vanilla.
Before creaming.
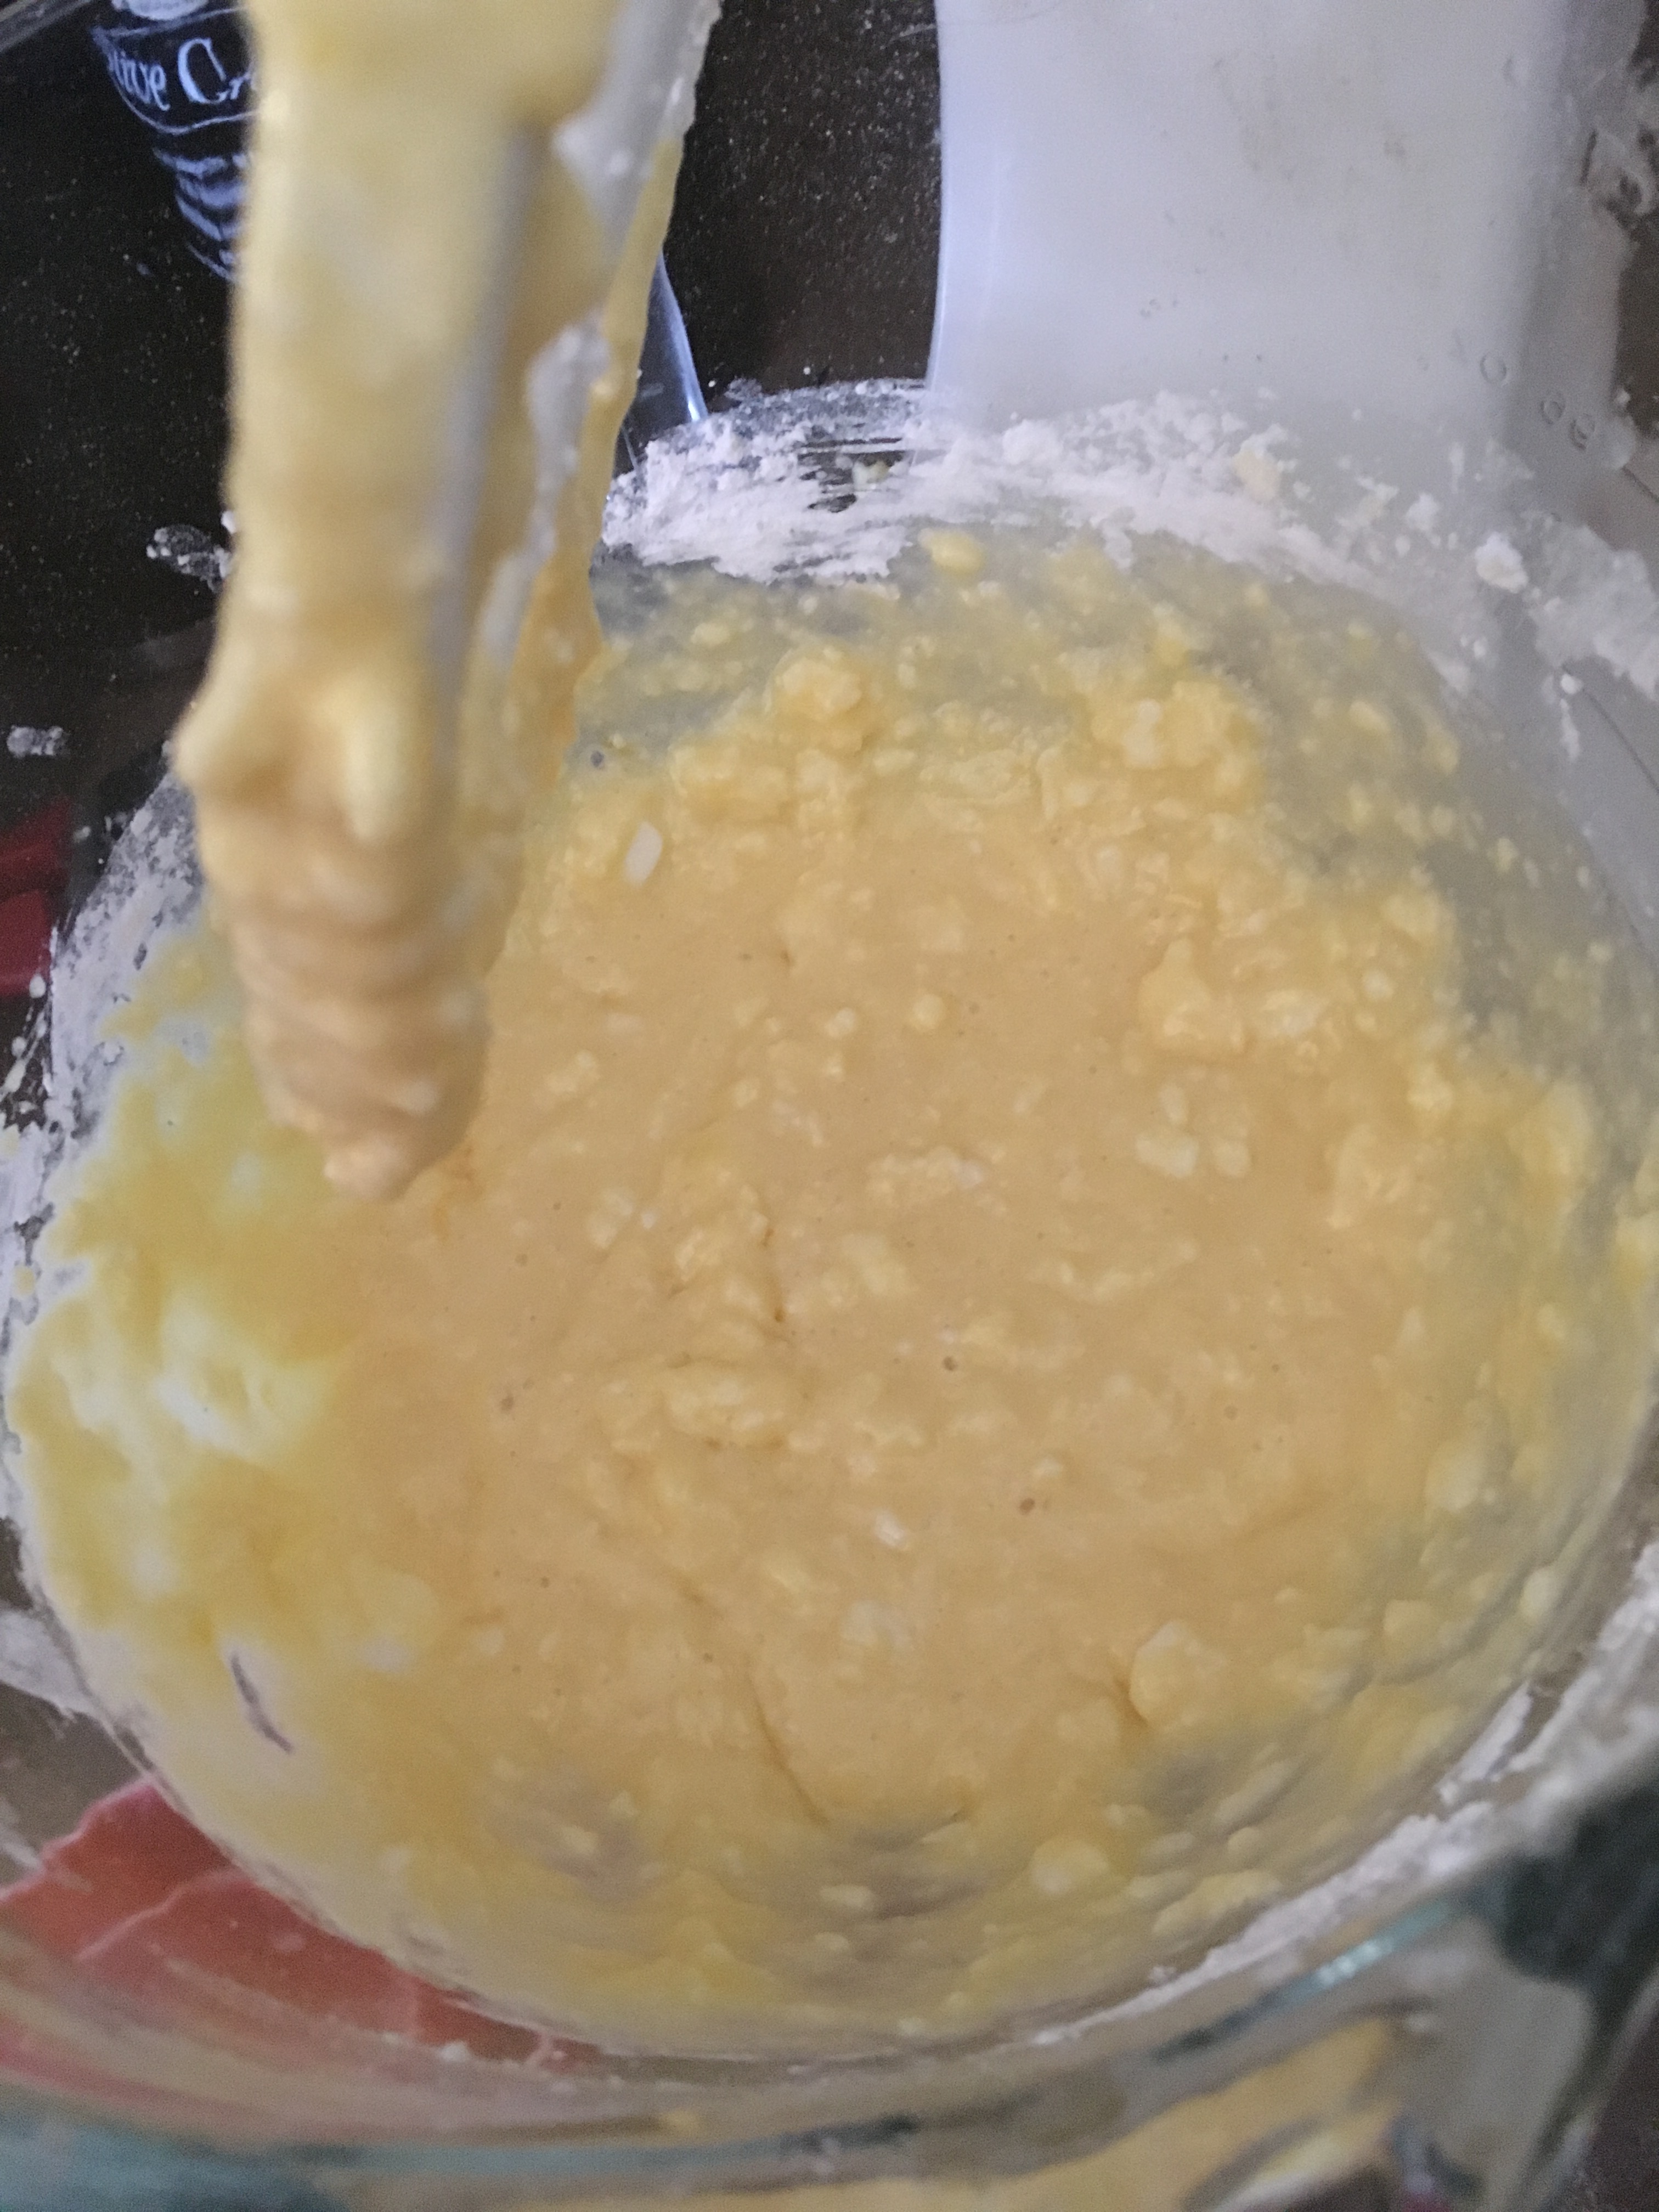
Sufficiently creamed.
It’s pretty simple really. Then you add the cornstarch and flour, and mix it all together. Again, I needed more flour than the recipe calls for…I used about another 1/3 of a cup. And when I was all done mixing, I looked for my beater-lickers, but alas, they were all at school.
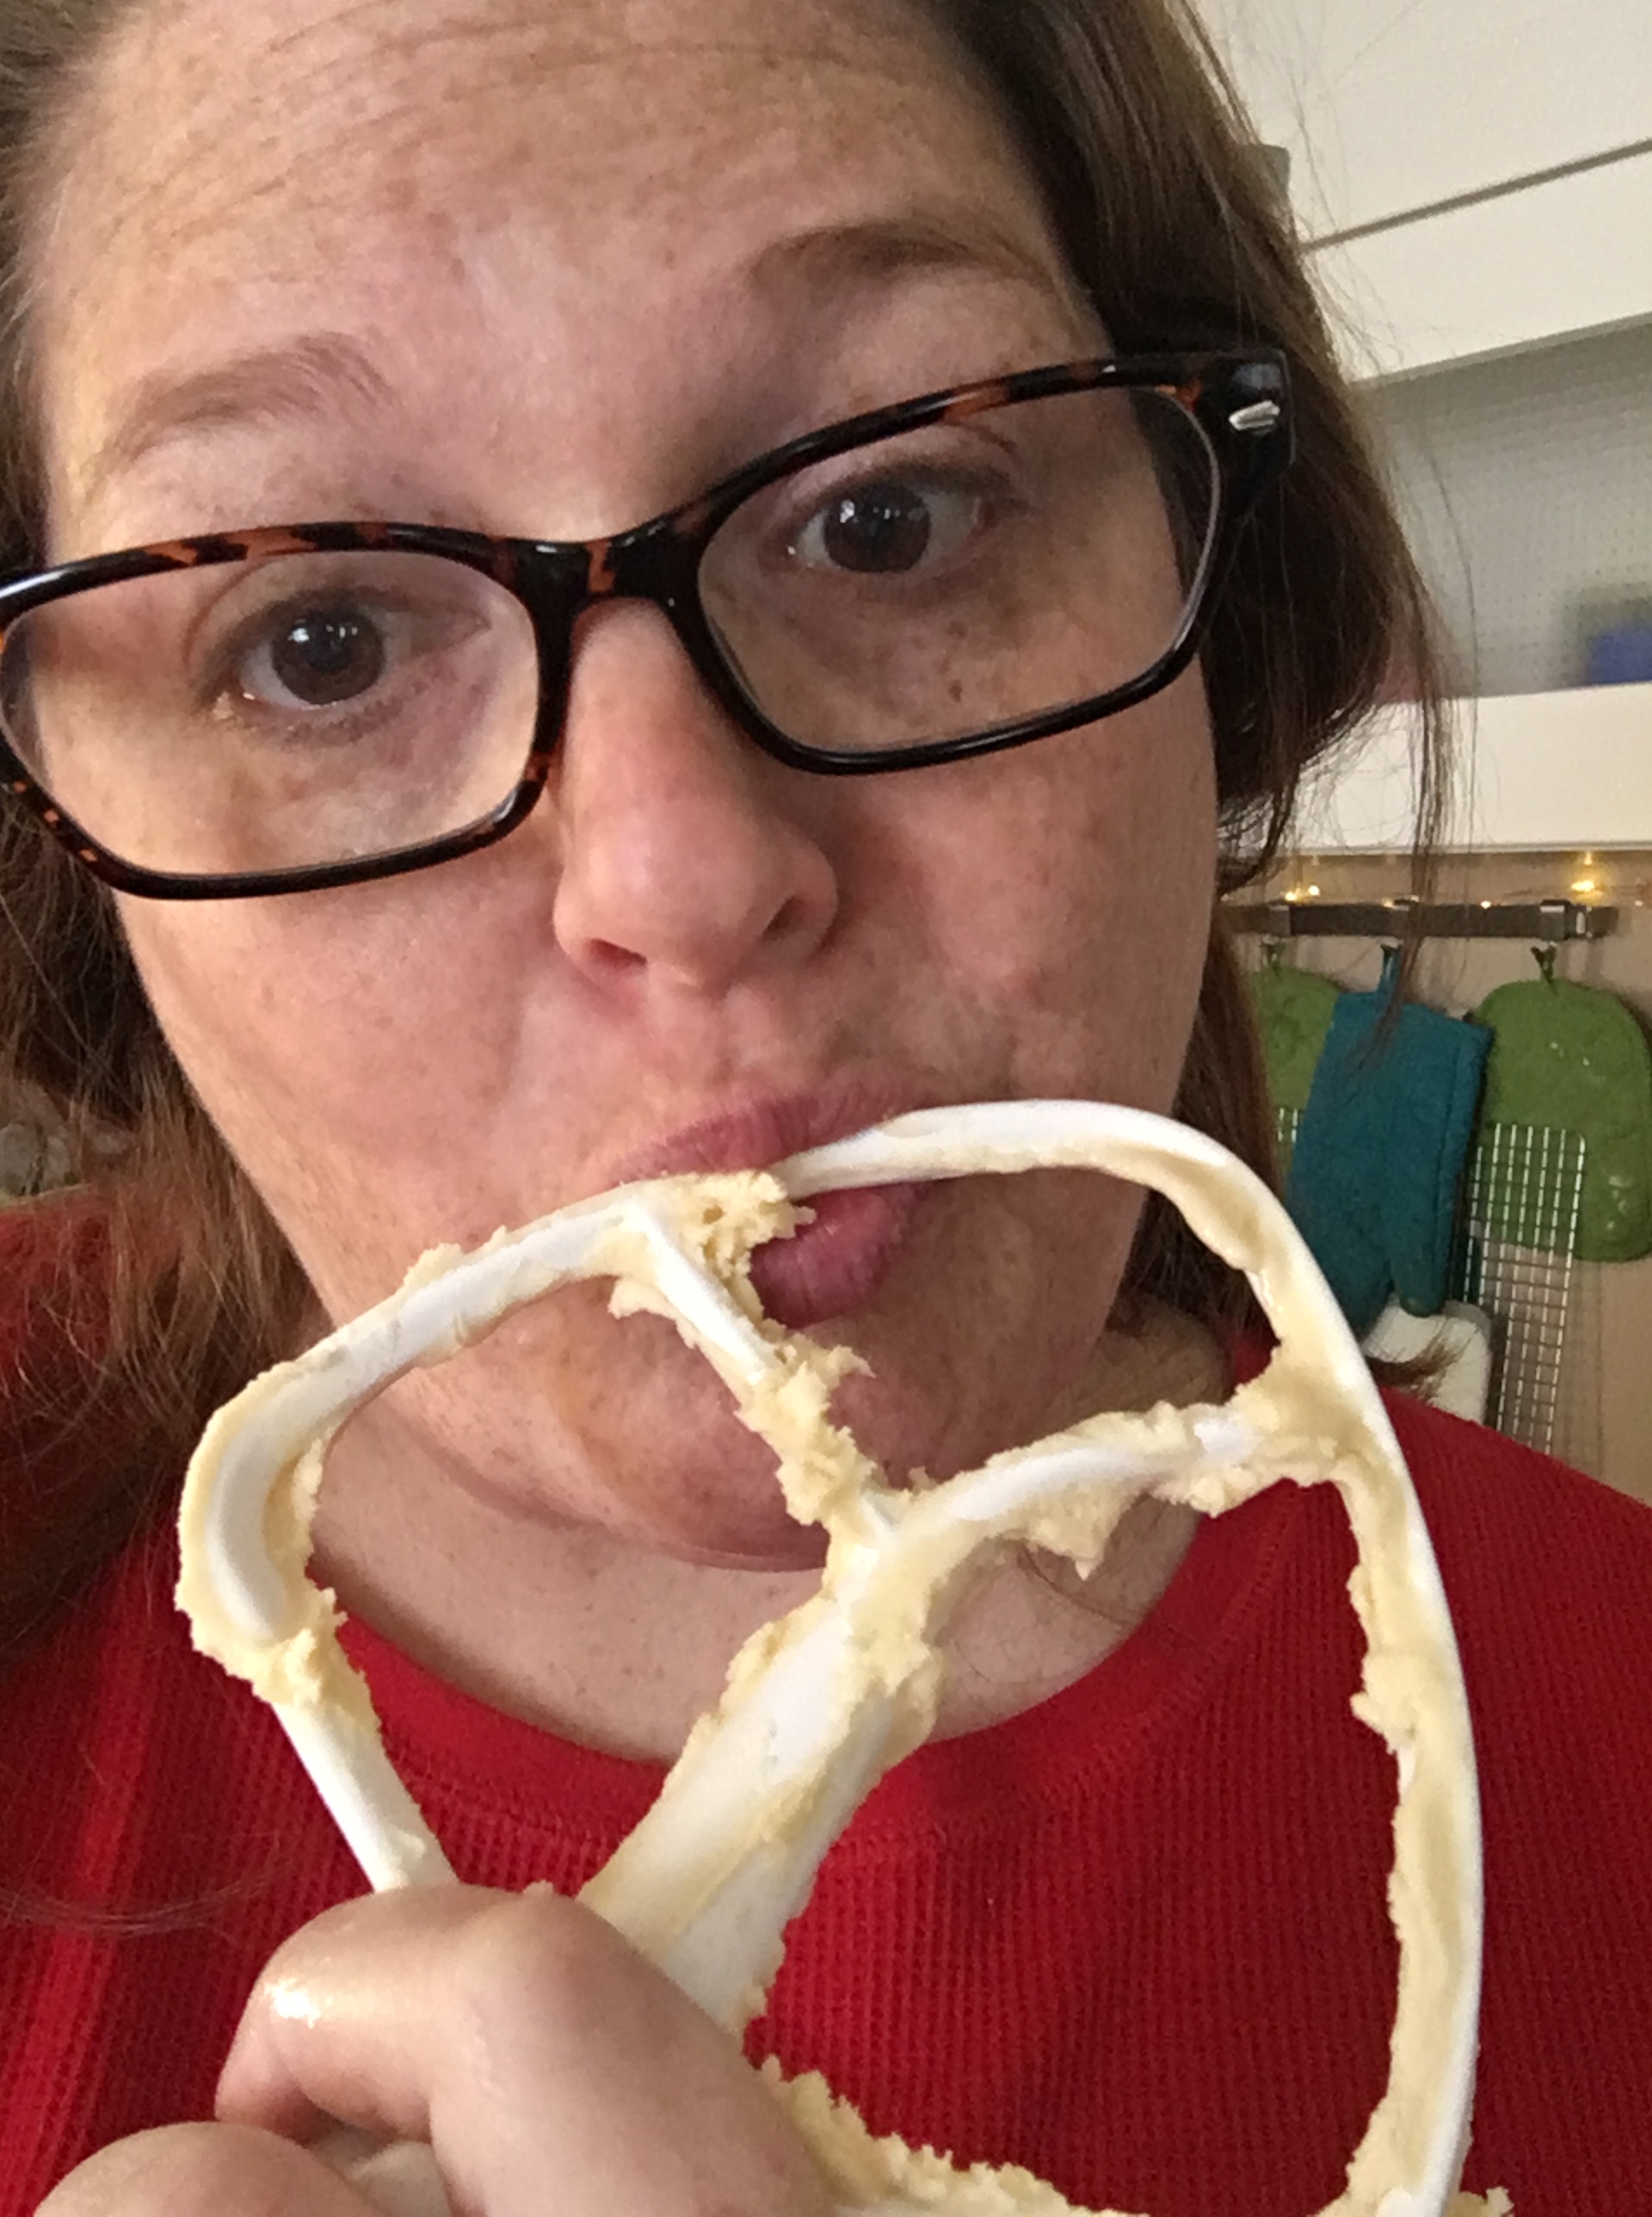
So I guess I had to do it. It’s a sacrifice I was willing to make.
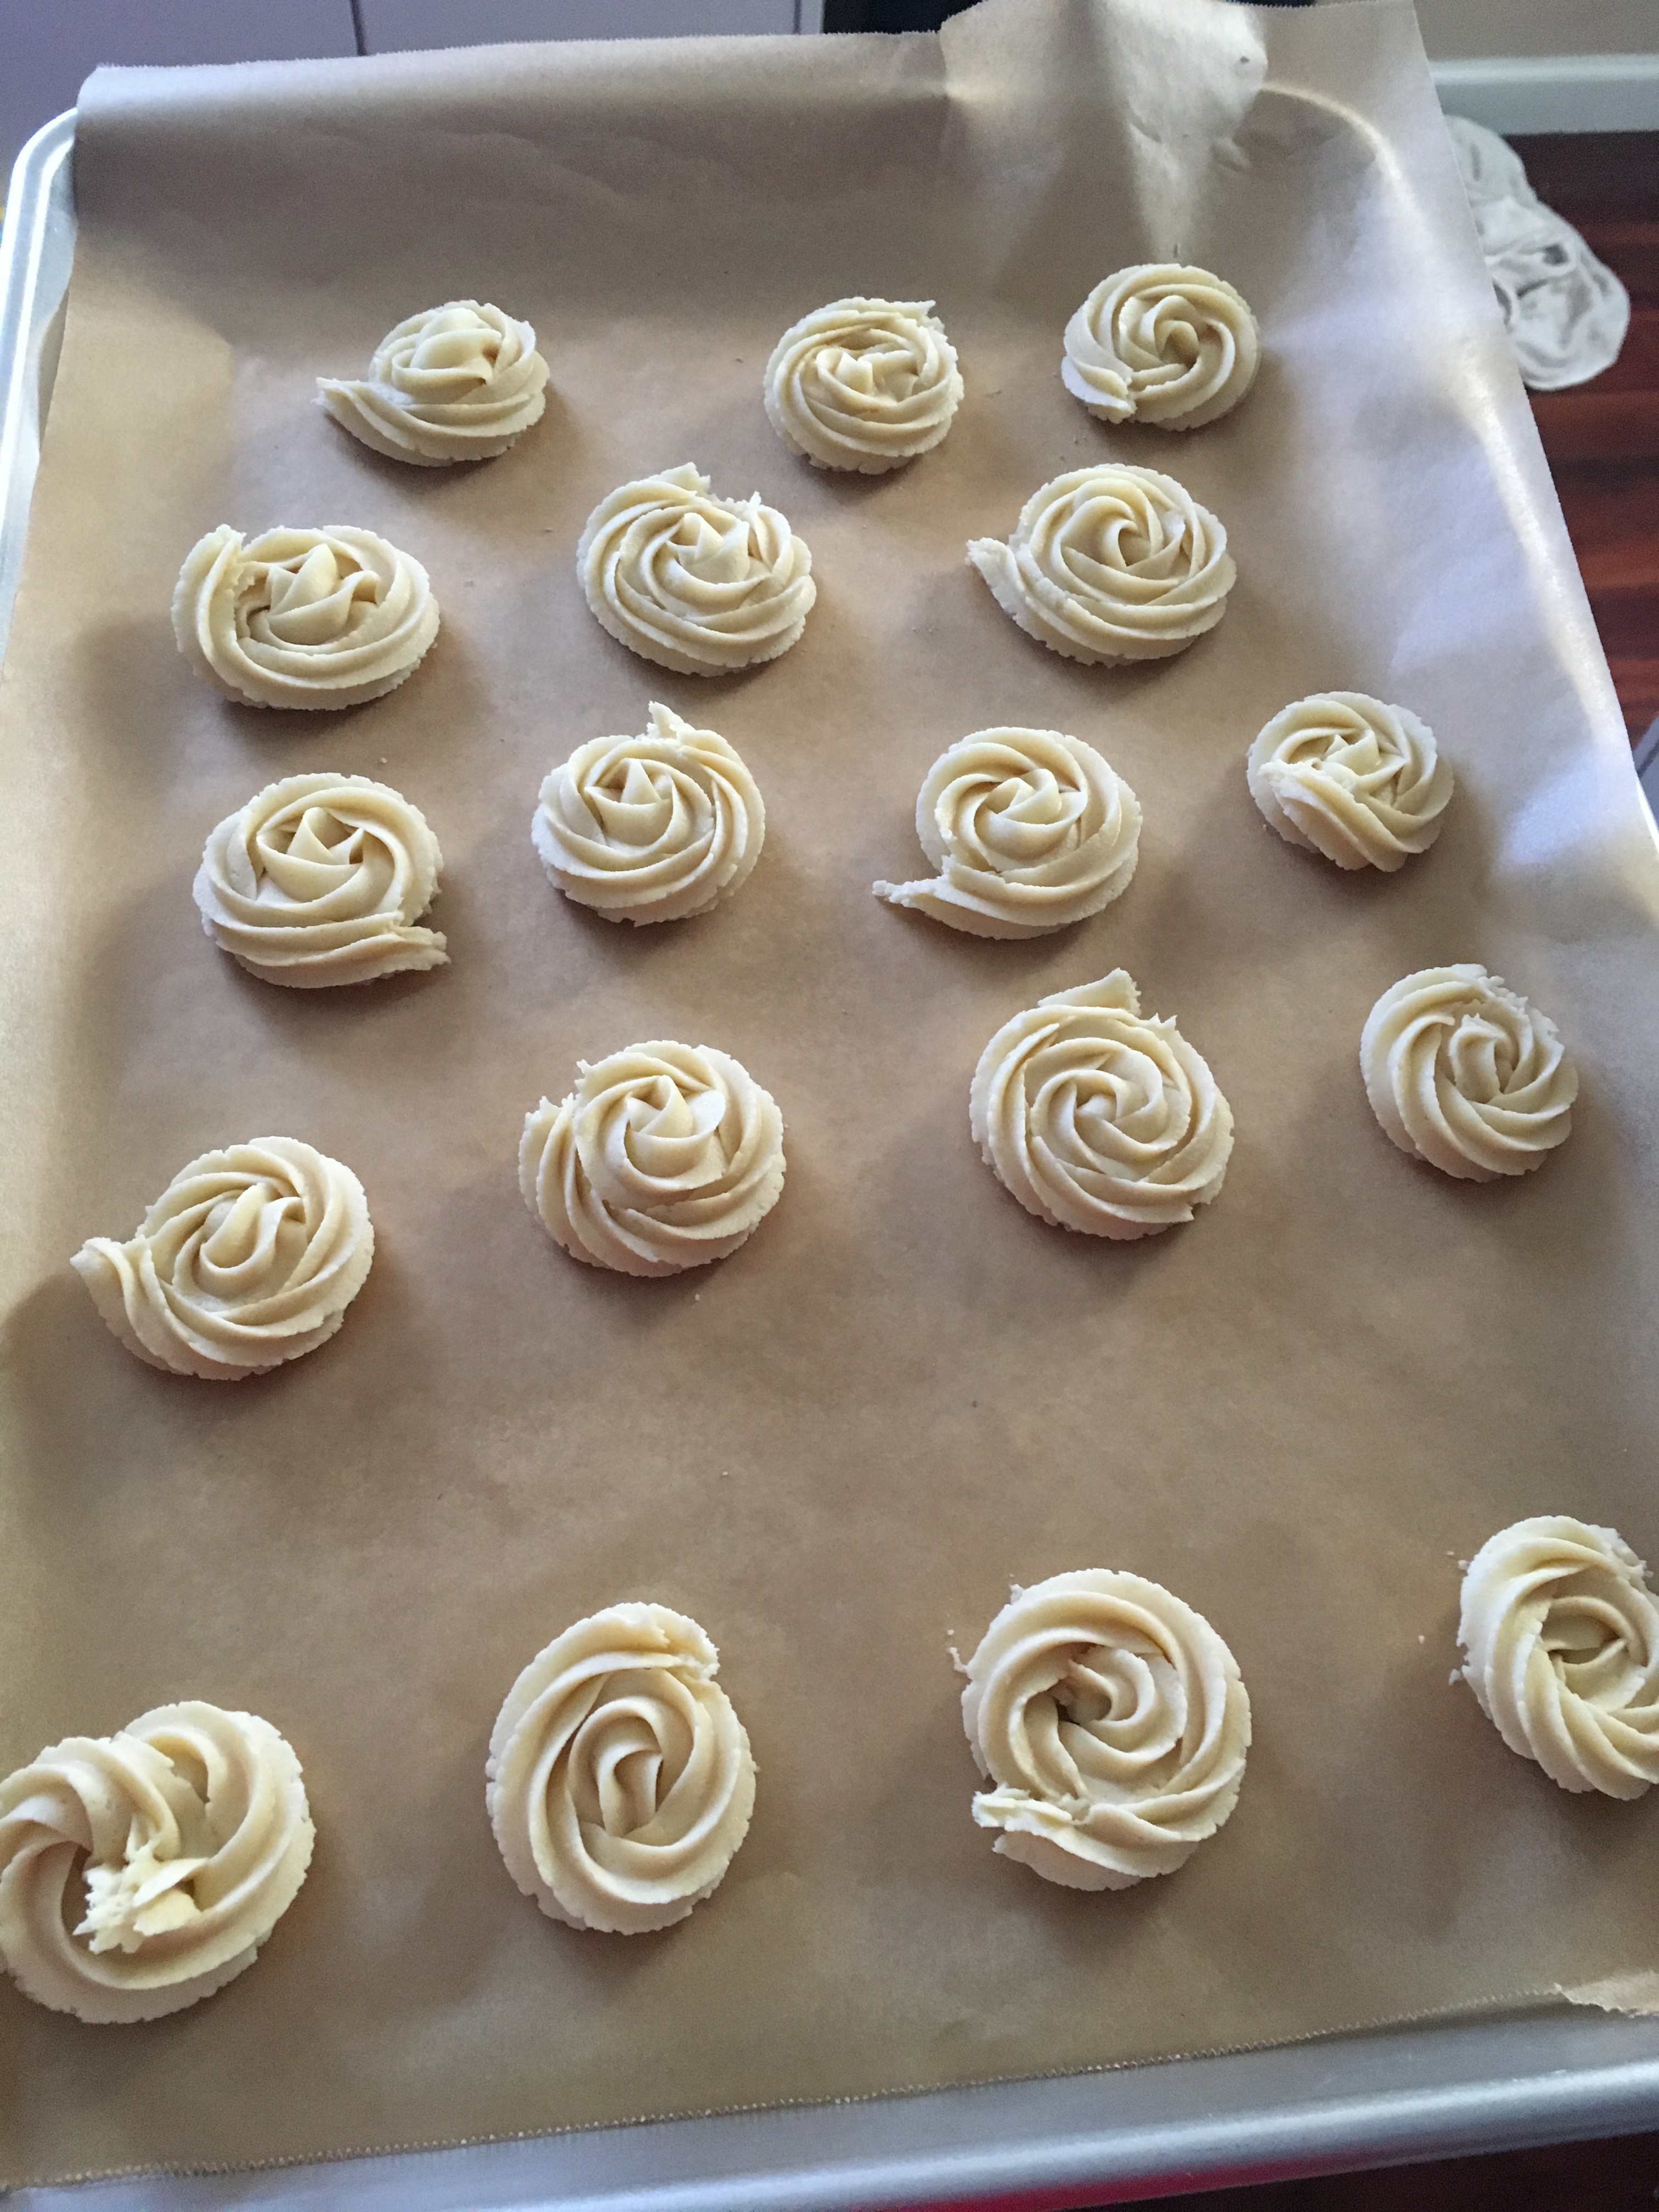
I piped them with a star tip onto my baking sheet and put them in the over. I also kinda burst the bag because I don’t know my own strength, and then had to put my finger over that part so the dough wouldn’t come out there. These are the behind the scenes things you don’t get with professional baking blogs.
They baked up wonderfully and looked the way they were supposed to look. After they cooled, I dipped them in melted chocolate (chocolate chips with a little crisco to make it thinner), and topped them with sprinkles. These take a while to dry, so I set them outside on my back step for 15 minutes. (Thanks 21 degree Illinois day!)
1 1/2 cups flour (we used AP) 1/2 cup cornstarch 1/2 cup shortening 1/2 cup butter 1 1/4 cups confectioners sugar * 1 1/2 t. vanilla extract 2 eggs *(we also liked 3/4 c. conf sugar & 1/4 c. granulated which made them a slight bit sweeter)
Directions:
Creaming method. Put through bag with large star tip. Bake @ 375 F for 12-15 minutes or until lightly brown. Decorate with choc chips, sprinkles or leave plain and dip half in melted choc., etc.
So, I’m a home baker. That means I’ve had no professional training in baking and everything I know about cookies comes from books, my mom, my friends, websites, and youtube videos. I also screw up a lot, which may be what you are here to see. I keep it real. Maybe that’s what you like about my yearly project.
Everyone needs goals, right? I have made macarons in the past, and they were not very pretty. On my sad baking bucket list, I have Make actual good-looking and tasting French Macarons. (I also have Get ever color and shape of sprinkle ever made, but that one is still in progress.) I thought 2018 was the best time to check off that Macaron one off my list.
This is what they looked like last time, about 4-5 years ago.
Now, I will continue to keep it real: I had to make this twice. The first one was dyed Cookie Monster blue and was turning out just fine, until the very end. I threw them away before I filled them. I had pictures, but I deleted them because my phone is at capacity. They were also too salty, and later I discovered why.
So I tried again.
For French Macarons, you need almond flour or finely ground almond meal. I watched this Youtube video and followed it step by step, like I did for the first batch. But I also checked out their (Tasty 101) actual written recipe too, and realized there was too much salt in my first batch. I fixed that.
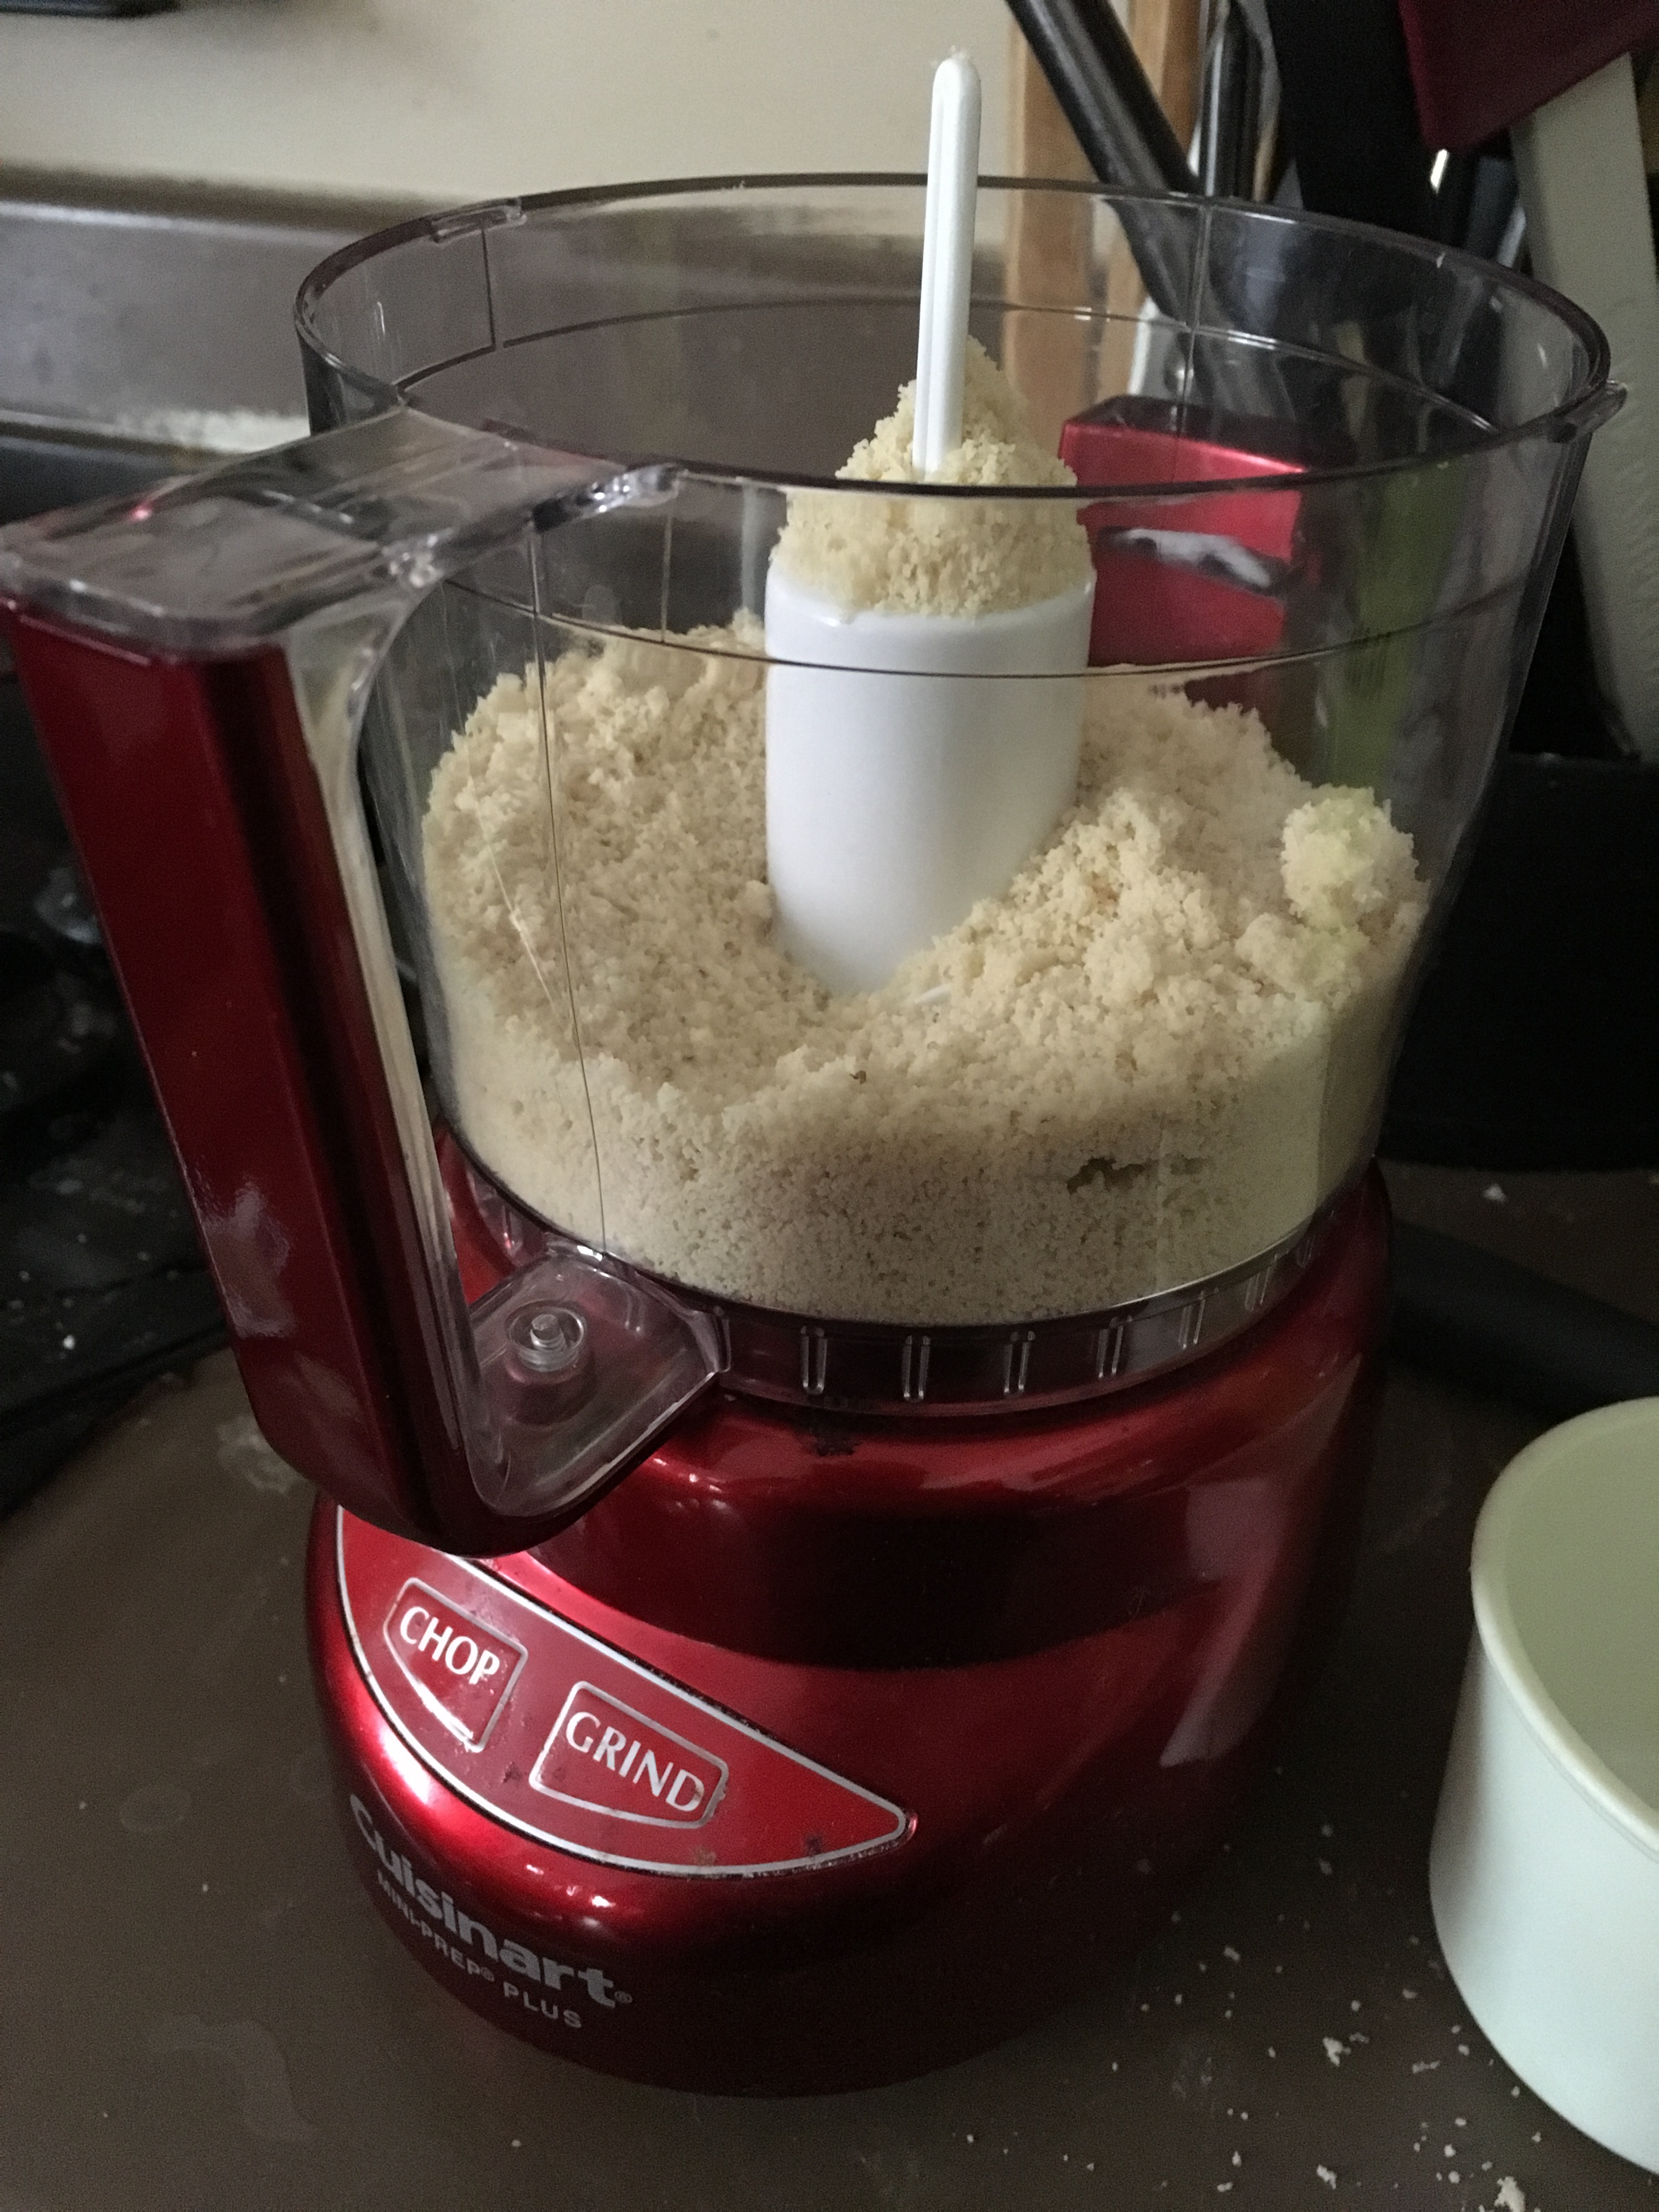
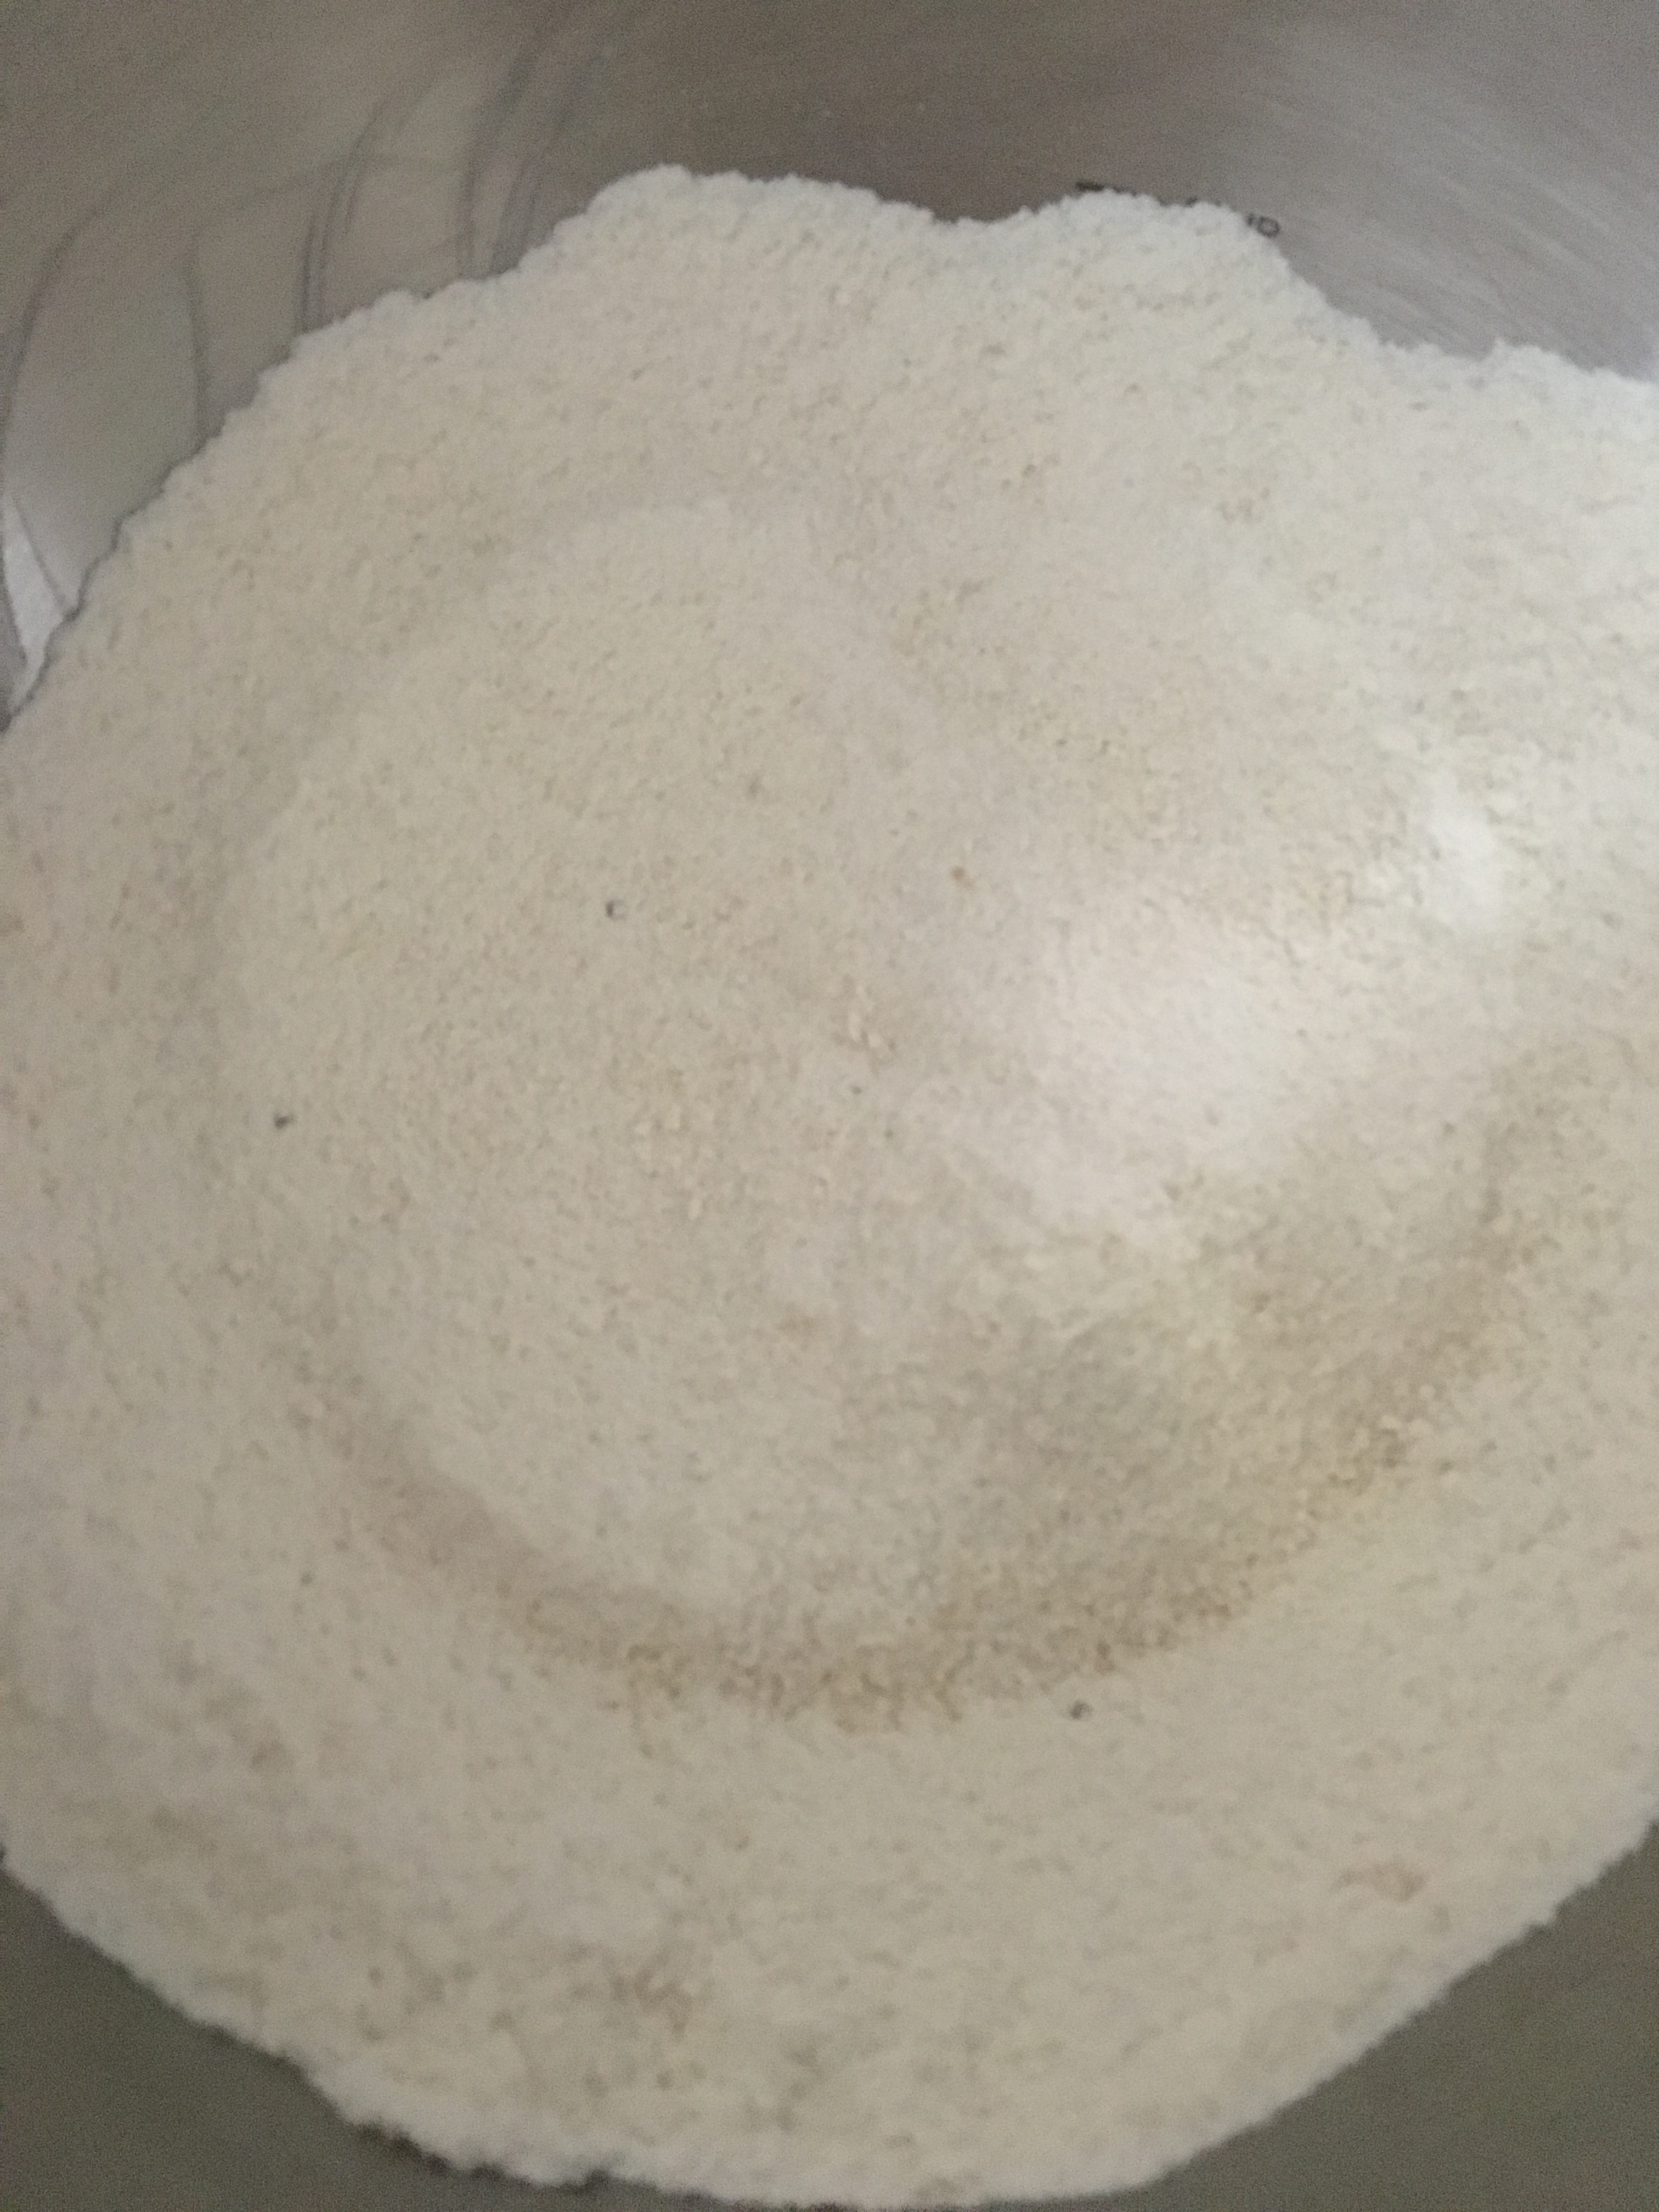
This is about half of my sugar and almond flour mixture.
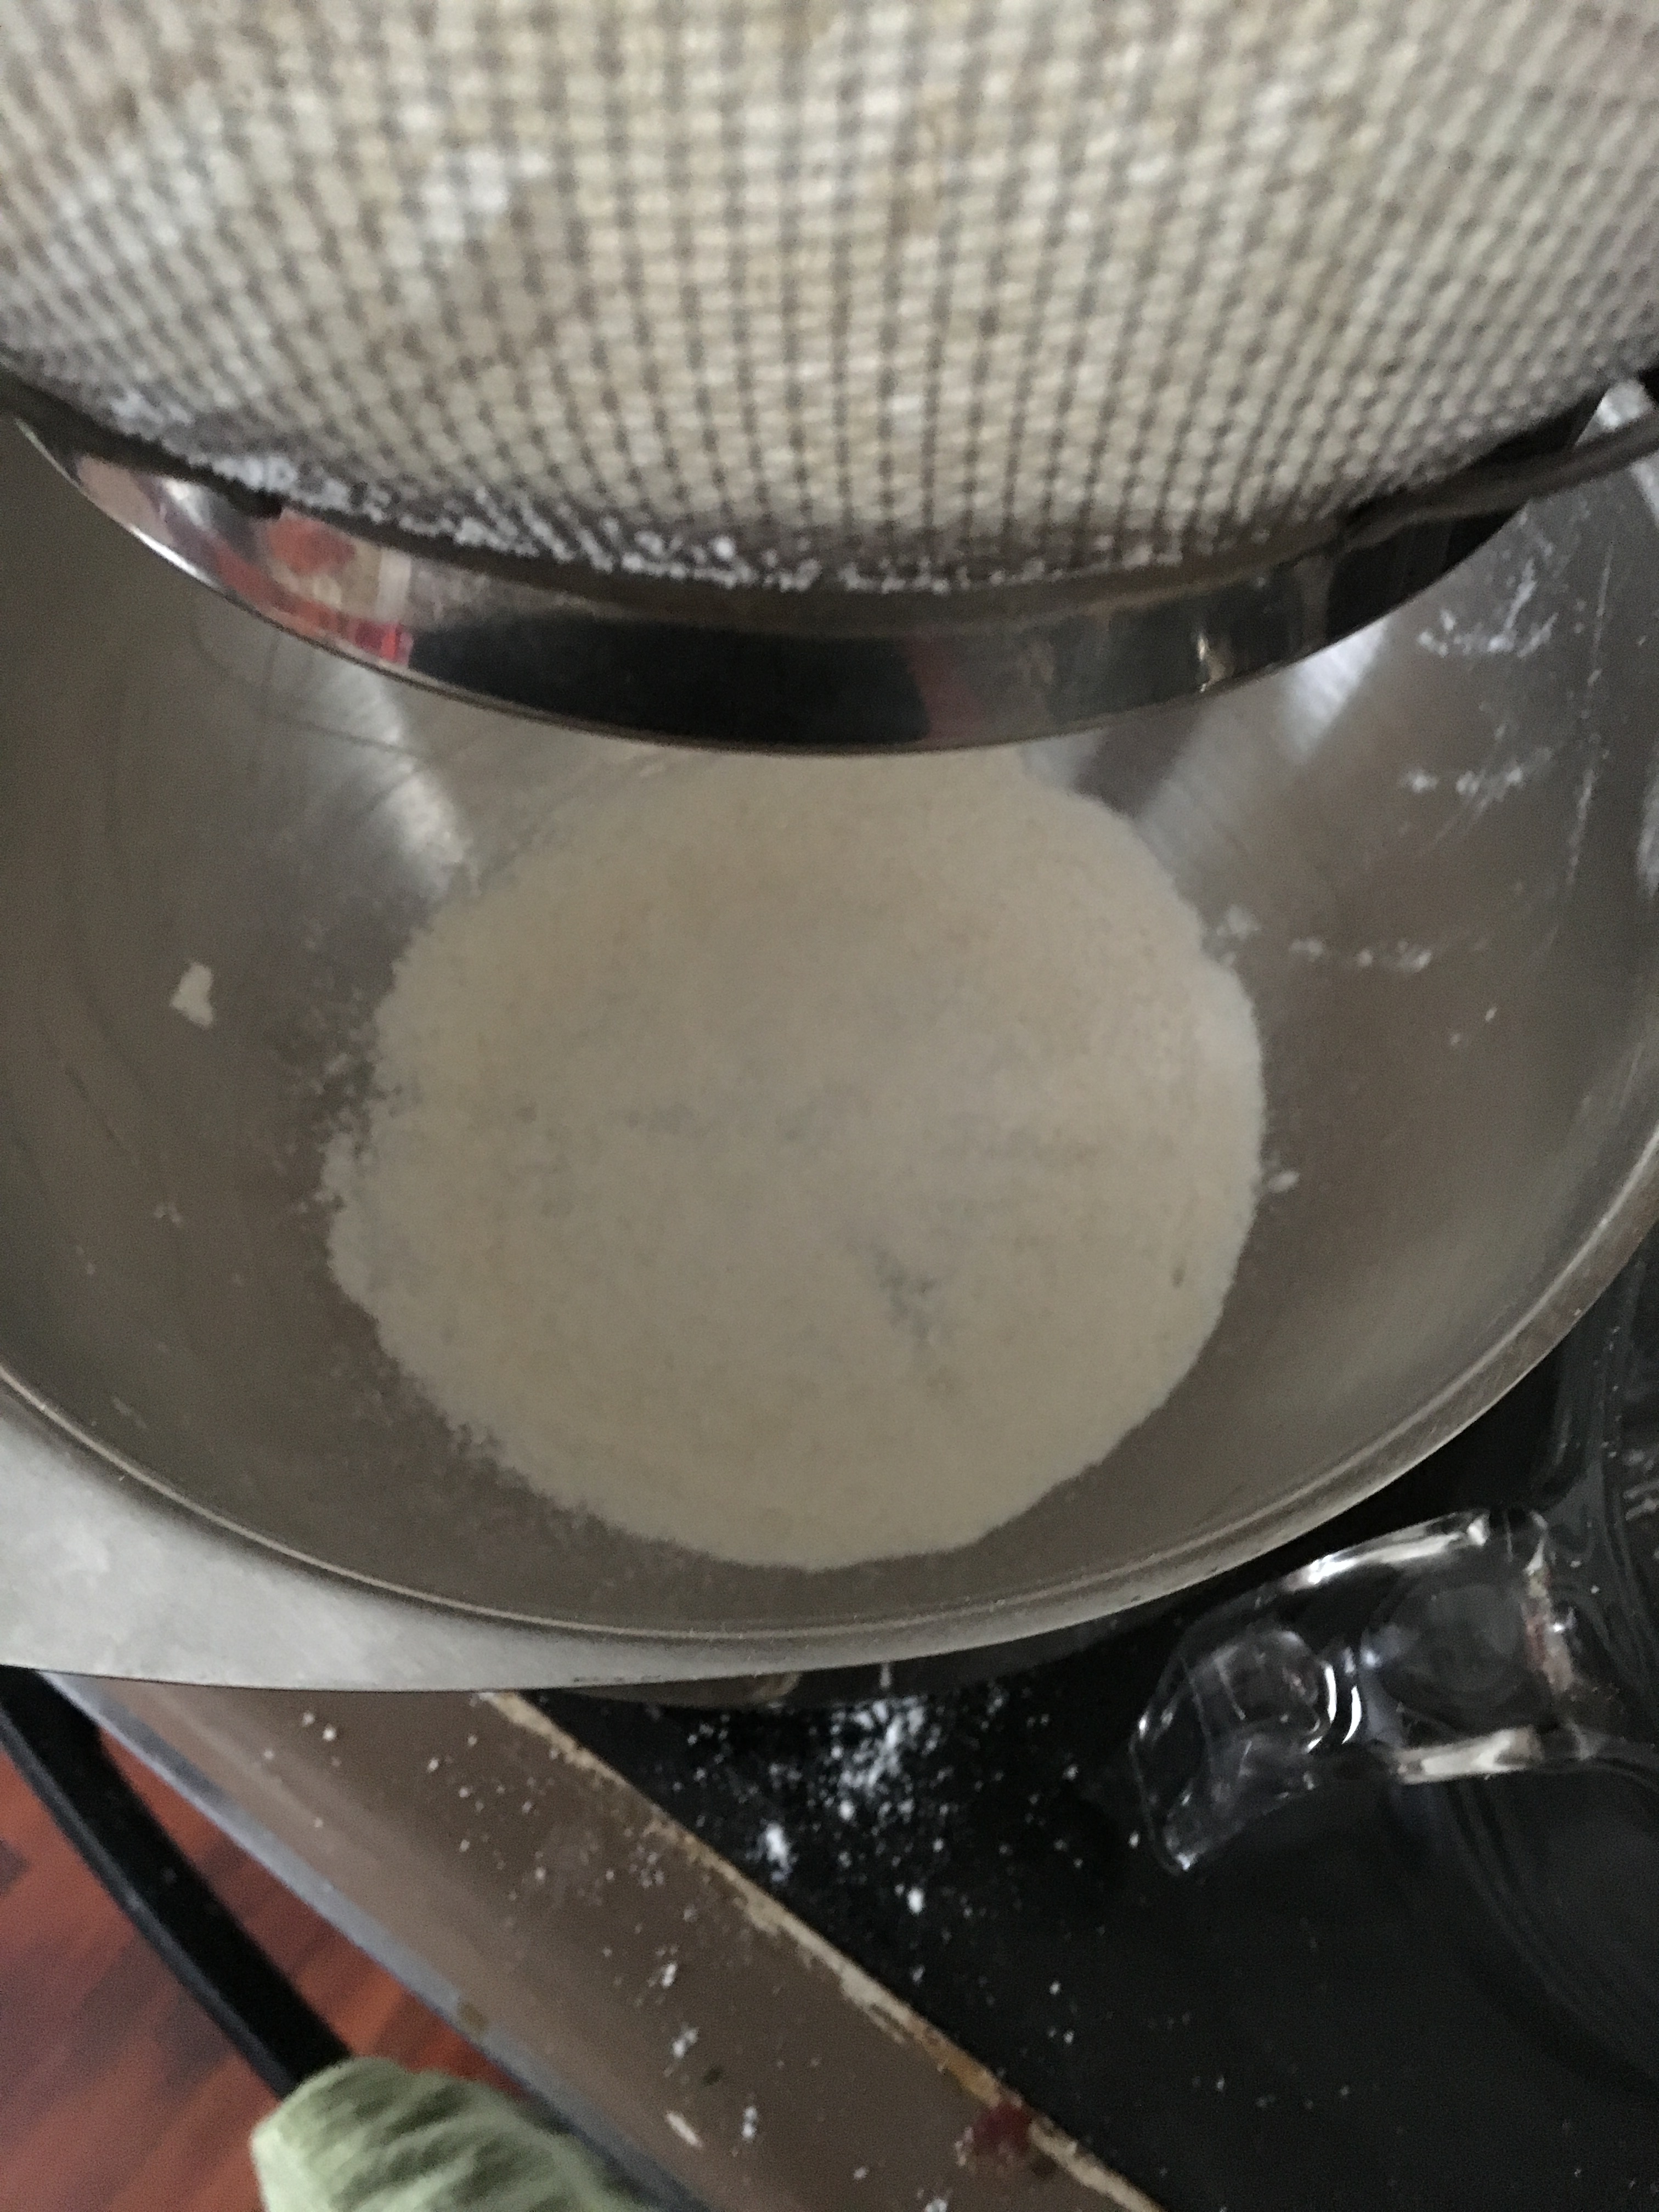
They suggest you put your sugar and almond flour in a food processor and pulse it at least 10 times, which I did. If you do this, know that my food processor is a mini-one which is why it’s filled nearly to the top. They also suggest that you sift it at least twice. I did this too. I was determined to get this right.
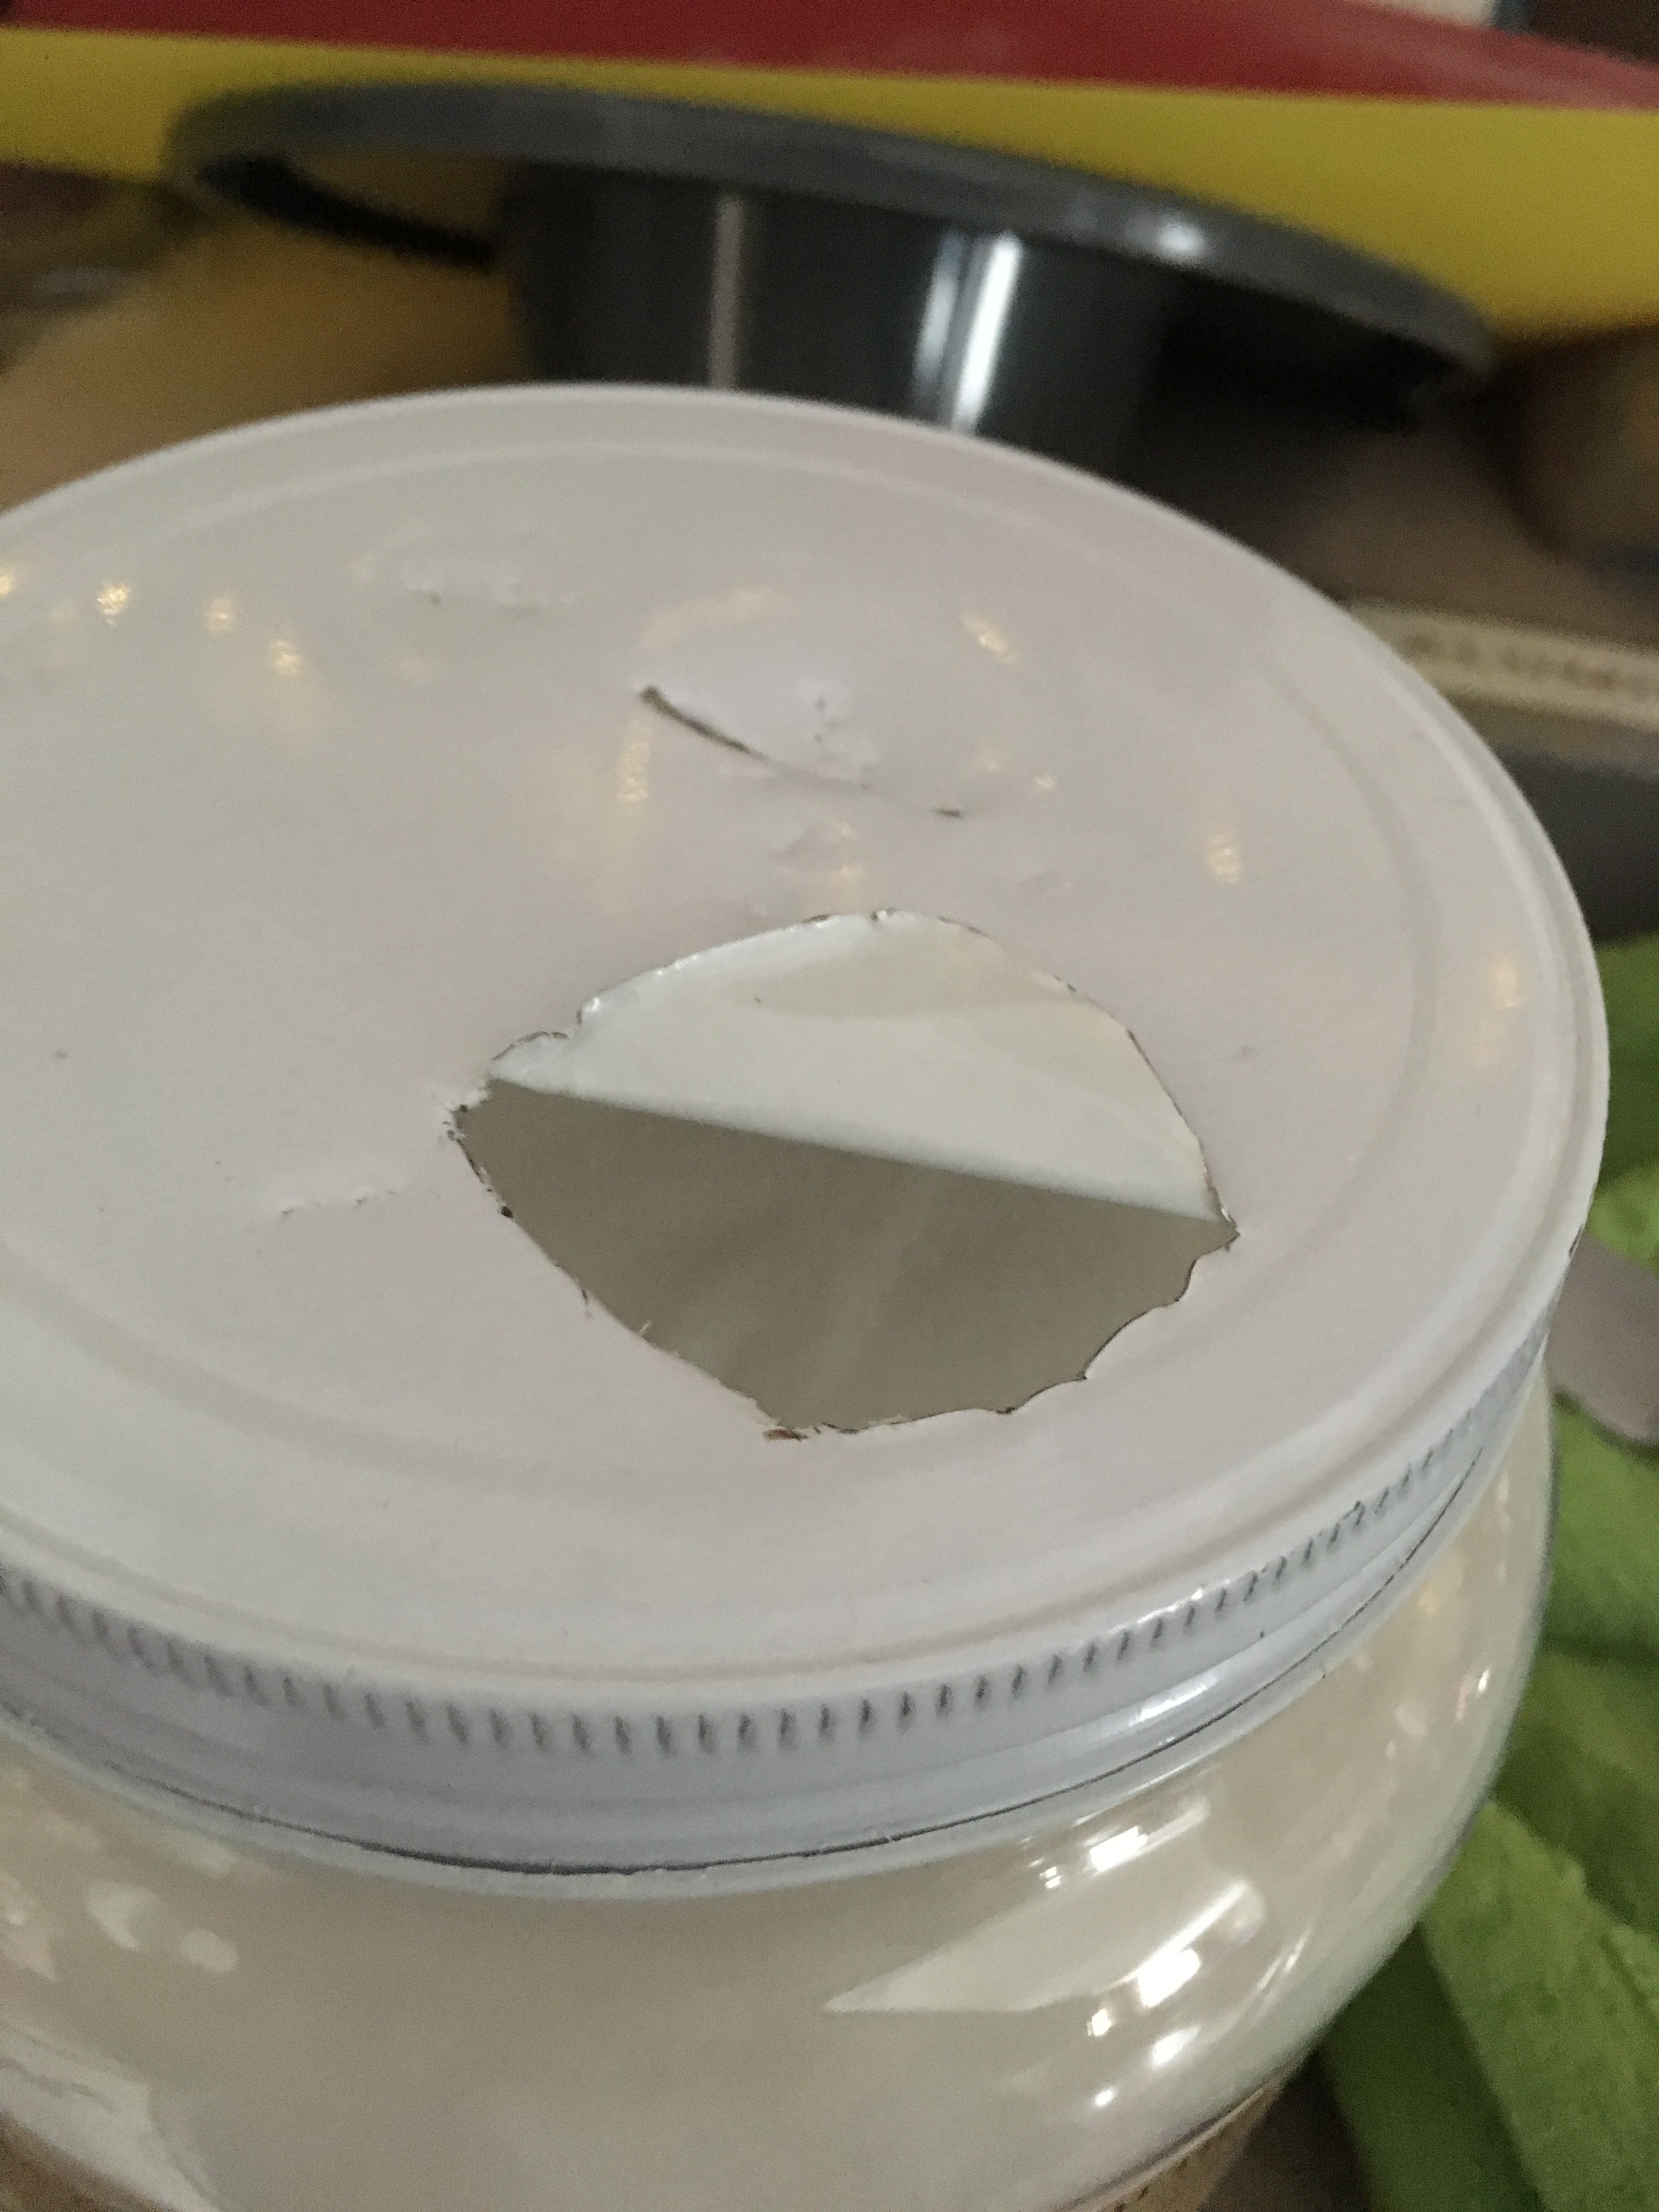
The wet ingredients are egg whites and sugar. The video didn’t say so, but I know that Macarons need caster sugar, which is special and very fine sugar. I bought a jar of it. And when I went to open it, I couldn’t do it. That’s pretty rare for me. I tried for 15 minutes to open it. I ran it under hot water. I put it between my legs and used both arms to try and get it open. And when I had pretty much exhausted myself, I decided to take a knife and stab it open.
Somehow, I did not get tetanus.
That worked. It’s like what I tell my students: work smarter, not harder.
Since I dyed the first batch and it looked like Smurf-icide, I decided to not dye this one and let the color of the blueberry filling be the beautiful color in this batch. I used fresh blueberries and made a buttercream filling, and the color was just gorgeous. More on this soon.
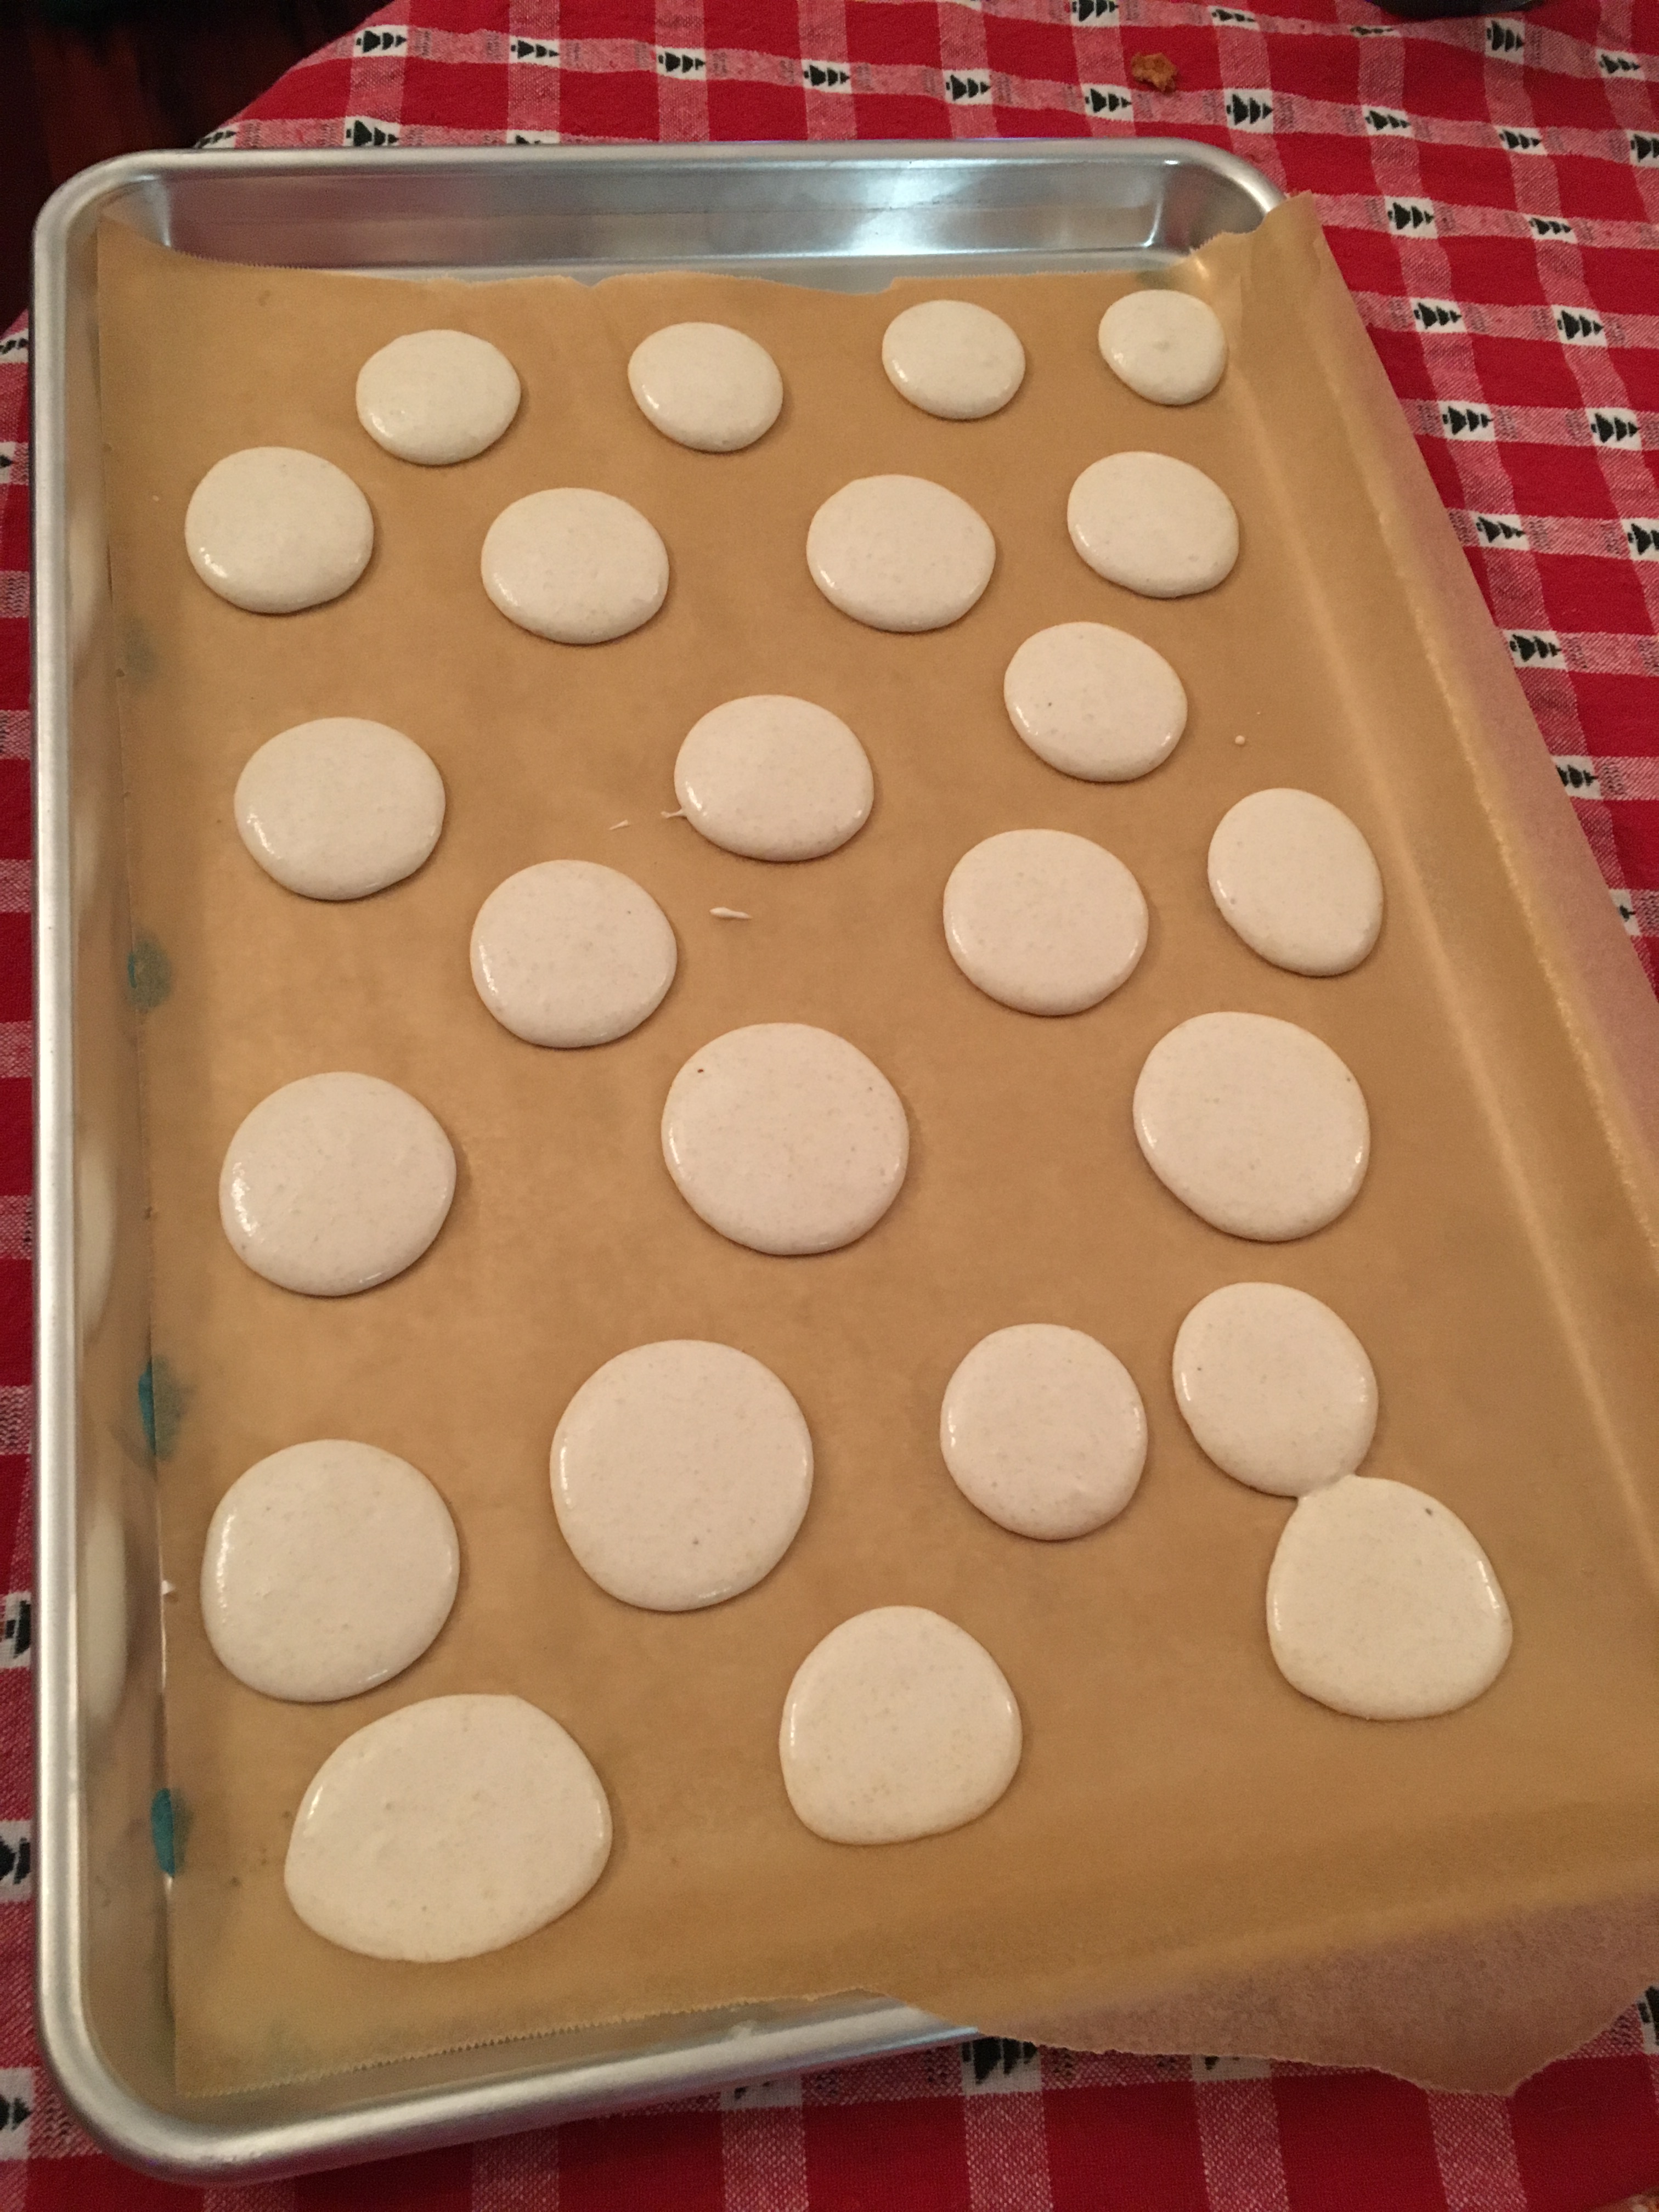
When it was all folded together properly (but not too much), I filled a pastry bag and piped my macarons on to a baking sheet. After that, I dropped the tray four or five times, as you are supposed to to make sure that all the air bubbles make their way to the top and release. I let them rest for an hour, as I was supposed to do.
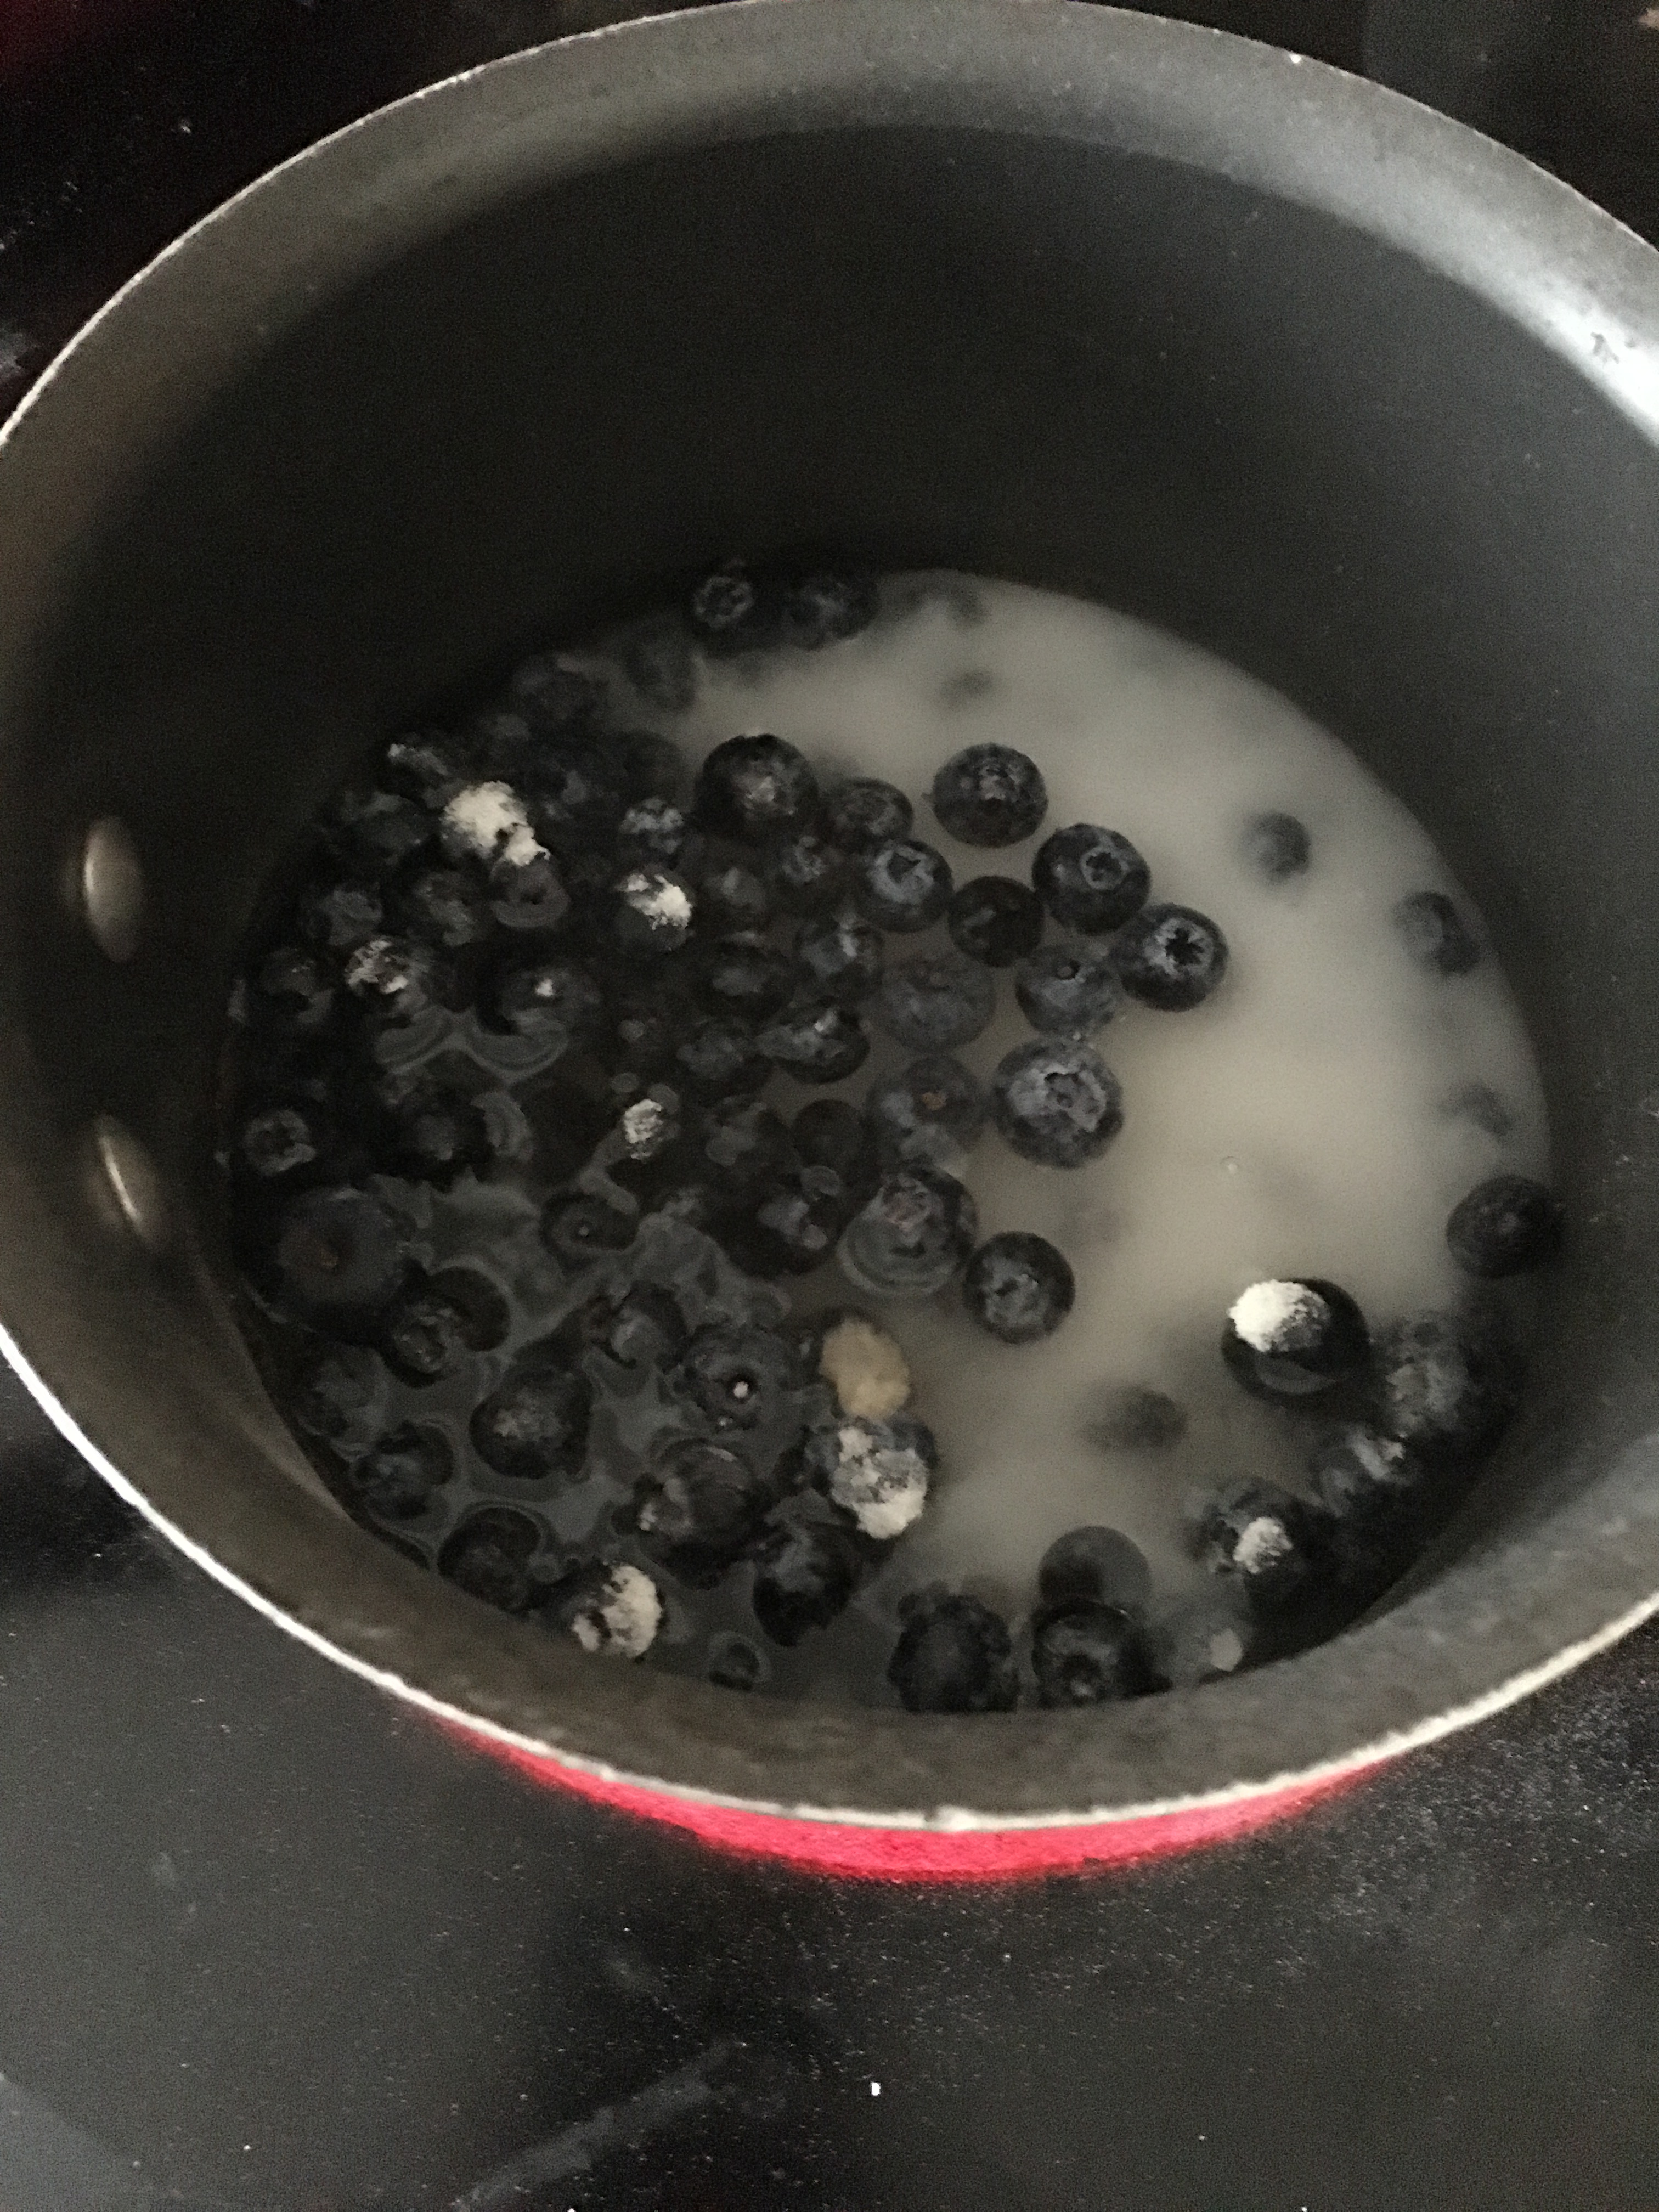
While that was going, I went back to my blueberry filling. I started it with the first batch and when things went awry there, I stopped. I put a cup of blueberries, a cup of sugar, and a cup of water on the stove and let it boil and come down, simmering for about 10 minutes. I wanted it to be thick like jelly, but it was still a little runny. After it cooled, I put it through a metal mesh colander to get the skins and chunks out, so all I had left was beautiful blueberry puree.
Ingredients: blueberries, sugar, water, and a teaspoon of lemon juice.
I found a recipe for how to make fresh blueberry buttercream online and followed the instructions. A very long story later, I had purple frosting that tasted like butter…and butter alone. This was turning out to be a comedy of errors. The Macaron gods were laughing at me.
After a few four-letter words and a tv show later, I summoned the gumption to try again. I got out more blueberries, sugar, and water. I made my puree again. And this time, I winged it. I put just a rubber spatula dollop of the purple butter-tasting butter cream into a bowl, added my new puree, and whisked until my anger had dissolved. I also added a whole bunch of powdered sugar to make it the right consistency. I mean, what good is fresh blueberry buttercream if you can’t taste the blueberries?
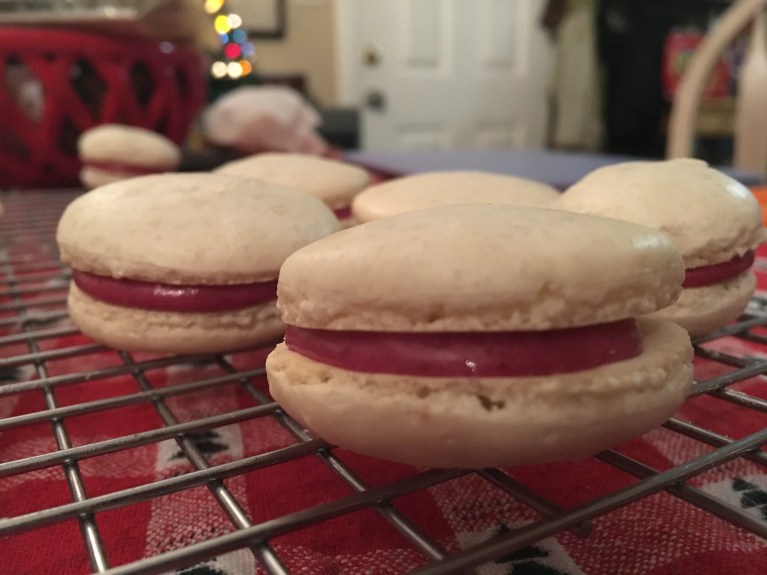
I mean…look how beautiful! And this batch actually tasted like blueberries!
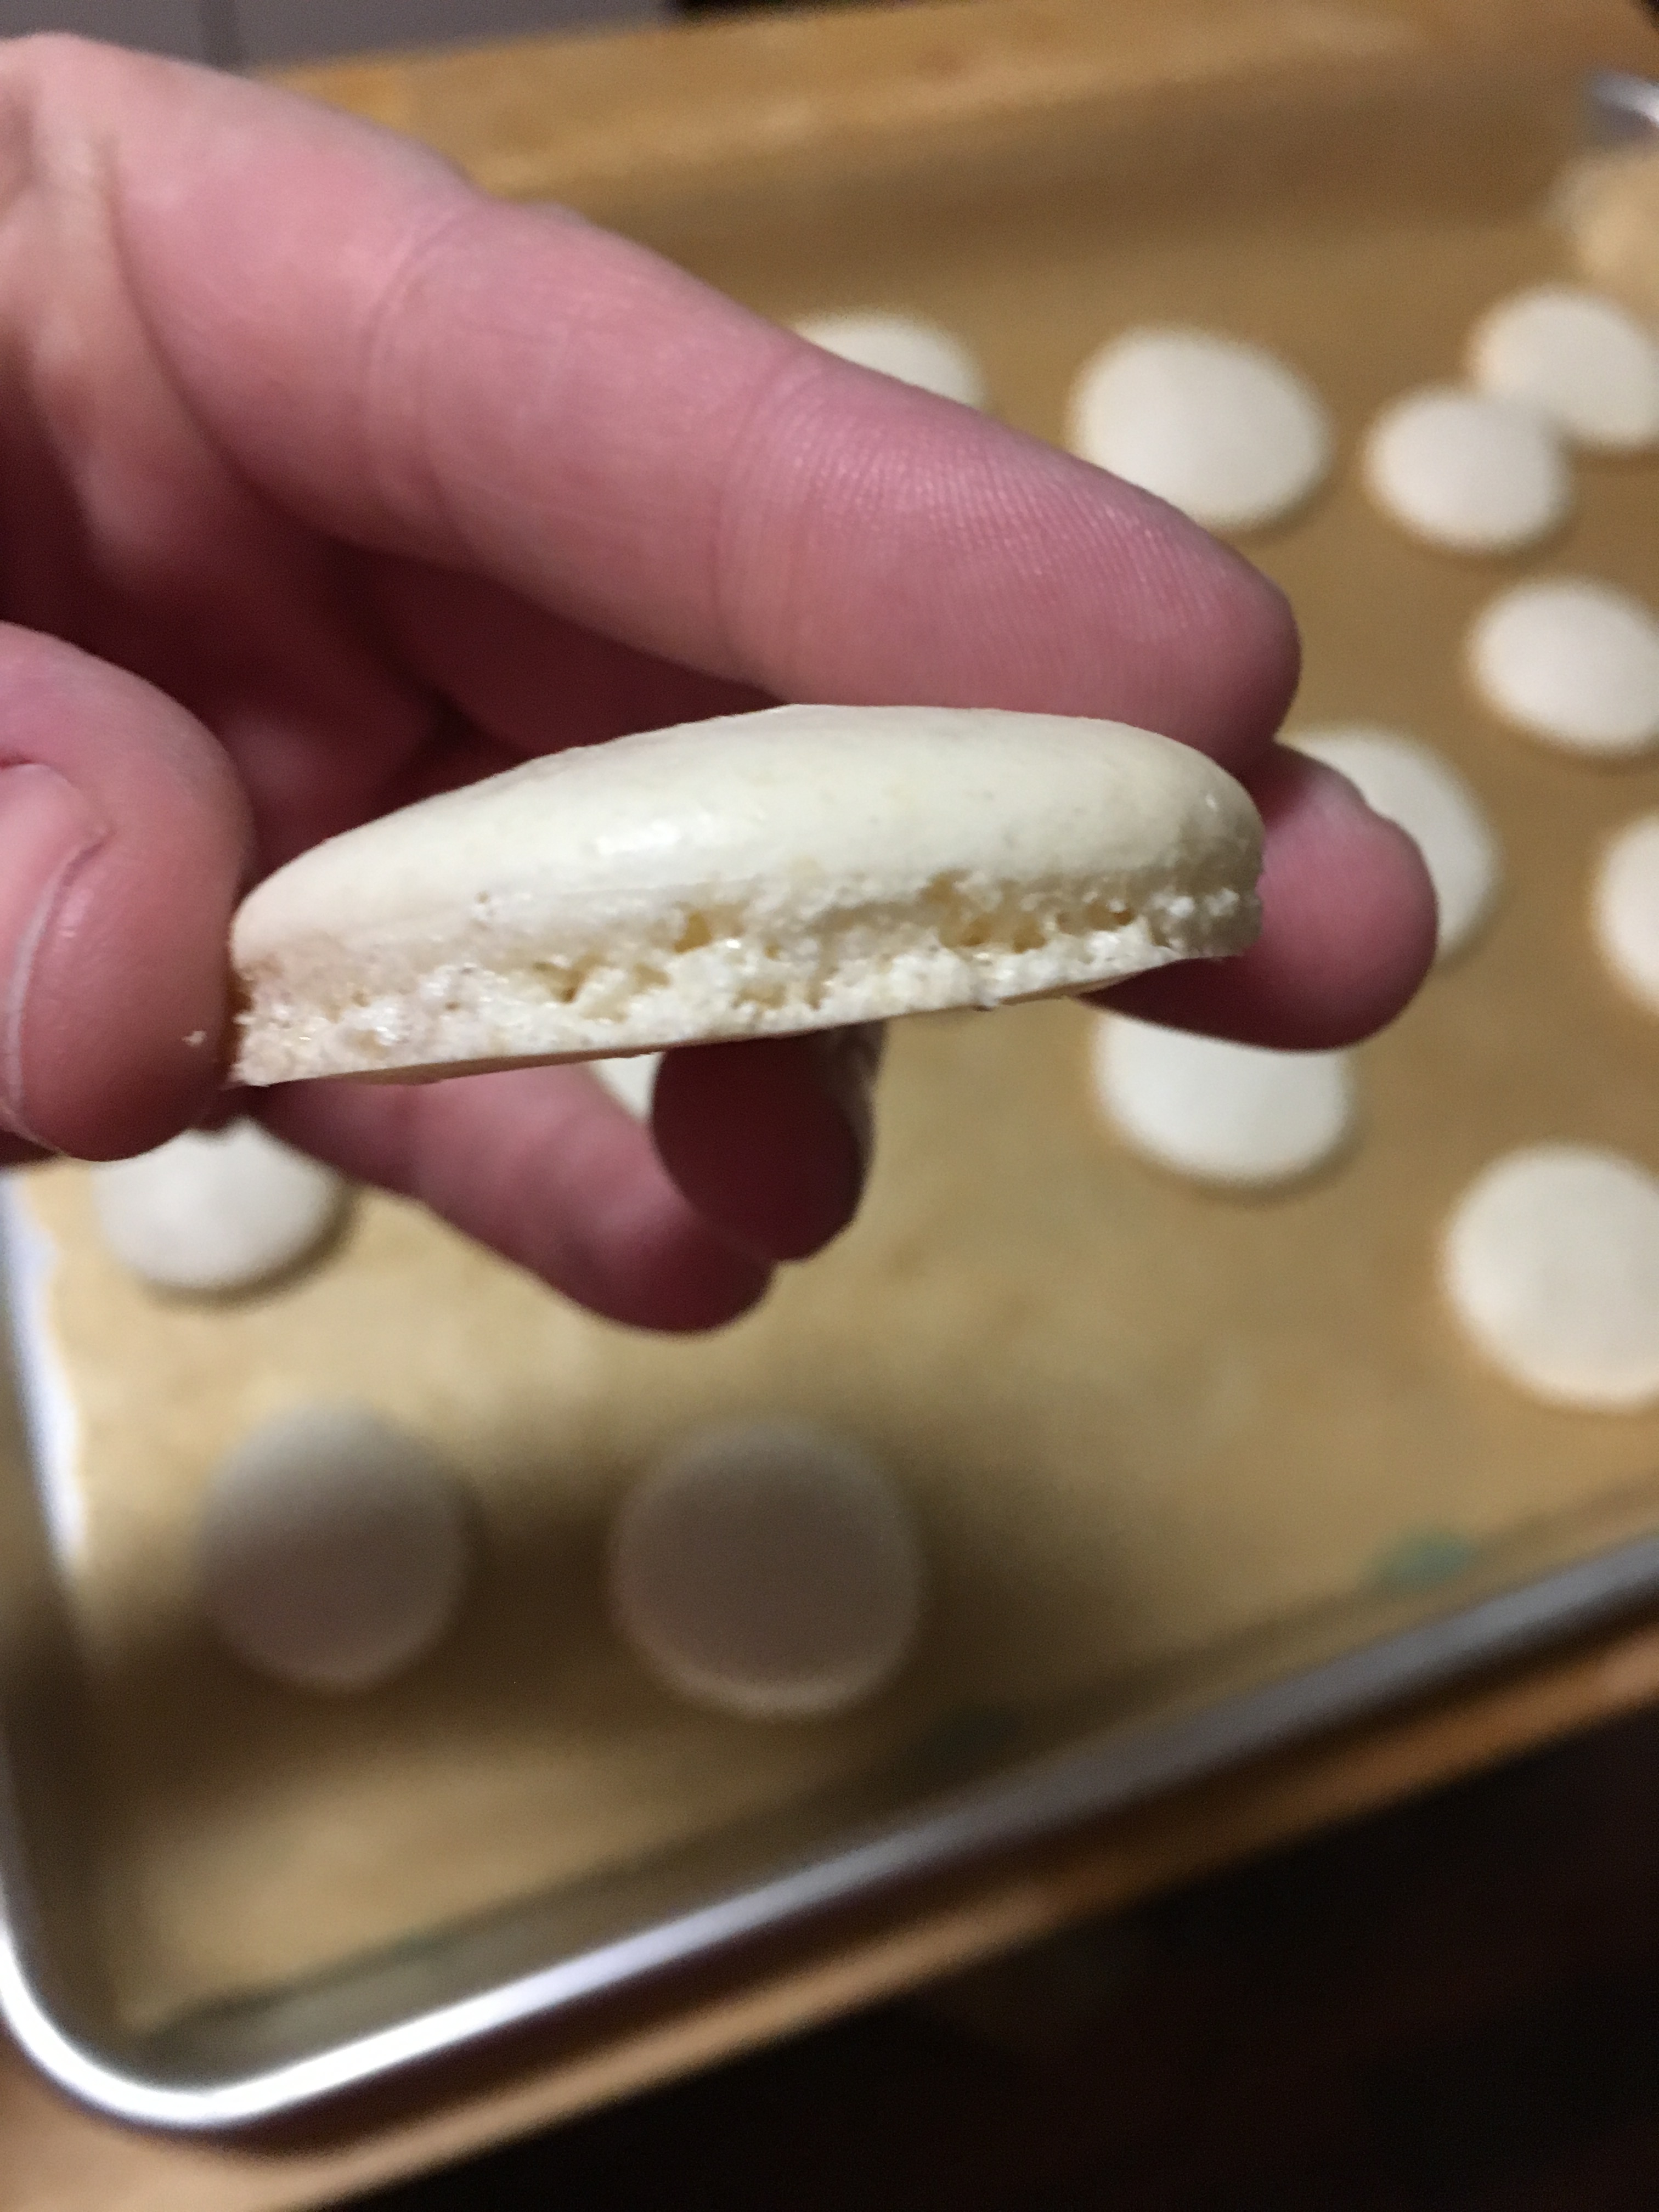
By then, it was time to put my macarons in the oven. When the first batch didn’t go well, I went online to see a macaron trouble-shooting guide. Since mine did not develop feet the first time, I started there. Feet are an important part of the macaron. I figured out that my oven was too cool, which I kind of knew but didn’t officially know, so I upped my temp to 310.
Those are macaron feet! I did it!
There was success!
I filled them and called my kids around to admire the beauty of my nearly perfect macarons. They feigned minimal interest and asked if they could have one.
In the bowl of a food processor, combine the powdered sugar, almond flour, and ½ teaspoon of salt, and process on low speed, until extra fine. Sift the almond flour mixture through a fine-mesh sieve into a large bowl.
In a separate large bowl, beat the egg whites and the remaining ½ teaspoon of salt with an electric hand mixer until soft peaks form. Gradually add the granulated sugar until fully incorporated. Continue to beat until stiff peaks form (you should be able to turn the bowl upside down without anything falling out).
Add the vanilla and beat until incorporated. Add the food coloring and beat until just combined.
Add about ⅓ of the sifted almond flour mixture at a time to the beaten egg whites and use a spatula to gently fold until combined. After the last addition of almond flour, continue to fold slowly until the batter falls into ribbons and you can make a figure 8 while holding the spatula up.
Transfer the macaron batter into a piping bag fitted with a round tip.
Place 4 dots of the batter in each corner of a rimmed baking sheet, and place a piece of parchment paper over it, using the batter to help adhere the parchment to the baking sheet.
Pipe the macarons onto the parchment paper in 1½-inch (3-cm) circles, spacing at least 1-inch (2-cm) apart.
Tap the baking sheet on a flat surface 5 times to release any air bubbles.
Let the macarons sit at room temperature for 30 minutes to 1 hour, until dry to the touch.
Preheat the oven to 300˚F (150˚C).
Bake the macarons for 17 minutes, until the feet are well-risen and the macarons don’t stick to the parchment paper.
Transfer the macarons to a wire rack to cool completely before filling.