These are the best damn sugar cookies you’ll ever have.
What makes me so confident? I’ve had a lot of cookies. I’ve run a cookie blog for 8 years. I’m not exactly the 120 lb. daughter my mother always wanted, and I can tell you, I didn’t get this way eating salads. I’ve conducted sugar cookie research I didn’t even know I was doing, since I was 8 years-old.
As far as Christmas cookies go, they are number 1. Fight me bro. What makes them so good are the combination of both vanilla and almond extracts.
Jessica’s Best Sugar Cookies
1 1/2 c. sifted powdered sugar
1 c. butter
1 egg
1 t. vanilla
1/2 t. almond extract
2 1/2 c. flour
1 t. baking soda
1 t. cream of tartar
Directions
1. Cream butter and sugar. Mix in egg and extracts. Blend dry ingredients and stir in.
2. Refrigerate 2-3 hours. Divide dough in half and roll out. Cut out desired shapes.
3. Bake at 375 for 7-8 minutes.
My little buddy Emmett again helped me with these cookies, since my own kids are large and old and mostly uninterested in cookie decorating these days. Emmett’s dad is one of my very best friends, and has been for 30 years. So when I need an expert kid cookie-decorator, Emmett is my go-to kid.
Emmett did a great job with decorating and saying please and thank yiu and also showing off his reading skills by taking his turn reading Christmas trivia to us.
I made these before Emmett and his chauffeur, I mean Dad, came over, just so we’d have more time to decorate them.
The day Emmett and his dad come over to do Christmas cookies is my favorite cookie day of the year. Maybe we can even do it twice this year. Love this kiddo, and his dad is pretty okay too.
We’re over the halfway point now. Am I sick of cookies yet? I wouldn’t say that. I’m not exactly excited by them, but I’m not dreading them. It also helps that my work told us we could work from home for awhile–since last week–and that means I can make dough at lunch, which definitely helps my motivation!
Today I did another new recipe, though I’ve seen them on Christmas cookie platters since I was an off-key kid singing at a Christmas pageant. I just didn’t know what they were called.
They are so easy, I feel dumb that I’ve never made them before!
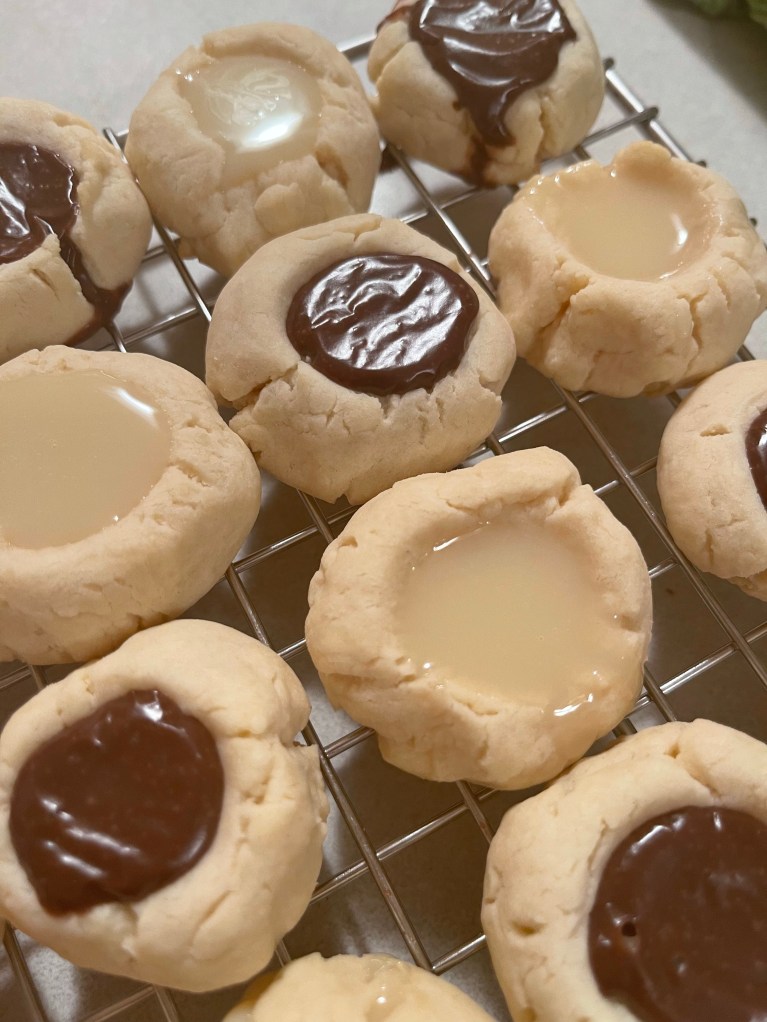
1-2-3 Cookies
1 1/2 c. flour
1/2 c. cold butter, cubed
1/4 c. Sweetened Condensed Milk
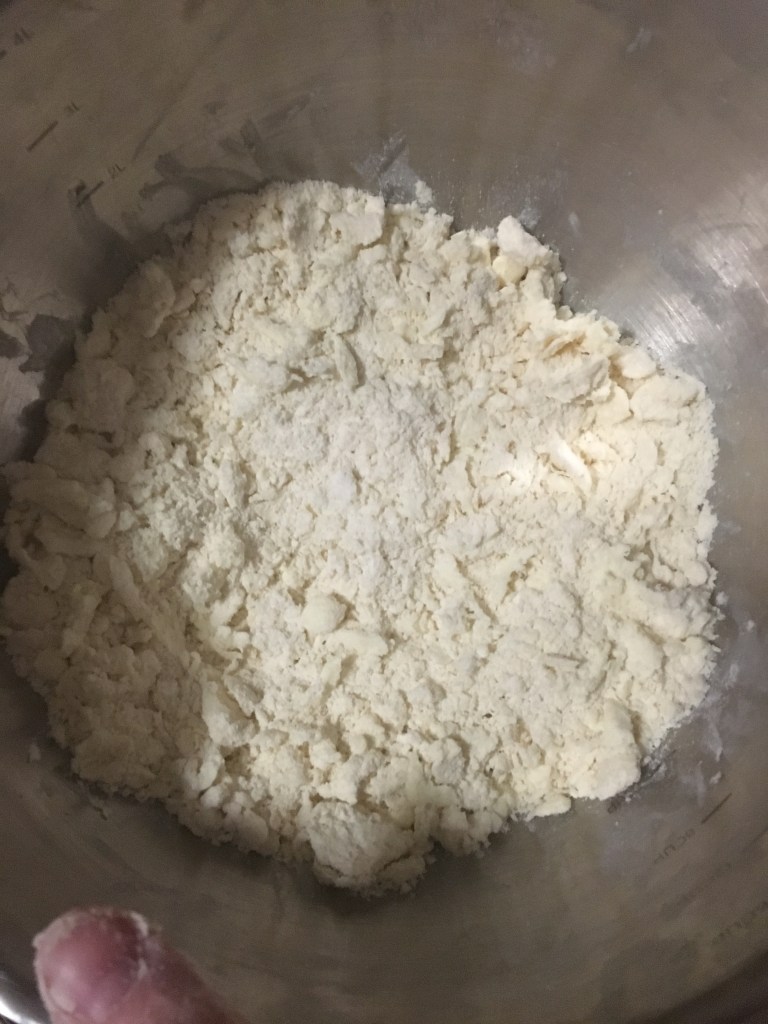
In a mixing bowl rub the flour and butter until it resembles a wet sand like texture.
Add the condensed milk and combine to form a dough. If the dough feels sticky then feel free to add additional tbsp of flour to make it into a cookie dough.
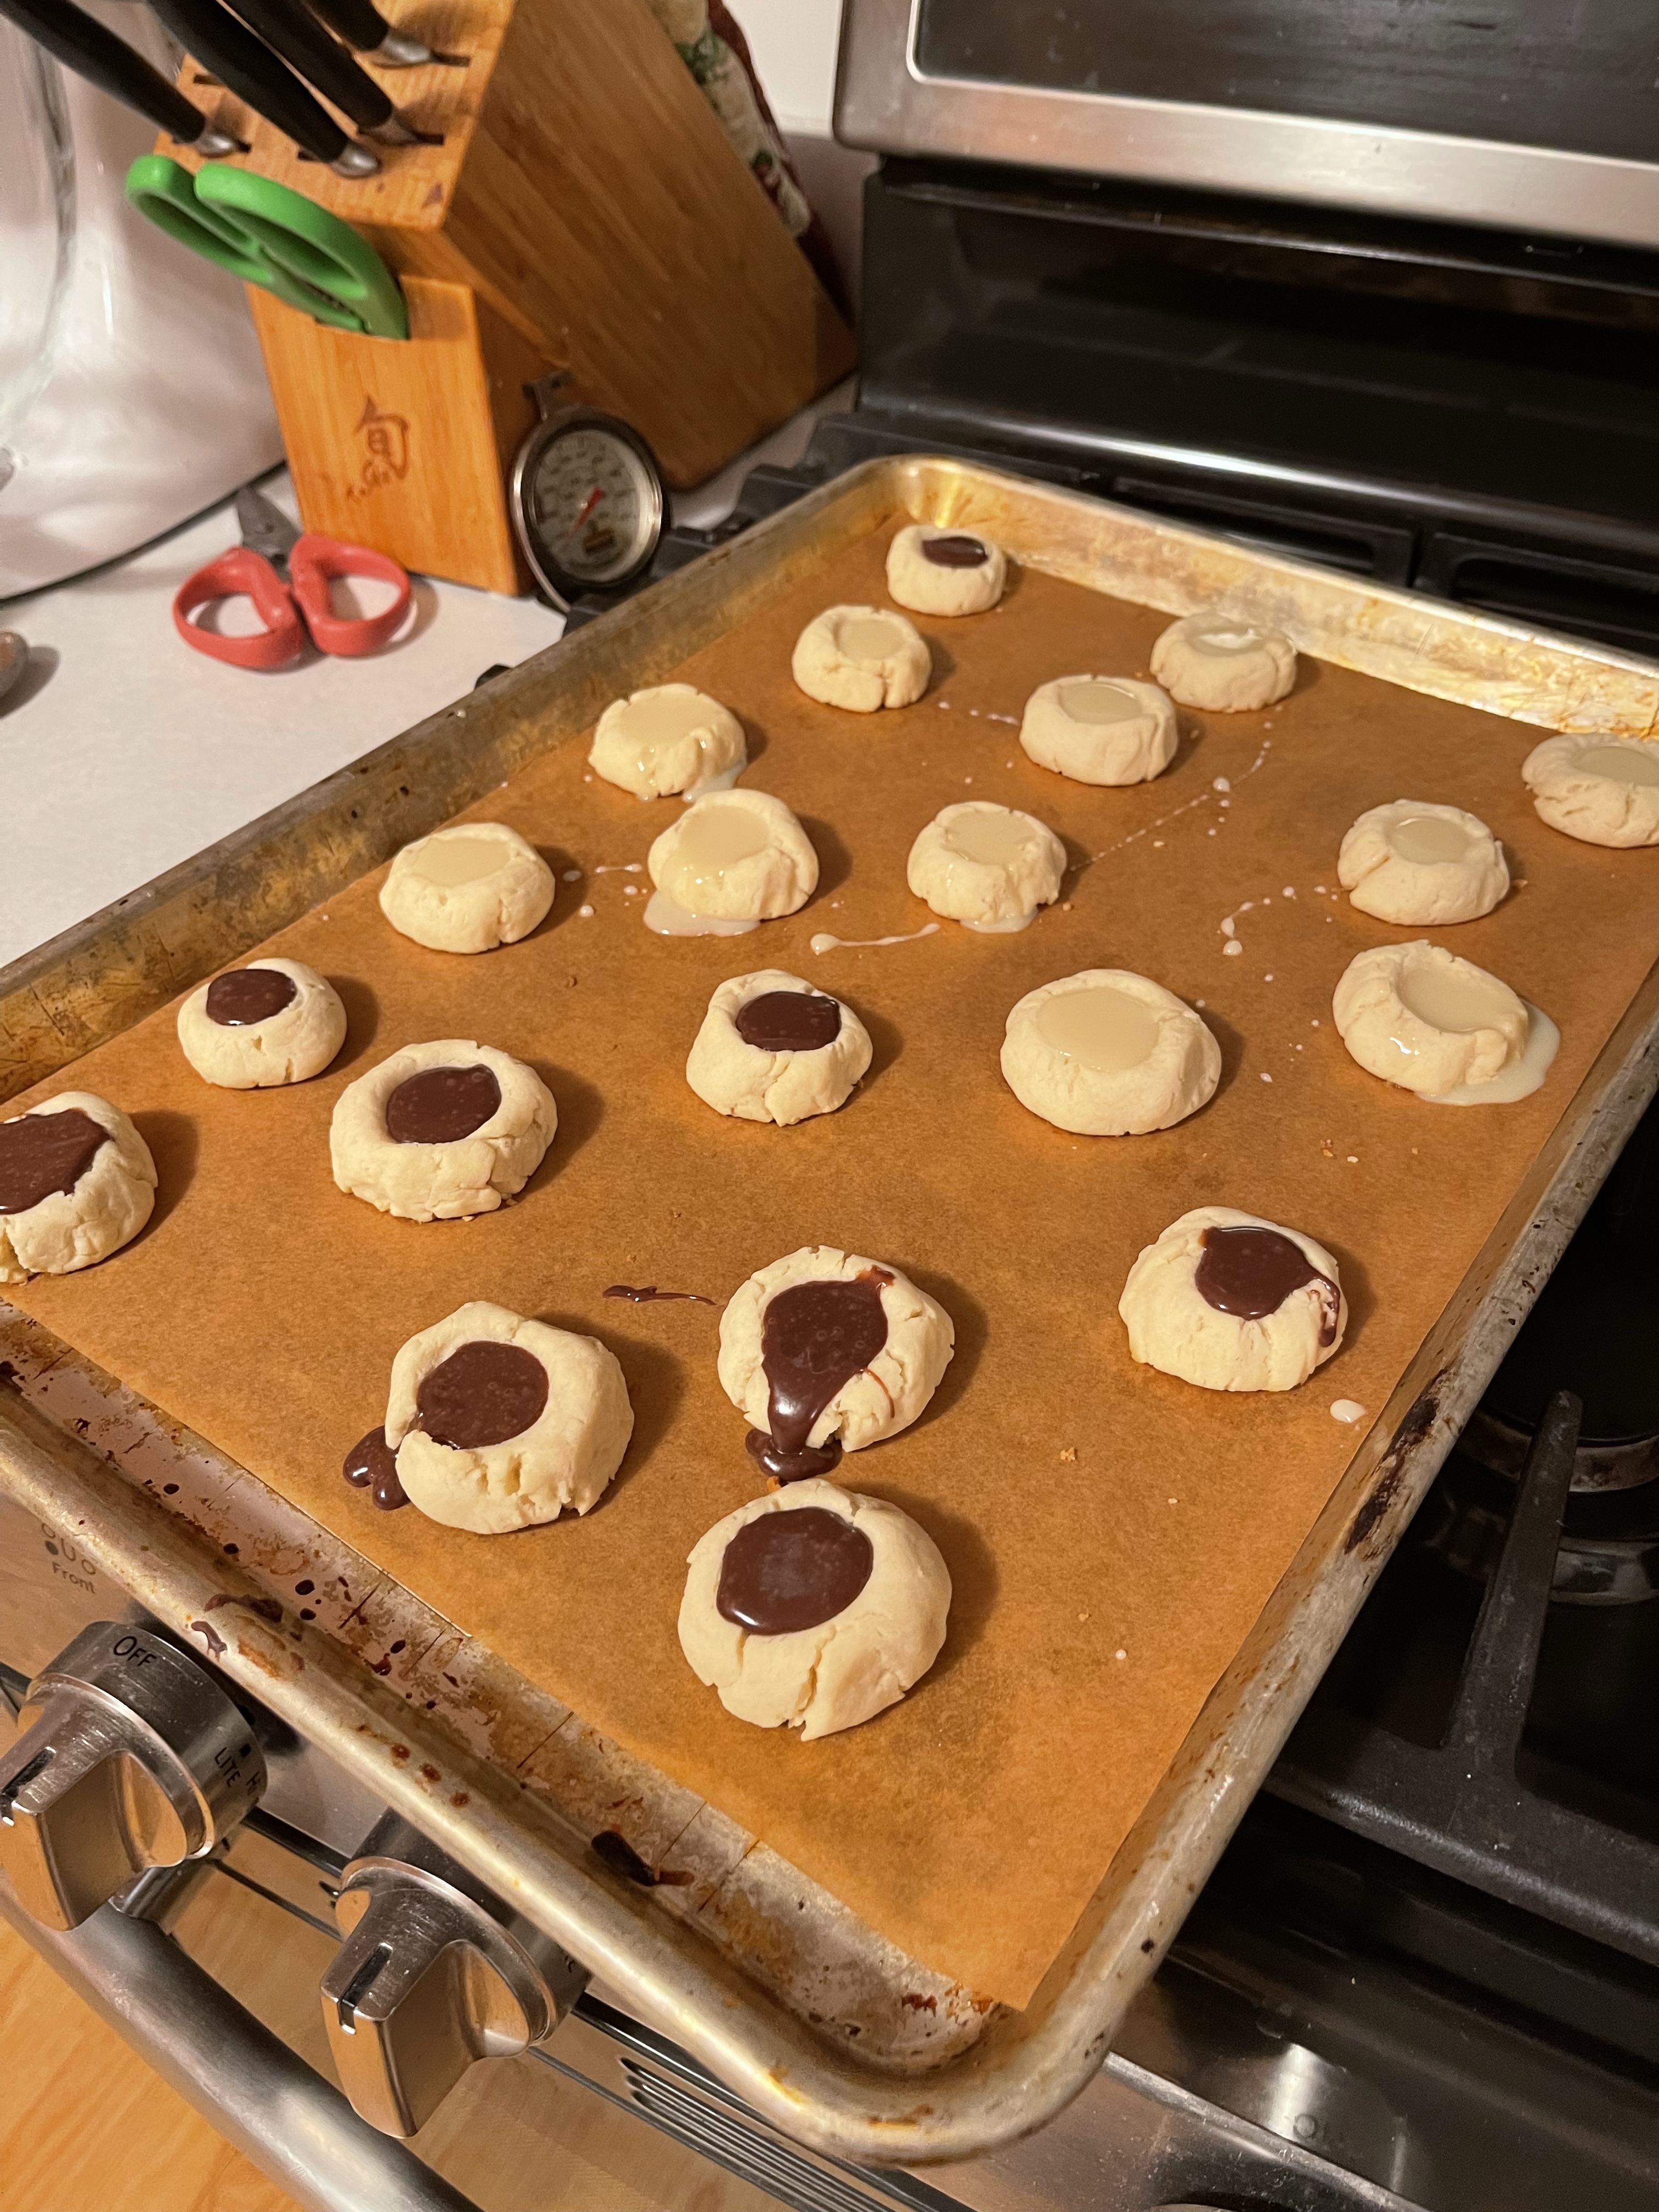
Using a tbsp as the measurement, take out the portion of dough, shape it into a ball and place on a baking tray lined with parchment paper.
Using the back of your tsp make a well in the center of the cookie dough. Smooth any cracks if any.
Bake in a pre-heated oven of 350 for 8 to 10 mins until the bottom of the cookie is golden brown and the top is pale in color.
Once baked and still warm fill it with condensed milk or whatever filling you want
Let the cookies cool completely and then transfer to an air tight container and store for 1 week at room temperature.
I like condensed milk as much as the next person, but what I remember as a kid was that these were filled with chocolate. I melted some chocolate chips and mixed it with a little sweetened condensed milk and it’s yummy. I also did some with the sweetened condensed milk alone too.
I made these two hours ago, and I think I’m down to five. Kids say the cats like them. I think they might be telling me stories. But then I saw my 25lb cat licking his chops, so maybe they are telling the truth…
I realized I haven’t added as many new cookies to my rotation this year, so I went to the Google machine to look up some more creative Christmas cookies.
I found a list of like 25 Christmas Cookies You HAVE to Make Right Now or You Will Die a Painful Slow Death at the Hands of a Marketing Assistant Whose Job Depends on You Clicking The Link.
I’m in marketing. While that may not have actually been the list’s name, it’s the subtle subtext around it.
So I clicked. (Side note: it’s a shallow life goal to be included on one of these lists someday.)
And that’s where I found today’s beauty. Well, I found it on that list, but then went to the real site.
Double Chocolate Cherry Cookies
1/2 c. butter softened
1/2 c. sugar
1/2 c. brown sugar
2 eggs
1 1/2 c. all purpose flour
2/3 c. cocoa
1/4 t. salt
1/4 t. baking powder
1/4 t. baking soda
1 t. vanilla extract
2 t. cherry juice (from maraschino cherry jar)
30–36 jarred maraschino cherries
1/4 c. semi sweet chocolate chips
2 T. sweetened condensed milk
1 T. cherry juice (from maraschino cherry jar)
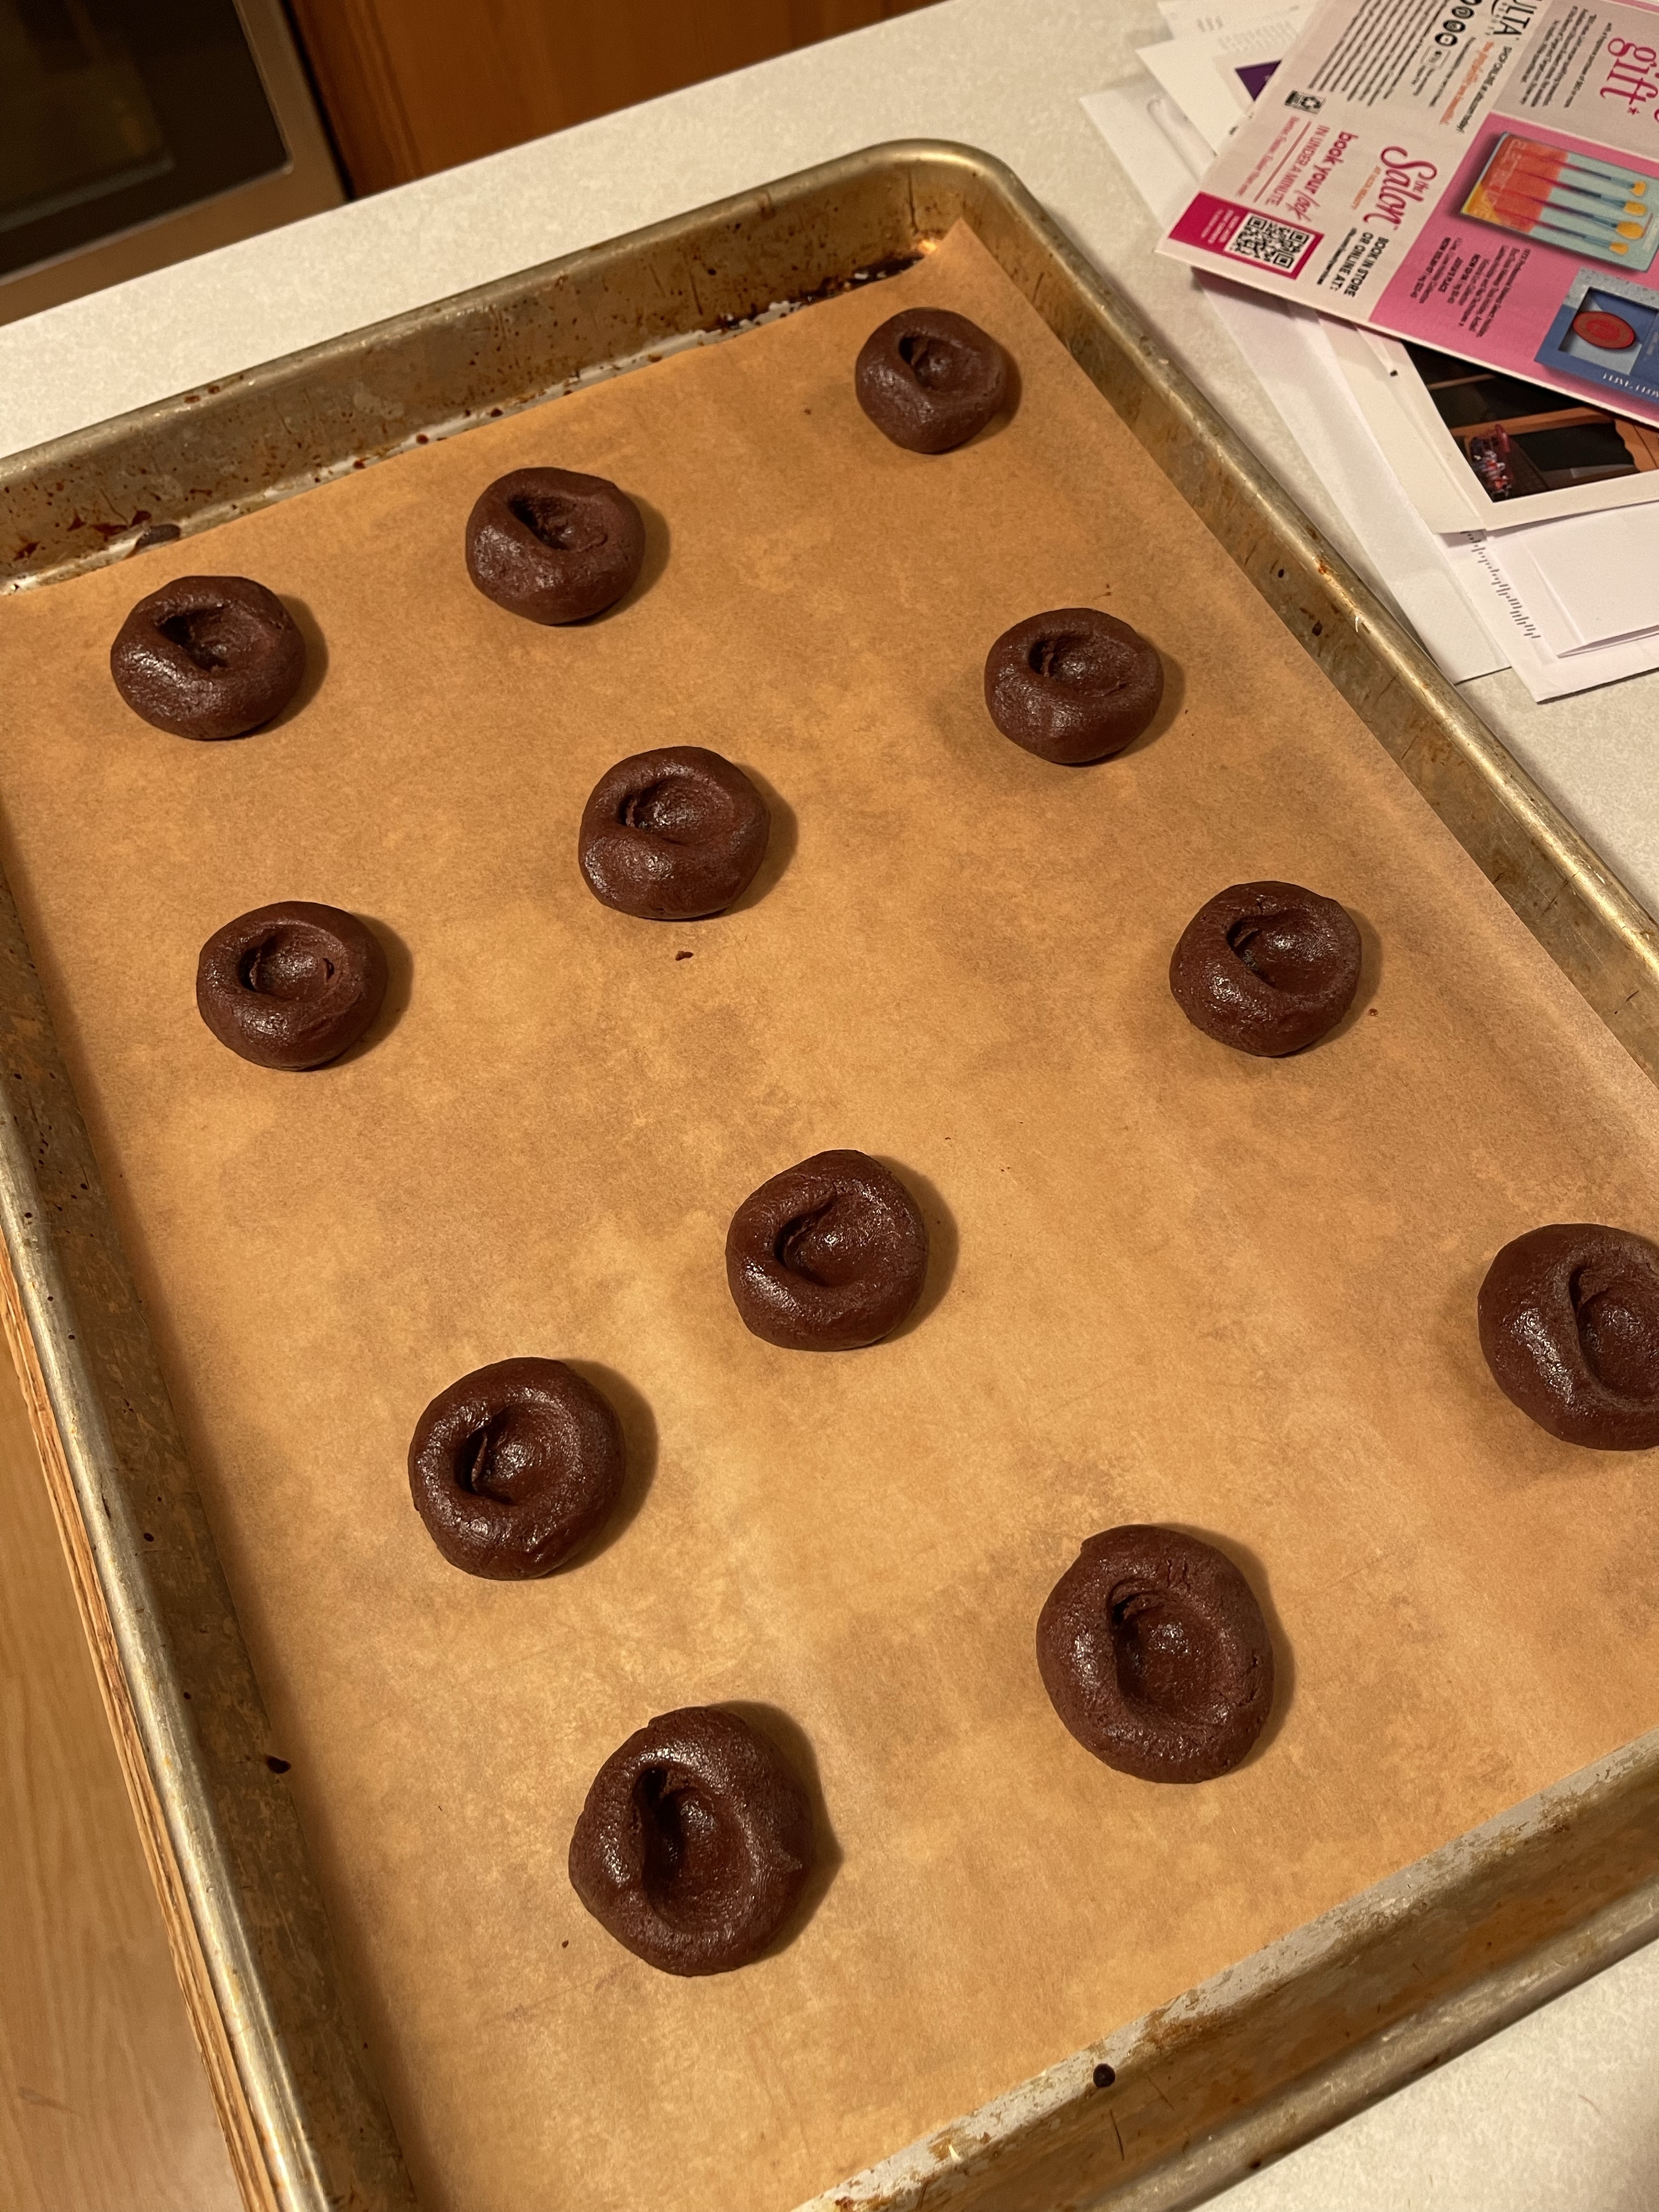
Preheat oven to 350 degrees.
Cream butter and both sugars with mixer. Add eggs one at a time and mix in.
Combine flour, cocoa, salt, baking powder and baking soda in a medium bowl. Add 1/2 cup dry mixture to butter mixture at a time. Blending after each addition just until combined and scraping side of mixer bowl as needed. Add vanilla and 2 teaspoons cherry juice and mix just until combined. Remove bowl from mixer and refrigerate for 30 minutes
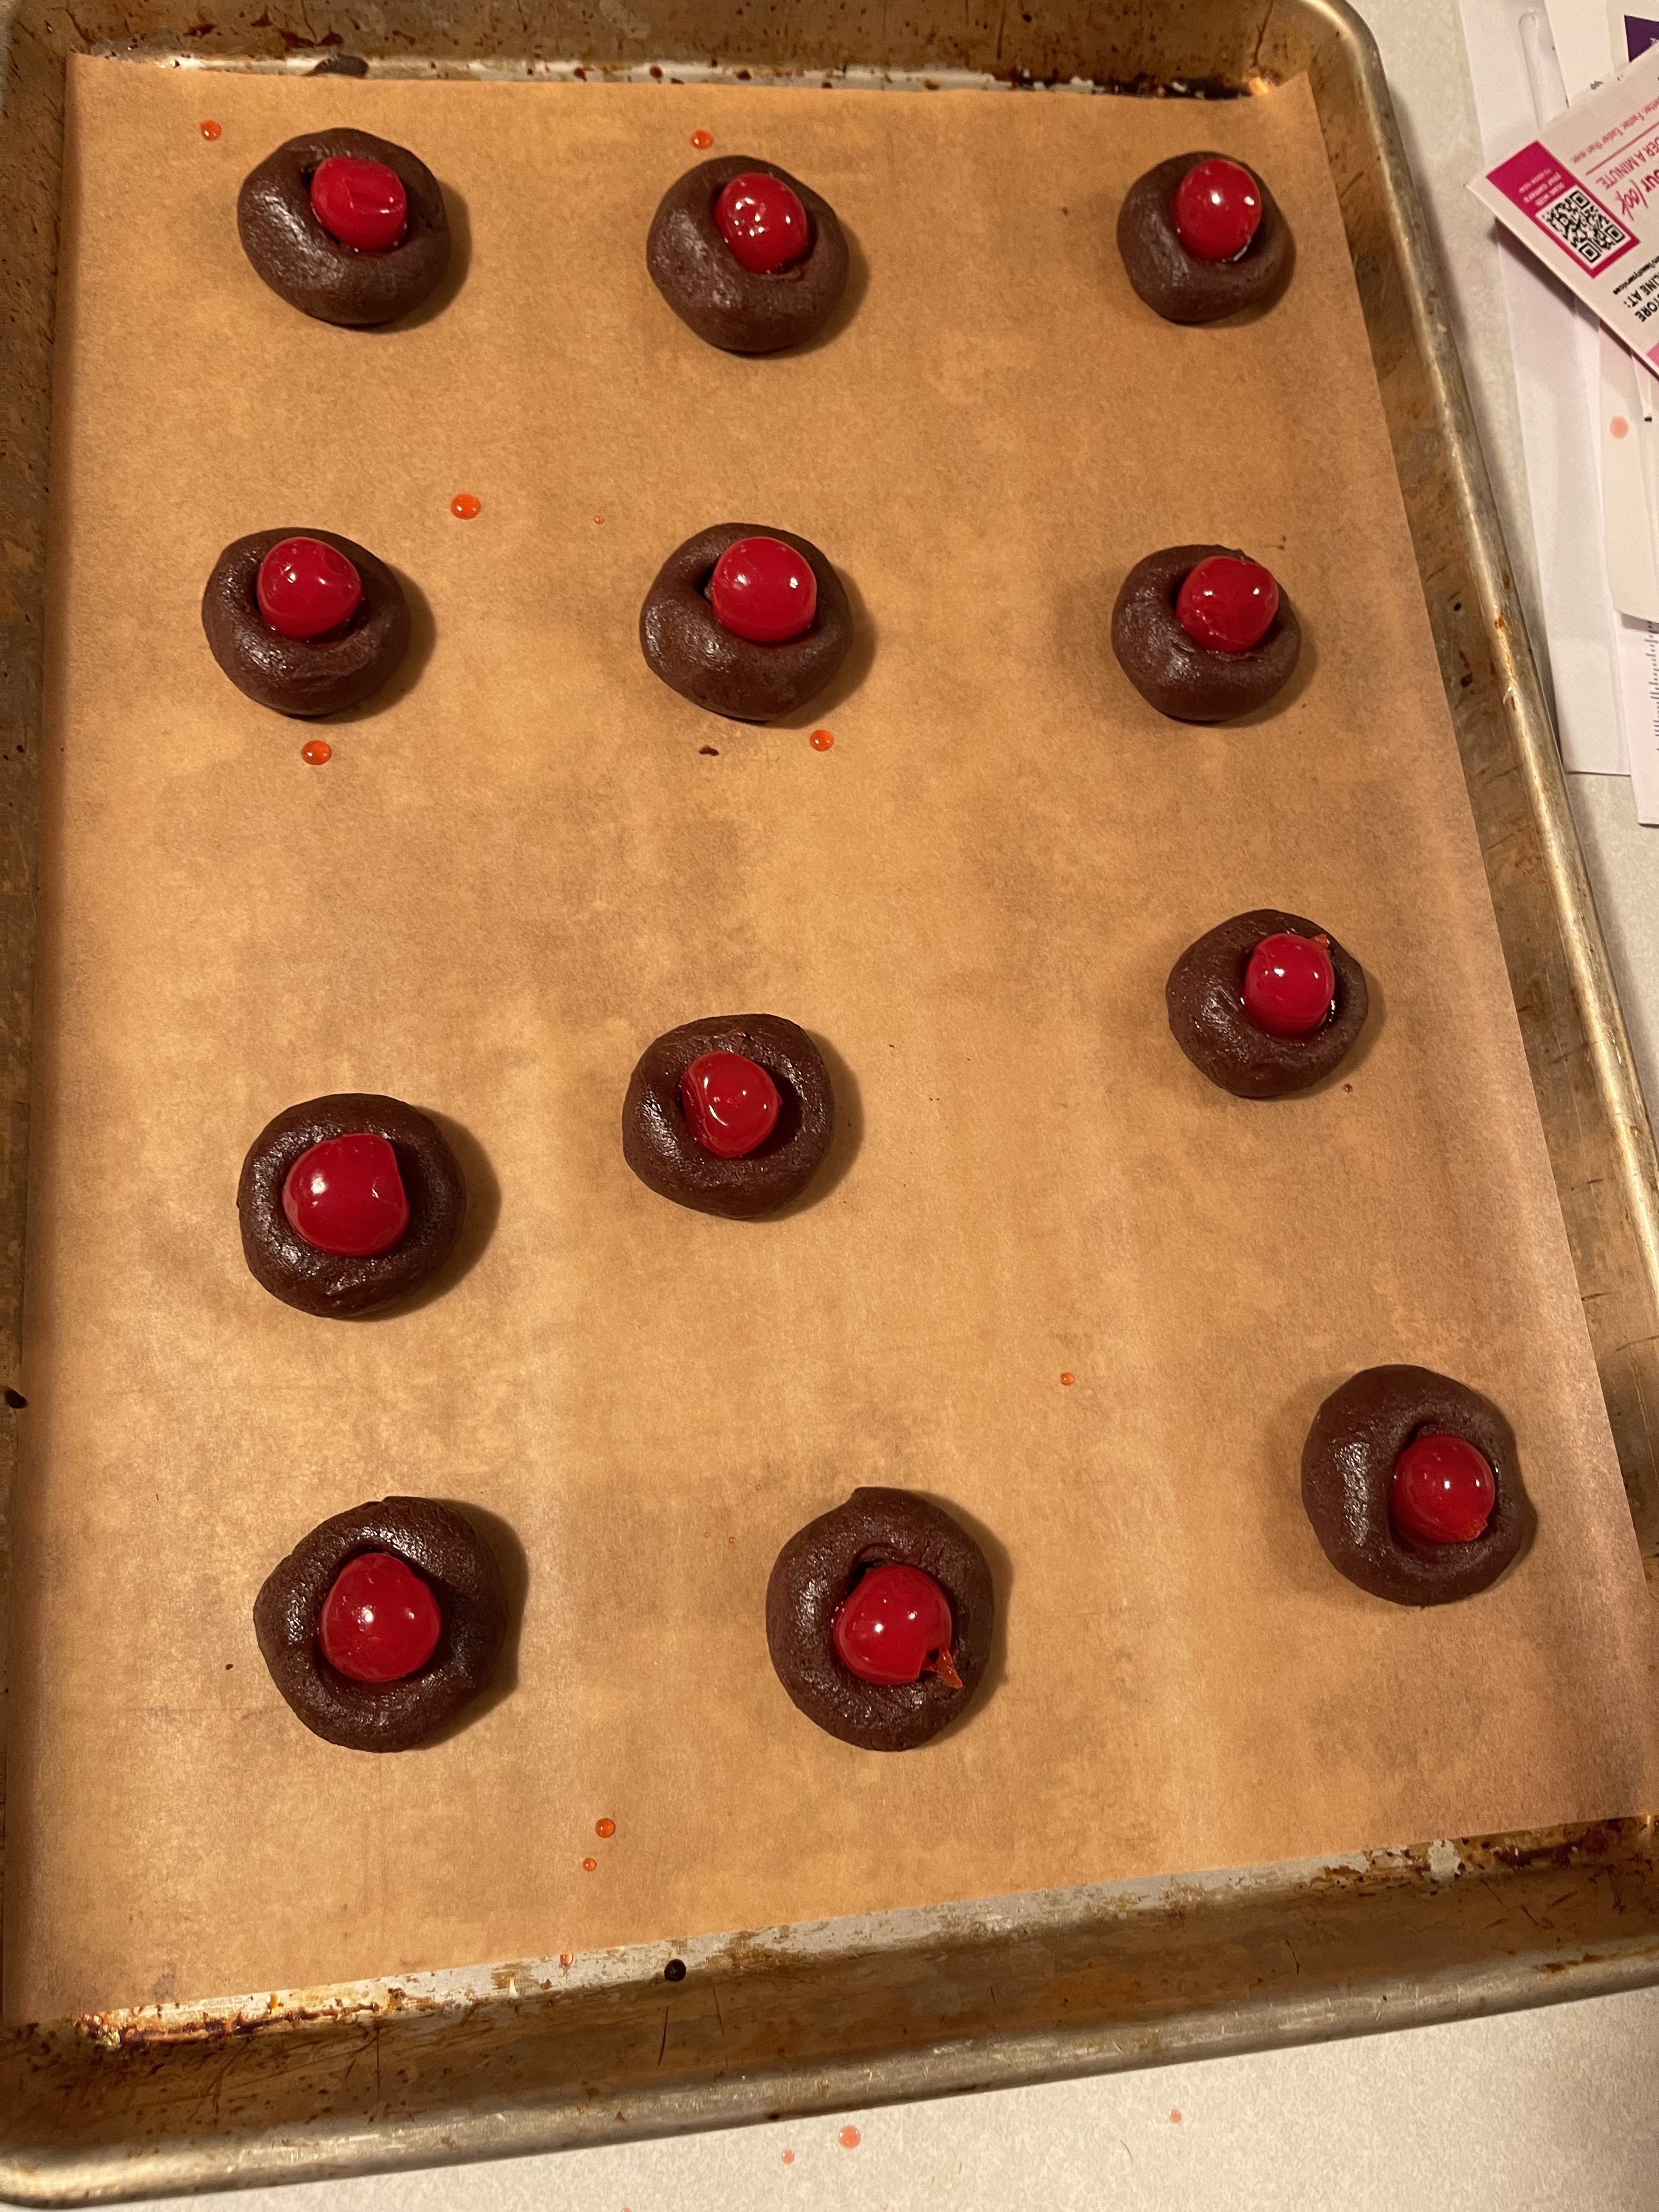
Butter hands and roll dough into 1 inch balls. Place on cookie sheet covered with parchment paper. Using thumb press small indentation in center of cookie and place maraschino cherry in hole.
Bake for 10 minutes.
Melt chocolate chips and sweetened condensed milk on low. When melted add 1 tablespoon cherry juice. Drizzle over cooled cookies.
I was intrigued by the ingredient list. I like cherries. I like chocolate. I like sweetened condensed milk, and I wanted to see what a recipe was like that called for salt, baking powder, and baking soda all at once, that wasn’t me at 8 years-old “making” my own recipe.
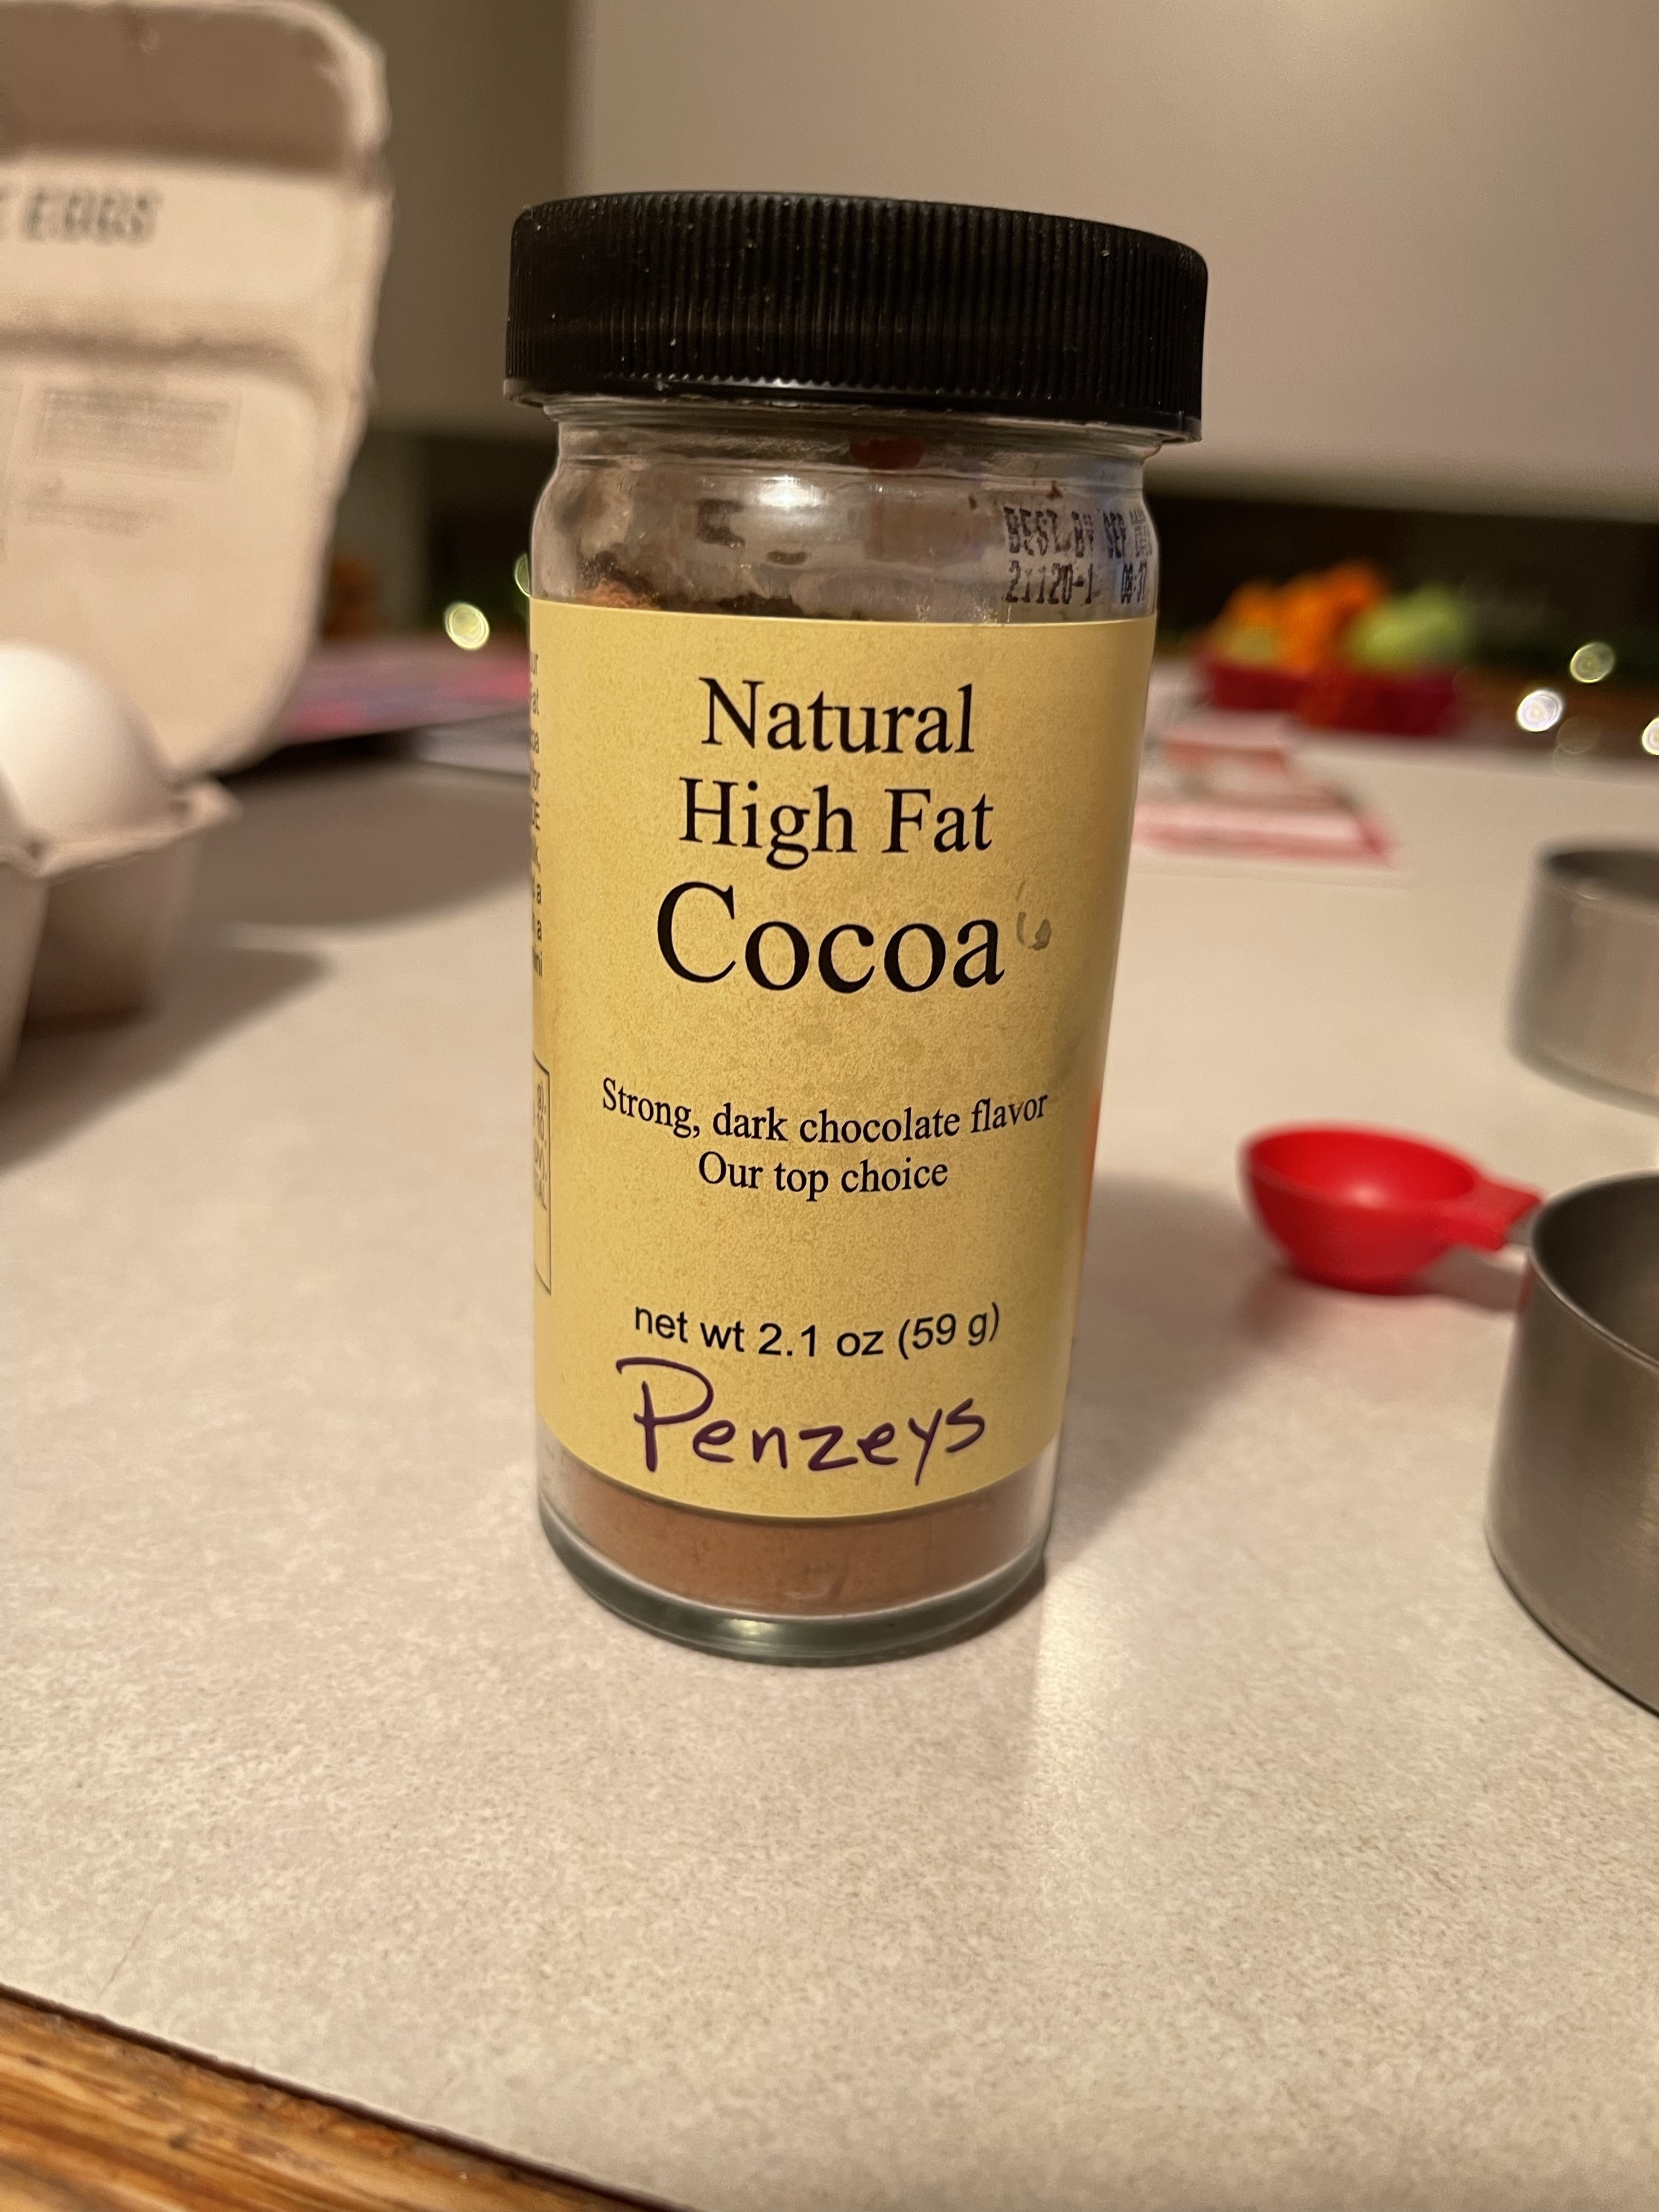
Shout out to Penzey’s once again!
In the interest of time, I’ll tell you. It turned out pretty darn well.
Now, as for that Marketing Assistant whose job I saved (and ultimately did not have to kill me), how about a little gratitude and include me on a cookie list?
If you’ve been with me since the beginning (of the web page), you may remember these from 2013. You know, back when I had no white hair, no teenagers, and no dual masters degrees. I made these after a suggestion at a bar from a Dutch friend. I love that old me went to small-town bars and talked about cookies.
Hell, current me would probably do that too, if I knew more people around here.
Anyway, I digress. I made these only once, and they were phenomenal. They also only made 10 cookies total, which is probably why I haven’t made them again.
This time, I decided to try them again, and maybe make them just a tad smaller. (Just a tad! I know they are supposed to be large!)
Gevulde Koeken
For the dough:
2 1/4 c. all-purpose flour
1/2 c. sugar
1 t. baking powder (if it’s a smidge under a teaspoon, even better)
1 pinch of salt
1-2 T. of cold water
1 3/4 sticks of butter
For the filling:
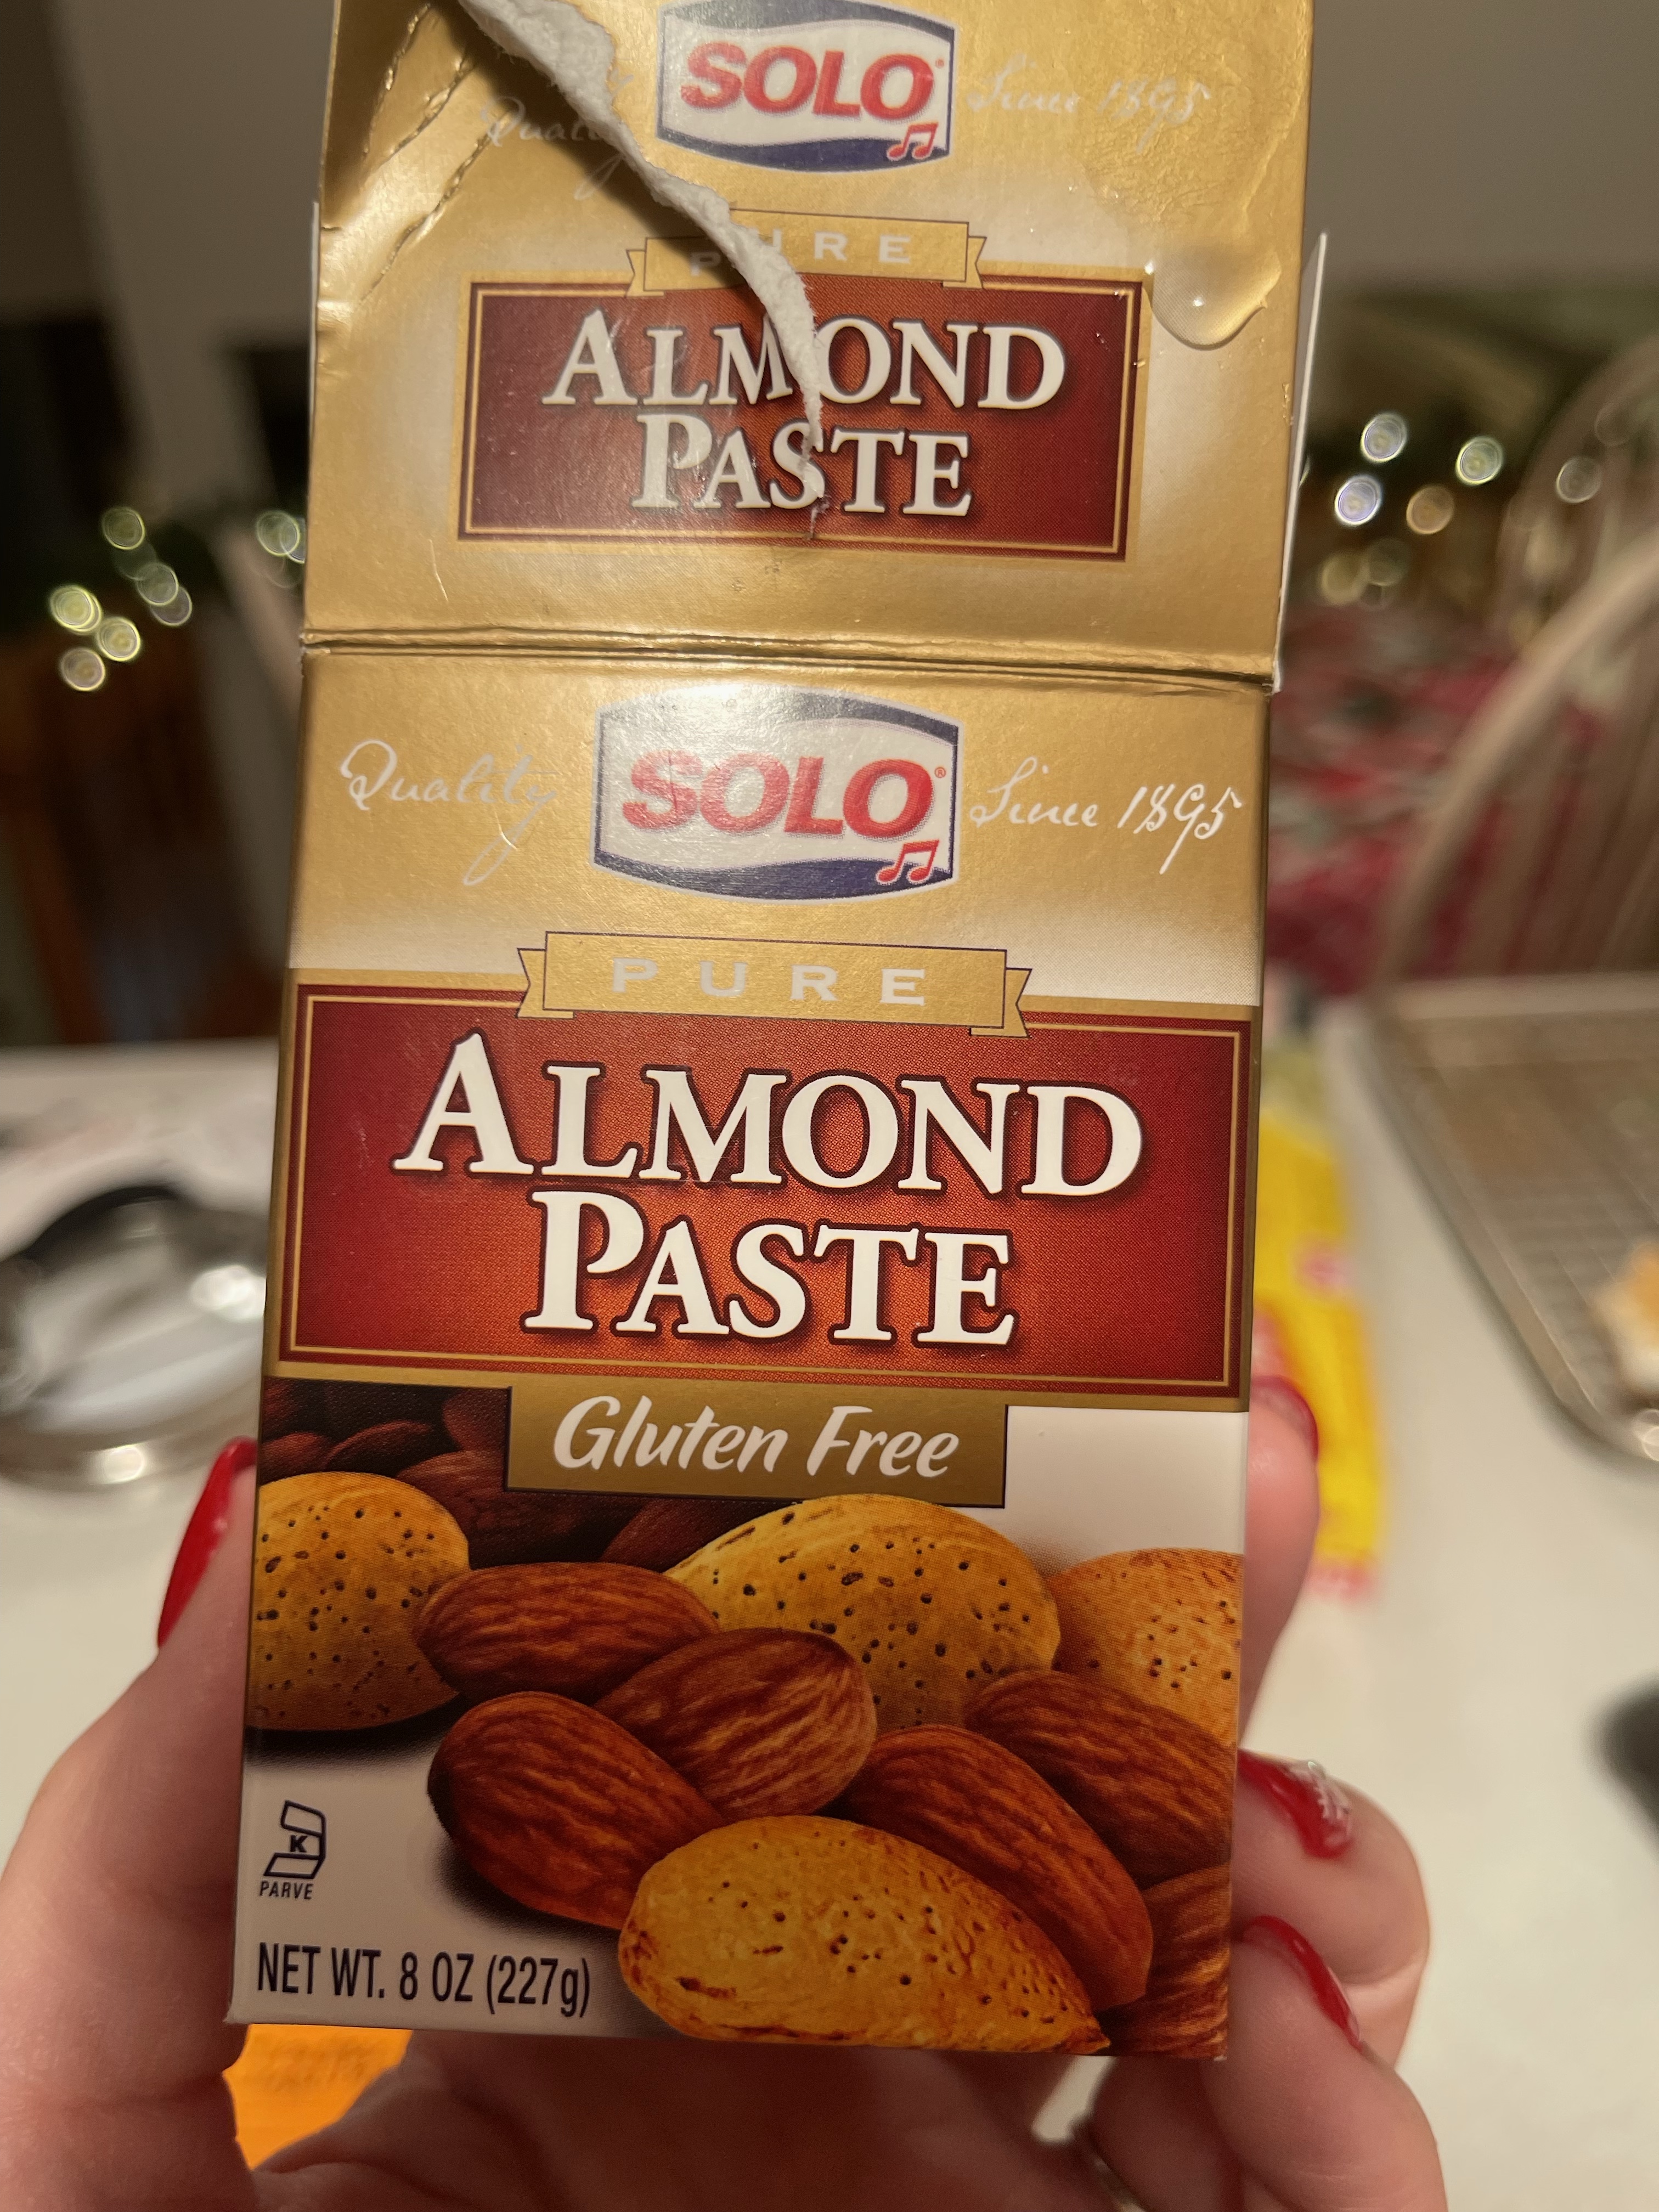
1 c. almond paste
2 T. sugar
1 egg white (save the yolk!)
2 T. water
1 t. almond extract
For brushing onto the cookie:
1 egg yolk (that one saved from the egg white above)
1 T milk
Sliced or whole almonds
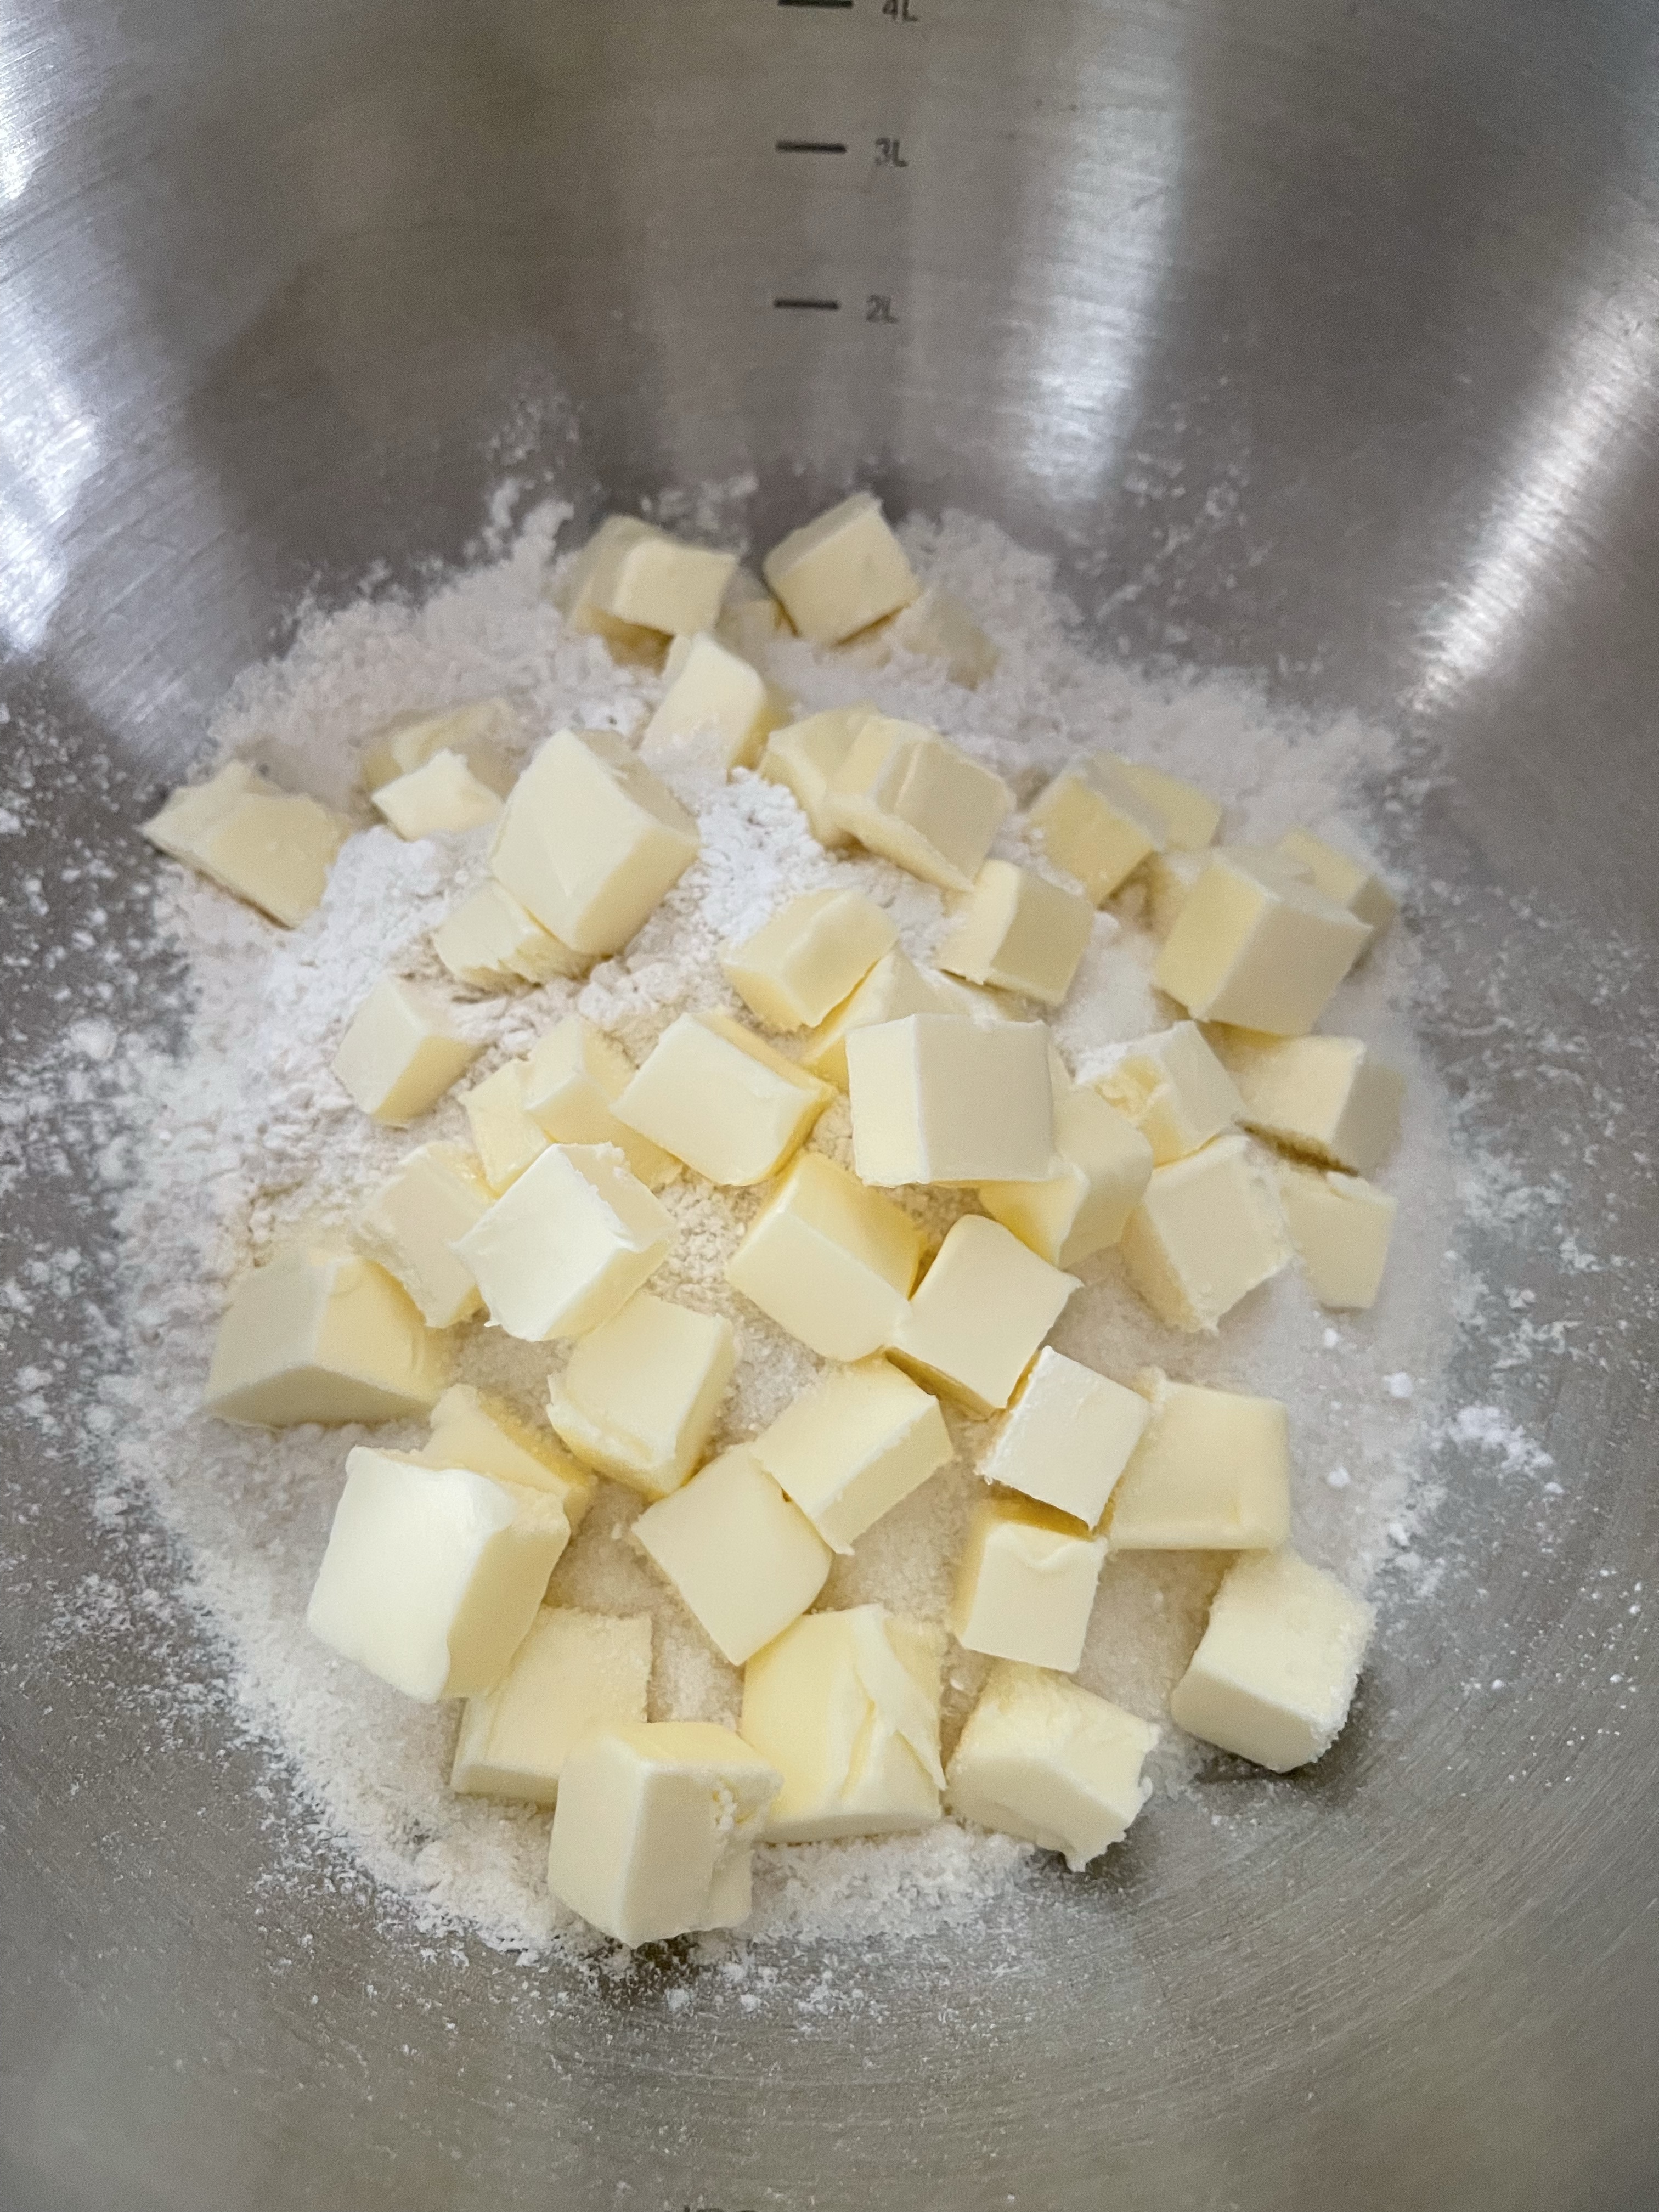
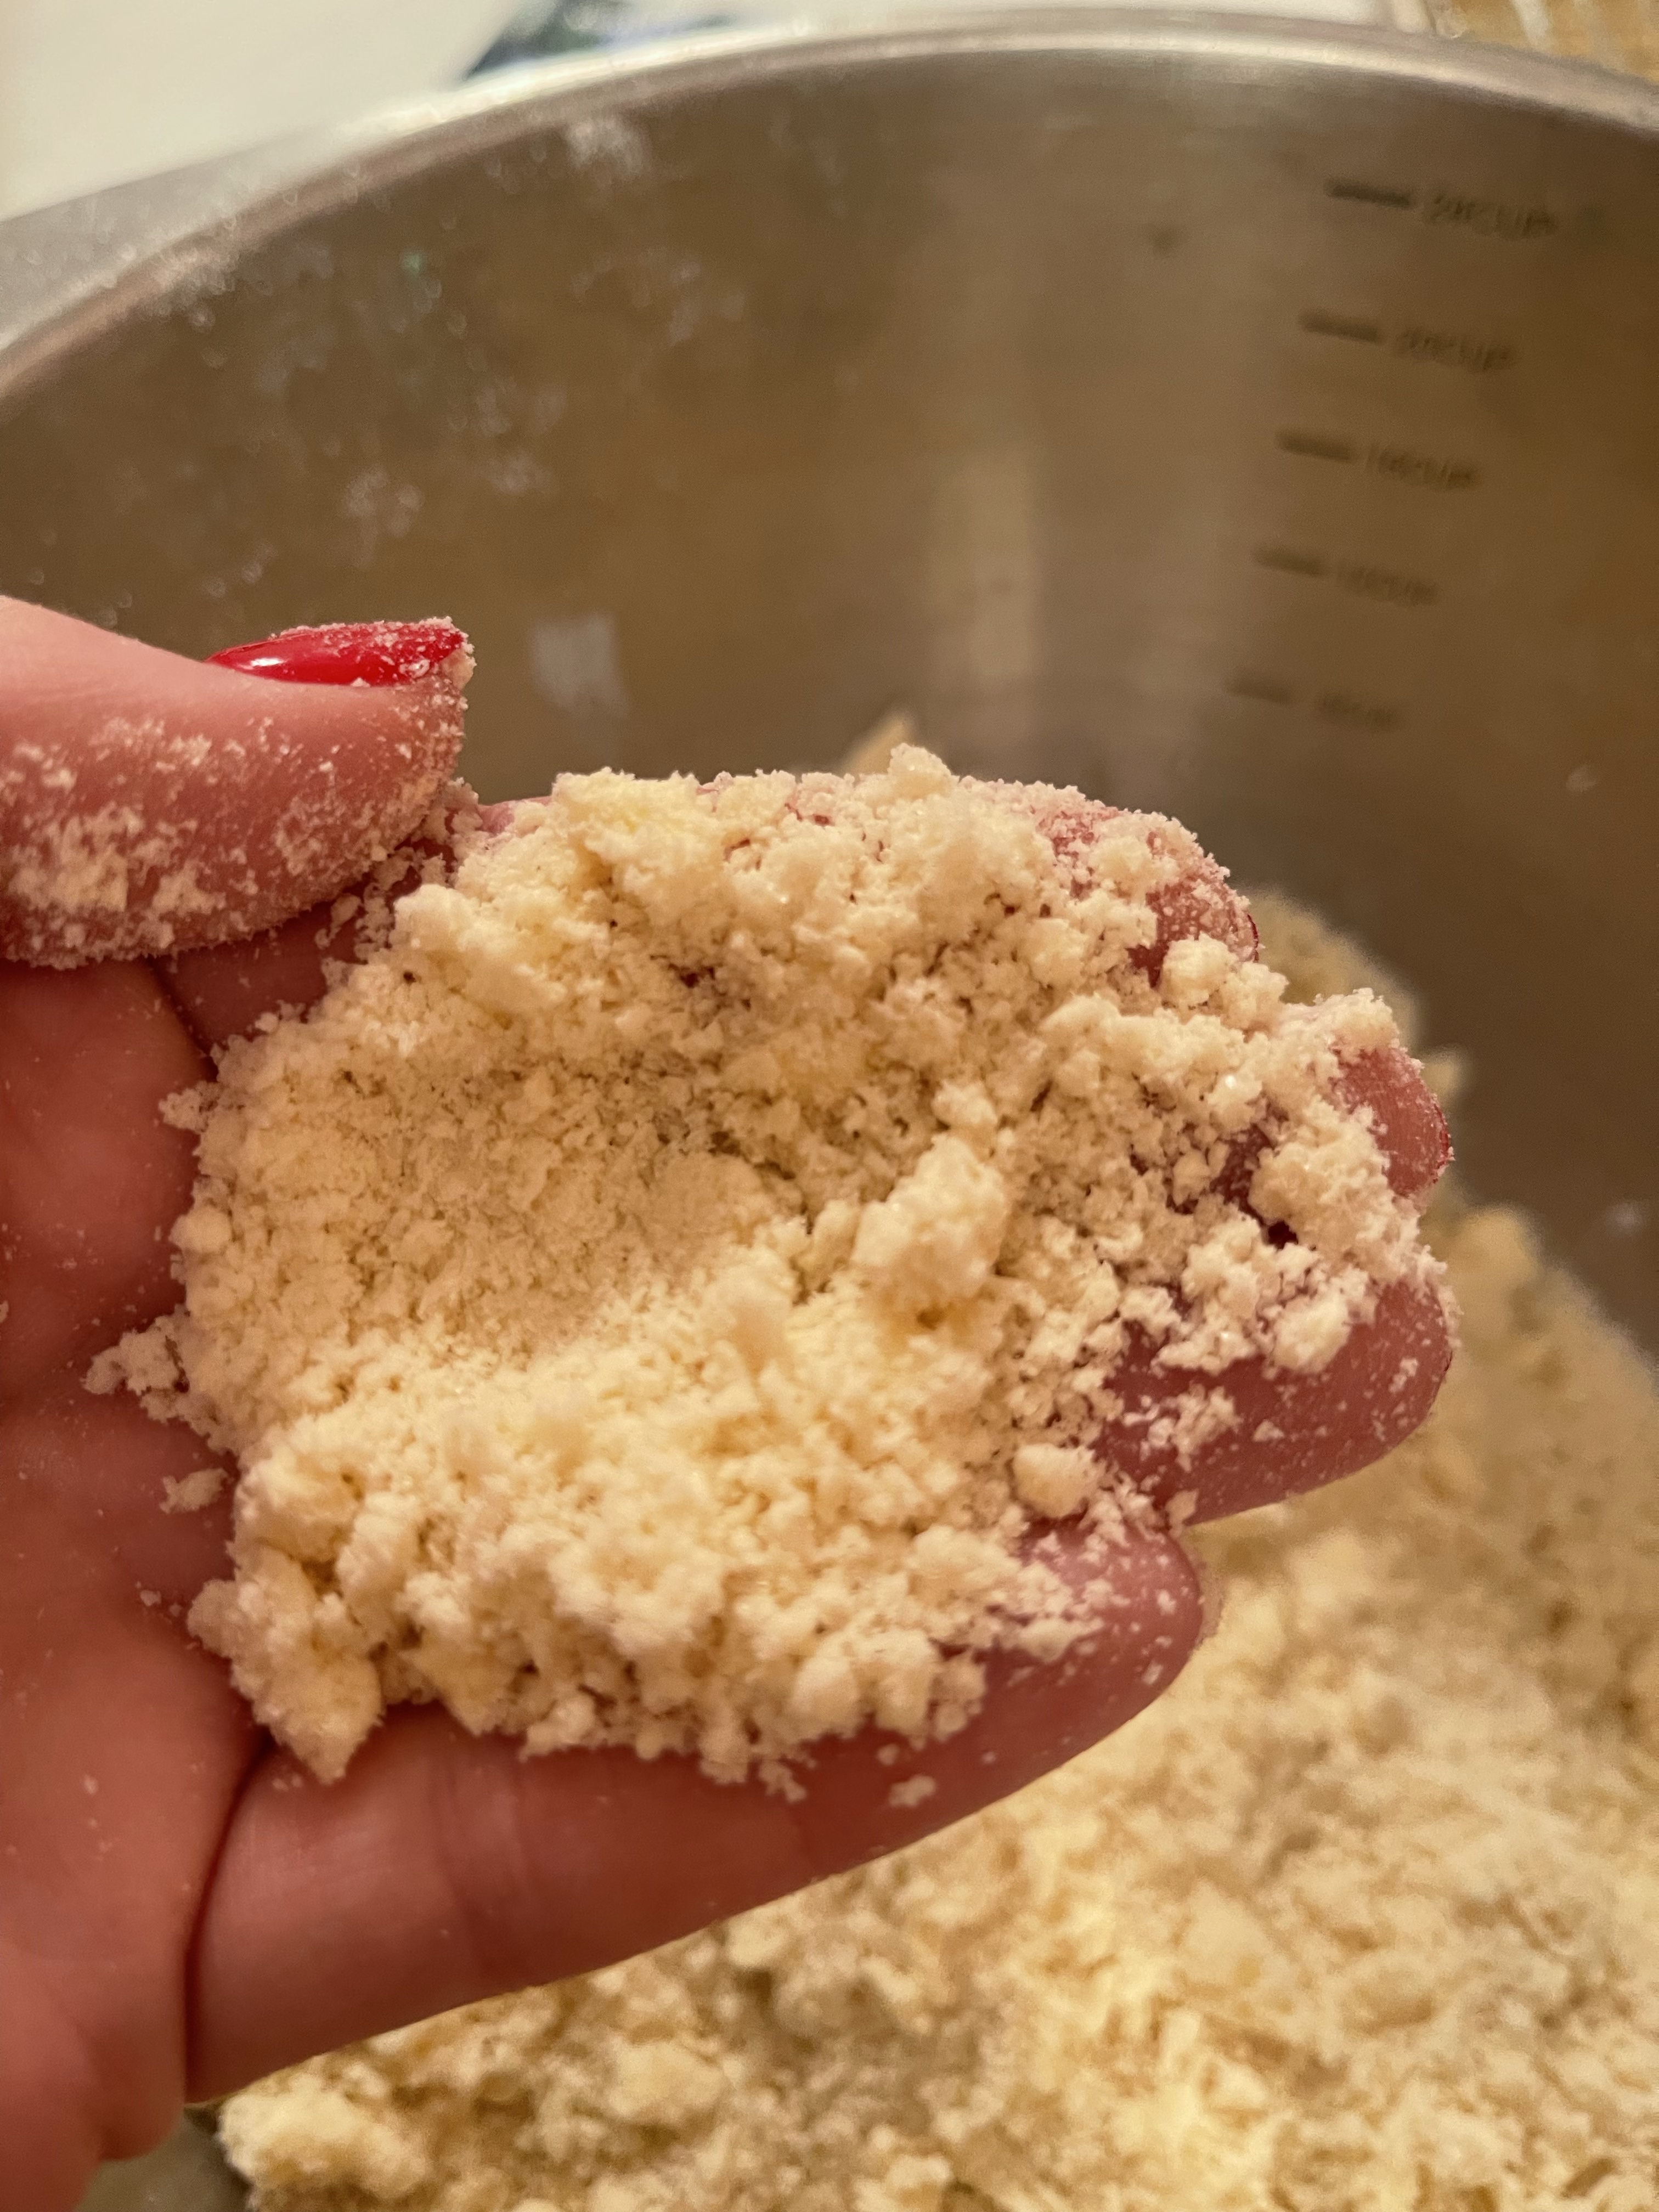
Mix the dry ingredients and cut the butter into the dough, until it has the consistency of wet sand.
Add a tablespoon of ice cold water and knead the dough into a cohesive whole, making sure all the butter is well mixed in.
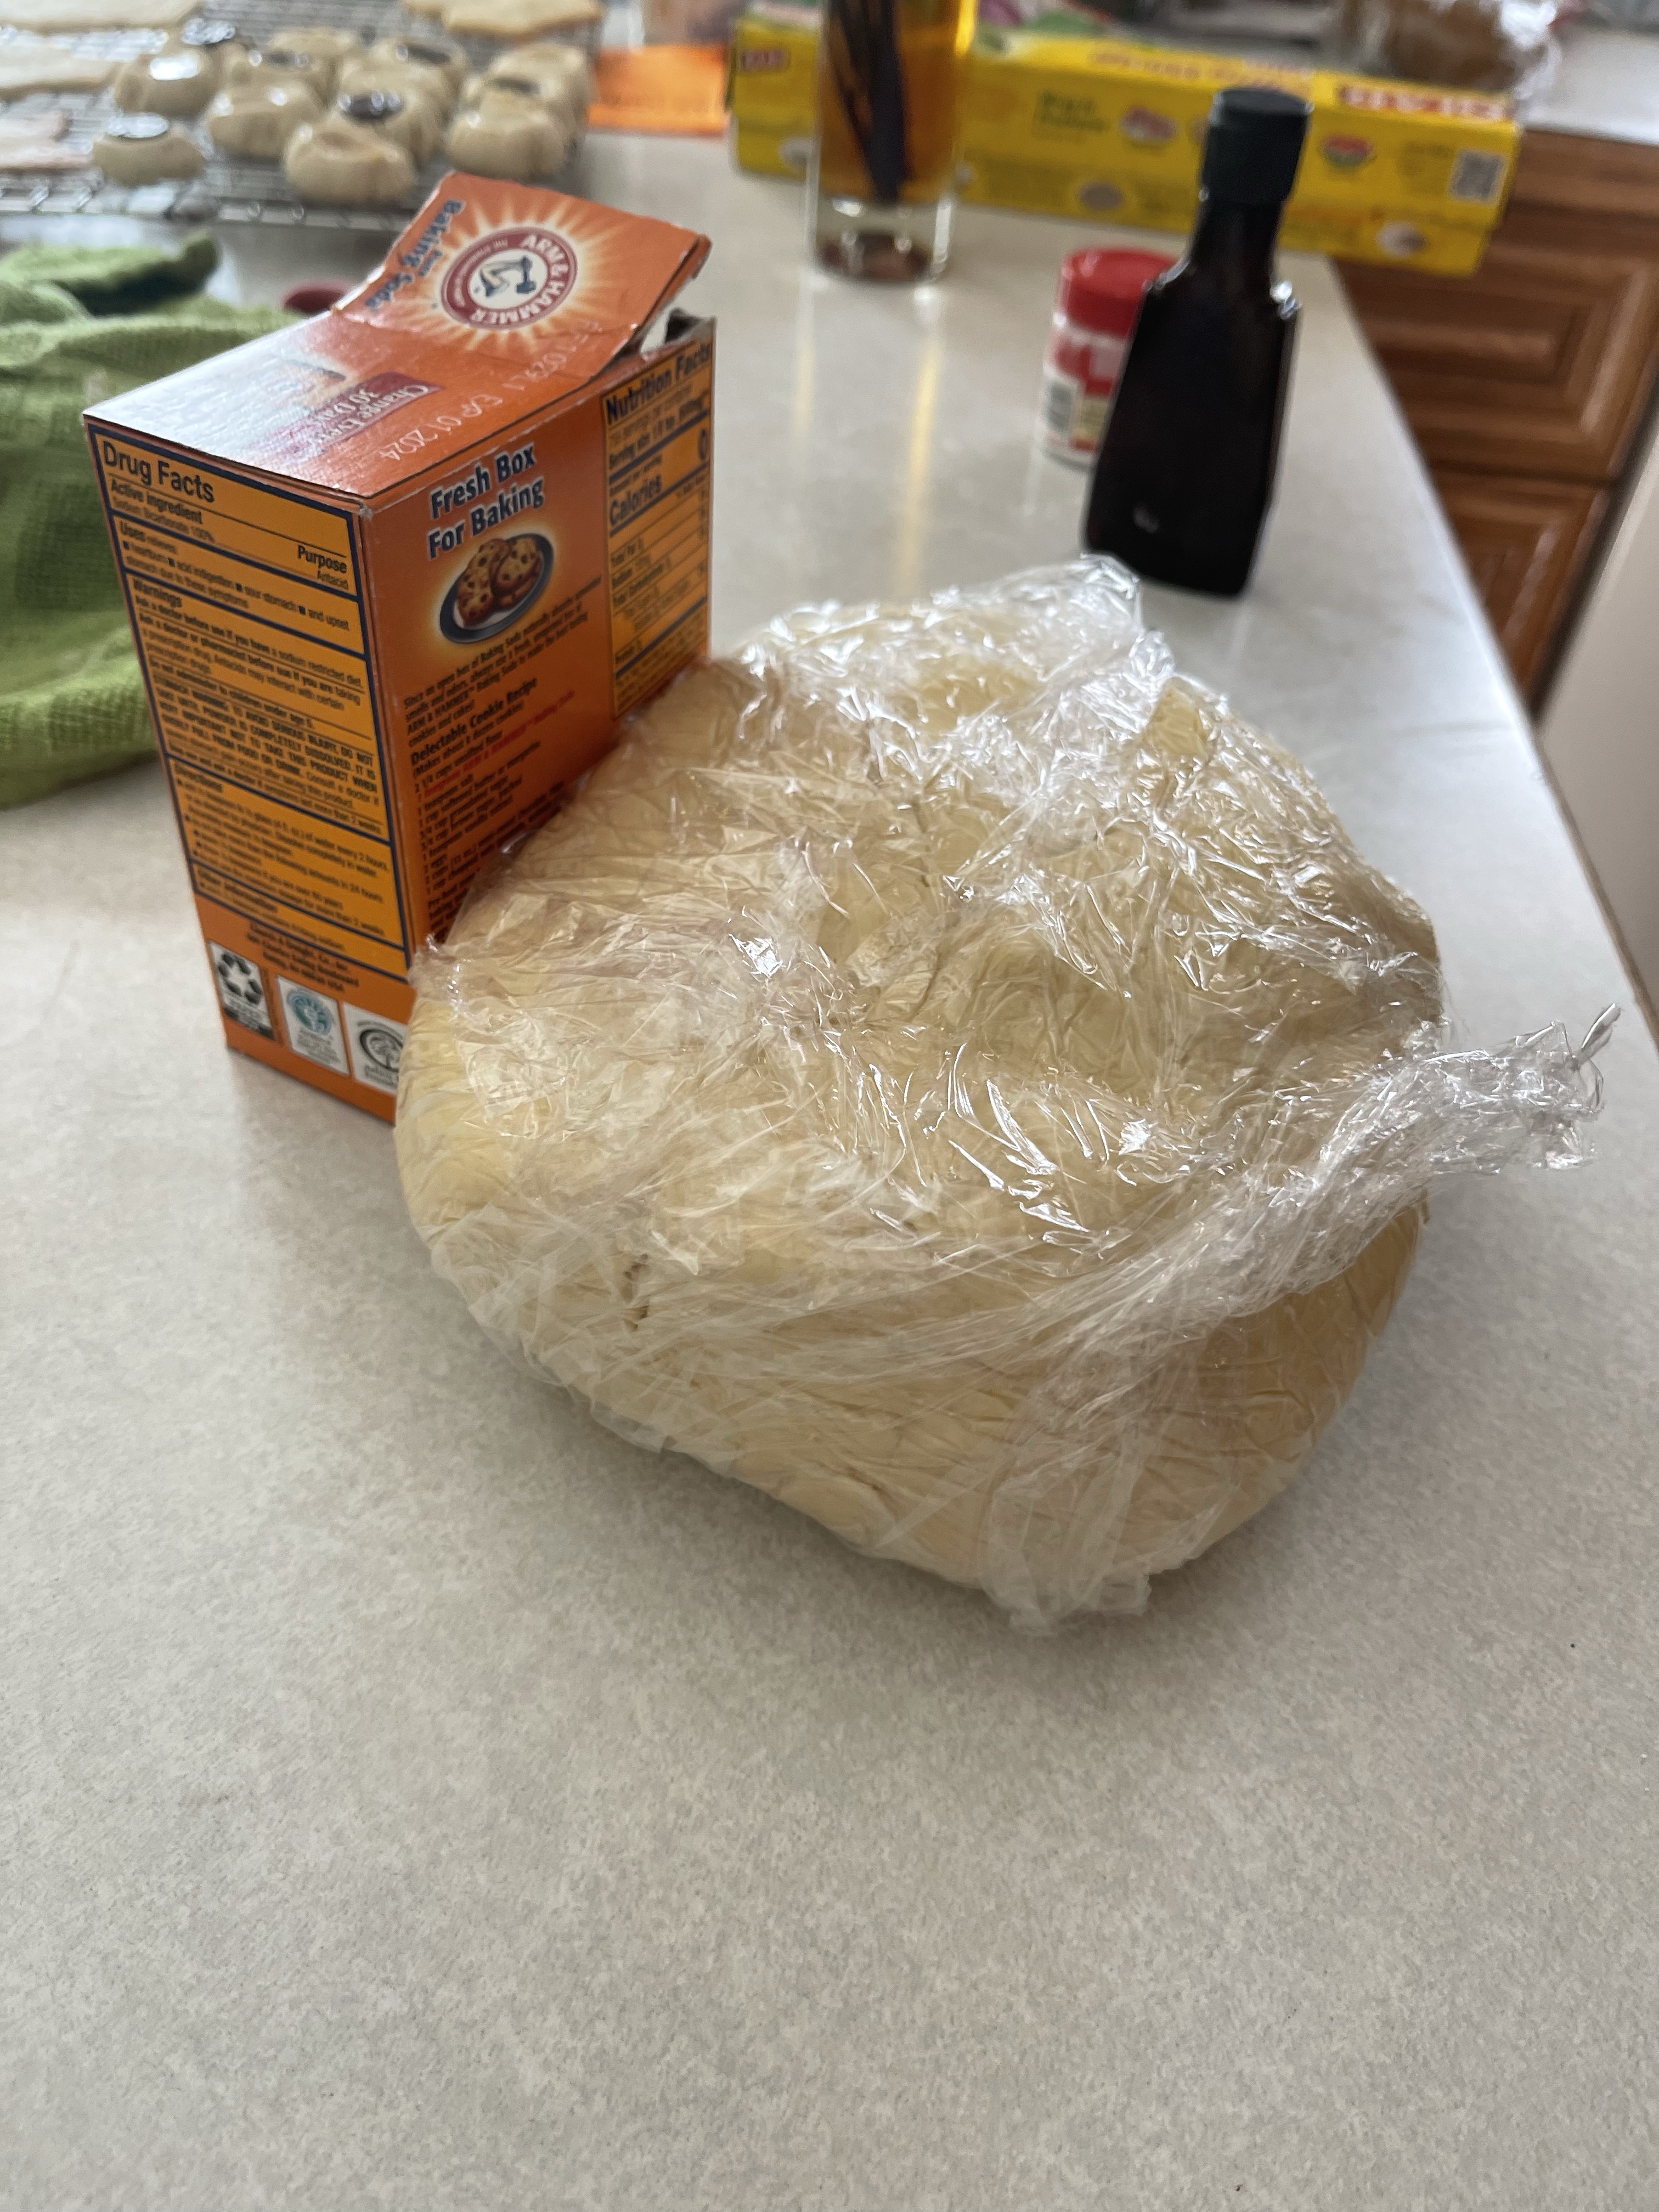
Pat into an oval, cover with plastic wrap, and refrigerate while you make the paste.
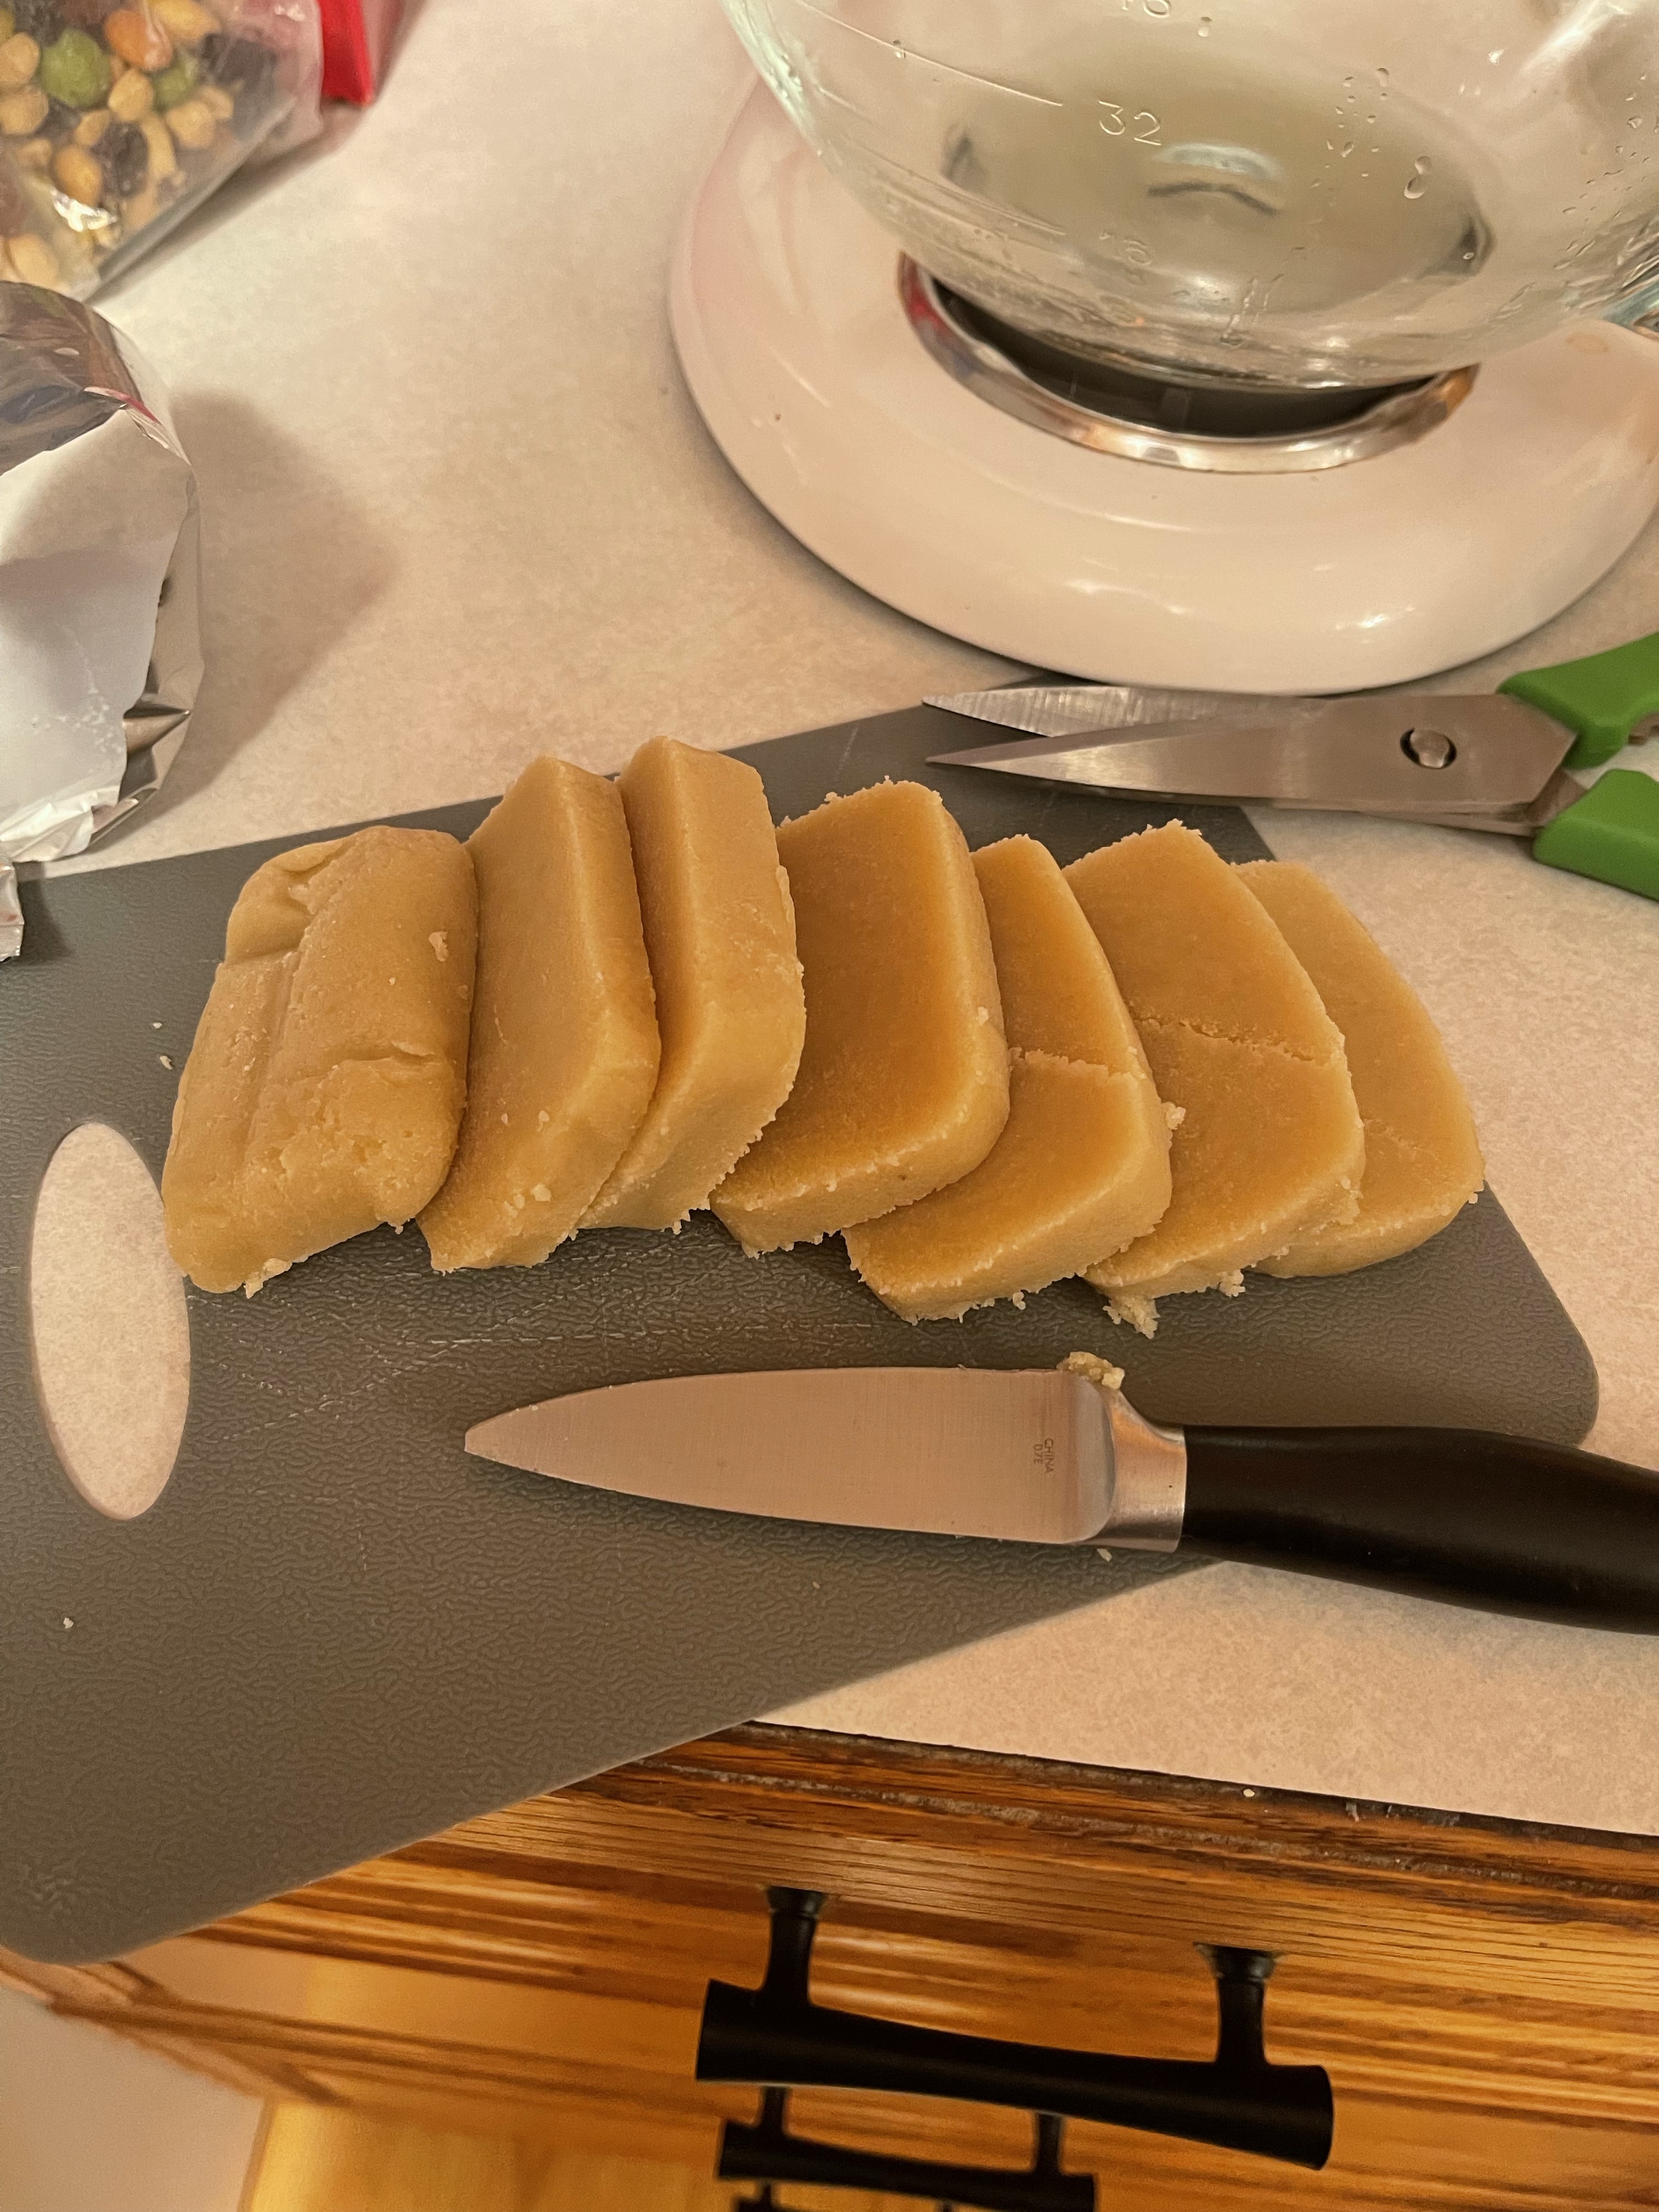
Now crumble up (or dice up with a knife the almond paste and beat it with the rest of the ingredients until it’s foamy and thick. (If you think it’s too runny, add a tablespoon of flour, but not more.)
Set your oven to 350F and turn it on. Take the dough out of the fridge, cut it in half, and roll one half out, to about 1/8 of an inch and cut out eight rounds. You can use a canning ring, the mouth of a glass, or a biscuit cutter if you have one big enough.
Place one huge heaping teaspoon of the almond filling in the middle of one cookie and then place a second round on top; carefully seal the edges. You can do this with a fork or gently tapping it with your finger.
When all are done, place them on a parchment lined baking sheet or on a silicone mat. Beat the egg yolk with the milk and brush the top of the cookies, then place an almond on top.
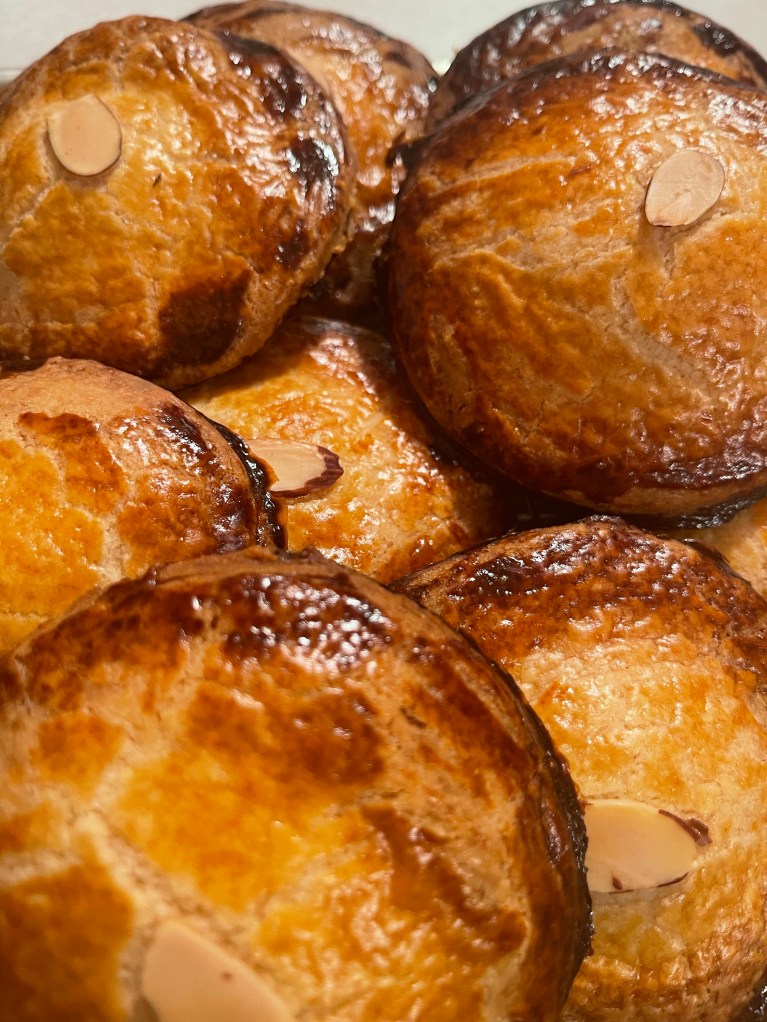
Bake for about thirty minutes or until golden.
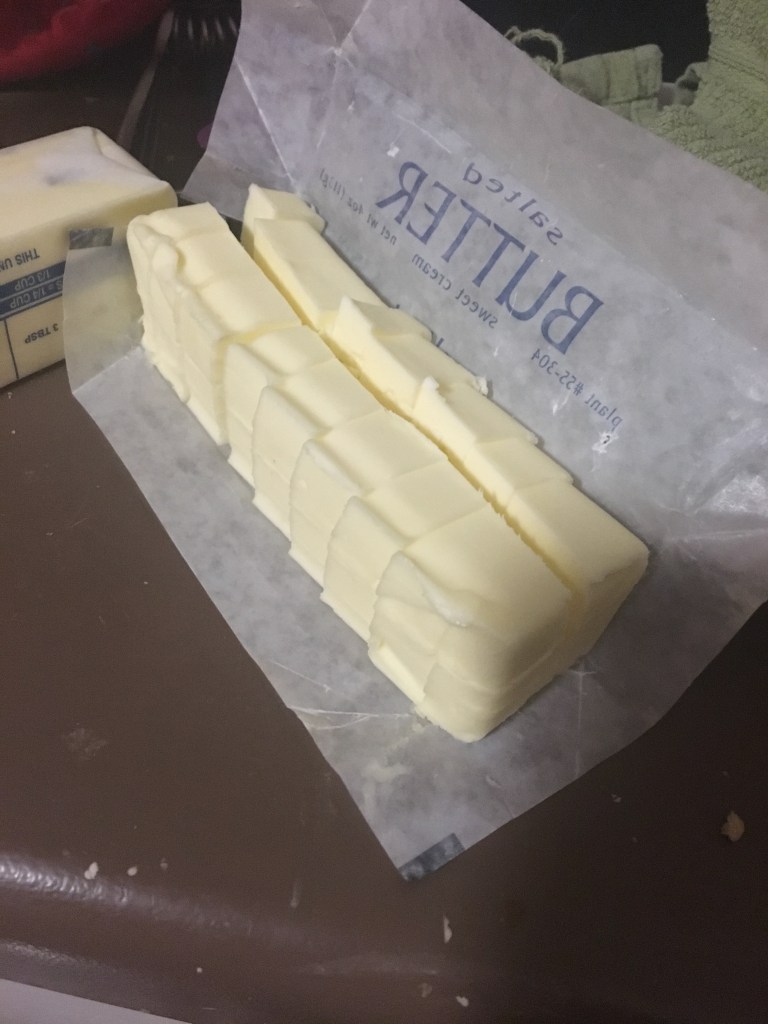
Cut your butter in cubes first before attempting to “cut in” butter for dough. It makes it a lot easier!
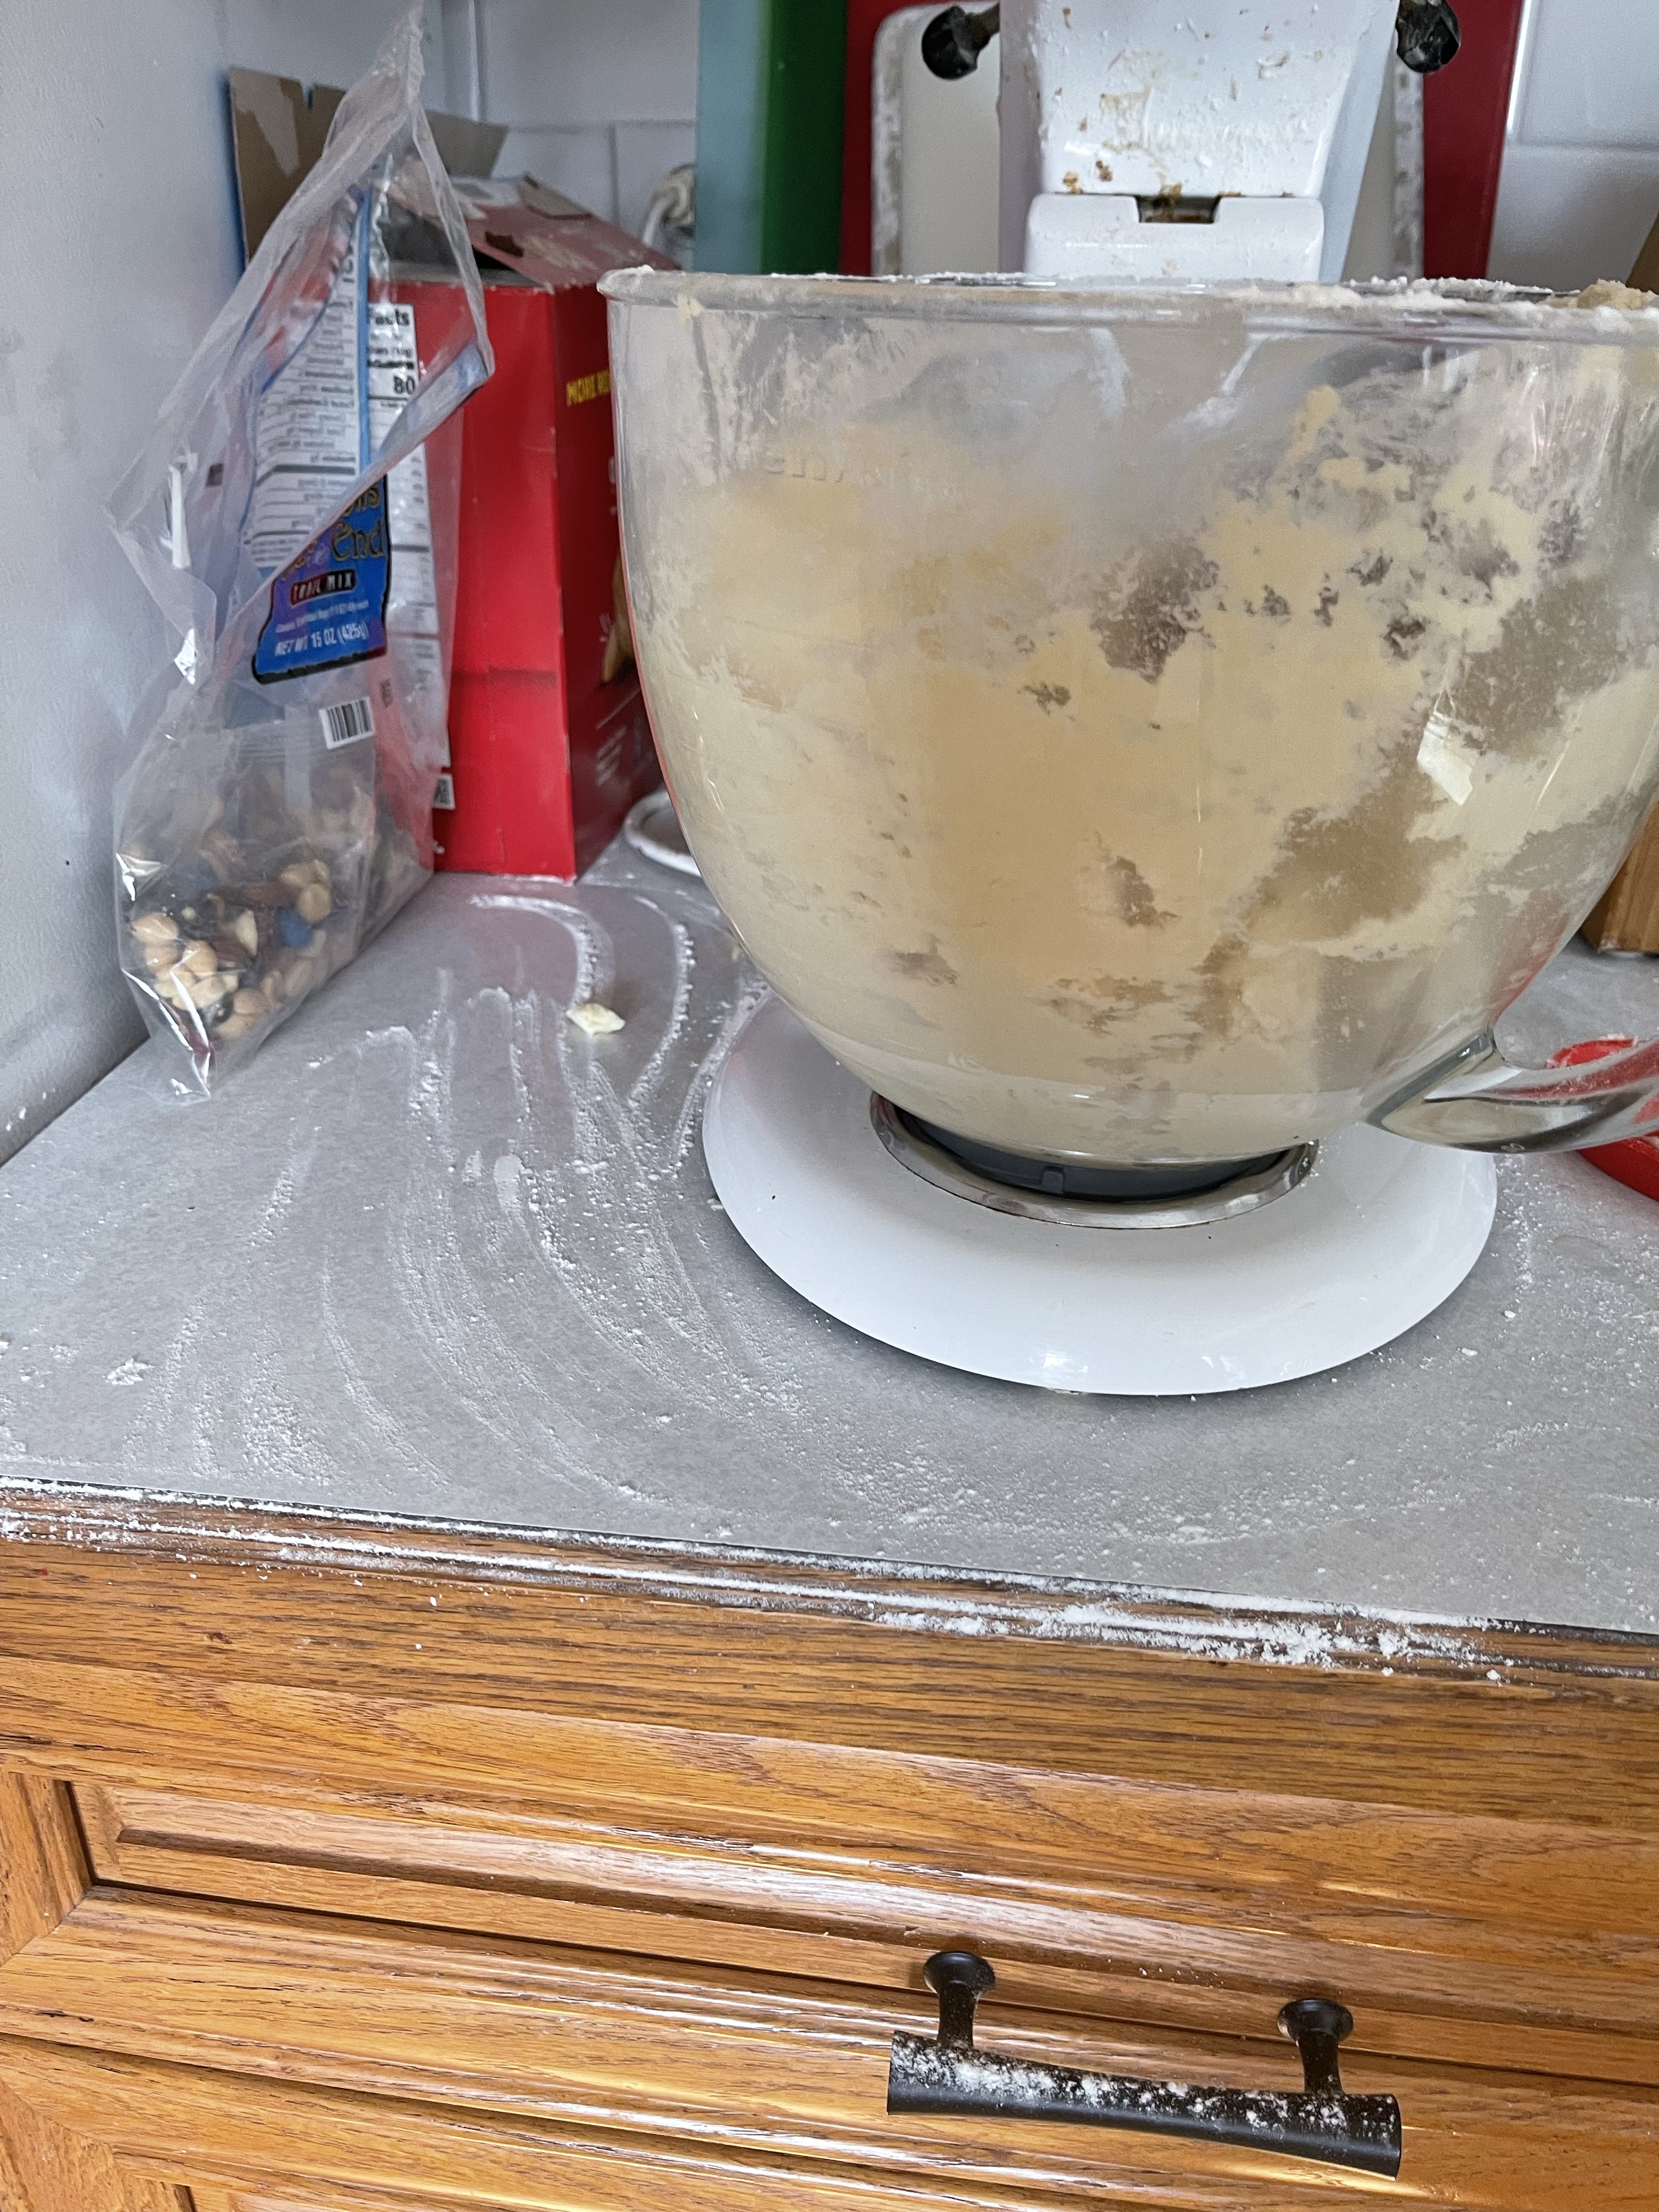
I’m fearing the nightmare of kinetic sand I will have after making these!
Any time I see the term “cut in butter” in a recipe, I think about my friend Jen and how I introduced her to the concept of a pastry cutter. I generally only see this term in biscuits and pie crust, but every once in a while, I see it in a cookie recipe. It’s just a way of making sure your dough will be light and flaky, because there will be butter incorporated into the dry ingredients at the molecular level. Okay, not the molecular level, but at a very small level that makes little pinpoints of butter ooze around flour. Or something like that.
When your dough looks like kinetic sand (and you have a brief, yet strong, urge to yell “Don’t get it on the carpet, kids!”) then it’s the right consistency.
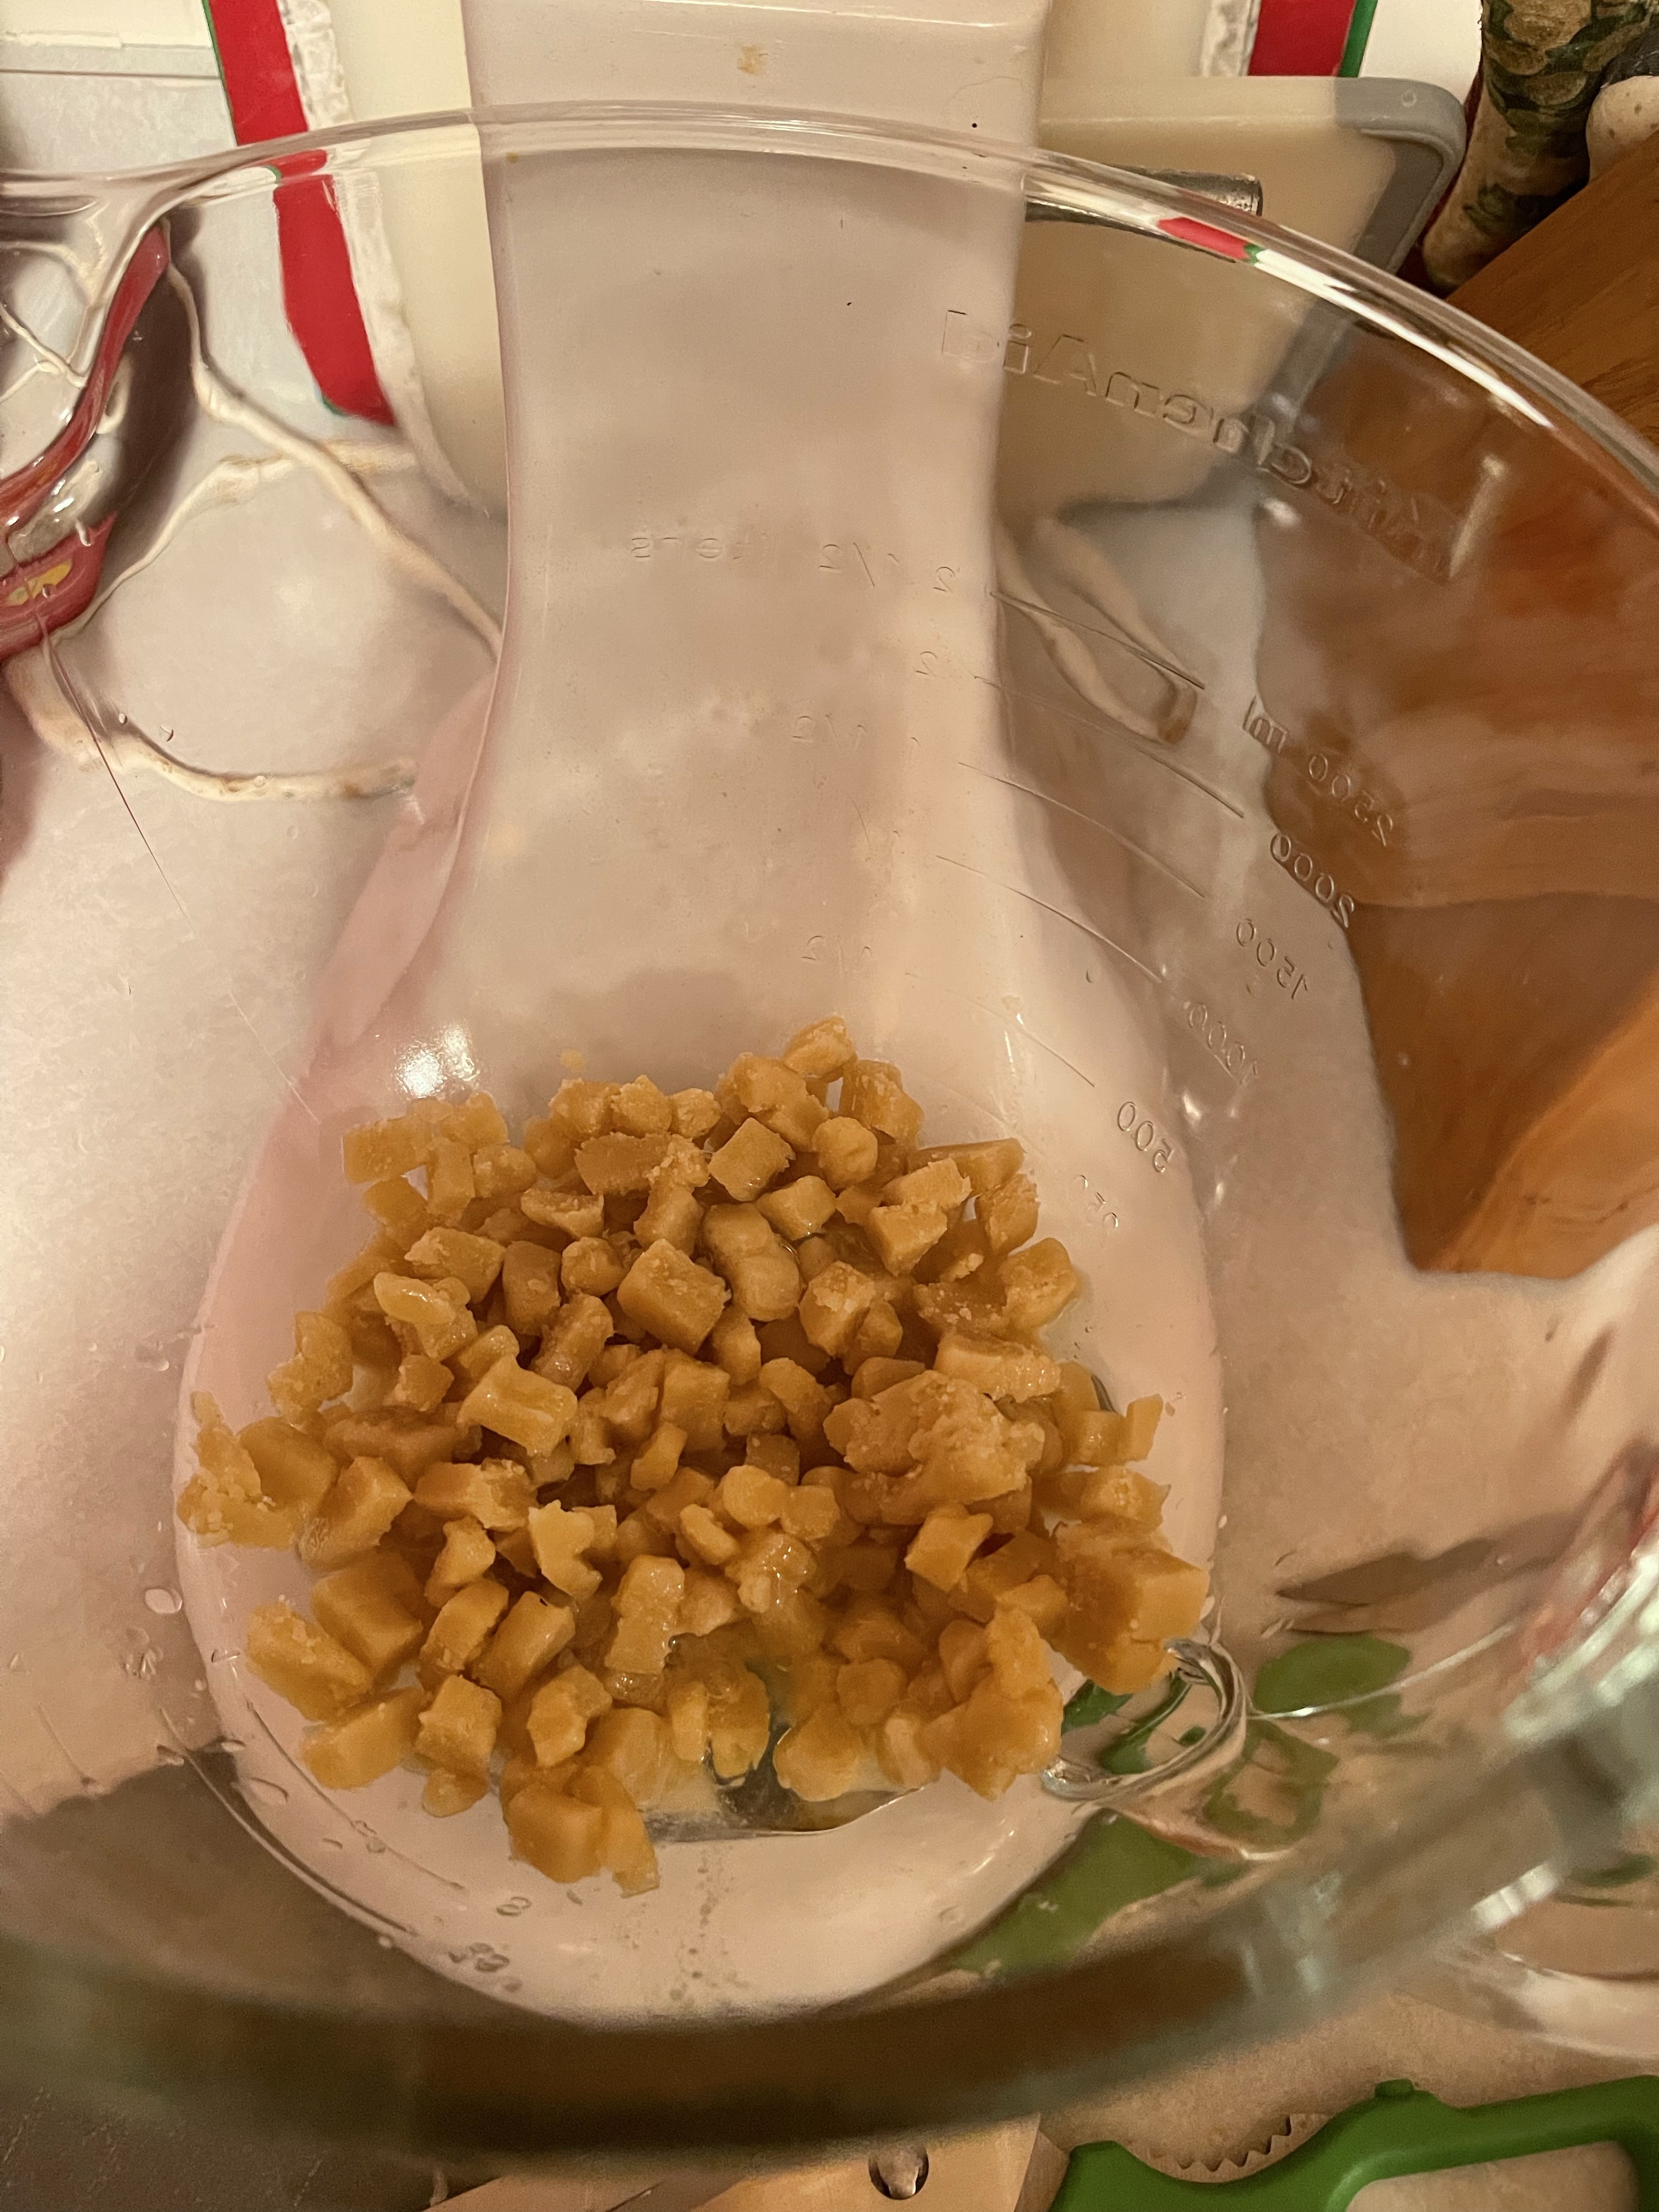
For the filling, I’m not sure who can “crumble” almond paste, but it’s not me. I diced it up like cheese and threw it in my mixer. This stuff smells heavenly, by the way.
Gevulde Koeken filling. Mmmmm.
I didn’t take any pictures of me rolling it out or cutting it, but it’s thin. I generally do my sugar cookies about about 1/4 inch thick. This is half that.
I was able to get a few more than 10 Christmas cookies out of the recipe this time. Not many more, but more than 10. I think I got five.
These are crumbly and flakey, with that yummy filling in the center. If you put one on top of a cup of hot coffee or tea, it will make that filling really melty and good.
Note: I got behind because of illness.. Now that I can at least sit upright for more than a few hours, I am catching up. But with that, these are going to be more bare-bones than in the past.
1/2 cup unsalted butter, plus 1 tablespoon (divided)
6 ounces cream cheese
1 1/2 cups unbleached all-purpose flour
3/4 teaspoon salt
1/2 teaspoon baking powder
1 egg, separated (white reserved for glazing)
1/3 cup sliced almonds
1 teaspoon coarse sugar for topping
Directions:
Preheat oven to 375 degrees.
Line a cookie sheet with parchment paper and set aside.
In a small bowl combine the sugar and almond extract; cover and set aside.
In a medium bowl whisk together the flour, salt and baking powder.
In a large mixing bowl combine 8 tablespoons (1/2 cup) butter and cream cheese. Beat on low until blended. Add the egg yolk and blend until smooth. Add half the flour mixture and beat on low until combined. Add the remaining flour and blend just until the dough starts to come together.
Transfer the dough to a floured work surface. Knead by hand about 25 strokes until the dough is pliable. Roll or press into a 12×12 inch square. Spread with the remaining 1 tablespoon of butter.
Cut the dough in half and place one half on the prepared cookie sheet, butter side up.
Spoon the sugar mixture to within 1/2-inch of the dough edges all the way around. Place the remaining dough half, butter side down, over the sugar. Press the edges tightly to seal.
Brush the dough with a lightly beaten egg white. Sprinkle with almonds and coarse sugar.
Bake 25-30 minutes or until golden brown. It’s best removed from the oven when you think it needs one or two more minutes.
Cool at least 30 minutes.
Cut the pastry in half lengthwise and then into 1/2 to 1 inch strips crosswise.
Store in an airtight container.
Somewhere in the original recipe for this, it says that the author likes that these don’t immediately appeal to children, and therefore are leftover when cookies trays are passed.
I feel this in my soul.
These are my hands-down favorite fave cookie that I make. I love almond extract. I love butter and cream cheese and sugar and actual almonds, and I love making a cookie so good, it flies under the radar like a spy drone.
Here’s the link to when I made them last year, if you need the play-by-play. I doubled them last year, because I don’t like sharing. I still don’t like sharing, but I only had one brick of cream cheese left in my fridge and it’s supposed to be 10 degrees outside tonight.
No problems at all making these, as usual. Even with the rolling out and measuring going on here, these are pretty straight forward. By far, the biggest challenge with these cookies are hiding them from my kids, because they’ve caught on how awesome they are.
Note: I got behind because of illness.. Now that I can at least sit upright for more than a few hours, I am catching up. But with that, these are going to be more bare-bones than in the past.
1/2 cup butter , at room temperature (I used 1/4 cup salted and 1/4 cup unsalted butter)
3 – 5 Tbsp eggnog
1/2 tsp rum extract
3 cups powdered sugar
Directions:
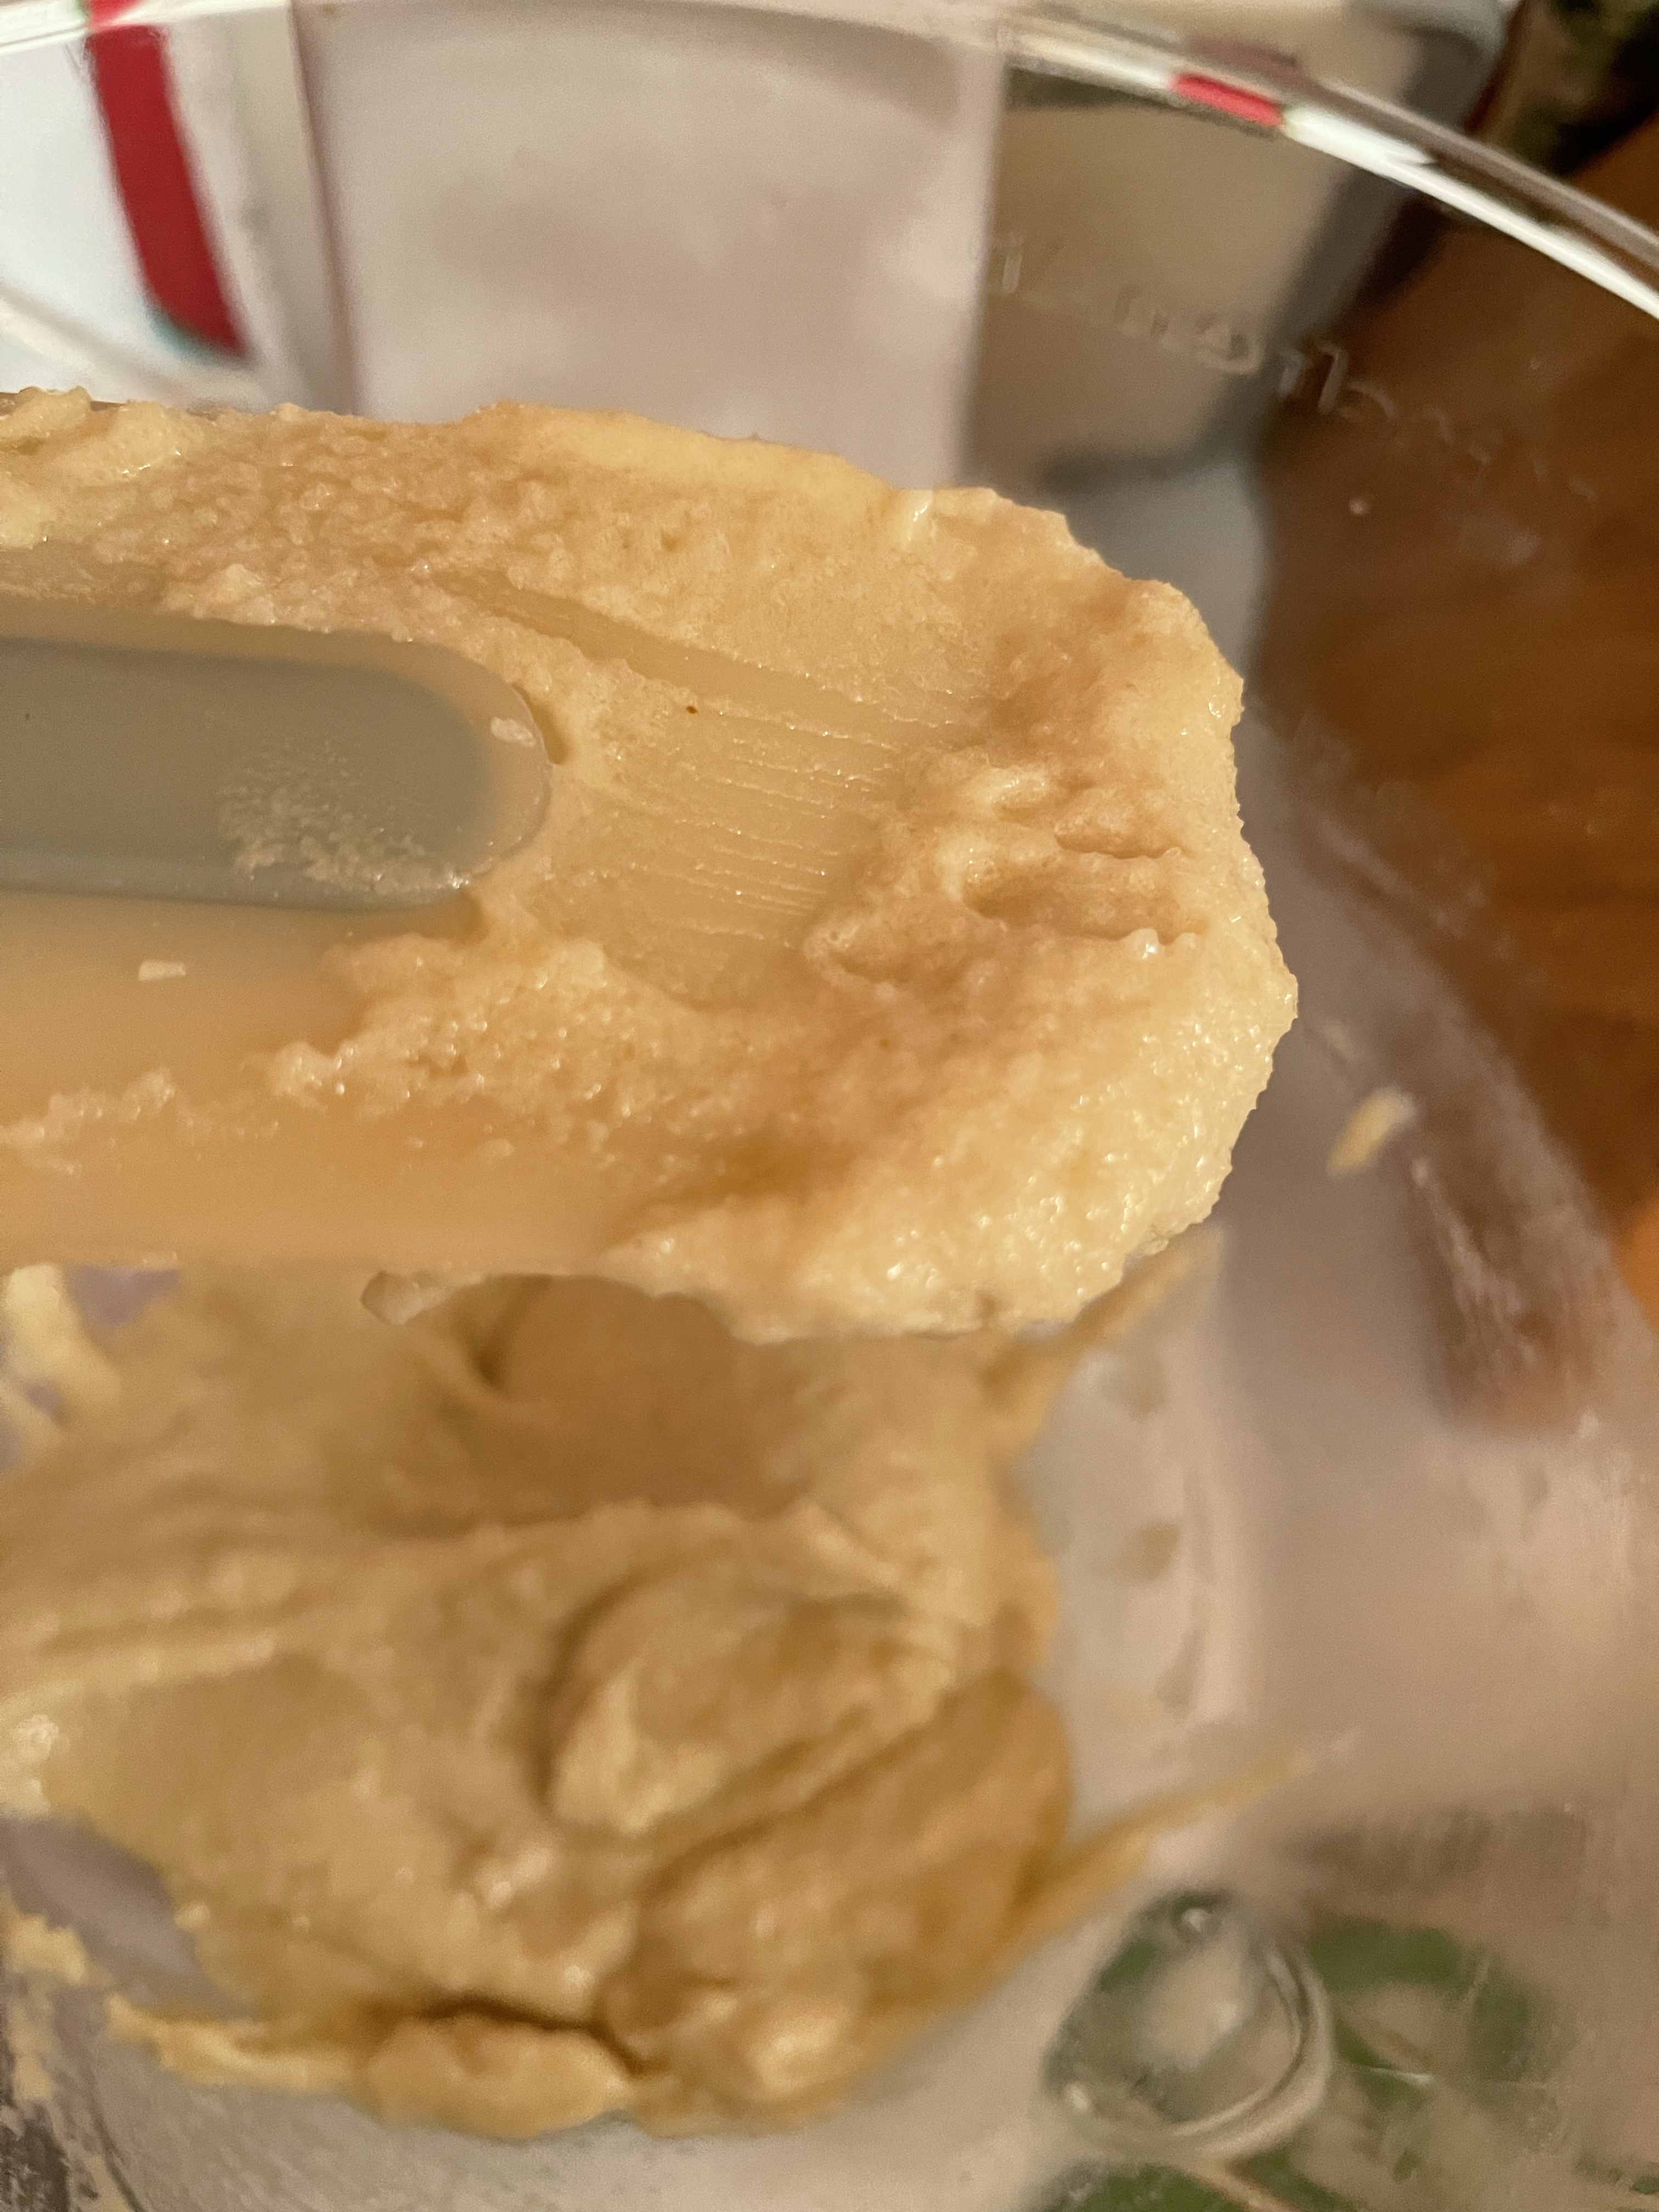
Preheat oven to 350°F (180°C). In a mixing bowl, whisk together flour, baking powder, salt, nutmeg and cinnamon for 30 seconds, set aside.
In the bowl of an electric stand mixer fitted with the paddle attachment, whip together butter, granulated sugar and brown sugar until pale and fluffy.
Mix in egg yolks one at a time, blending just until combined after each addition. Mix in vanilla extract, rum extract and egg nog. With mixer set on low speed, slowly add in dry ingredients and mix just until combined.
Scoop dough out by the heaping tablespoonfuls and drop onto Silpat or parchment paper lined baking sheets, spacing cookies 2-inches apart.
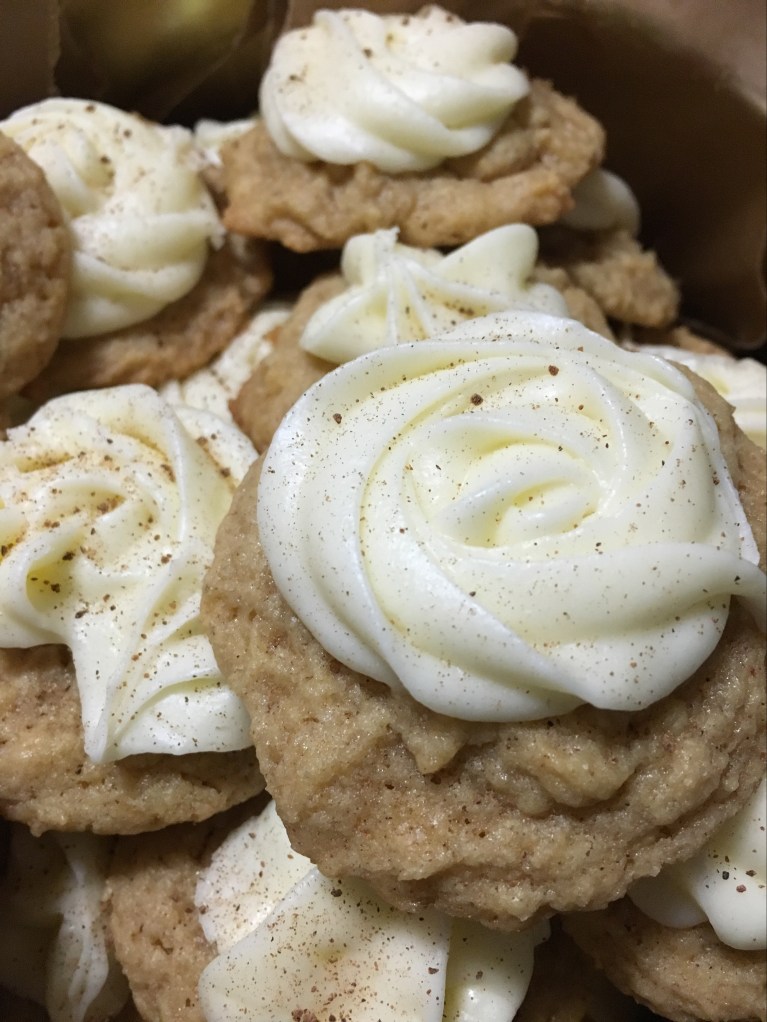
Bake in preheated oven 11 – 13 minutes. Allow to rest on baking sheet several minutes before transferring to a wire rack to cool. Cool completely then frost with Eggnog Frosting and sprinkle tops lightly with nutmeg.
For the Eggnog Frosting:
In the bowl of an electric stand mixer fitted with the paddle attachment, whip butter until very pale and fluffy. Add in rum extract and 3 Tbsp eggnog and mix in powdered sugar. Add additional eggnog to reach desired consistency.
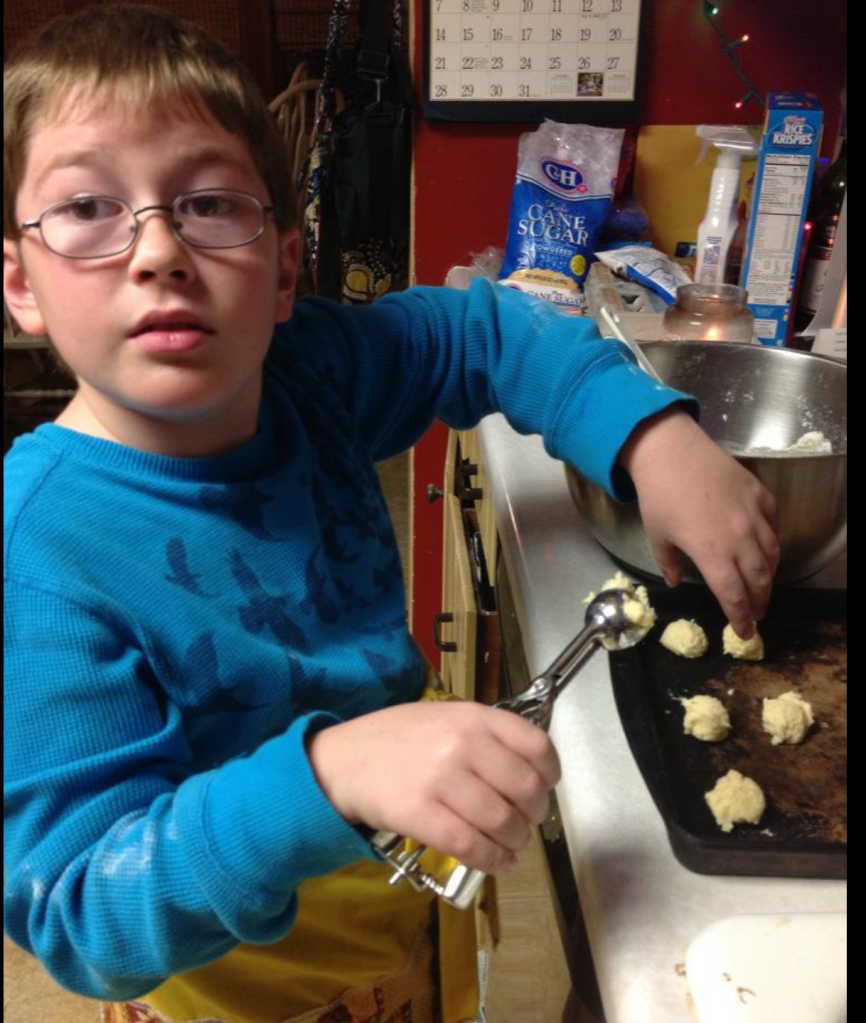
Many years ago, my precious first-born came to me at 7 o’clock at night on a school night, and said, “Mom, I read a cookbook for my book report, and I have to bake cookies for it. Oh, and it’s due tomorrow.”
Ahhh…here’s that sweet boy, and how that turned out. That’s right, I was the meanest mom in the world and made him make his own cookies.
And in the seven years since this fateful night, it turns out I have not gotten any nicer and he hasn’t gotten any better and forethought.
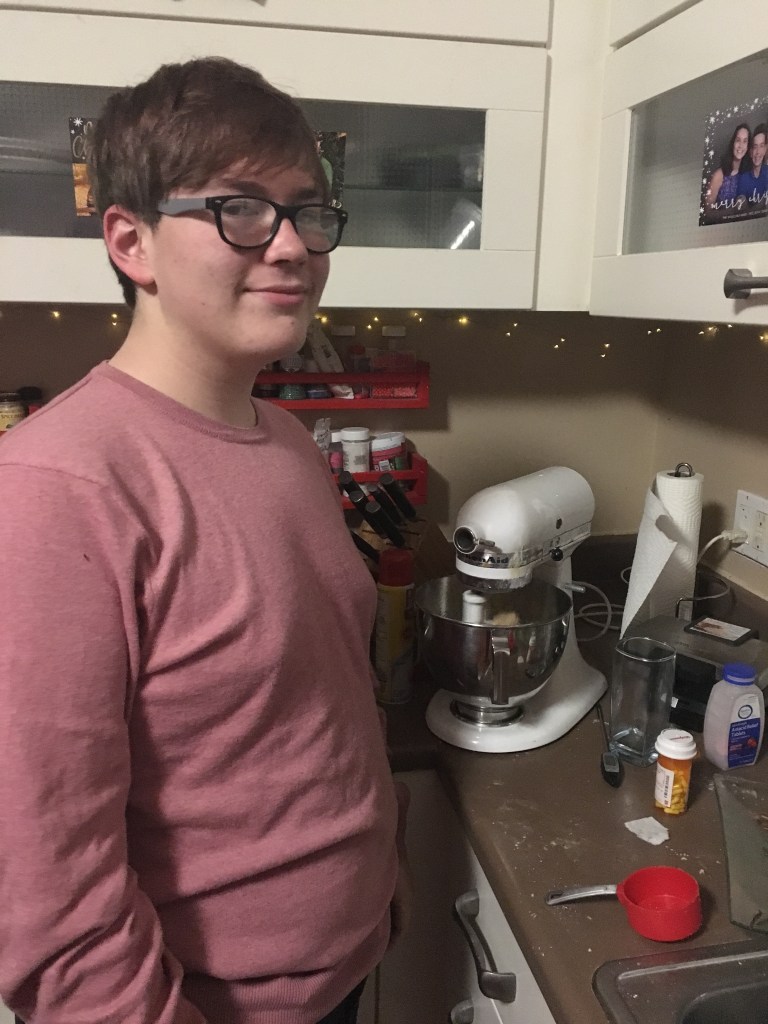
Nate had a cookie exchange at school in his AP Chemistry class. He told me the night before, and I said cool, get a recipe and go at it.
He acted like he was annoyed, but I could tell he was into it. Well, until the mixer turned on for the first time. There might have been a jump and a scream. And by might, I mean there was.
This is the cookie he found for me last year, that properly demonstrates his love of eggnog. I brought the eggnog home and the other two kids were so excited! Until they found out Nate would be making cookies with it. I’m the mom in these parts, so I’m sure I’m not privy to all that happens here, but I’m pretty sure the other two made credible threats to their brother for not sharing the eggnog.
I think he did a pretty good job. I said I’d frost them if he mixed up the frosting for me, which he did.
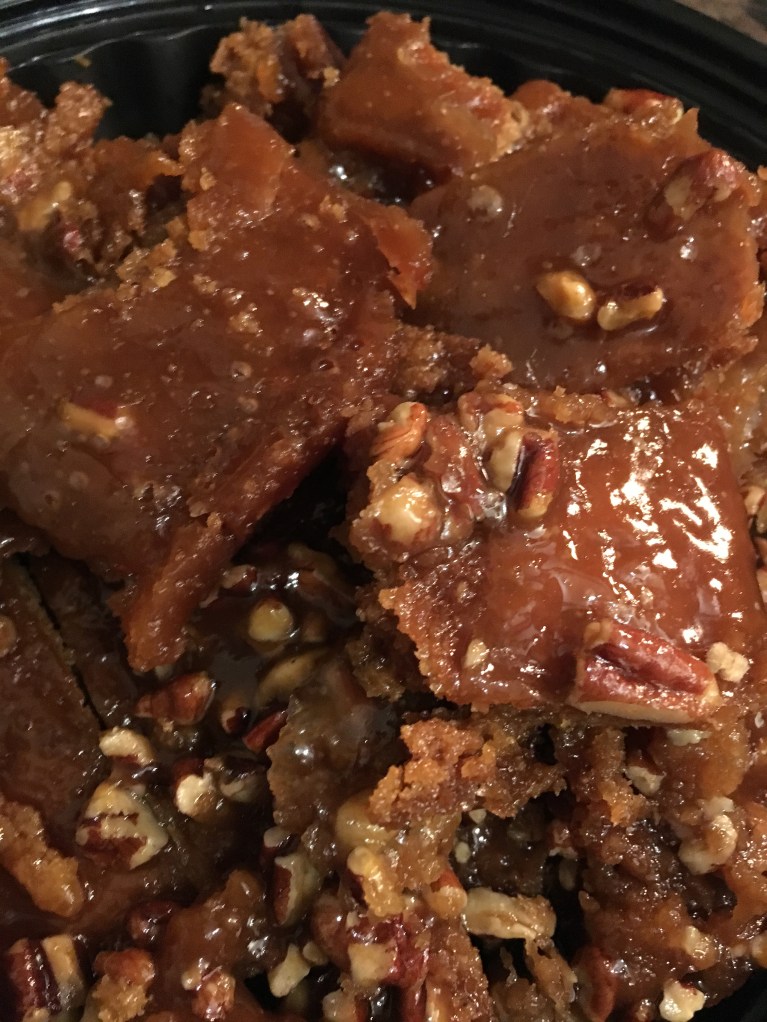
(from Gooseberry Patch’s Old Fashioned Country Cookies)
24 square graham crackers
2 sticks butter
1 c. brown sugar
1 c. chopped pecans
Preheat oven to 325. Arrange cracker squares on a lightly greased cookie sheet with edges around it. In a saucepan, bring the butter and sugar to a boil and boil for 2 minutes. Pour over crackers, covering them well. Sprinkle with nuts and bake for about 10 minutes. Cool slightly and cut into 24 squares or 48 “fingers.”
If there’s an easier cookie out there, I don’t know what it is. Aside from buying a pre-made roll of cookie dough or the individual raw sugar cookies with pictures on them, there probably isn’t one. If there is, let me know! I want to see!
If you’re one of my regulars, you know I make this every year. Seriously, every year. Why? Because it’s easy and I can be unbelievably lazy for someone that runs a crazy cookie endeavor each year. But also because these are always popular with my cookie-eaters. Young and old alike love these. I make enough cookies that are weird and specialized as it is; it’s good to have an old standard that I know will please most people.
Today, I’m at Man Friend’s while he watches sportsball on TV. We ran to Trader Joe’s (I love you TJ’s) and I asked if he minded if I made cookies here. He did not, and I came back with the ingredients for today’s cookie.
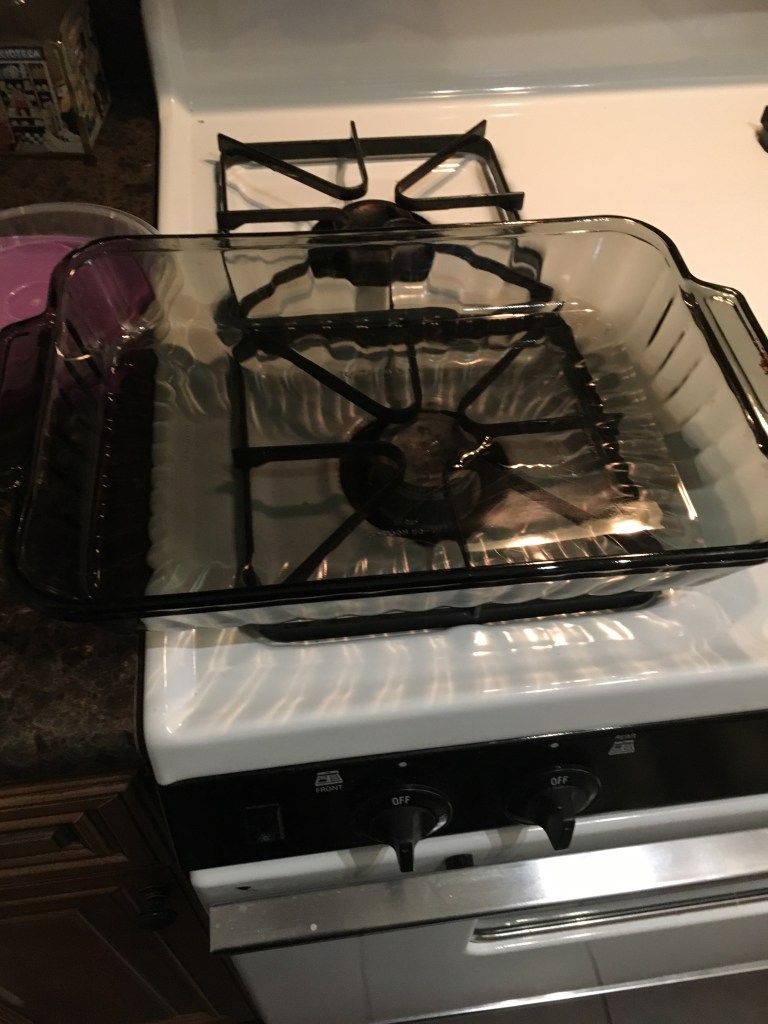
Now, Man Friend is a man living by himself. While he’s a neat freak (more on this later) and a great cook, my kitchen has more general stuff in it than his. I attribute that to me living with three growing kids, and also, you know, running this cookie blog. He doesn’t have a cookie sheet, so we made do.
He’s Italian and he calls this a lasagna dish. Because I’m a little bit of everything and nothing all at once, I call this a 9×13 pan. I like his name for it better.
Him being a neat freak is something that scares me, mostly because I’m…not. Scroll back through the pictures of my kitchen during cookie season for evidence of this. I knew I couldn’t make his kitchen look like this. At all. Not even a little.
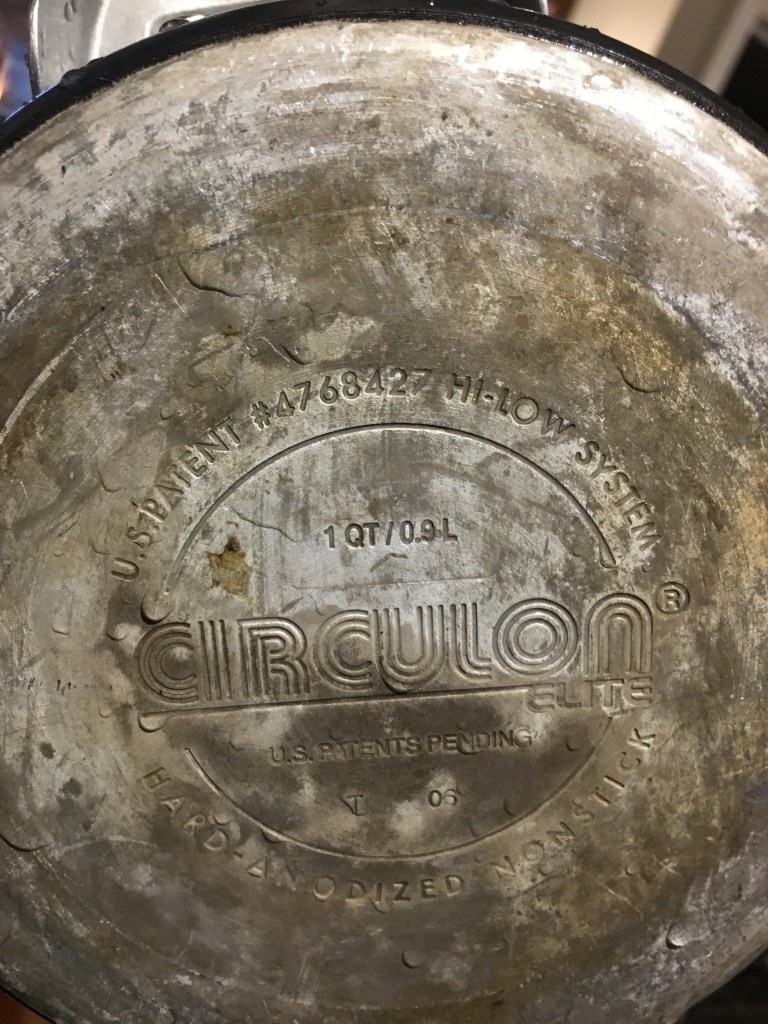
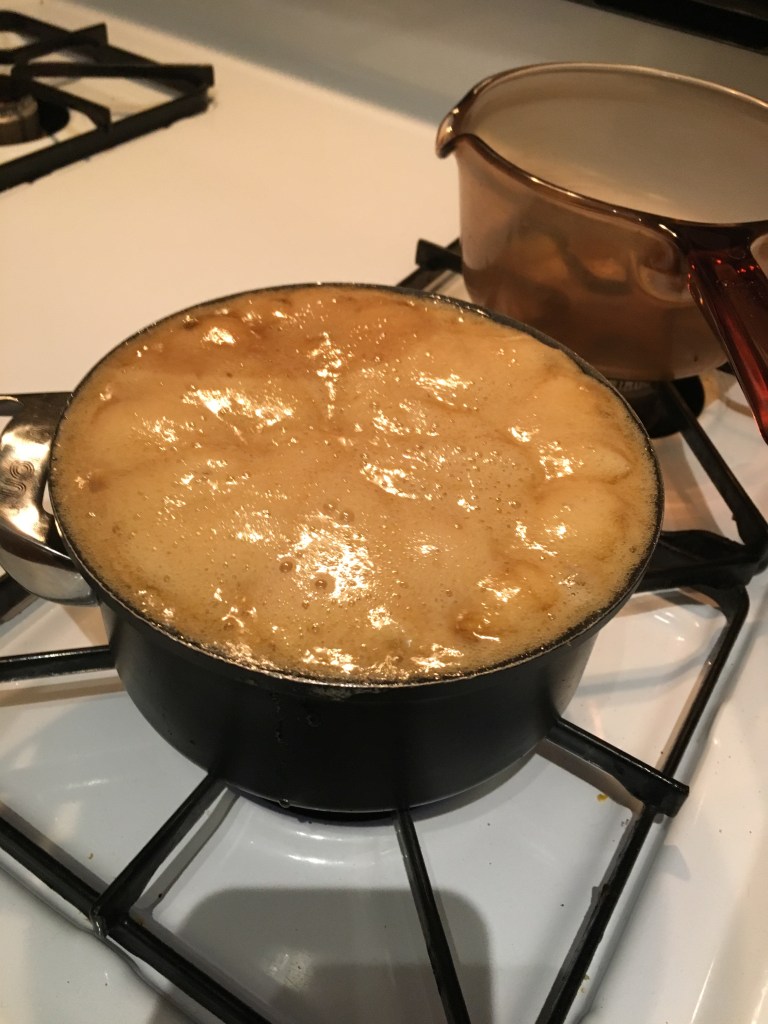
I asked for a sauce pan and he hands me a small saucepan. I flip it over to see how big it is.
Okay, 1 quart. With two cups of butter and 1 cup of brown sugar, that’s three cups. This should work.
Or not.
Right after I took this last picture, I said, “Honey, how many cups are in a quart?” He answered “Four,” which is right, so now I have a beef with Circulon and will be writing them next, asking how long it’s been since their cookware has been regulated by the Department of Weights and Measures. But I digress.
The last thing I wanted in my neat freak’s kitchen was a mess. And unfortunately, thanks to Circulon’s version of a quart, I had one.
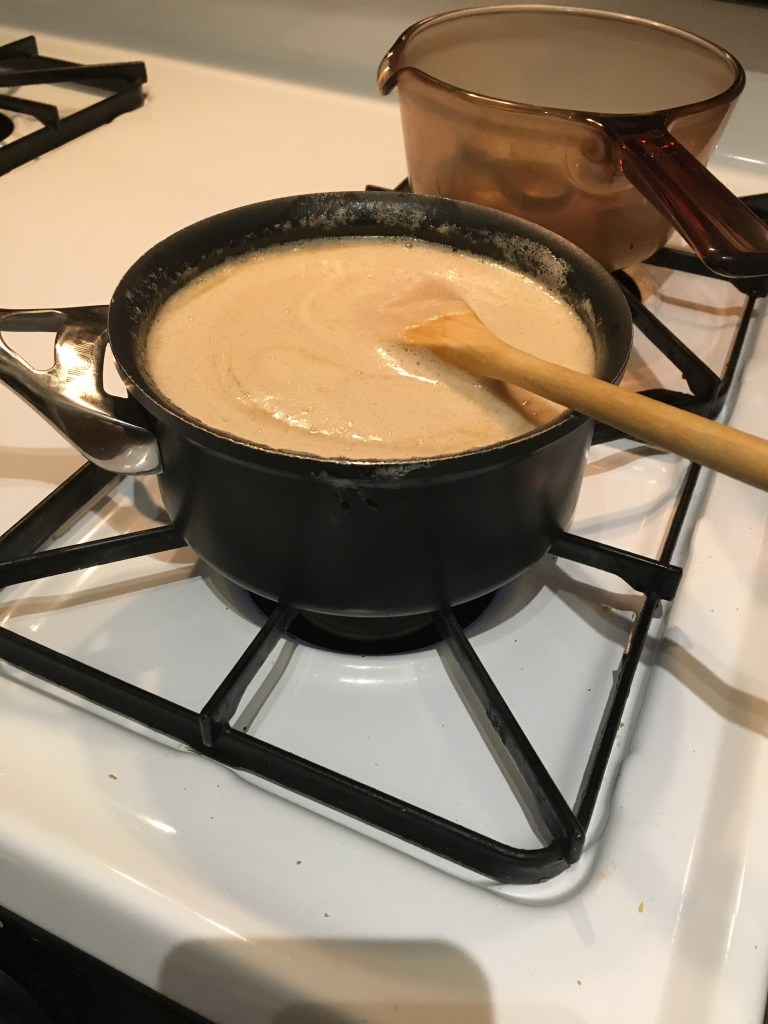
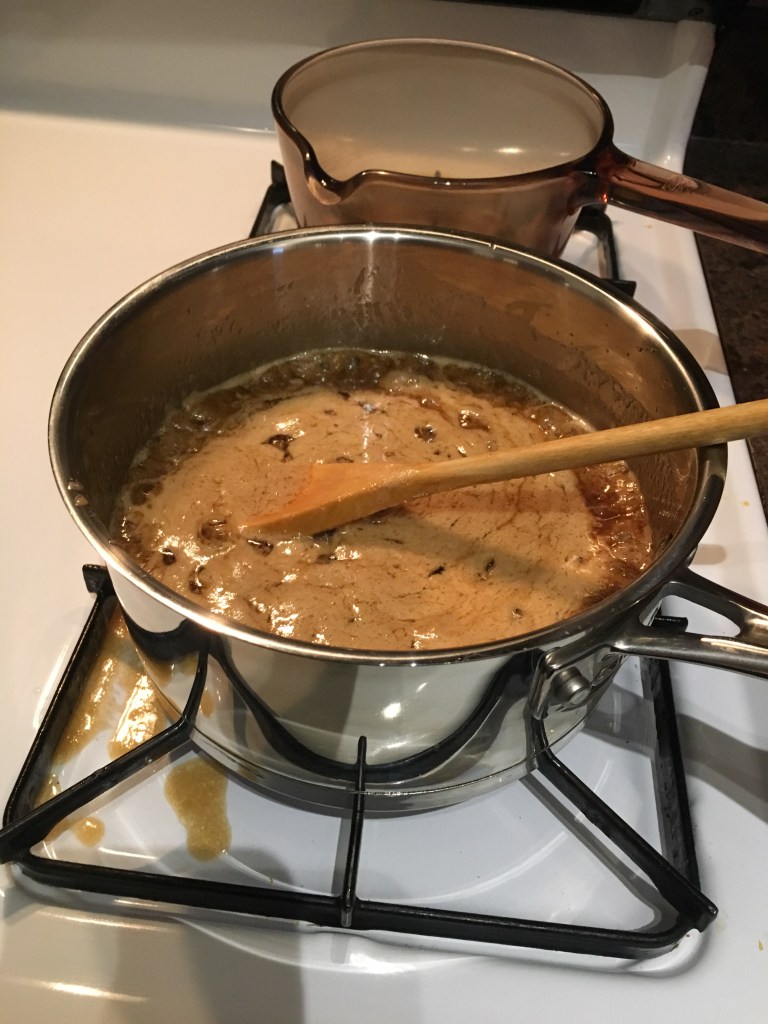
This is once we poured it into a different–and bigger–sauce pan.
That’s a small spillover mess there. But in the terms of my baking messes, we all know this is minor.
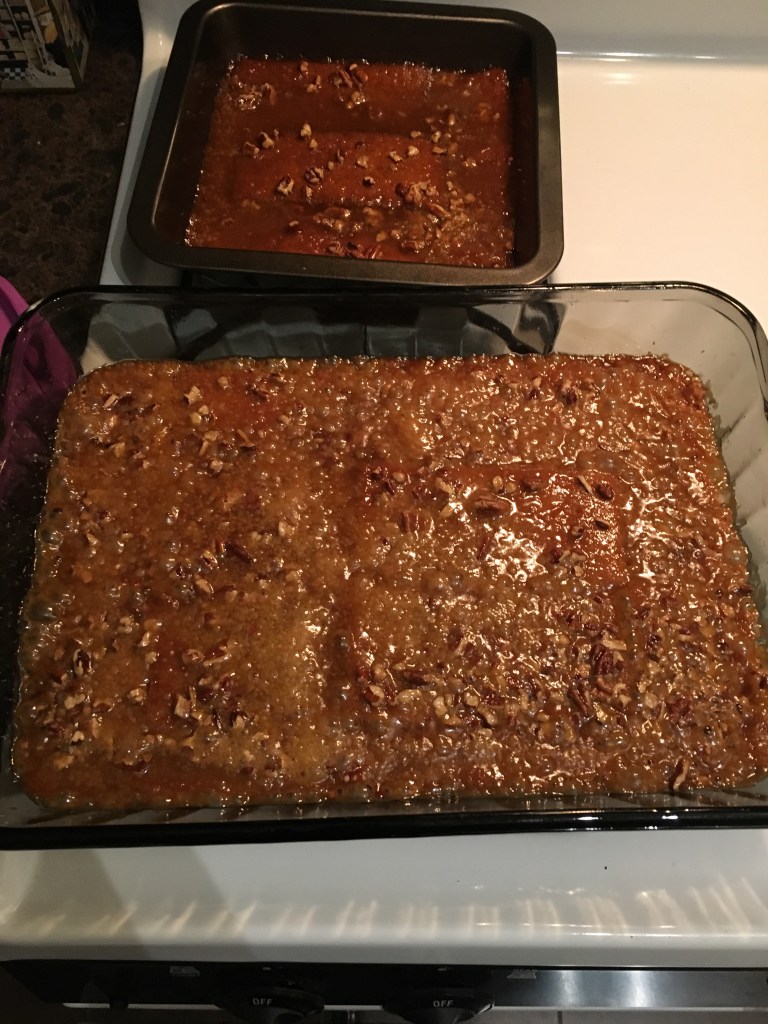
I tetrissed the graham crackers in the lasagna pan, as well as in another smaller square pan and poured the toffee mixture on top of it.
Added the nuts and put it in the oven for 10 minutes. Actually, because I wasn’t using cookie sheets, I left them in the oven for 15 minutes.
Yeah, I took the lazy way out this time in putting this recipe up. But, I think there’s a lot of character here too. As I was with Man Friend at his parents’ home for his birthday and his mom and I talked about cookies, she pulled out this recipe and let me take a picture of it. She said (if I’m remembering correctly…again, there was some wine involved) that this was an old one she remembers her mother making. “I mean, this was typed,” she said to me.
For those of you that don’t know this, before computers, there were typewriters. You might see some with bearded men wearing skinny jeans at Starbucks. But before they were retro-cool like that, they were just…necessary.
Anyway, I made these and remembered the importance of reading ahead. More on that later.
First of all, this recipe starts with a pastry blender. If you don’t have one, you can use a couple of forks. You cut the butter into the flour, making tiny little crumbs of butter covered with flour, if you’ve done it right. You do the same thing for biscuits, some pie crusts, basically anything with high amounts of butter in it.
Butter and flours successfully combined.
I cube my butter first, which essentially means I make a cut down the length of the stick of butter, then flip it on its next edge and do the same thing. Then I cut the stick like I would to get a pat of putter. Ouila. Butter cubes.
This recipe is called sour cream cookies for a reason. As you’d imagine, there’s sour cream in it. I love sour cream. It’s probably my favorite food. A half cup of sour cream and an egg yolk mixed together goes into the flour and butter crumbs. Butter’s also a favorite food; so far, this recipe has allllll the right moves.
Once it’s all combined, it goes into the fridge. I didn’t do overnight, nor did I split it into 4 different sections. When I was mixing together the fillings, it took me longer than I’d like to admit to understand that this recipe lists three different types of fillings. Not all together. Reading: it’s not for everyone!
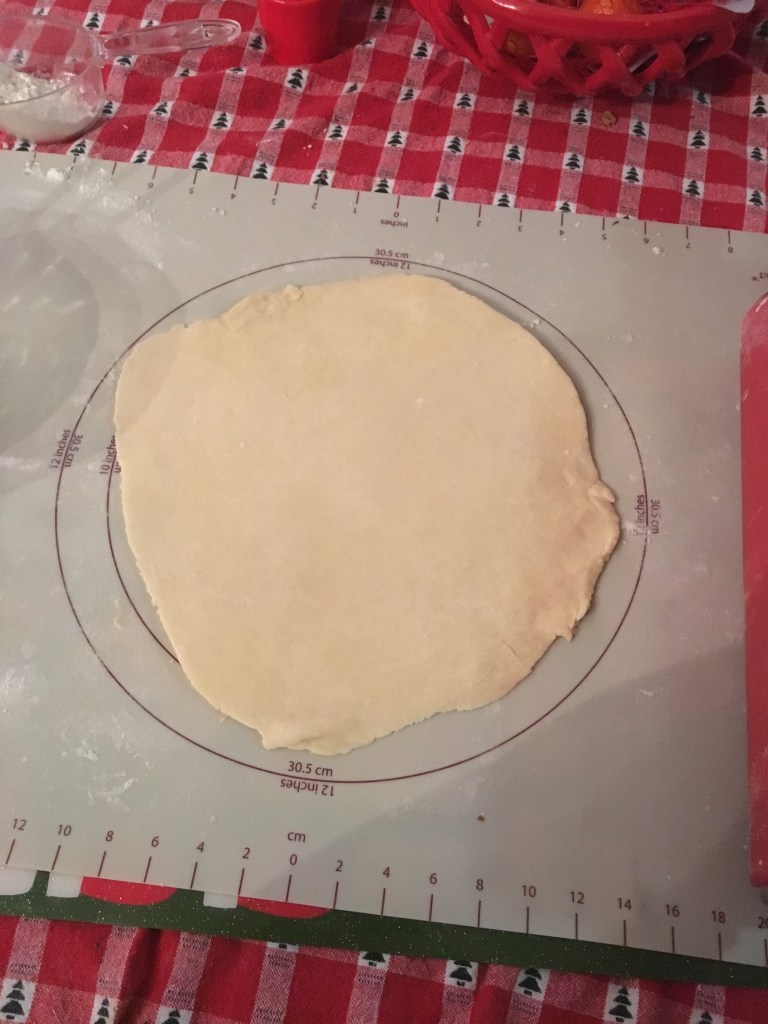
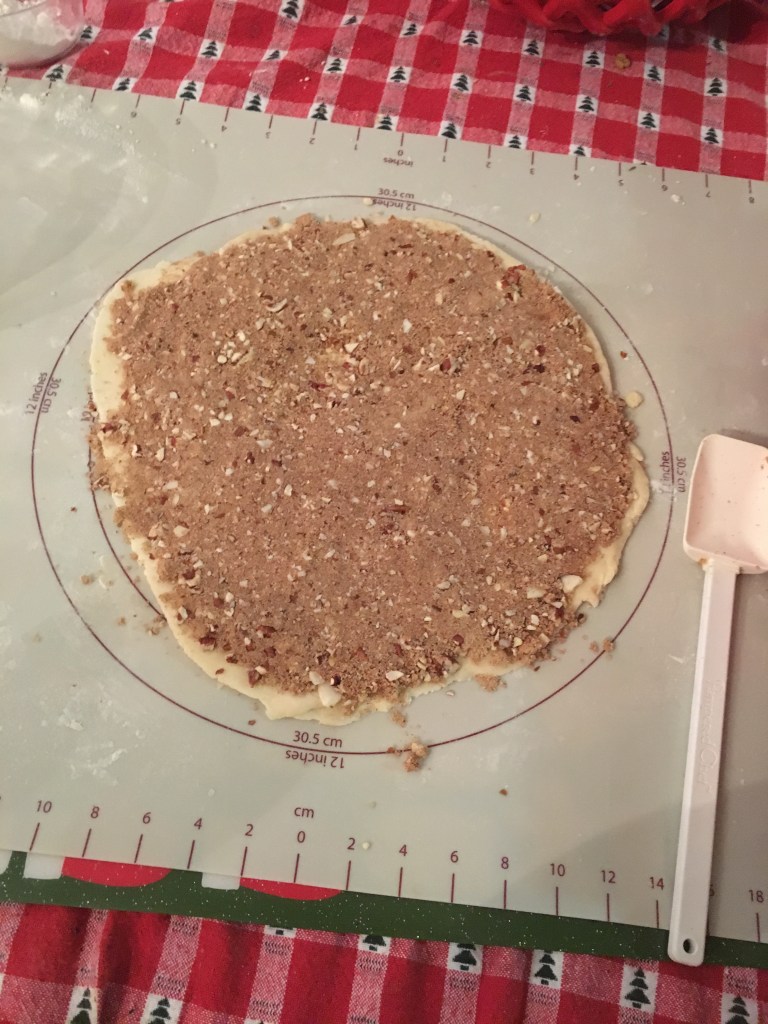
I pulled it out of the fridge and rolled it to a 10 inch circle. Then I tried to put all of the brown sugar mixture in it on one go. Note: don’t do this.
When in the oven, some of the cookies expanded and unrolled and, while super tasty, aren’t quite what you are supposed to get.
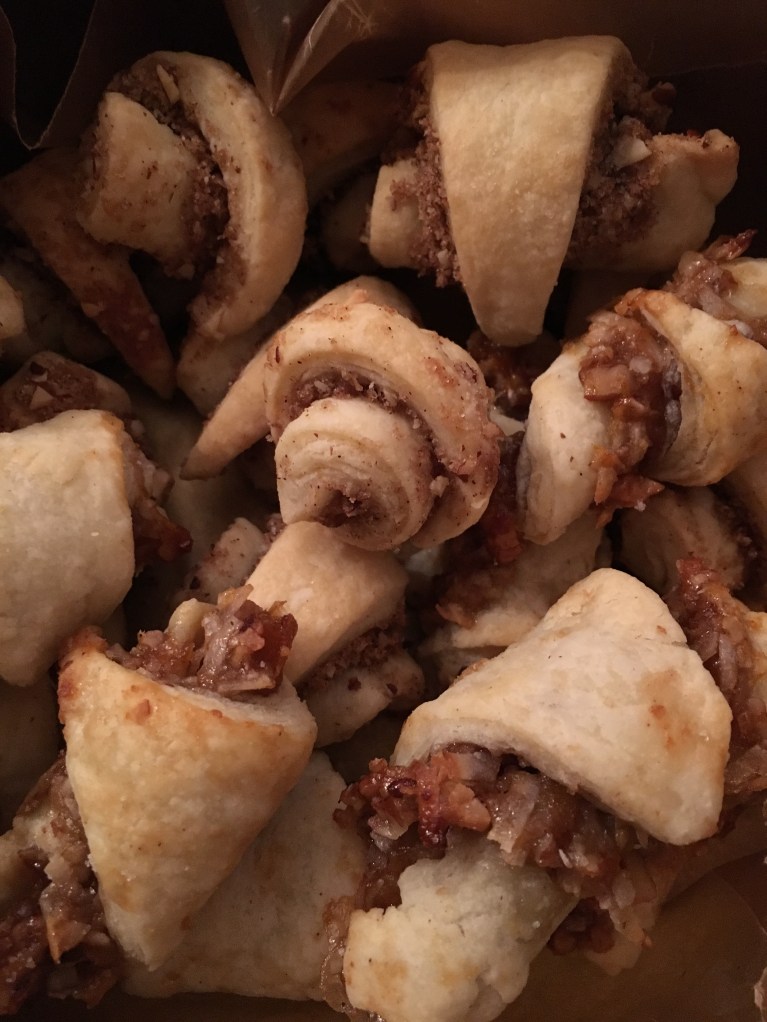
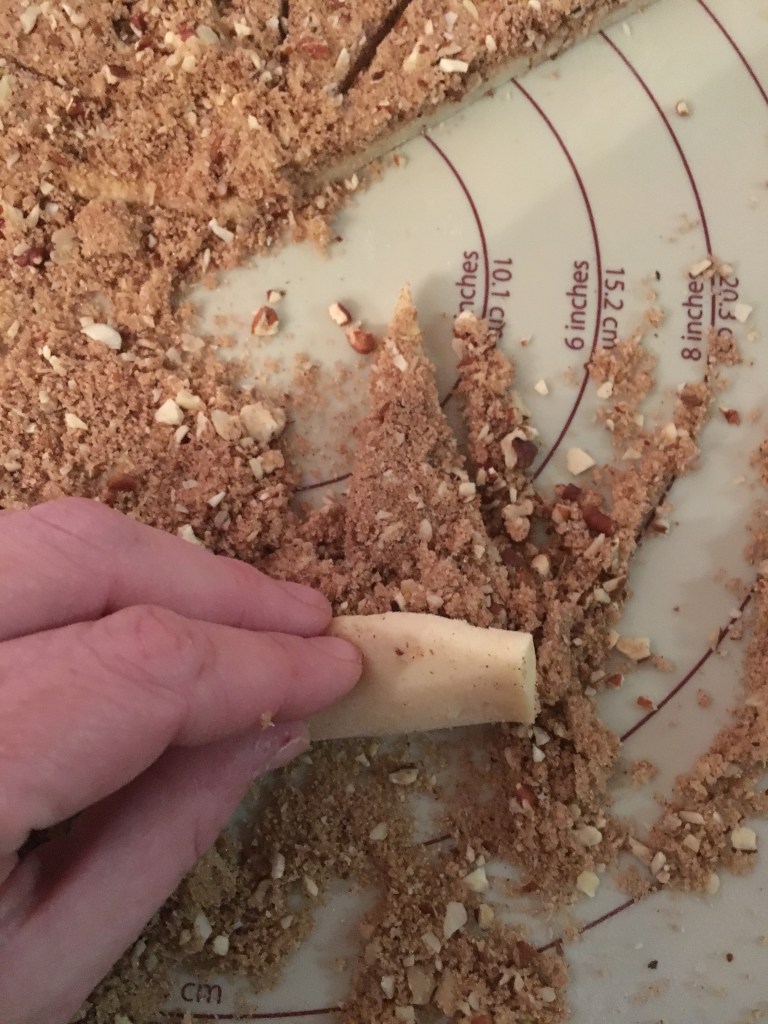
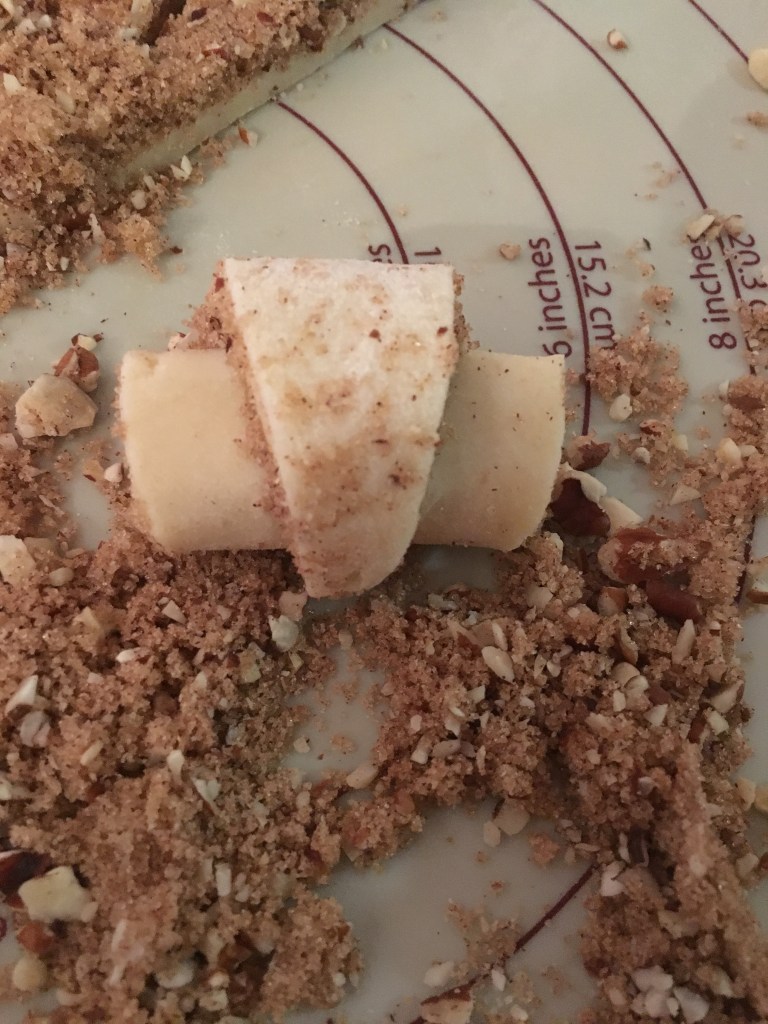
Man Friend’s mother said these are almost like Rugalach cookies, and that was important when I was rolling them up. I used a pizza cutter instead of a fluted pastry cutter, mostly because it’s 2019 and even I don’t have a fluted pastry cutter.
I rolled them up like crescent rolls and put them on the tray.
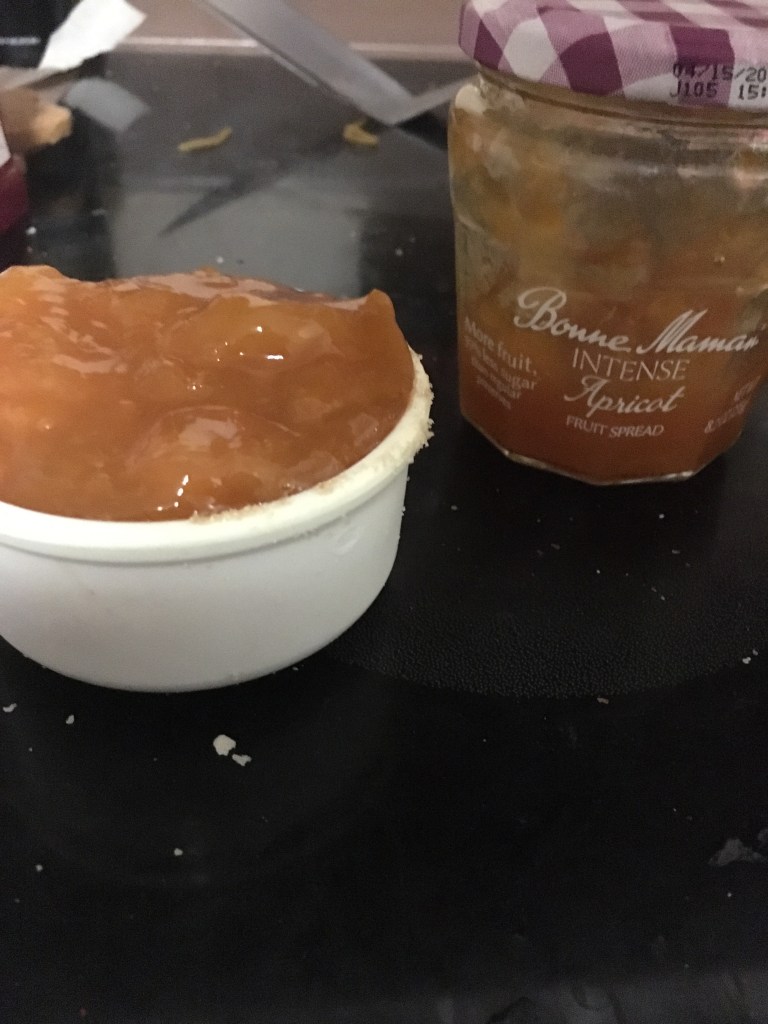
And then I tried it with the other fillings. The one with apricot and nuts was exceptionally good, especially since I wasn’t planning on liking it. It’s definitely an old school filling.
INTENSE Apricot!
There’s no sugar in this dough, so the filling makes up for it. In the brown sugar, it’s evident. But in the apricot preserves it’s not as apparent. But there’s a good amount in there, which I was worried about.
However, I will also warn you, dear readers, to not try to use regular old strawberry preserves, straight from the generic aisle at the grocery store. I did. And those cookies looked like a homicide. I ate the evidence. There’s just not enough fruit in there to make the cookies hold together and not bleed. Bleed strawberry jelly, of course.
A sprinkle of sugar on the tops and they go in the oven. I would make these again, happily, and would do so knowing my kids won’t touch these with a 10 foot pole. Those are my favorite kinds. They just don’t know what they’re missing!
In large bowl, sift together flour, ginger, cinnamon, allspice, baking soda, and salt. Set aside.
In an electric mixer fitted with the paddle attachment, cream butter and brown sugar on medium speed until fluffy, about 3 minutes. Beat in eggs one at a time, scraping sides of bowl between additions. Add molasses and vanilla and beat until completely incorporated.
Reduce mixer speed to low and add flour mixture until thoroughly combined, about 30 seconds. Dough should be soft (not dry or crumbly) but not sticky. If sticky, add a few tablespoons of flour until desired consistency is achieved.
Divide the dough in 2, place each half on a large piece of plastic wrap, press down with the palm of your hand and make a disc about 2″ thick. Finish wrapping the disc with the plastic wrap. Chill the discs of dough for at least 2 hours.
Remove one disc and remove plastic wrap. Place on top of a large piece of lightly floured parchment or wax paper (I use a silicone rolling mat underneath to ensure it doesn’t slip while rolling, but you can even dampen counter so the parchment sticks a bit.), then place two 1/4″ wooden dowels on either side of your dough, then another sheet of parchment paper.
Roll dough (this will require a bit of elbow grease for the first few minutes until it softens up a bit) so it’s flush with dowels–they will ensure that your dough is even thickness.
Slide your parchment paper and dough onto a board, then place in refrigerator for about 30 minutes, or freezer for 15 minutes (or more).
Preheat the oven to 350˚F. Line two or three baking sheets with silicone mats or parchment. Remove the rolled dough from fridge, and cut your shapes using the cutters or template of choice, placing them on the prepared baking sheets. Bake until the edges just start to brown, about 8 minutes for medium cookies, and 10 minutes for larger cookies (such as those in the photos).Be careful not to over-bake, or cookies will be dry. Collect remaining dough and re-roll once, repeating cutting and baking steps. Dough rolled out more than once will be a little tough, so it’s best to keep it to a 2-time roll-out maximum.
Cool sheets on wire racks for 20 minutes, then gently remove cookies and place on wire racks to finish cooling. If cookies are too fragile, you can cool completely on trays.
Decorate with royal icing, candies, sprinkles, and more.
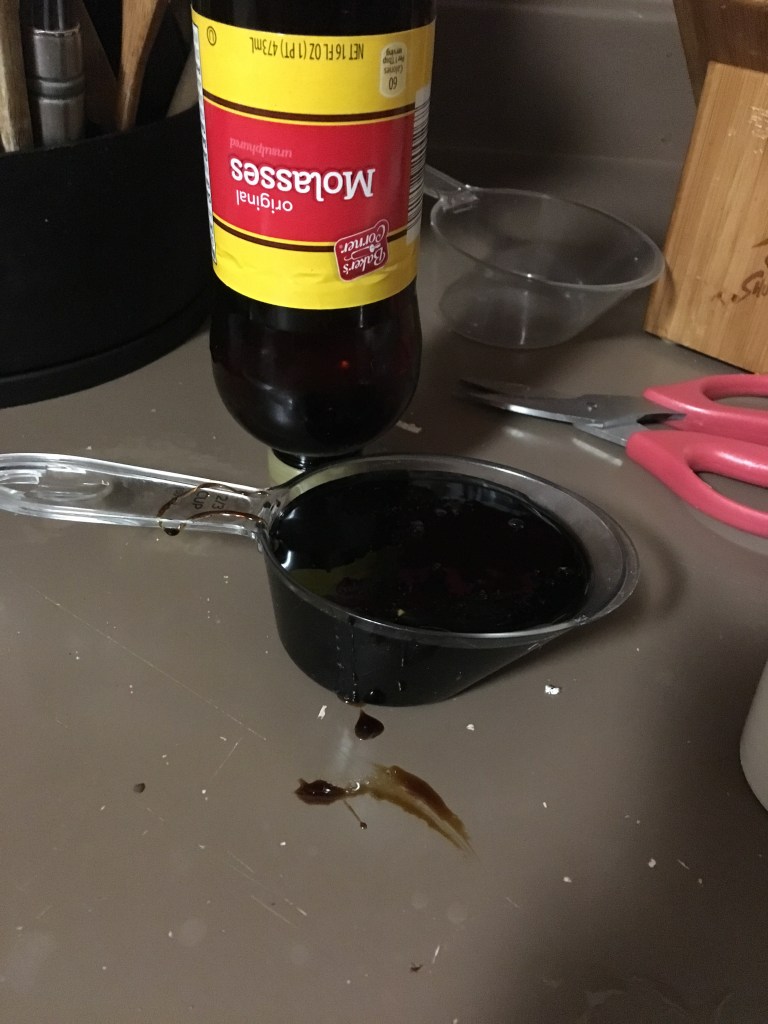
So Gingerbread. It’s the stuff of Christmas dreams and Yankee Candles (but somehow the candles never actually smell like Gingerbread to me). Every year I make this, and every year I vow to just buy a new bottle of molasses. I didn’t this year. Again. That makes 15 years in a row! Through a biblical-esque miracle much like loaves and fishes, I had exactly the right amount of molasses this time around. It took about an hour to get it all out and at one point, I was wondering what was wrong with the specific gravity at my house.
I still got a little more out of it too!
But I digress.
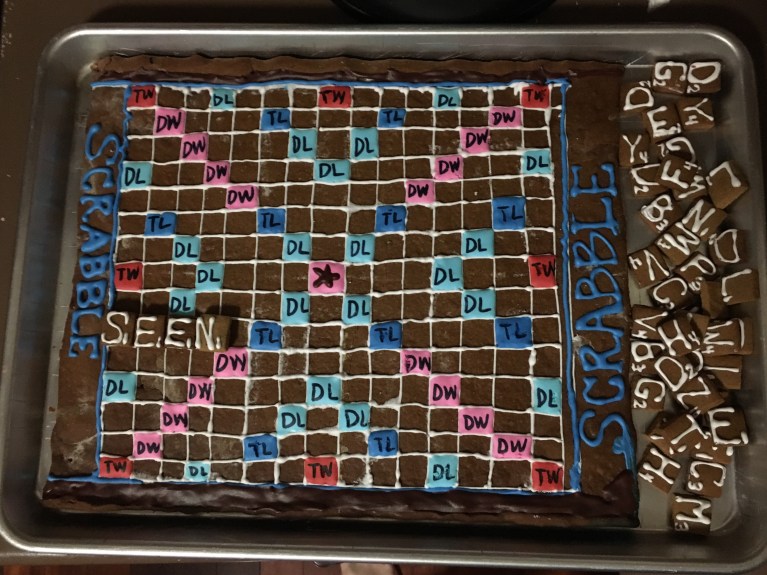
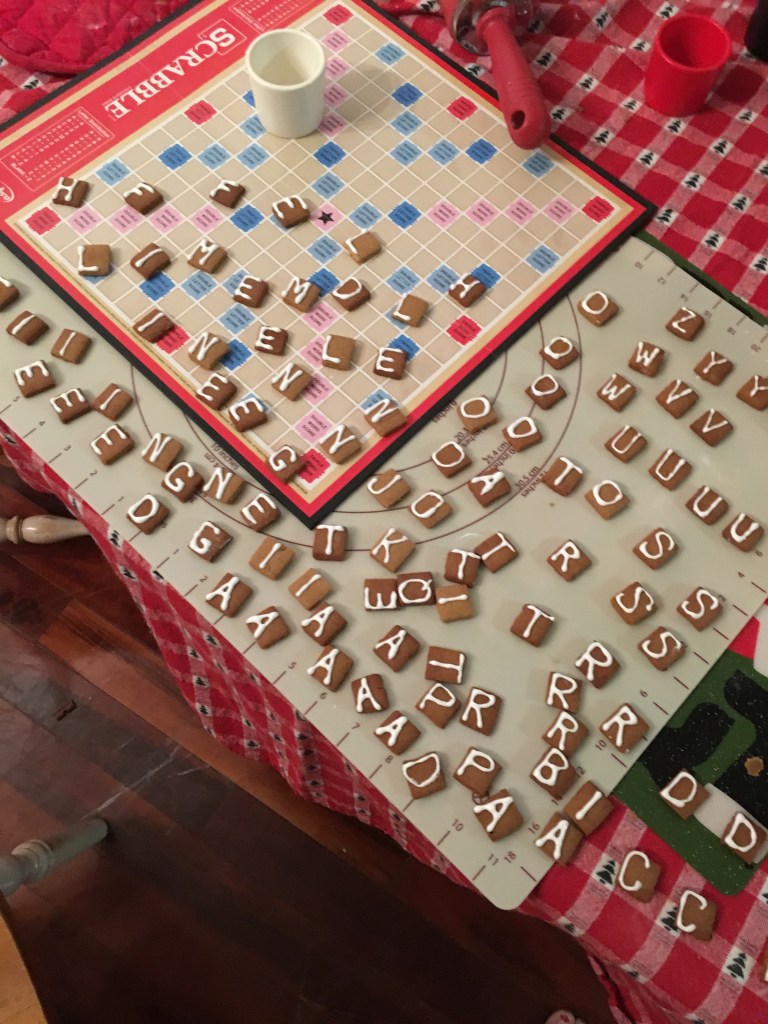
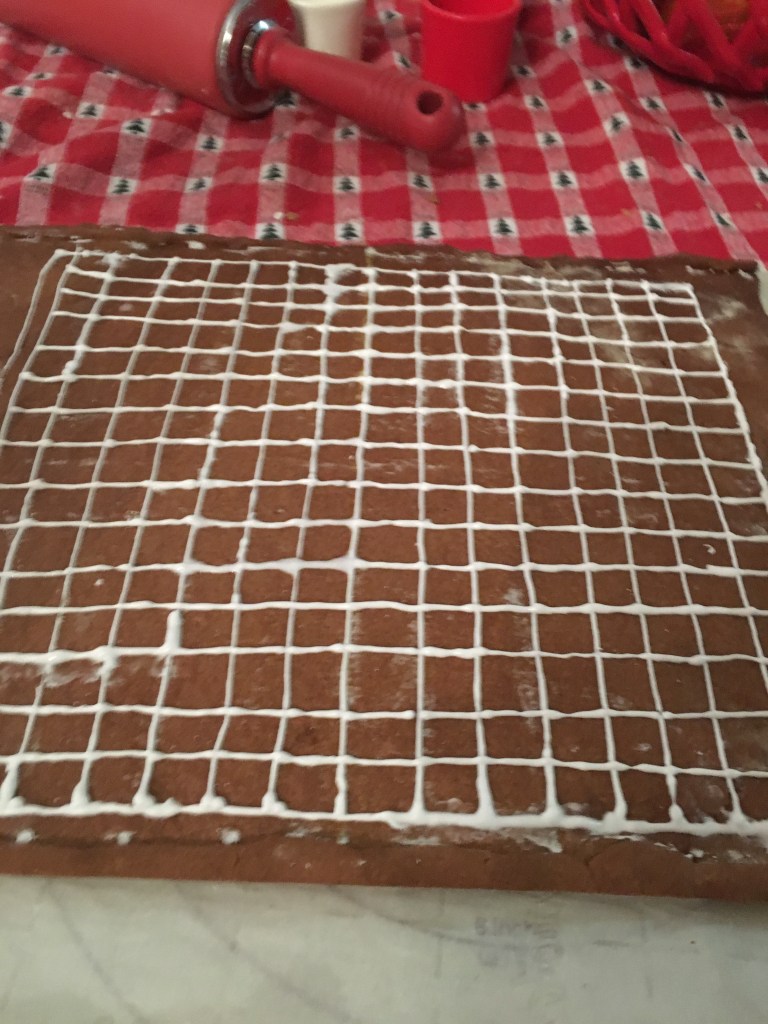
I’ve always wanted to make an epic Gingerbread Scrabble board. I’ve thought about it for years, and for some reason, I always had to have it be Gingerbread. I think it has something to do with going to Disney World around Christmastime and seeing the things they build at the Grand Floridian out of Gingerbread.
If it’s good enough for the Mouse, it’s good enough for me.
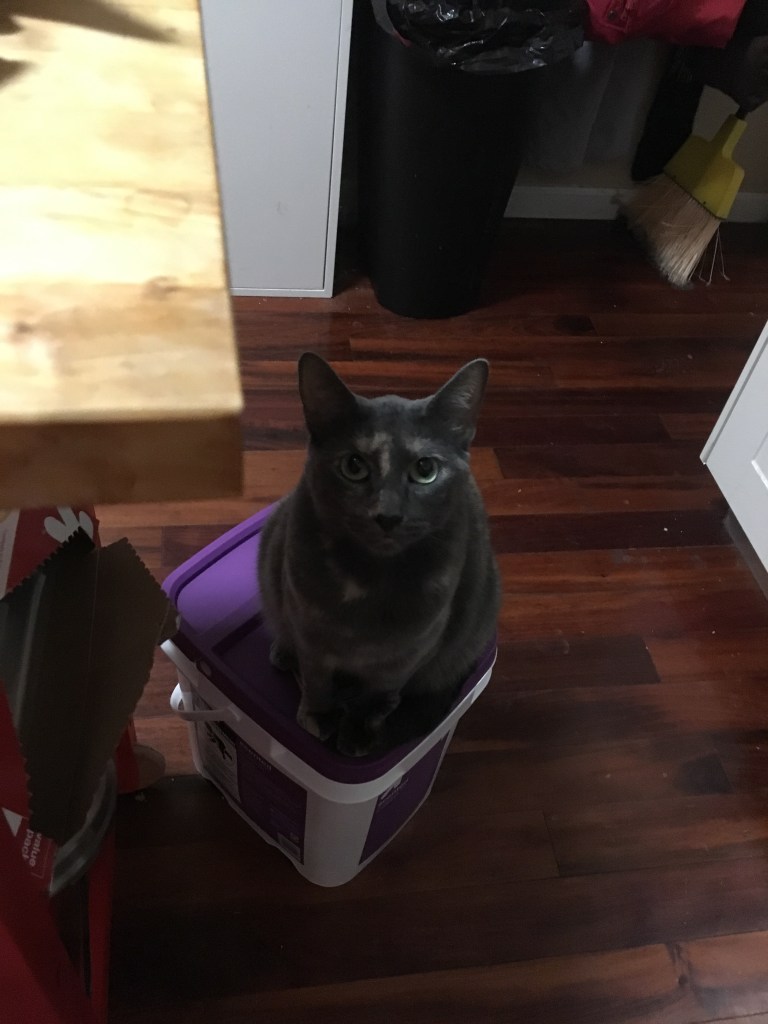
Good kitty Zelda, watching me make her favorite cookies.
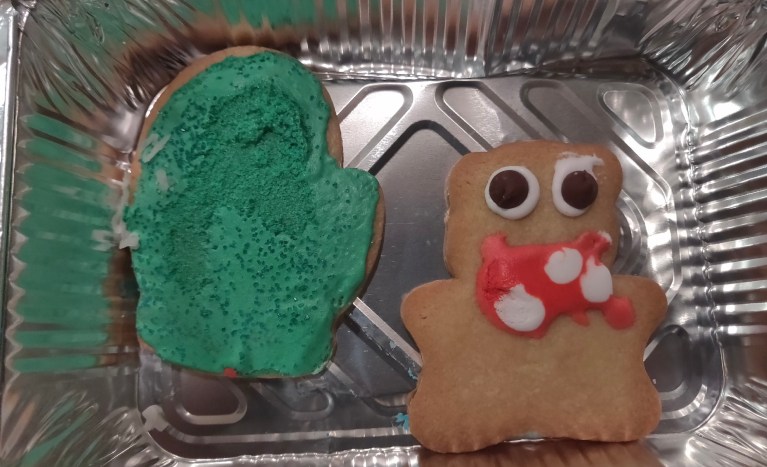
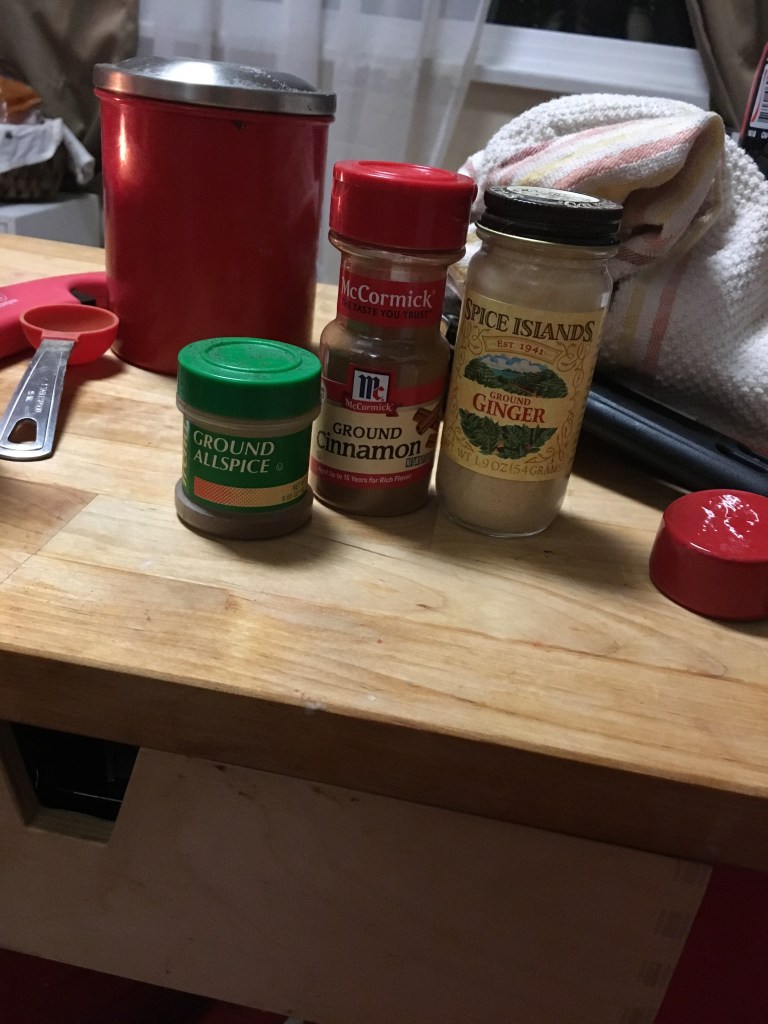
I found my spice girls and went to town. Now, I also did a few actual Gingerbread men too, but more on this later.
I won’t bore you with the details of how I measured and baked and frosted and screwed up so many times, my gingerbread started to go gray from royal icing. Well, if I’m being honest, it’s not about boring you, it’s about reliving the trauma.
There was math involved. And rulers. And at one point, I googled “equation for Scrabble board squares” and I was then mocked by Google.
But, it turned out pretty cool. I don’t think I’ll be eating this, but the whole point is I COULD. If there’s a problem and I’m the only survivor, I can live for at least 2 weeks on my Scrabble board.
Oh, and about the actual Gingerbread Men and Women. I made a few. One of my students comes to school everyday wearing a different heavy metal t-shirt. So I made this for him.
Breaking the law, breaking the law…
Honestly, it’s way cooler than the Gingerbread Scrabble game, and way less aggravating!
Well folks, here we are again at the start of another December. I’m proud to say this is my 15th year doing this crazy cookie thing–it may not have always been documented, but it’s always been baked!
Before I get into today’s cookie, the kick-off cookie, the cookie that starts it all (you get the picture), I want to let you know of a style change I’ll be making. Instead of putting the recipe at the end of the post, I’ll be putting it at the start. Why? Because I’ve *also* scrolled through cooking/baking pages looking for the recipe, just like you do, and it’s annoying. While I hope you stick around and read my color commentary on the cookie at hand, I want to make sure you get what you need out of this first.
Make the filling first, as it needs time to set; beat together the filling ingredients and refrigerate until needed.
TO MAKE ORESHKI: In a medium bowl beat the eggs and sugar until pale and frothy; set aside.
In a separate small bowl beat the butter until smooth then add the mayonnaise and mix to combine. Set aside.
Dissolve the vinegar with baking soda and set aside.Sift together the flour and cornstarch into a large bowl.
Add the egg mixture, butter mixture and soda mixture and beat everything together until a soft dough forms.
Cover and refrigerate dough for at least 1 hour before handling.
Once dough is cold enough to work with; scoop out 1 teaspoon full of dough into each oreshki mold.Lightly mold in the dough into the cookie iron.
Cover mold with the lid and bake in a preheated 375 degree F oven for 30-35 min or until golden.
Invert cookies onto a tray and continue to work with remaining dough chilling the dough in-between the handling.
Cool cookies completely before filling.
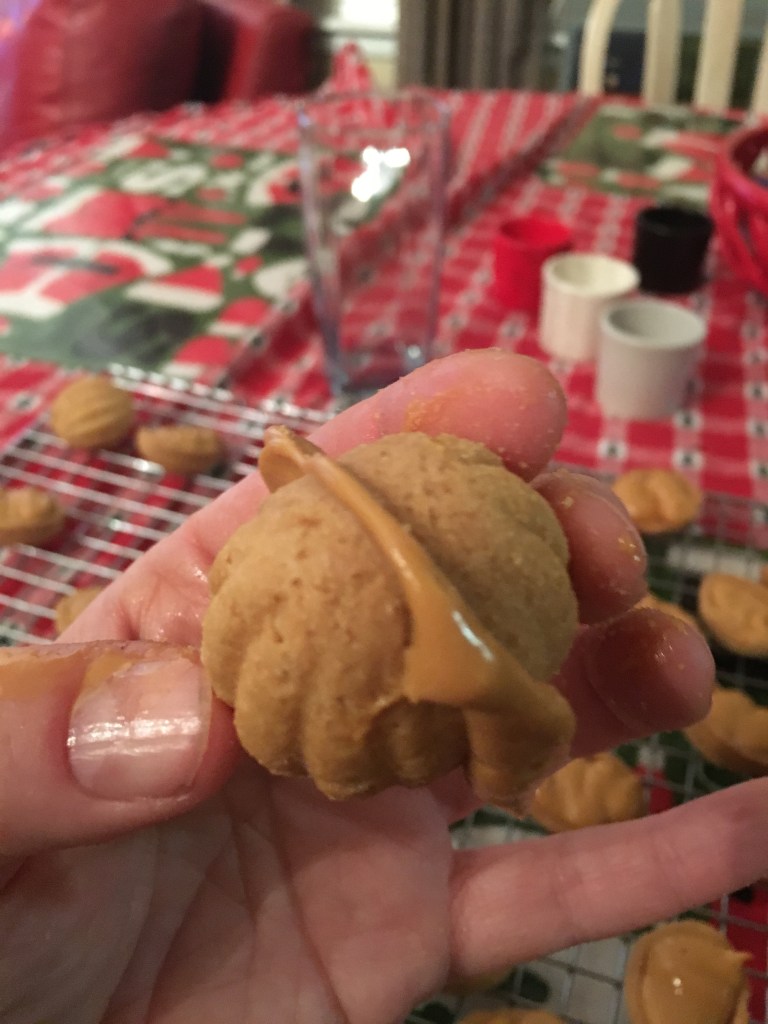
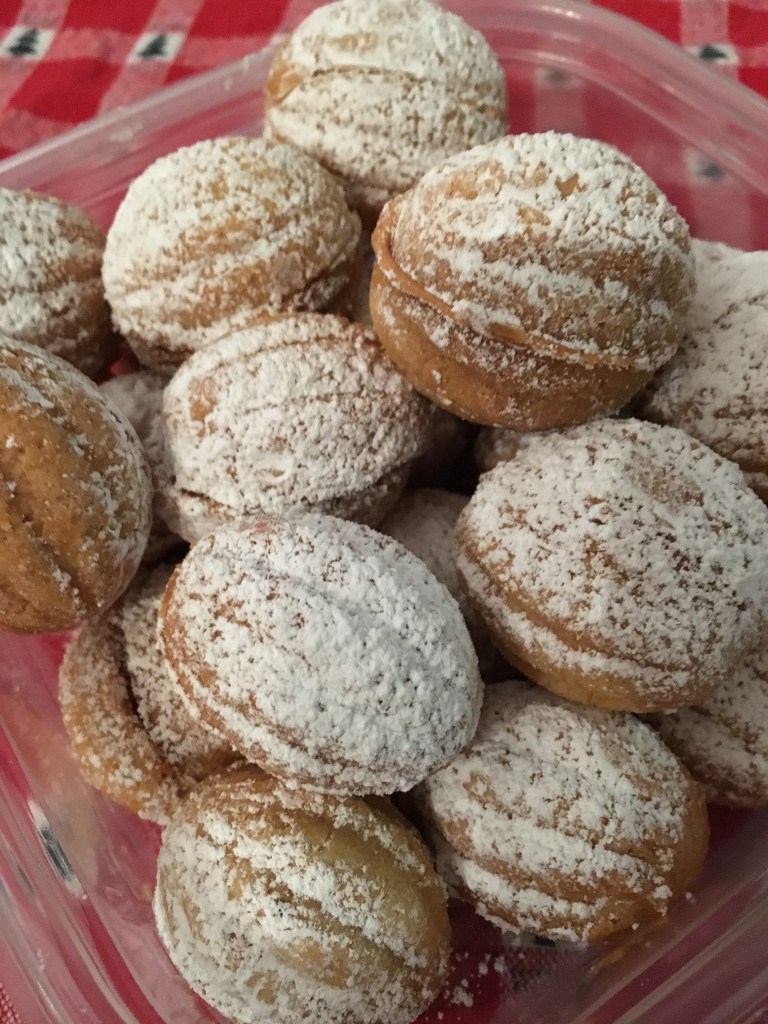
TO ASSEMBLE ORESHKI: Fill each cookie half with the filling mixture and combine the cookie halves to form a walnut shape cookie.
Refrigerate shells and serve cold at all times. Enjoy!
Okay, now to the good stuff.
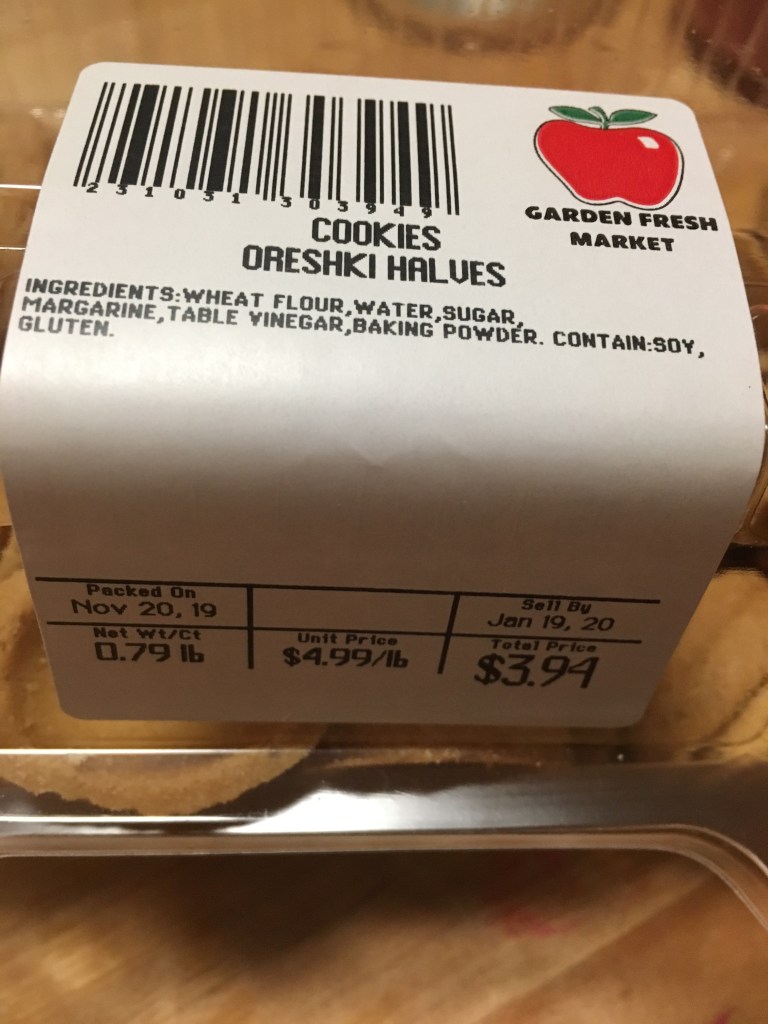
So I have a very cool grocery store within walking distance of my house. (Not that I walked there, no, it’s December and I’m not in the South anymore.) It looks boring enough from the outside, like most grocery stores do. However, inside it’s like an international vacation without ever pulling out a passport. They have Asian things, they have Hispanic things, they have Kosher and Hebrew things, and they have Russian and European things.
On this last point, there are a lot of countries in Europe represented here, but there is more Russian/Eastern European things in this grocery store than anything else. (And yes, I know Russian is in Asia.) There’s a large Russian/Eastern European population near where I live…though I don’t know if I’d know this without help of this grocery store.
My point is, they have cool stuff there in other languages that look amazing. I saw these a few weeks ago and haven’t stopped thinking about them.
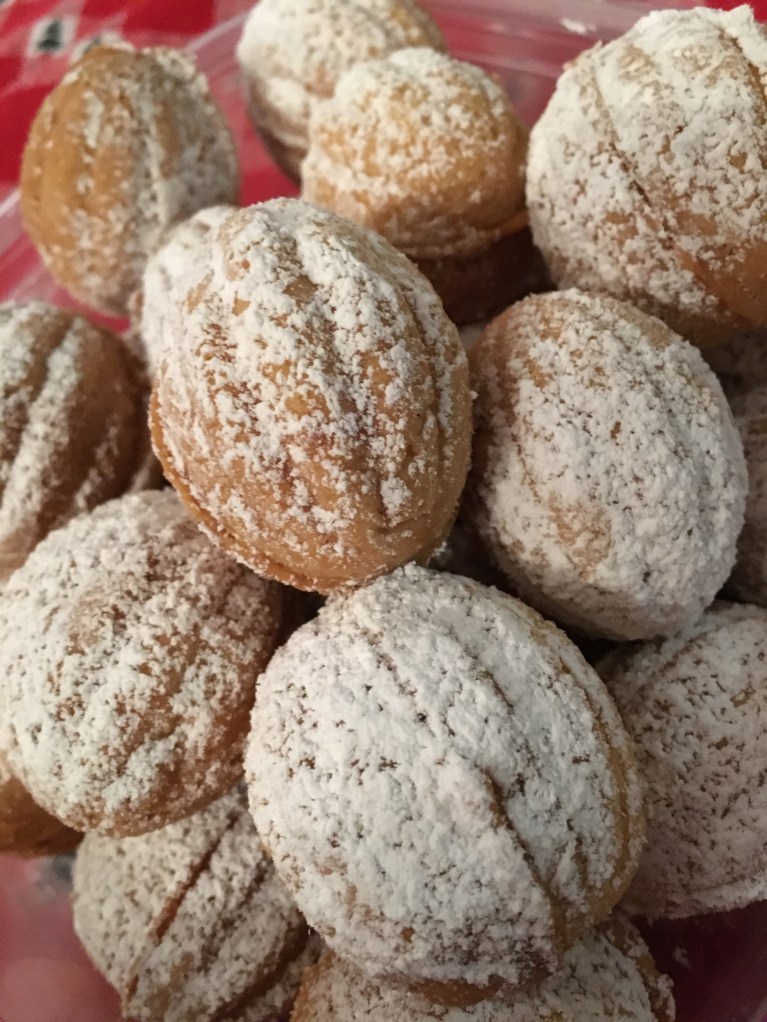
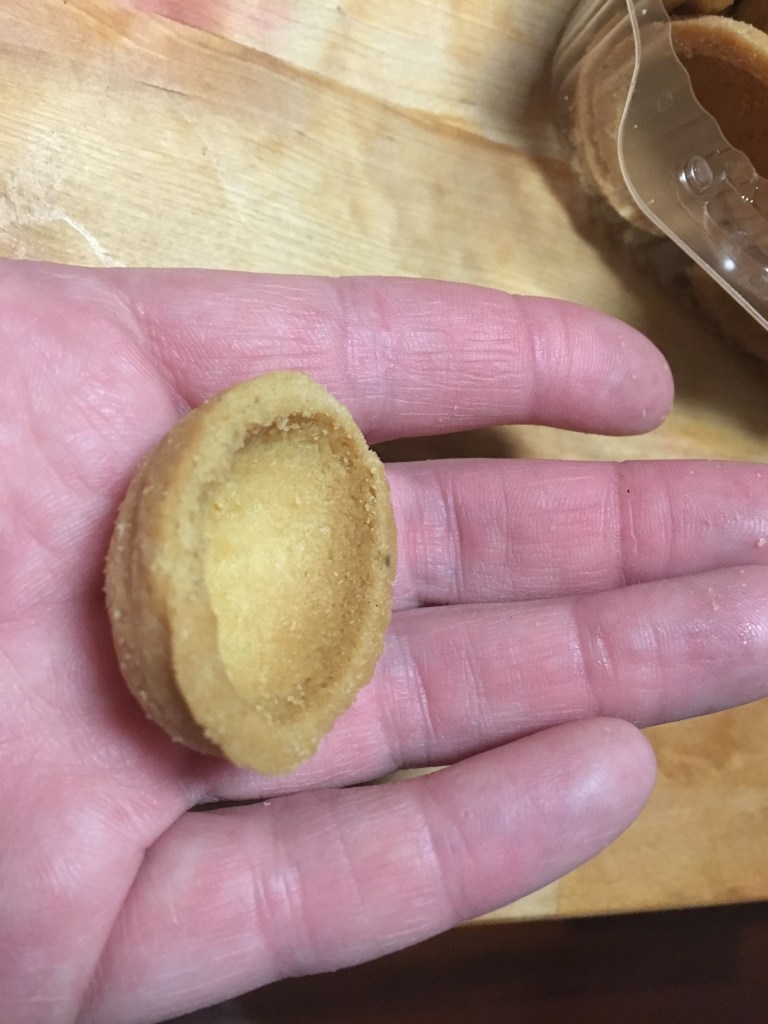
They looked like walnut shells, but baked, and apparently you fill them with things. As I was contemplating Googling that exact phrase, I saw the name Oreshki on the package and instead Googled that.
I literally saved myself hours in doing that.
I found a number of recipes for this cookie, generally considered a Slavic cookie, and in all of them, the recipe talks about getting a special pan to make these cookie shells. In fact, every recipe I saw talked mostly about how to prepare the cookie part of this, and the filling was mainly an afterthought.
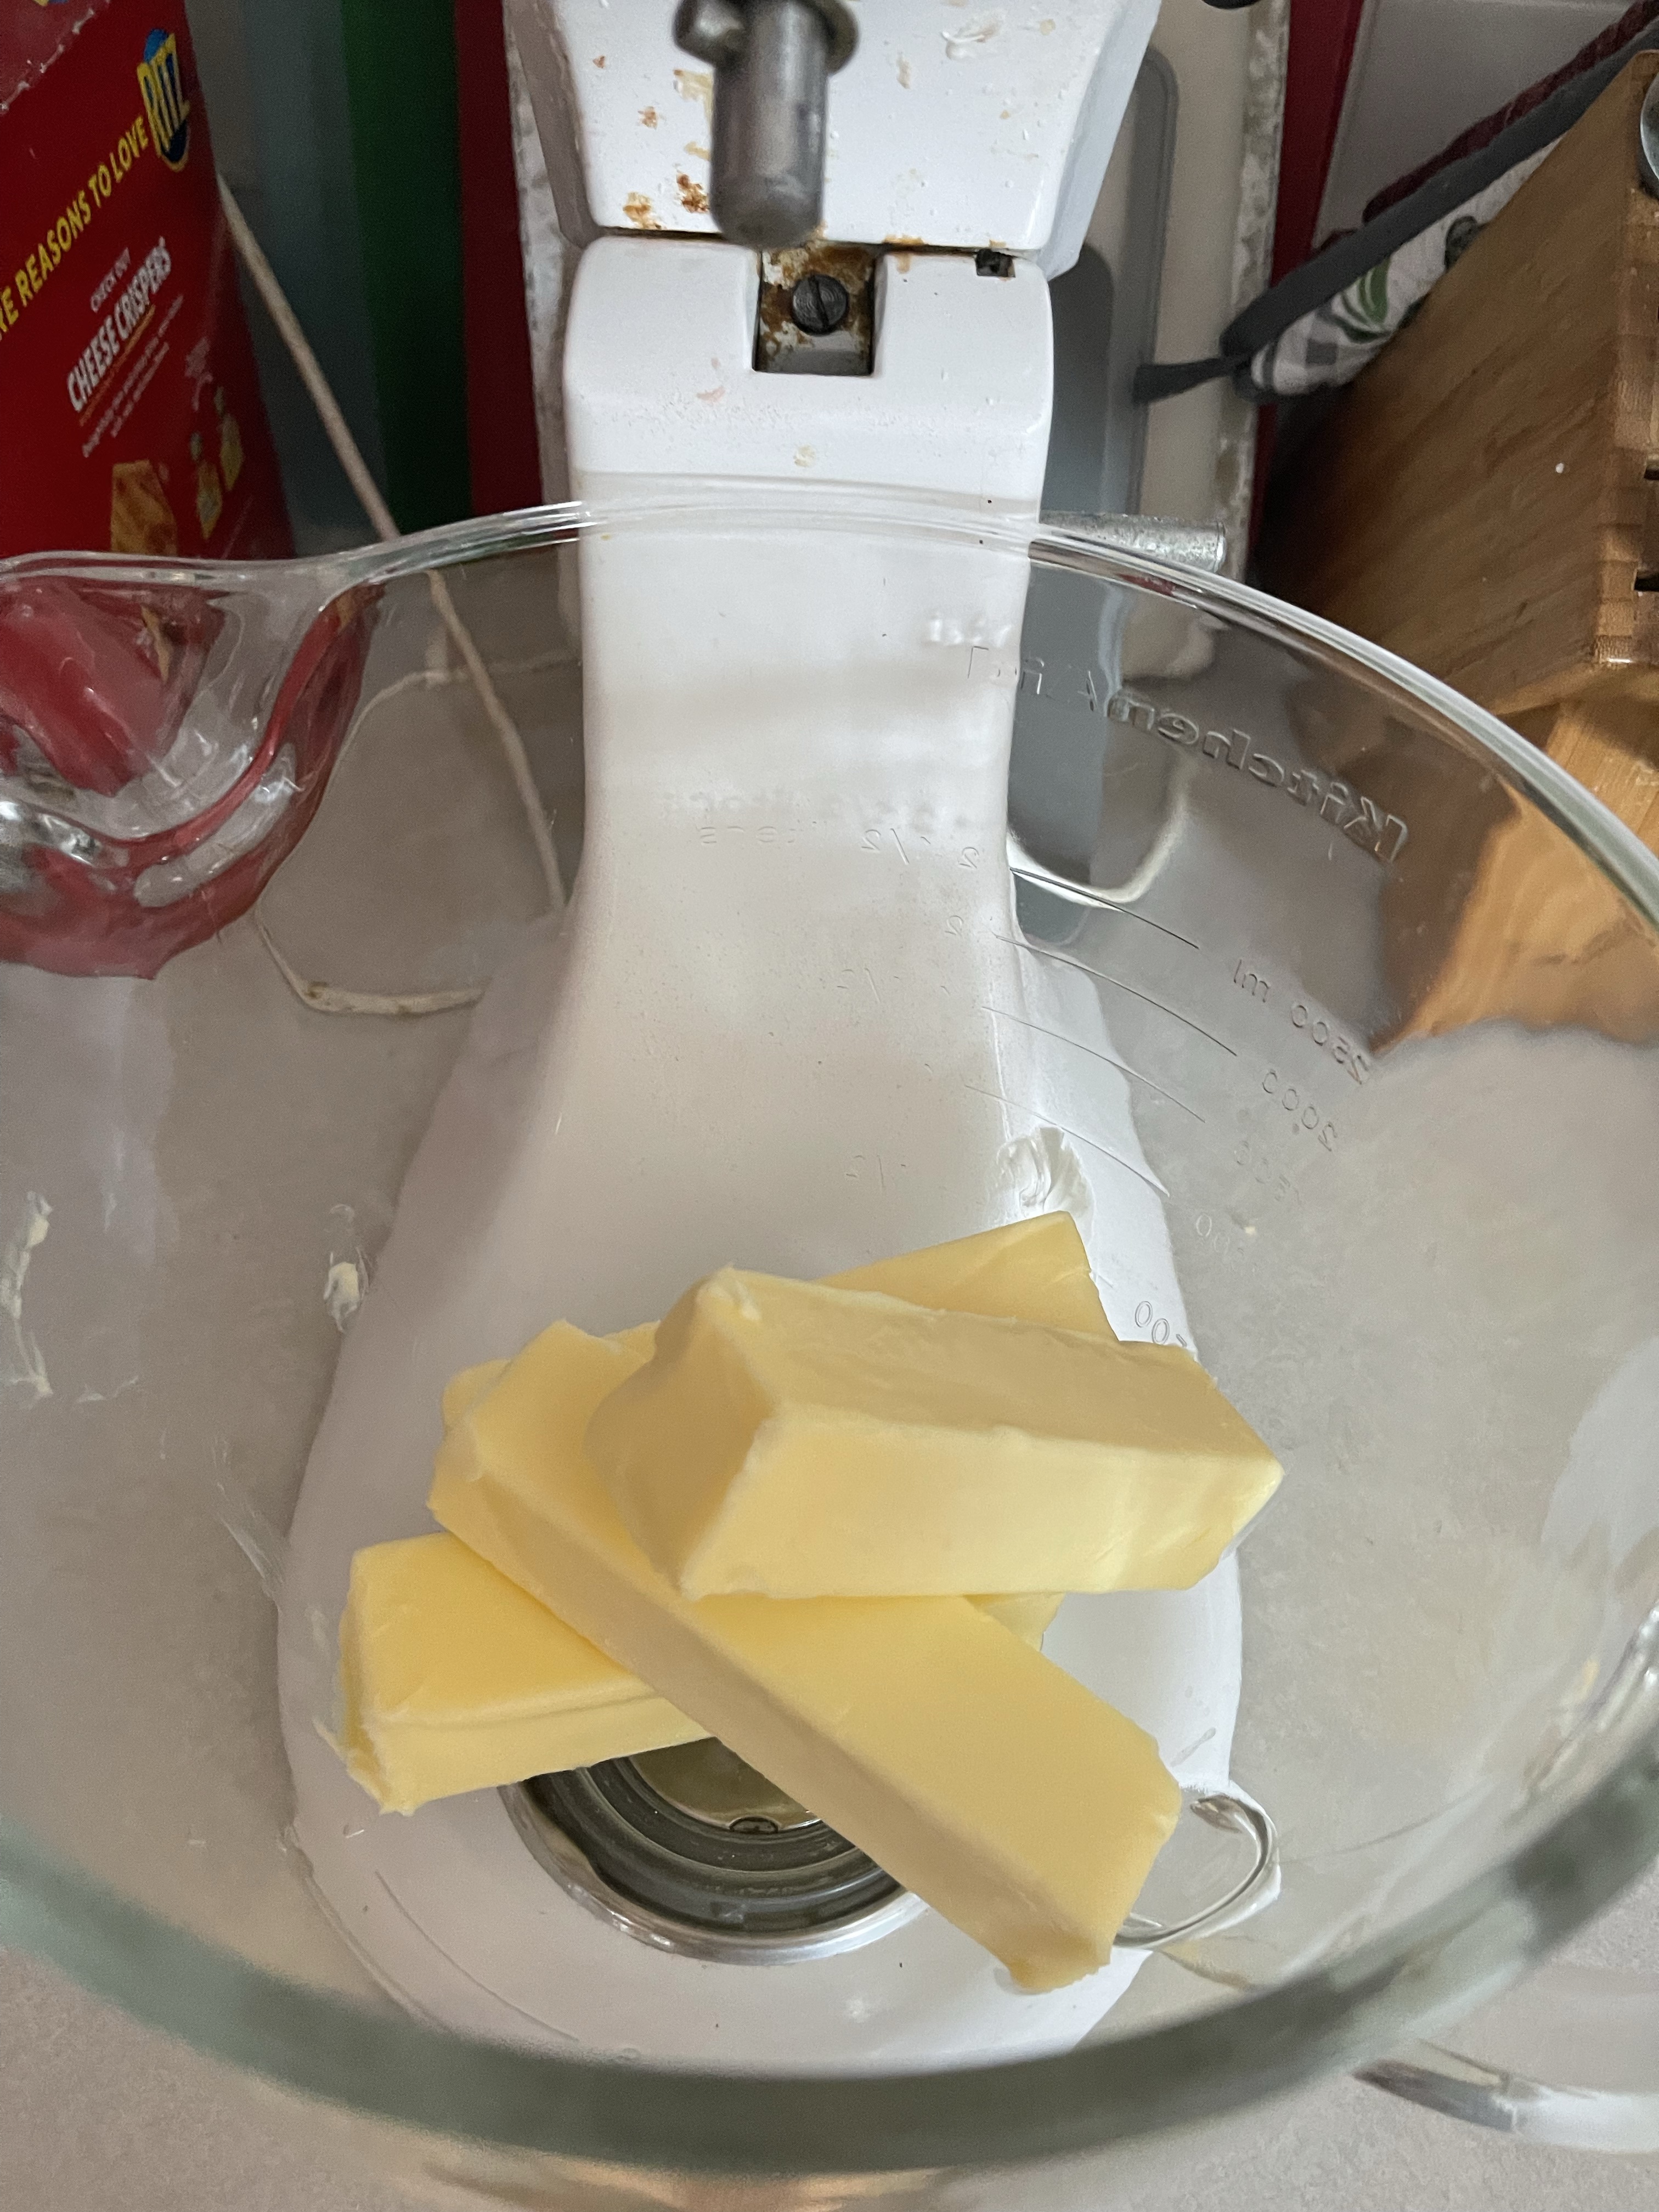
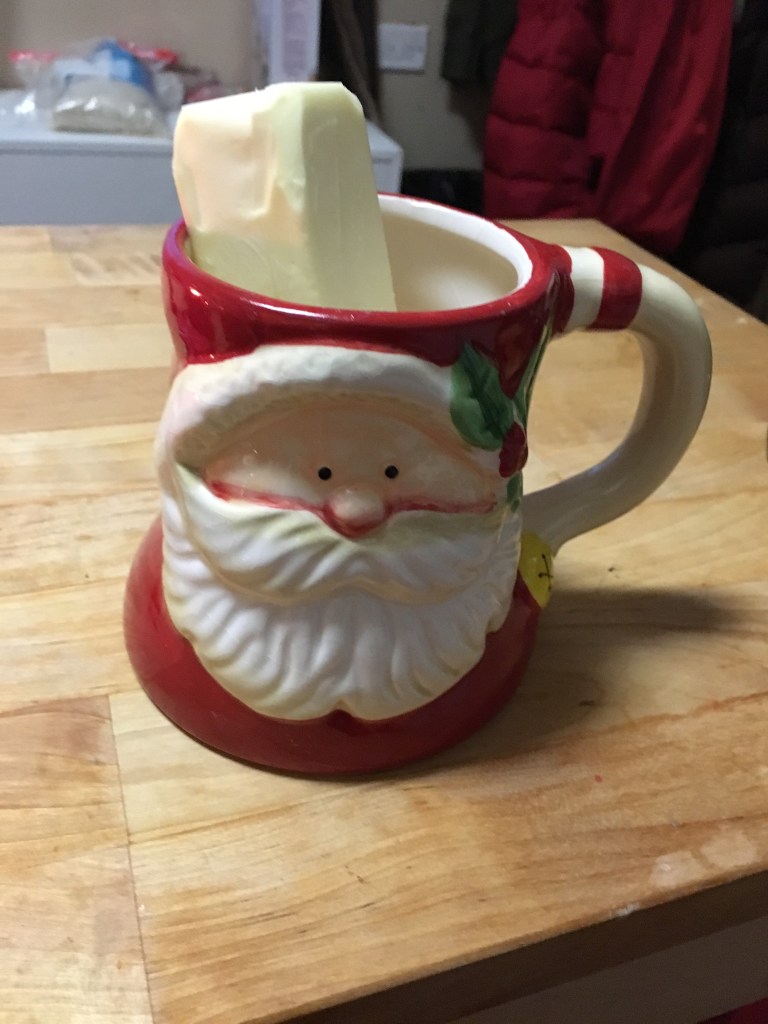
I brought out my Santa mug to soften my first butter of the season.
As I already had the cookie handled, I went straight to the filling. (Though I’m now intrigued with this pan and it’s on my Amazon list.)
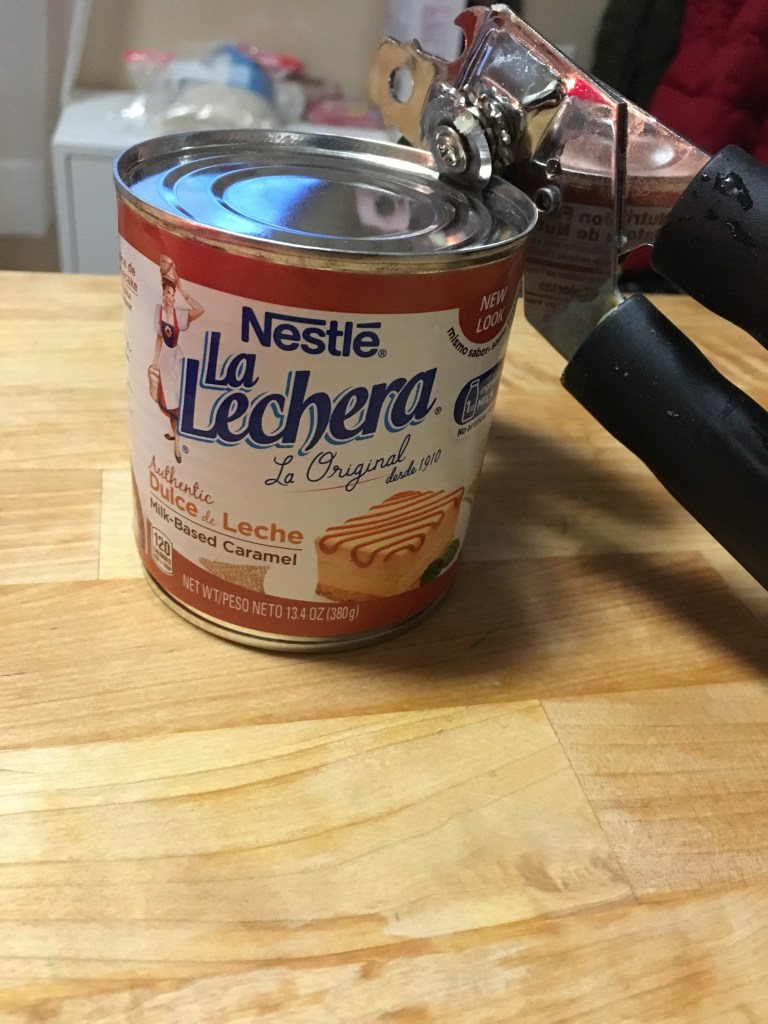
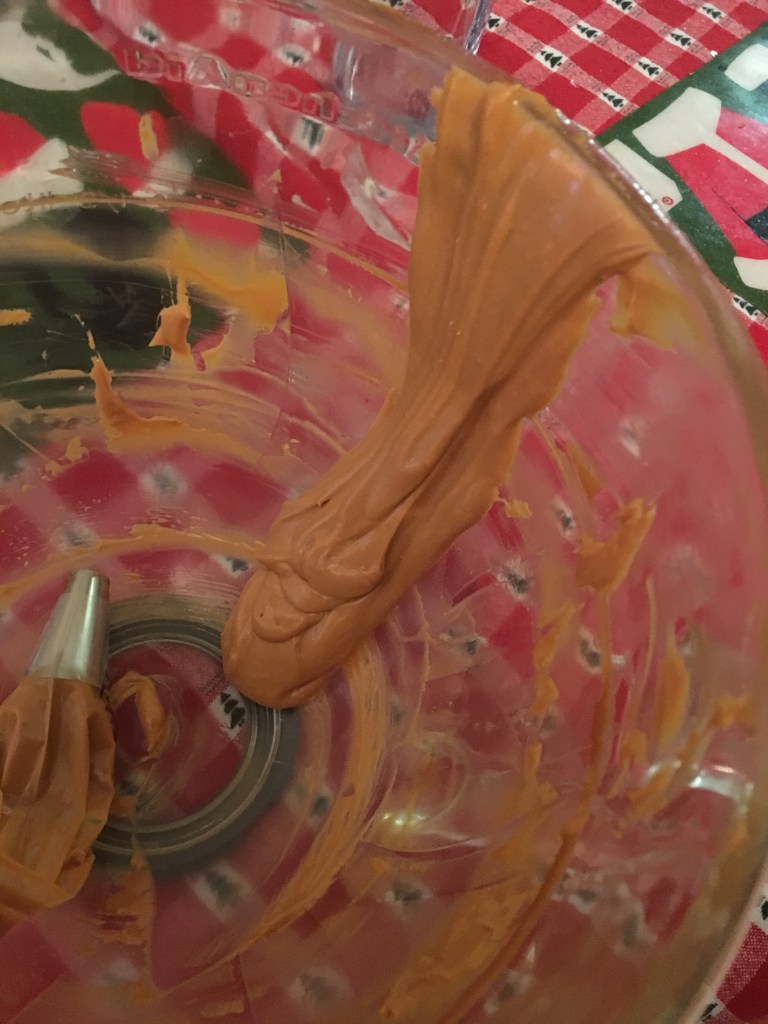
Once I found a recipe I thought I could handle, I assembled the filling. In this case, it was literally three ingredients: Dulce de Leche, butter, and sour cream. All things I love.
Mix, chill, and plop.
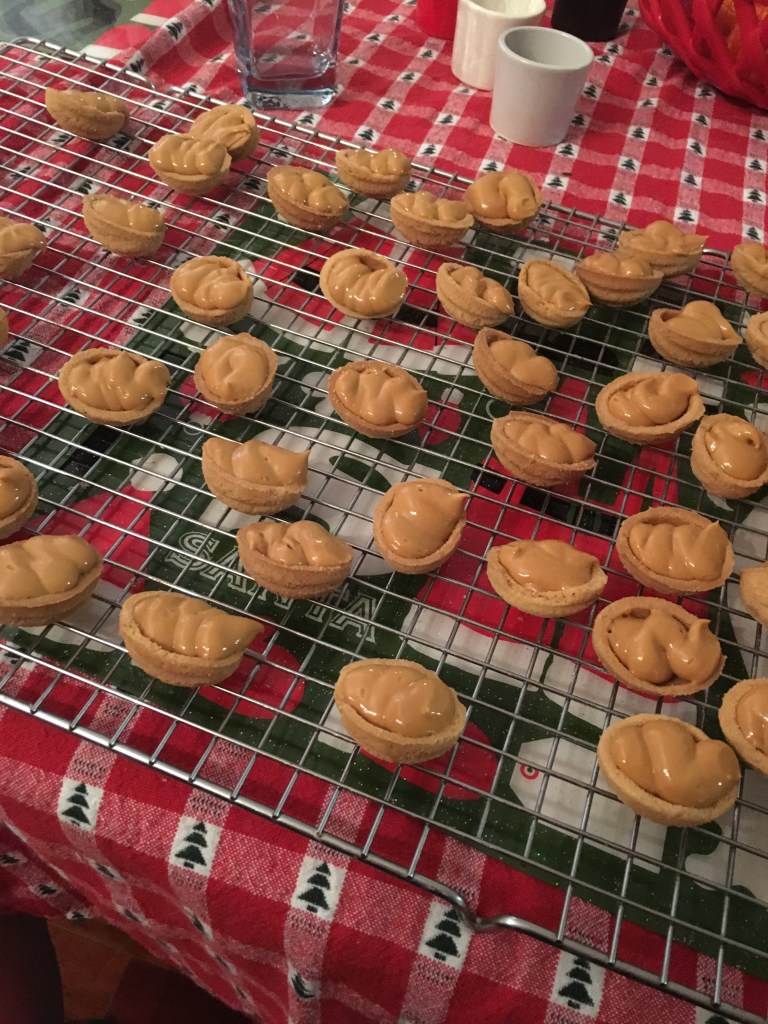
Or so I thought. I mixed. I chilled. And I plopped…and then discovered I put too much filling in each and had to scoop out a spoonful from half my shells.
My overfilled shells, and the aftermath of scooping out a spoonful from half of them. Don’t worry. I think this filling will make an appearance in some breakfast foods soon.
Live and learn.
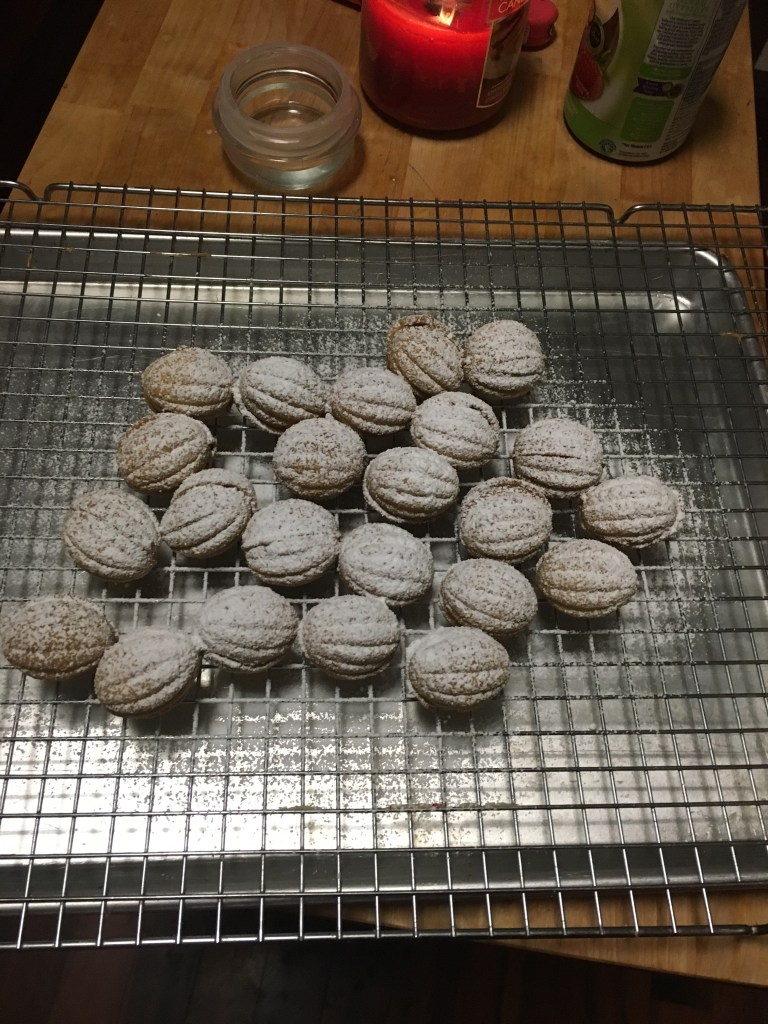
Once I was able to assemble these cookies without a Dulce de Leche lava trail, I sprinkled them with powdered sugar and put them in the fridge. This recipe says specifically to keep them there. I have no problem with keeping these cold, but I live with 2.5 teenagers (my youngest is 12 and a half). Things in the fridge tend to disappear quickly, without a trace, and with no one taking responsibility for the disappearance.
Therefore, these will live safely in the trunk of my car.