These are the best damn sugar cookies you’ll ever have.
What makes me so confident? I’ve had a lot of cookies. I’ve run a cookie blog for 8 years. I’m not exactly the 120 lb. daughter my mother always wanted, and I can tell you, I didn’t get this way eating salads. I’ve conducted sugar cookie research I didn’t even know I was doing, since I was 8 years-old.
As far as Christmas cookies go, they are number 1. Fight me bro. What makes them so good are the combination of both vanilla and almond extracts.
Jessica’s Best Sugar Cookies
1 1/2 c. sifted powdered sugar
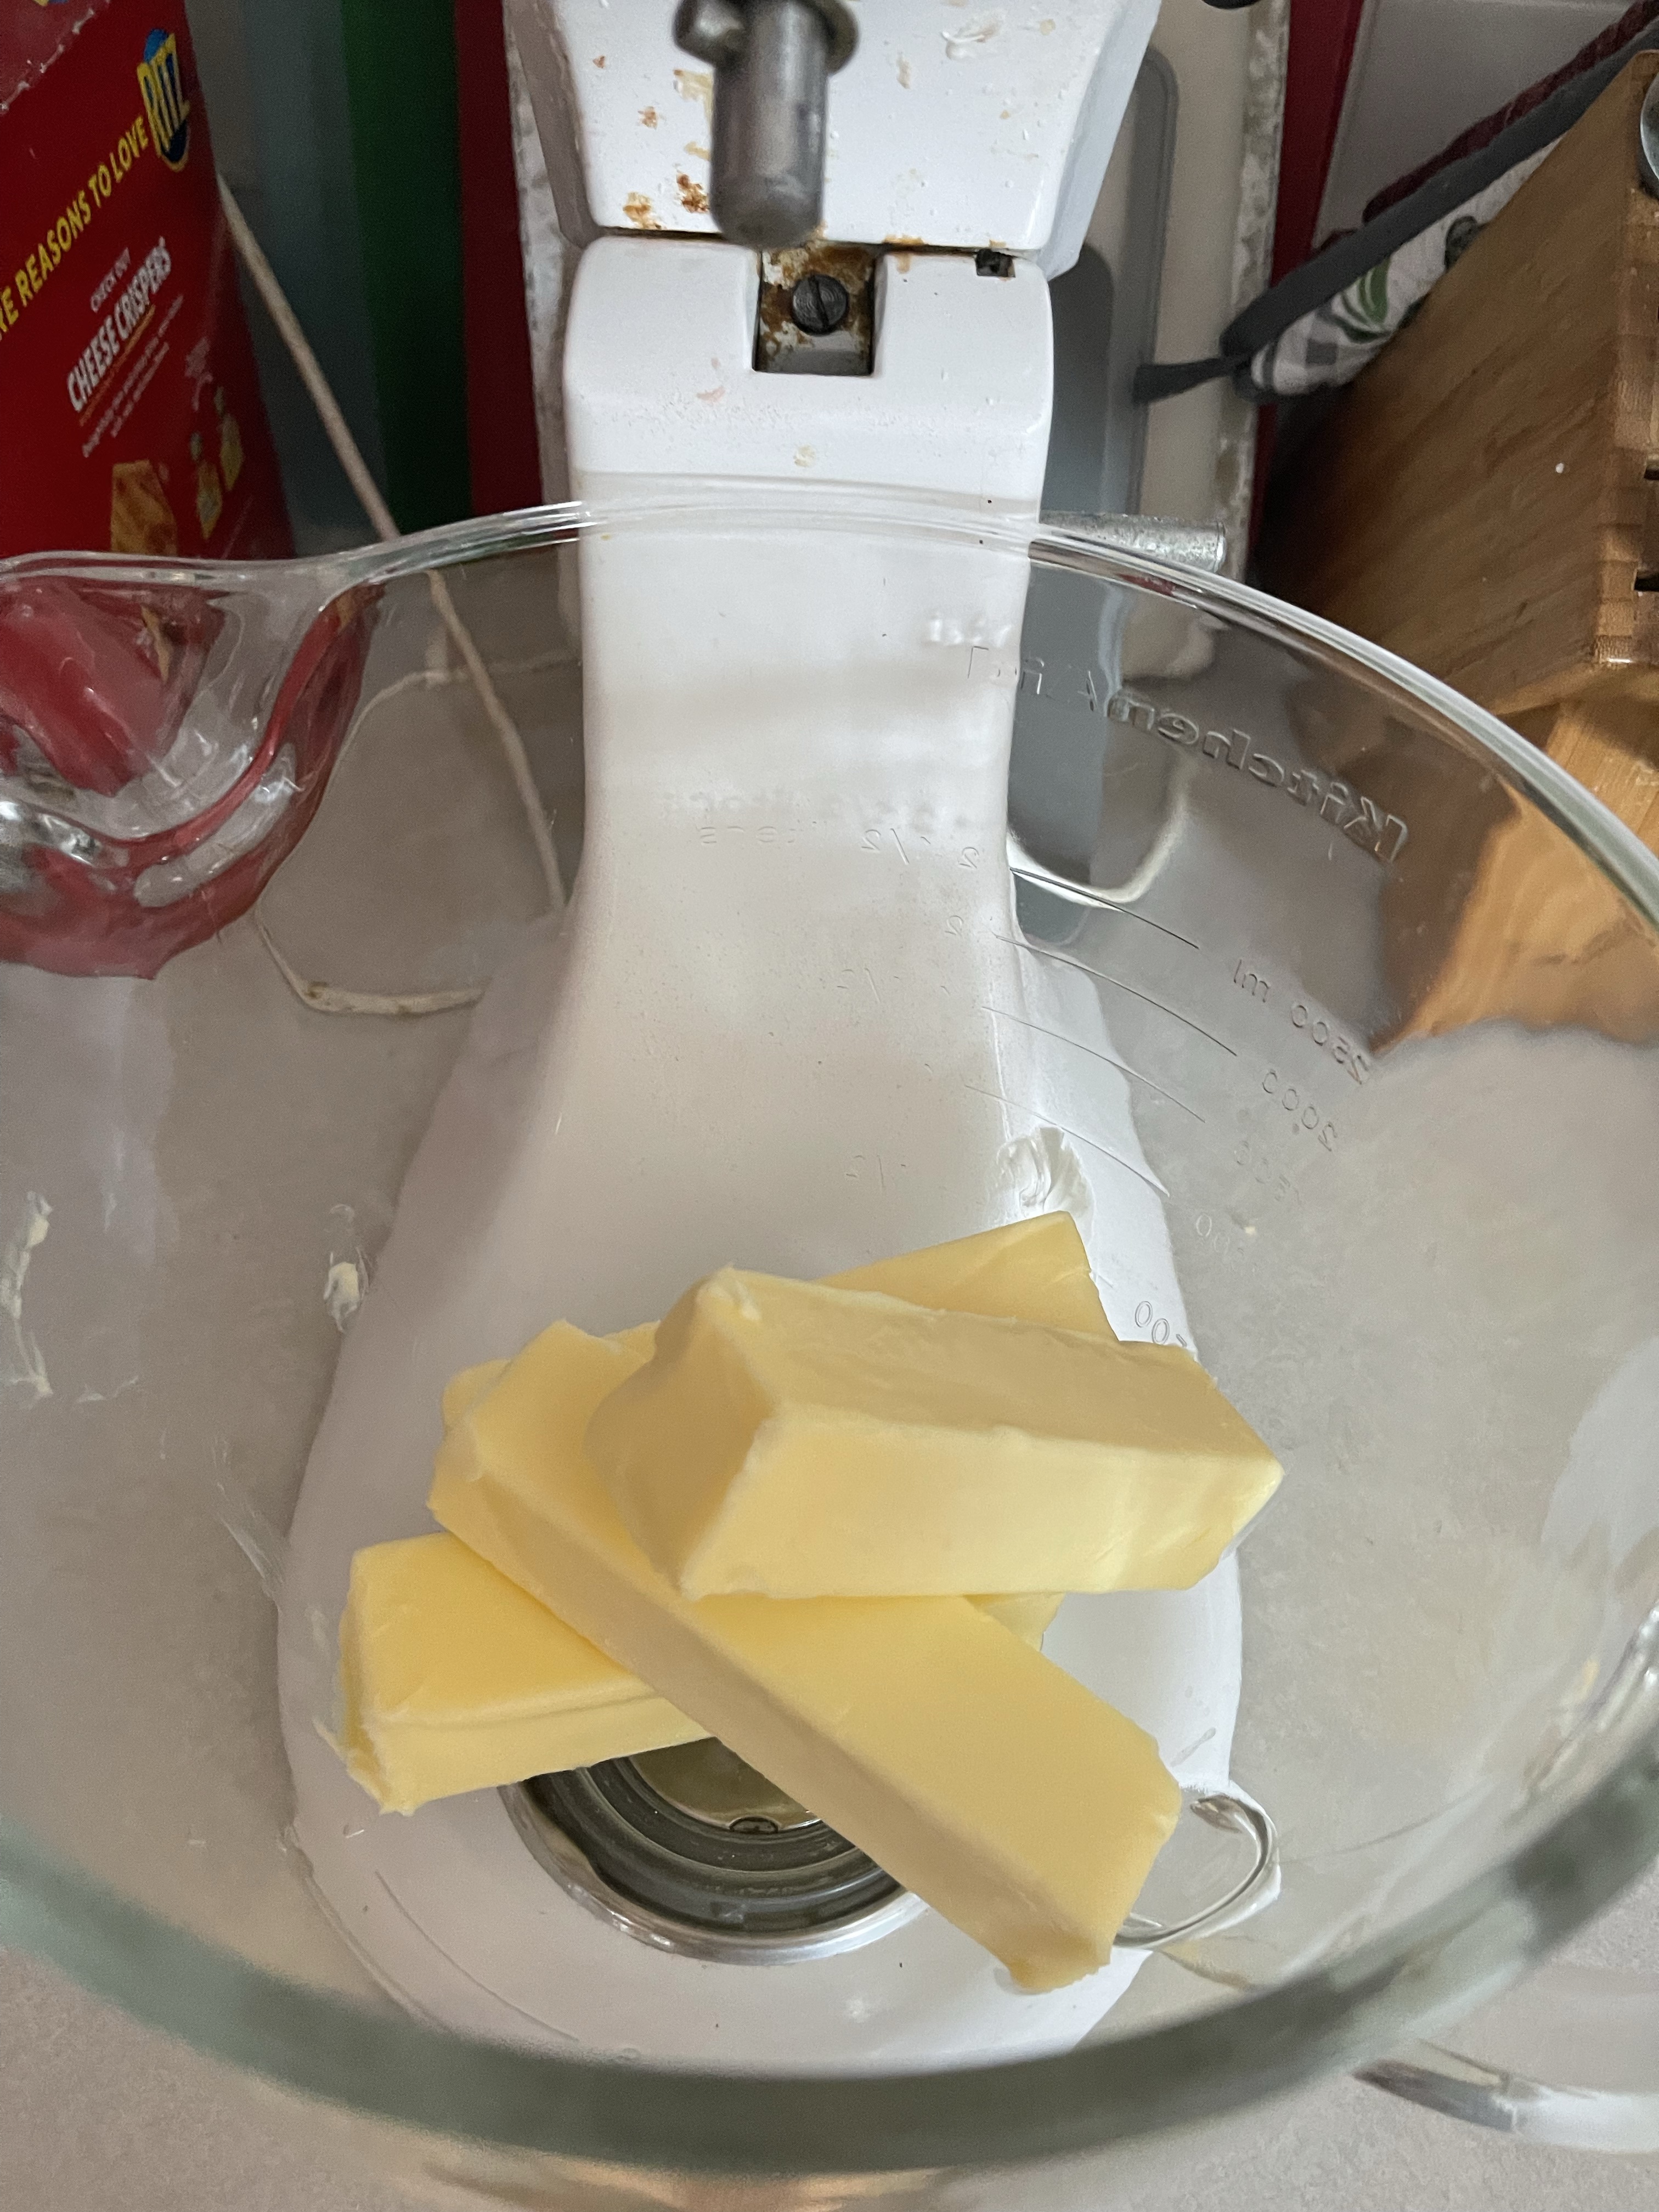
1 c. butter
1 egg
1 t. vanilla
1/2 t. almond extract
2 1/2 c. flour
1 t. baking soda
1 t. cream of tartar
Directions
1. Cream butter and sugar. Mix in egg and extracts. Blend dry ingredients and stir in.
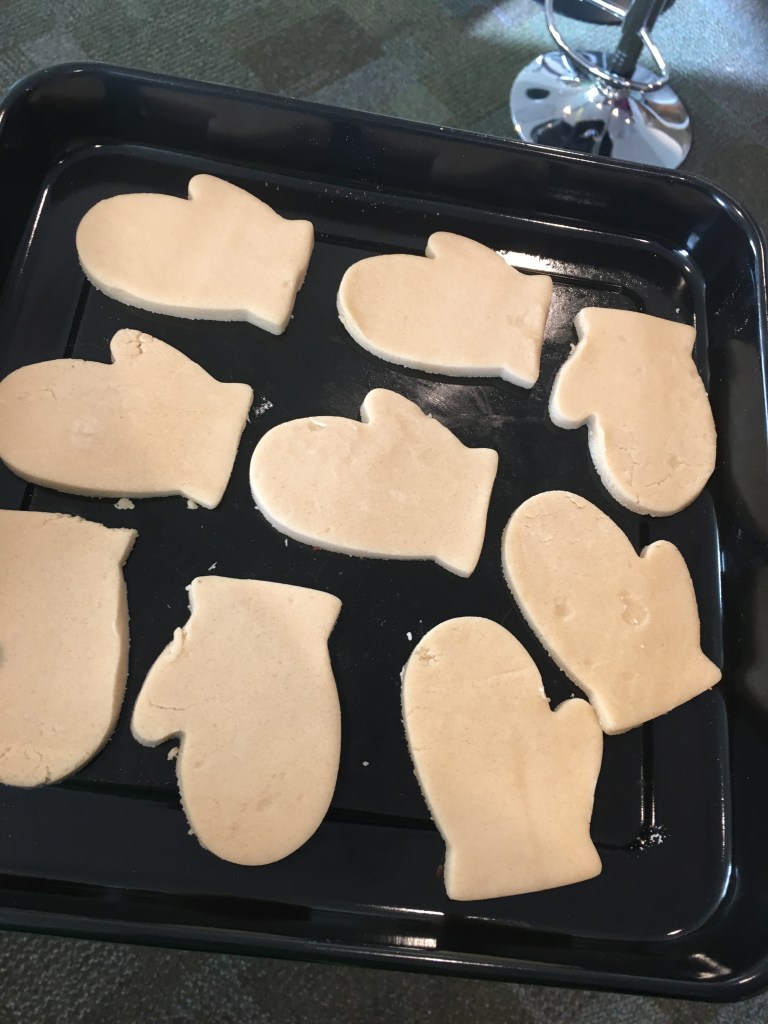
2. Refrigerate 2-3 hours. Divide dough in half and roll out. Cut out desired shapes.
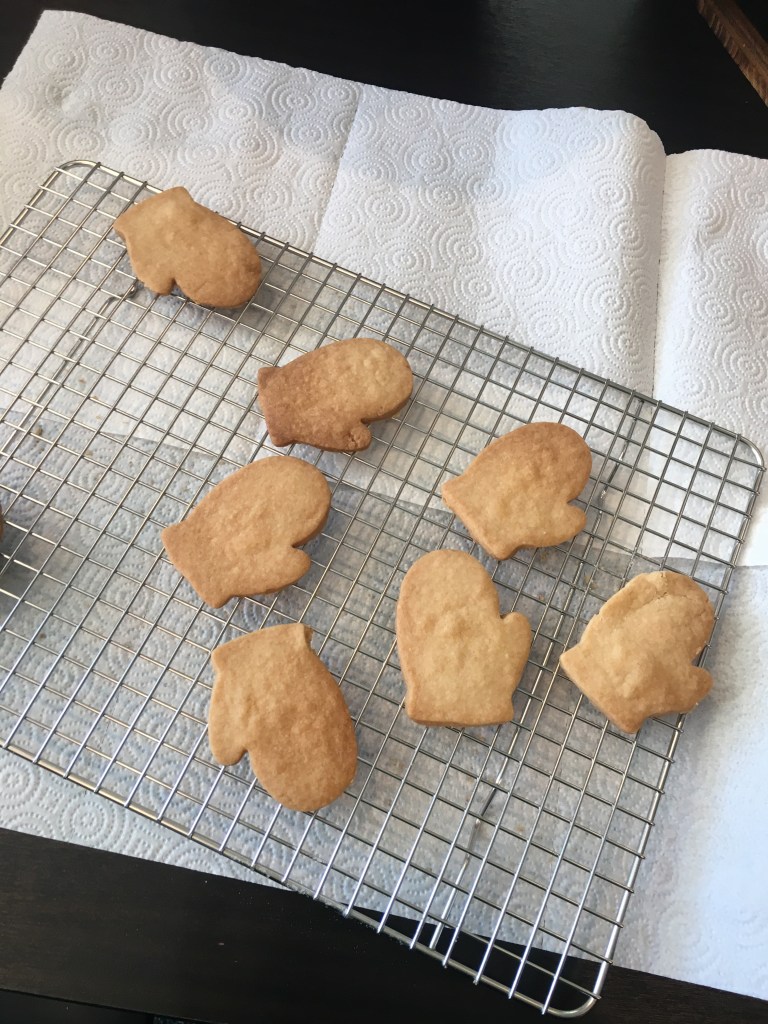
3. Bake at 375 for 7-8 minutes.
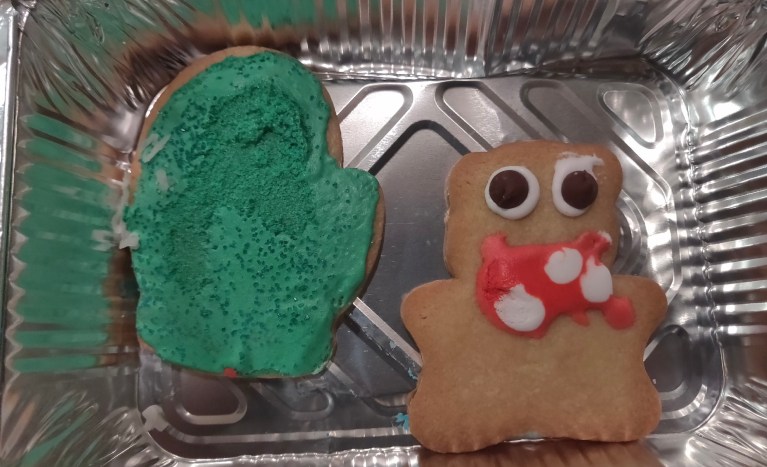
My little buddy Emmett again helped me with these cookies, since my own kids are large and old and mostly uninterested in cookie decorating these days. Emmett’s dad is one of my very best friends, and has been for 30 years. So when I need an expert kid cookie-decorator, Emmett is my go-to kid.
Emmett did a great job with decorating and saying please and thank yiu and also showing off his reading skills by taking his turn reading Christmas trivia to us.
I made these before Emmett and his chauffeur, I mean Dad, came over, just so we’d have more time to decorate them.
The day Emmett and his dad come over to do Christmas cookies is my favorite cookie day of the year. Maybe we can even do it twice this year. Love this kiddo, and his dad is pretty okay too.
Do you know what the #1 search term is that brings you to this site? I was a little shocked to find this out.
It’s “Italian Sand Cookies.”
It’s one of my favorites, and I make them nearly every year. But that got me thinking: is there a difference between Italian Sand Cookies and Italian Butter Cookies? Because Italian Sand Cookies isn’t exactly a popular term, and I’m such a word nerd that I wanted to investigate this. This would be where the Christmas cookie baker side of me and the writer side of me intersects.
Long story short: I have to do more research. And I love research.
More on that tomorrow.
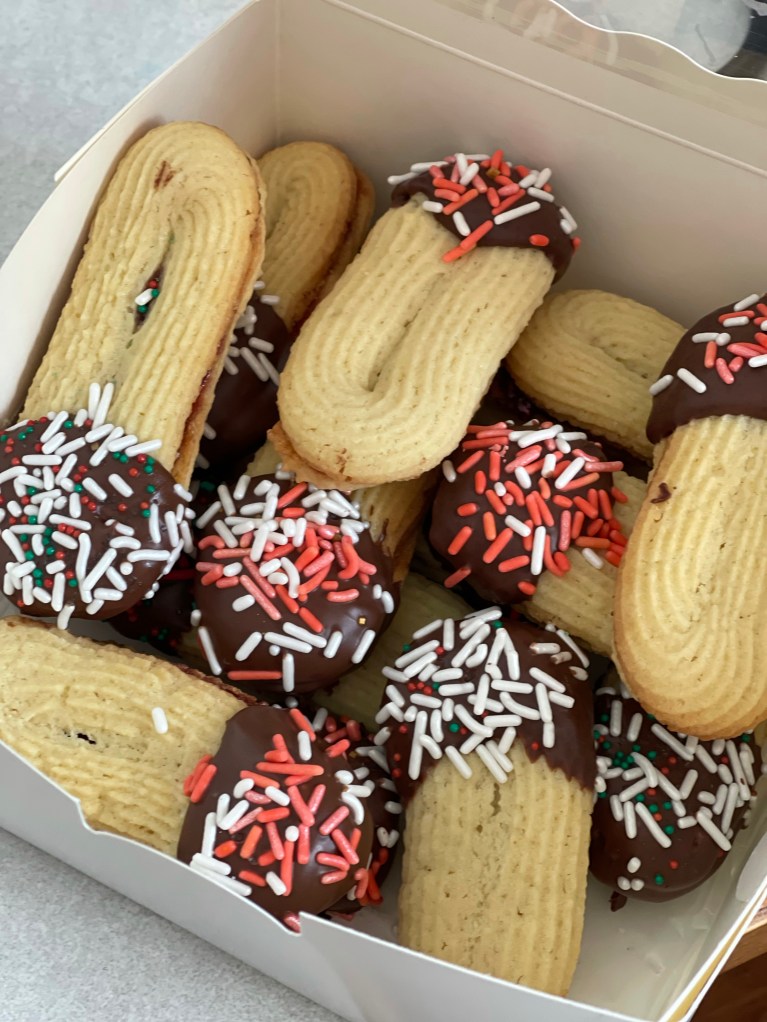
Italian Butter Cookies
1 c. butter at room temperature
2/3 c. sugar
1/4 t. salt
2 egg yolks
1 t. vanilla
2 c. all-purpose flour
milk
6 oz. milk chocolate
raspberry jam
sprinkles
Pre-heat oven to 350 and line a cookie sheet with parchment paper.
Cream together butter, sugar, and salt with a hand mixer (it’s easier to control).
Add egg yolks and vanilla extract, mixing well afterwards. Add flour and mix.
Dough will be crumbly. Add milk a tablespoon at a time and mix until dough is the consistency of thick cake batter or buttercream. It should not form a ball in the bowl.
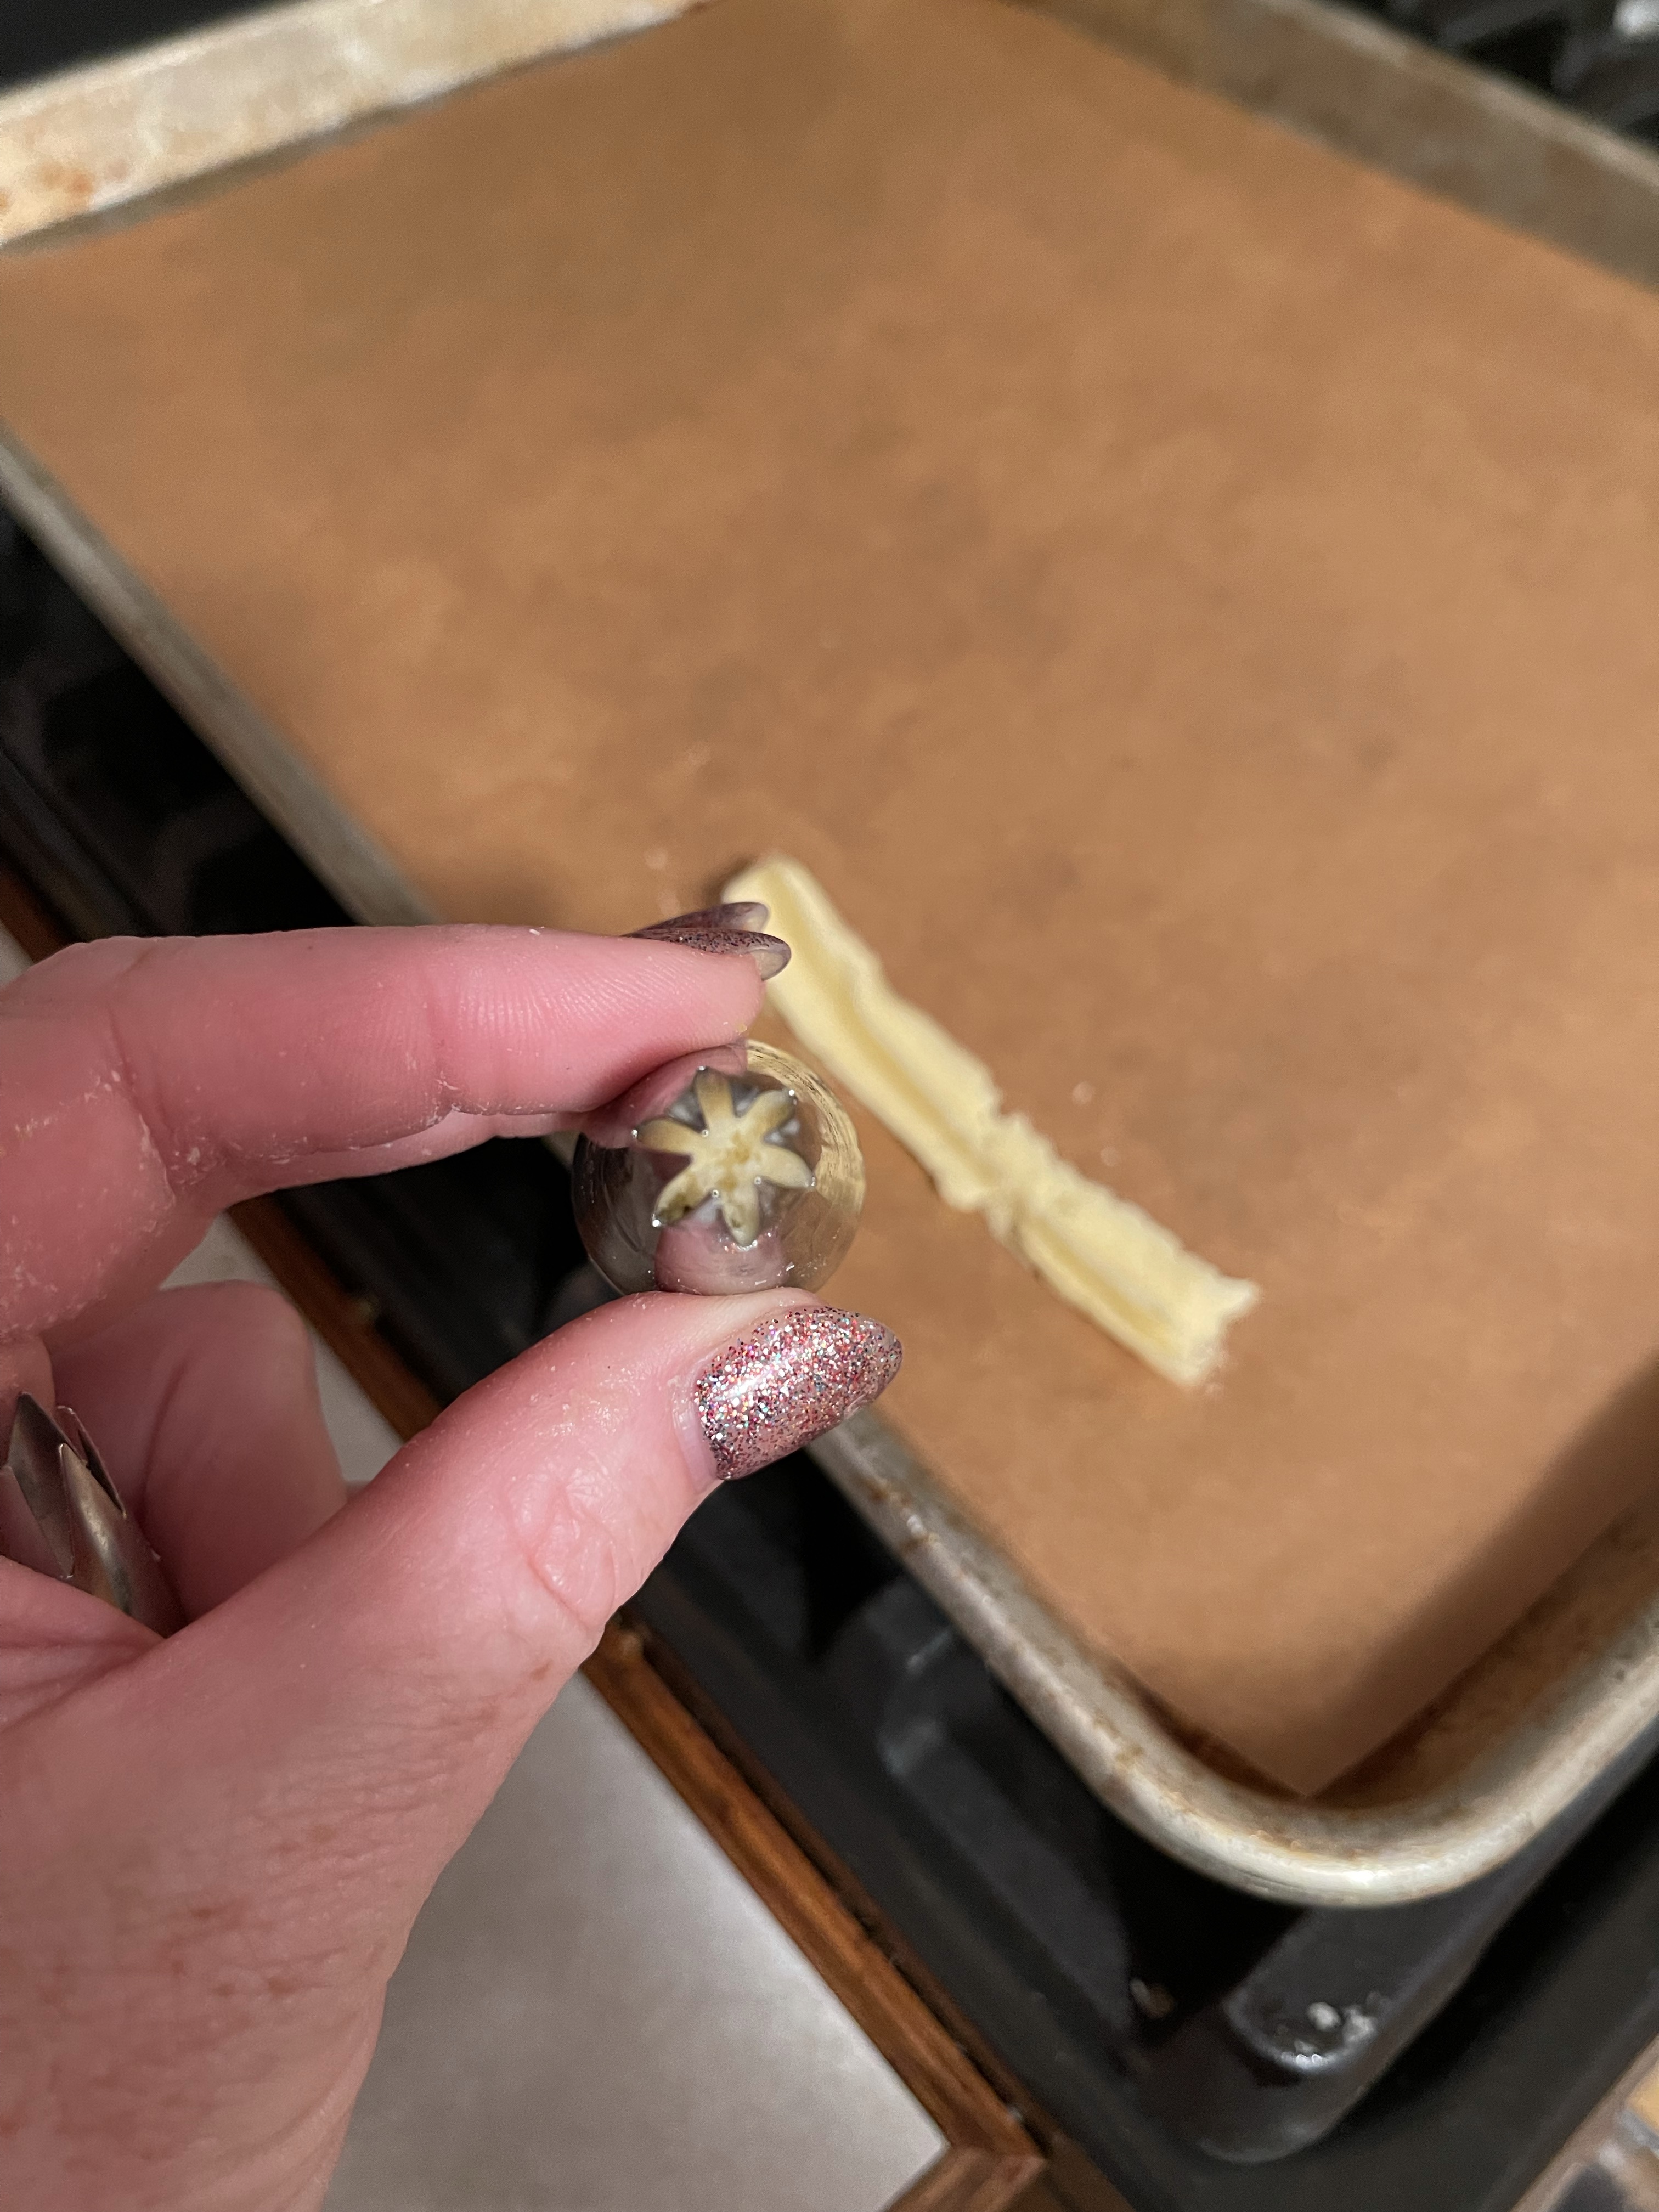
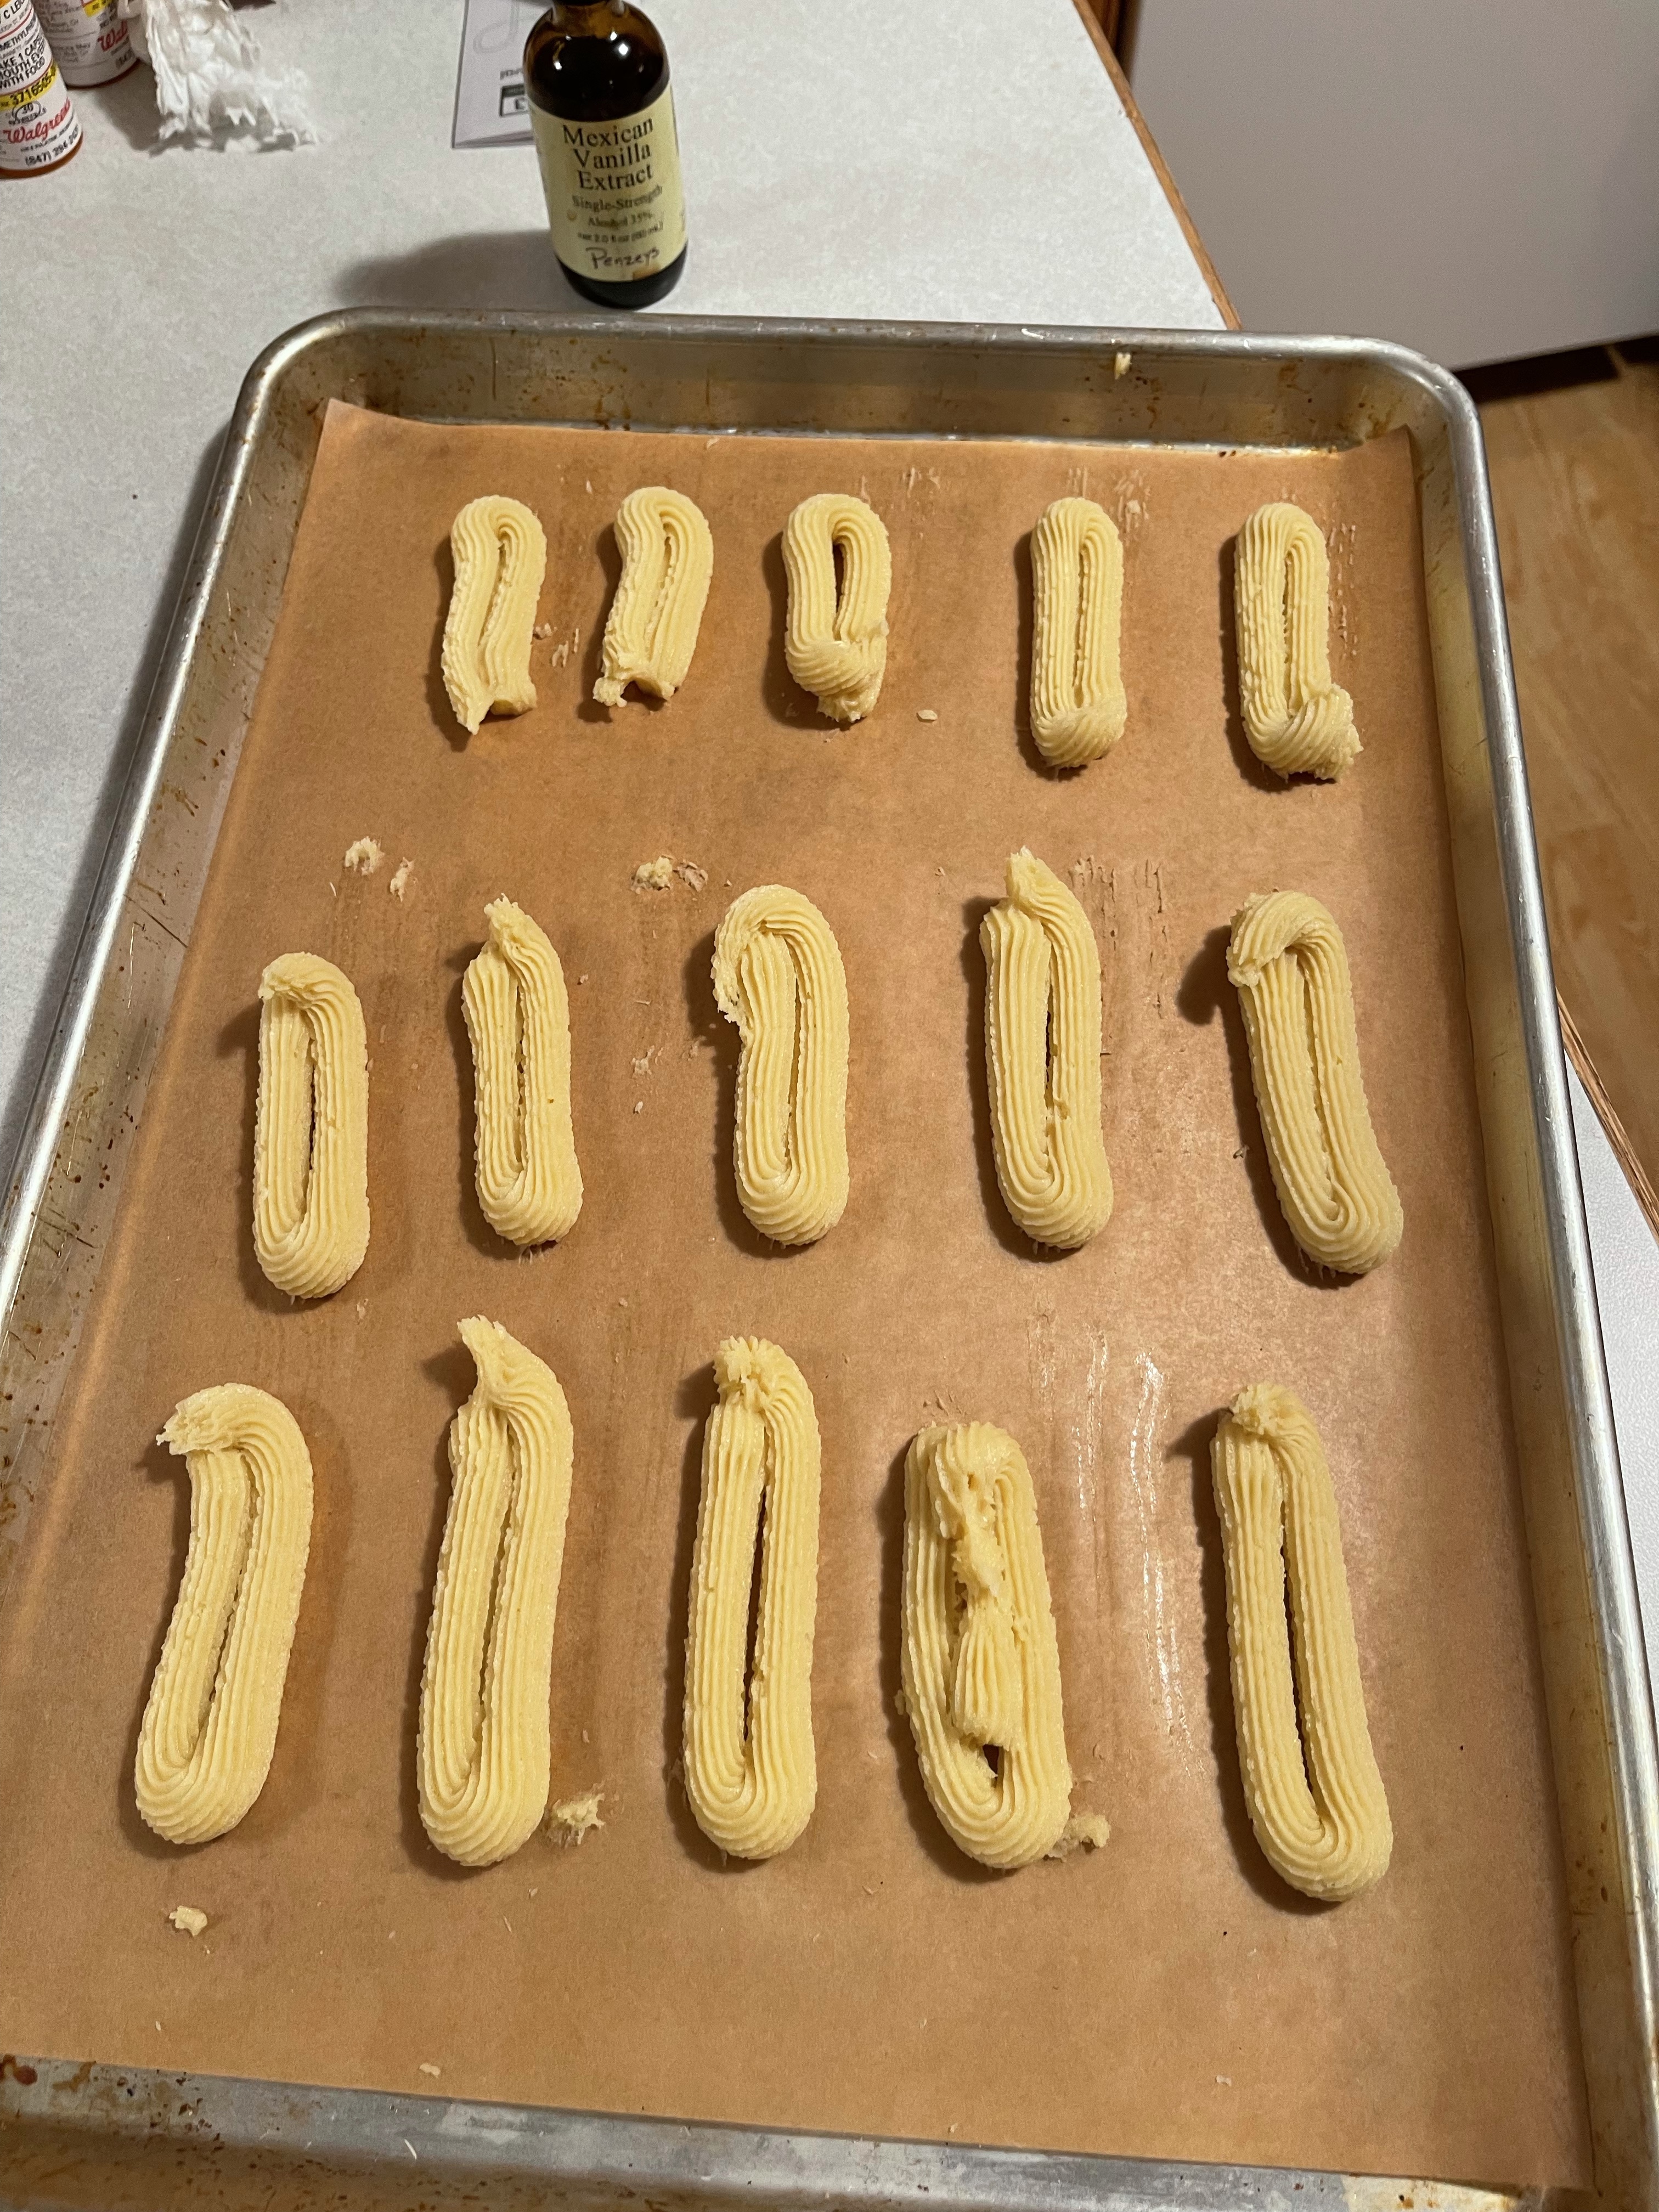
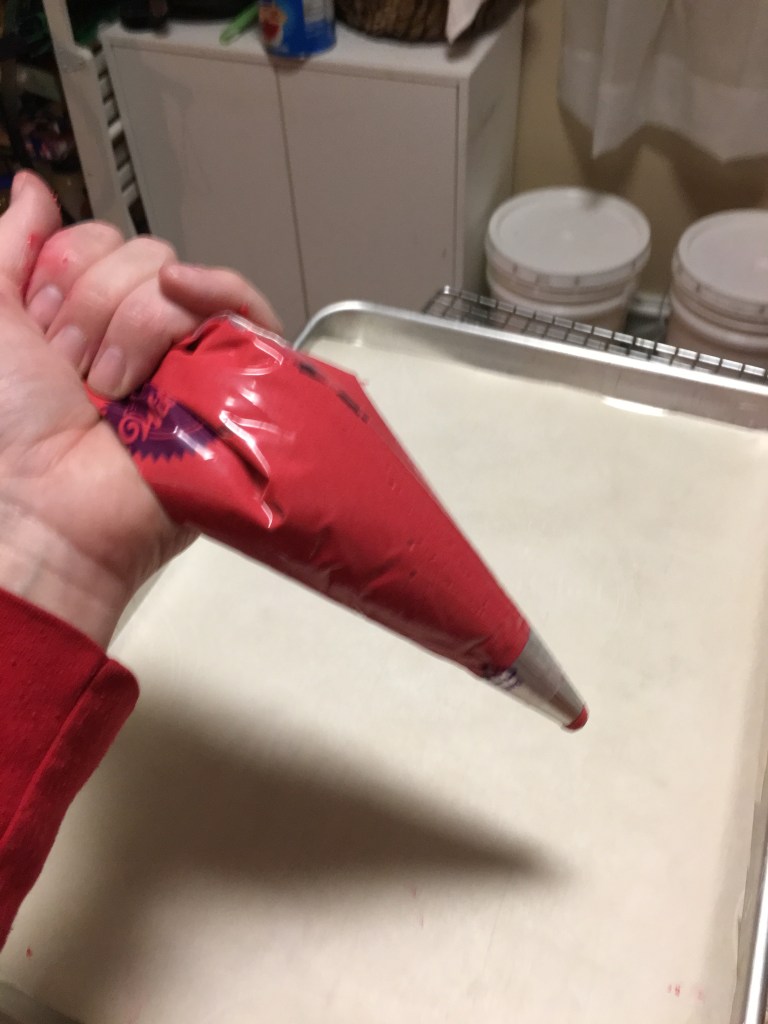
Load your pastry bag with the dough, making sure to have a large open star tip on the bag.
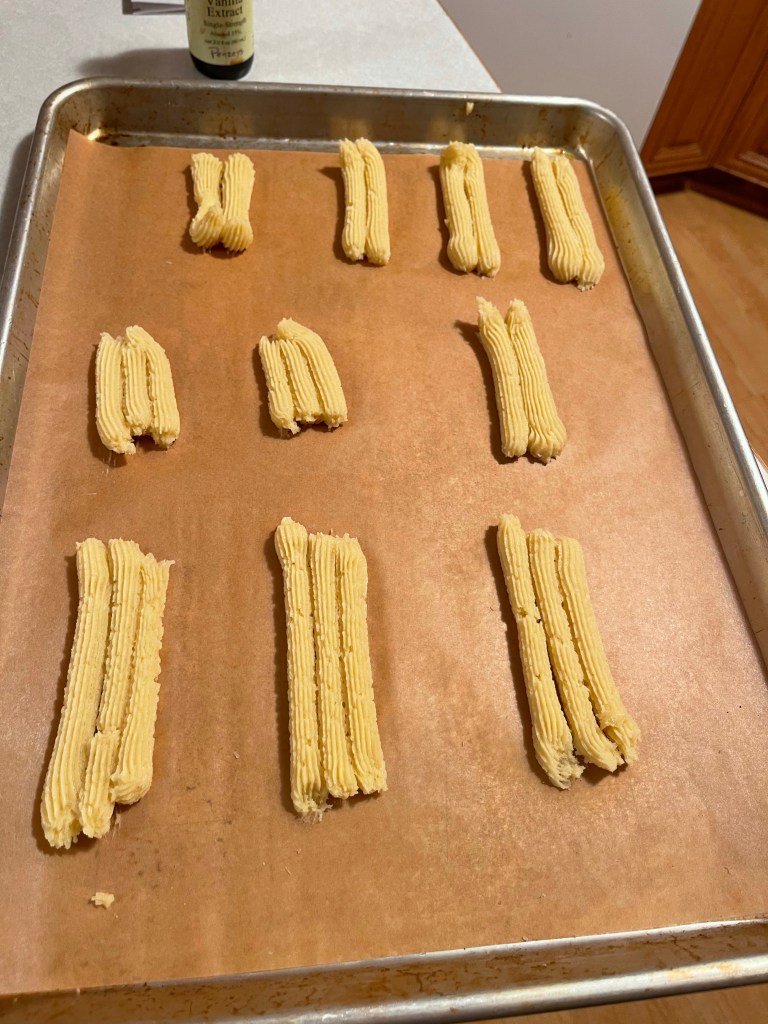
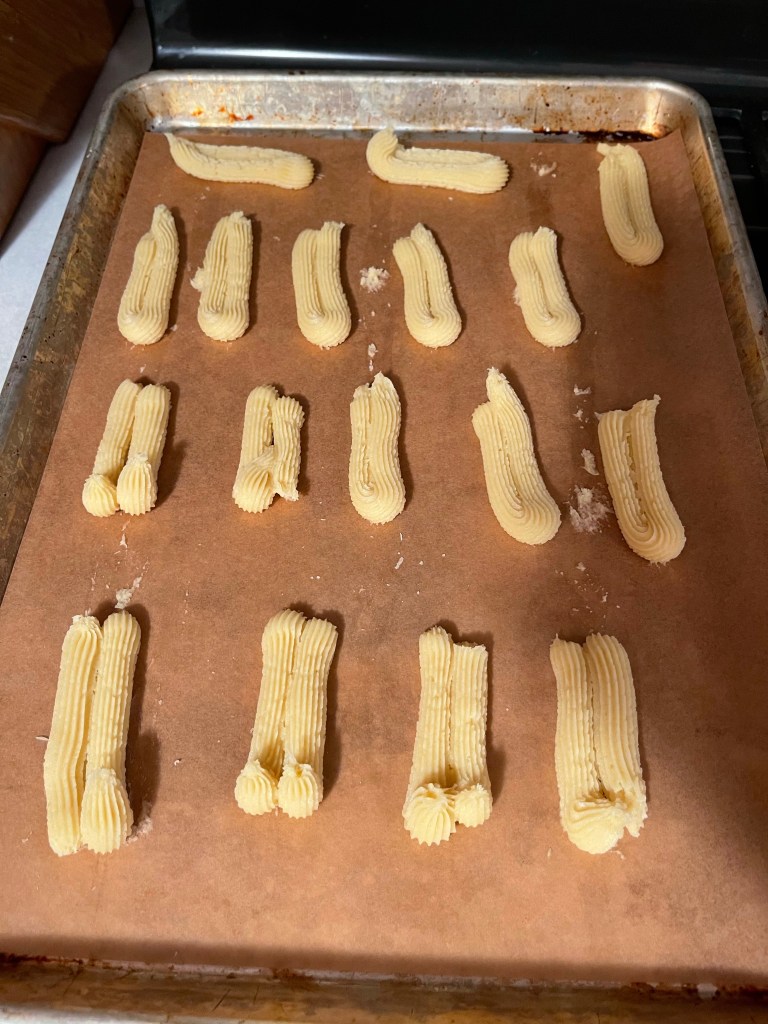
Pipe 2 inch ovals with inner edges touching on the pan.
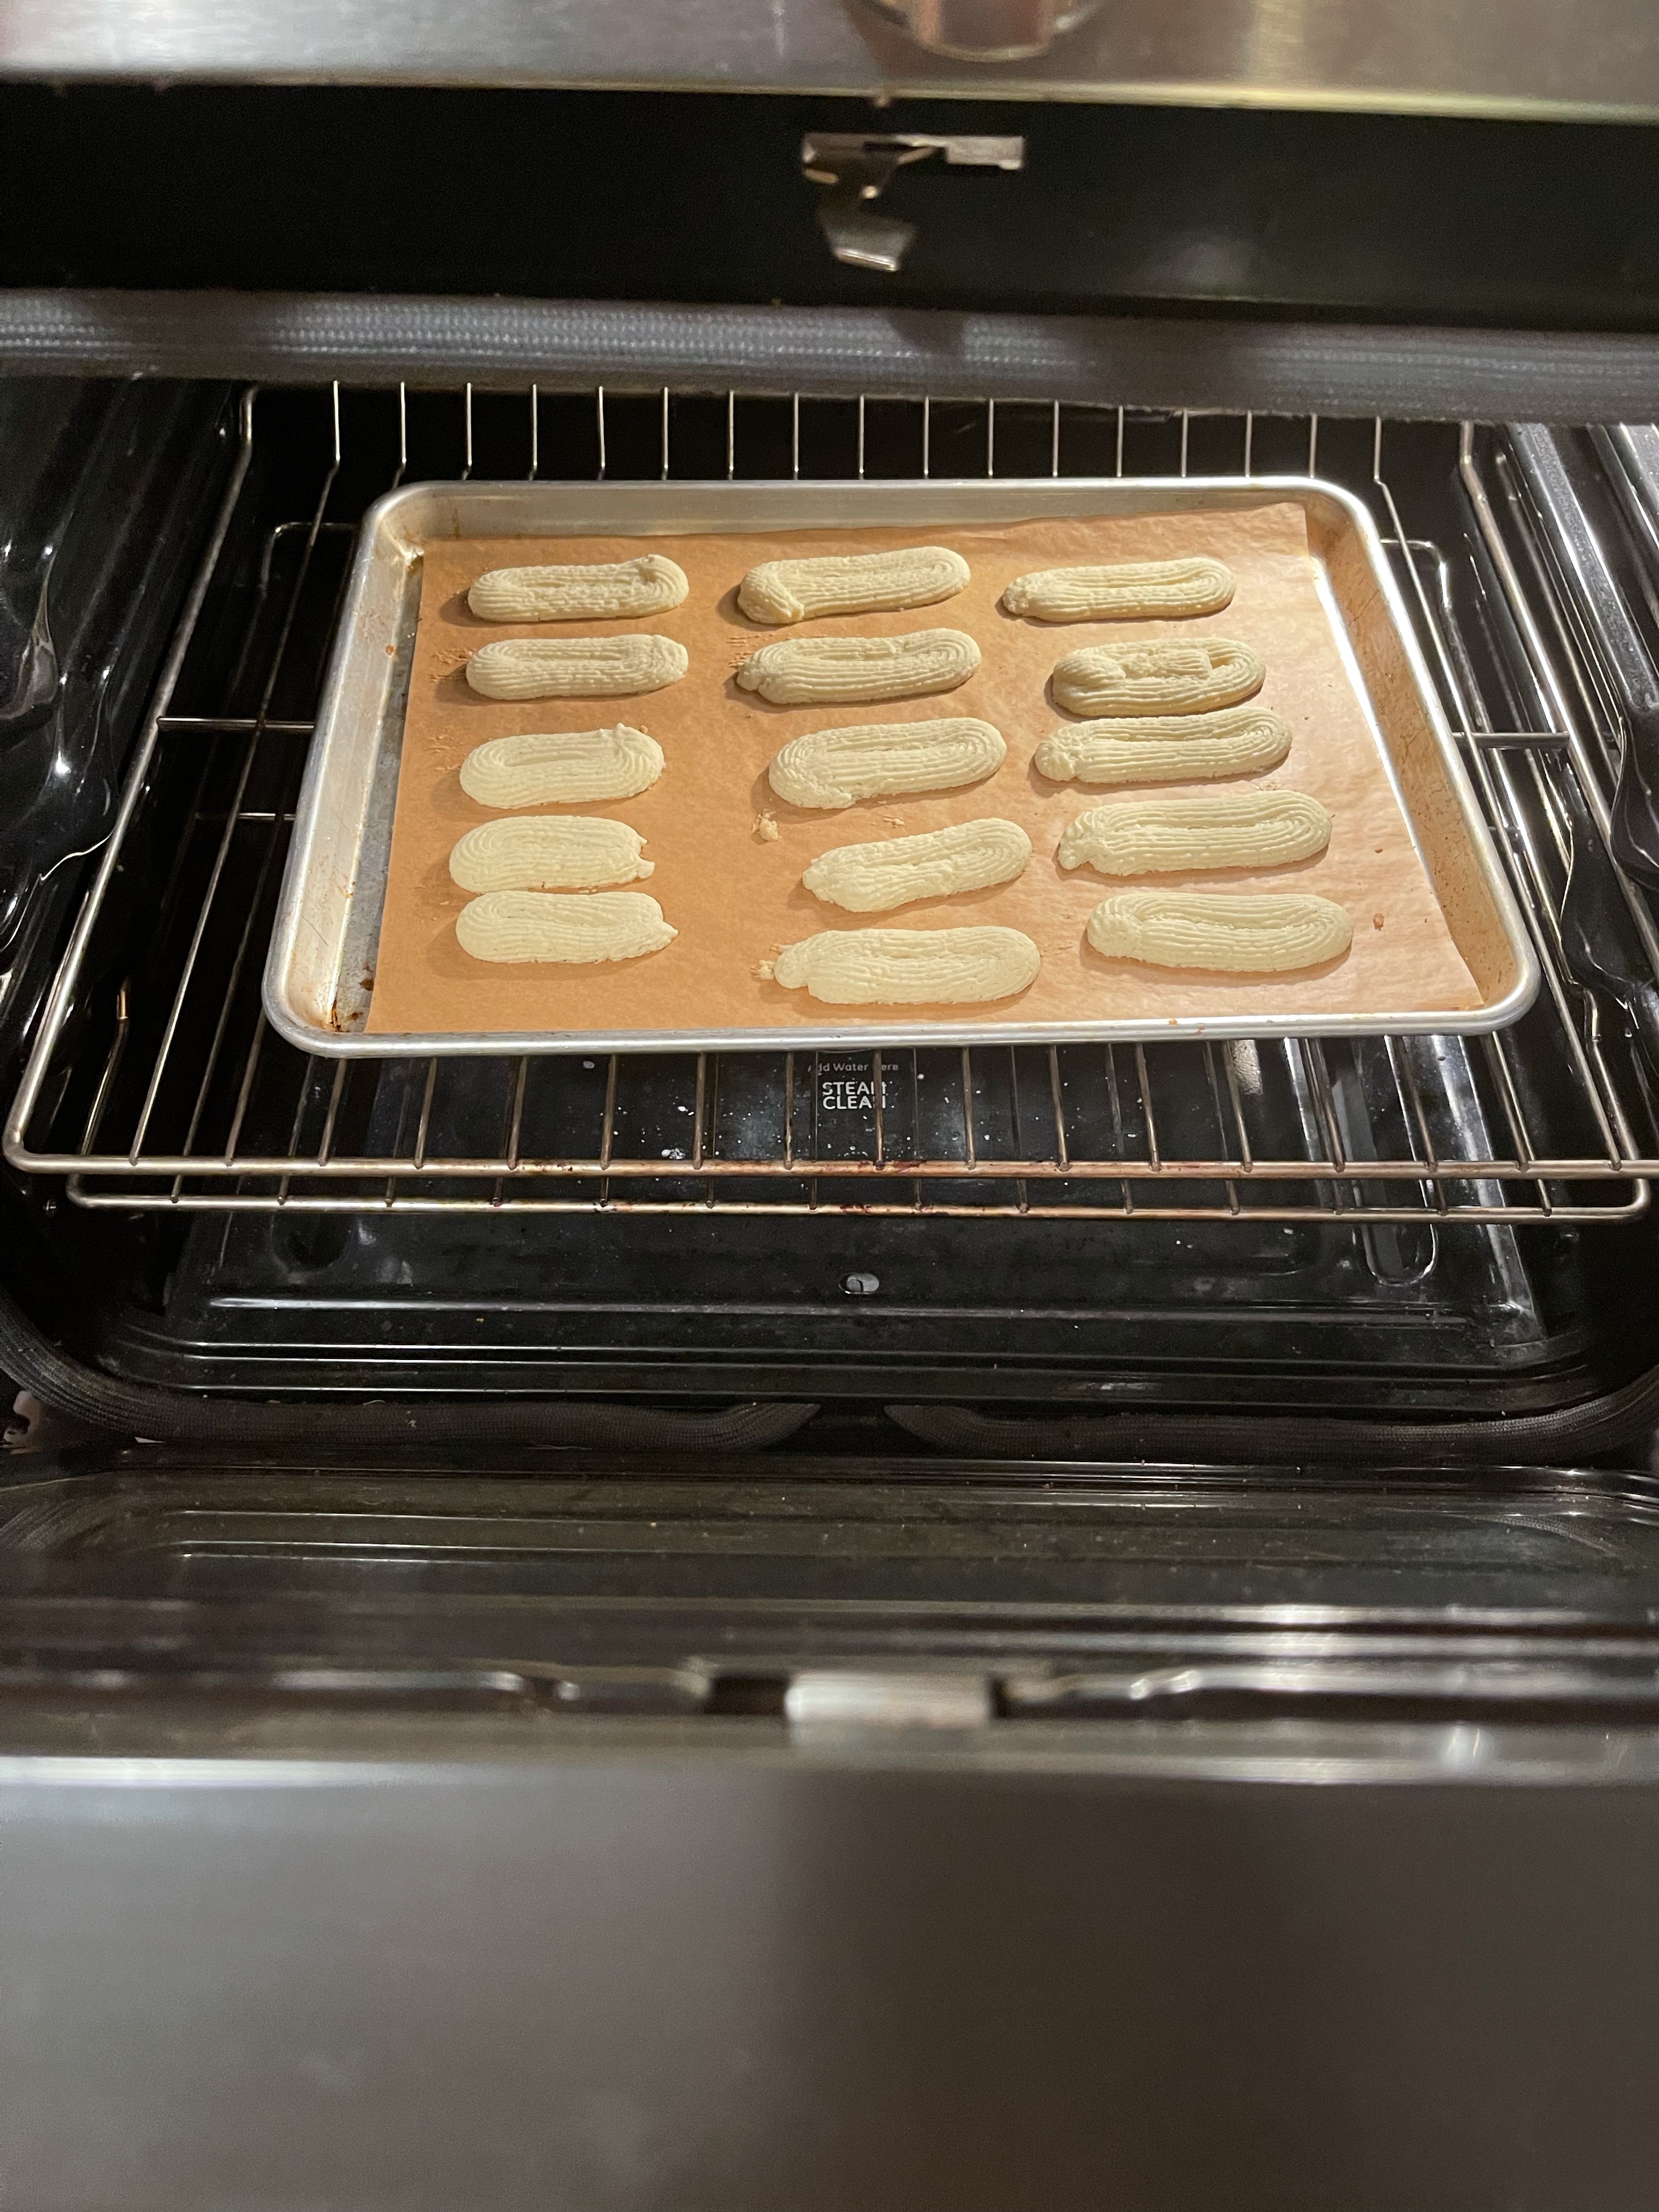
Bake for 10-12 minutes, being sure not to over bake. Cookies are done when edges are golden brown.
Once cooled, find matching pairs of cookies and turn them over. Spread a small amount of raspberry jam on the bottom of one of the cookies in the pair and place the other cookie on top. You won’t need a lot of jam; way less than you think.
Melt 6 oz of milk chocolate in a bowl and either dip the end of the cookie sandwich in the melted chocolate or use a spoon to drizzle chocolate on the end.
Top with jimmies.
I filmed a TikTok of this recipe today, and it’s amazing how 1 minute of footage takes over an hour to create. Or maybe it’s not supposed to. Yeah, it’s probably not, and here’s why:
On TikTok, everything is supposed to look great. And I think today it did, for the most part.
But in real life, things are messy. Things don’t go according to plan. Large open star piping tips can look a lot like other kinds of large star piping tips.
And once you figure this out, it takes some time for your hand to return to normal. And then, it takes a pan and a half of piped cookie dough to figure out the best way to pipe the dough out. So you take the previously piped and ugly almost-cookies off the parchment paper, and throw it back into the pastry bag.
And let’s just say you do this twice, because of the whole issue with the kinds of tips you were using to begin with.
TikTok did not see this side of things.
Consider yourselves fortunate.
But on the upside, it makes the dough in the pastry bag warmer than it was to start, which makes it easier to force through a large open star tip.
I’m all about the silver linings.
Tomorrow though, I finish my research into the Sand/Butter Cookie, and what exactly the Italians know about the controversy. My dissertation will be through. And delicious.
Note: I got behind because of illness.. Now that I can at least sit upright for more than a few hours, I am catching up. But with that, these are going to be more bare-bones than in the past.
1/2 cup unsalted butter, plus 1 tablespoon (divided)
6 ounces cream cheese
1 1/2 cups unbleached all-purpose flour
3/4 teaspoon salt
1/2 teaspoon baking powder
1 egg, separated (white reserved for glazing)
1/3 cup sliced almonds
1 teaspoon coarse sugar for topping
Directions:
Preheat oven to 375 degrees.
Line a cookie sheet with parchment paper and set aside.
In a small bowl combine the sugar and almond extract; cover and set aside.
In a medium bowl whisk together the flour, salt and baking powder.
In a large mixing bowl combine 8 tablespoons (1/2 cup) butter and cream cheese. Beat on low until blended. Add the egg yolk and blend until smooth. Add half the flour mixture and beat on low until combined. Add the remaining flour and blend just until the dough starts to come together.
Transfer the dough to a floured work surface. Knead by hand about 25 strokes until the dough is pliable. Roll or press into a 12×12 inch square. Spread with the remaining 1 tablespoon of butter.
Cut the dough in half and place one half on the prepared cookie sheet, butter side up.
Spoon the sugar mixture to within 1/2-inch of the dough edges all the way around. Place the remaining dough half, butter side down, over the sugar. Press the edges tightly to seal.
Brush the dough with a lightly beaten egg white. Sprinkle with almonds and coarse sugar.
Bake 25-30 minutes or until golden brown. It’s best removed from the oven when you think it needs one or two more minutes.
Cool at least 30 minutes.
Cut the pastry in half lengthwise and then into 1/2 to 1 inch strips crosswise.
Store in an airtight container.
Somewhere in the original recipe for this, it says that the author likes that these don’t immediately appeal to children, and therefore are leftover when cookies trays are passed.
I feel this in my soul.
These are my hands-down favorite fave cookie that I make. I love almond extract. I love butter and cream cheese and sugar and actual almonds, and I love making a cookie so good, it flies under the radar like a spy drone.
Here’s the link to when I made them last year, if you need the play-by-play. I doubled them last year, because I don’t like sharing. I still don’t like sharing, but I only had one brick of cream cheese left in my fridge and it’s supposed to be 10 degrees outside tonight.
No problems at all making these, as usual. Even with the rolling out and measuring going on here, these are pretty straight forward. By far, the biggest challenge with these cookies are hiding them from my kids, because they’ve caught on how awesome they are.
Note: I got behind because of illness.. Now that I can at least sit upright for more than a few hours, I am catching up. But with that, these are going to be more bare-bones than in the past.
1/2 cup butter , at room temperature (I used 1/4 cup salted and 1/4 cup unsalted butter)
3 – 5 Tbsp eggnog
1/2 tsp rum extract
3 cups powdered sugar
Directions:
Preheat oven to 350°F (180°C). In a mixing bowl, whisk together flour, baking powder, salt, nutmeg and cinnamon for 30 seconds, set aside.
In the bowl of an electric stand mixer fitted with the paddle attachment, whip together butter, granulated sugar and brown sugar until pale and fluffy.
Mix in egg yolks one at a time, blending just until combined after each addition. Mix in vanilla extract, rum extract and egg nog. With mixer set on low speed, slowly add in dry ingredients and mix just until combined.
Scoop dough out by the heaping tablespoonfuls and drop onto Silpat or parchment paper lined baking sheets, spacing cookies 2-inches apart.
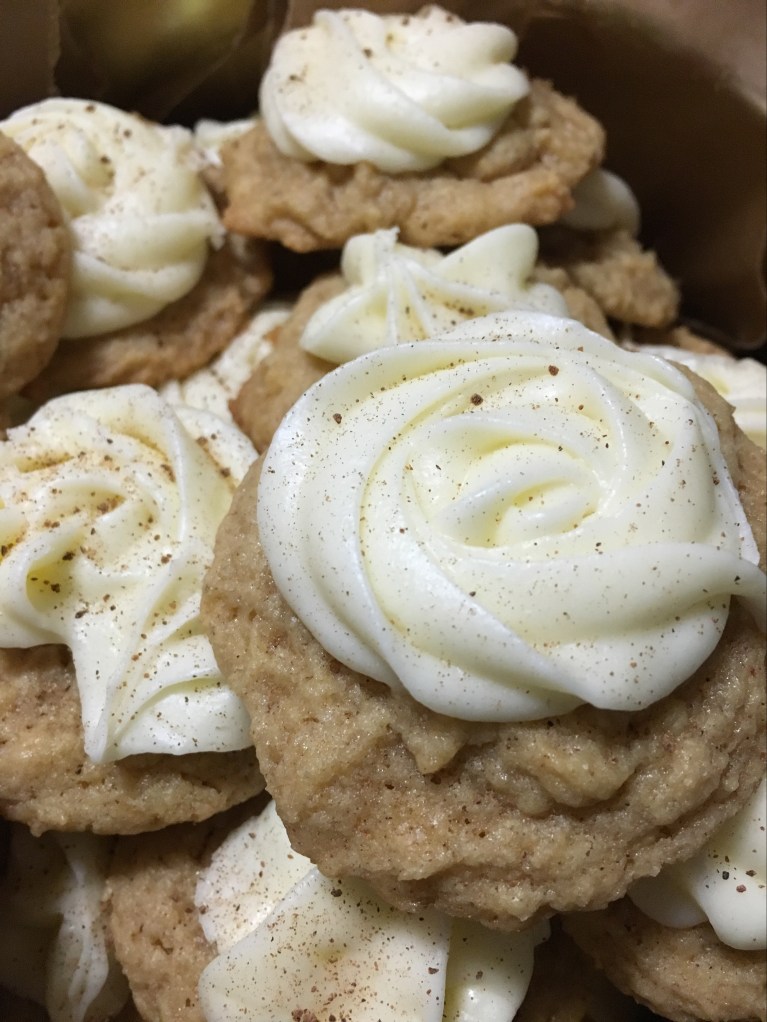
Bake in preheated oven 11 – 13 minutes. Allow to rest on baking sheet several minutes before transferring to a wire rack to cool. Cool completely then frost with Eggnog Frosting and sprinkle tops lightly with nutmeg.
For the Eggnog Frosting:
In the bowl of an electric stand mixer fitted with the paddle attachment, whip butter until very pale and fluffy. Add in rum extract and 3 Tbsp eggnog and mix in powdered sugar. Add additional eggnog to reach desired consistency.
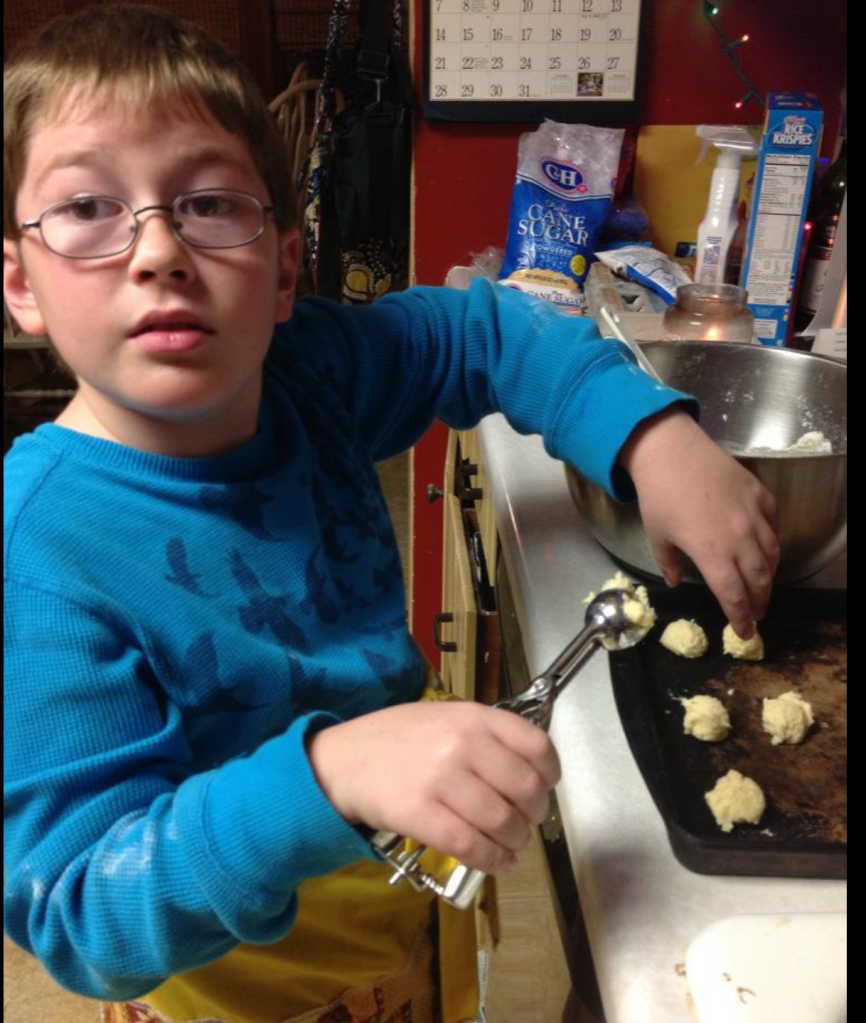
Many years ago, my precious first-born came to me at 7 o’clock at night on a school night, and said, “Mom, I read a cookbook for my book report, and I have to bake cookies for it. Oh, and it’s due tomorrow.”
Ahhh…here’s that sweet boy, and how that turned out. That’s right, I was the meanest mom in the world and made him make his own cookies.
And in the seven years since this fateful night, it turns out I have not gotten any nicer and he hasn’t gotten any better and forethought.
Nate had a cookie exchange at school in his AP Chemistry class. He told me the night before, and I said cool, get a recipe and go at it.
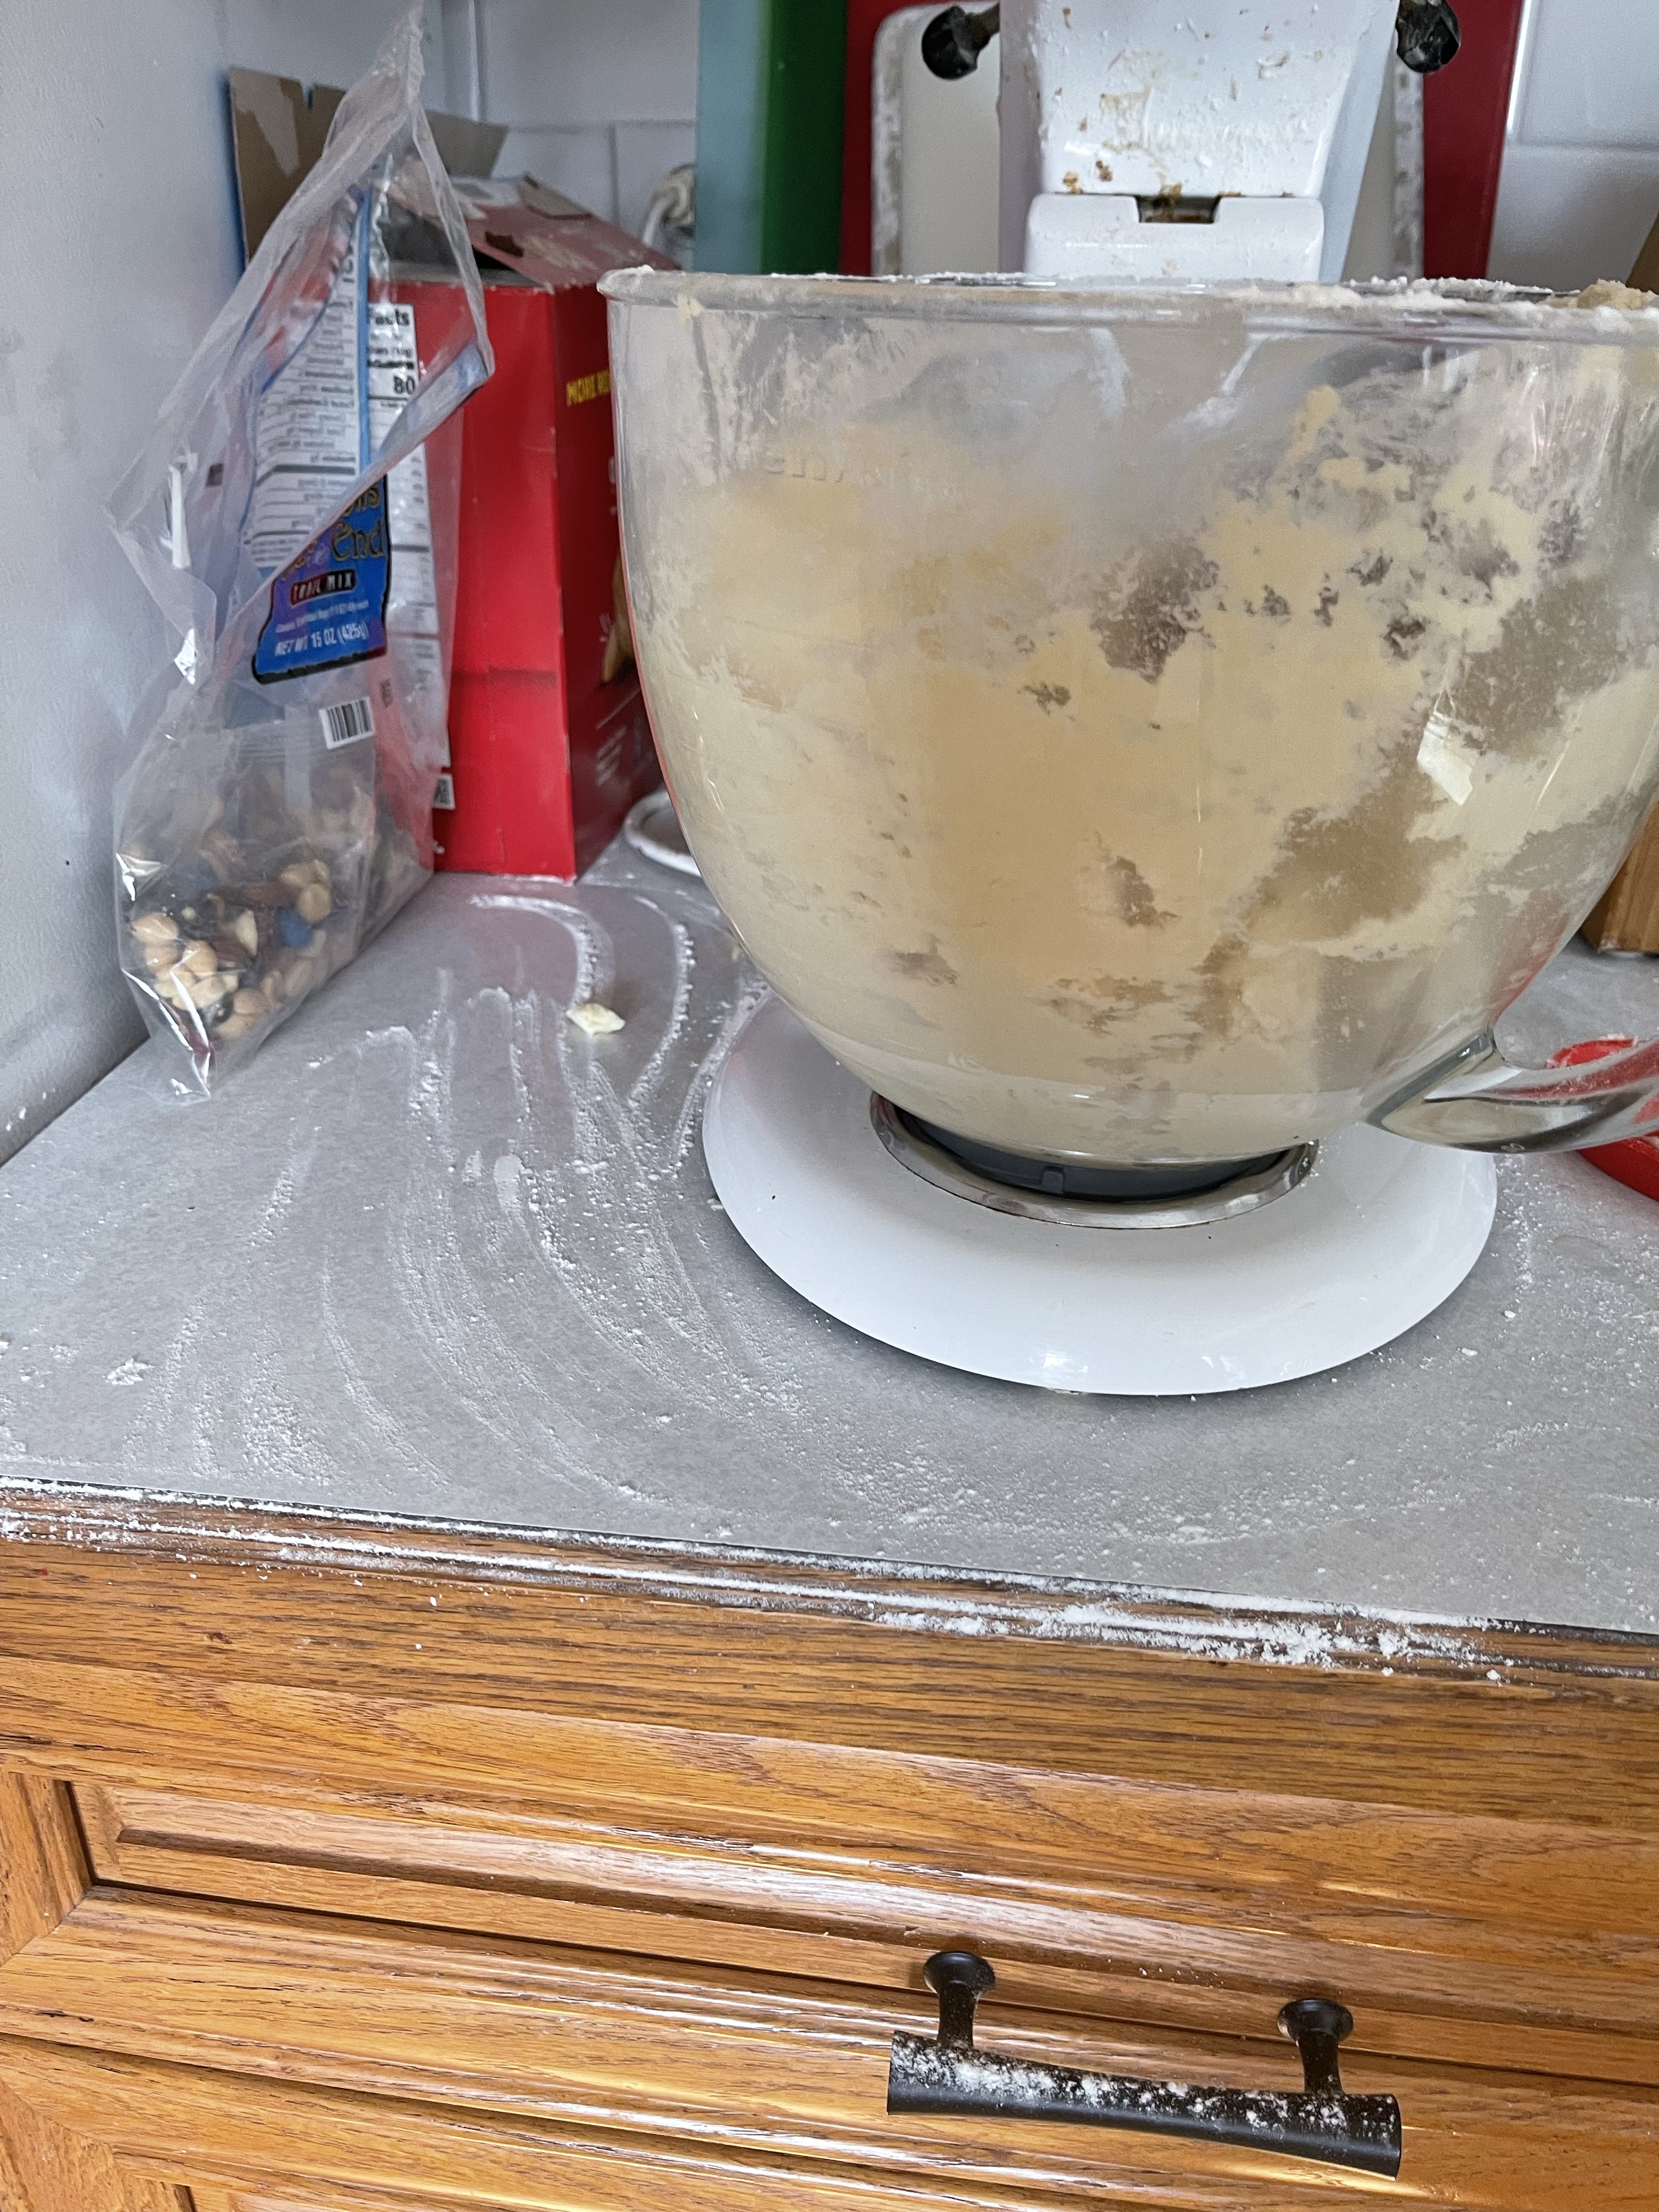
He acted like he was annoyed, but I could tell he was into it. Well, until the mixer turned on for the first time. There might have been a jump and a scream. And by might, I mean there was.
This is the cookie he found for me last year, that properly demonstrates his love of eggnog. I brought the eggnog home and the other two kids were so excited! Until they found out Nate would be making cookies with it. I’m the mom in these parts, so I’m sure I’m not privy to all that happens here, but I’m pretty sure the other two made credible threats to their brother for not sharing the eggnog.
I think he did a pretty good job. I said I’d frost them if he mixed up the frosting for me, which he did.
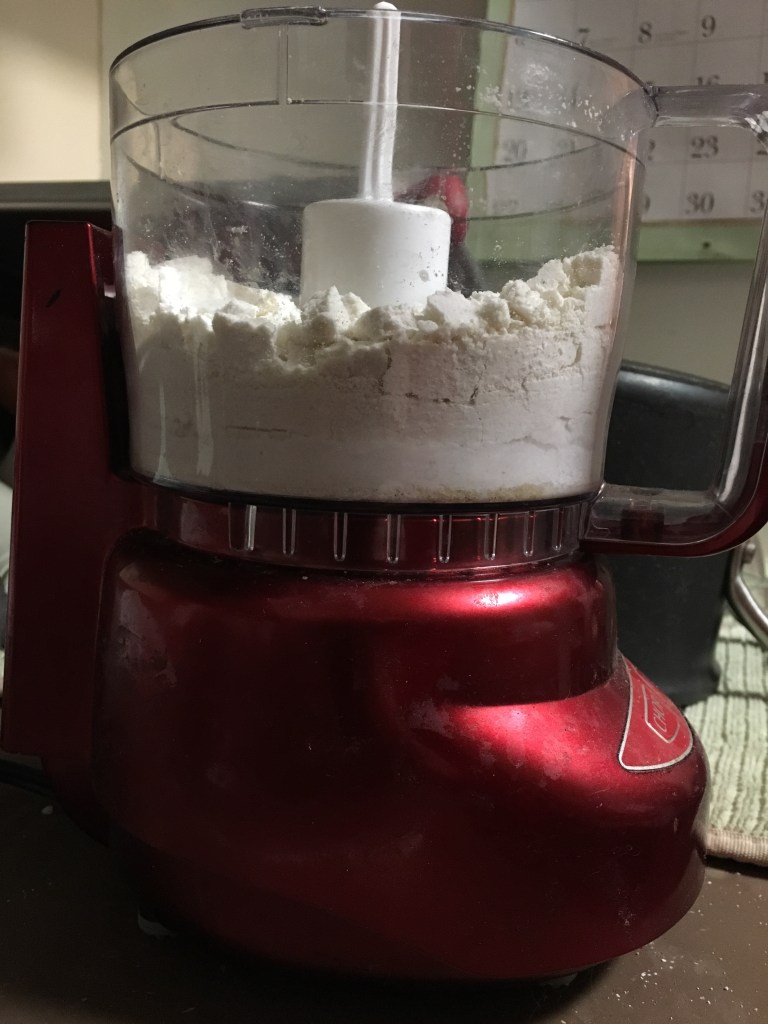
In the bowl of a food processor, combine the powdered sugar, almond flour, and ½ teaspoon of salt, and process on low speed, until extra fine. Sift the almond flour mixture through a fine-mesh sieve into a large bowl.
In a separate large bowl, beat the egg whites and the remaining ½ teaspoon of salt with an electric hand mixer until soft peaks form. Gradually add the granulated sugar until fully incorporated. Continue to beat until stiff peaks form (you should be able to turn the bowl upside down without anything falling out).
Add the vanilla and beat until incorporated. Add the food coloring and beat until just combined.
Add about ⅓ of the sifted almond flour mixture at a time to the beaten egg whites and use a spatula to gently fold until combined. After the last addition of almond flour, continue to fold slowly until the batter falls into ribbons and you can make a figure 8 while holding the spatula up.
Transfer the macaron batter into a piping bag fitted with a round tip.
Place 4 dots of the batter in each corner of a rimmed baking sheet, and place a piece of parchment paper over it, using the batter to help adhere the parchment to the baking sheet.
Pipe the macarons onto the parchment paper in 1½-inch (3-cm) circles, spacing at least 1-inch (2-cm) apart.
Tap the baking sheet on a flat surface 5 times to release any air bubbles.
Let the macarons sit at room temperature for 30 minutes to 1 hour, until dry to the touch.
Preheat the oven to 300˚F (150˚C).
Bake the macarons for 17 minutes, until the feet are well-risen and the macarons don’t stick to the parchment paper.
Transfer the macarons to a wire rack to cool completely before filling.
So I like to keep it real with all of you. I’m not a professional baker. I’m a writer. And since I’m not a professional baker, sometimes, a little batter must fall.
Yes, there was a baking fail. And that’s okay. Because one man’s trash is another man’s treasure. When life hands you lemons, you make lemonade. And a variety of other cliches about things not going right.
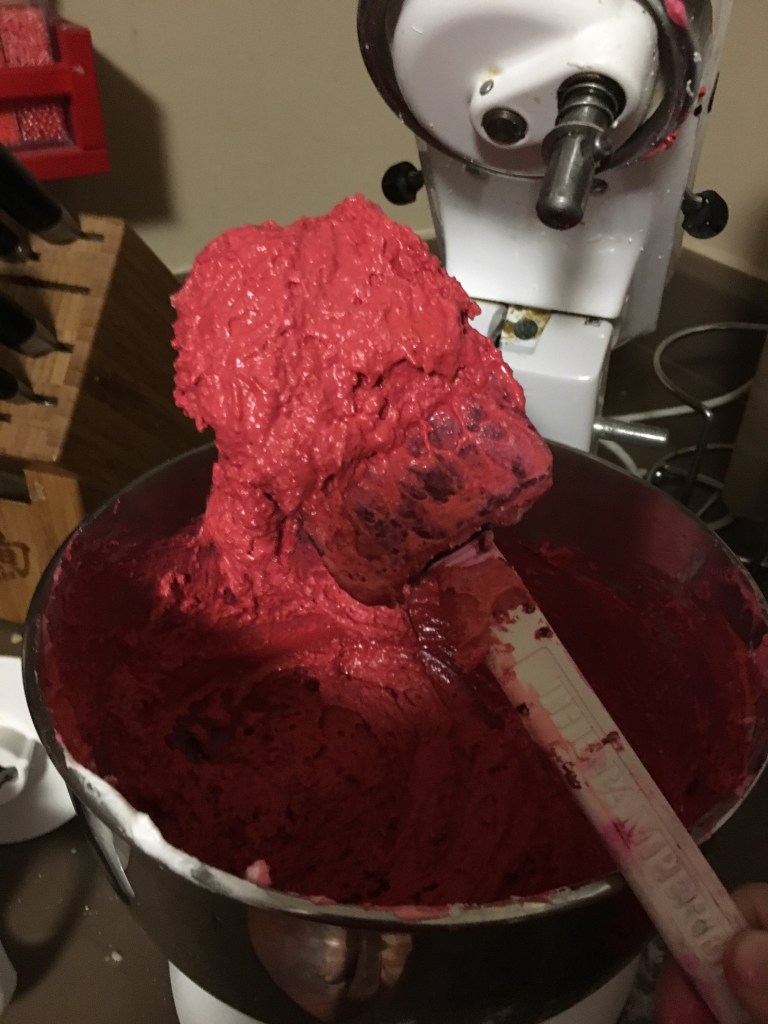
I made the exact same recipe from last year, the exact same way, and the results were not the same. Here’s a pictorial account of my cookie for the day:
And after doing everything right, this is what I got:
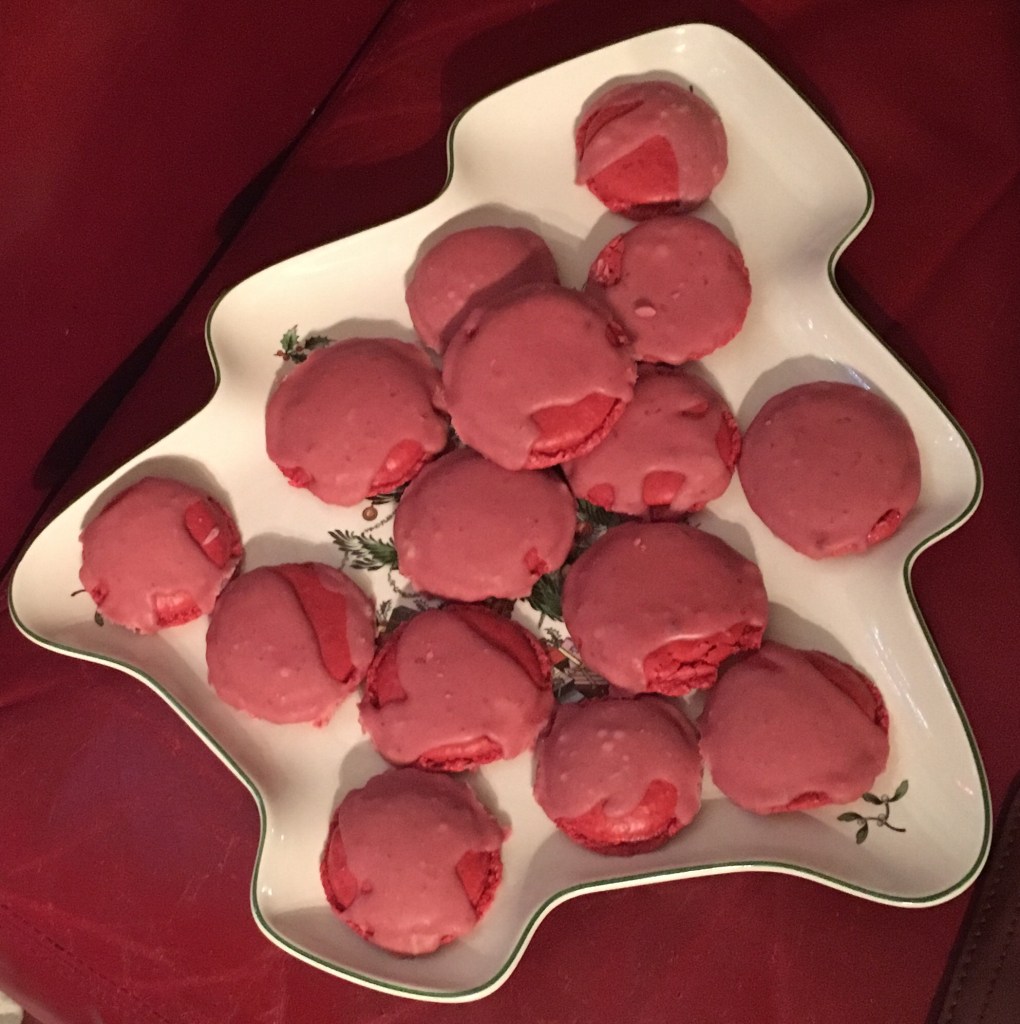
Macarons with feet that were too big. They still tasted great, but looked hideous.
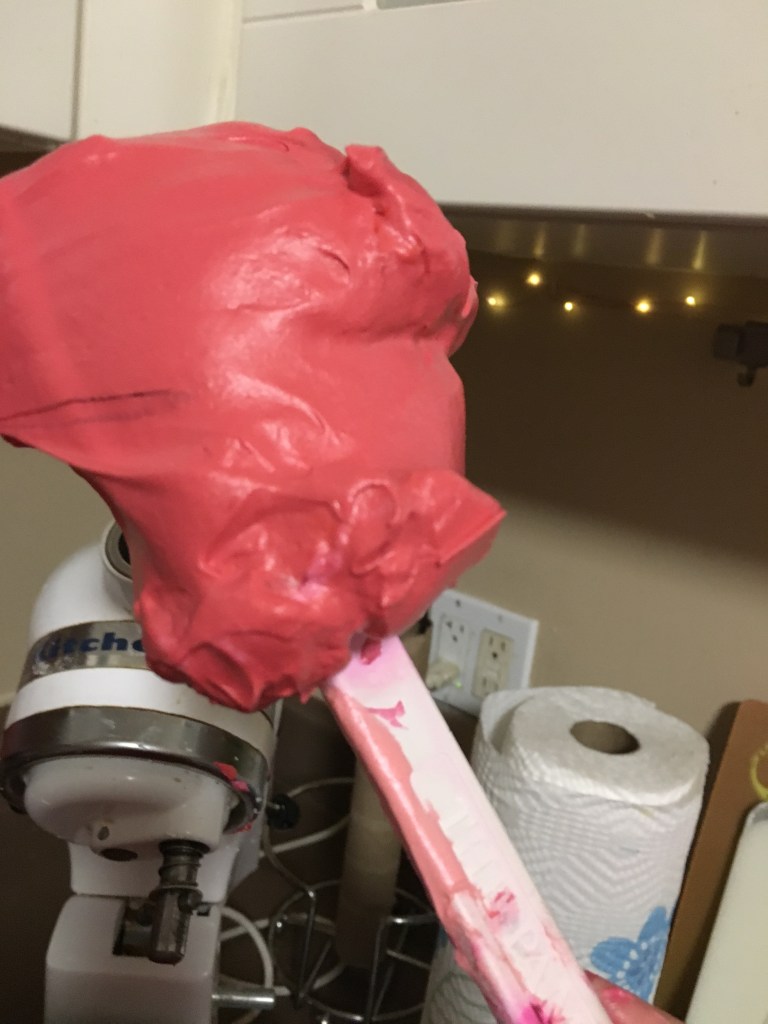
Which is when I invented the Deconstructed Macaron. I tell ya, if this was a real thing before I coined it, you’d be paying double for one at your local bakery. It’s like when the Cronut was invented. Or penicillin.
Instead of going into the center of my misshaped macarons, the buttercream I made (butter, powdered sugar, cherry juice, cherry butter) got ladled (yes, ladled) on top.
And though they are ugly–and they are–they are still delicious. But make no mistake; they are ugly. Not even this Spode Christmas plate could pretty them up.
But that’s okay. You heard it here first. Deconstructed Macarons were invented in 2019 by a writer in Chicagoland!
Yeah, I took the lazy way out this time in putting this recipe up. But, I think there’s a lot of character here too. As I was with Man Friend at his parents’ home for his birthday and his mom and I talked about cookies, she pulled out this recipe and let me take a picture of it. She said (if I’m remembering correctly…again, there was some wine involved) that this was an old one she remembers her mother making. “I mean, this was typed,” she said to me.
For those of you that don’t know this, before computers, there were typewriters. You might see some with bearded men wearing skinny jeans at Starbucks. But before they were retro-cool like that, they were just…necessary.
Anyway, I made these and remembered the importance of reading ahead. More on that later.
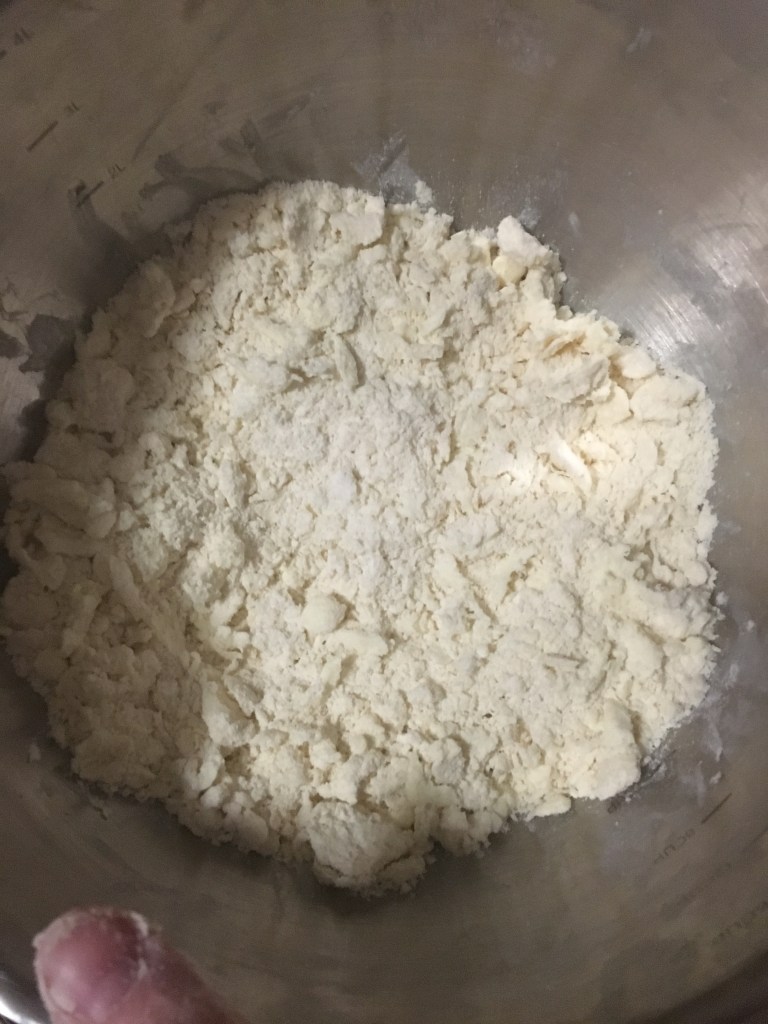
First of all, this recipe starts with a pastry blender. If you don’t have one, you can use a couple of forks. You cut the butter into the flour, making tiny little crumbs of butter covered with flour, if you’ve done it right. You do the same thing for biscuits, some pie crusts, basically anything with high amounts of butter in it.
Butter and flours successfully combined.
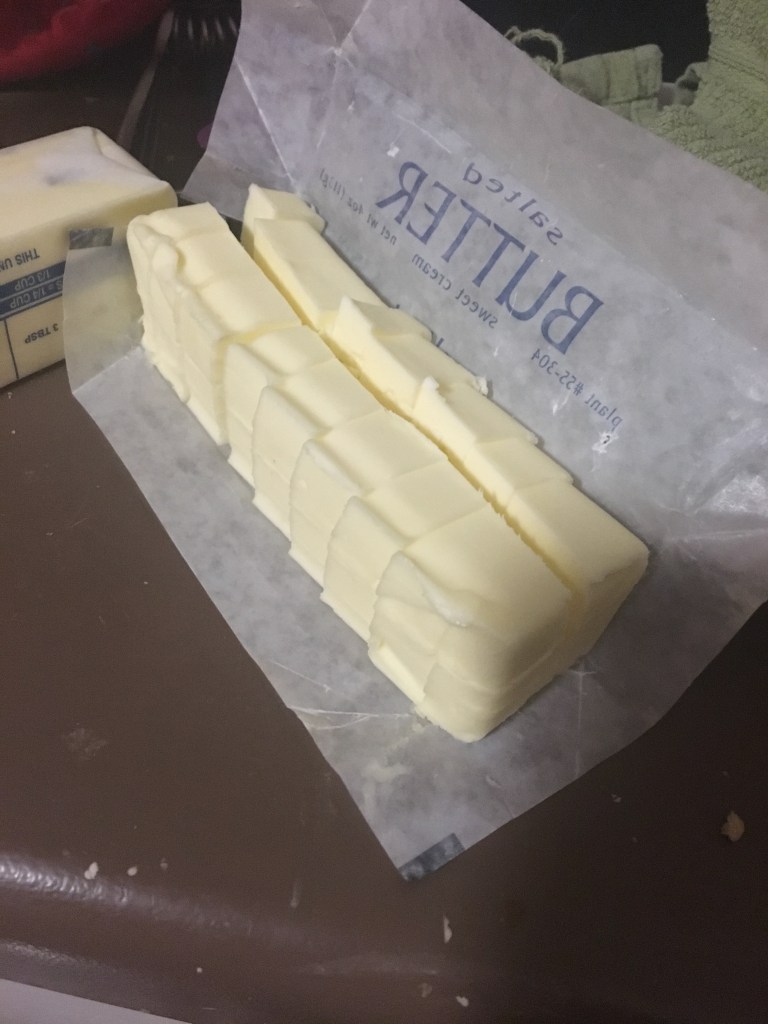
I cube my butter first, which essentially means I make a cut down the length of the stick of butter, then flip it on its next edge and do the same thing. Then I cut the stick like I would to get a pat of putter. Ouila. Butter cubes.
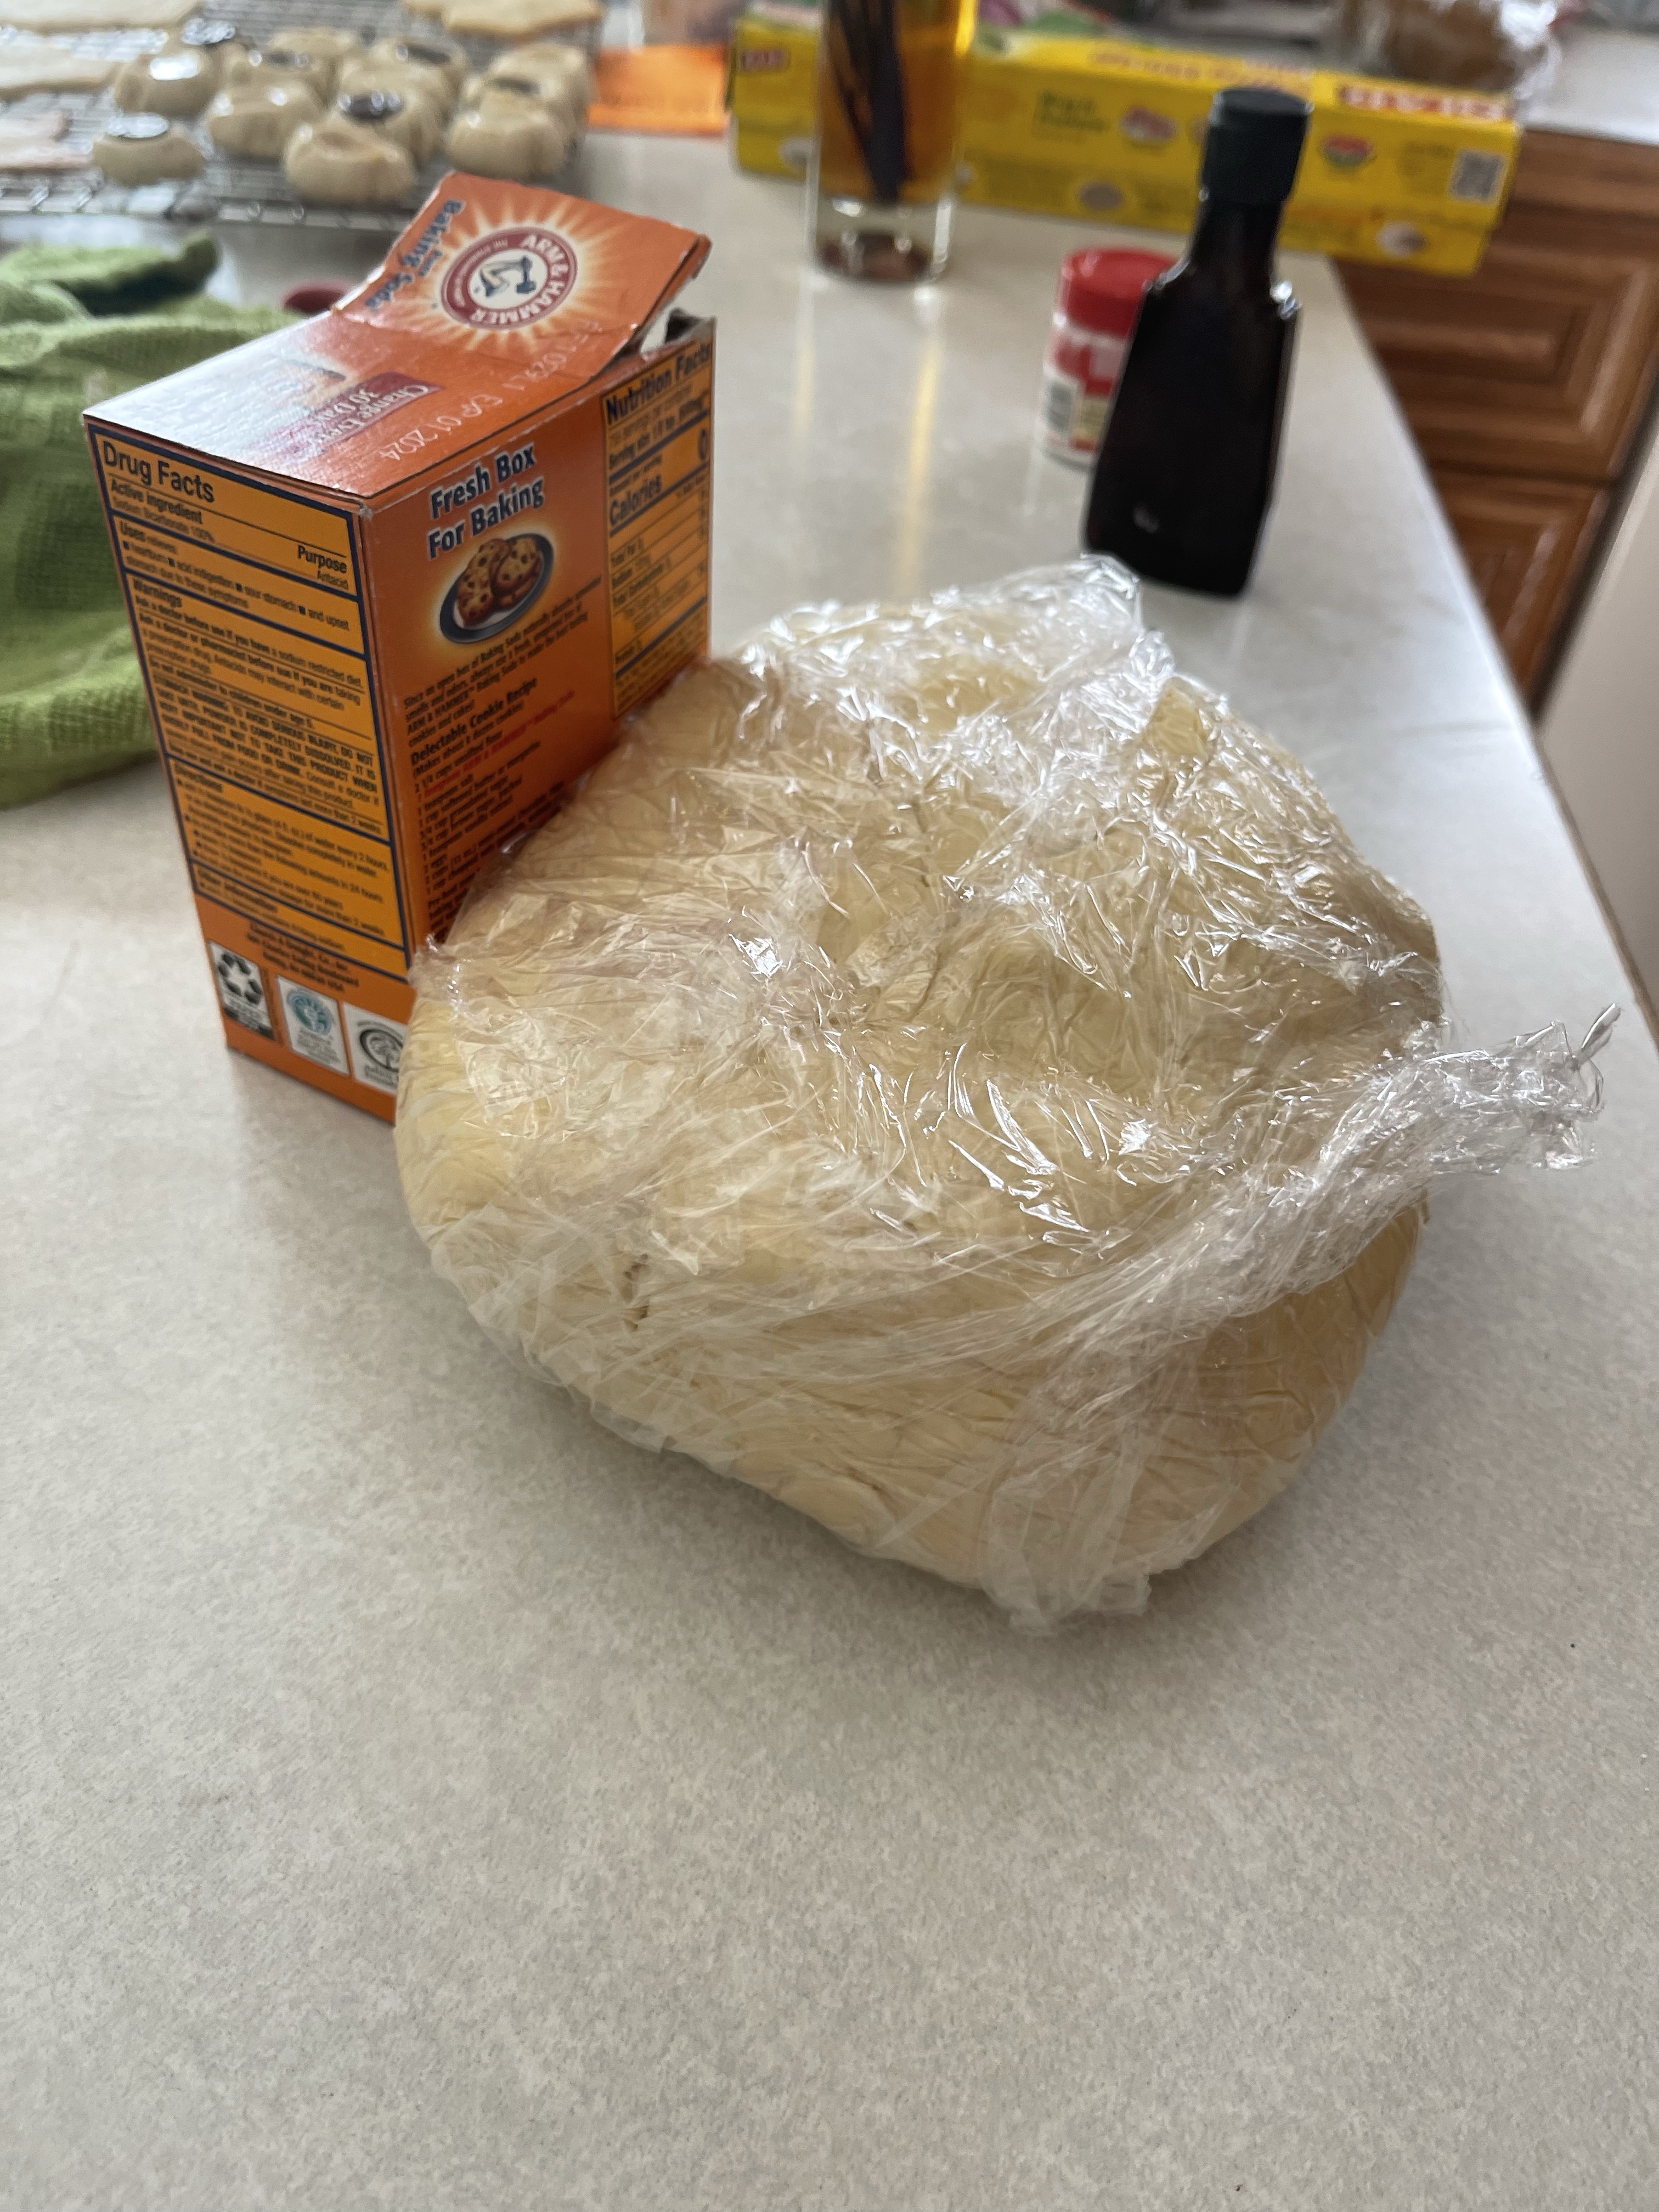
This recipe is called sour cream cookies for a reason. As you’d imagine, there’s sour cream in it. I love sour cream. It’s probably my favorite food. A half cup of sour cream and an egg yolk mixed together goes into the flour and butter crumbs. Butter’s also a favorite food; so far, this recipe has allllll the right moves.
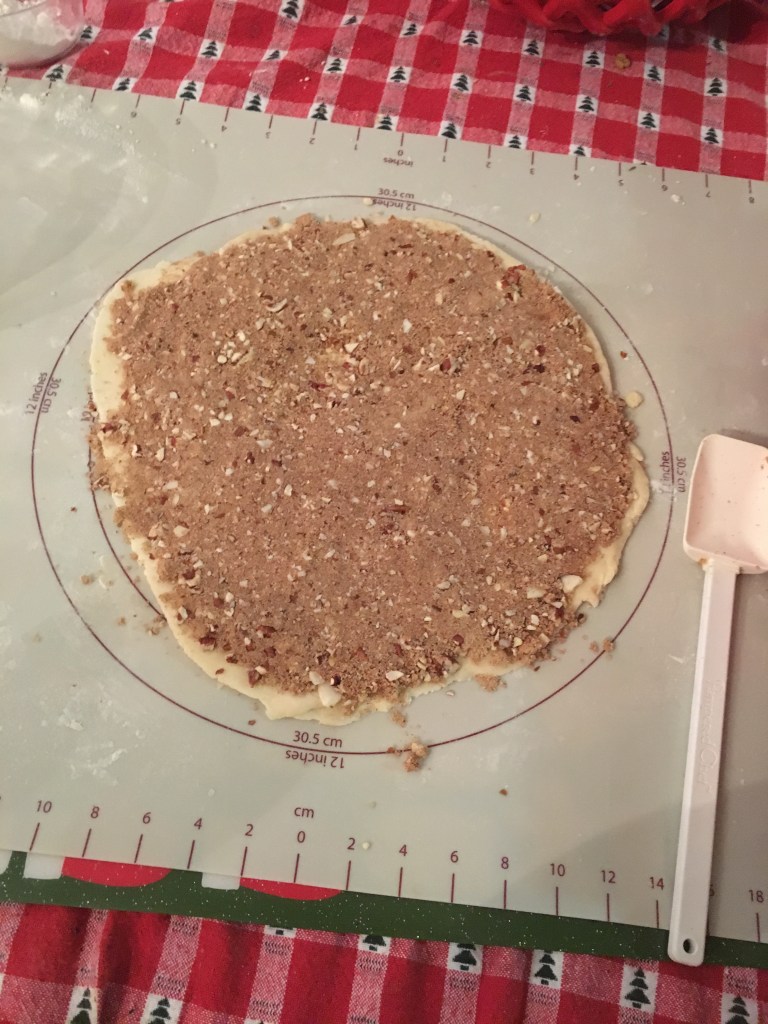
Once it’s all combined, it goes into the fridge. I didn’t do overnight, nor did I split it into 4 different sections. When I was mixing together the fillings, it took me longer than I’d like to admit to understand that this recipe lists three different types of fillings. Not all together. Reading: it’s not for everyone!
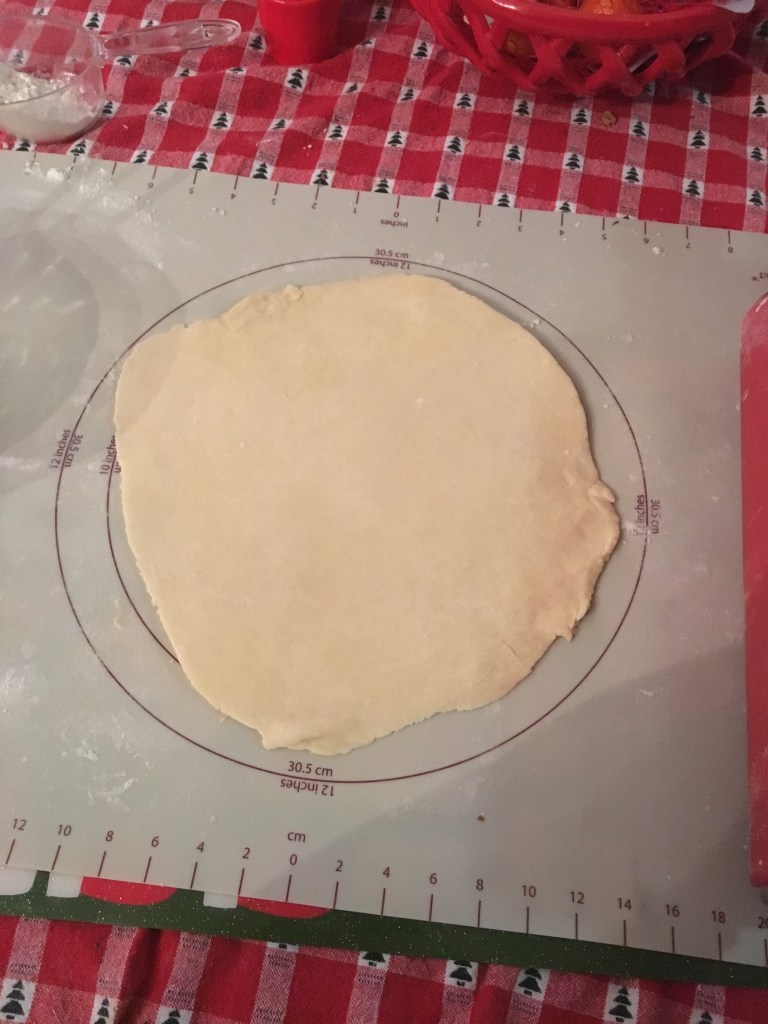
I pulled it out of the fridge and rolled it to a 10 inch circle. Then I tried to put all of the brown sugar mixture in it on one go. Note: don’t do this.
When in the oven, some of the cookies expanded and unrolled and, while super tasty, aren’t quite what you are supposed to get.
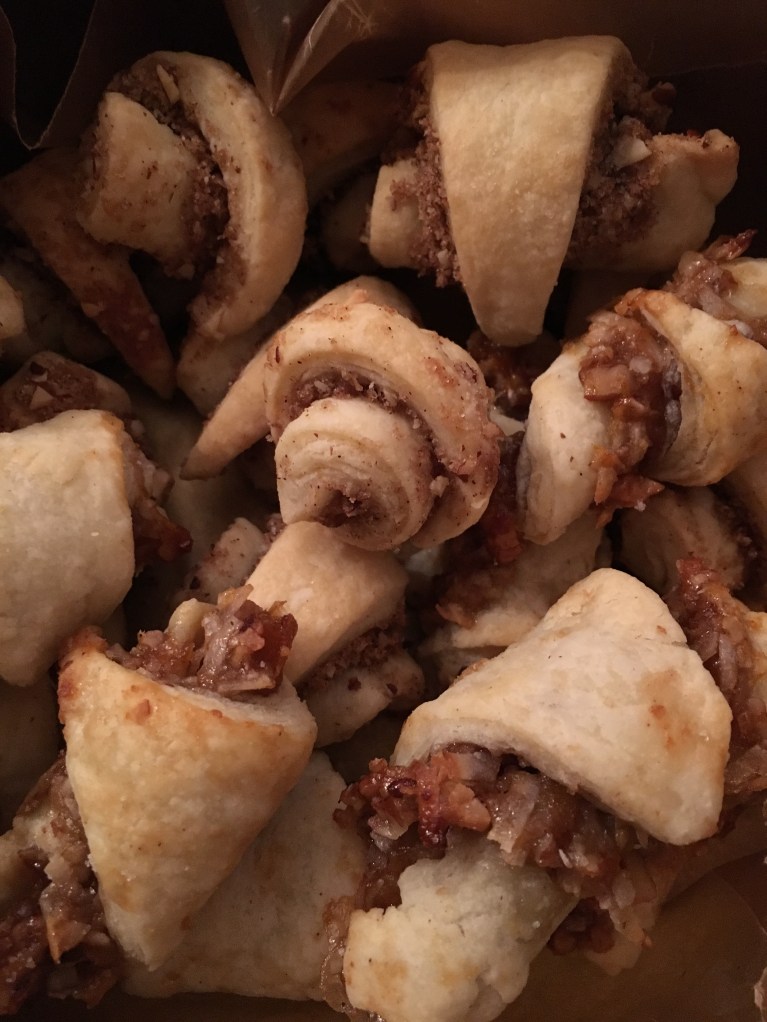
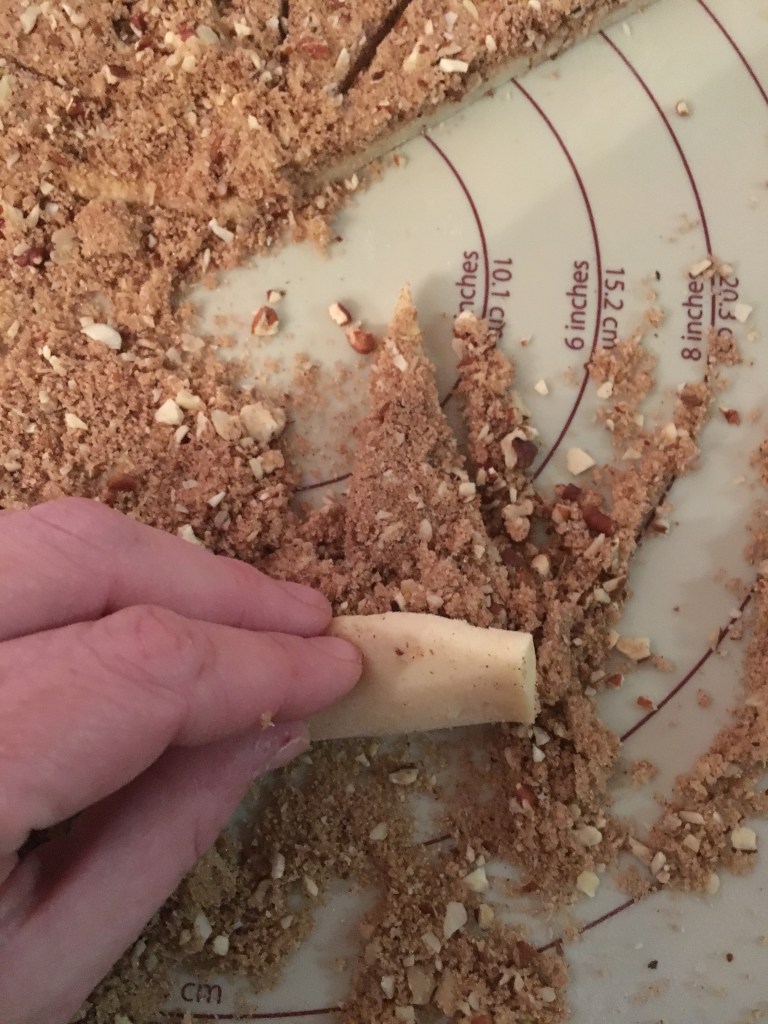
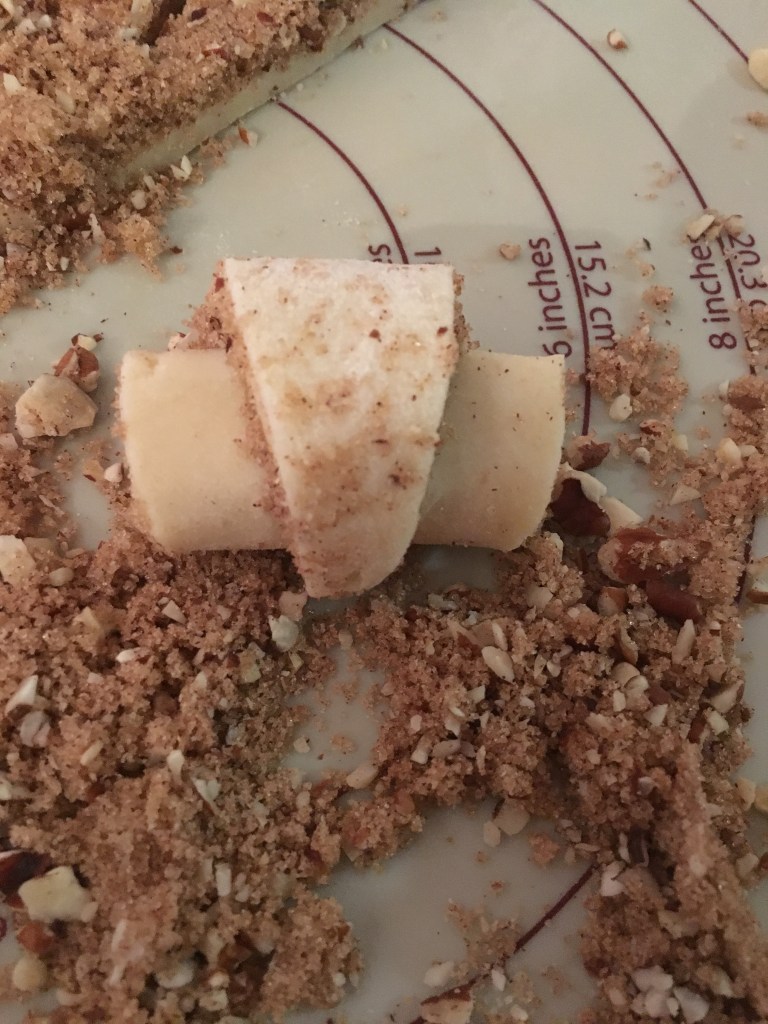
Man Friend’s mother said these are almost like Rugalach cookies, and that was important when I was rolling them up. I used a pizza cutter instead of a fluted pastry cutter, mostly because it’s 2019 and even I don’t have a fluted pastry cutter.
I rolled them up like crescent rolls and put them on the tray.
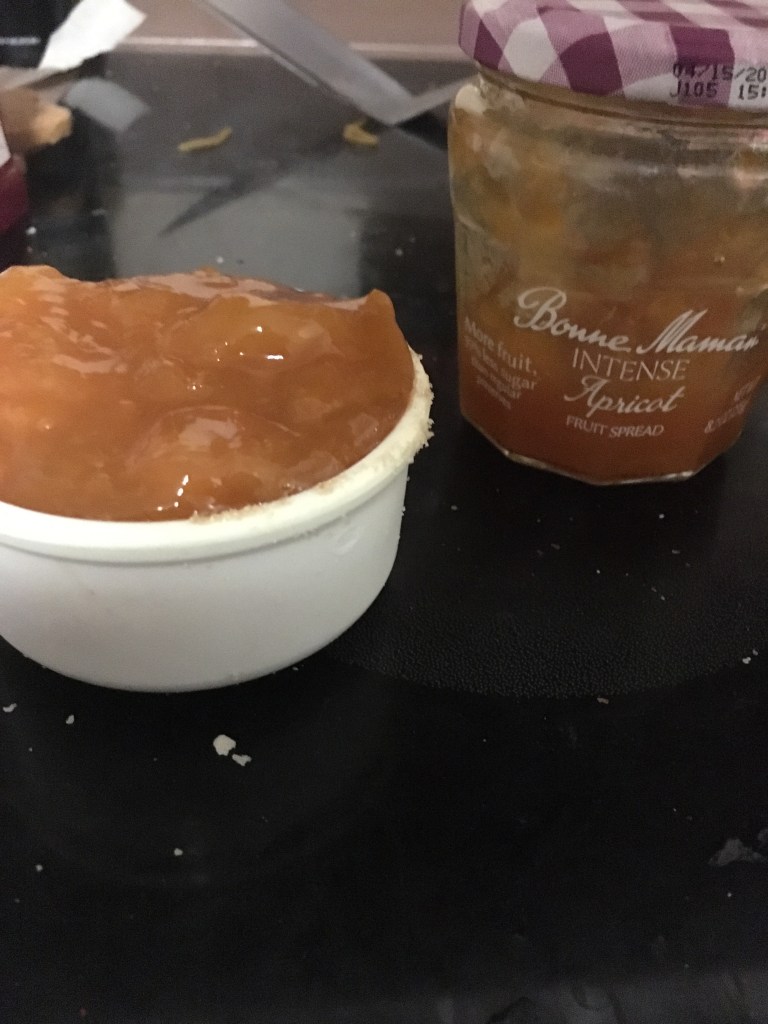
And then I tried it with the other fillings. The one with apricot and nuts was exceptionally good, especially since I wasn’t planning on liking it. It’s definitely an old school filling.
INTENSE Apricot!
There’s no sugar in this dough, so the filling makes up for it. In the brown sugar, it’s evident. But in the apricot preserves it’s not as apparent. But there’s a good amount in there, which I was worried about.
However, I will also warn you, dear readers, to not try to use regular old strawberry preserves, straight from the generic aisle at the grocery store. I did. And those cookies looked like a homicide. I ate the evidence. There’s just not enough fruit in there to make the cookies hold together and not bleed. Bleed strawberry jelly, of course.
A sprinkle of sugar on the tops and they go in the oven. I would make these again, happily, and would do so knowing my kids won’t touch these with a 10 foot pole. Those are my favorite kinds. They just don’t know what they’re missing!
½ cup confectioners’ (powdered) sugar, plus ¼ cup more for dusting
2 teaspoons pure vanilla extract
¼ tsp table salt
2 cups all purpose flour
½ cup fruit preserves
DIRECTIONS
Preheat oven to 325°F. Line a baking sheet with parchment paper.
In the bowl of a stand mixer fitted with paddle attachment, blend butter and sugar until fluffy and light, 2 minutes. Add vanilla and salt, scraping down bowl as needed. Switch to low and gently mix in flour, just until combined. Don’t over mix.
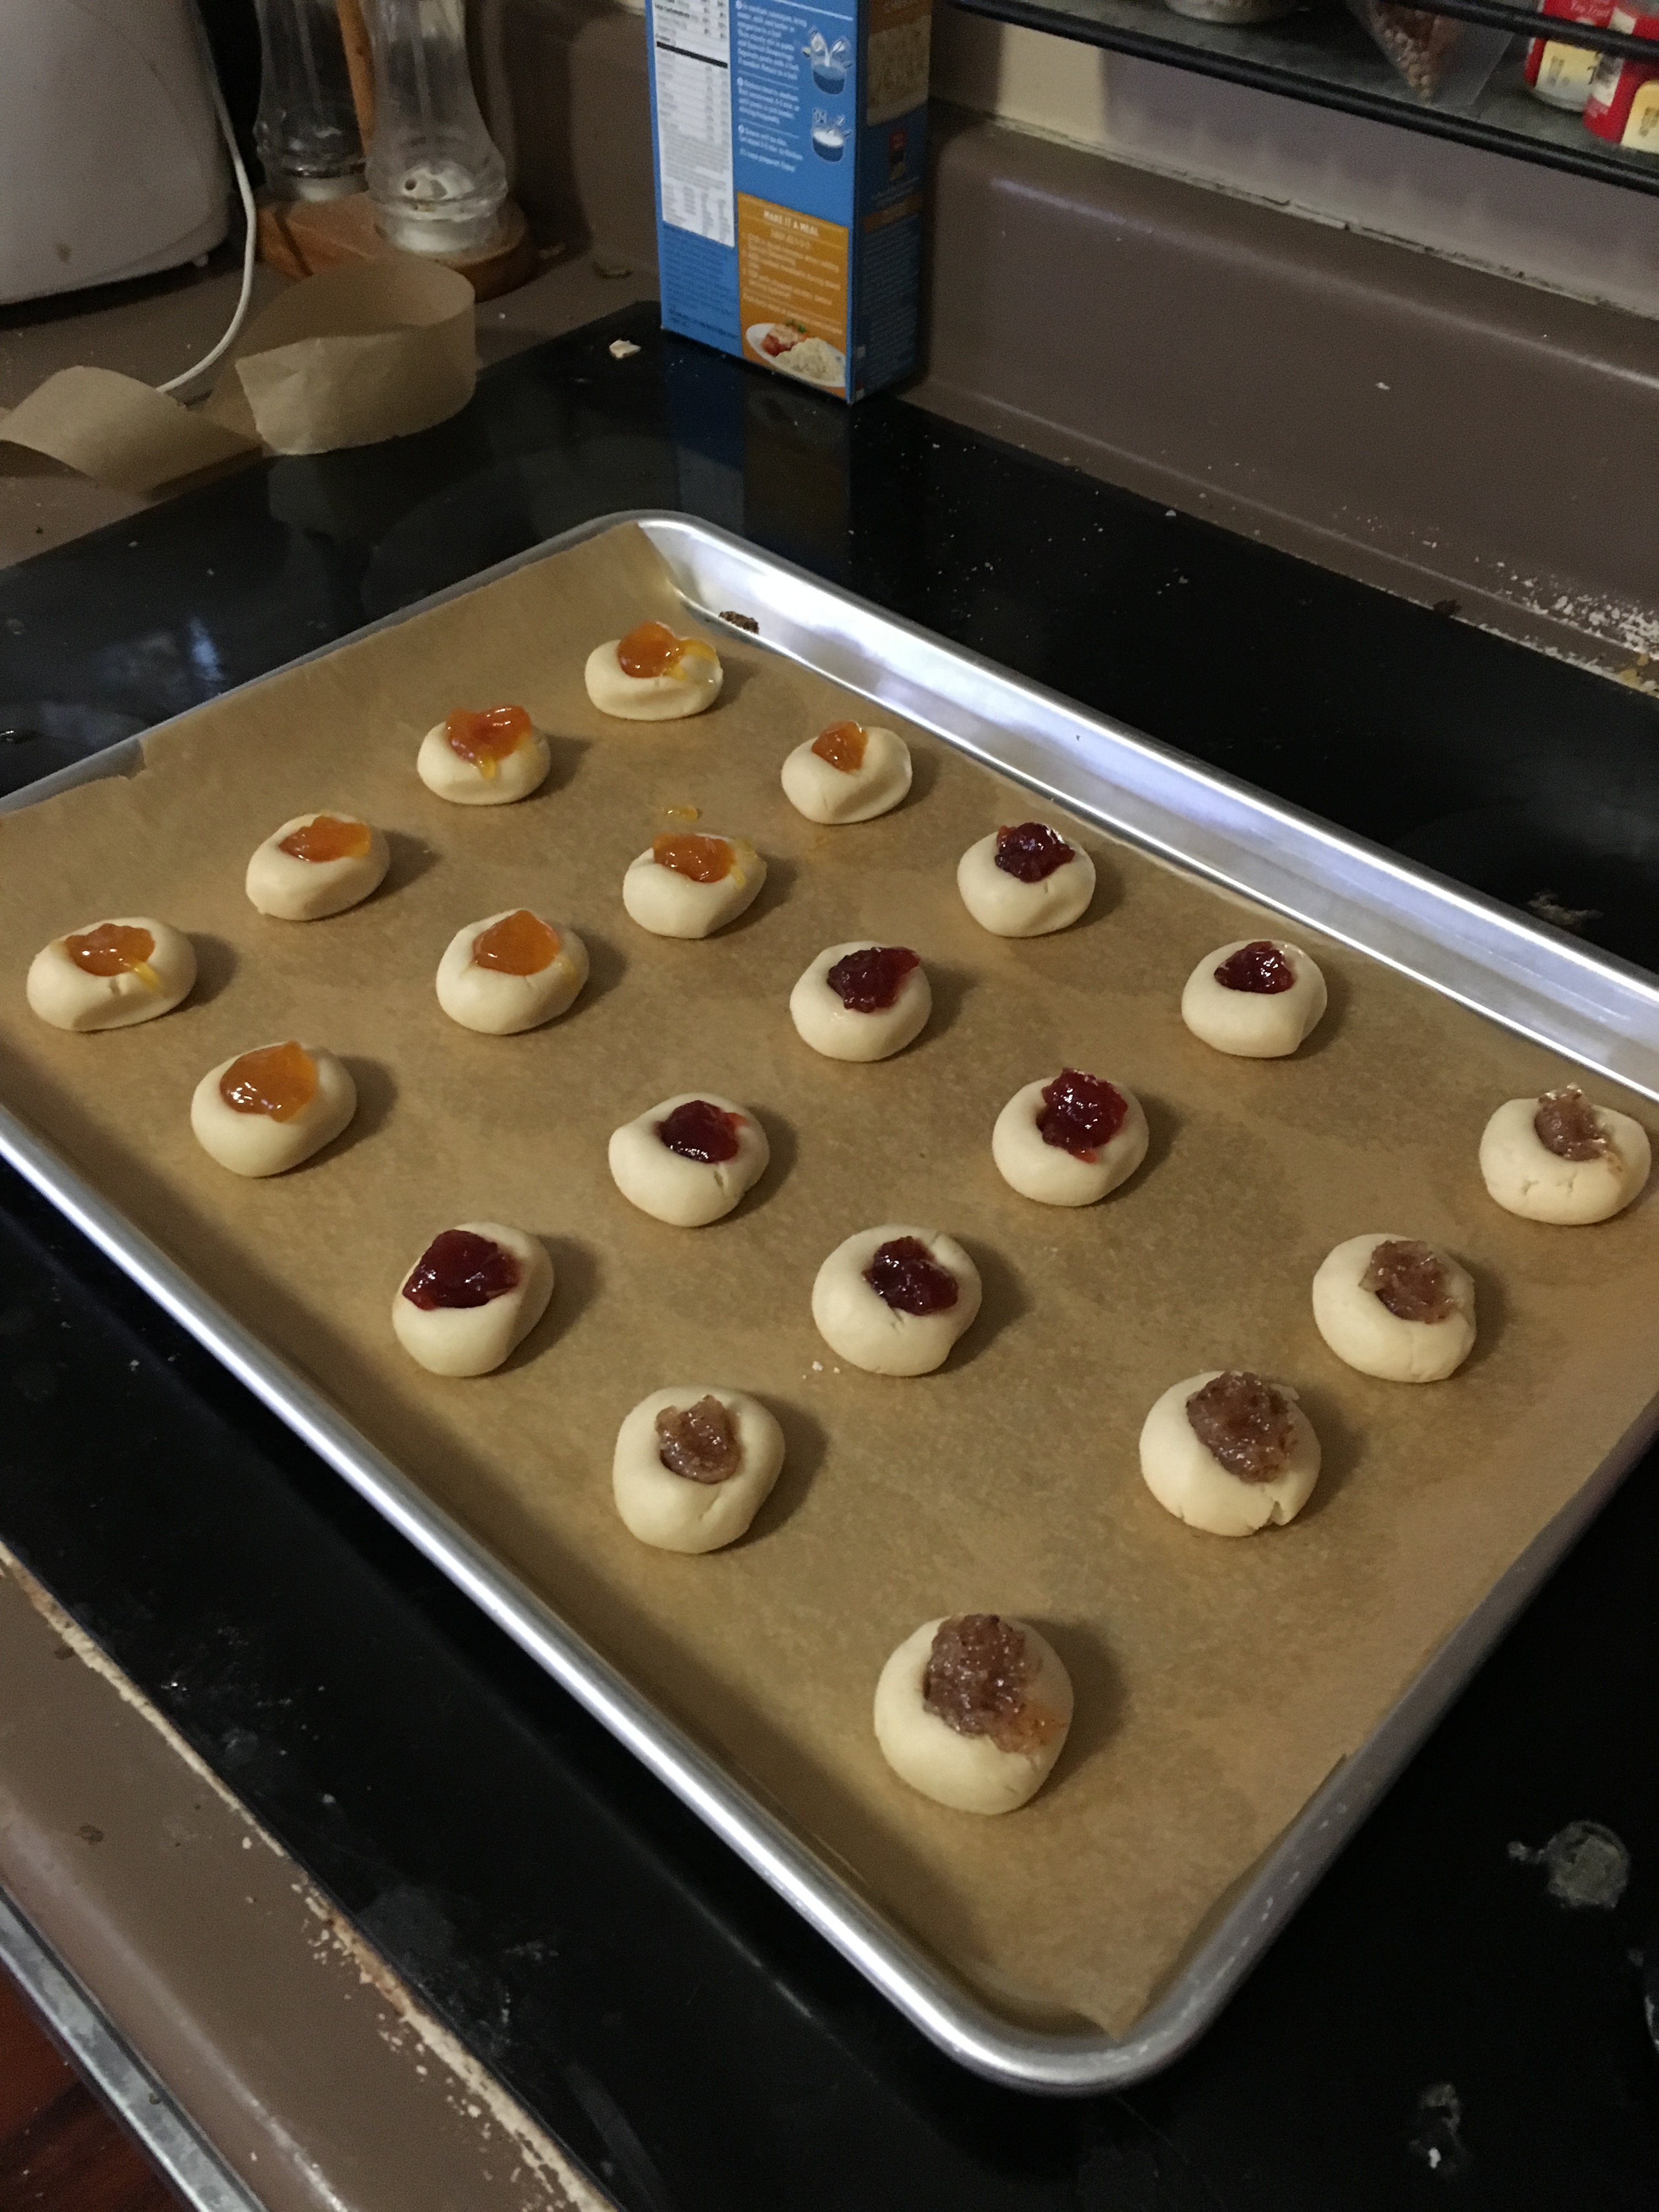
Roll tablespoonfuls of dough into 1-inch balls. Place dough balls on parchment lined baking sheets. Press down the center of each ball with a spoon (or your thumb!) making a slight depression.
Fill cookie centers with a teaspoonful of preserves. Bake 12-15 minutes or until golden brown and puffy, but take care not to overbake. Let cool a few minutes on baking sheet, then transfer to finish cooling on wire rack.
When cookies are completely cooled, dust with confectioners’ sugar. Cookies can be kept in airtight container at room temp for a few days.
When I was a kid, the kind of cookie I always reached for had something in the middle. Whether it was a maraschino cherry, or some sort of custard filling, I liked sweets that had something going on in the center. So when I make these, I think about kids that also like cookies with center pizazz.
It’s a pretty simple recipe, and at the end, you can use whatever kind of jam or preserves you want. (Don’t use jelly. I made that mistake one year. It looks like a crime scene.)
Well, I like to push the envelope a little. Remember a few days ago when I said I went to the cool international grocery store near my house? I picked up something cool.
This.
I’d never seen it before, nor do I actually know why one needs rose preserves, but I had a cookie in mind.
In my first batch, I had half apricot preserves and then half rose preserves. They baked as expected. When they cooled, I put powdered sugar on them and tried one of my rose-flavored specimen.
The lighter colored ones near the top are the rose ones.
Have you ever been to Crabtree and Evelyn? My grandmother liked to go, as did my aunt, and they’d have all sorts of fancy soaps at their houses from here. Truth be told, I like that store too (and if anyone out there wants to get me some Gardner’s Hand Therapy, I’d be a happy little baker). However, while I like that store and can reminisce about times with Grandma and Aunt Barbara with their soaps and lotions, I draw the line at eating cookies that taste like fancy soaps smell. And unfortunately, like most things in my life, I learned that one the hard way.
But once that lesson was learned, my apricot — and then later — strawberry jam thumbprint cookies did not disappoint.
I’ll leave the flower flavors to other dishes. Though I’m still not sure what!
(But seriously, if you know what rose preserves are used for, please comment and let me know!)
1. In a large mixing bowl add butter and sugar and cream together.
2. Slowly add flour and mix just until incorporated.
3. On a lightly floured surface work the dough until it forms a ball.
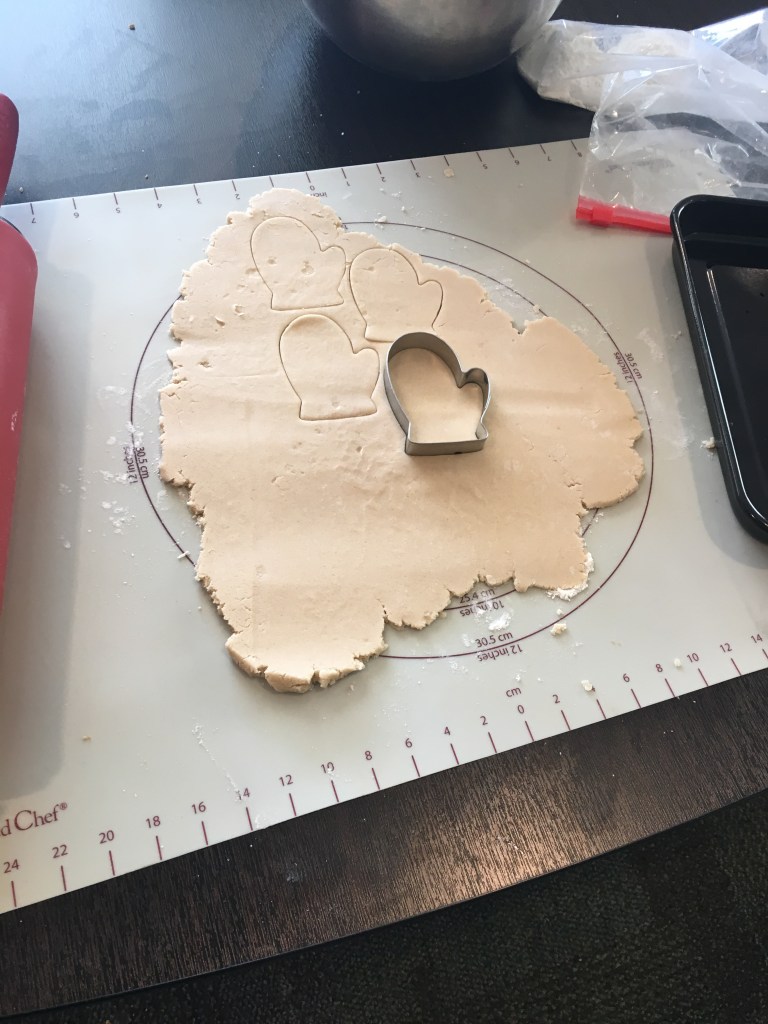
4. Roll out the dough to 1/2 – 1/3 inch thickness.
5. Using cooking cutters, cut into desired shapes. Or cut into small rectangular shapes.
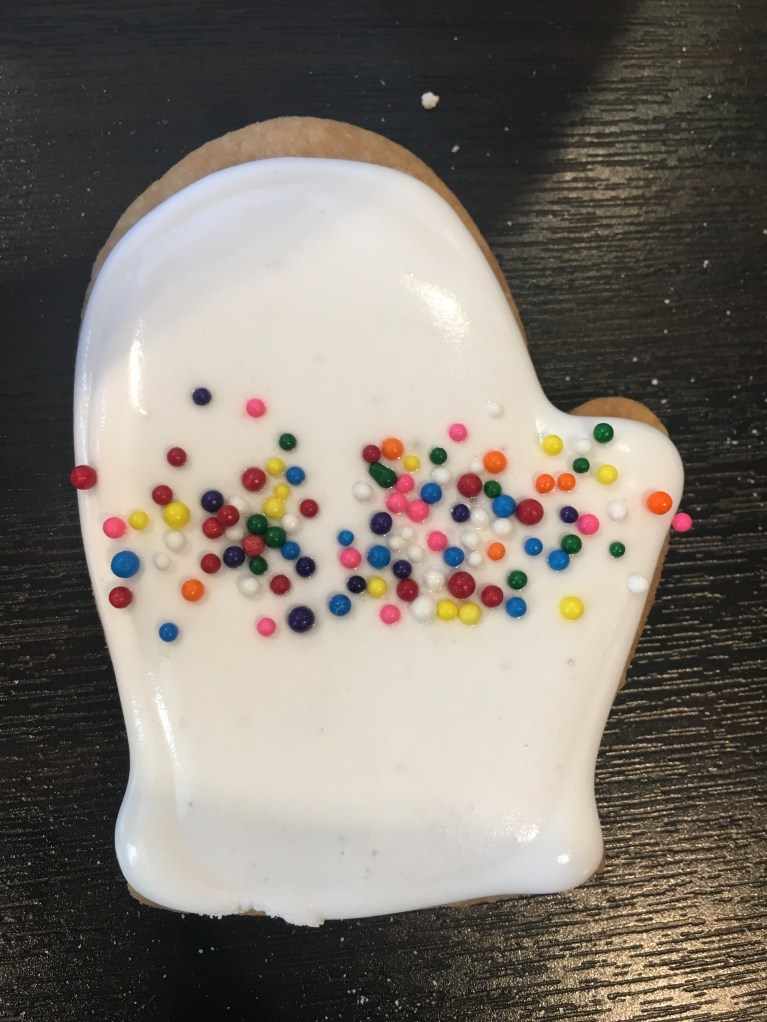
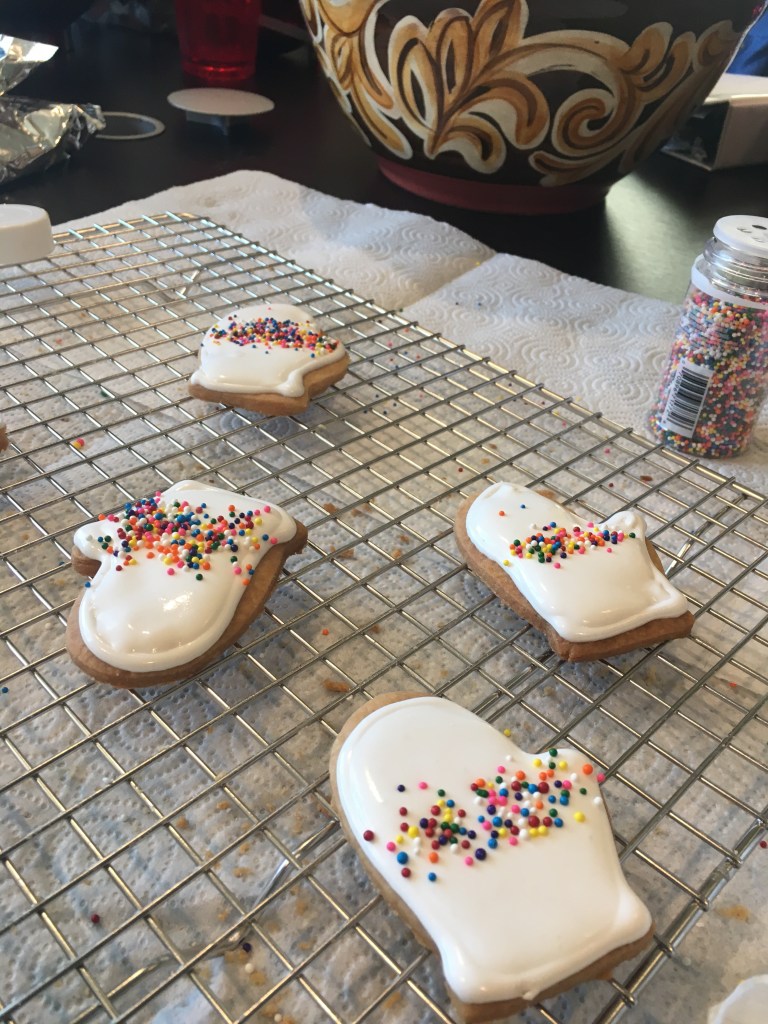
Today’s cookie is a new recipe for me, but it’s so simple, I still feel like I’m cheating. Shortbread is amazing…buttery, delicious, and only three ingredients. I frosted mine to give them a little more appeal, but honestly, my intended cookie-eaters today wouldn’t have cared if they were plain.
Oh yes, my intended cookie-eaters were my students. You see, my school recently acquired a table top oven, with the hopes that some kids will want to take fun baking classes with me.
Normally this holds my computer and not much else!
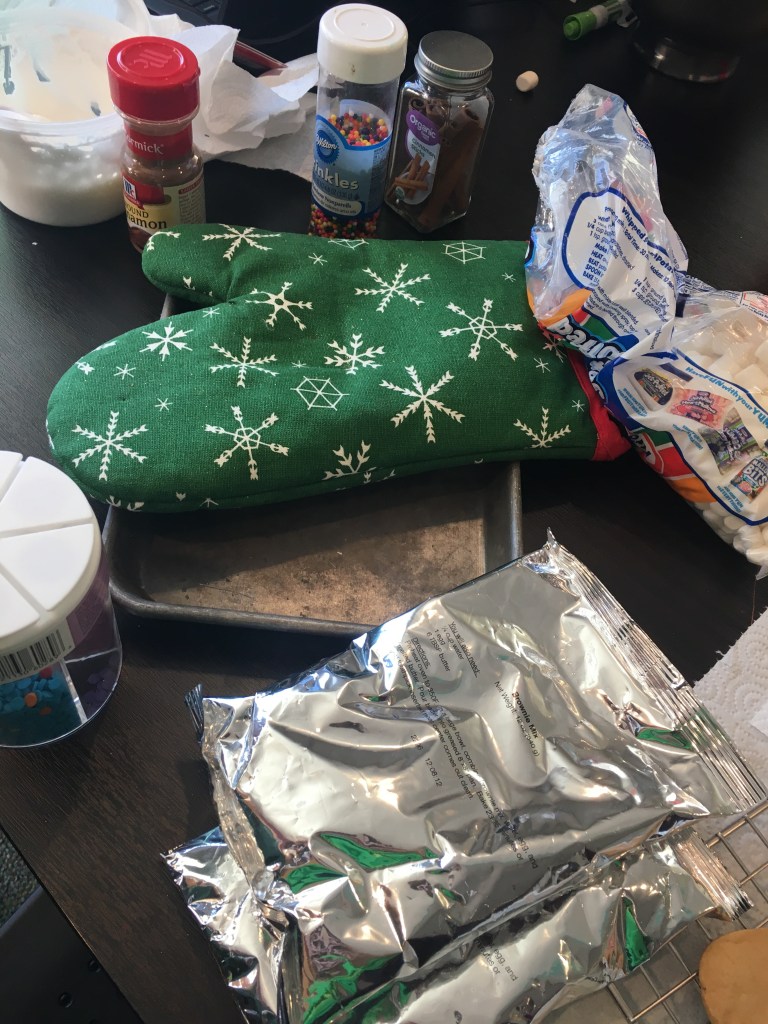
I wanted to take it out for a spin. This thing is not big by any means, but it did the trick beautifully. Cookies came out like they would at my house, but in smaller batches.
Now, the thing is about baking at a remote location–you have to pack everything up to take there. And this was not a fun part of my day. Between ingredients (even though there were just 3), bowls, frosting, a cooling rack, and few more things, I had to have help bringing all of this into the school today. Plus, acquiring said items made me late for work, and I hate being late. I hope offering my boss the first warm cookie from the oven helped him forgive my tardiness!
Since I work with kids, I had lots of helpers and lots of tasters. My students are 6th-12th grades, so their help resembles more actual help than if I had “helpers” of a younger variety.
But with that also came the downside…larger helpers have larger appetites. Sadly, I have no cookies left. I guess I shouldn’t say sadly though, because these kids were the most enthused and motivated as I’ve ever seen them! And the teachers were excited too! Eventually everyone’s noses led them to where I was with my mini-oven. It was amazing at what the smell of fresh baked cookies can do for people!
Literally all that were left after I remembered to take a picture. And then *these* were gone 5 minutes later!
One of my students said, “We’re baking cookies as a family.” And coming out of the mouth of a 15 year-old aspiring rapper, I was definitely touched. They may not be my own kids, but I think of them as part of my family, too!
I’m at the tail-end of a writing deadline, but I did take time out to bake. My mom came by to watch my daughter cheer at a basketball and she asked if I’d make her favorite cookies. Who can say no to that?
She even stopped off and bought me vanilla extract because as I started, I realized I was out of vanilla. (I’m now on bottle #3 since the month started.)
Now that I live in the area, things like this can happen…her going to my kids’ activities, me baking cookies, and her going to the grocery store for me. It’s kinda cool.
My mom’s favorite cookies, well at least the ones I make, are Pecan Sandies. I haven’t made them in years, but I figured I could whip these up in a just a little bit and then get back to writing.
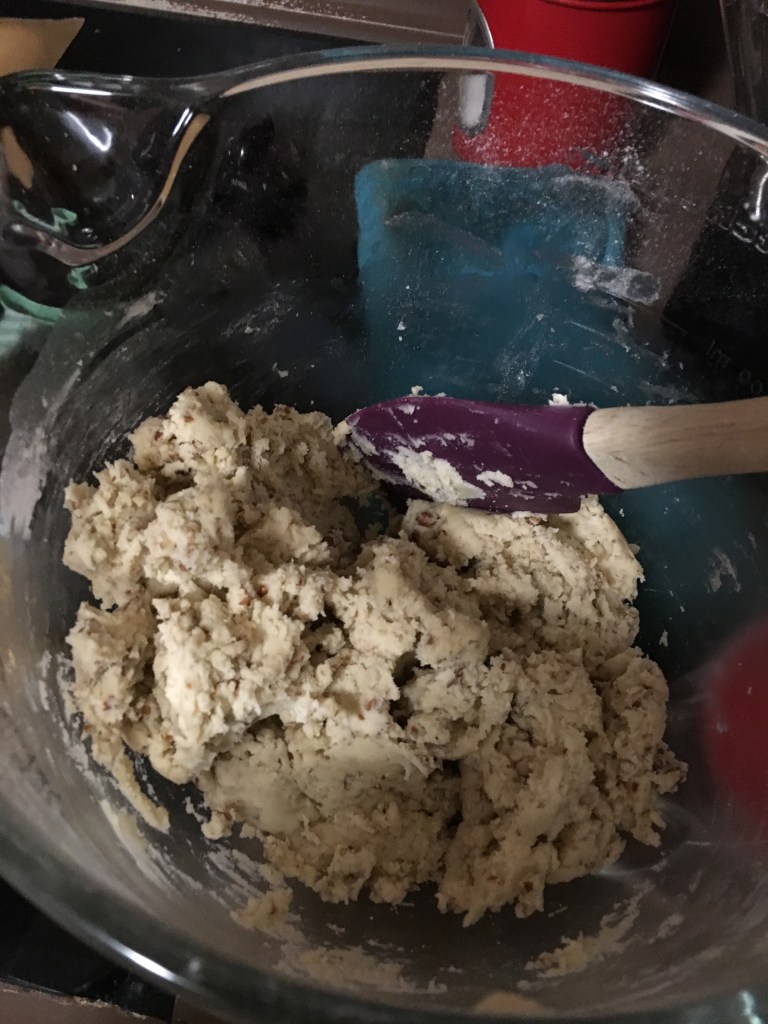
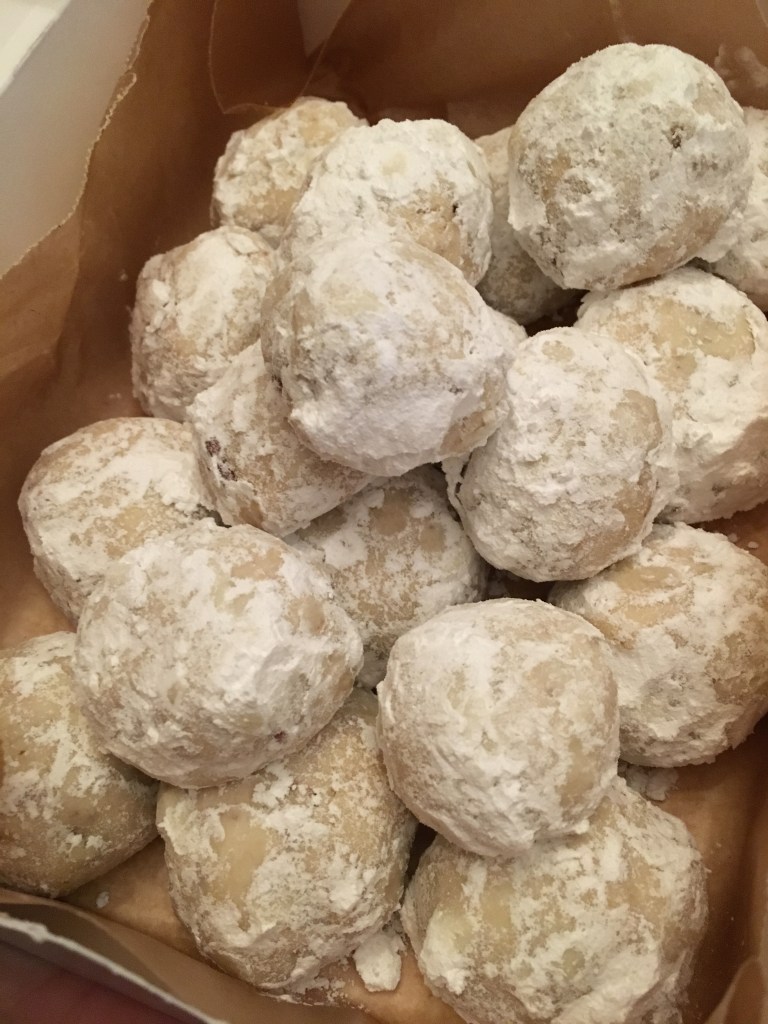
It’s just your basic butter shortbread recipe, but with nuts–butter, powdered sugar, flour, and pecans. No fancy ingredients. No chilling in the fridge. Hell, there aren’t even any eggs. Into a 350 degree oven for 12-15 minutes, and then let them cool. When they are cool to the touch, roll in powdered sugar.
These are also known as Mexican Wedding cookies, I hear, but for me, they’re just Mom’s cookies.
(And now, back to the job that pays me.)
Pecan Sandies
Ingredients
1 cup butter 2 sticks
1/2 cup confectioner’s sugar plus more for rolling baked cookies
2 cups all-purpose flour
1 cup chopped pecans
1 teaspoon vanilla extract
Directions
Preheat oven to 350º F. Line a baking sheet with parchment paper and set aside.
Cream together butter and sugar with electric mixer. Add in the flour and vanilla extract and mix until well combined. Slowly stir in the pecans.
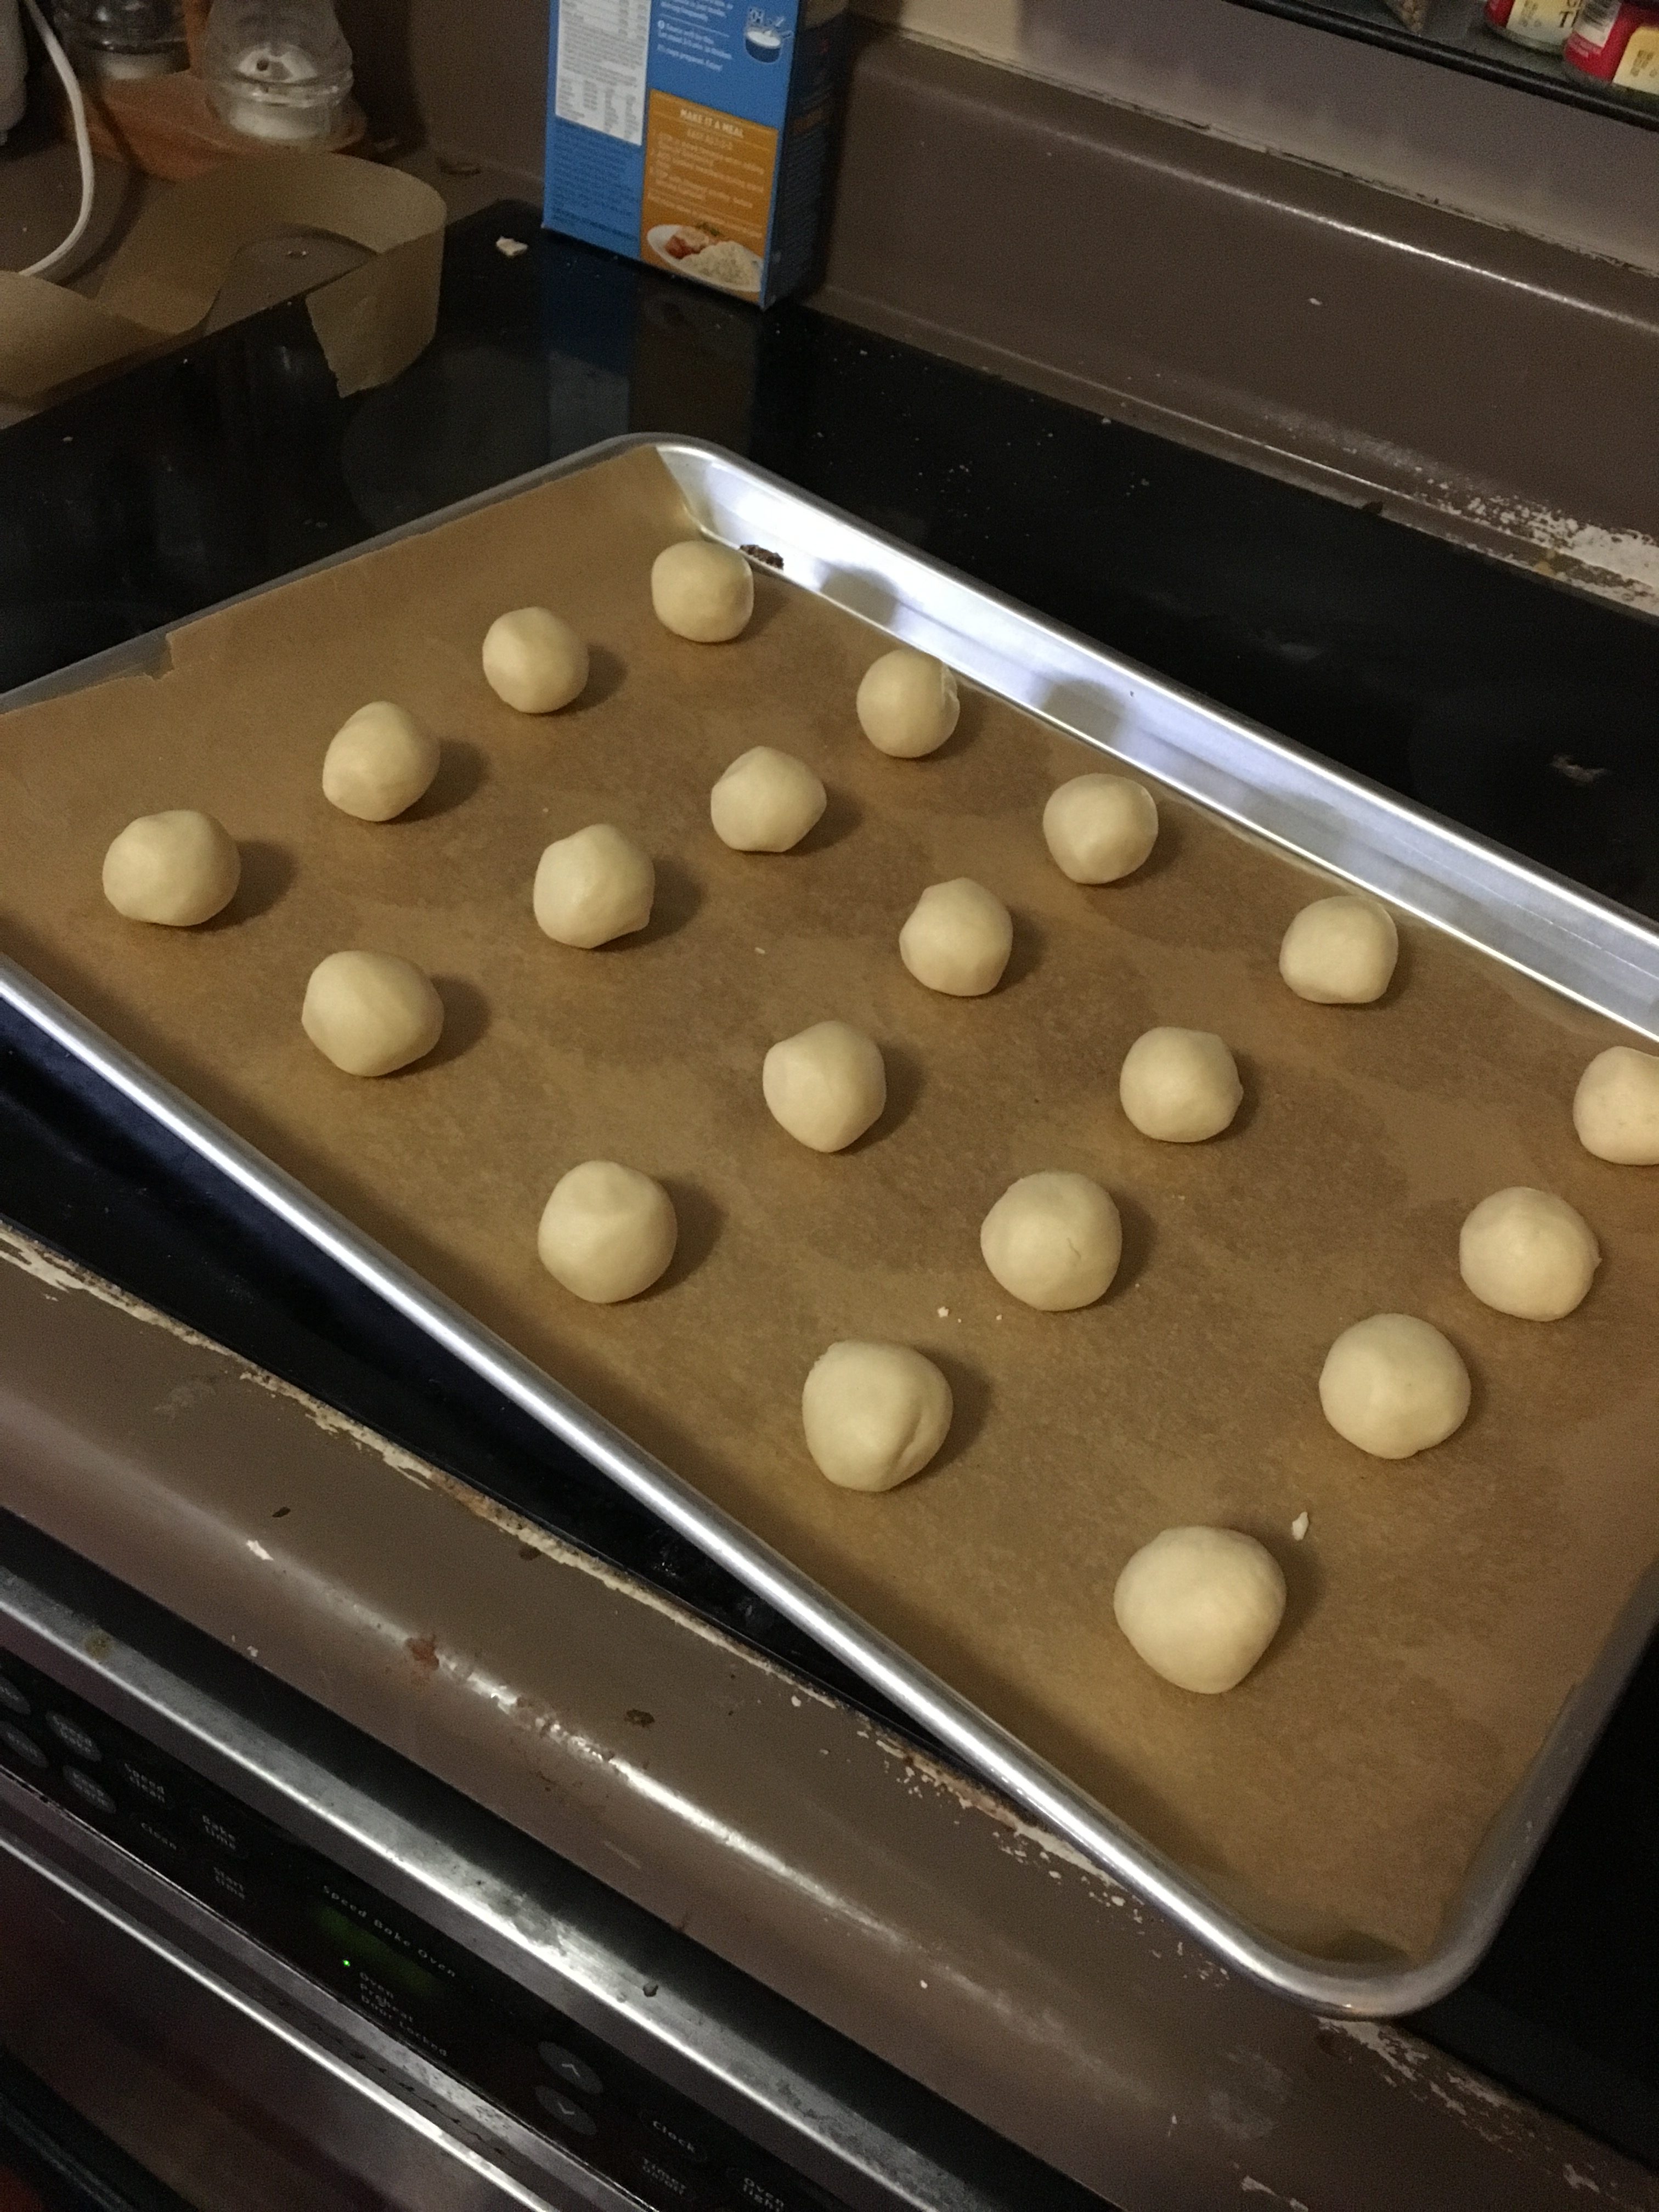
Scoop a teaspoon of the cookie dough and roll between your palms to form a ball. Place the ball of cookie dough onto the prepared baking sheet. Bake until lightly golden, about 12 minutes. Remove from oven and allow to cool to the touch. Roll in confectioner’s sugar.
When ready to serve and once the cookies have completely cooled, roll or dust them with a bit of additional confectioner’s sugar, if you prefer.
This week seems to be a weird mix of super busy and “Oh I have plenty of time until Christmas.” Today I decided to use the preserves I purchased a week ago and make Buttery Jam Thumbprint Cookies.
I made these a few years ago, and learned the important lesson that jelly won’t cut it for these. My classy red currant jelly ended up looking like a murder scene on a cookie sheet. So when I was grocery shopping, I made sure I chose preserves.
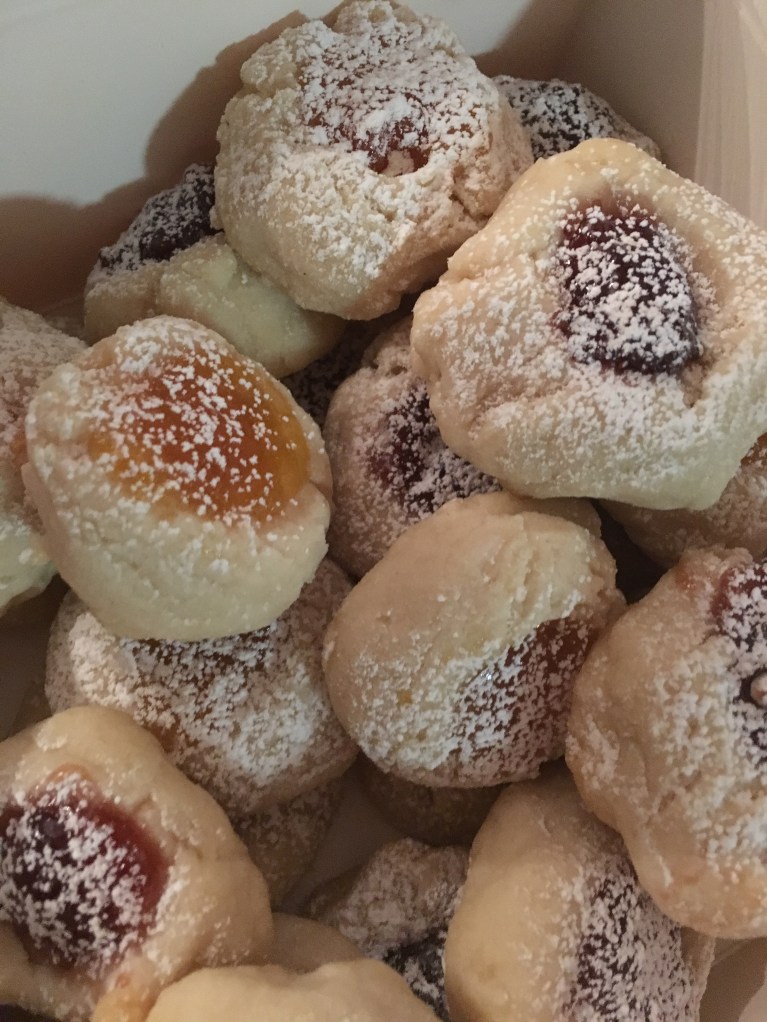
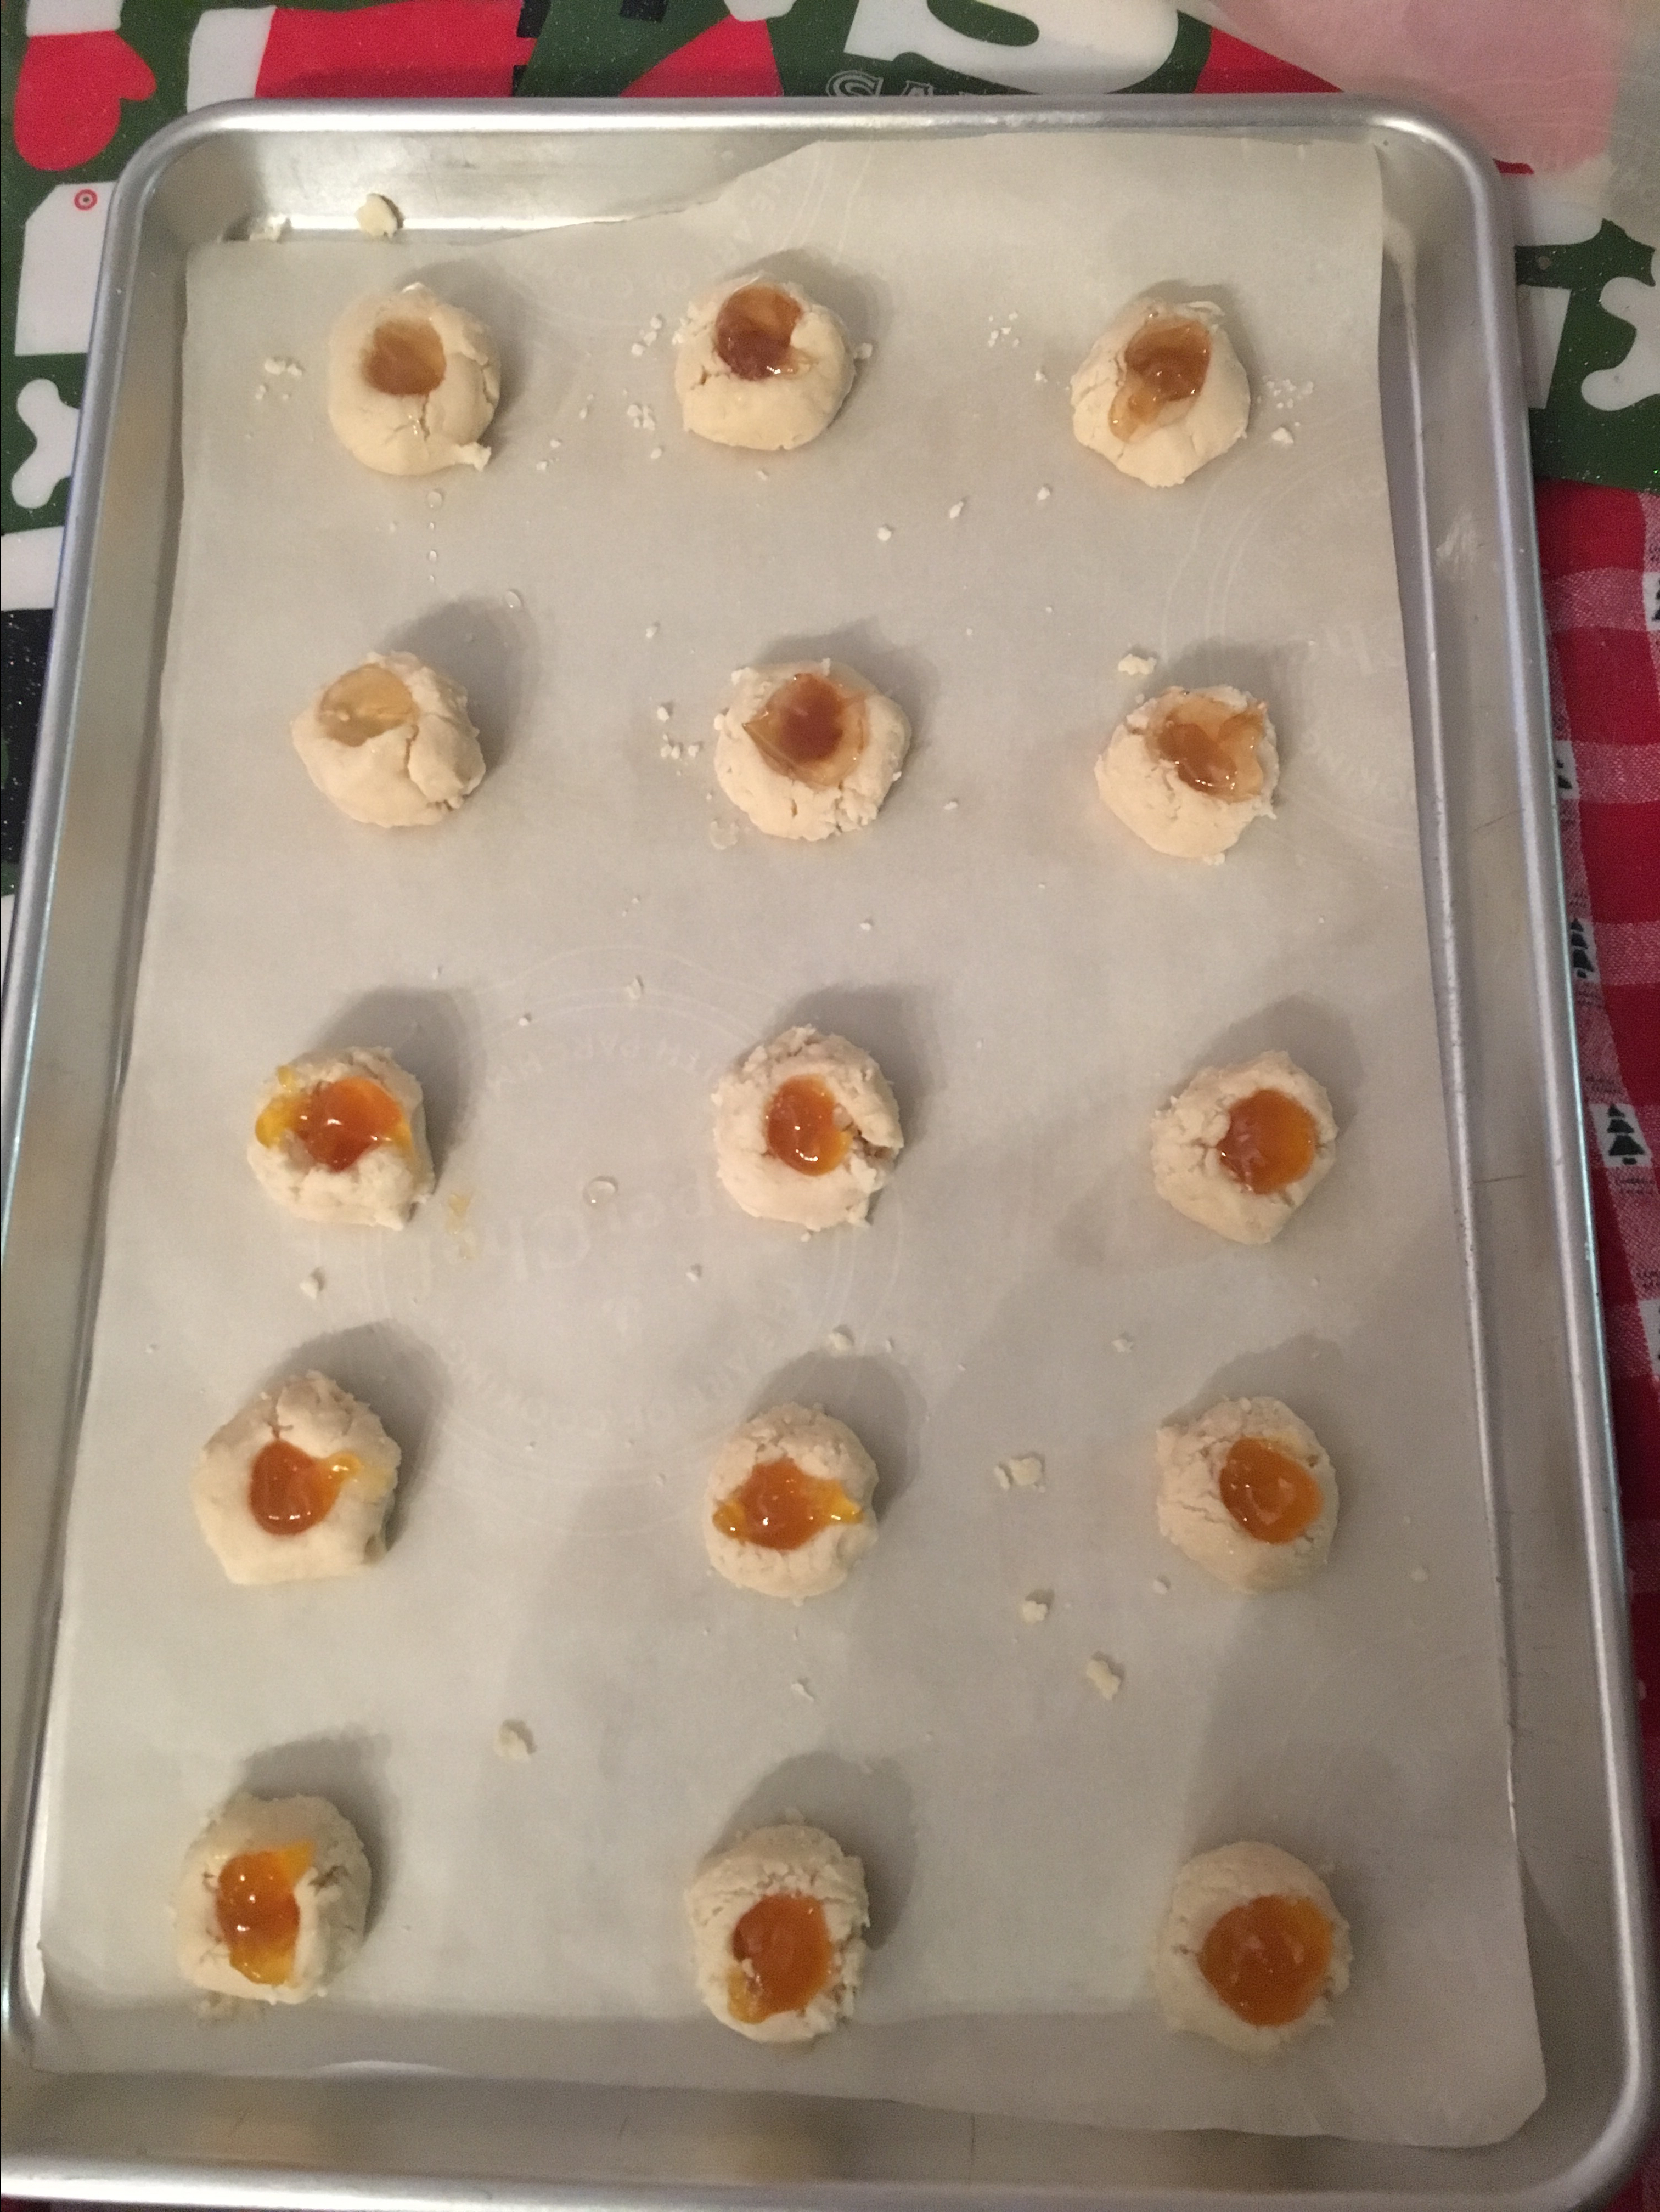
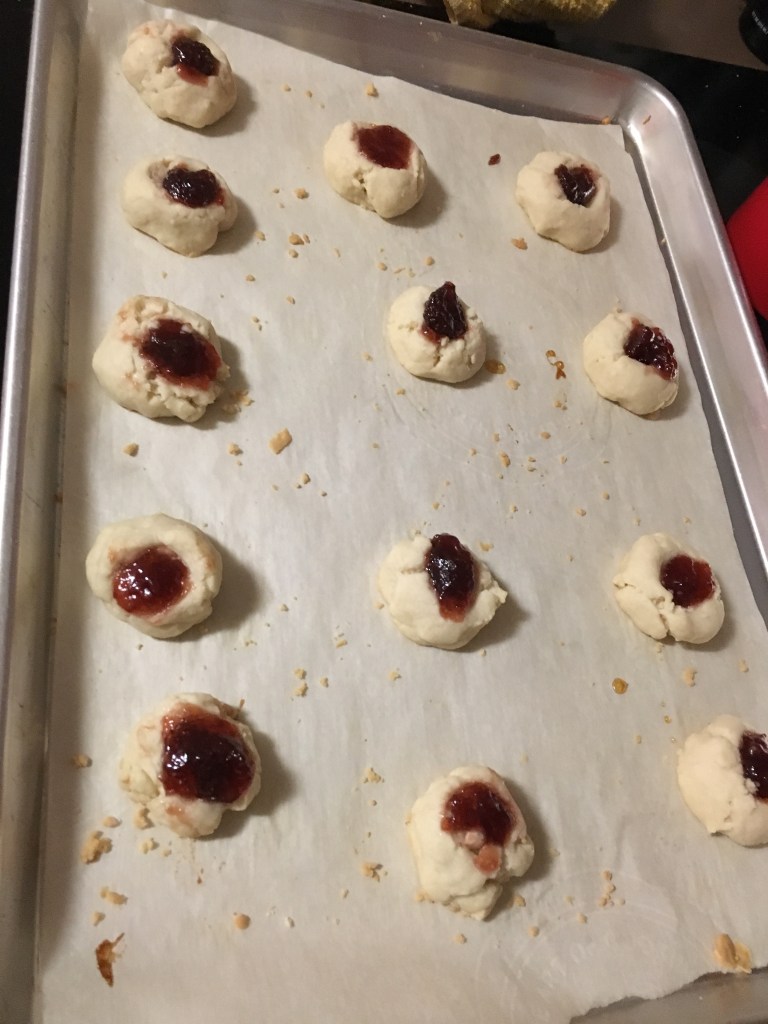
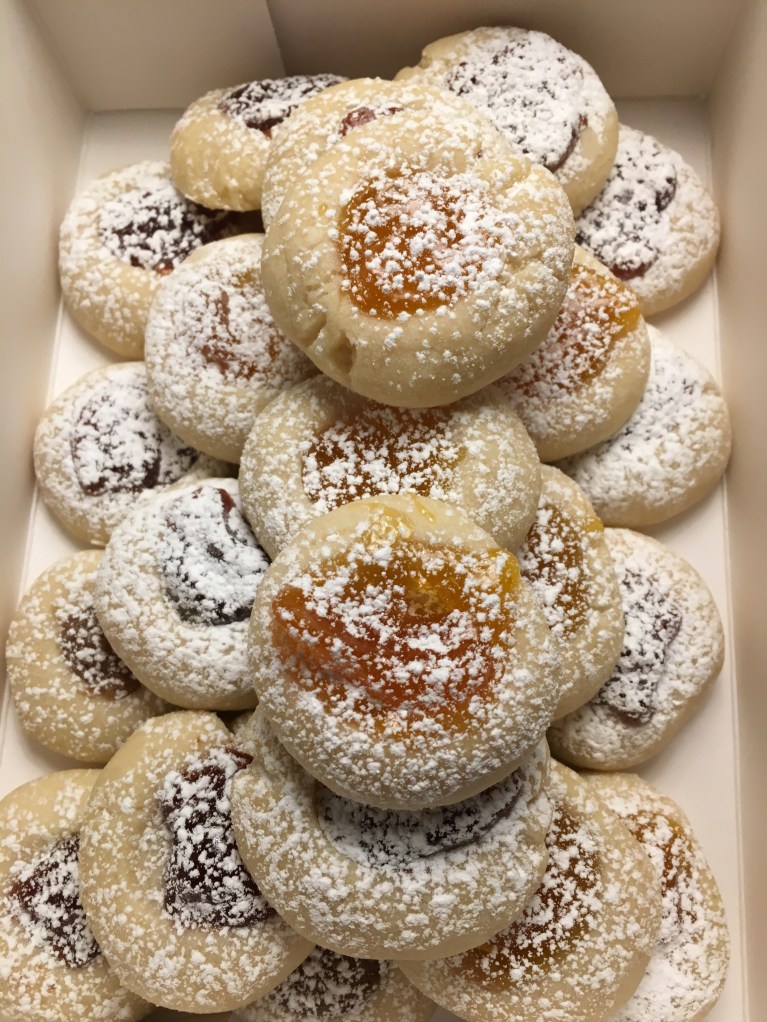
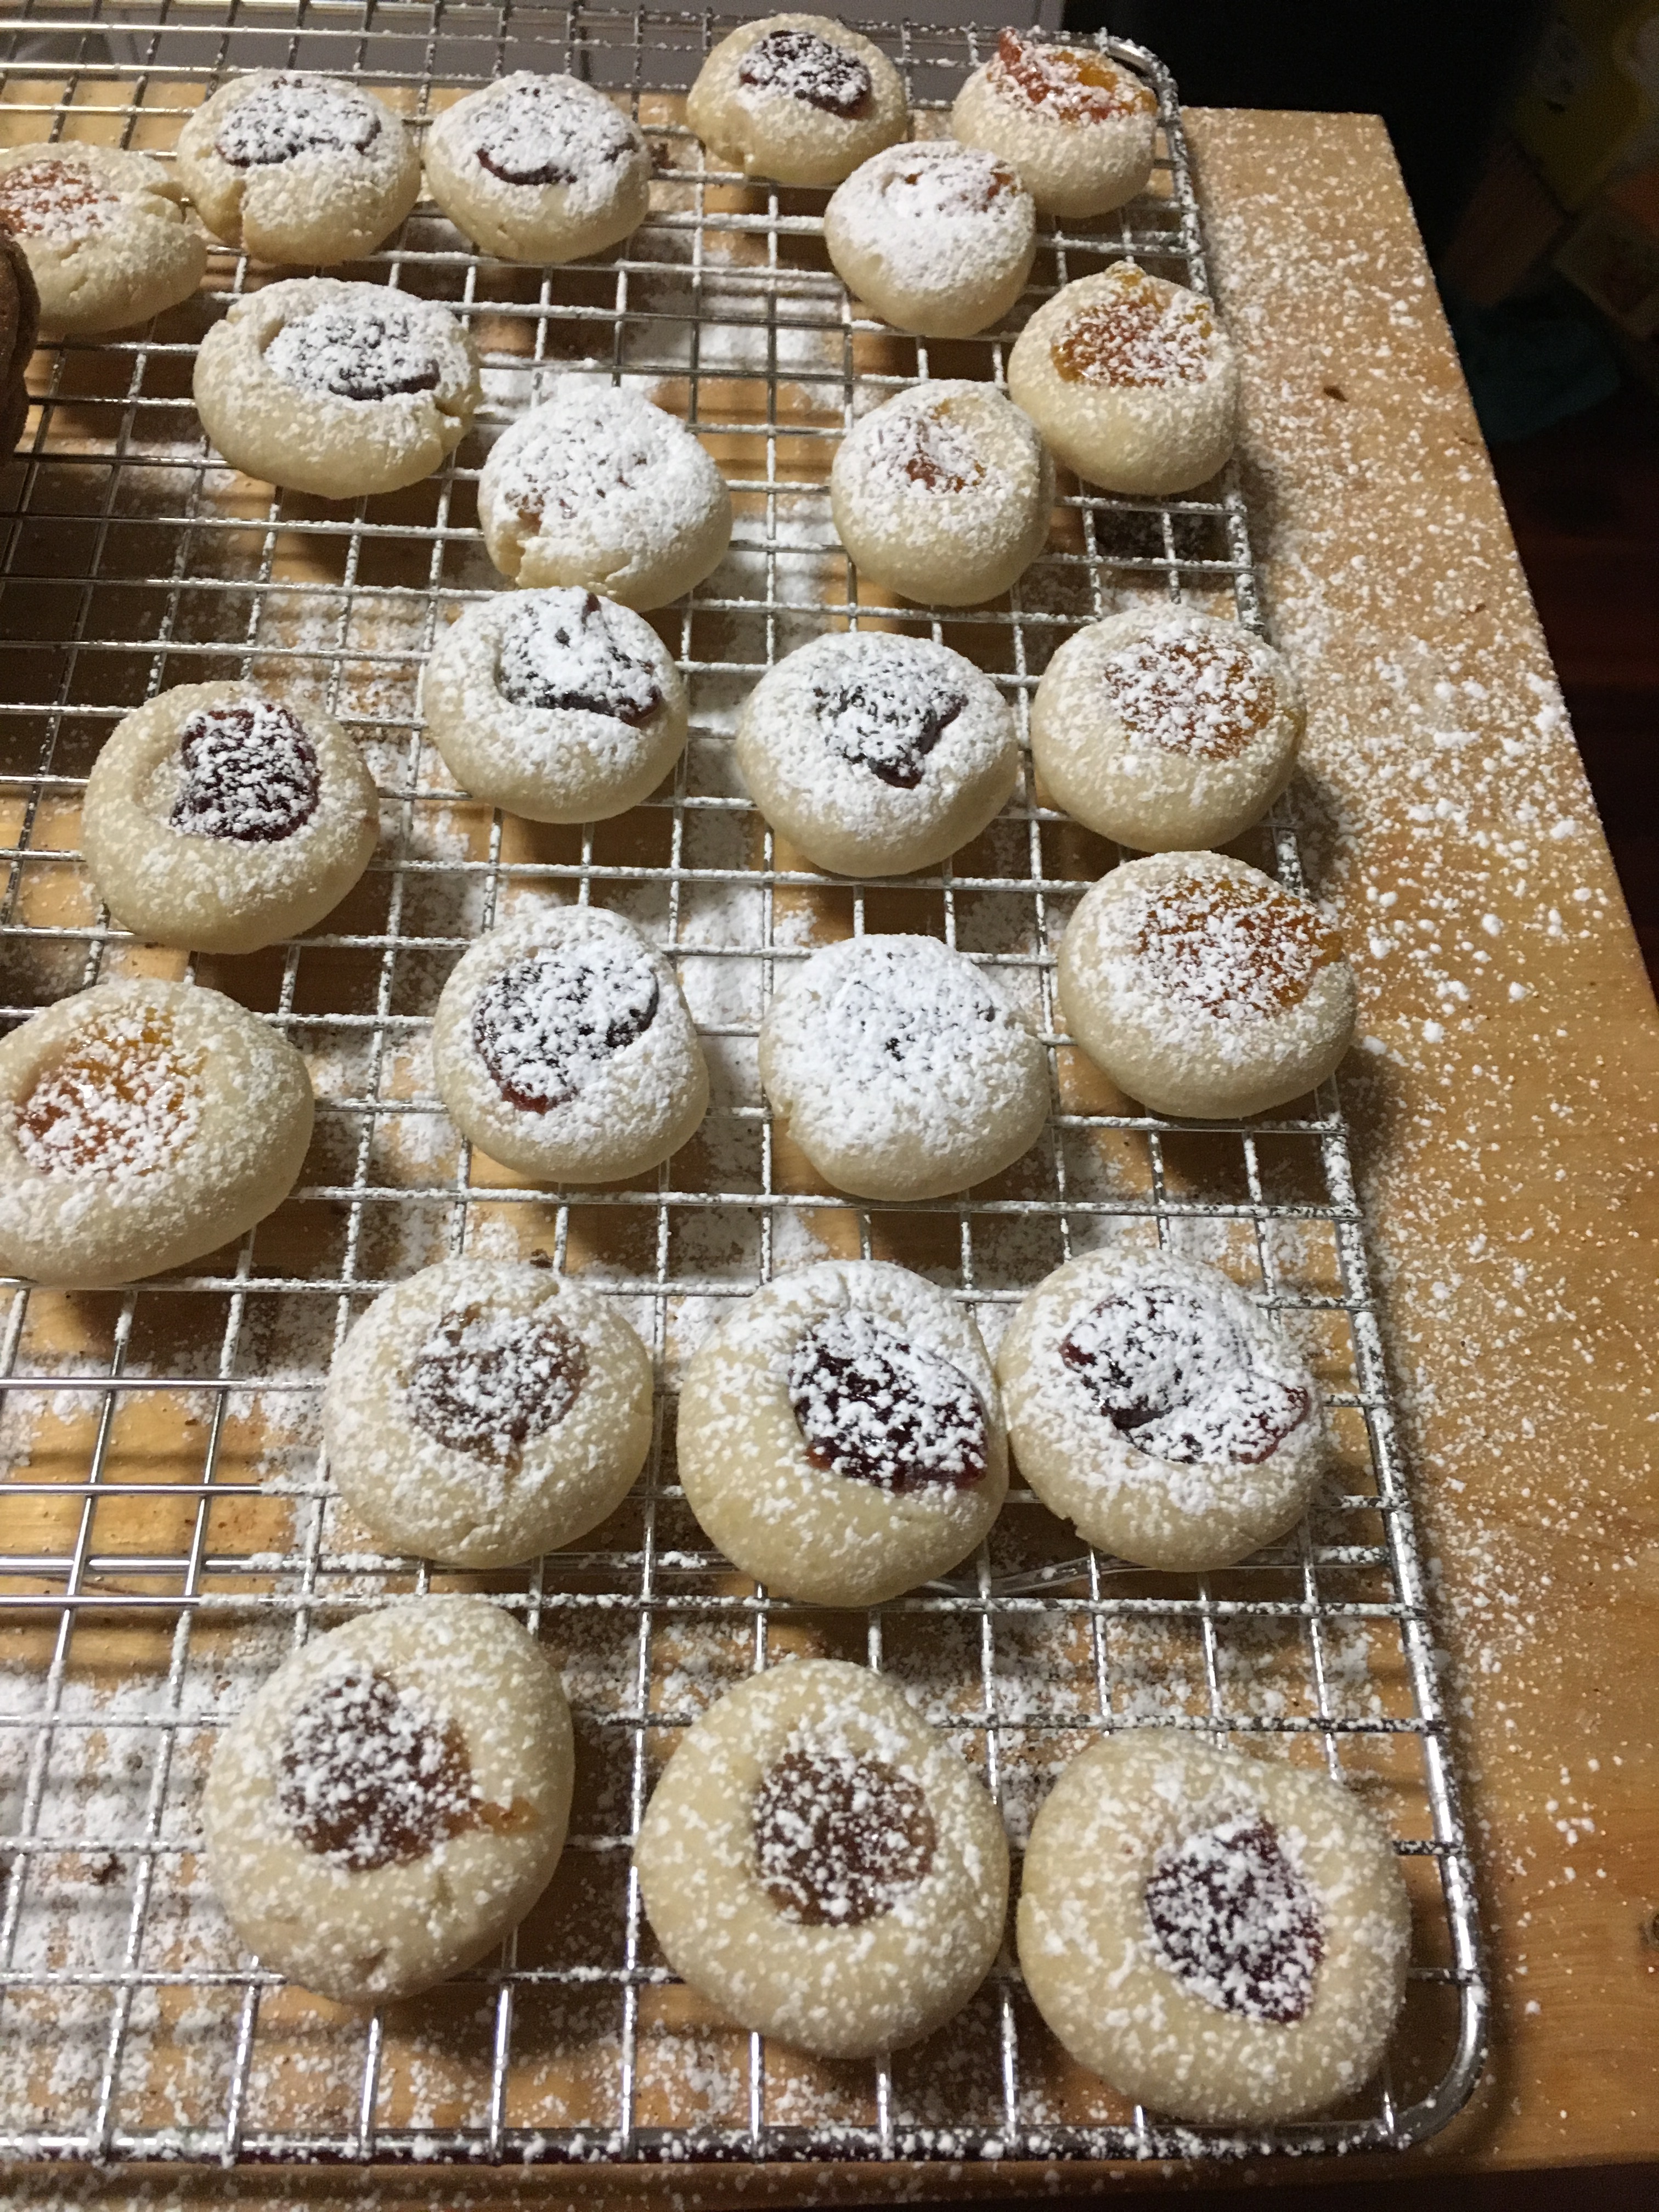
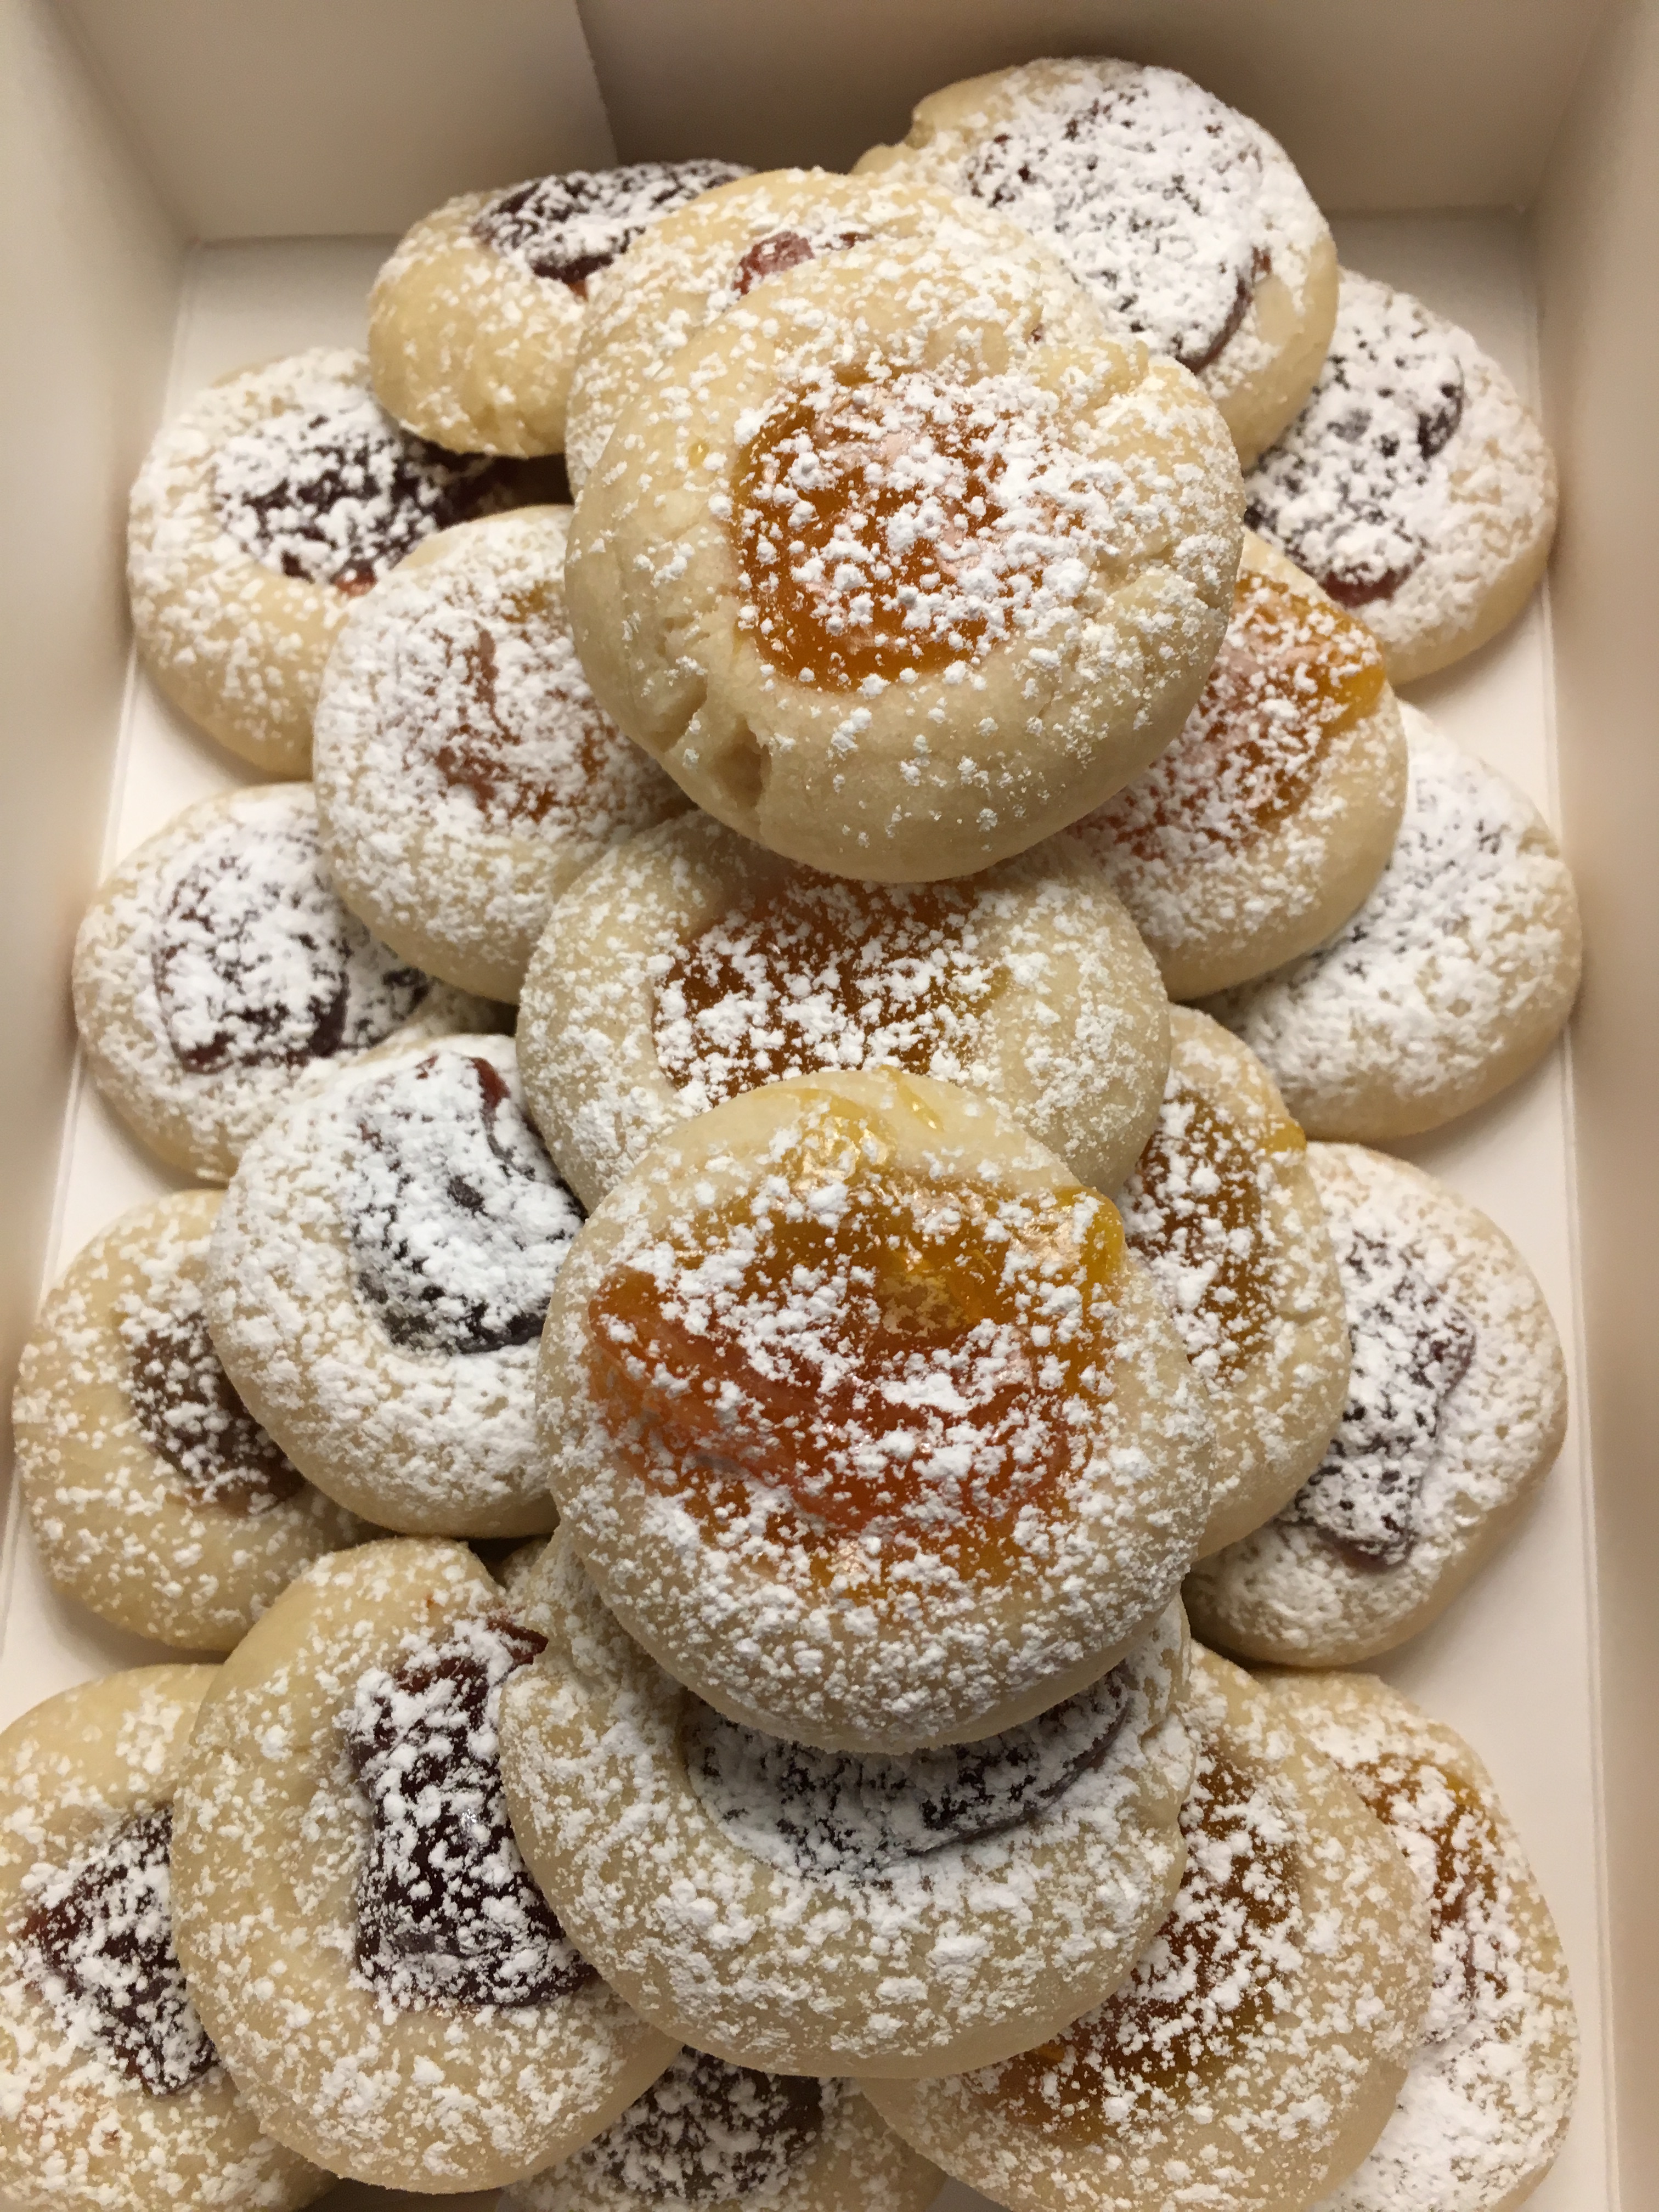
The recipe is a simple one, which I love, and these bake up pretty quickly. I’m still not great at filling the thumbprints, but they didn’t overflow and I dust powdered sugar over them anyway.
Through the magic of television, I mean the internet, my cookie balls were transformed into thumbprint cookies. I used strawberry preserves and mango-peach preserves. And I filled a few with almond pie filling, but those are just for me.
When it came to dusting with powdered sugar, I apparently have a heavy hand.
It reminds me of the scene in Annie Hall where Woody Allen sneezes into the cocaine.
These are a crowd pleaser, and makes your house smell amazing!
½ cup confectioners’ (powdered) sugar, plus ¼ cup more for dusting
2 teaspoons pure vanilla extract
¼ tsp table salt
2 cups all purpose flour
½ cup fruit preserves
DIRECTIONS
Preheat oven to 325°F. Line a baking sheet with parchment paper.
In the bowl of a stand mixer fitted with paddle attachment, blend butter and sugar until fluffy and light, 2 minutes. Add vanilla and salt, scraping down bowl as needed. Switch to low and gently mix in flour, just until combined. Don’t over mix.
Roll tablespoonfuls of dough into 1-inch balls. Place dough balls on parchment lined baking sheets. Press down the center of each ball with a spoon (or your thumb!) making a slight depression.
Fill cookie centers with a teaspoonful of preserves. Bake 12-15 minutes or until golden brown and puffy, but take care not to overbake. Let cool a few minutes on baking sheet, then transfer to finish cooling on wire rack.
When cookies are completely cooled, dust with confectioners’ sugar. Cookies can be kept in airtight container at room temp for a few days.