Today, I graded most of the morning (only 11 essays left) and this afternoon I took my son for a haircut and then the kids and I went to Jeanne’s birthday party. (For more on Jeanne, see December 14.)
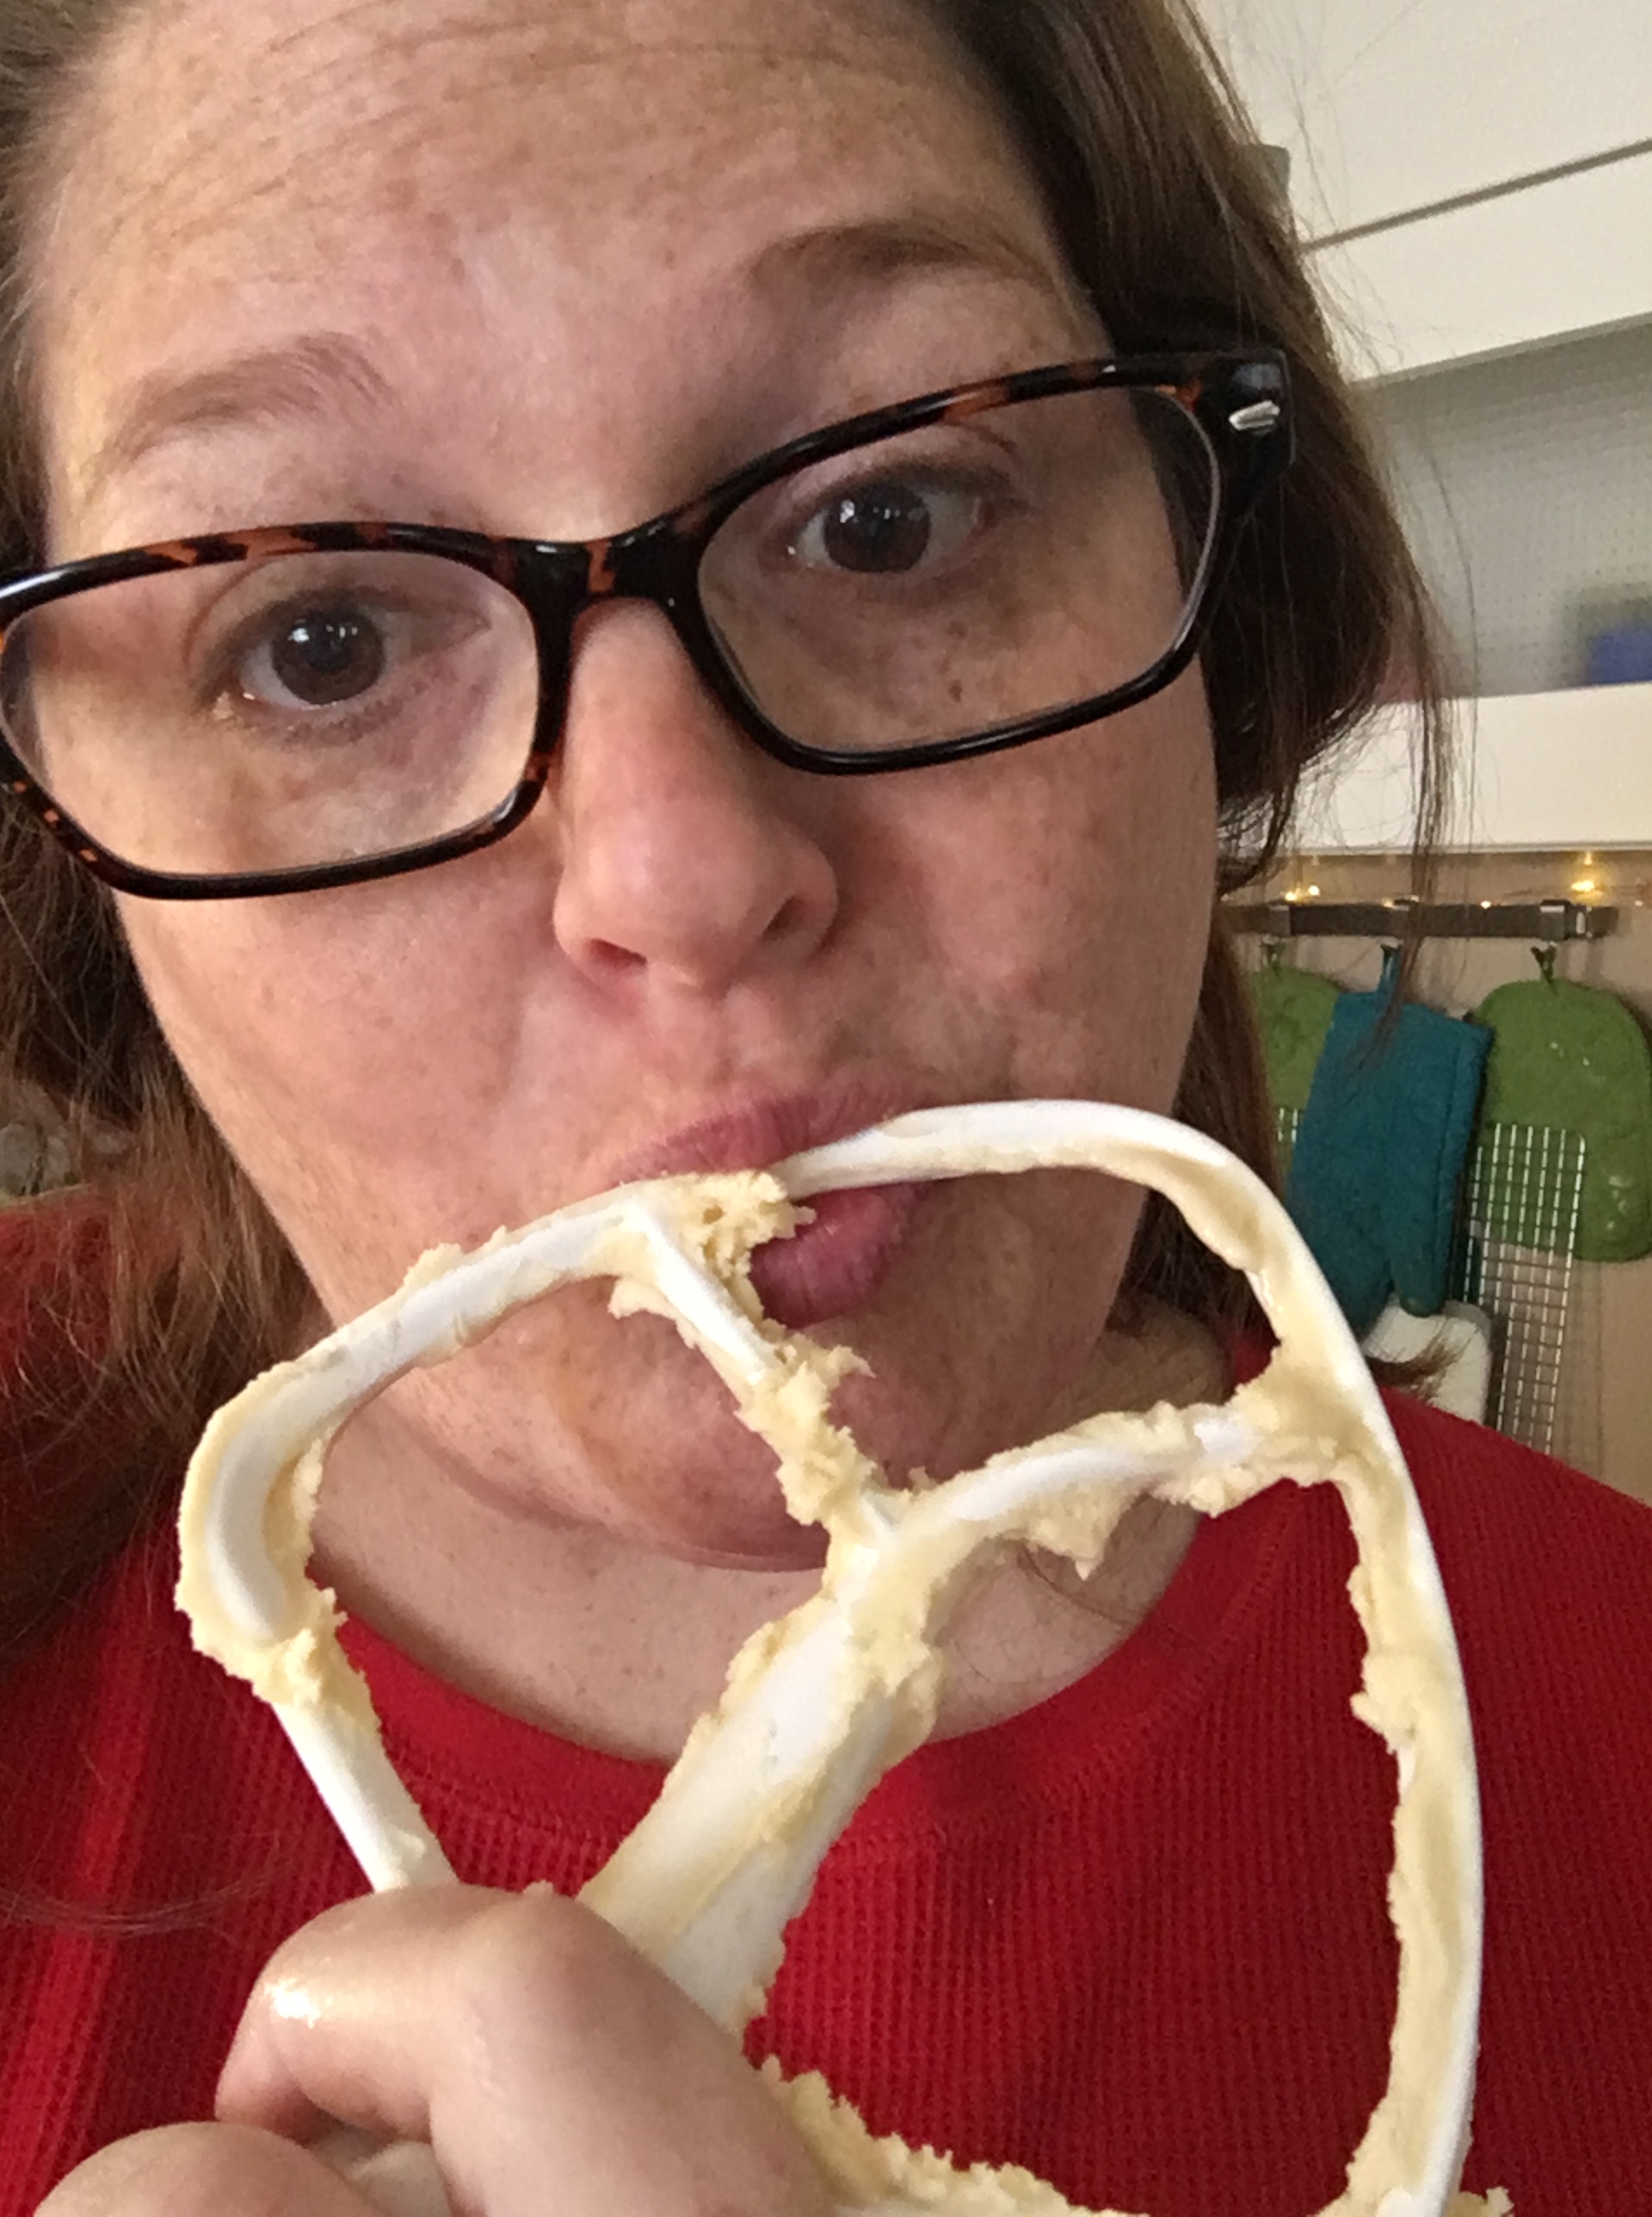
We got home and I realized two things: 1.) I have to get these last 11 essays graded so I can put final grades in and 2.) I hadn’t baked any cookies yet. And while I can grade essays from bed, I can’t bake cookies from there (yet…I have hopes for the future generations to figure out something). So I took my remaining energy and whipped up some Almond Crescents.
Now, if there’s one thing I know about these cookies, it’s that you can’t sneak one and get away with it. These are the delicious little morsels covered with powdered sugar. They are evidence-inducing, and I like that. Bravely show the world you have eaten one (or more) of these cookies. Own it.
They are kind of a crumbly cookie to make, but as long as you know that going in, you’ll be fine.
The recipe calls for a cup of butter, 3/4 cup of sugar, and then 3/4 cup of finely chopped almonds. Thanks to a fantastic coupon last week, I have nuts coming out of my ears, so this was not a problem.
The flour is then added (I used 2 cups and about 2 Tablespoons), and you mix. Like I said. It’s a little crumbly.
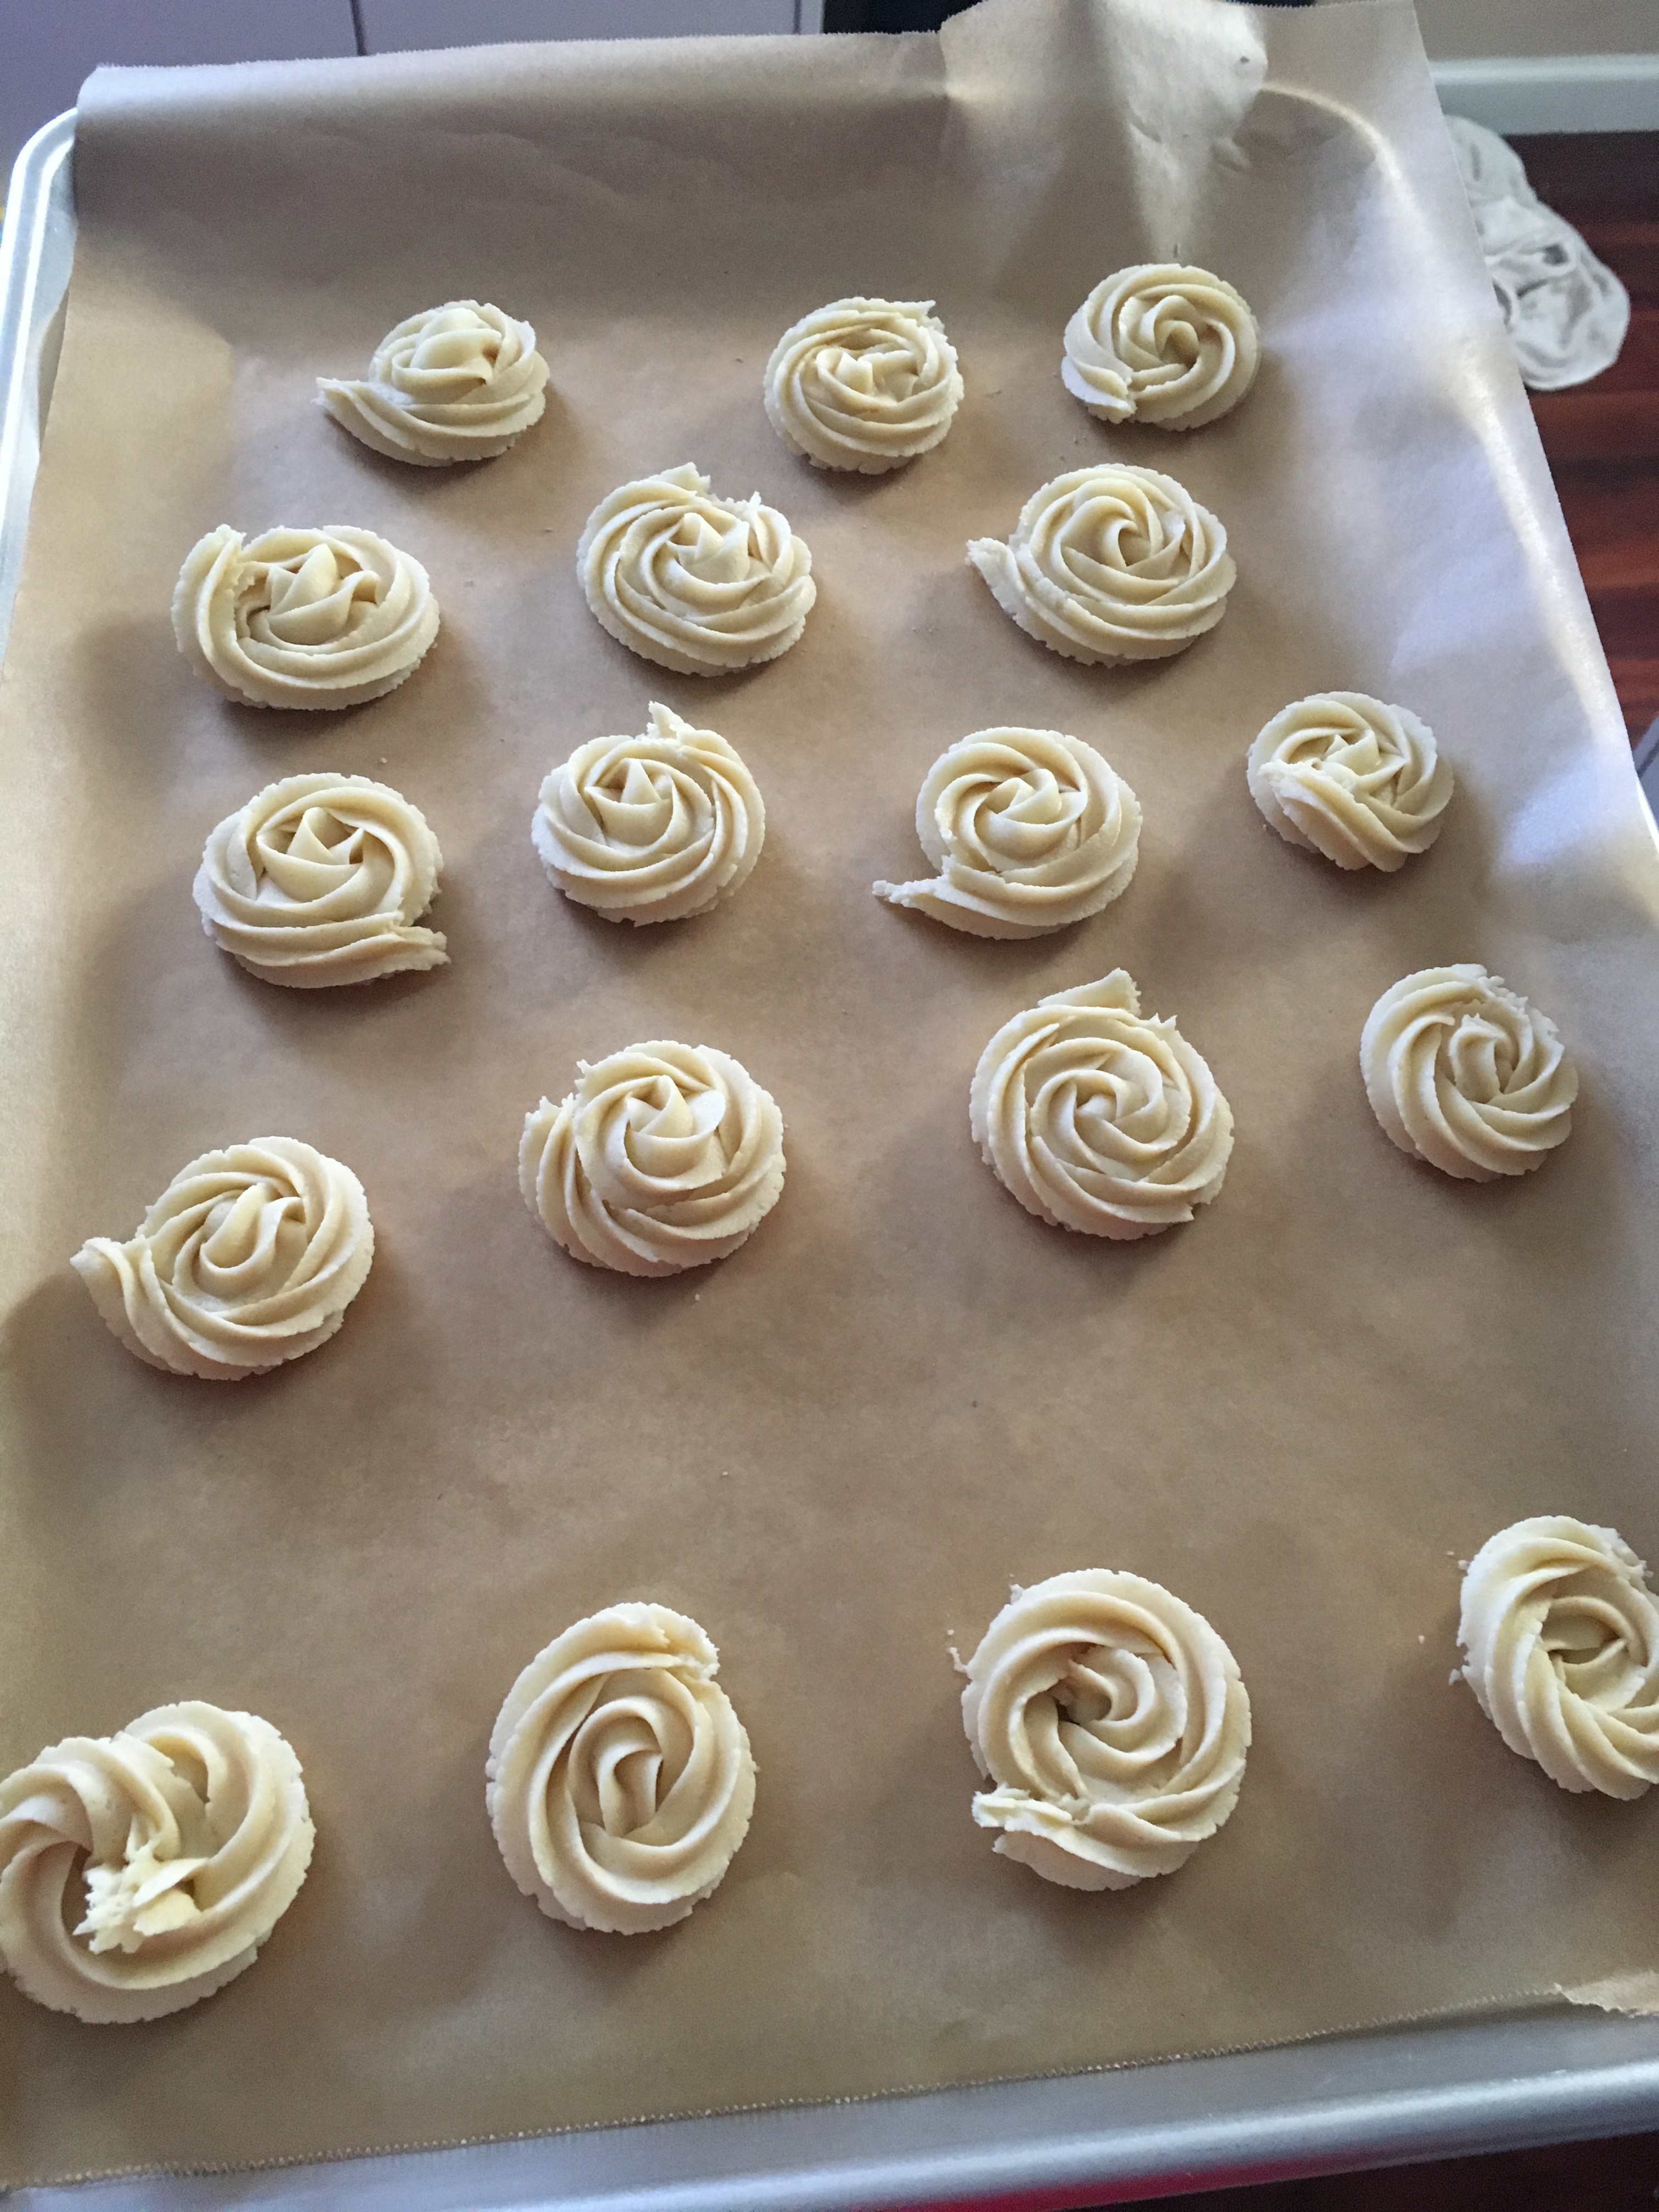
I tried several methods for shaping my cookies and what worked best was quickly dashing my hands under the faucet and then rolling snakes on my cutting board. The water keeps it together until the heat from your hands warms the butter and that then keeps it together.
Once they are out of the oven, they get a gentle dipping in some powdered sugar. You know, the evidence.
pinch salt (if you use unsalted butter add 1/4 teaspoon salt)
3/4 cup finely chopped fresh almonds, walnuts or pecans
2 -2 1/2 cups all purpose flour
powdered sugar
Directions
Pre-heat oven to 350°
In a large bowl beat butter until fluffy, add sugar and beat again until fluffy.
Scrape down the sides of the bowl and add nuts, flour (add 2 cups to start and 1 tablespoon at a time and salt.
Bring dough together with your fingers. Break off small pieces and form into a crescent shape. Place on ungreased cookie sheets and bake for approximately 15 minutes . While cookies are still warm roll in icing/powdered sugar. Can be frozen. Enjoy!
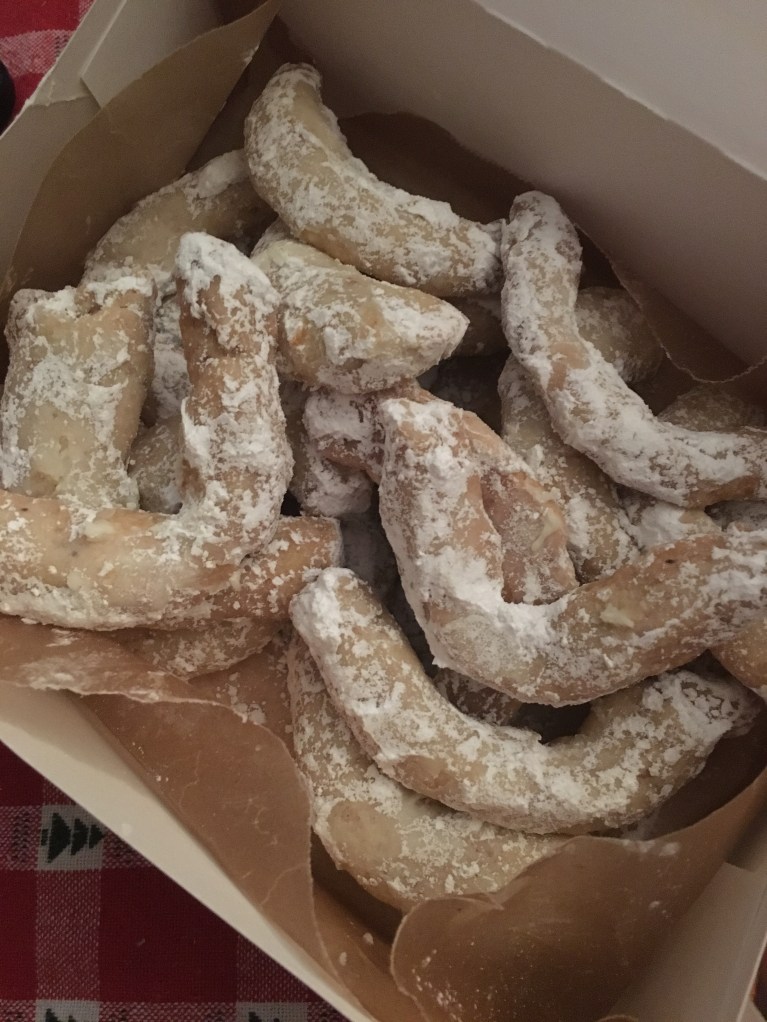
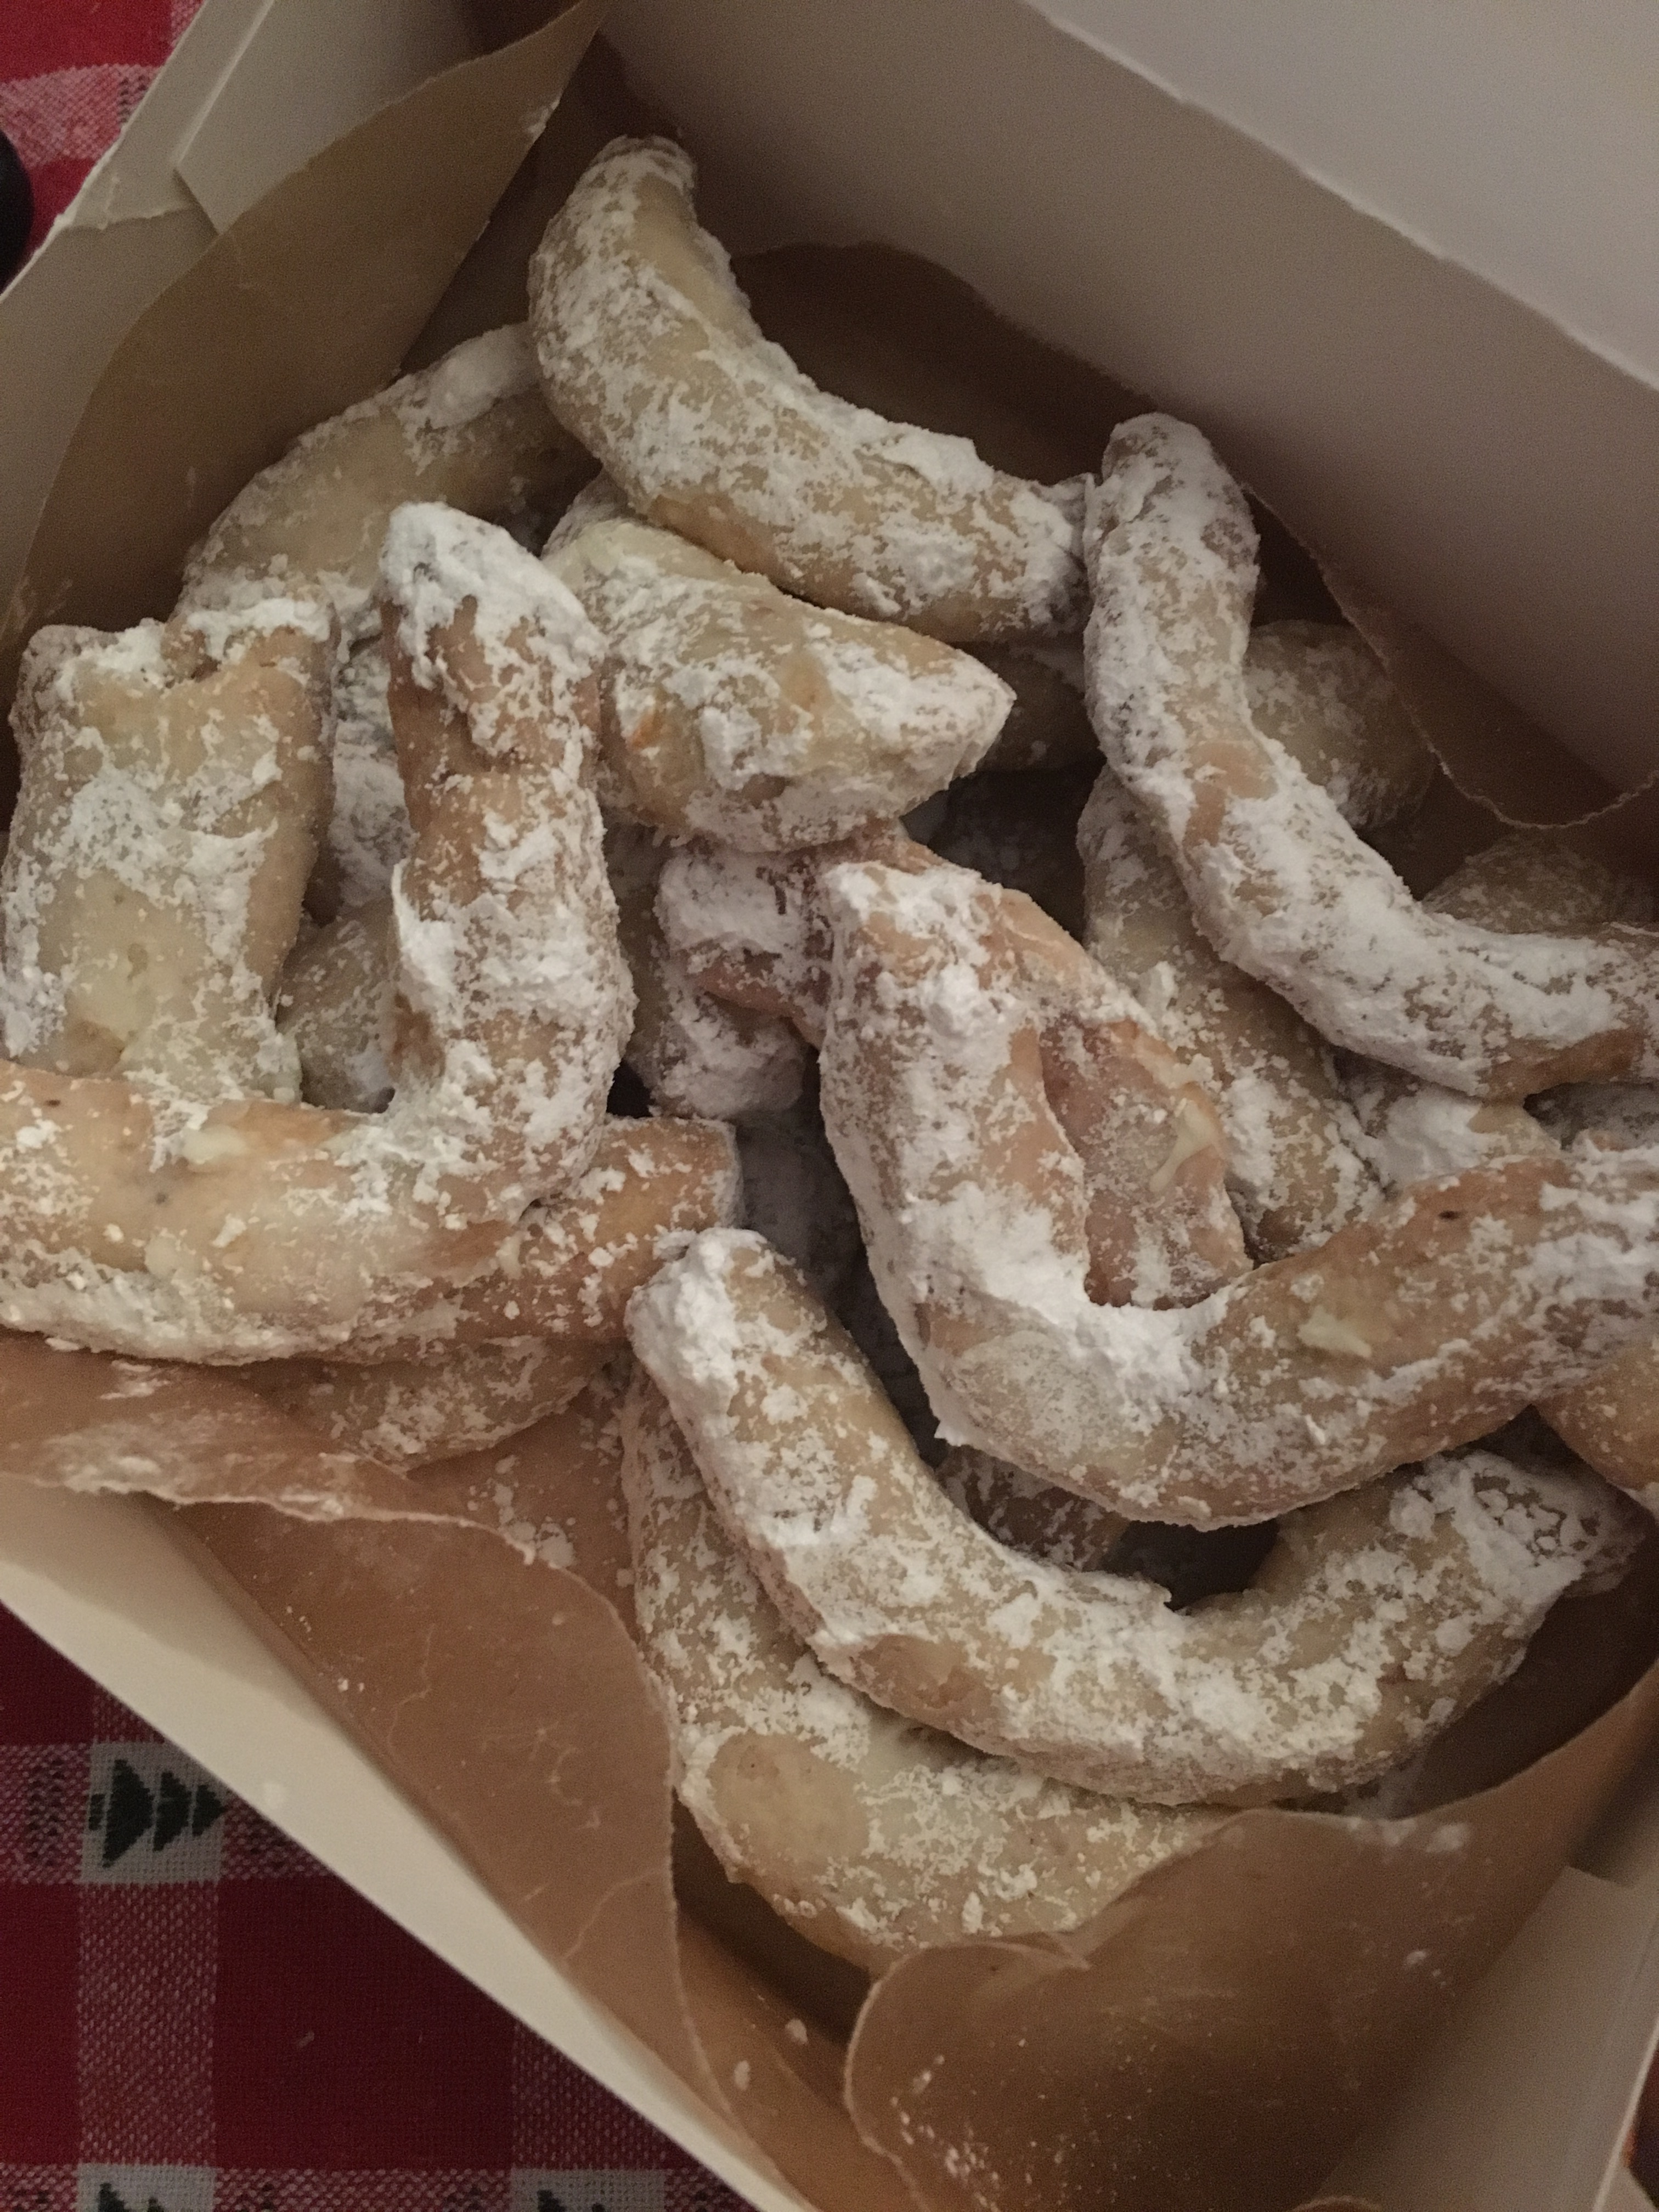
I’ve never officially made these as part of my 24 Days of Cookies, but I have made them before for other things. They are amazing. They are more than amazing, like stupendous, super duper, and outrageous (in a good way). They are so good that this is the first time I have doubled a recipe on an official cookie-baking day.
I made these last week for my Composition 1 class, and they were gone within minutes. On the site where I got the recipe, the lady writes that they are deceptive and kids don’t normally go for them, which is fine because it means more for the adults. I agree with this statement, however my kids now know what these are, which means they will polish off a whole batch before someone else gets a chance to try one. Hence, the doubling.
Normally, you mix 3/4 cup sugar with 2 teaspoons of almond extract and let it sit. Because I doubled it, that was 1 1/2 cups of sugar and 4 teaspoons. Now, I love almond, but even this was a bit strong-smelling to begin with. My son always likes to tell me how cyanide smells like almonds (thanks internet) so whenever I make this, I think about cyanide and wonder if it tastes as good as almond extract and sugar do. And then I schedule an appointment for a psychiatrist, because I clearly have some issues.
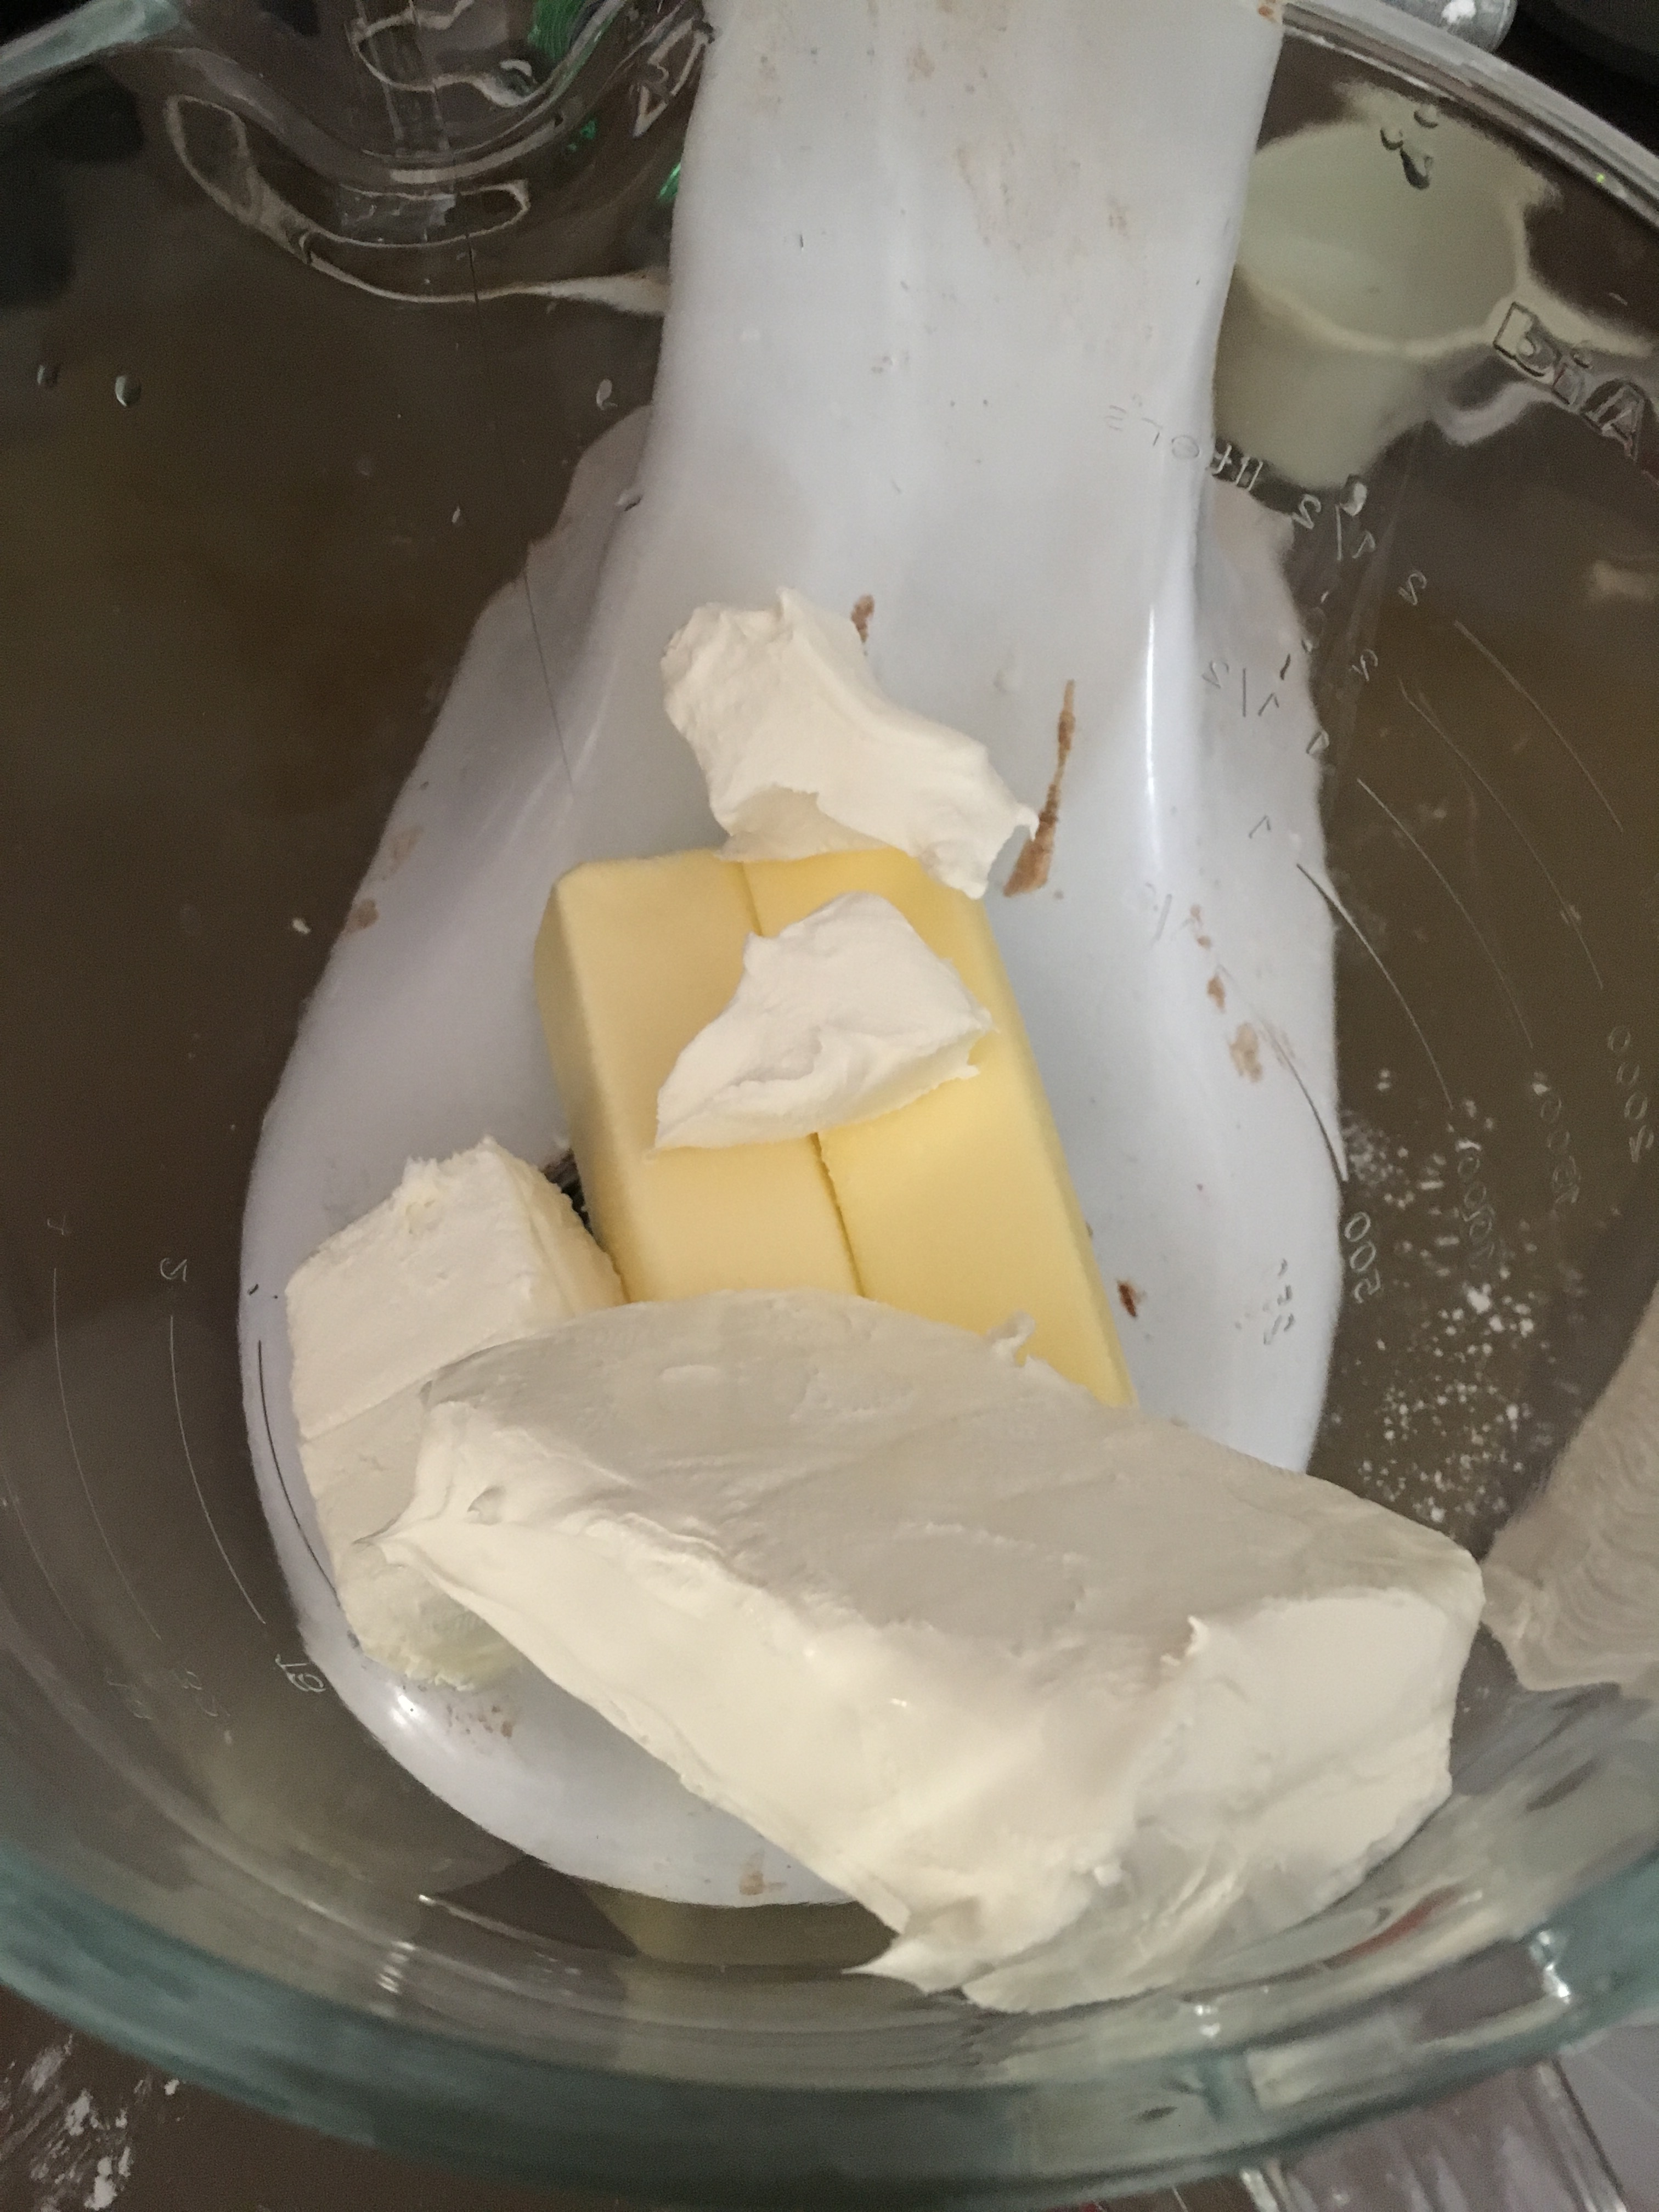
In my mixer went double amounts as well: two sticks of unsalted butter and 12 ounces of cream cheese. I looked for the scene of the movie Julie and Julia, where Meryl Streep says there’s so much butter, it can stop your heart, but I couldn’t find it in gif form. But that’s where my head goes. (Along with cyanide, apparently.) This is definitely a rich dough. To that, I added two egg yolks instead of one (because, again doubling), and my dry ingredients, also doubled.
(I keep saying I doubled it because I know I would probably miss it if someone said this in a blog and I’d compare my dough to their pictures and wonder where I went wrong. And then I’d probably cry or get mad or both and vow to never make anything again. So to make sure I don’t kill any one’s baking future, I keep saying that I doubled this recipe.)
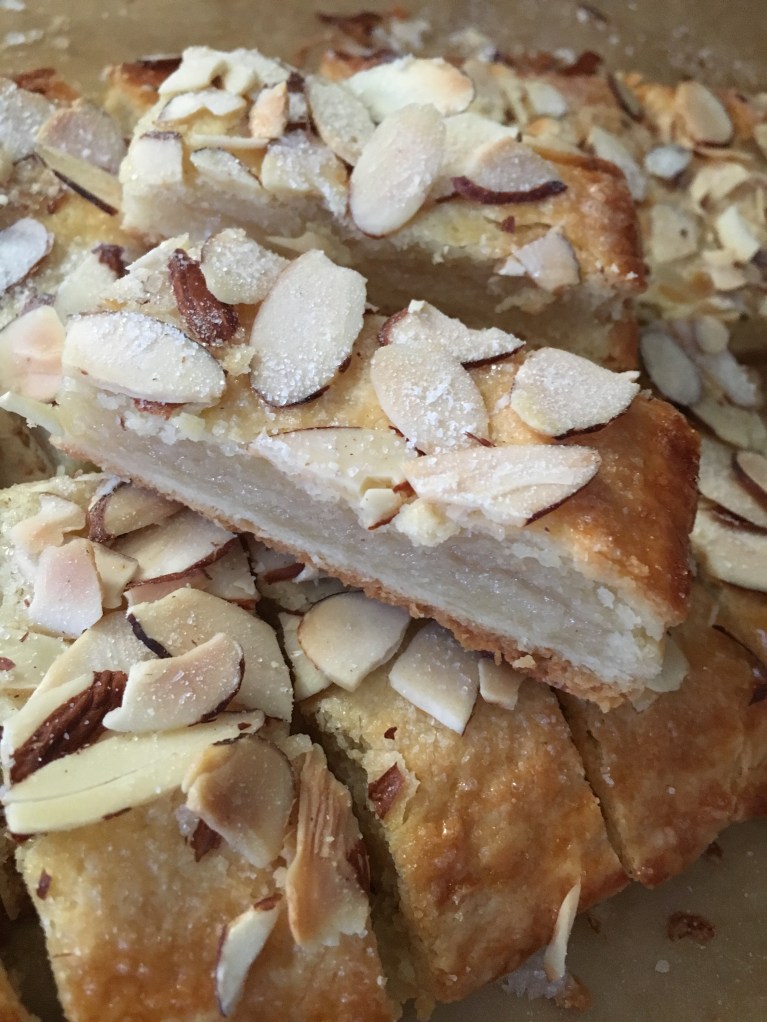
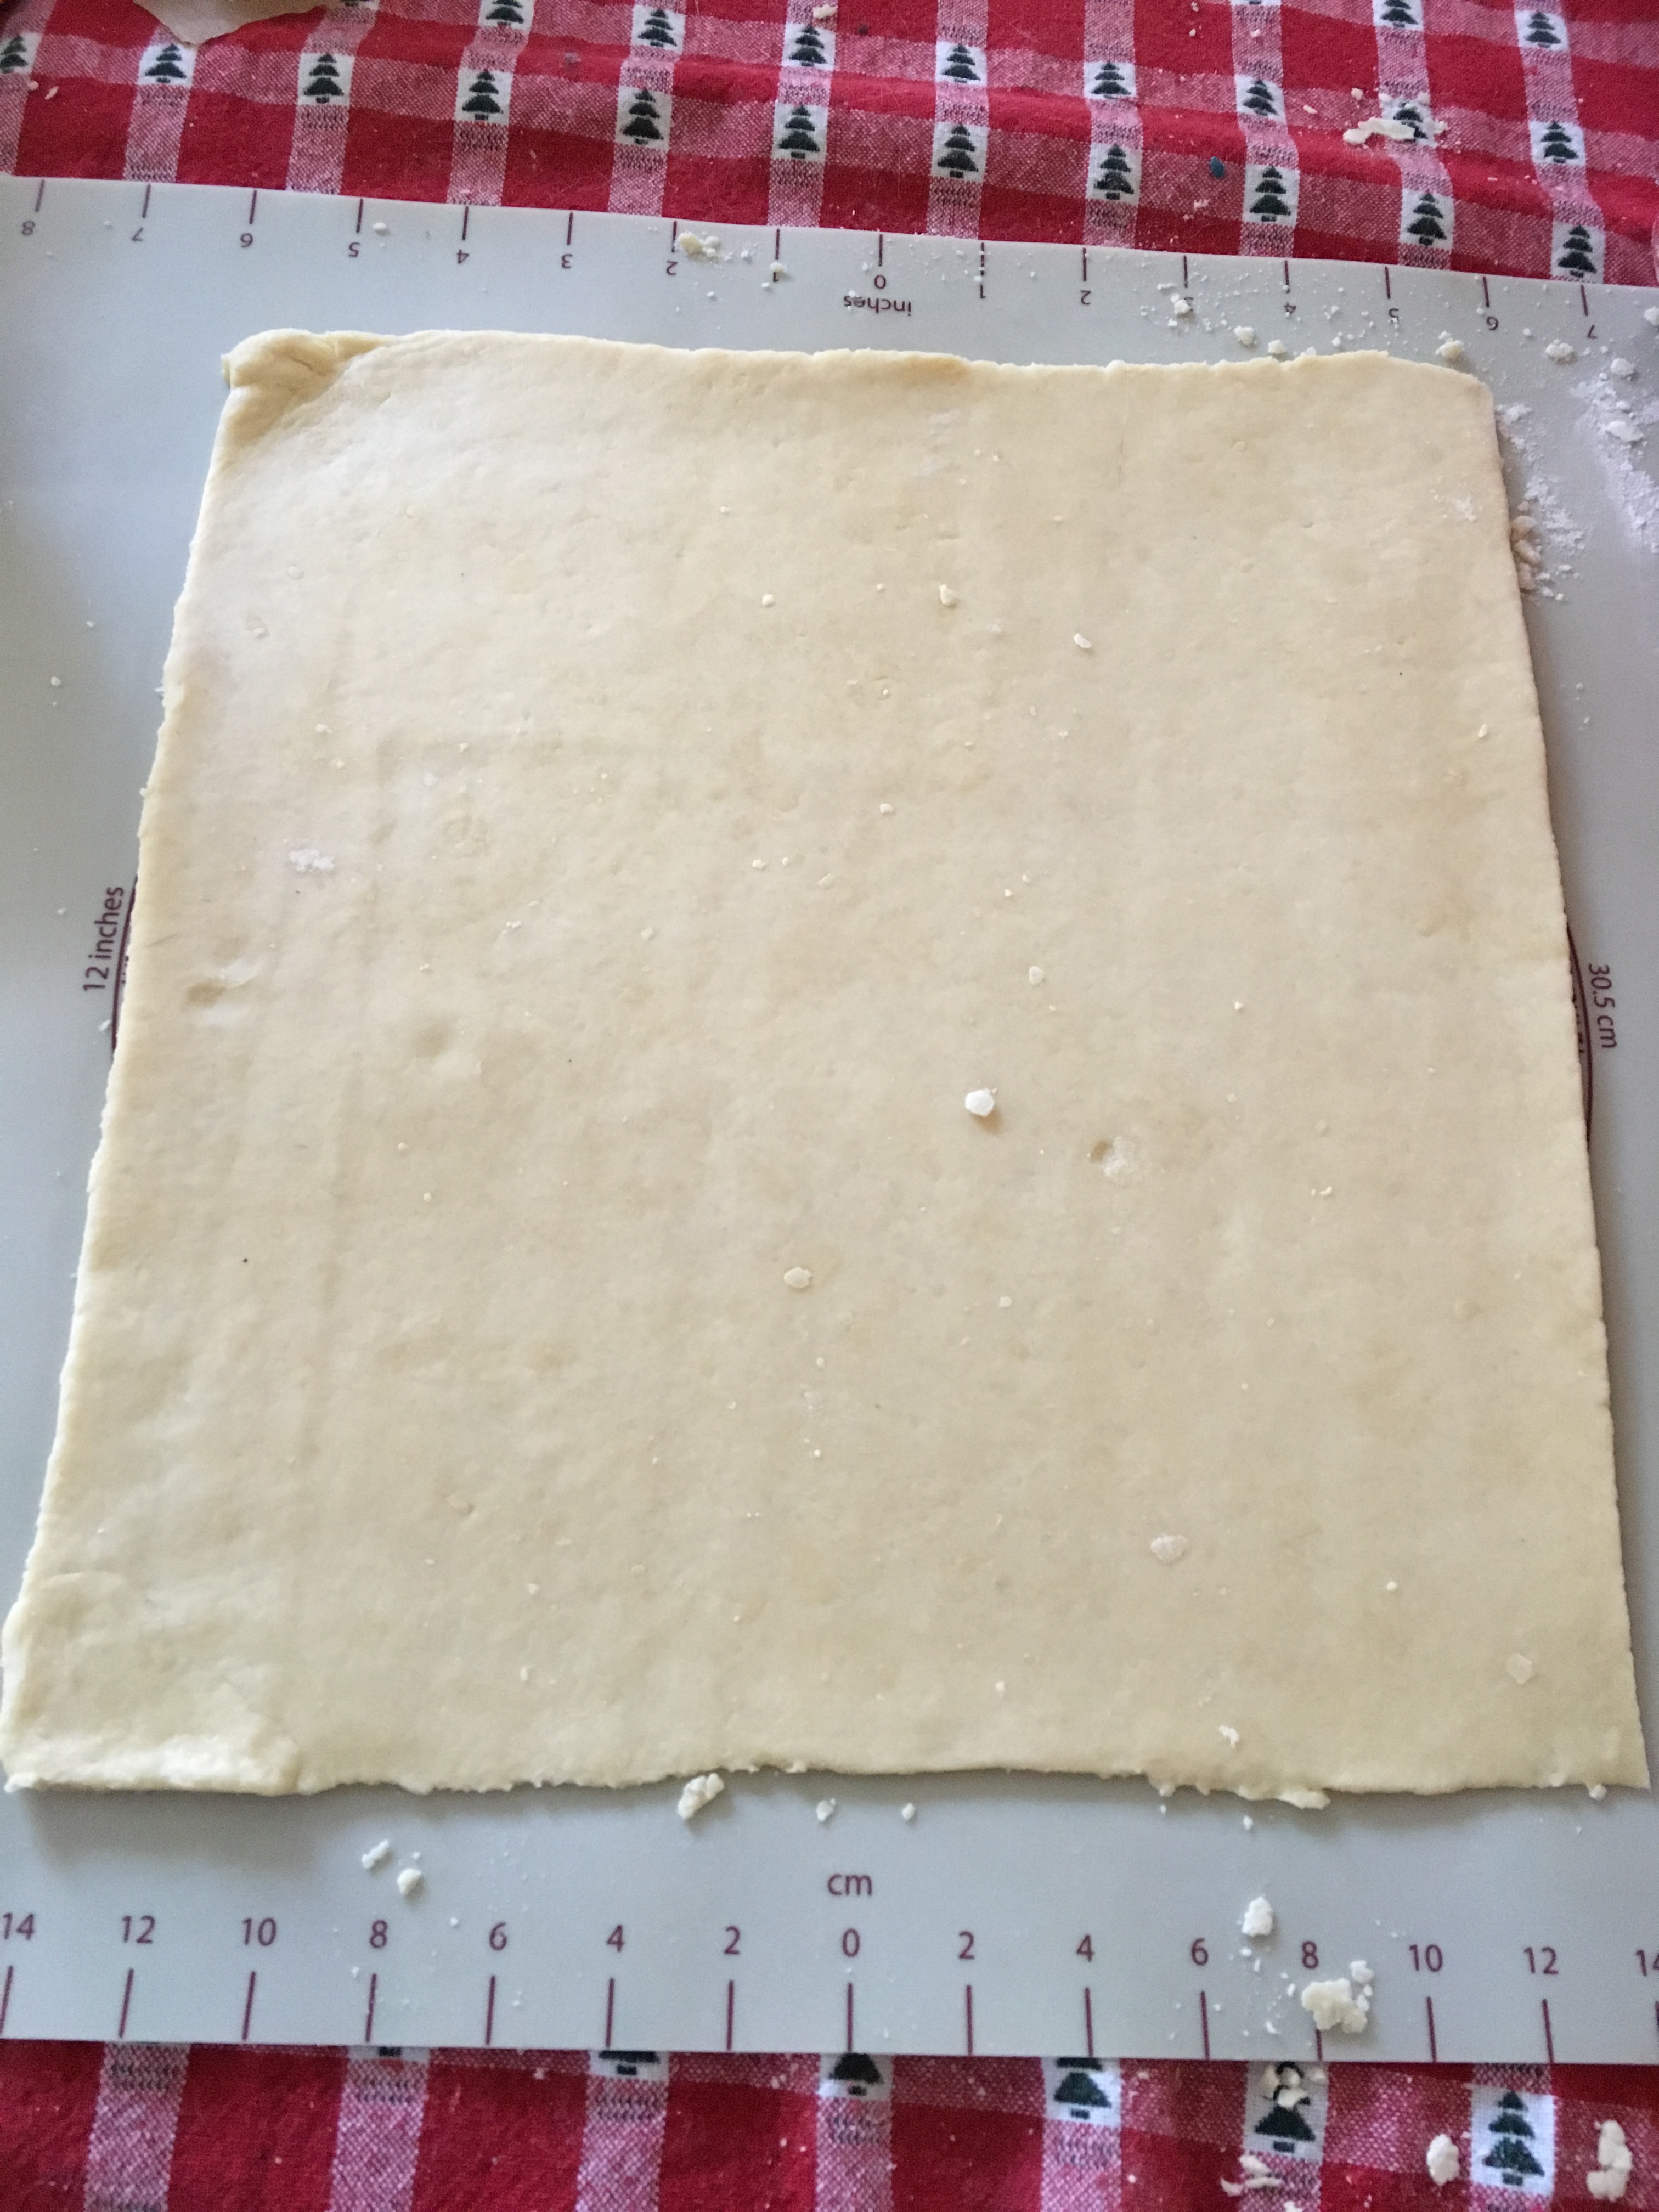
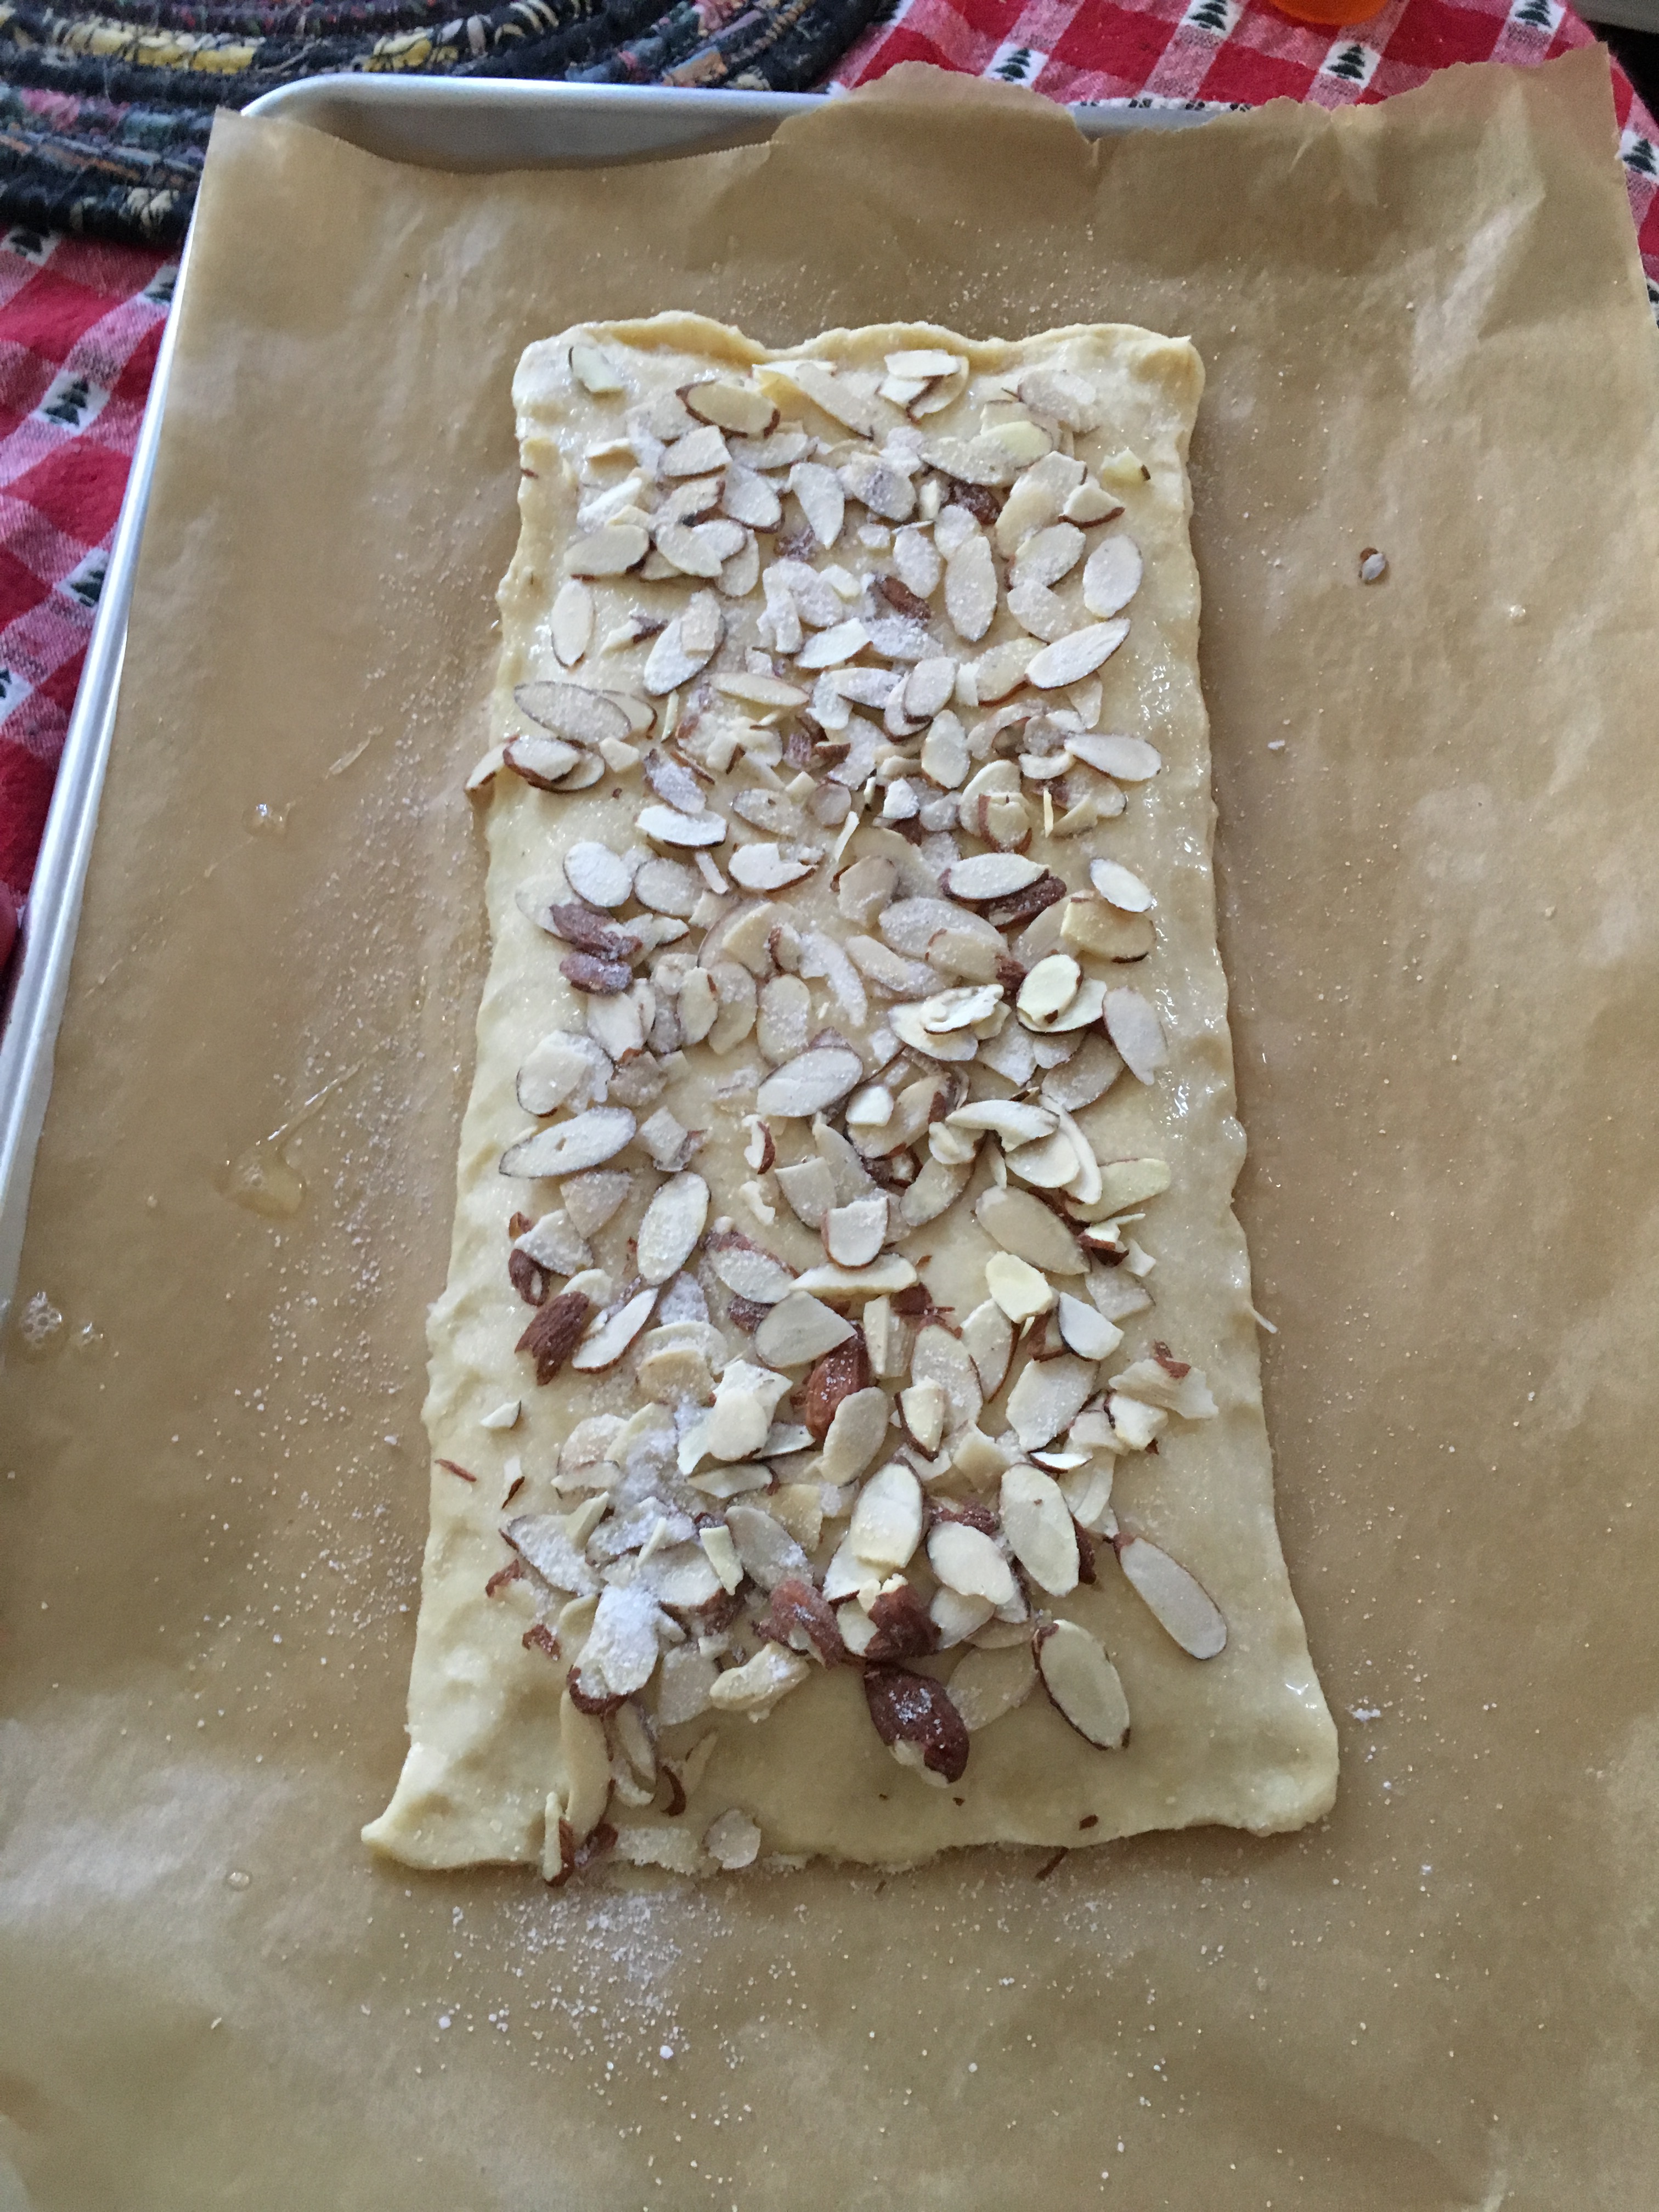
For this dough, you do have to roll it out, which is not my favorite thing to do, but because these cookies are so good, I do it happily. My silicone mat is leftover from my Pampered Chef days and it has measurements on it, which is great because for this I need my dough to be a 12×12 square. (This part is not doubled! I just rolled it out twice for two batches.) I cut away whatever is above that measurement and add pieces of dough to where it’s lacking.
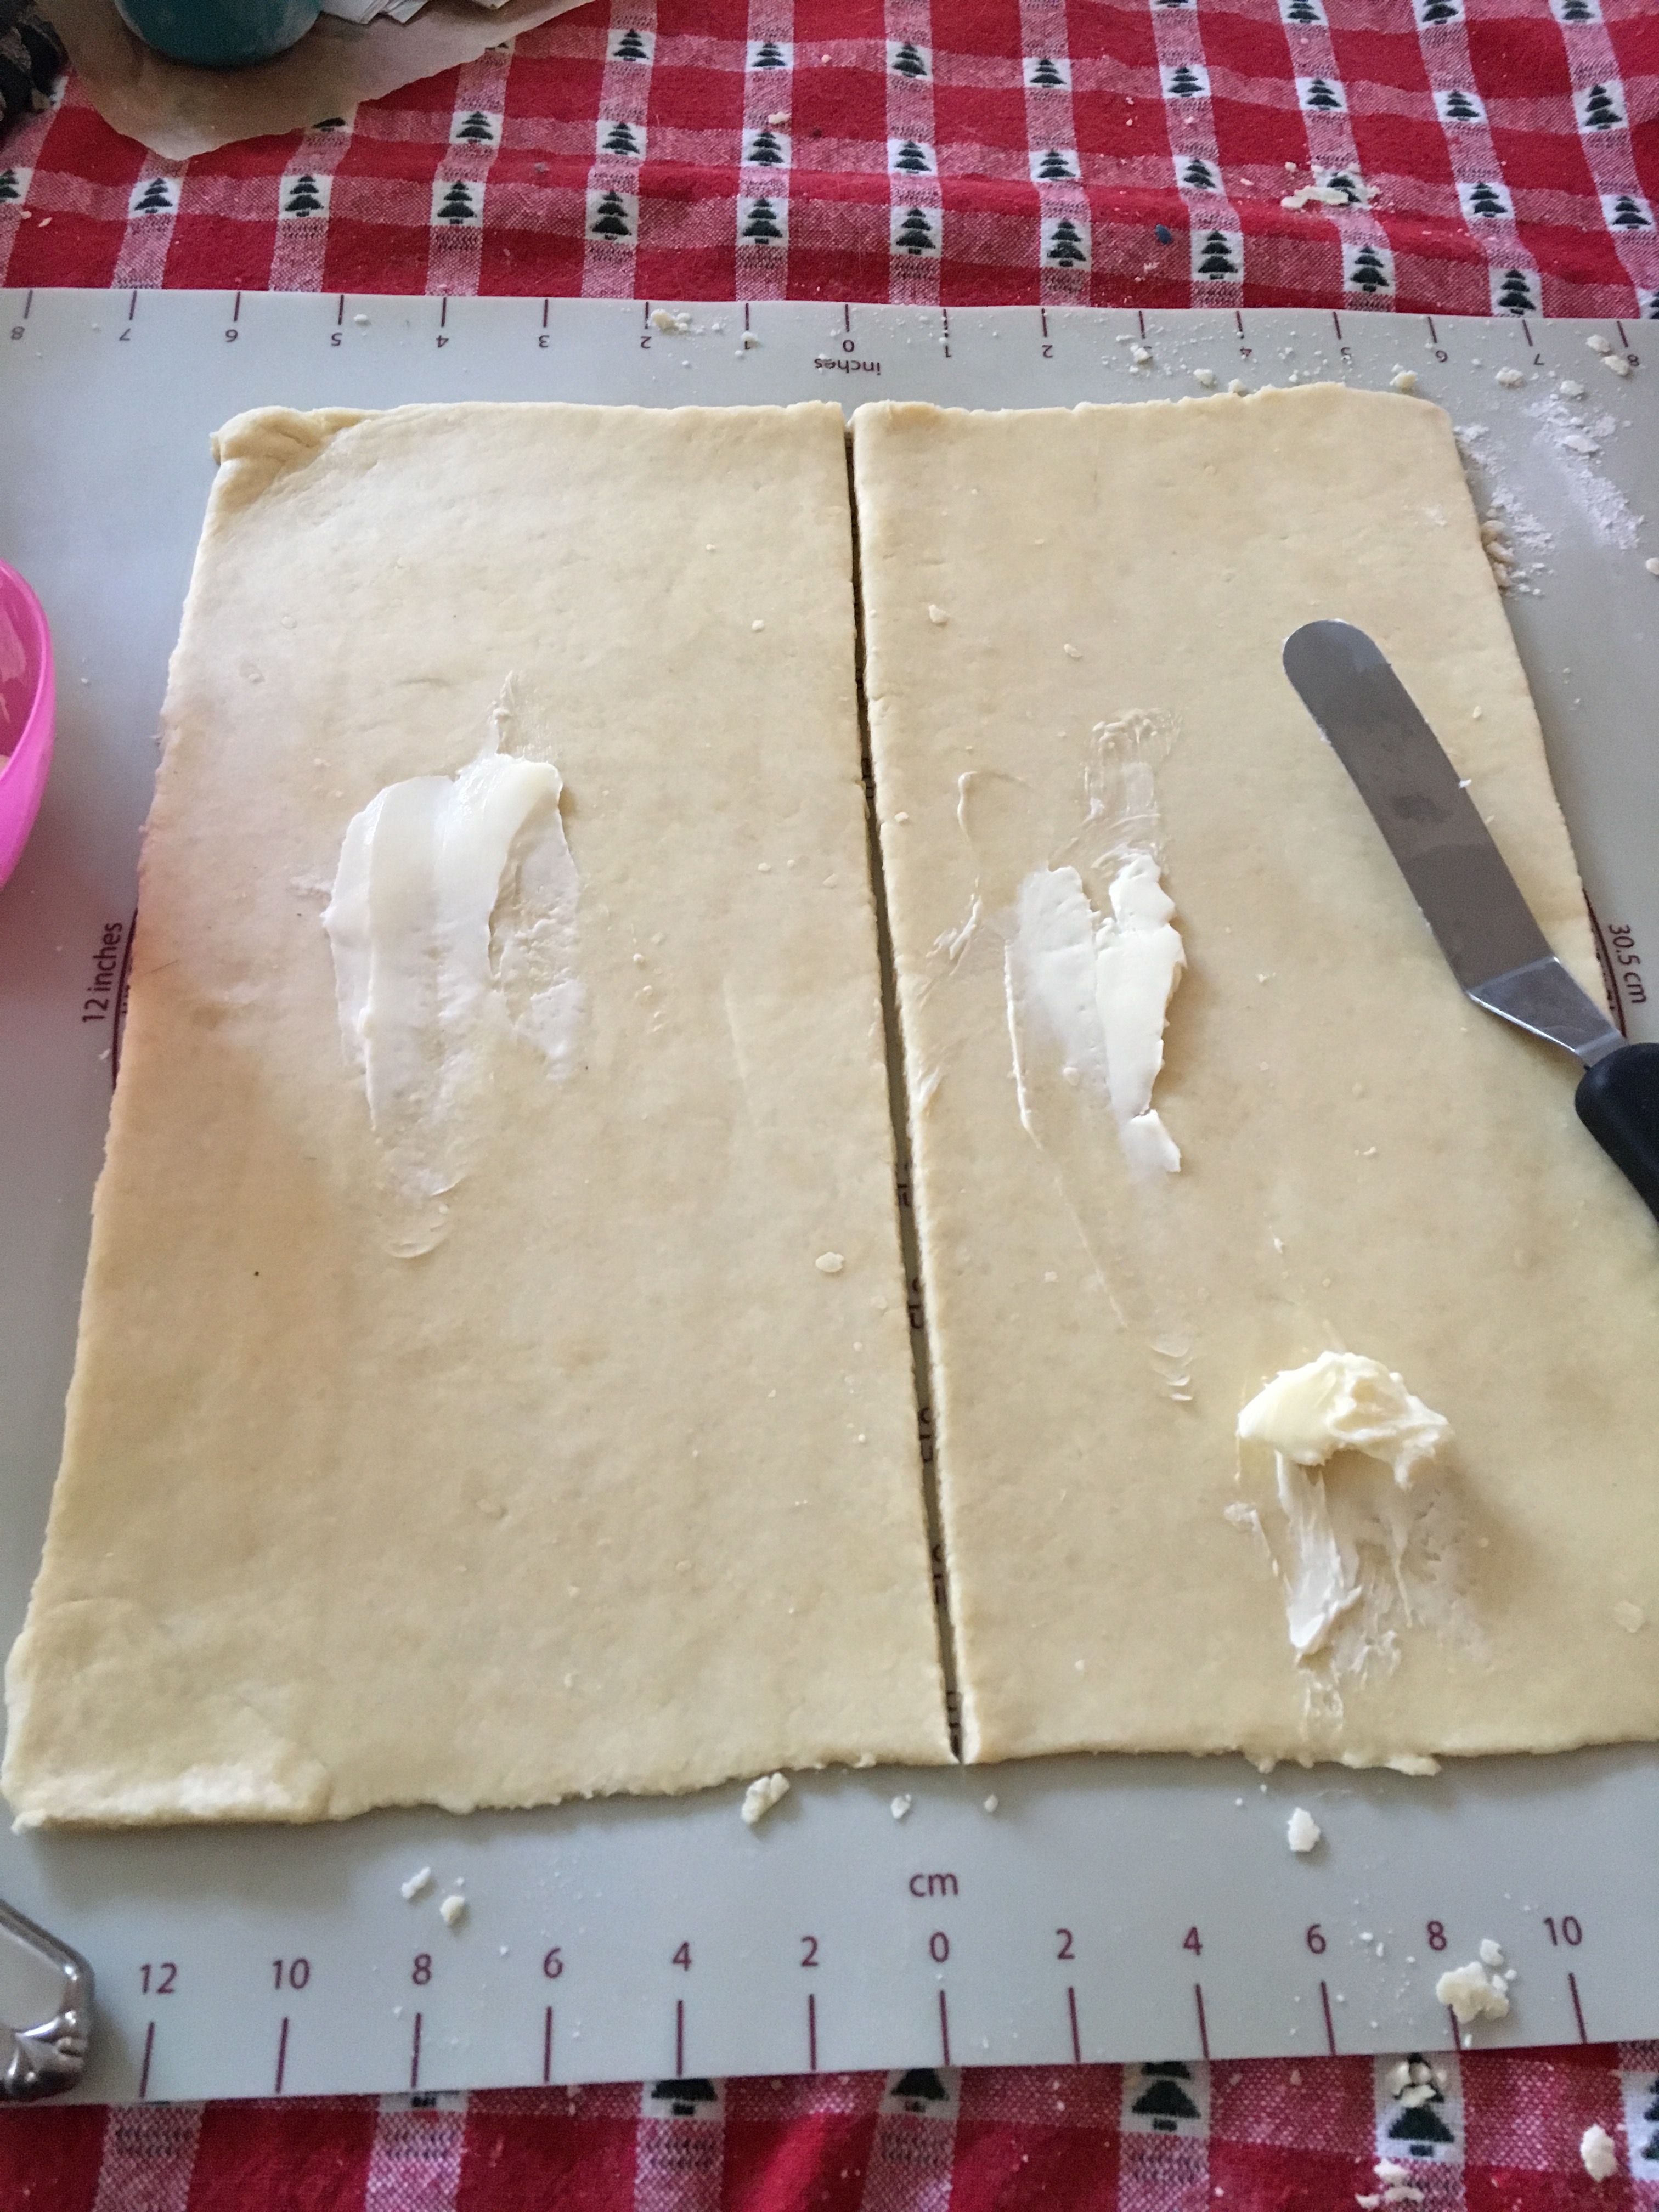
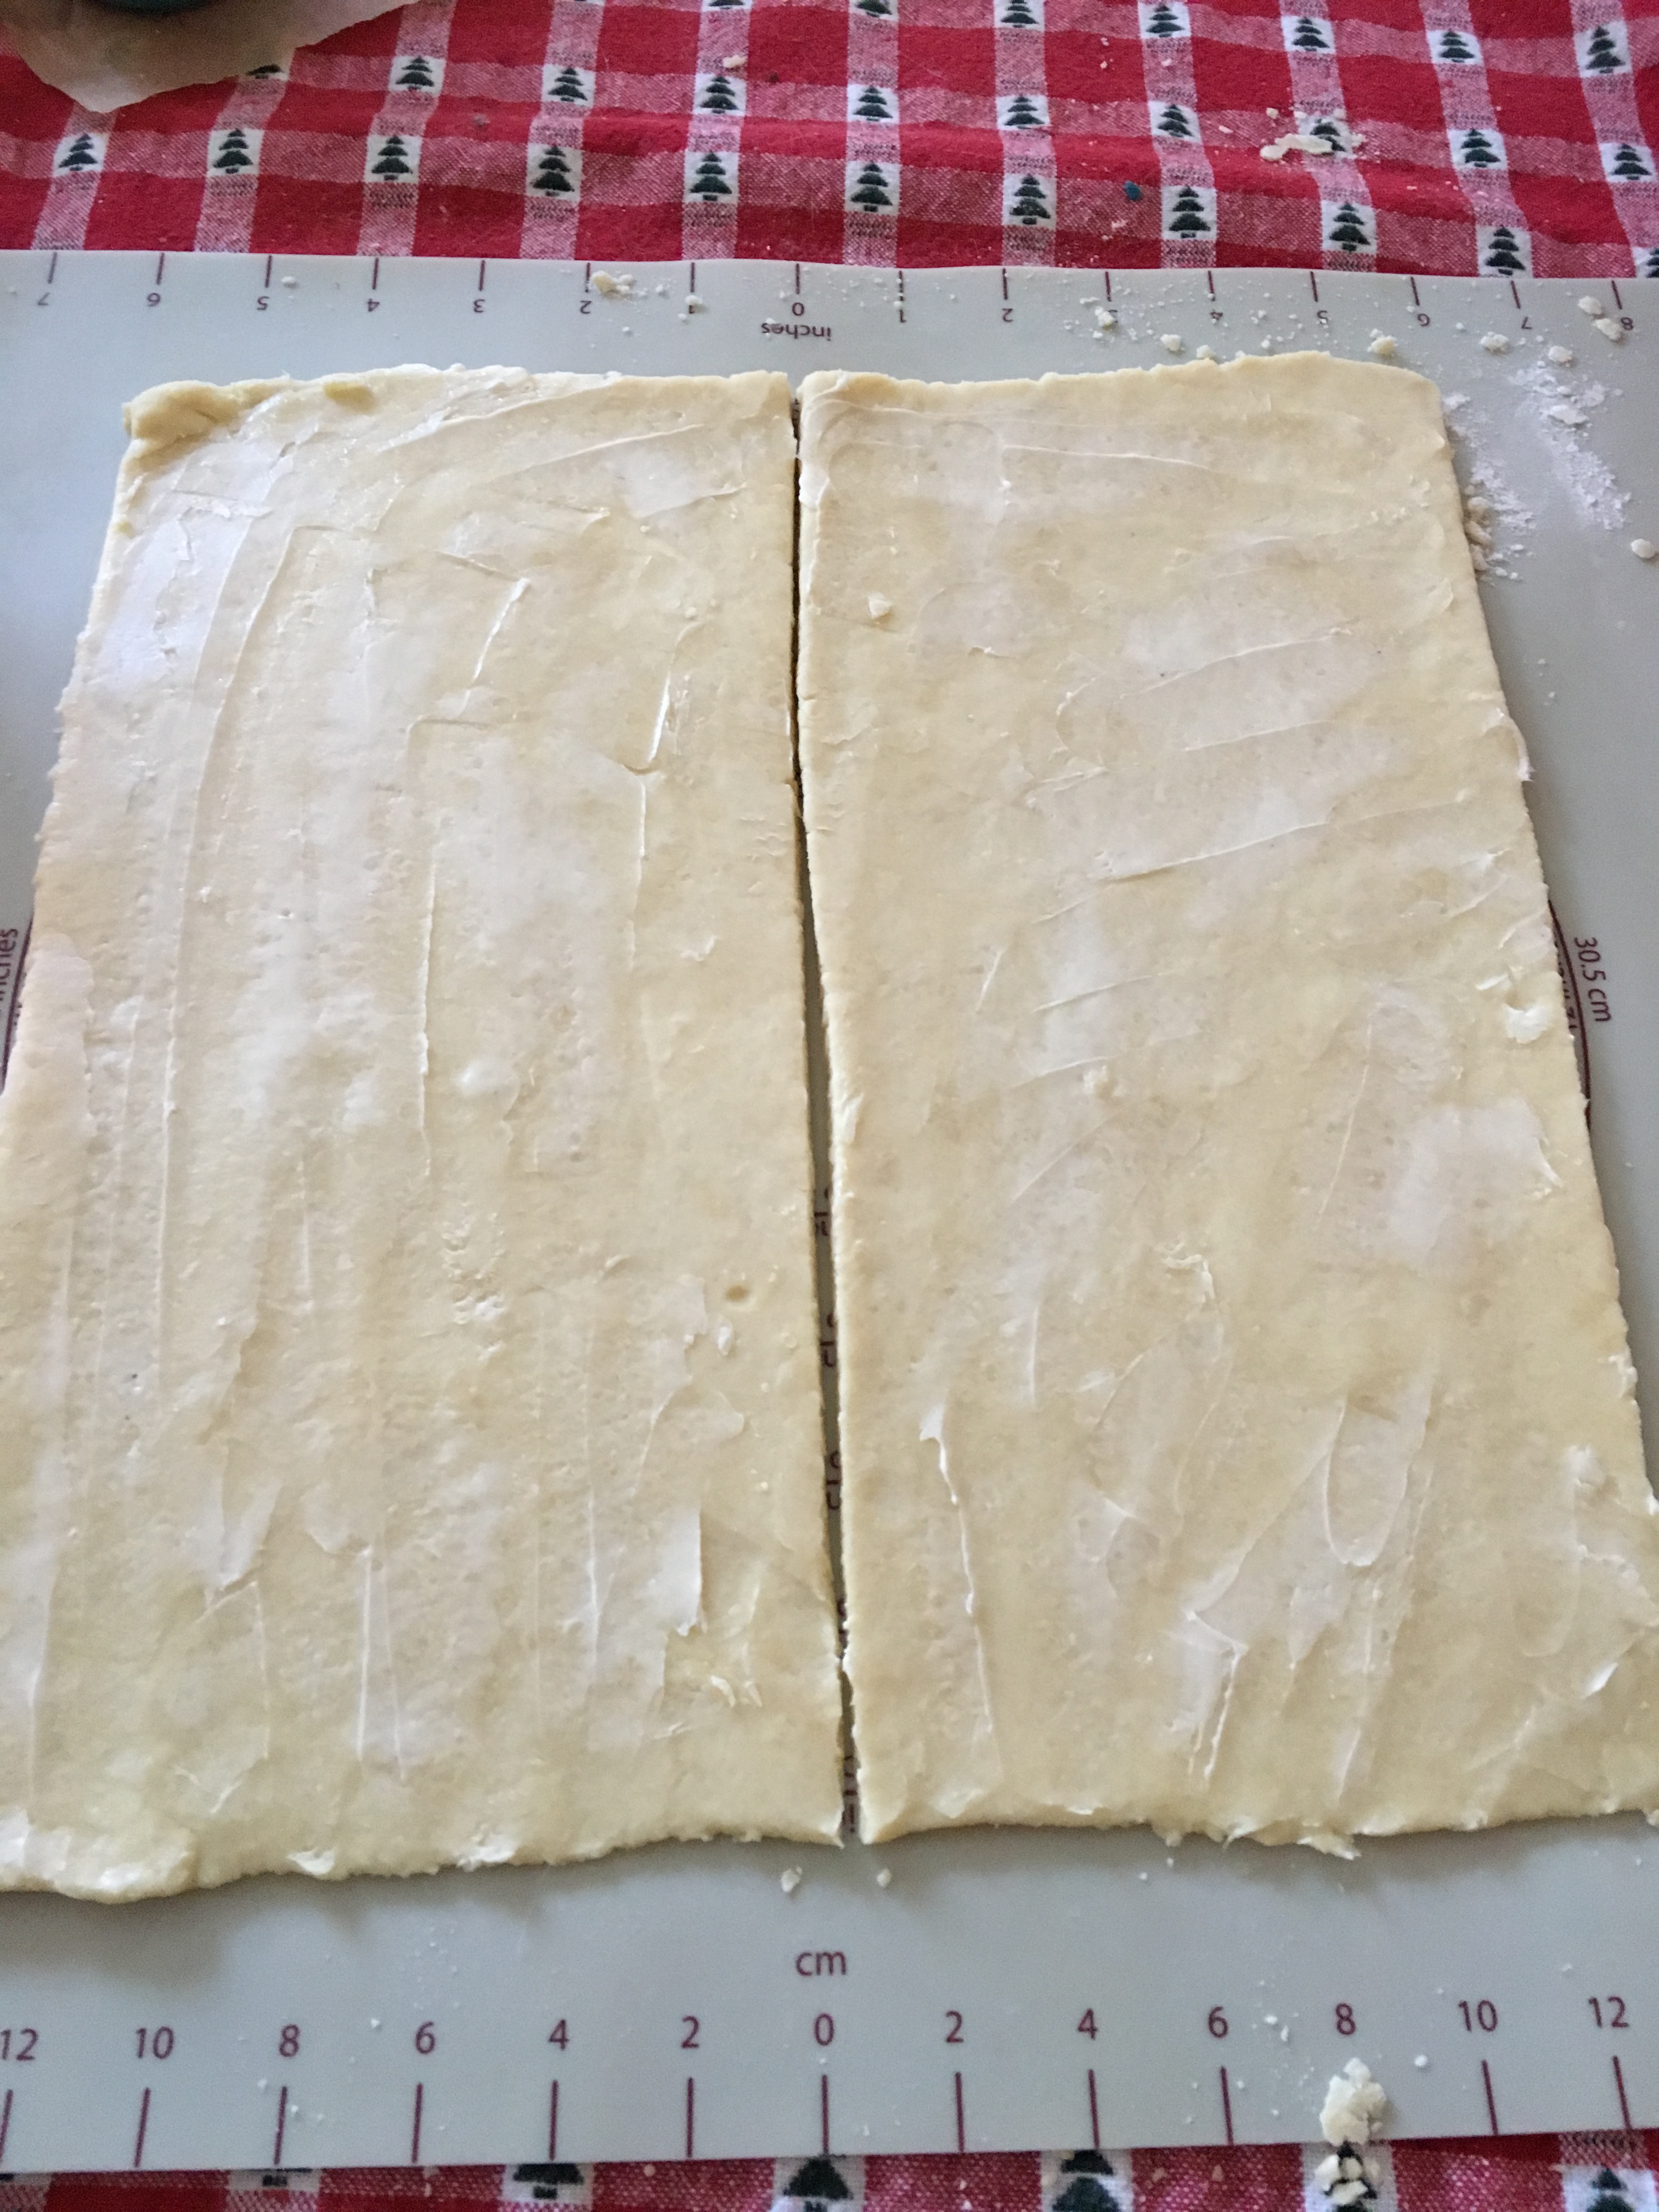
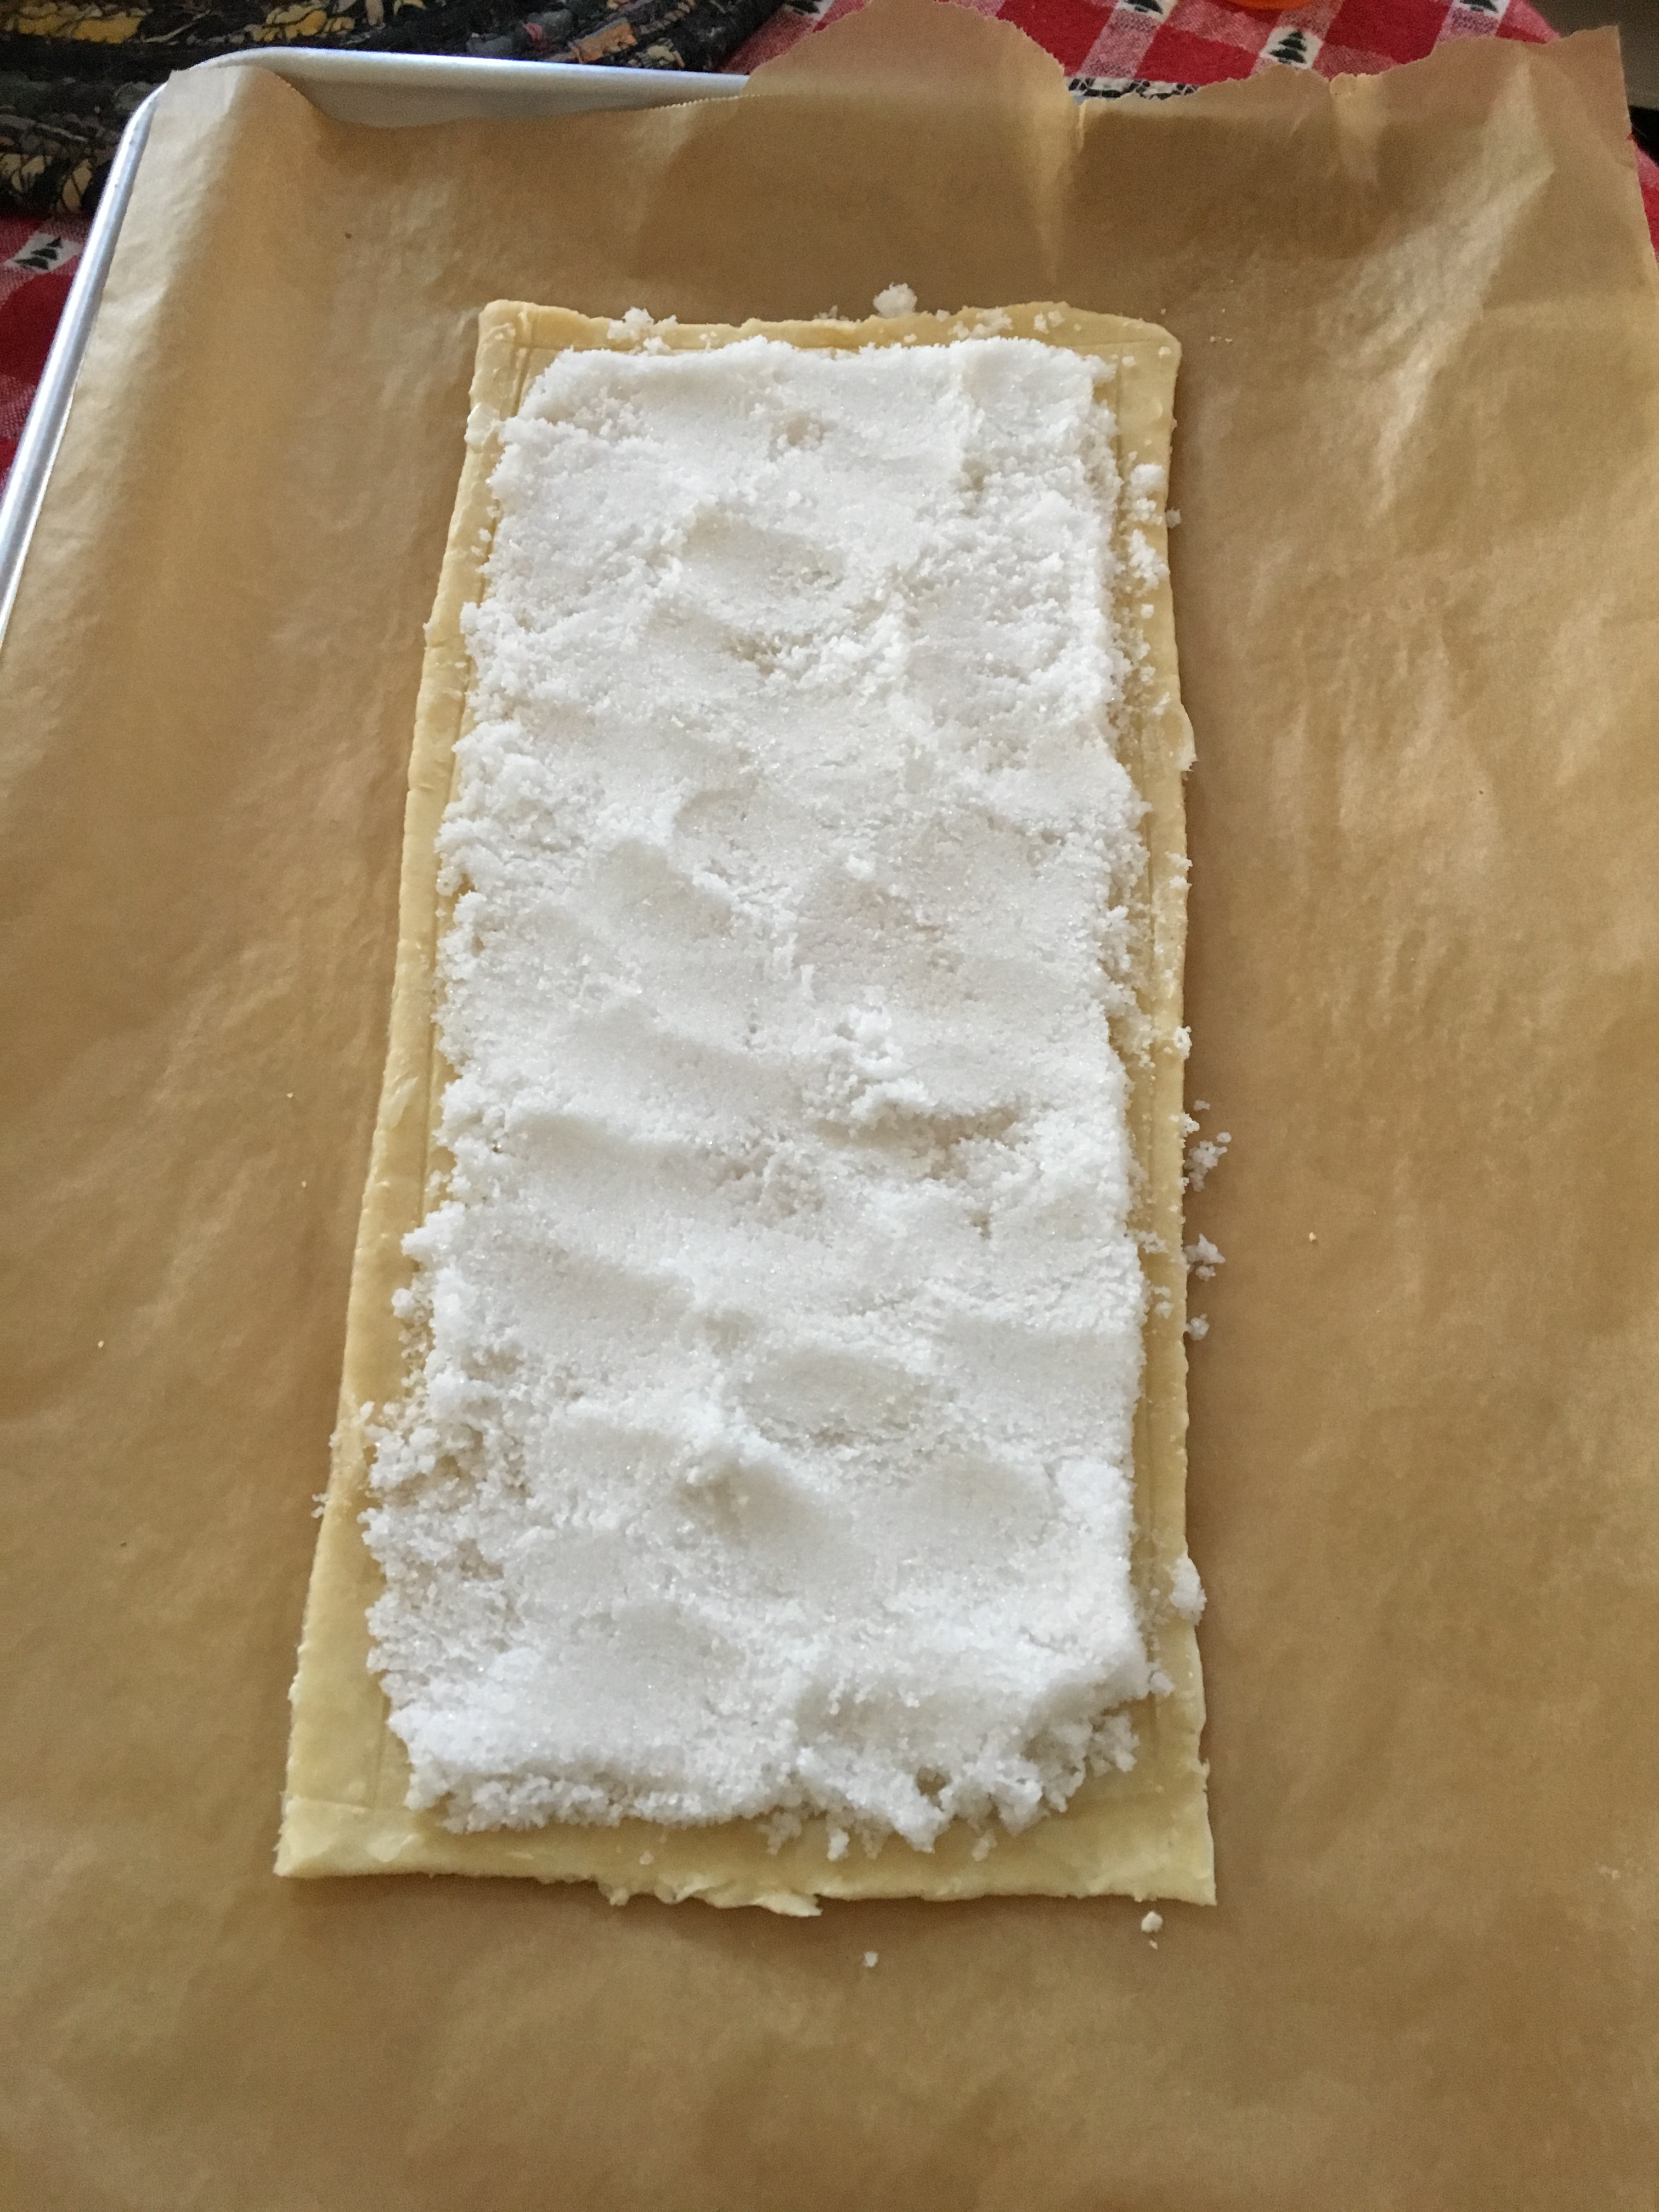
From there, I split in in half and then take a tablespoon of butter and spread it all over the dough. Remember, these are called Almond Butter Sticks, and for good reason. Then, one half the dough goes on a cookie sheet and the almond sugar is spread on.
The other half is then put on top, butter-side down, and I pinch the edges to make sure they stay closed. You want all this almond buttery goodness inside the dough, I promise. Brush on the egg white and top with sliced almonds and sugar, and in a 375 degree oven it goes.
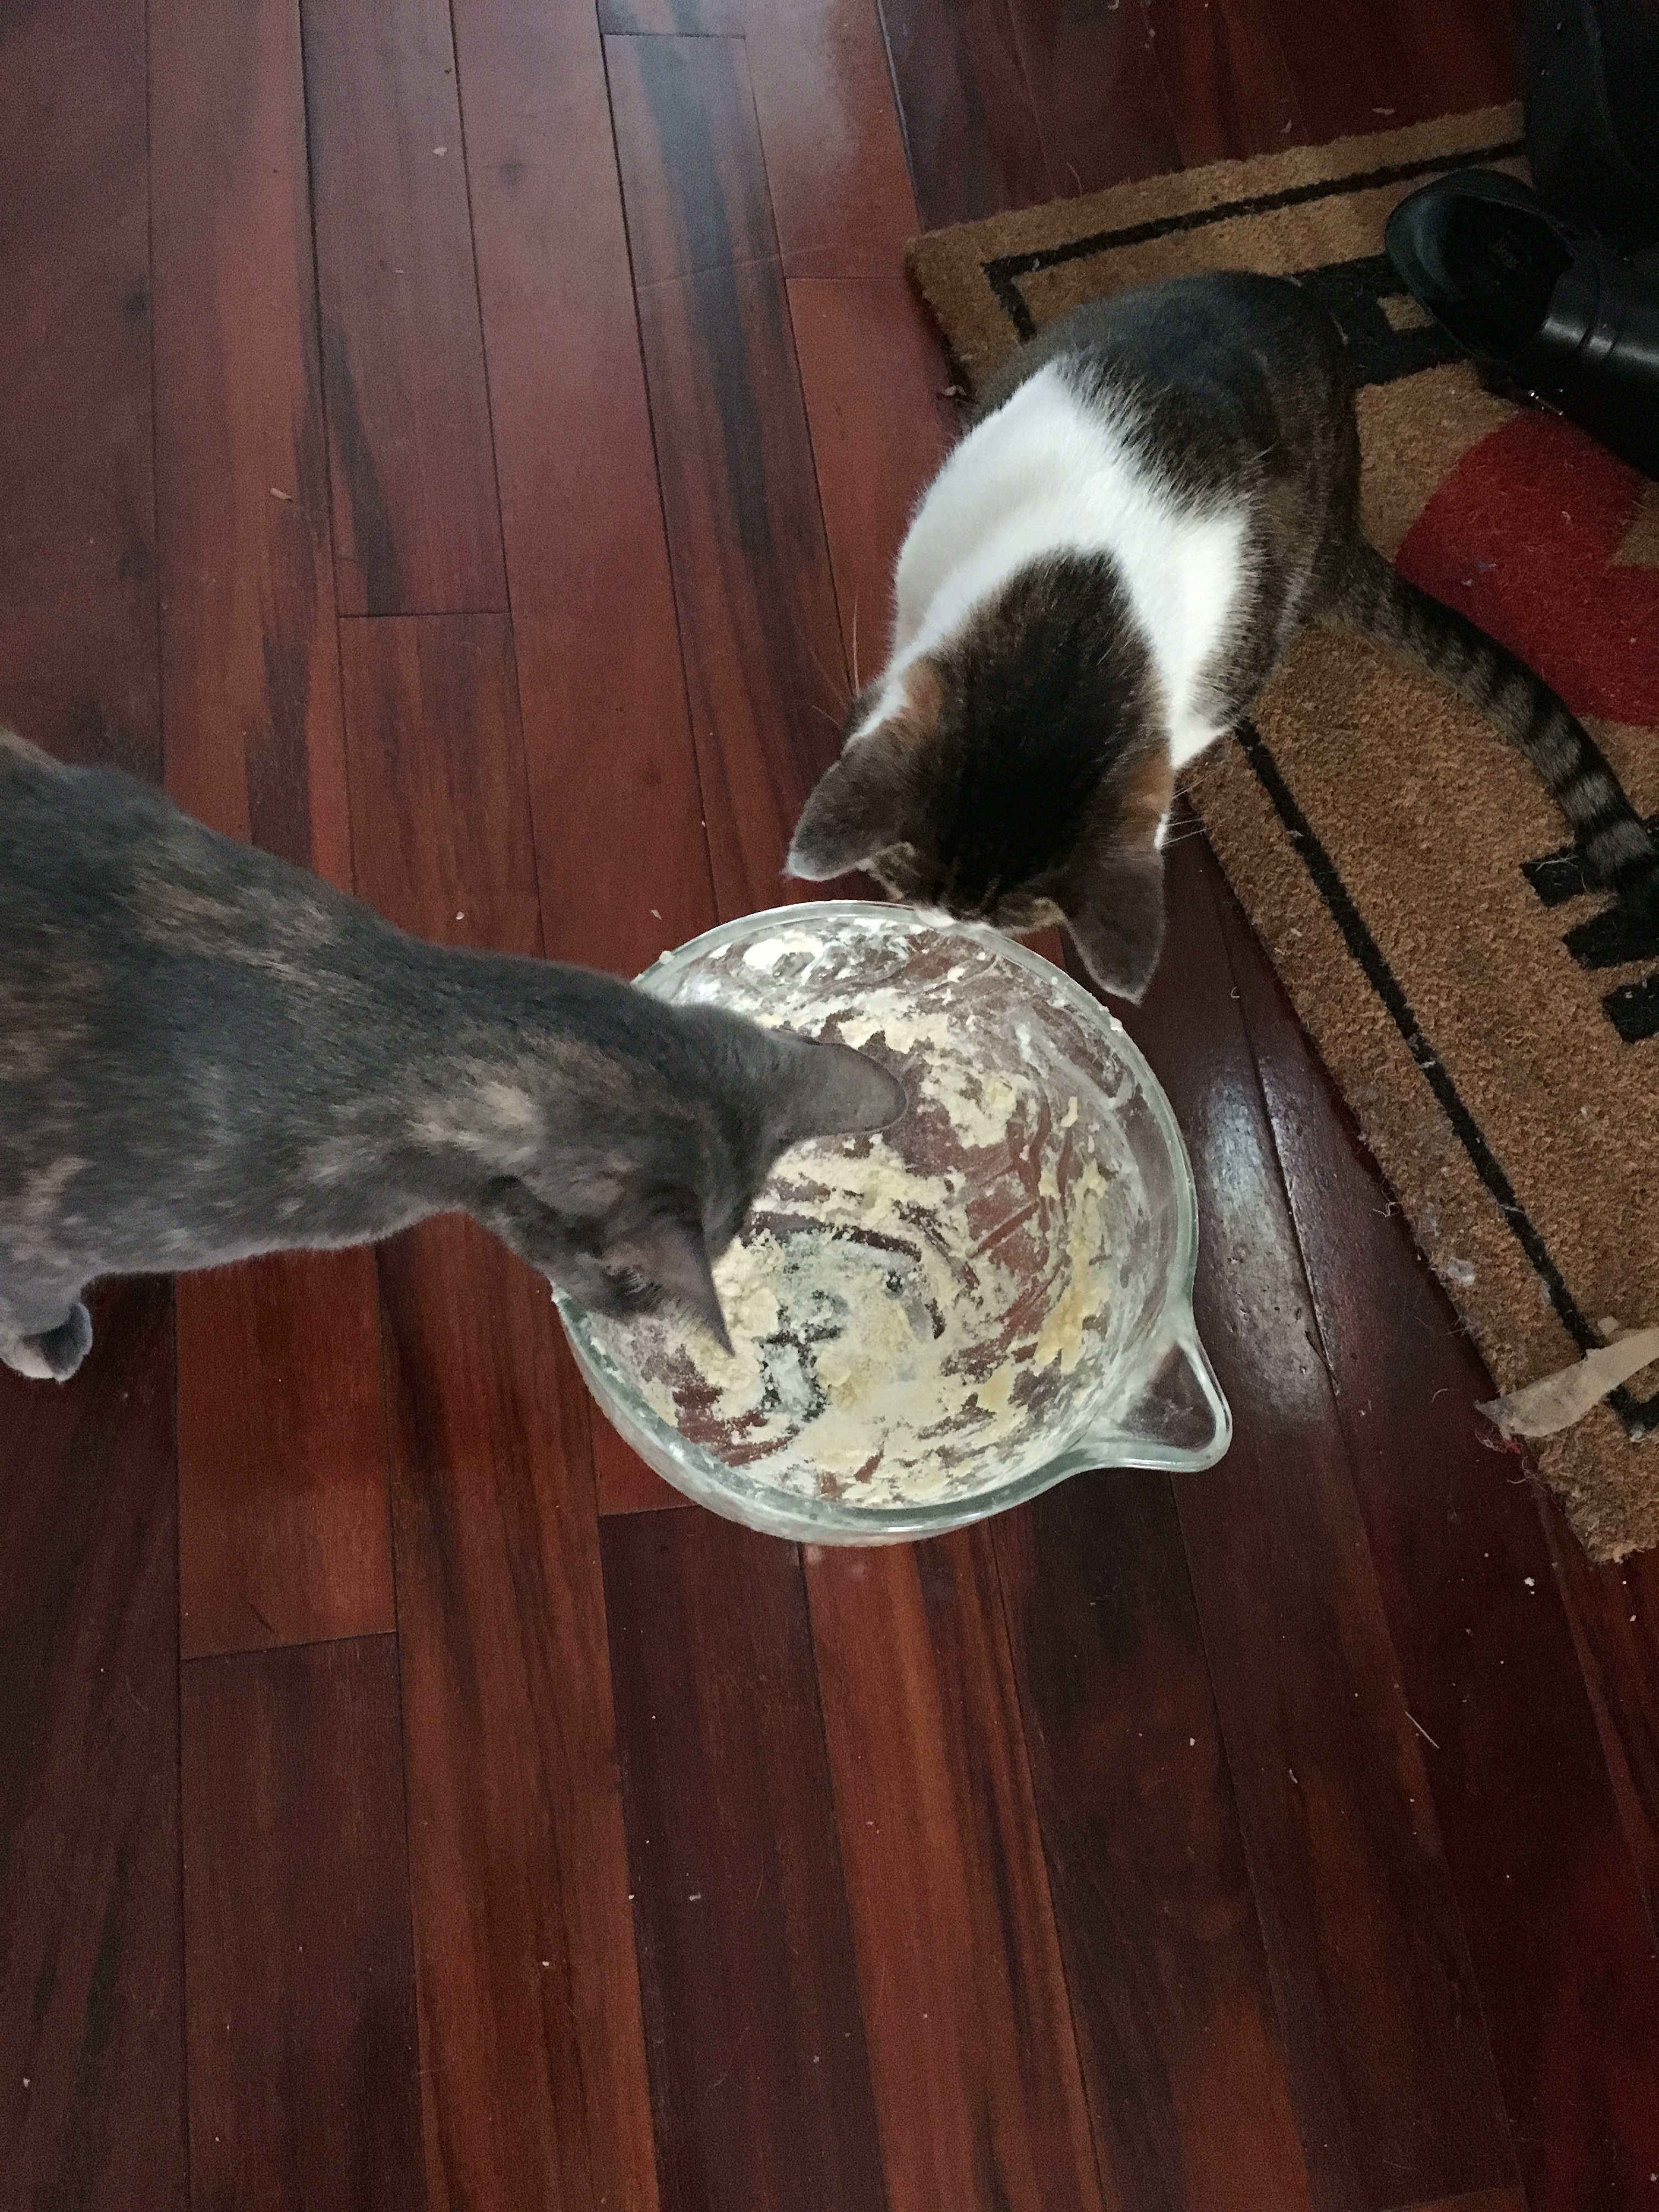
Because this dough has no sugar in it, your kids will not be interested in licking the bowl. At all. But, my feline friends are all about it.
You can’t tell here, but they were definitely licking it clean. I even gave them the rubber spatula. They’re sleeping it off now.
As this bakes, your house will smell like a warm french pastry, which is something I’m okay with.
Let it cool, and then cut it in half lengthwise, and then cut pieces in one inch increments.
1/2 cup unsalted butter, plus 1 tablespoon (divided)
6 ounces cream cheese
1 1/2 cups unbleached all-purpose flour
3/4 teaspoon salt
1/2 teaspoon baking powder
1 egg, separated (white reserved for glazing)
1/3 cup sliced almonds
1 teaspoon coarse sugar for topping
Directions:
Preheat oven to 375 degrees.
Line a cookie sheet with parchment paper and set aside.
In a small bowl combine the sugar and almond extract; cover and set aside.
In a medium bowl whisk together the flour, salt and baking powder.
In a large mixing bowl combine 8 tablespoons (1/2 cup) butter and cream cheese. Beat on low until blended. Add the egg yolk and blend until smooth. Add half the flour mixture and beat on low until combined. Add the remaining flour and blend just until the dough starts to come together.
Transfer the dough to a floured work surface. Knead by hand about 25 strokes until the dough is pliable. Roll or press into a 12×12 inch square. Spread with the remaining 1 tablespoon of butter.
Cut the dough in half and place one half on the prepared cookie sheet, butter side up.
Spoon the sugar mixture to within 1/2-inch of the dough edges all the way around. Place the remaining dough half, butter side down, over the sugar. Press the edges tightly to seal.
Brush the dough with a lightly beaten egg white. Sprinkle with almonds and coarse sugar.
Bake 25-30 minutes or until golden brown. It’s best removed from the oven when you think it needs one or two more minutes.
Cool at least 30 minutes.
Cut the pastry in half lengthwise and then into 1/2 to 1 inch strips crosswise.
We had a busy day today. Or it at least seemed busy. We had pretty much one thing to do today, and it was at 4, but somehow the day got away from me. It was 2 before I started the cookies, which is why this post is a little later than normal.
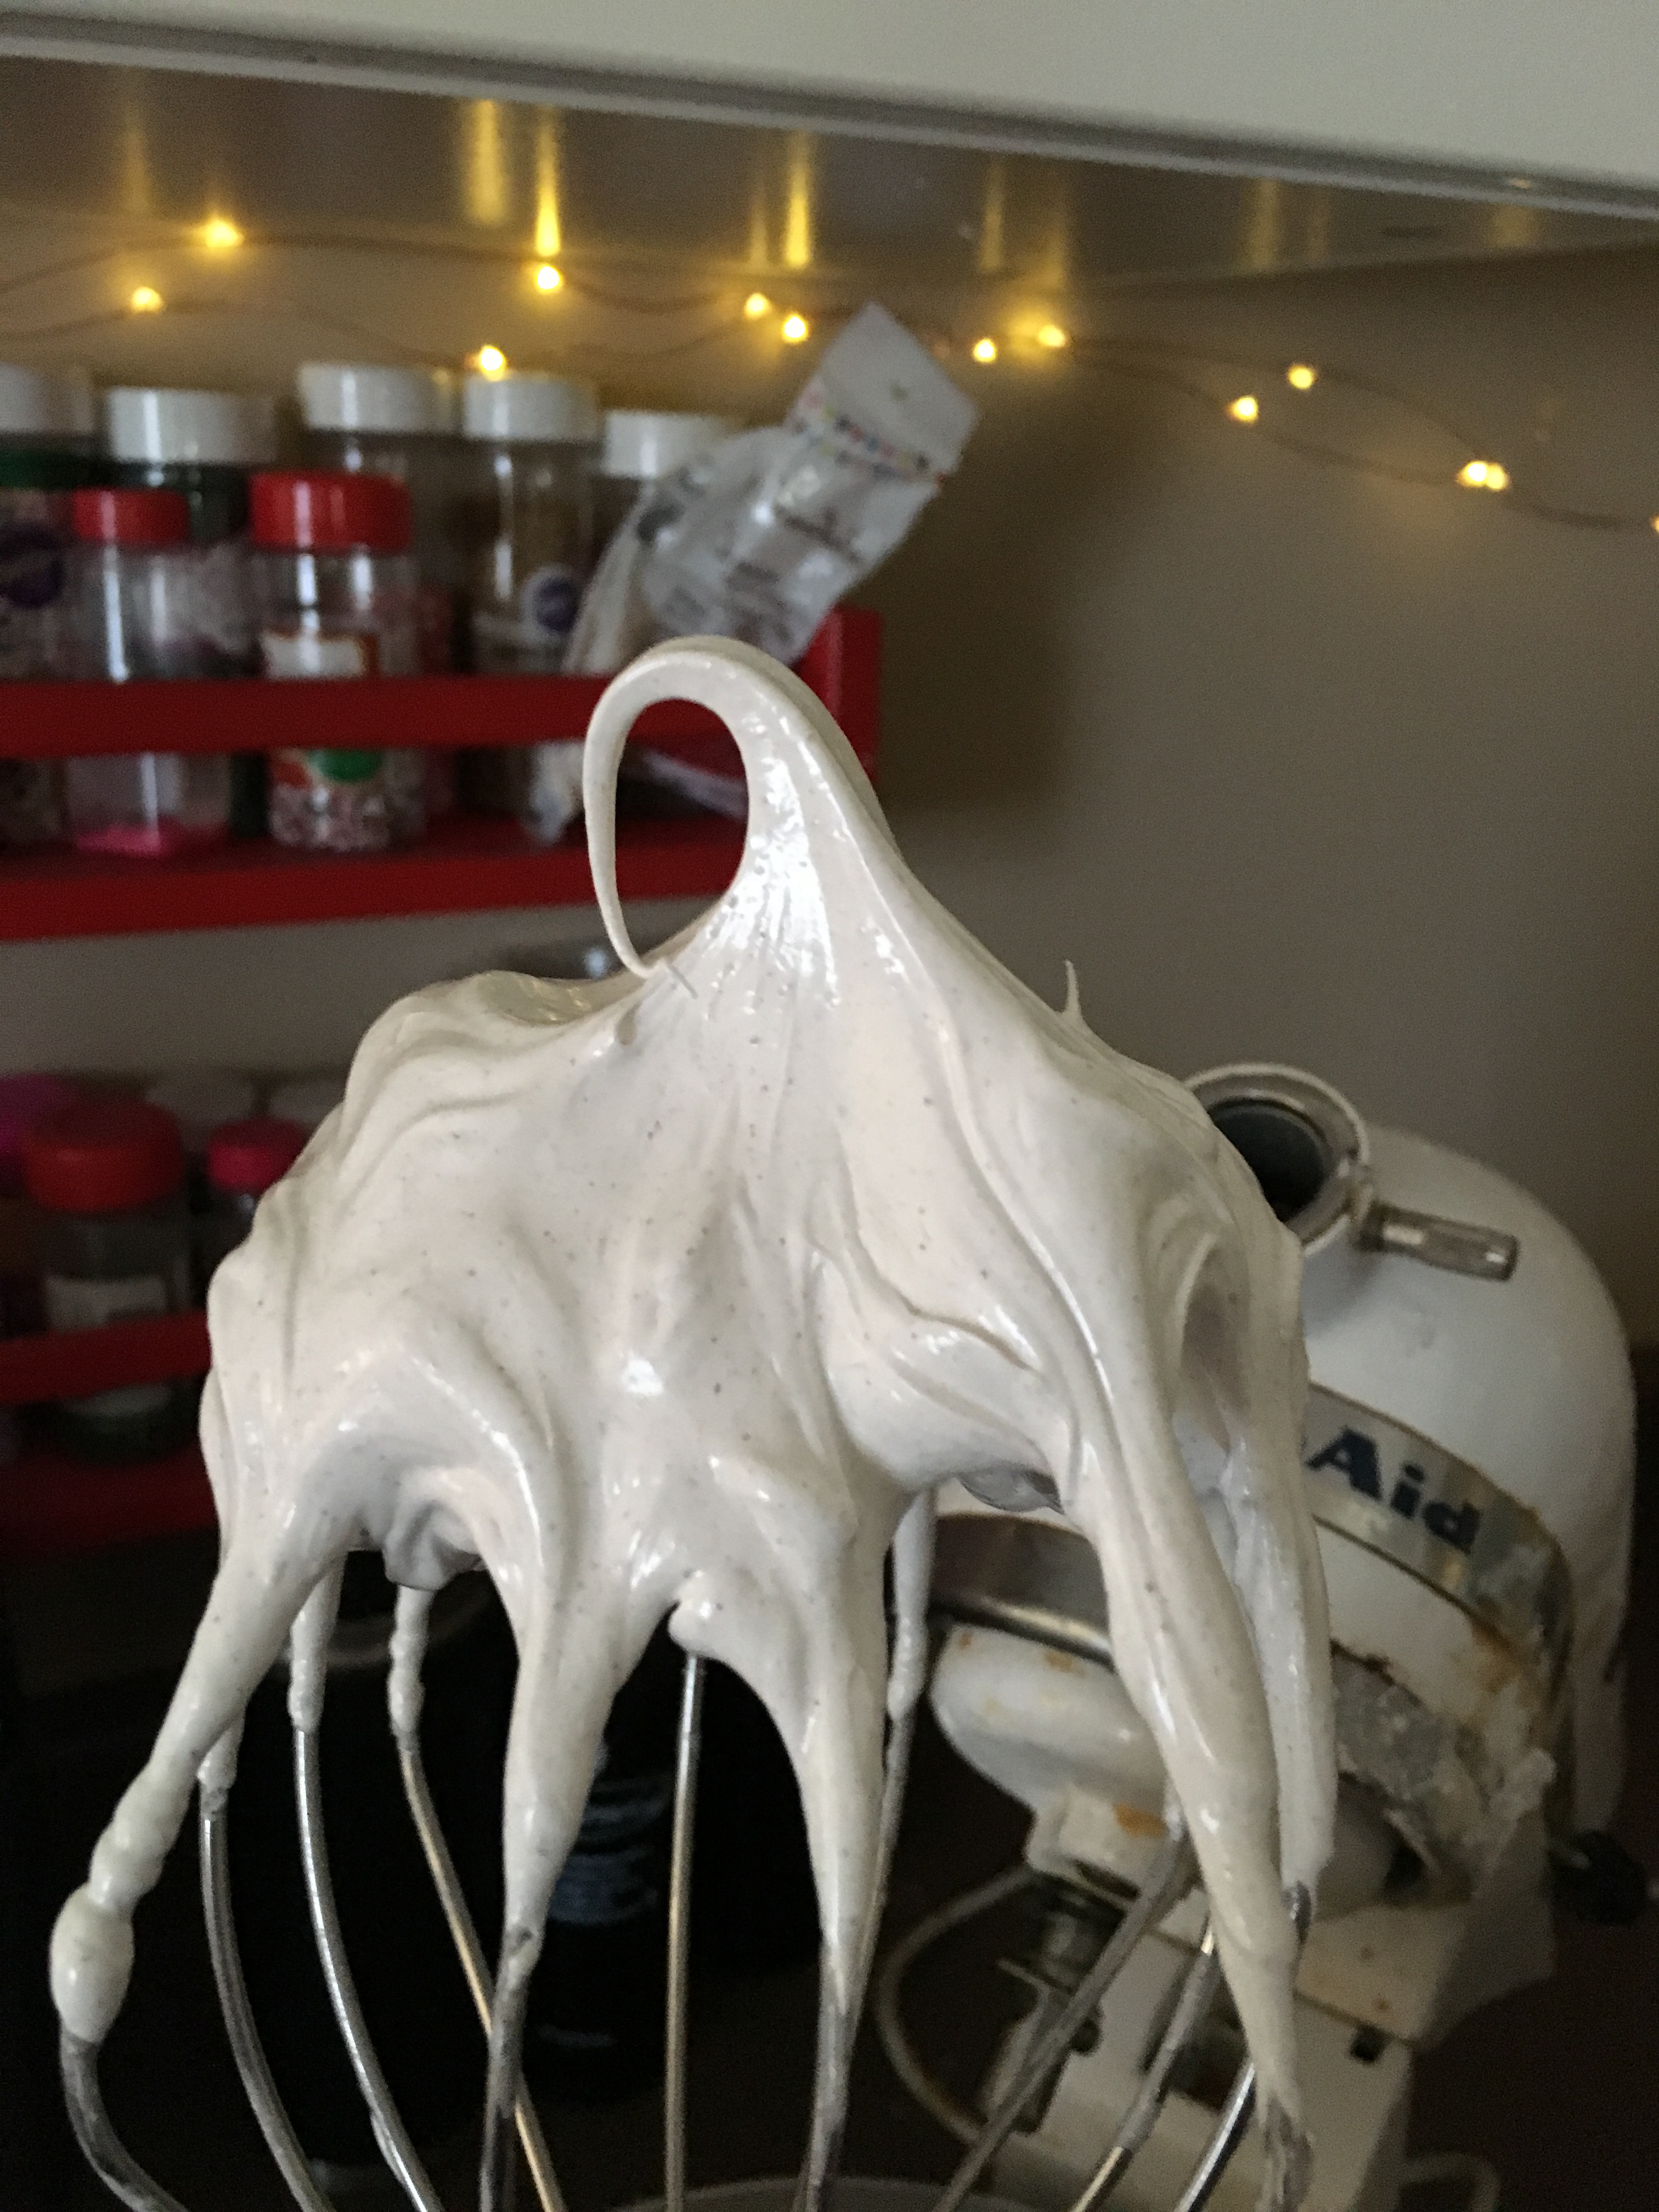
My kids love meringue cookies, especially these, and so do I . It’s something with the cinnamon in it, I think. These are a staple in our home at Christmas, well until they all get eaten. They go pretty quickly.
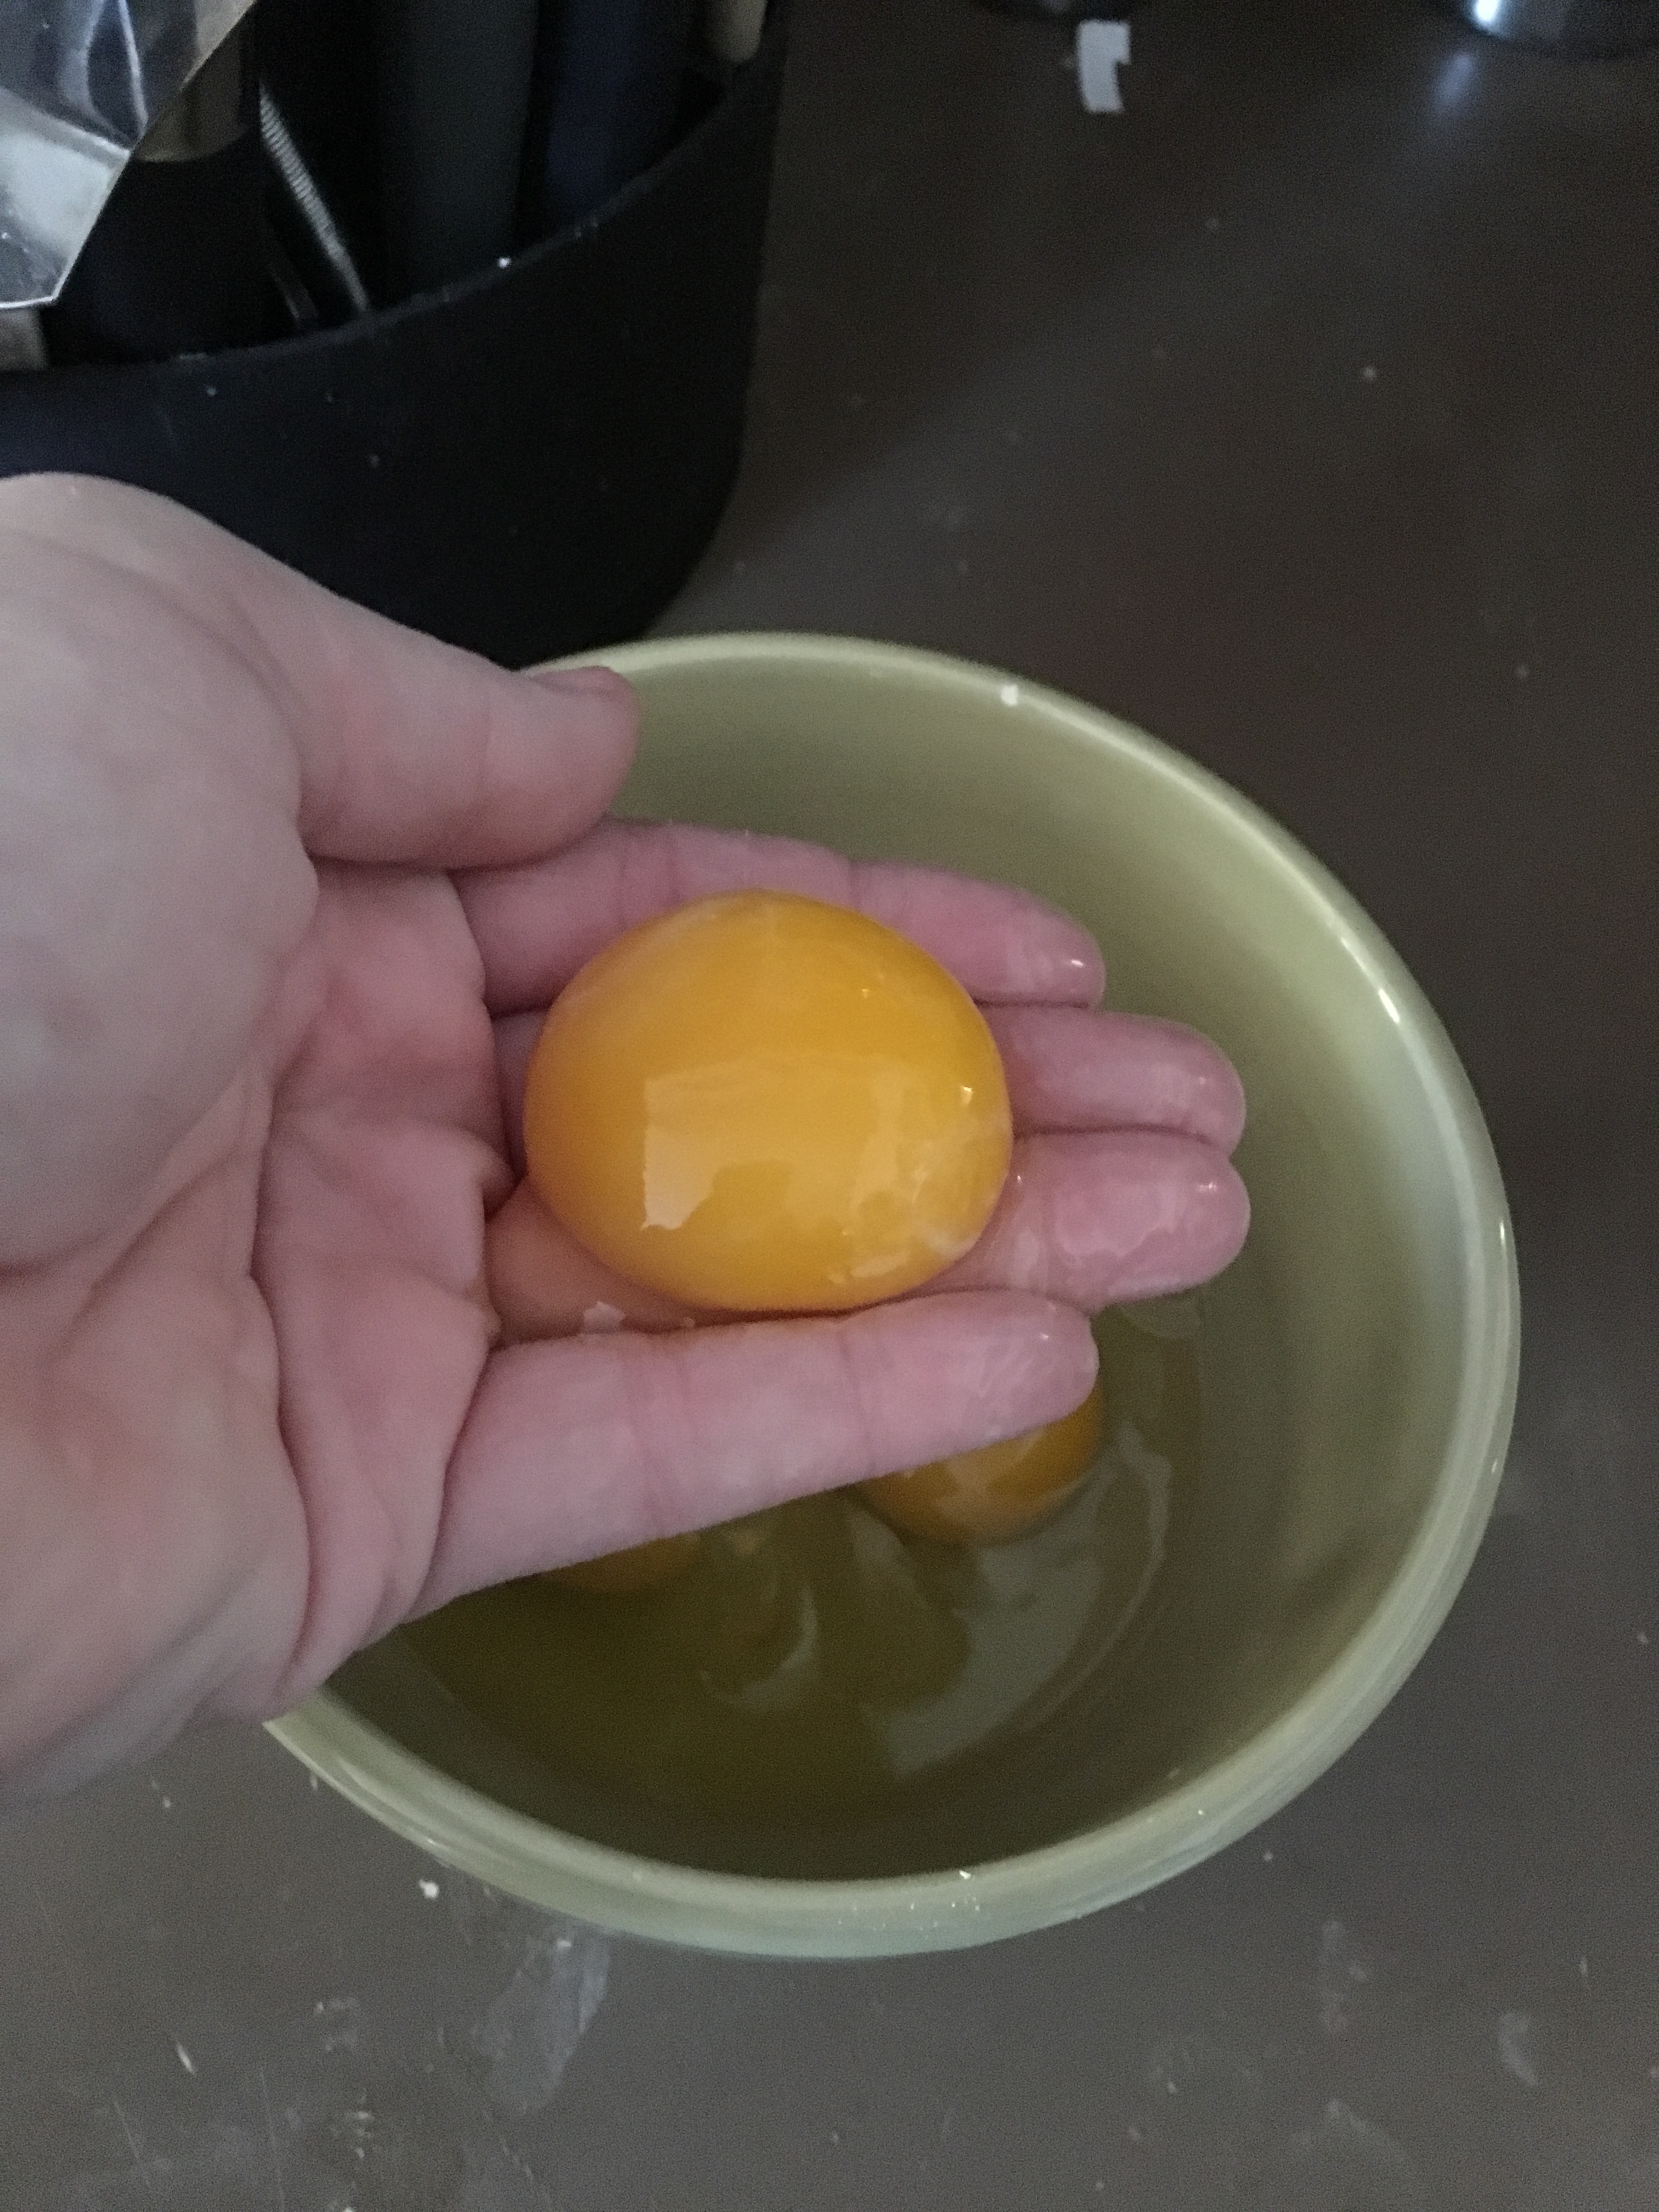
To start these cookies, you need four egg whites. I found a new method for separating eggs earlier this month, and it works really well. Yes, I use my hand.
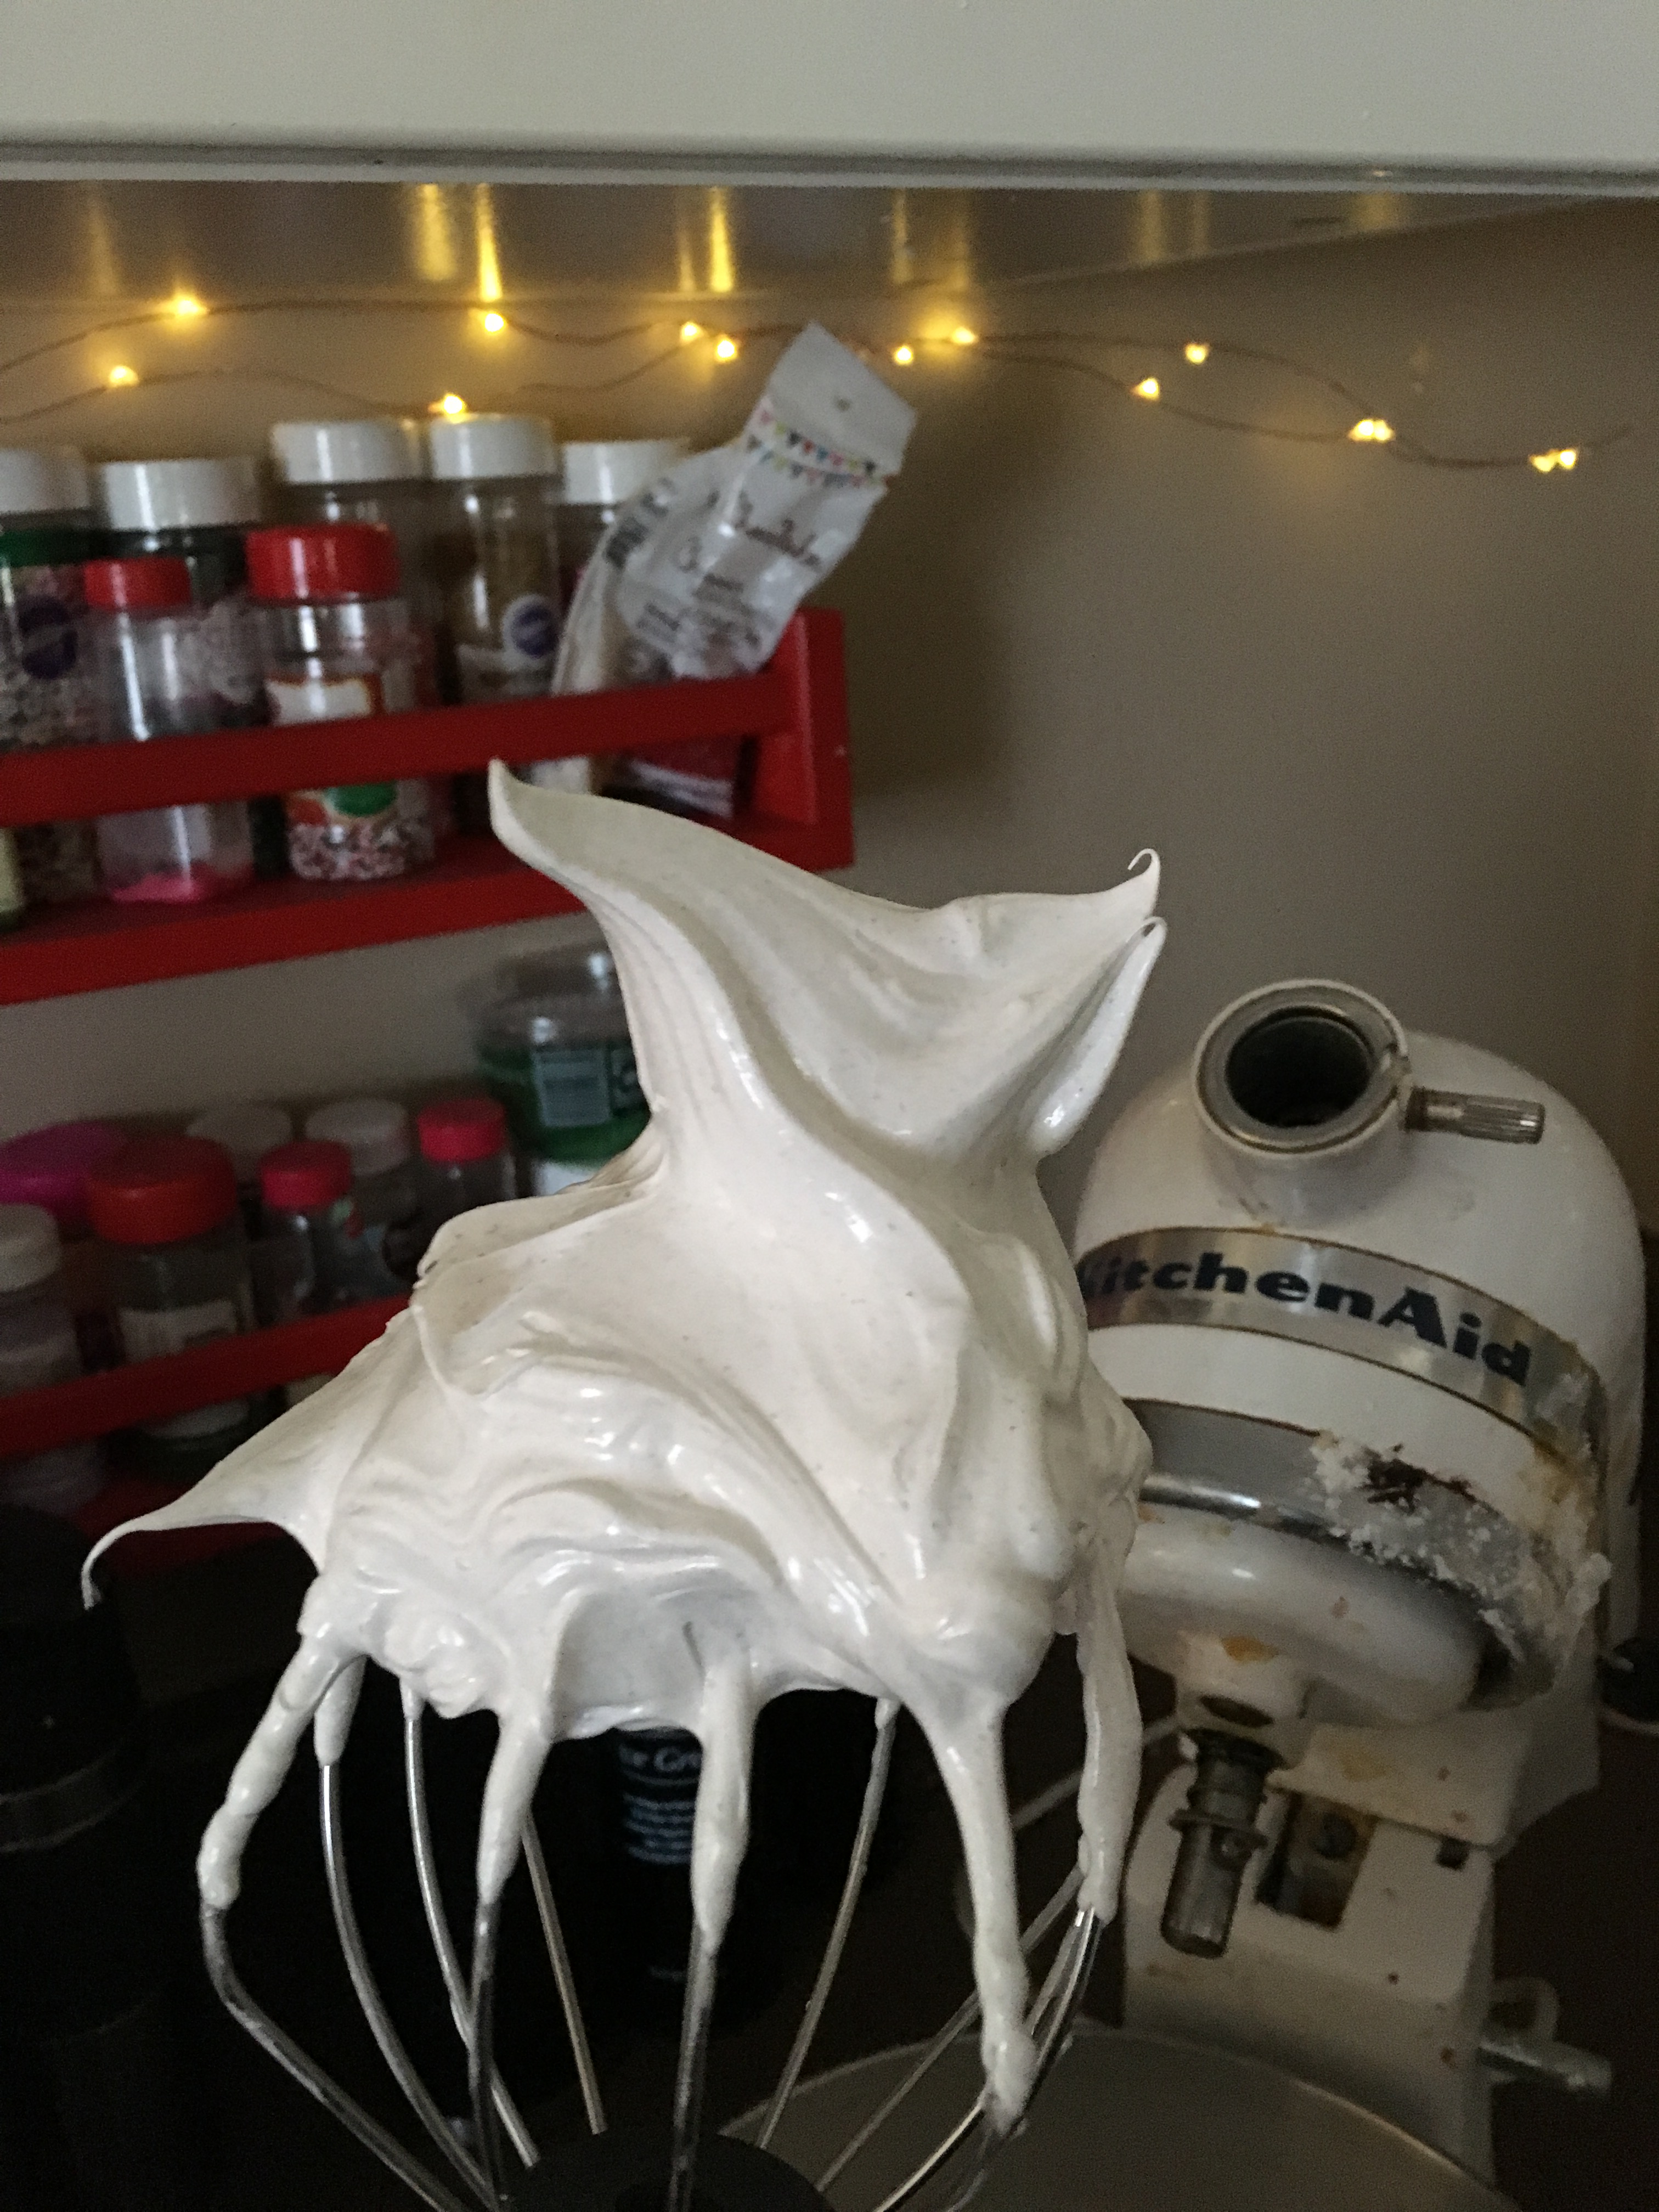
After the egg whites are frothy, I add the almond extract, cinnamon, cream of tartar, and powdered sugar. I keep whipping them until there are stiff peaks.
This is not a stiff peak.
This is a stiff peak.
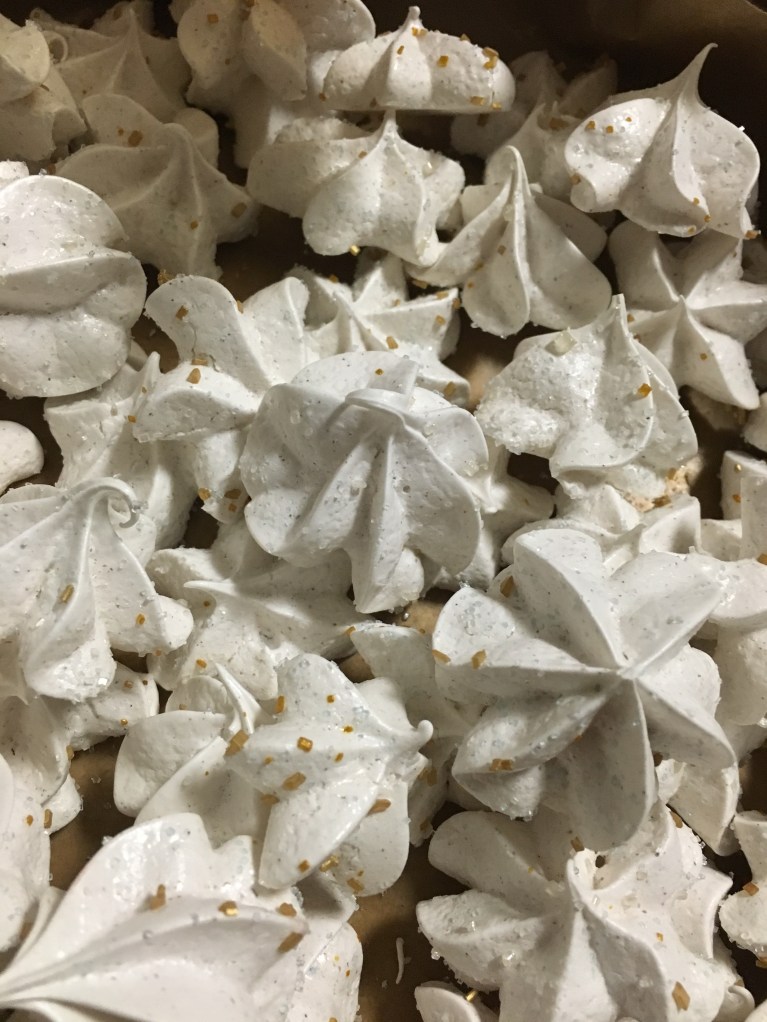
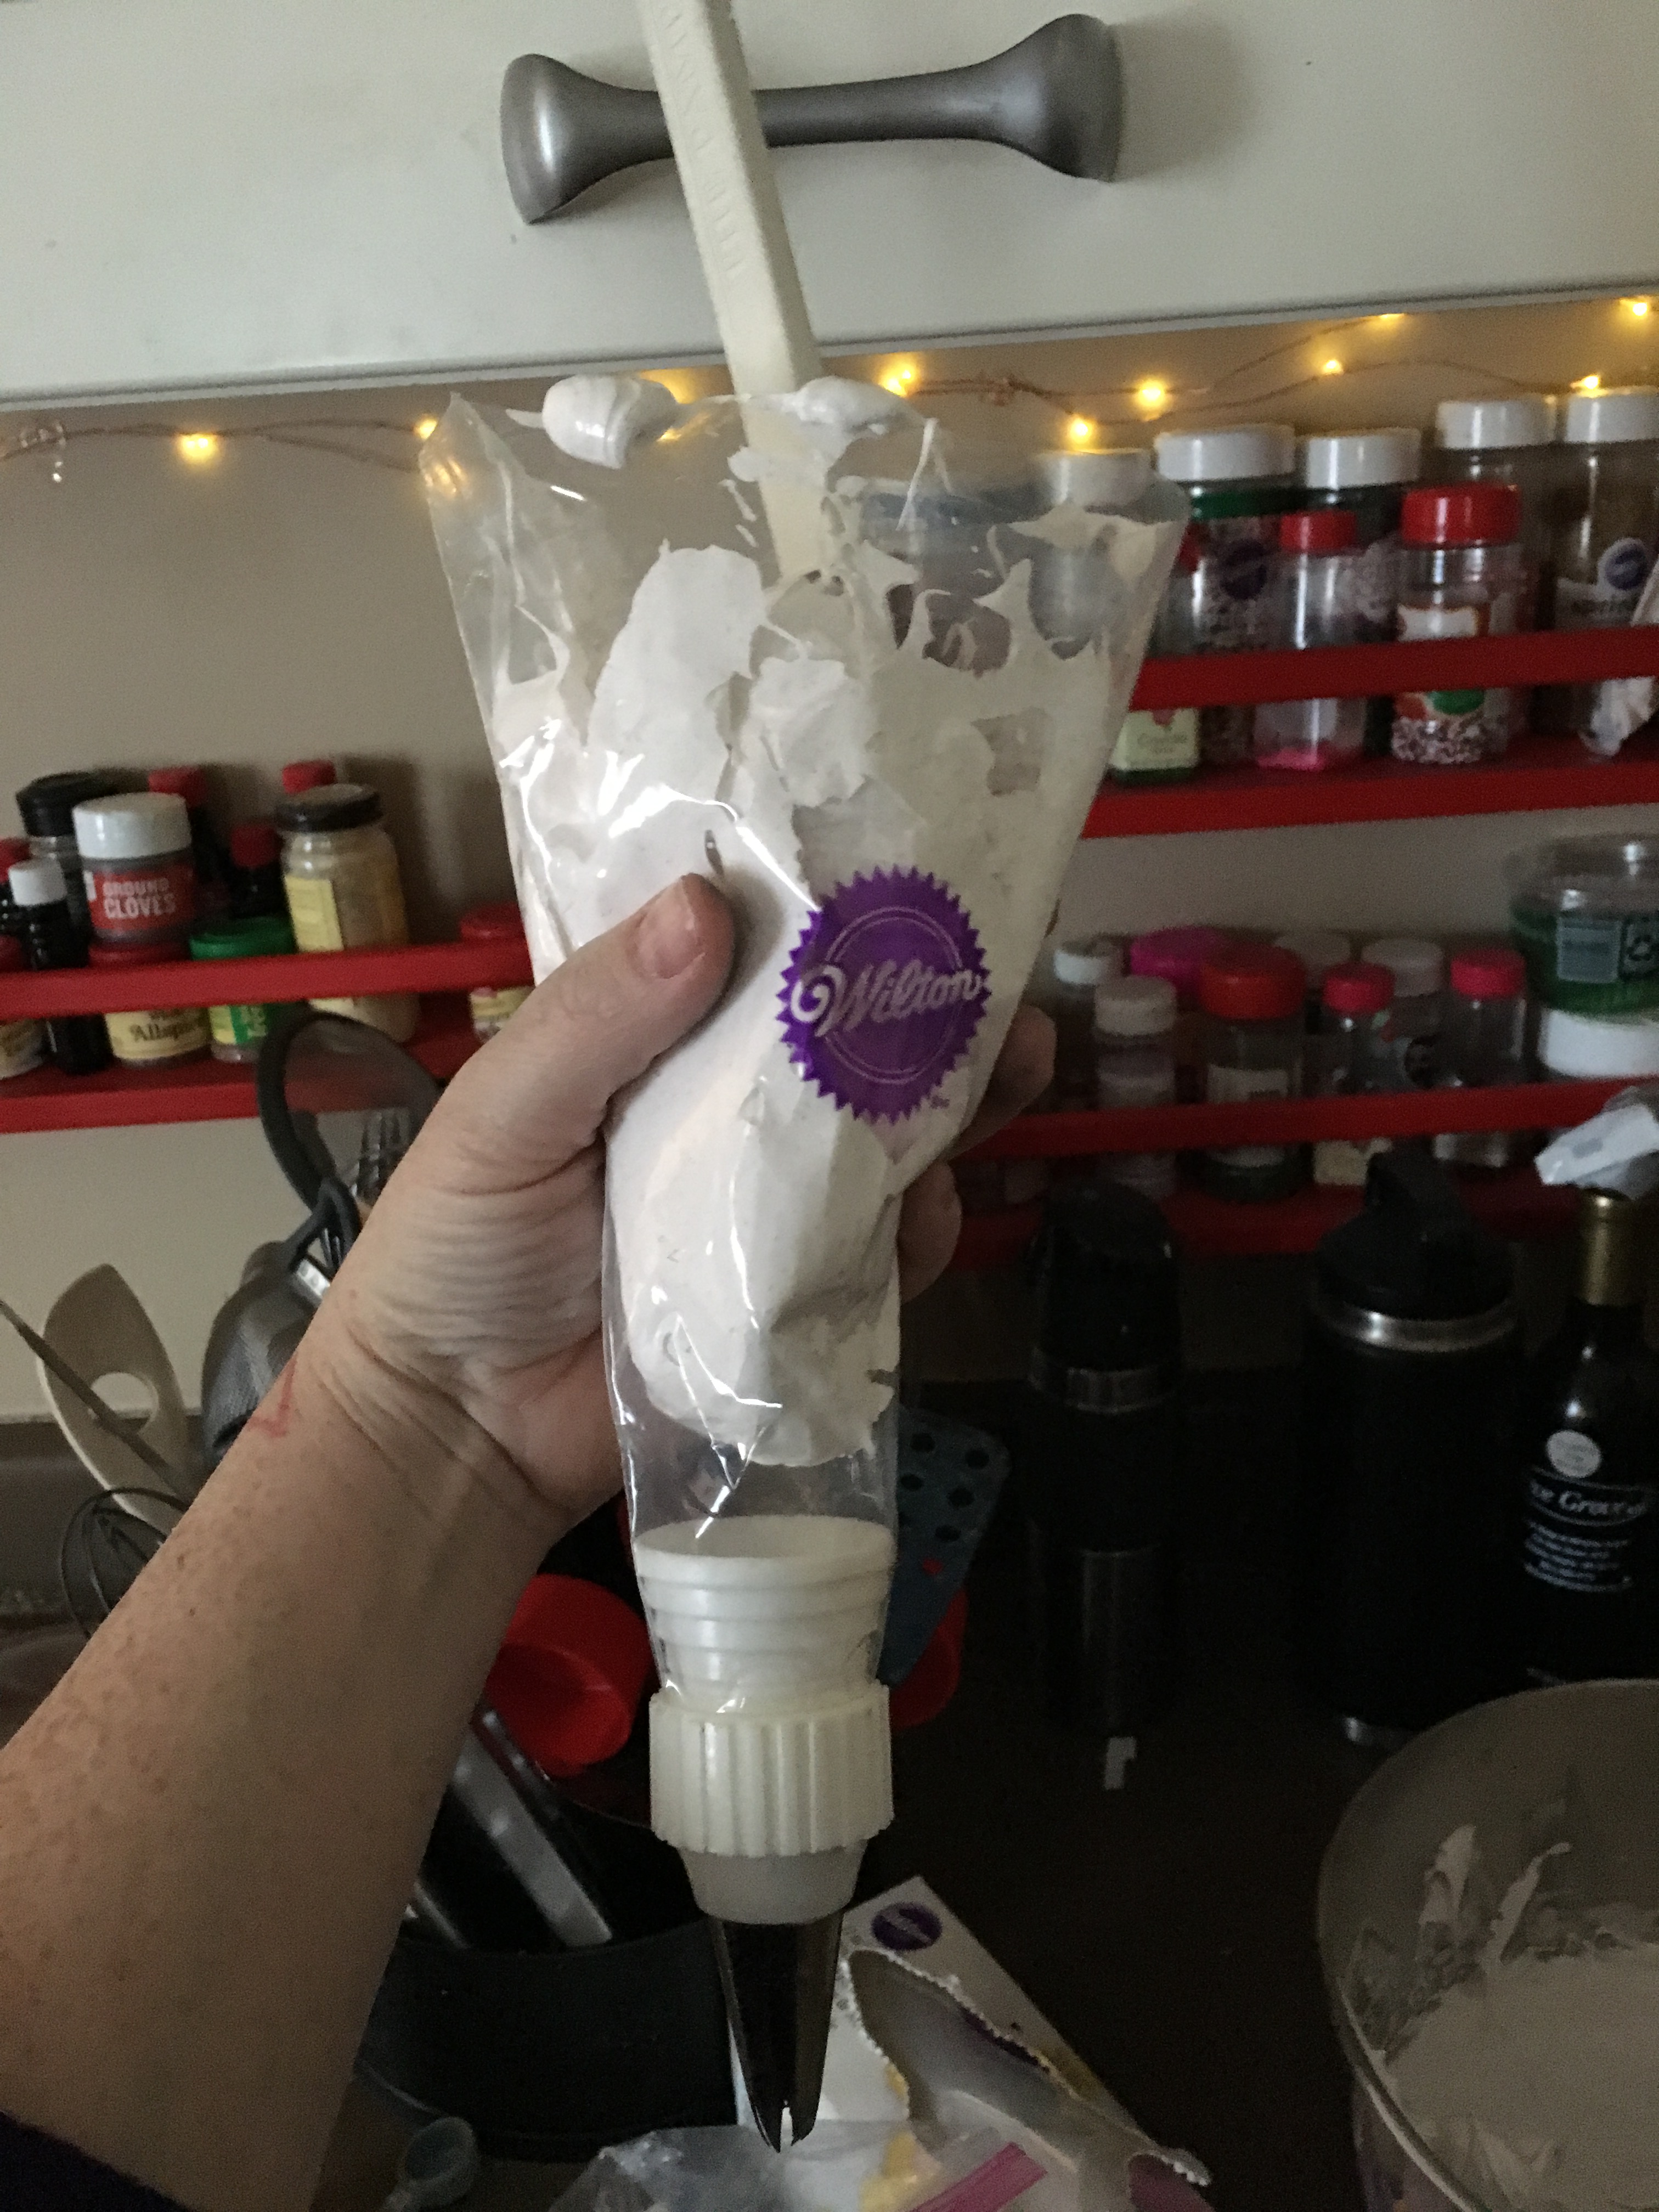
Then comes the fun part…loading the decorating bag with gobs of sticky meringue. Thankfully, there were no casualties this year.
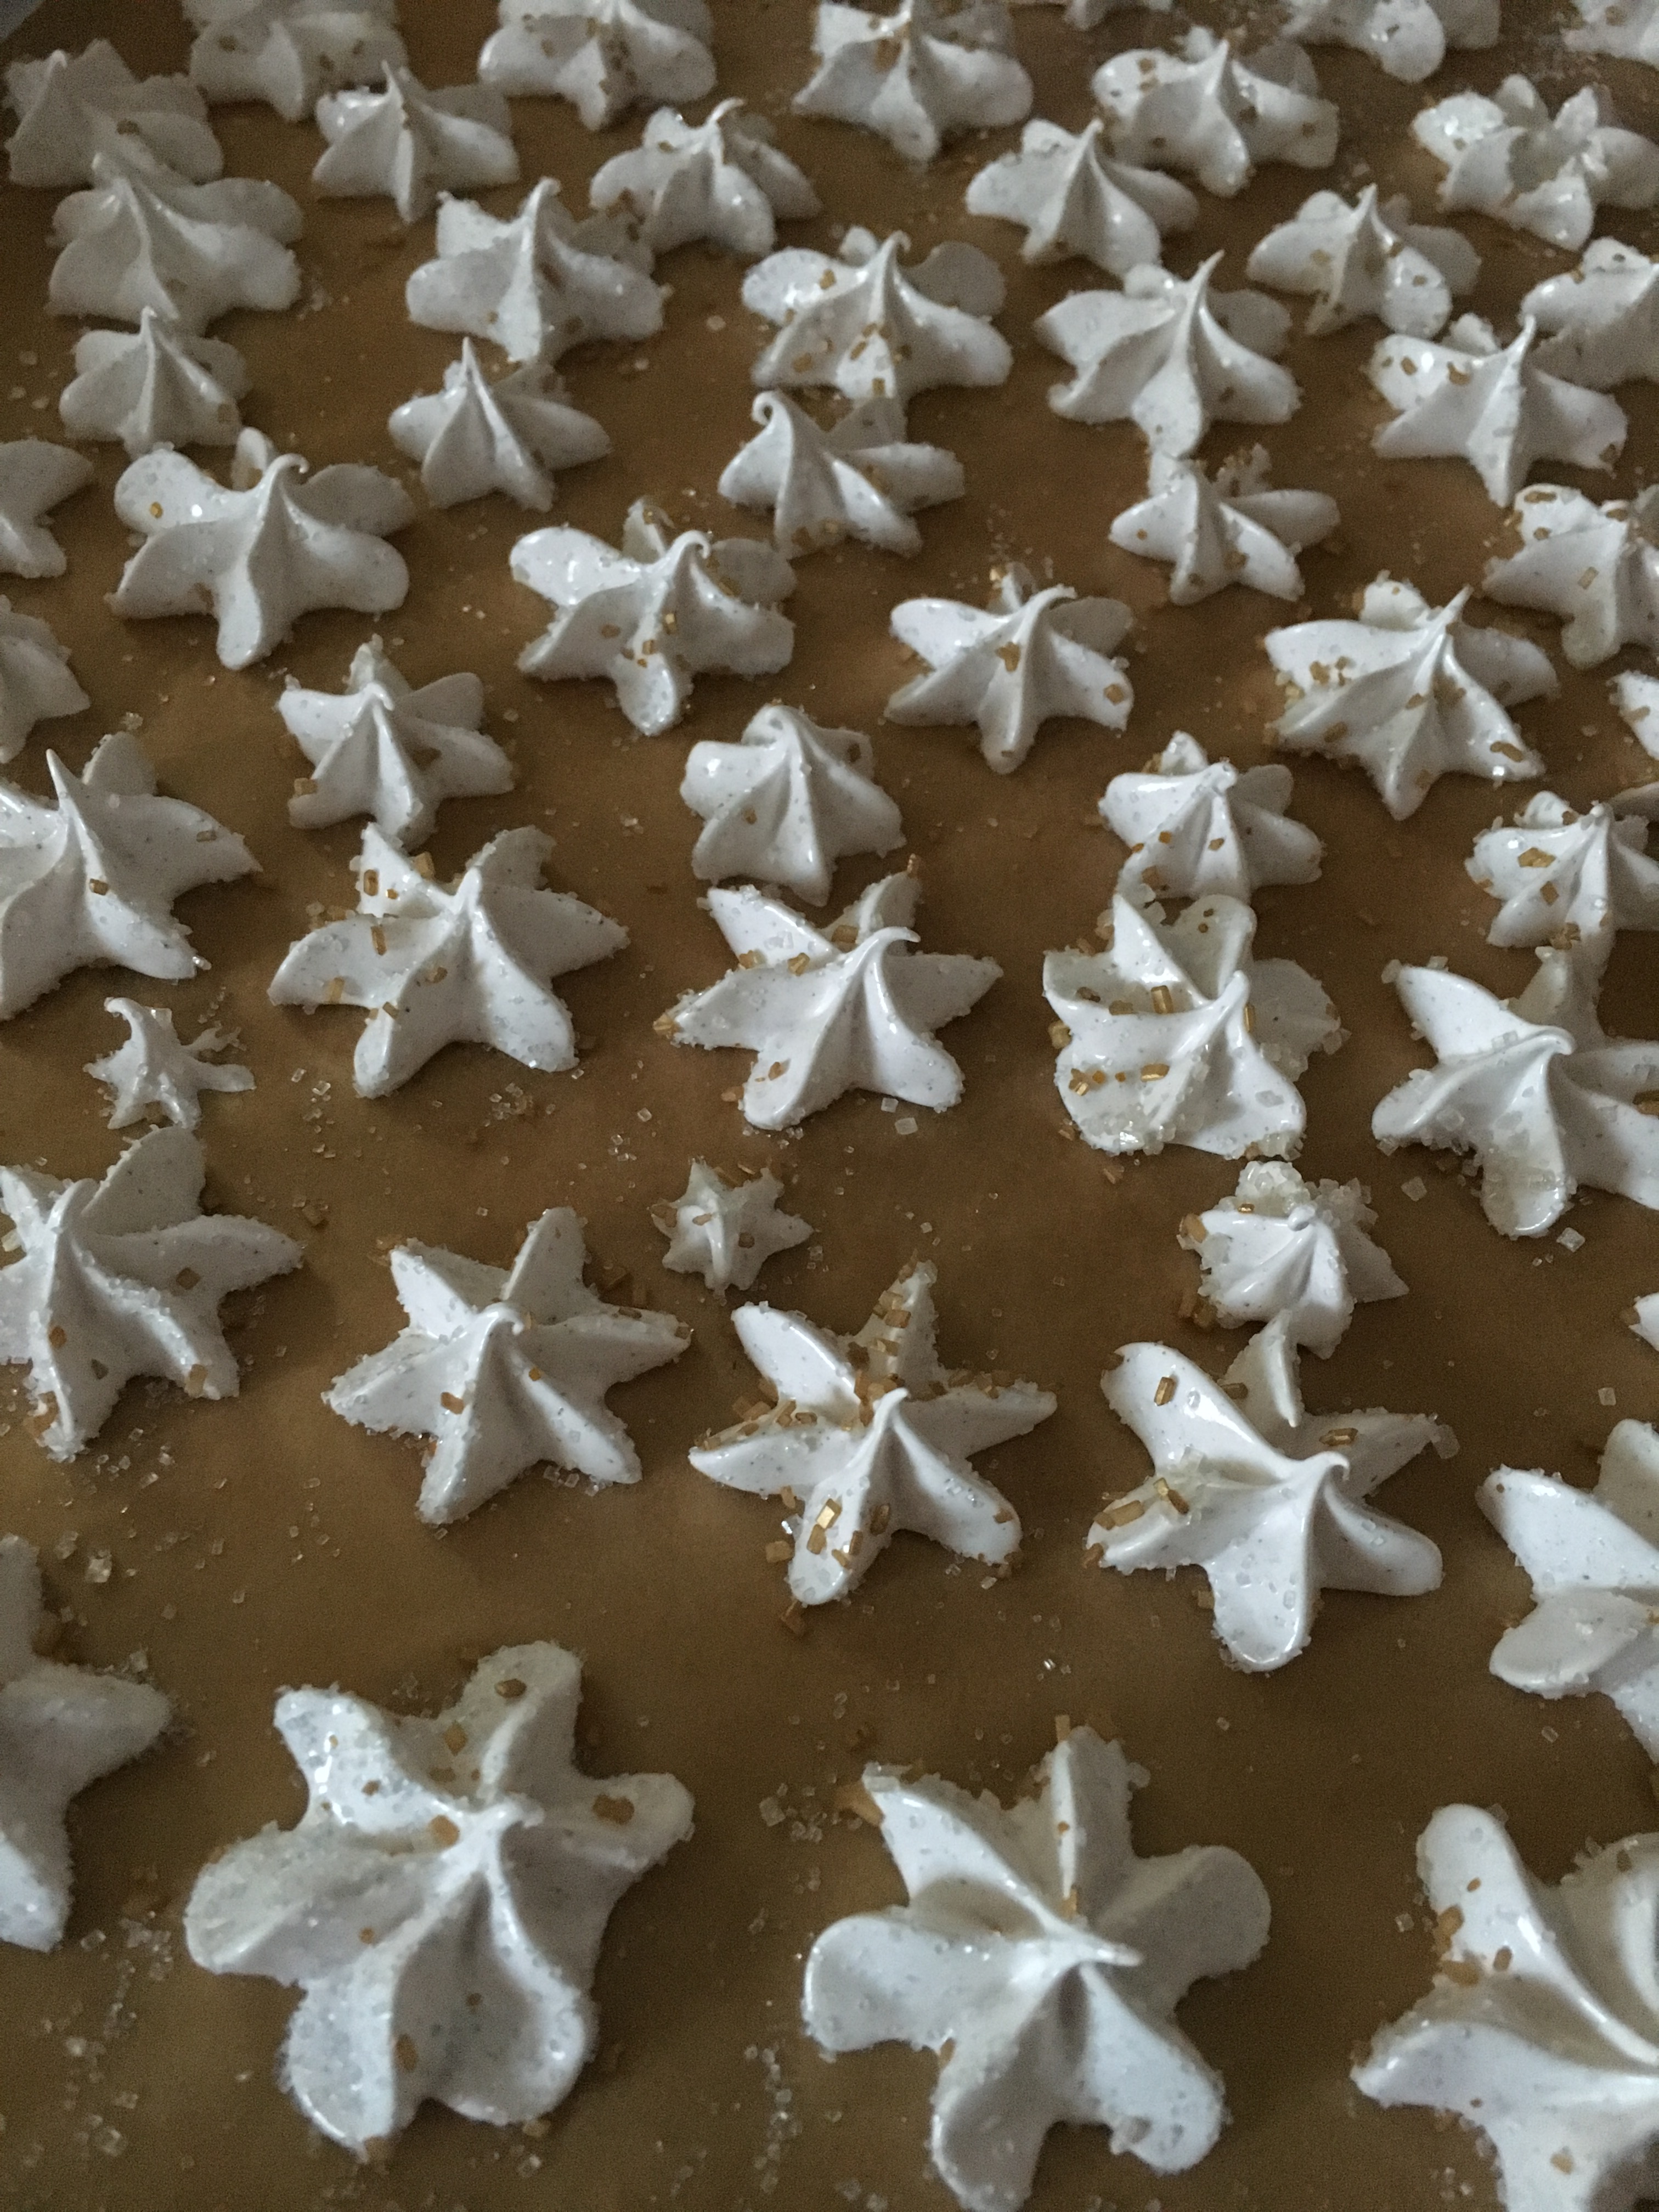
It always takes me a few tries before I find my rhythm. For this batch, I found it easier to put the tip on the cookie sheet, rather than start it above where I wanted it. To me, it looks more like snowflakes like this. After I piped them all, I found different colored sugars and shook them over the snowflake globs. I used a shimmery white, light blue, and gold, but you really can only see the gold. It’s cool; I know it’s there.
I left for the 4 pm band concert at 3 (hey, those seats aren’t going to save themselves) and left the cookie sheets out to dry. When I came back at 6, they were no dryer than when I left, so I popped them in a 210 degree oven for about 25 minutes, and that seemed to do the trick.
Snowflake Meringue Cookies (from The Spirit of Christmas Cookbook, Volume 4)
Ingredients:
4 egg whites 1 1/2 c. powdered sugar 1 t. almond extract 1/2 t. ground cinnamon 1/2 t. cream of tartar decorating sugar
Directions:
1. Cover baking sheets with waxed paper. 2. In a large bowl, beat egg whites until foamy. Add powdered sugar, almond extract, cinnamon, and cream of tartar; beat until very stiff. 3. Spoon meringue into a pastry bag fitted with a small star tip. Make snowflake design. Add decorating sugars. 4. Let sit at room temperature for 30 minutes.
I’ve been doing this cookie thing for a long time now. The first official year of 24 Days of Cookies was in 2004, when my now 16 year-old son was a precocious two-year-old. He was an only child at that point (and he’d joke that those were the good ol’ days) and was the cutest little dude you ever did see.
Because 2004 was about a million years ago, I don’t have those pictures digital on my computer, but I do have this picture of Nate when he was 3, so just imagine this dude a year younger. Precious.
Anyway, Nate has been my longest-running taste-tester, beater-licker, and cookie-sampler. Nowadays, he’s also my bus boy and world’s greatest dishwasher. Let’s just say he doesn’t have the same enthusiasm about 24 Days of Cookies ever since he was upgraded from garbage to dishes, but he doesn’t complain. Much.
Last week, he sent me a text from upstairs (because: teenagers), with a cookie recipe. He’s never suggested a cookie before. They grow up so fast.
Here he is now, at drivers ed last week. Doesn’t he look thrilled to be taking a picture with his mom?
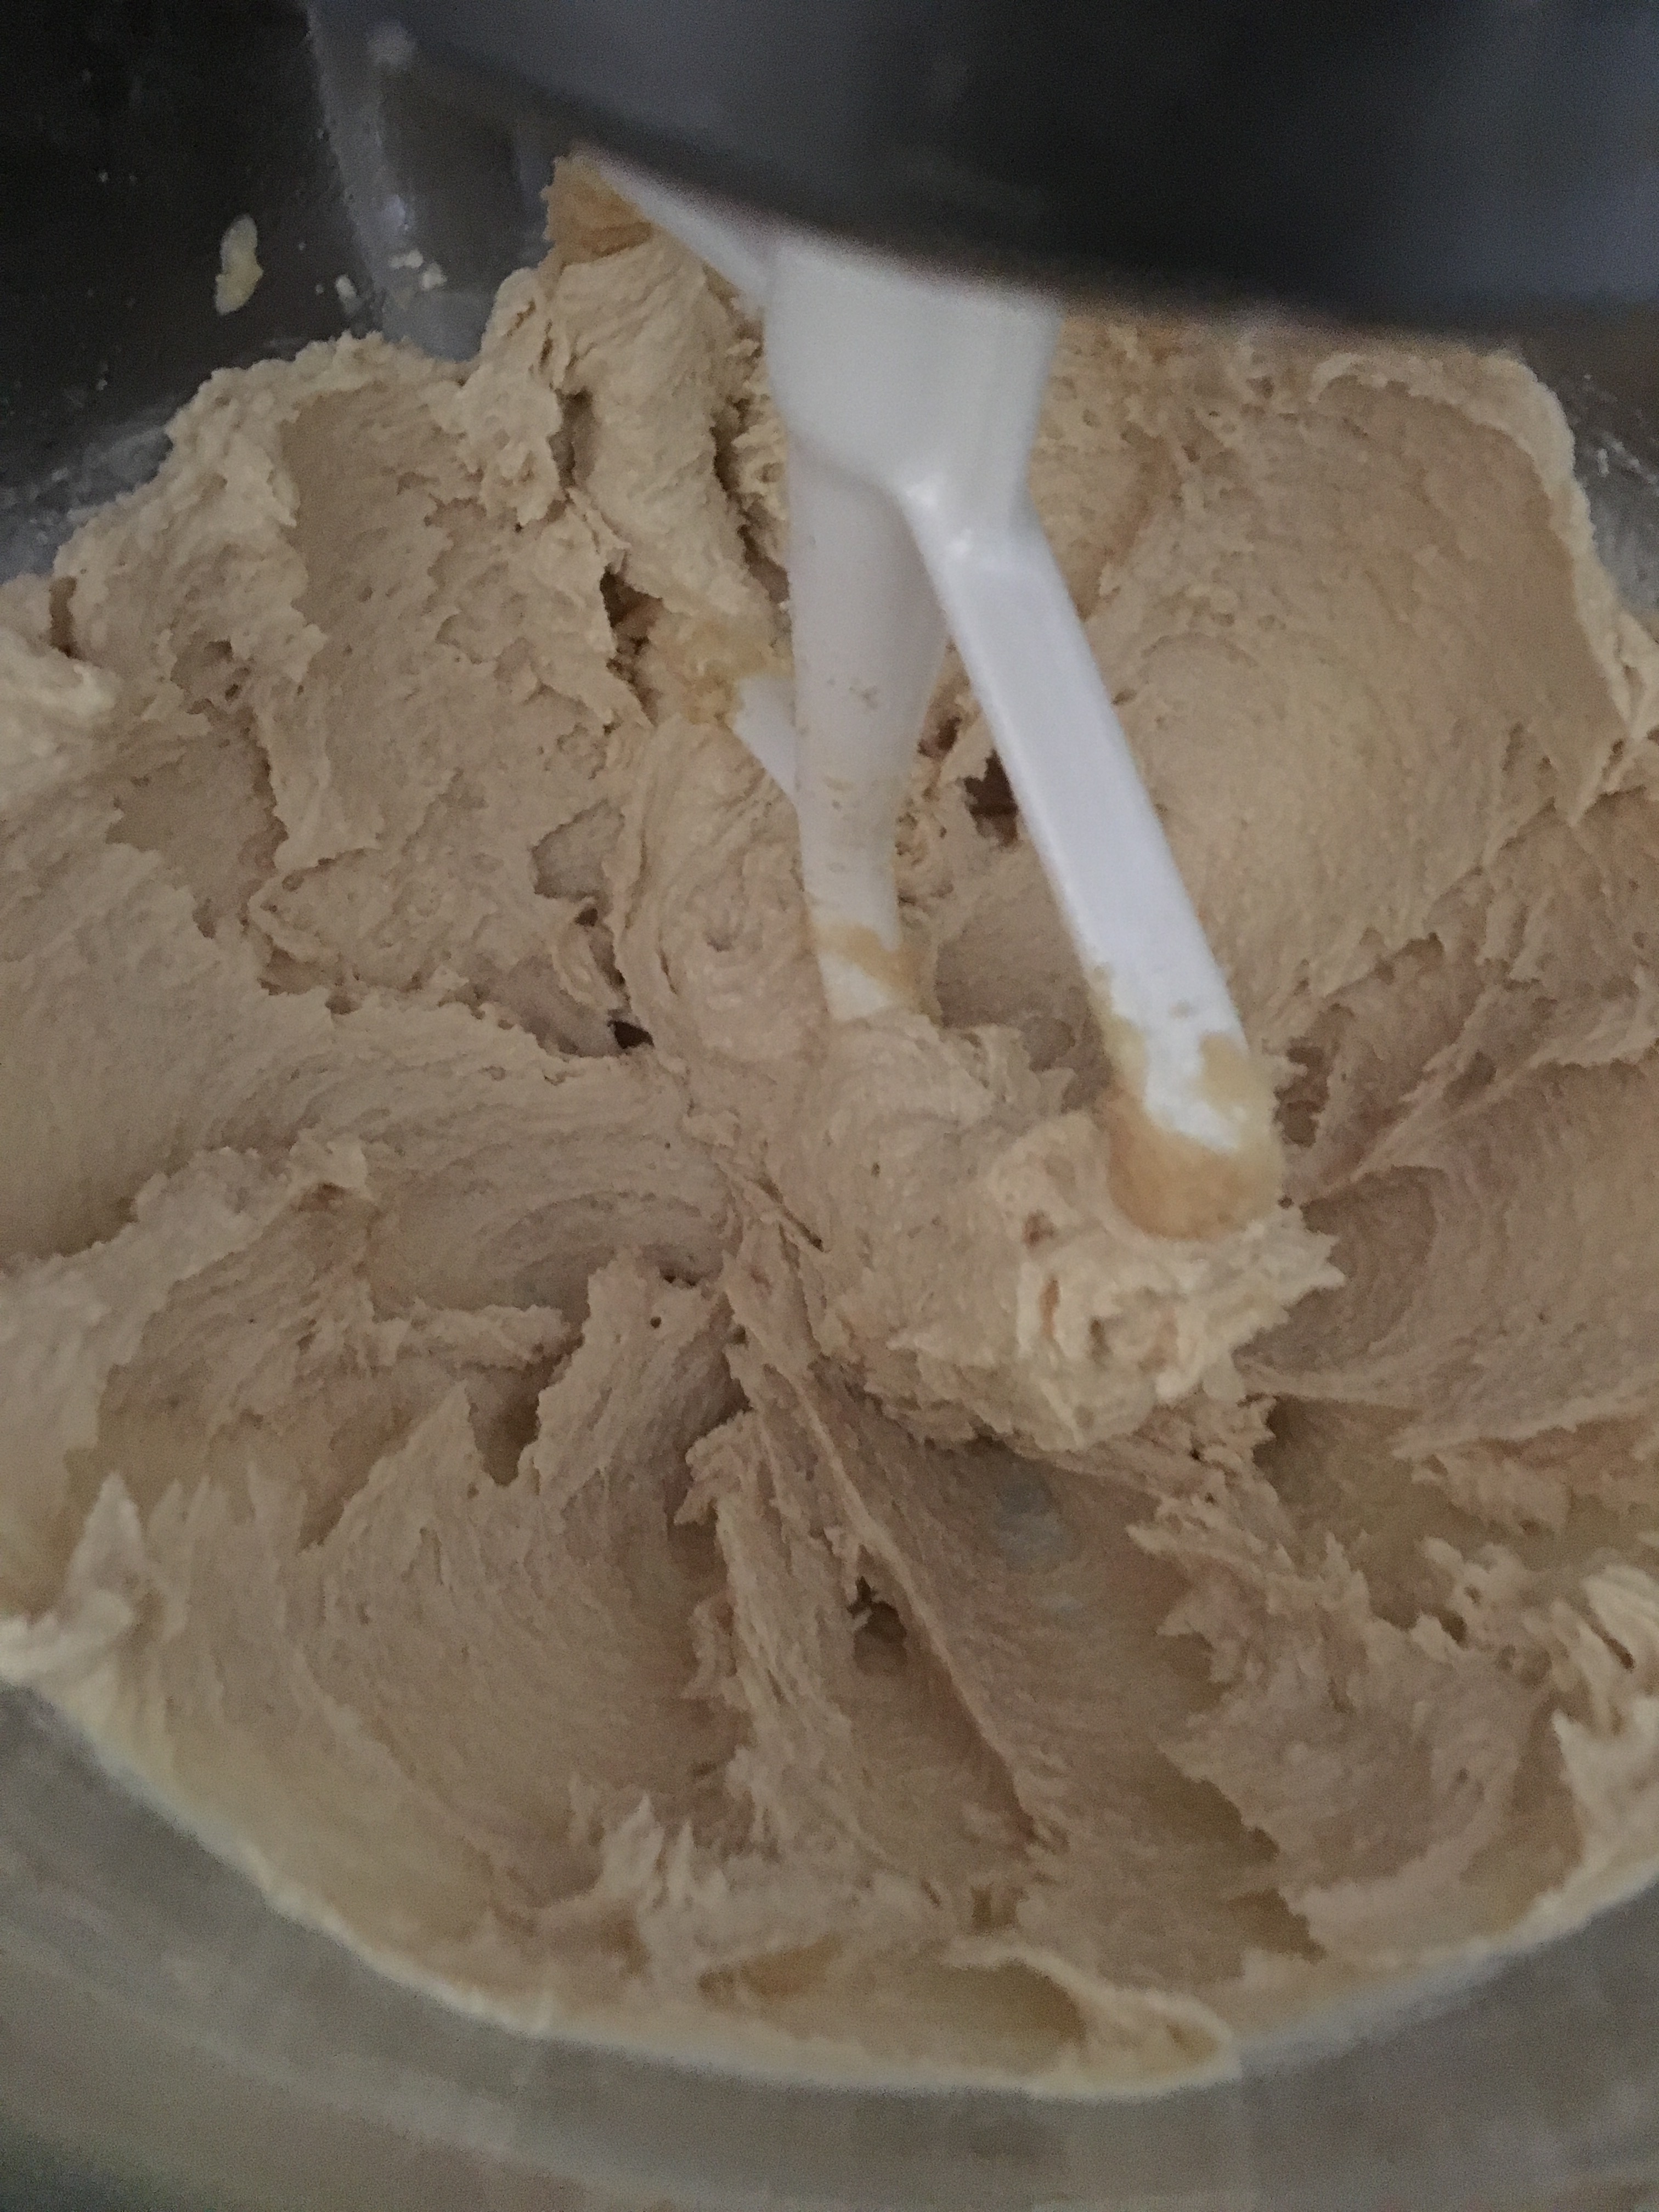
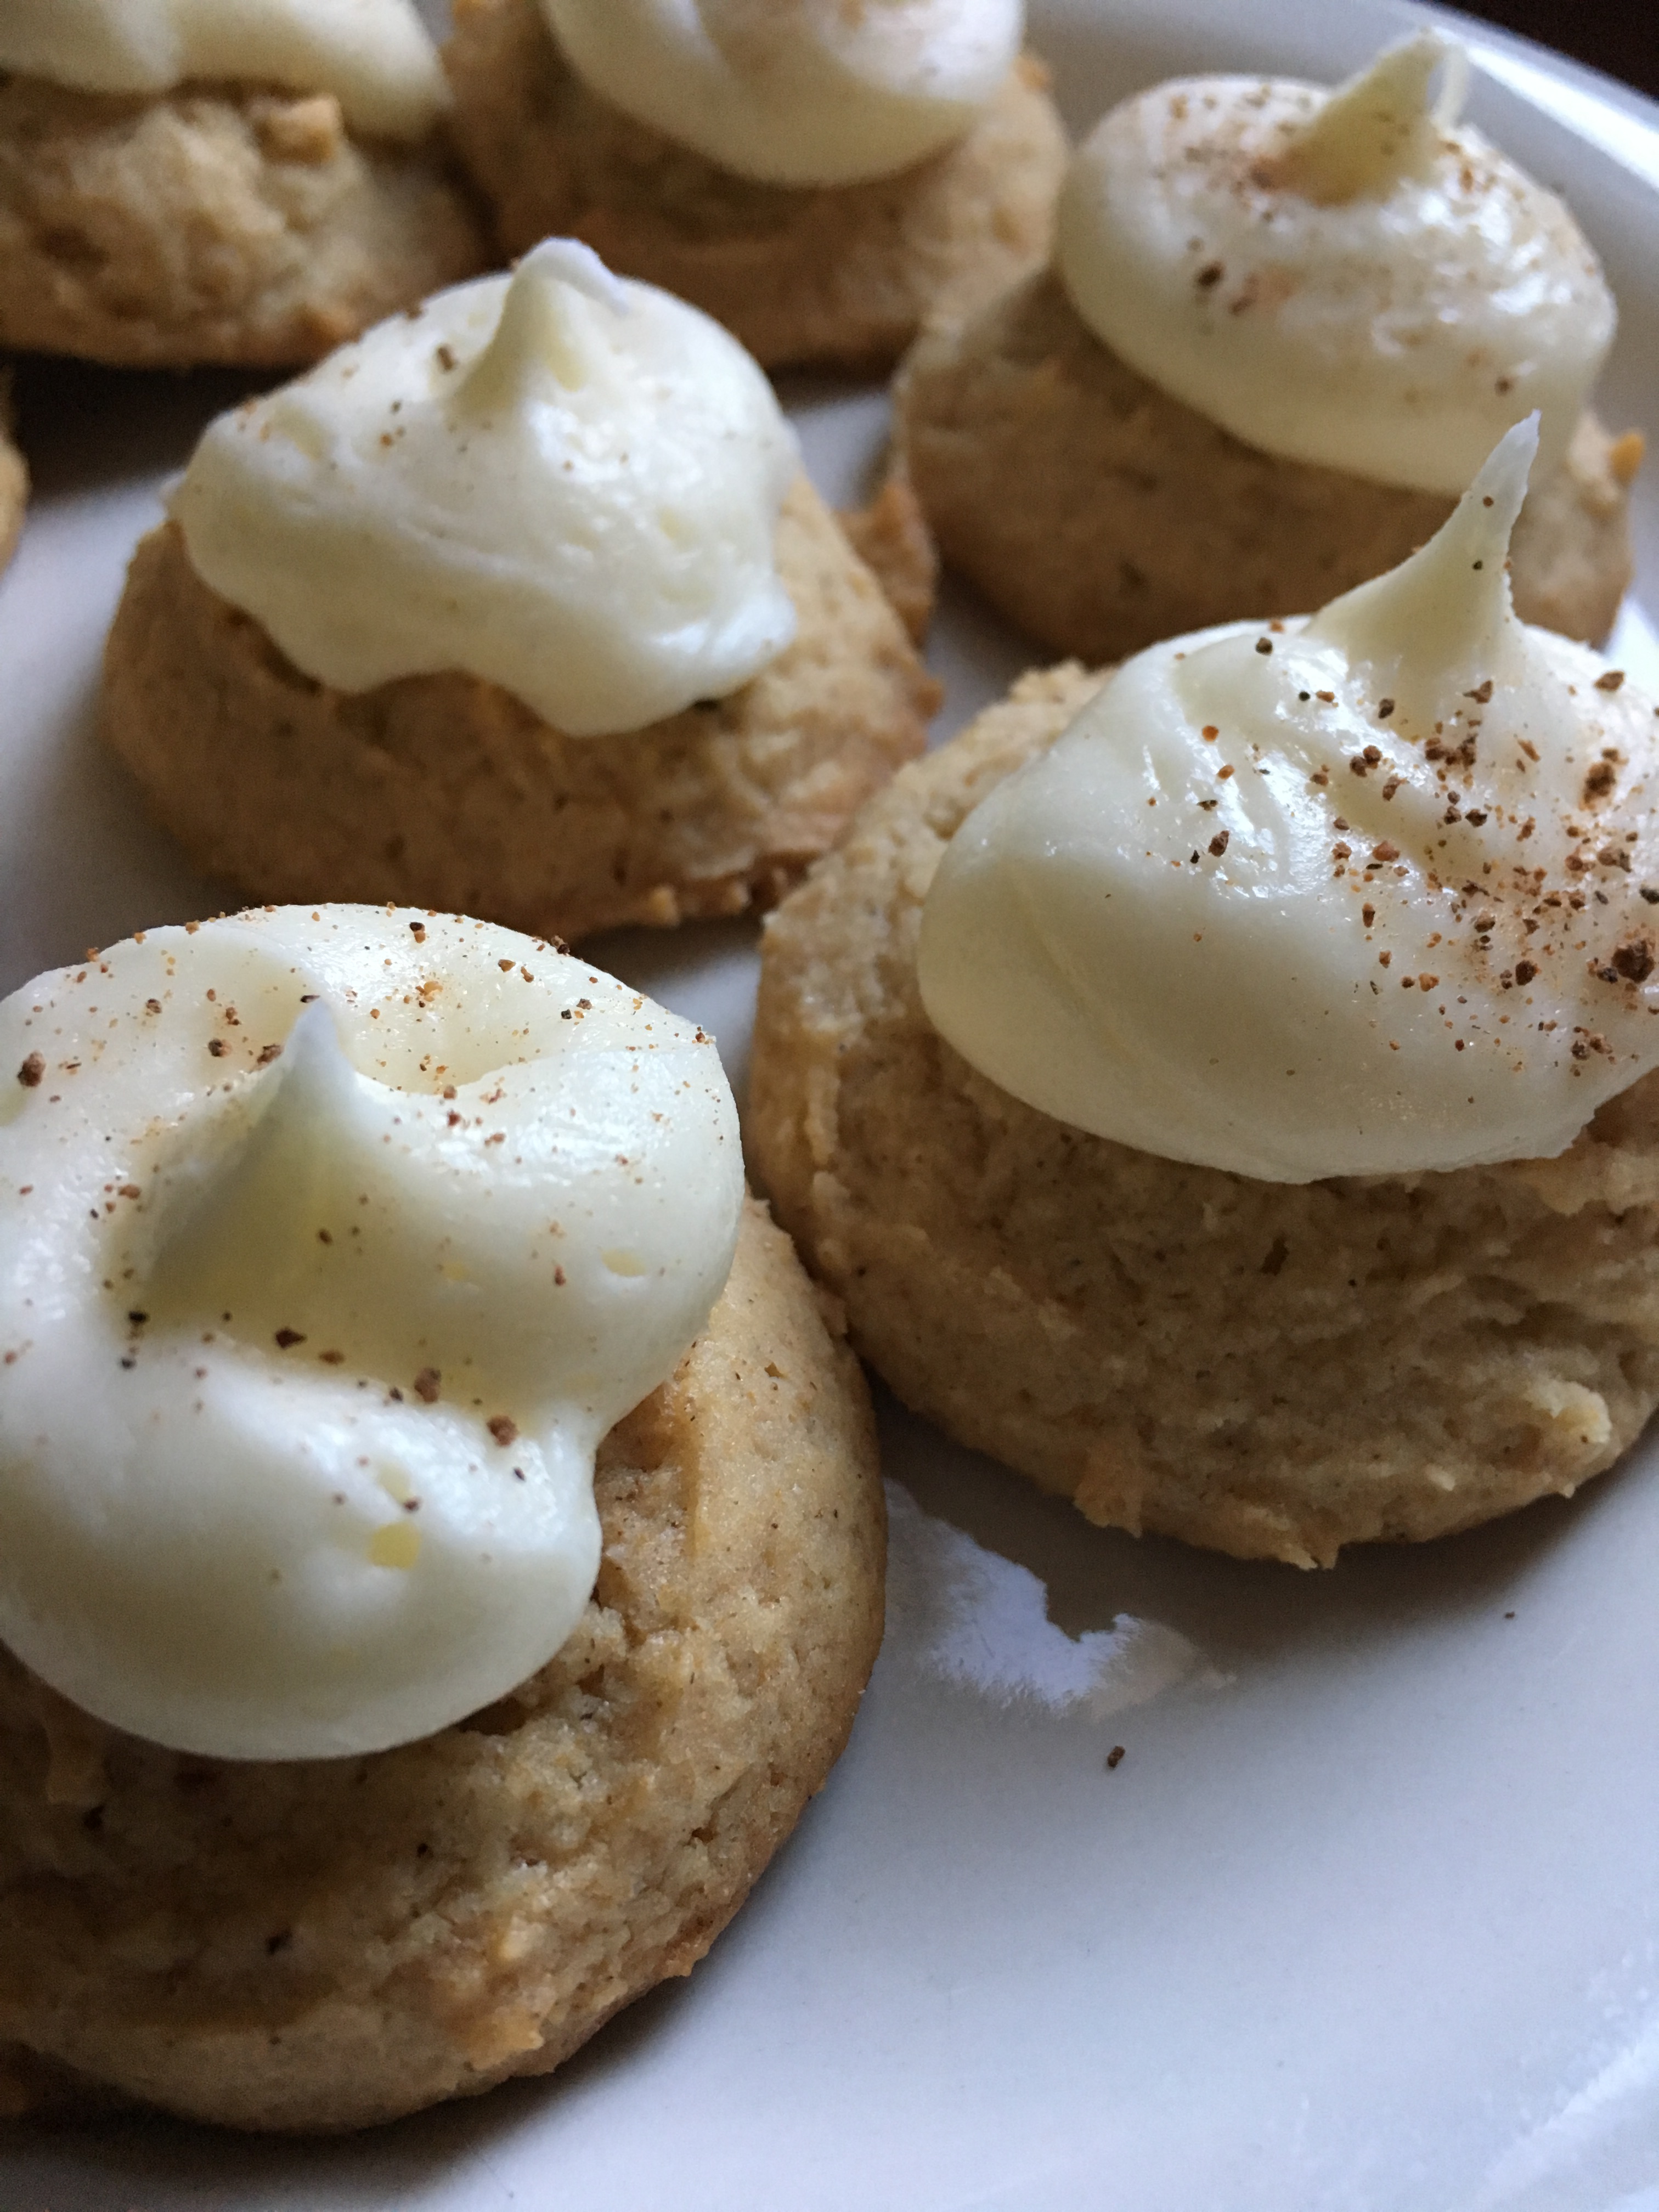
So, for Nate, I made Eggnog Cookies today. The recipe looked pretty good and tasted even better.
I creamed together the butter and sugars, and once again, the recipe called for it to be pale and fluffy. What’s with that? It’s got brown sugar in it too, so I wasn’t sure how pale this would end up.
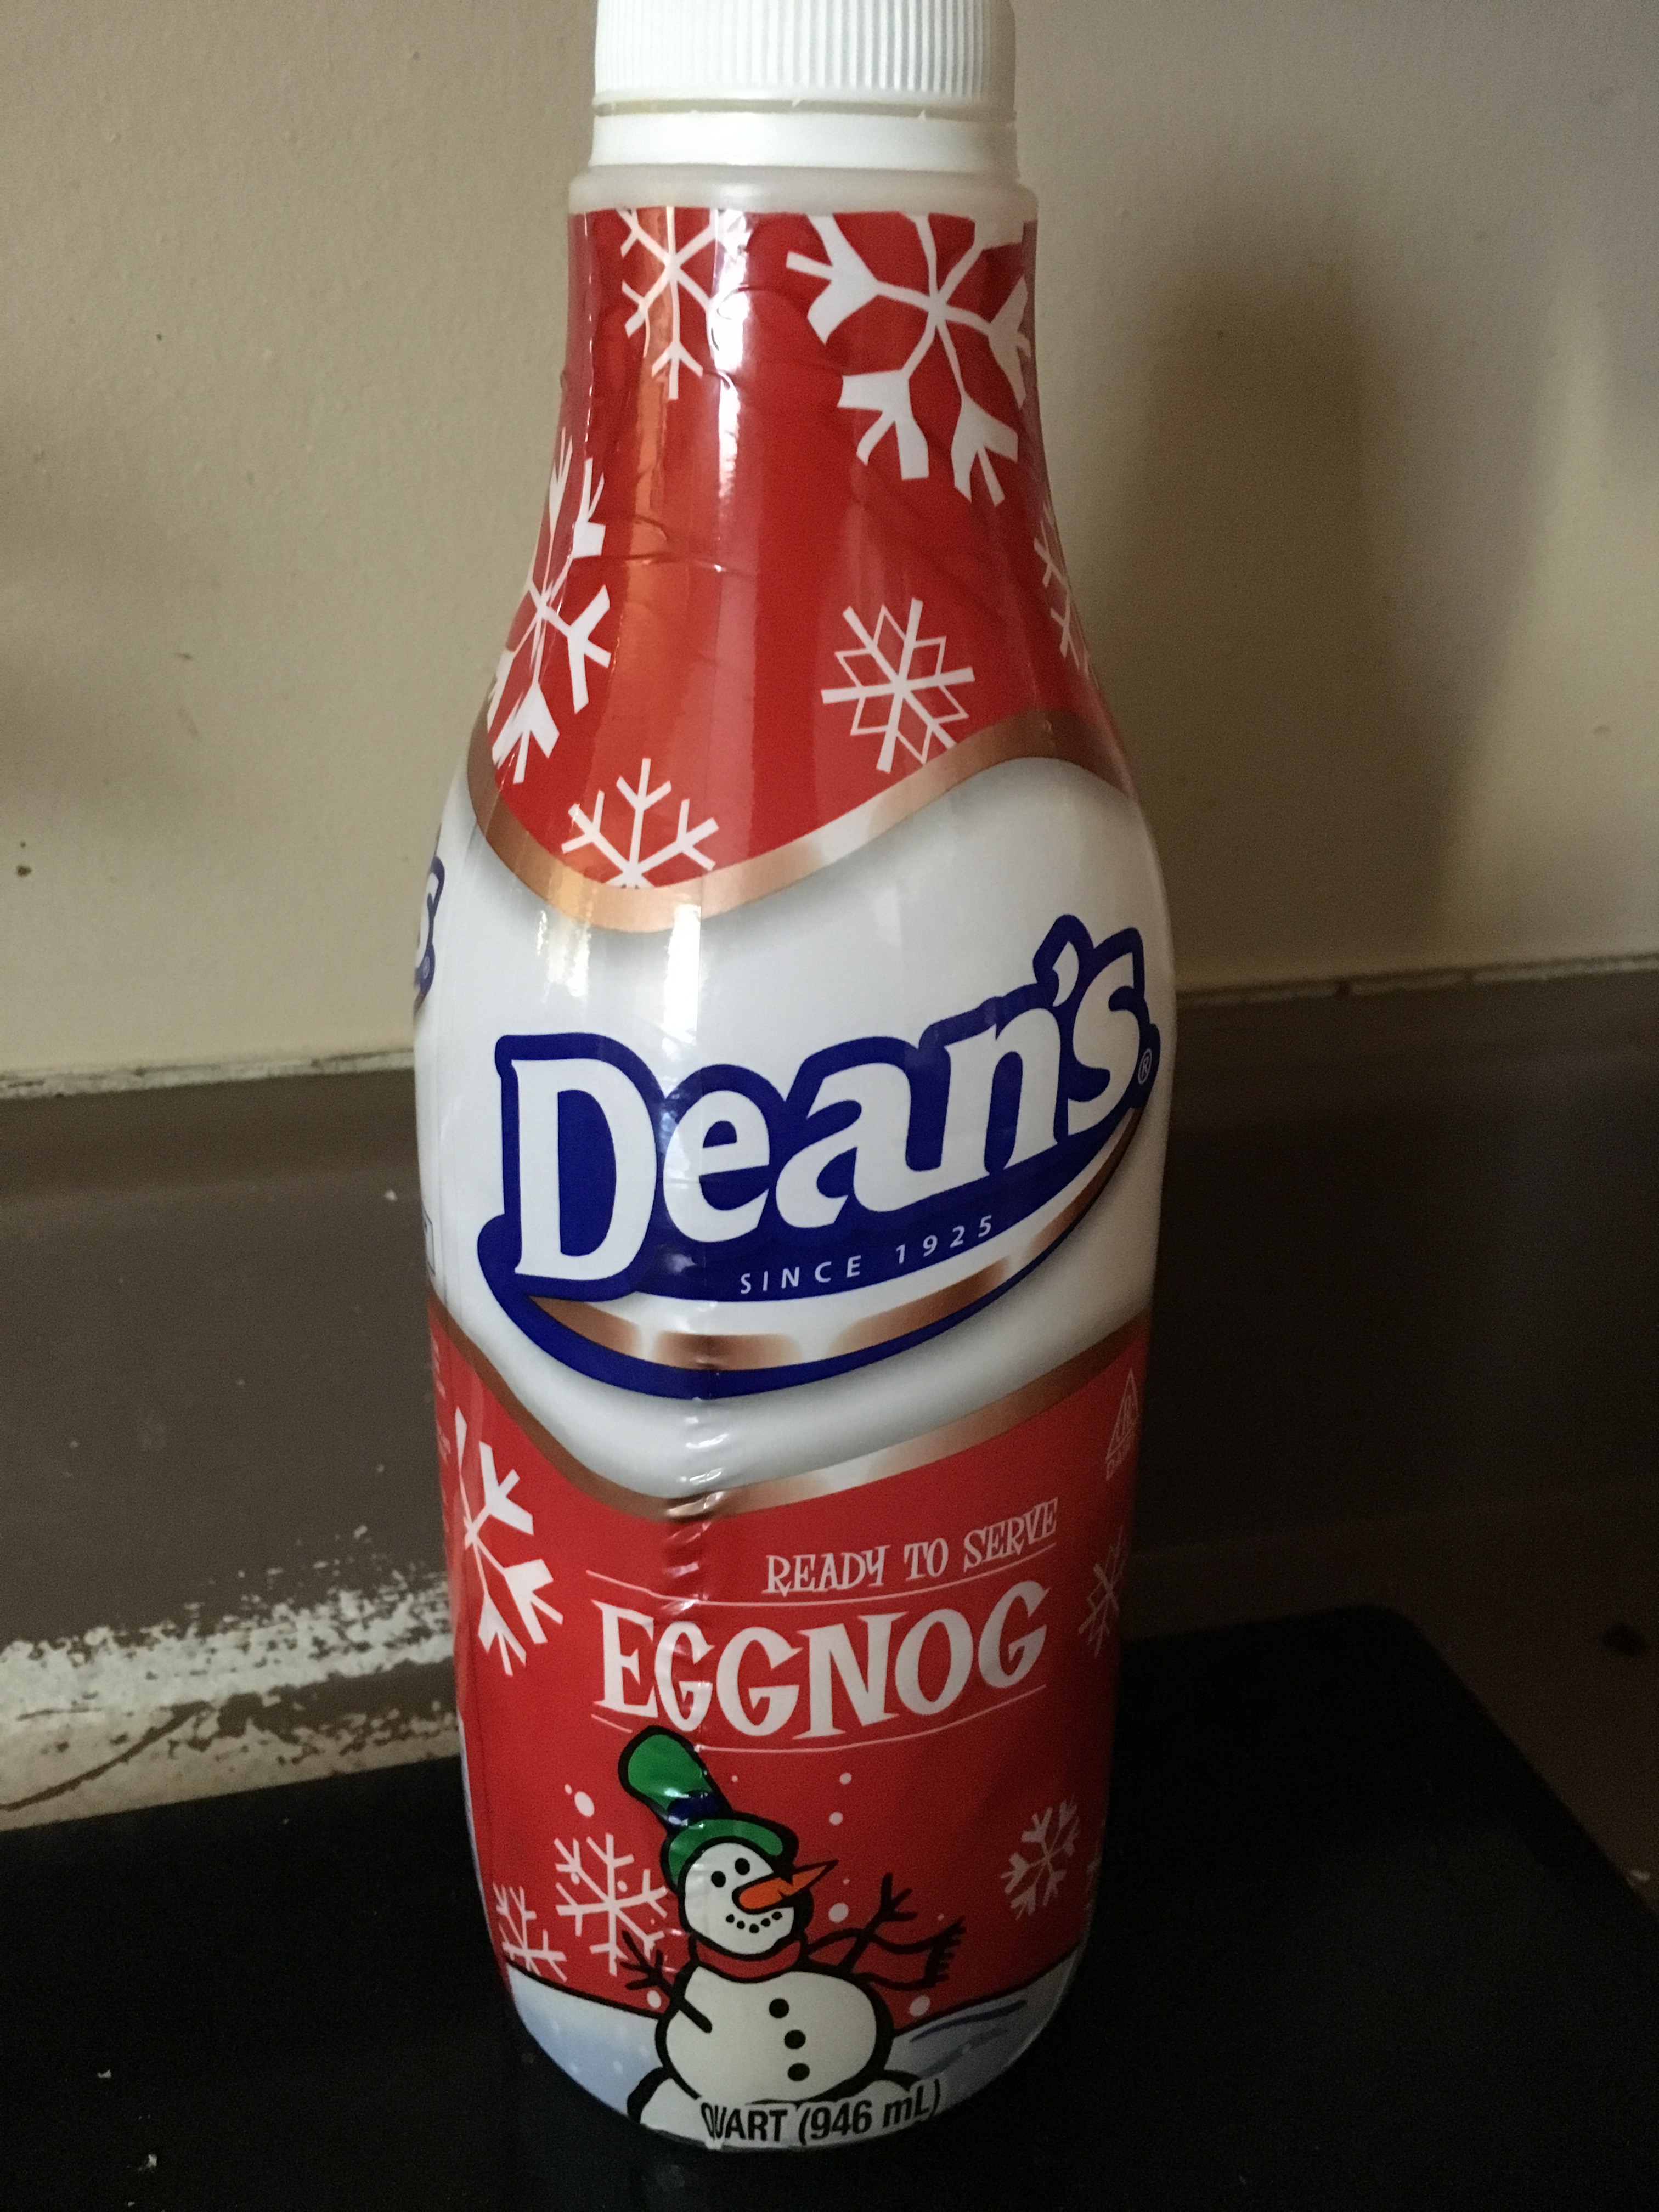
After adding vanilla and rum extracts to this, I added the pièce de rèsistance:
This is a hot commodity in our house. My middle son has been asking for eggnog for awhile, and so I bought two quarts early in the week. Aside from a glass or two by other people, he drank both quarts on the sly, and then complained all evening of digestive disturbance. Even with those natural consequences, I had to buy this secretly and hide it.
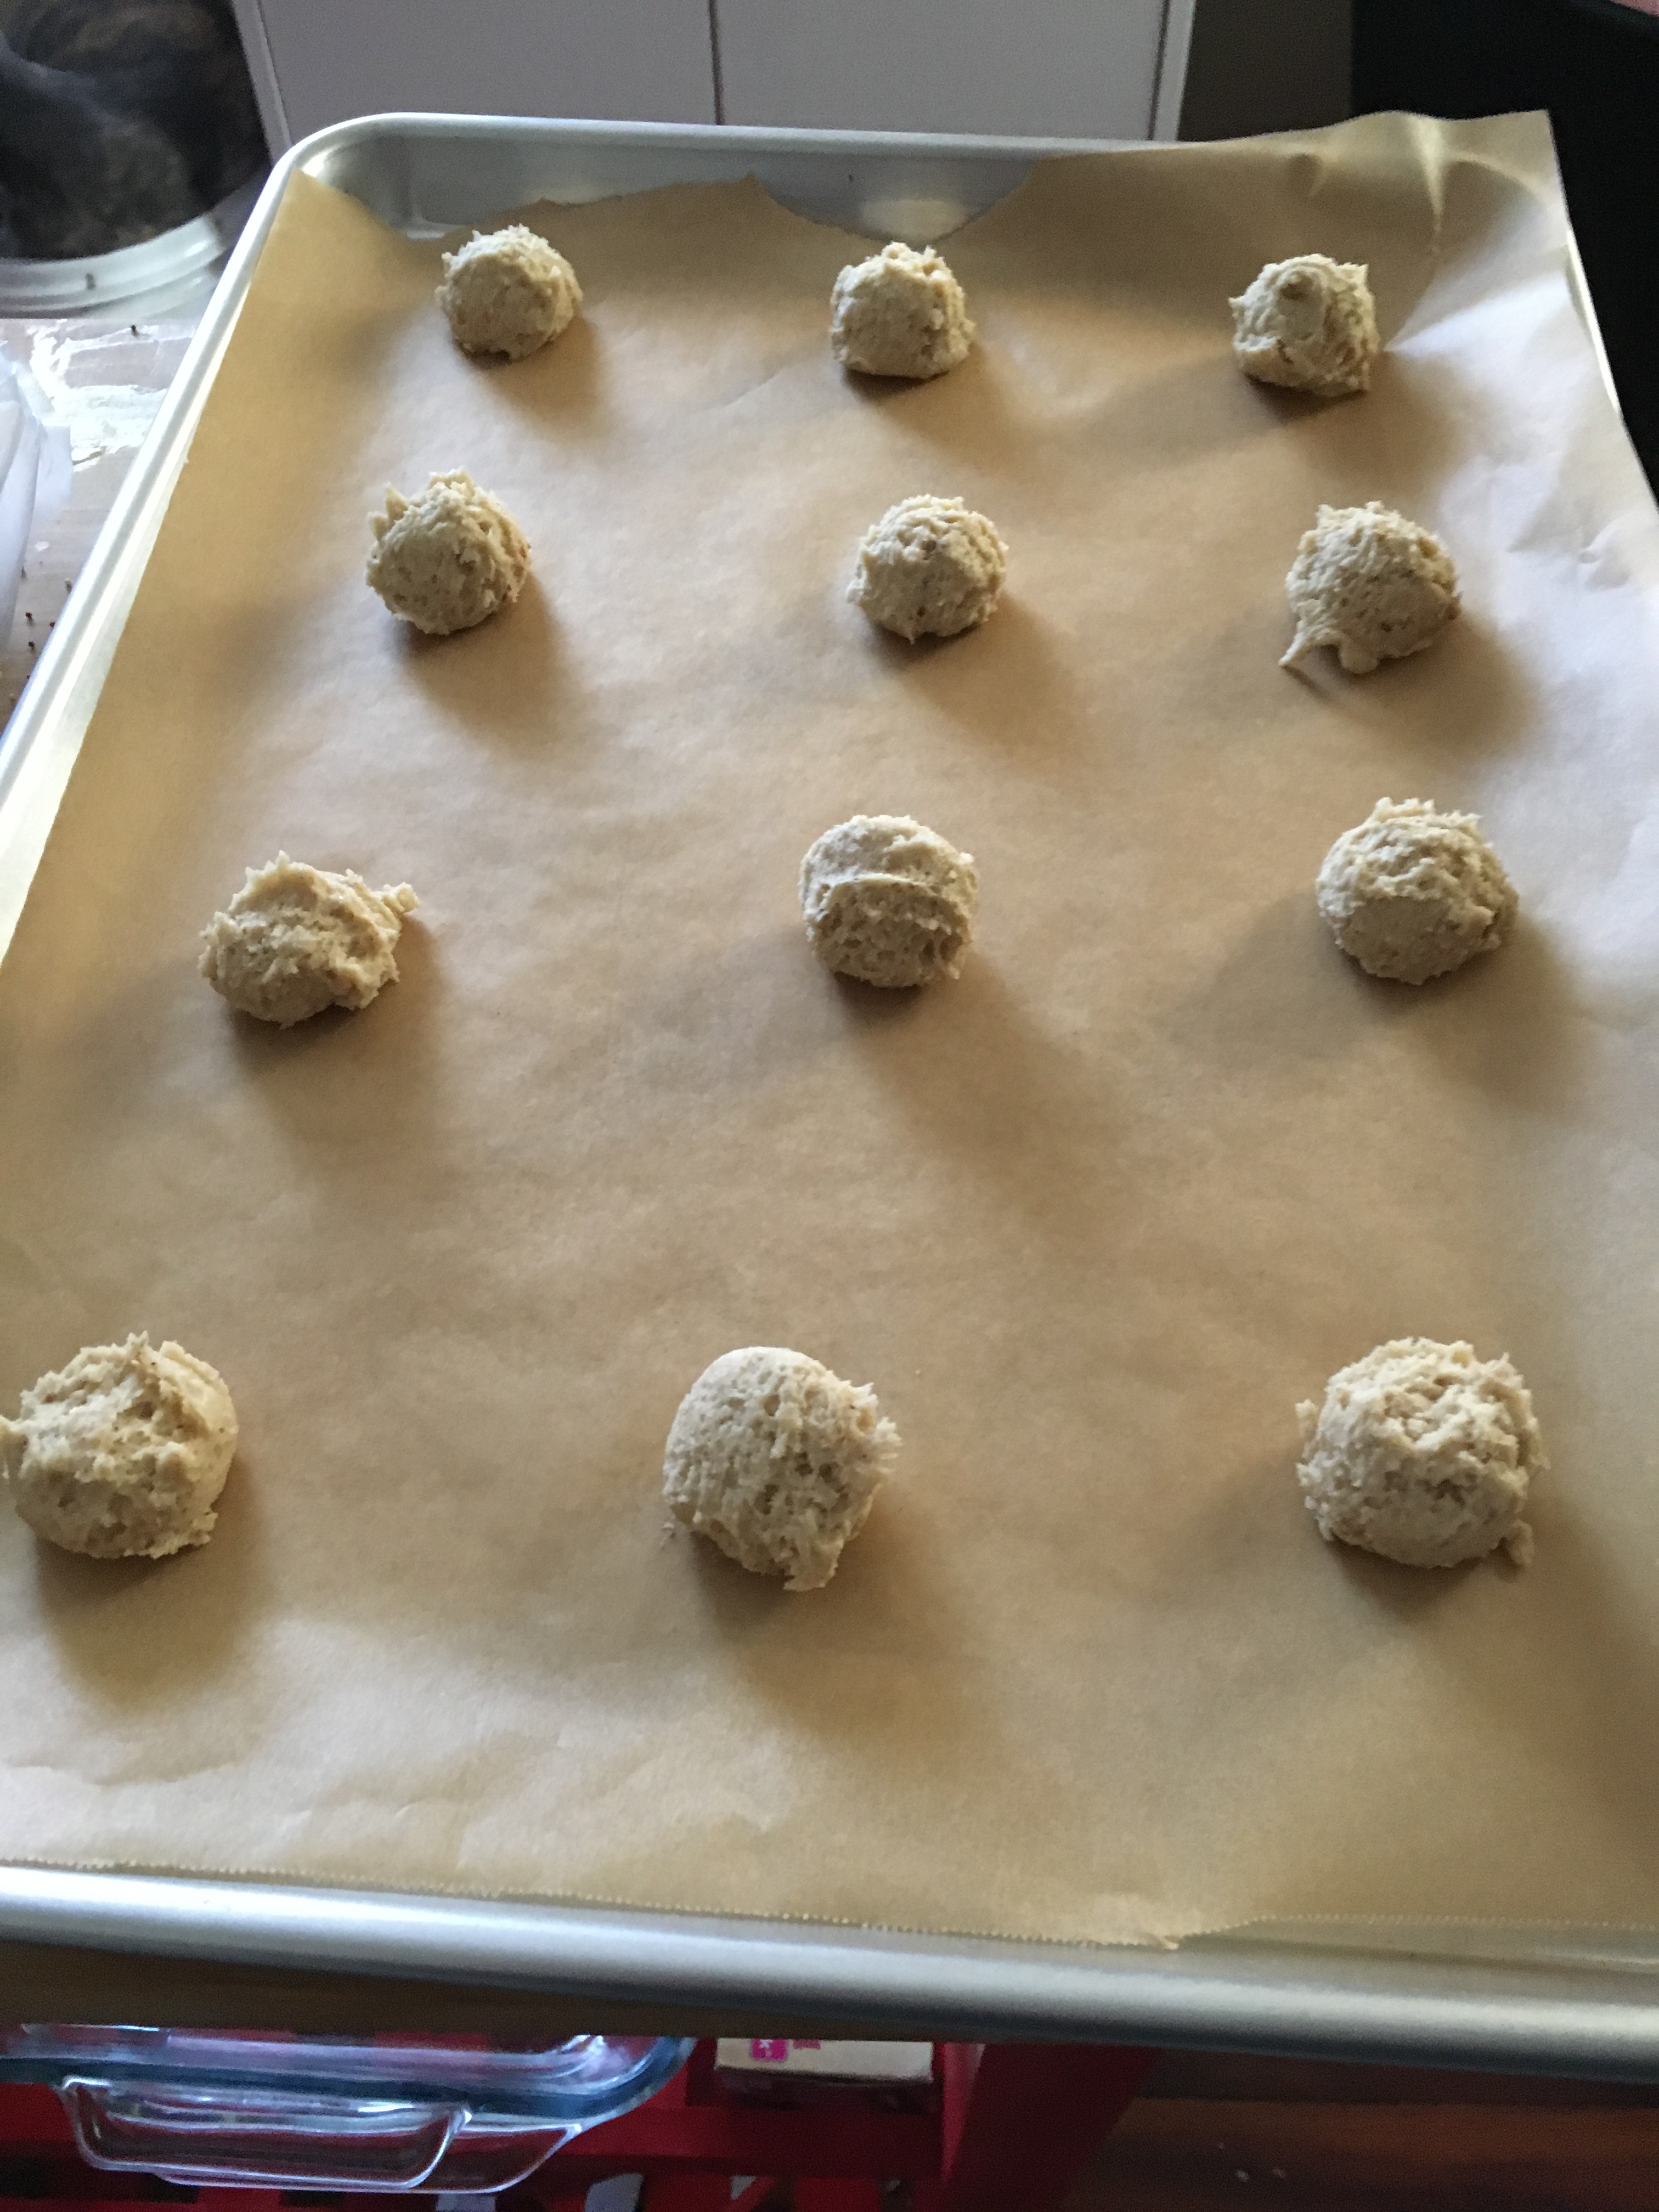
After adding all the dry ingredients, I put the dough on my parchment-lined baking sheets and baked them as directed. Because I think my oven is a few degrees cooler than normal (hi landlord…), it took a few minutes longer, but ultimately turned out pretty well.
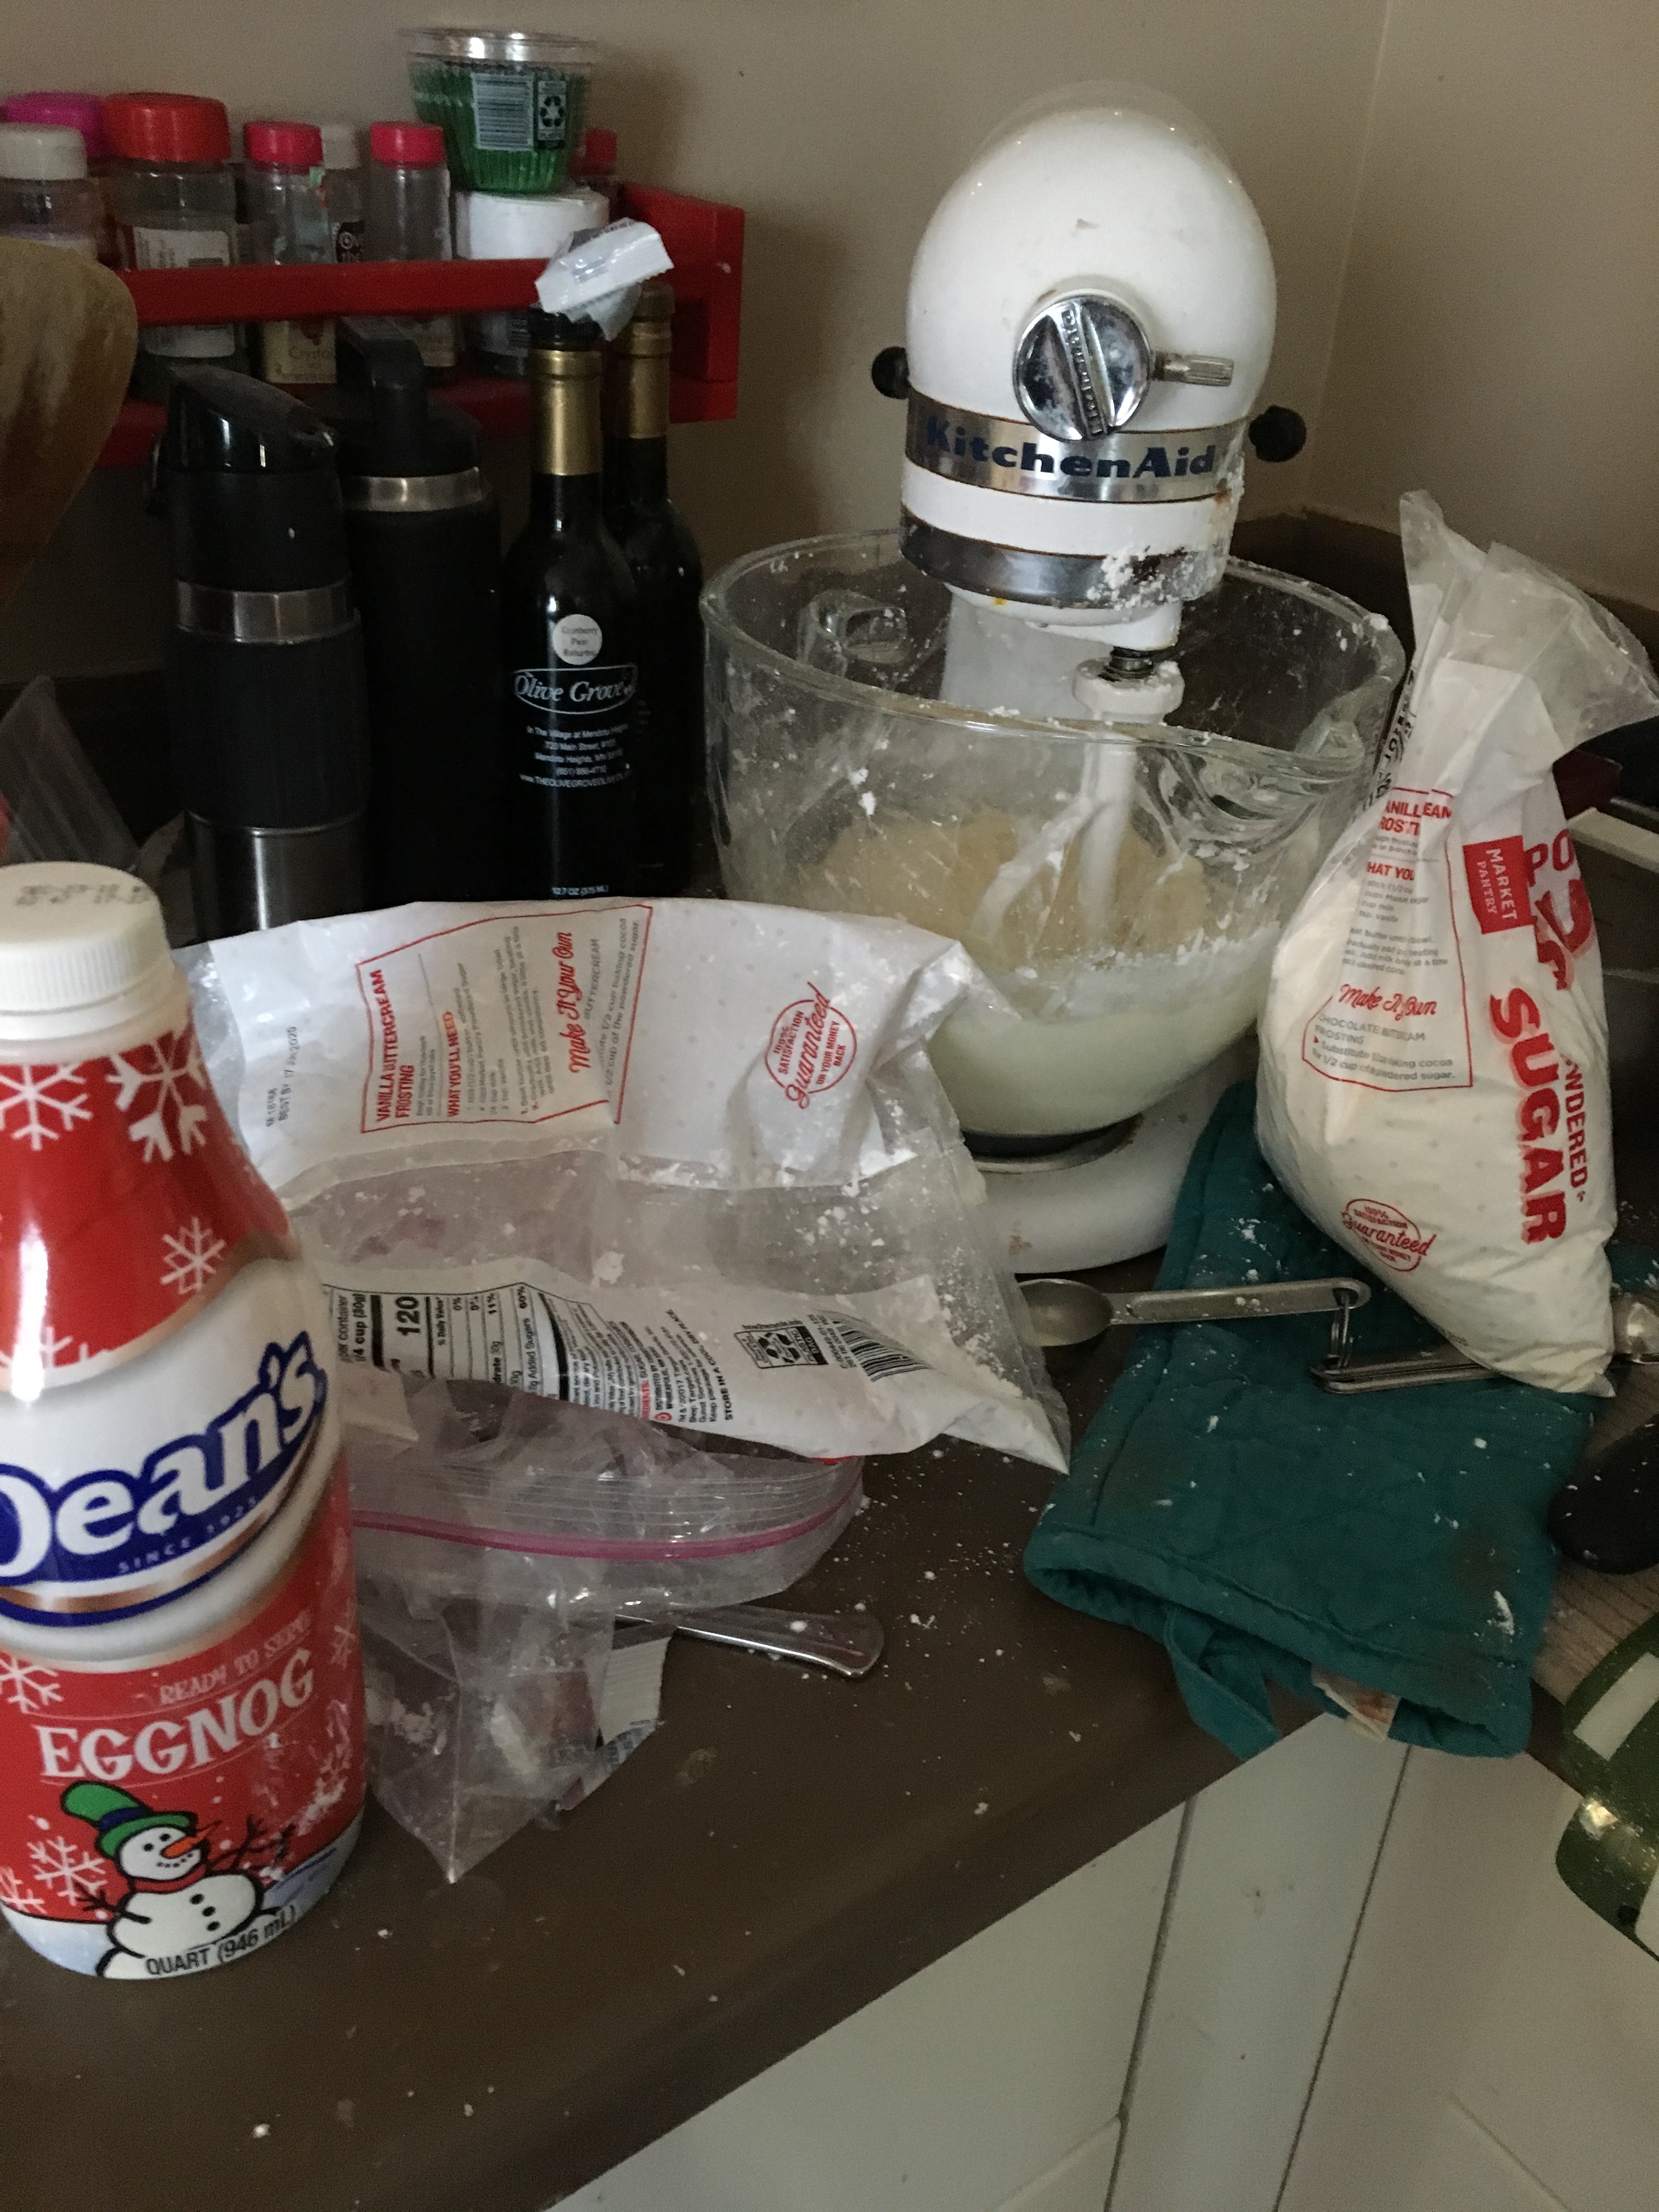
I then got started on the frosting, which also calls for rum extract and eggnog. And butter, and a crapload of powdered sugar.
Can anyone make frosting without making a mess? I seem to just have a knack for the mess, and I hope there are others out there like me.
Once frosted, I topped the cookies with a shake or two of nutmeg. Nate emerged from his den of adolescence and ate one. He gave his seal of approval and said they tasted just like eggnog.
1/2 cup butter , at room temperature (I used 1/4 cup salted and 1/4 cup unsalted butter)
3 – 5 Tbsp eggnog
1/2 tsp rum extract
3 cups powdered sugar
Directions:
Preheat oven to 350°F (180°C). In a mixing bowl, whisk together flour, baking powder, salt, nutmeg and cinnamon for 30 seconds, set aside.
In the bowl of an electric stand mixer fitted with the paddle attachment, whip together butter, granulated sugar and brown sugar until pale and fluffy.
Mix in egg yolks one at a time, blending just until combined after each addition. Mix in vanilla extract, rum extract and egg nog. With mixer set on low speed, slowly add in dry ingredients and mix just until combined.
Scoop dough out by the heaping tablespoonfuls and drop onto Silpat or parchment paper lined baking sheets, spacing cookies 2-inches apart.
Bake in preheated oven 11 – 13 minutes. Allow to rest on baking sheet several minutes before transferring to a wire rack to cool. Cool completely then frost with Eggnog Frosting and sprinkle tops lightly with nutmeg.
For the Eggnog Frosting:
In the bowl of an electric stand mixer fitted with the paddle attachment, whip butter until very pale and fluffy. Add in rum extract and 3 Tbsp eggnog and mix in powdered sugar. Add additional eggnog to reach desired consistency.
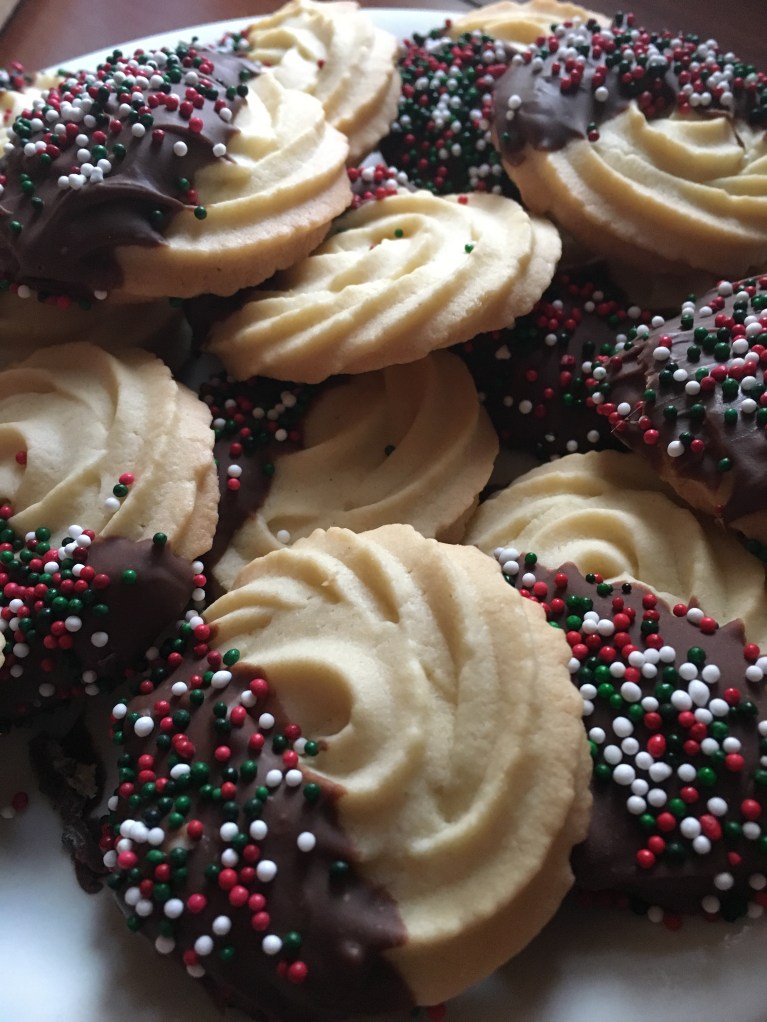
Yesterday was my last day of the semester, so now it’s just grading to get done and I’m free until January! Well, minus my other gigs and parenting and general adulting. But I’m not worrying about those things today. Today, it was sleeping in, cleaning, and making Italian Sand Cookies.
I found the recipe for this years ago on Pinterest, and ever since, they’ve been a staple in my December cookie baking. However, during the three Louisiana years, they didn’t turn out quite right. I’m not sure if it was the humidity or my own distraction (you know, leaving the mixer on too long while I write another paragraph about Elizabeth Barrett Browning), but they spread out way too much there. We still ate them, so I’m not exactly sure what I’m complaining about.
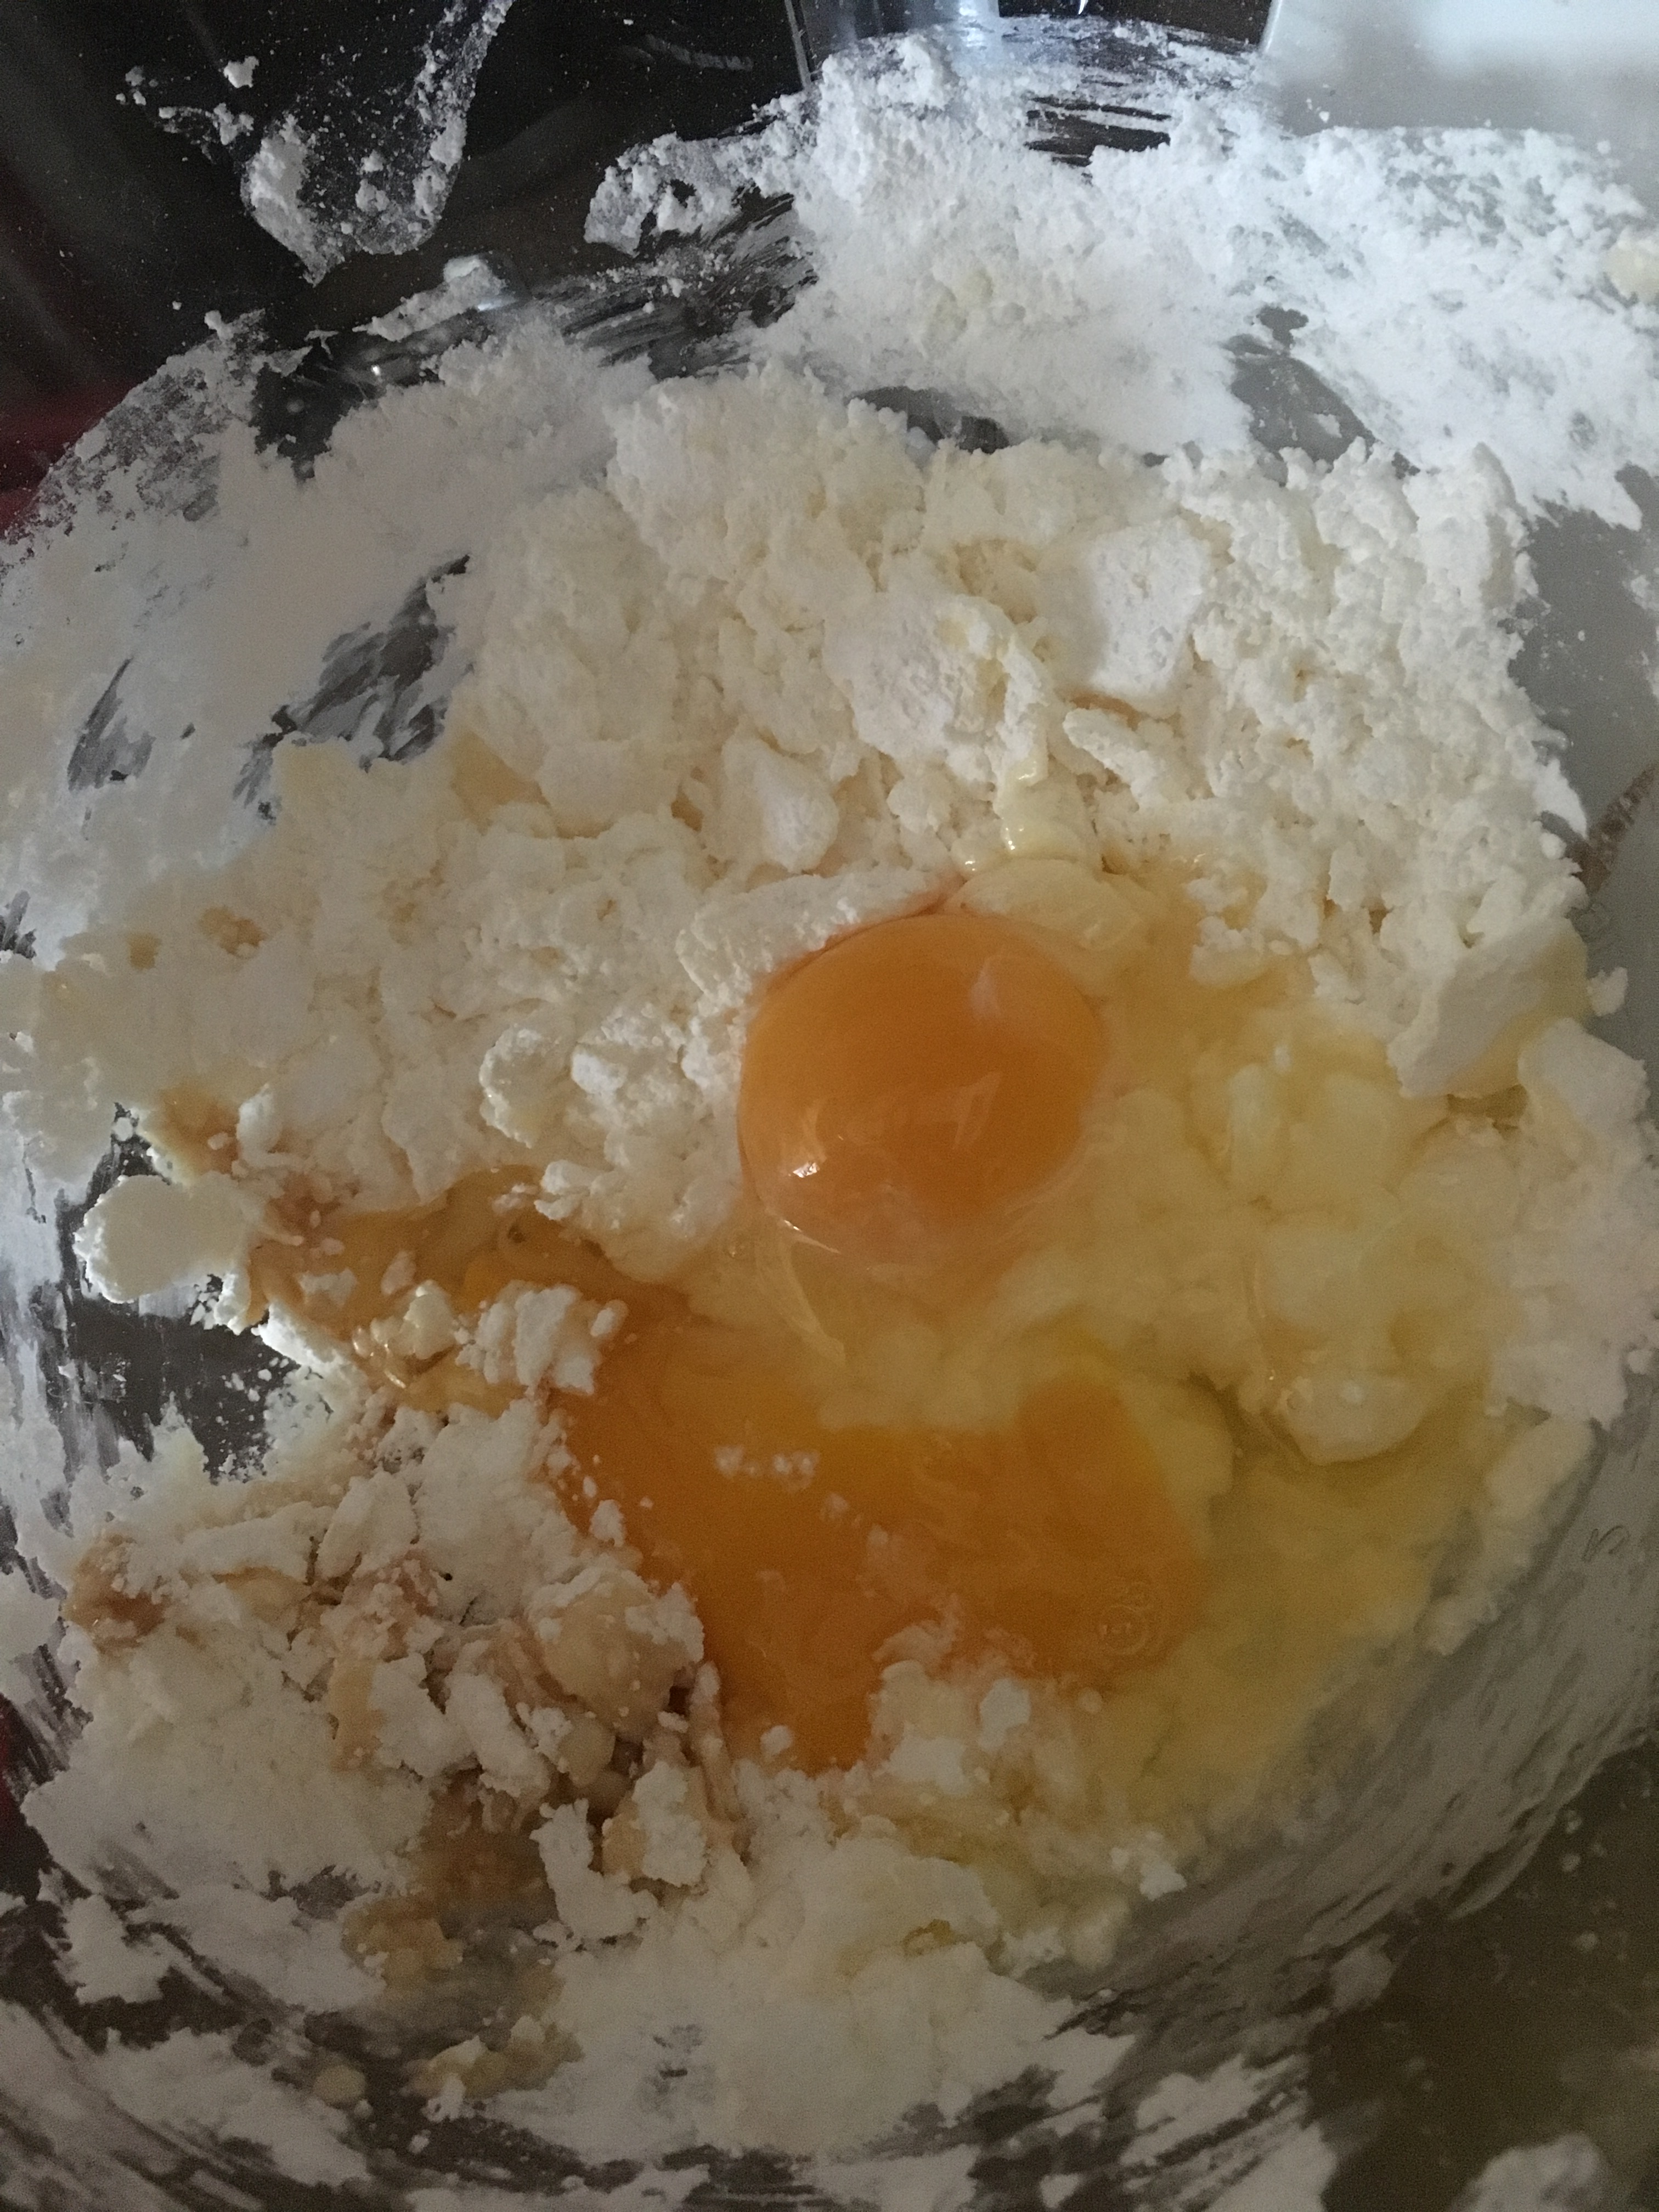
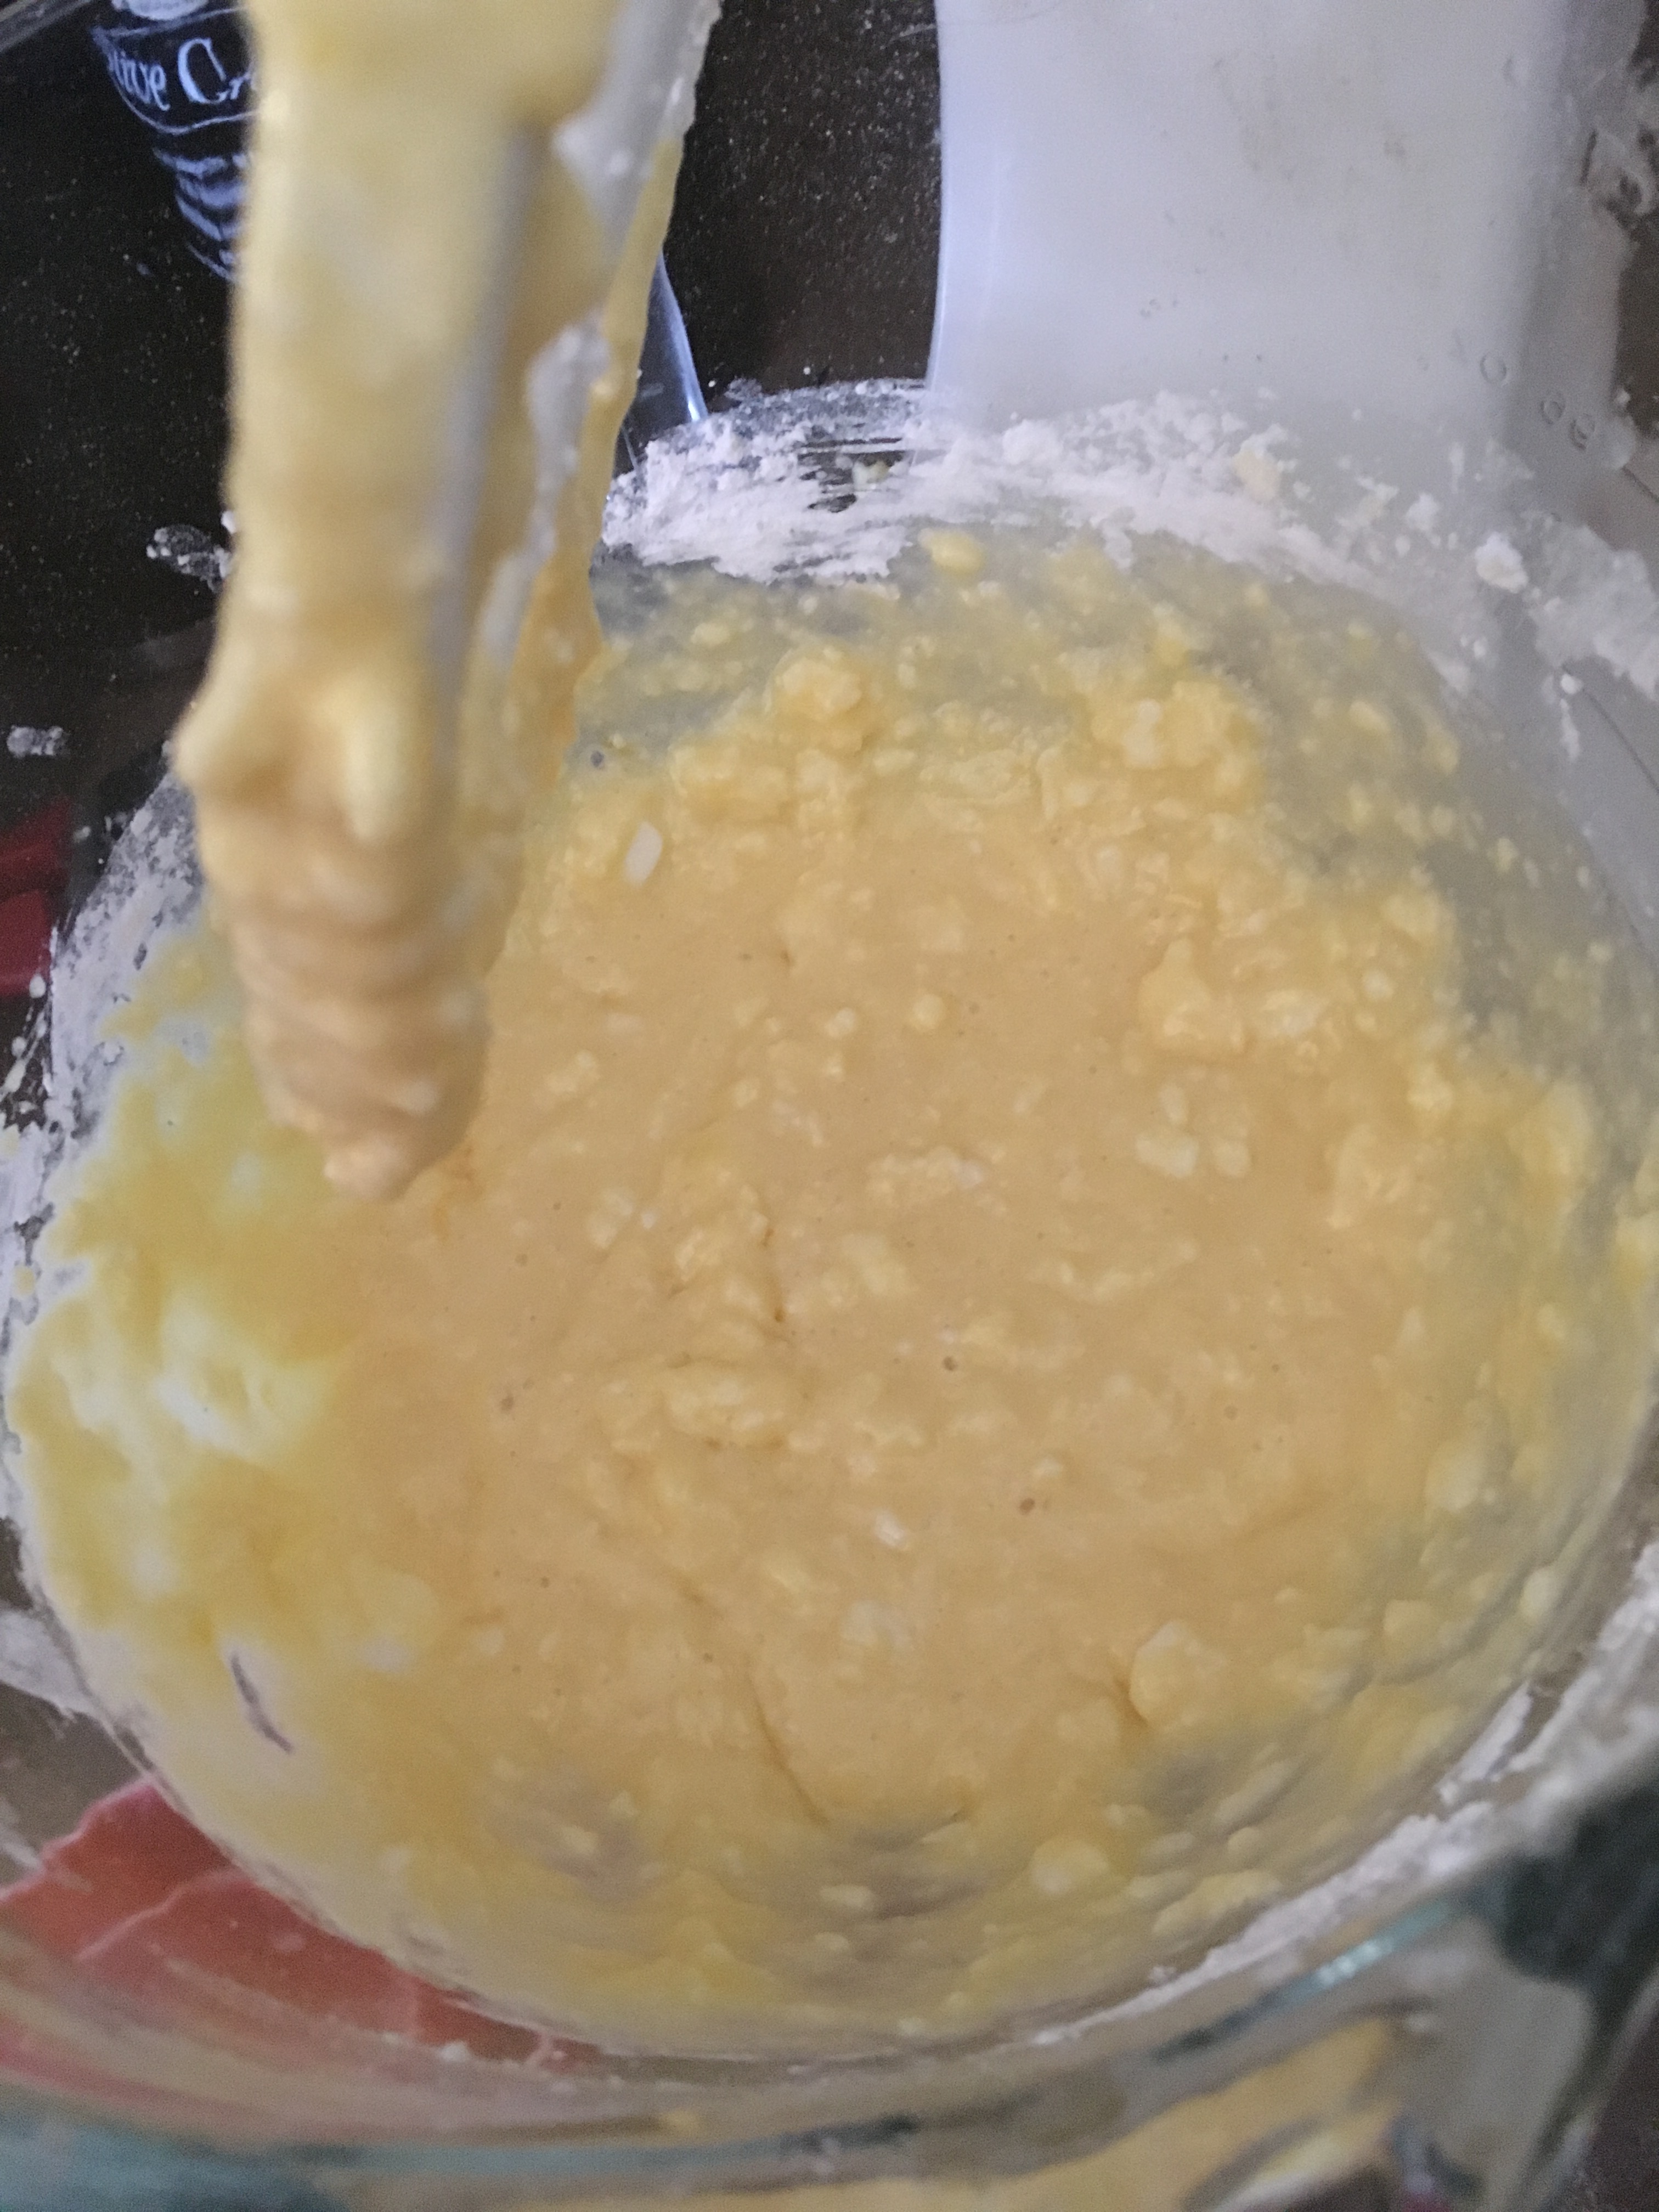
Again, the recipe amuses me. It lists all of the ingredients, and for the directions, it says, “Creaming method.” If you don’t know what that is, it’s mixing together the butter, sugar, eggs, and vanilla.
Before creaming.
Sufficiently creamed.
It’s pretty simple really. Then you add the cornstarch and flour, and mix it all together. Again, I needed more flour than the recipe calls for…I used about another 1/3 of a cup. And when I was all done mixing, I looked for my beater-lickers, but alas, they were all at school.
So I guess I had to do it. It’s a sacrifice I was willing to make.
I piped them with a star tip onto my baking sheet and put them in the over. I also kinda burst the bag because I don’t know my own strength, and then had to put my finger over that part so the dough wouldn’t come out there. These are the behind the scenes things you don’t get with professional baking blogs.
They baked up wonderfully and looked the way they were supposed to look. After they cooled, I dipped them in melted chocolate (chocolate chips with a little crisco to make it thinner), and topped them with sprinkles. These take a while to dry, so I set them outside on my back step for 15 minutes. (Thanks 21 degree Illinois day!)
1 1/2 cups flour (we used AP) 1/2 cup cornstarch 1/2 cup shortening 1/2 cup butter 1 1/4 cups confectioners sugar * 1 1/2 t. vanilla extract 2 eggs *(we also liked 3/4 c. conf sugar & 1/4 c. granulated which made them a slight bit sweeter)
Directions:
Creaming method. Put through bag with large star tip. Bake @ 375 F for 12-15 minutes or until lightly brown. Decorate with choc chips, sprinkles or leave plain and dip half in melted choc., etc.
So, I’m a home baker. That means I’ve had no professional training in baking and everything I know about cookies comes from books, my mom, my friends, websites, and youtube videos. I also screw up a lot, which may be what you are here to see. I keep it real. Maybe that’s what you like about my yearly project.
Everyone needs goals, right? I have made macarons in the past, and they were not very pretty. On my sad baking bucket list, I have Make actual good-looking and tasting French Macarons. (I also have Get ever color and shape of sprinkle ever made, but that one is still in progress.) I thought 2018 was the best time to check off that Macaron one off my list.
This is what they looked like last time, about 4-5 years ago.
Now, I will continue to keep it real: I had to make this twice. The first one was dyed Cookie Monster blue and was turning out just fine, until the very end. I threw them away before I filled them. I had pictures, but I deleted them because my phone is at capacity. They were also too salty, and later I discovered why.
So I tried again.
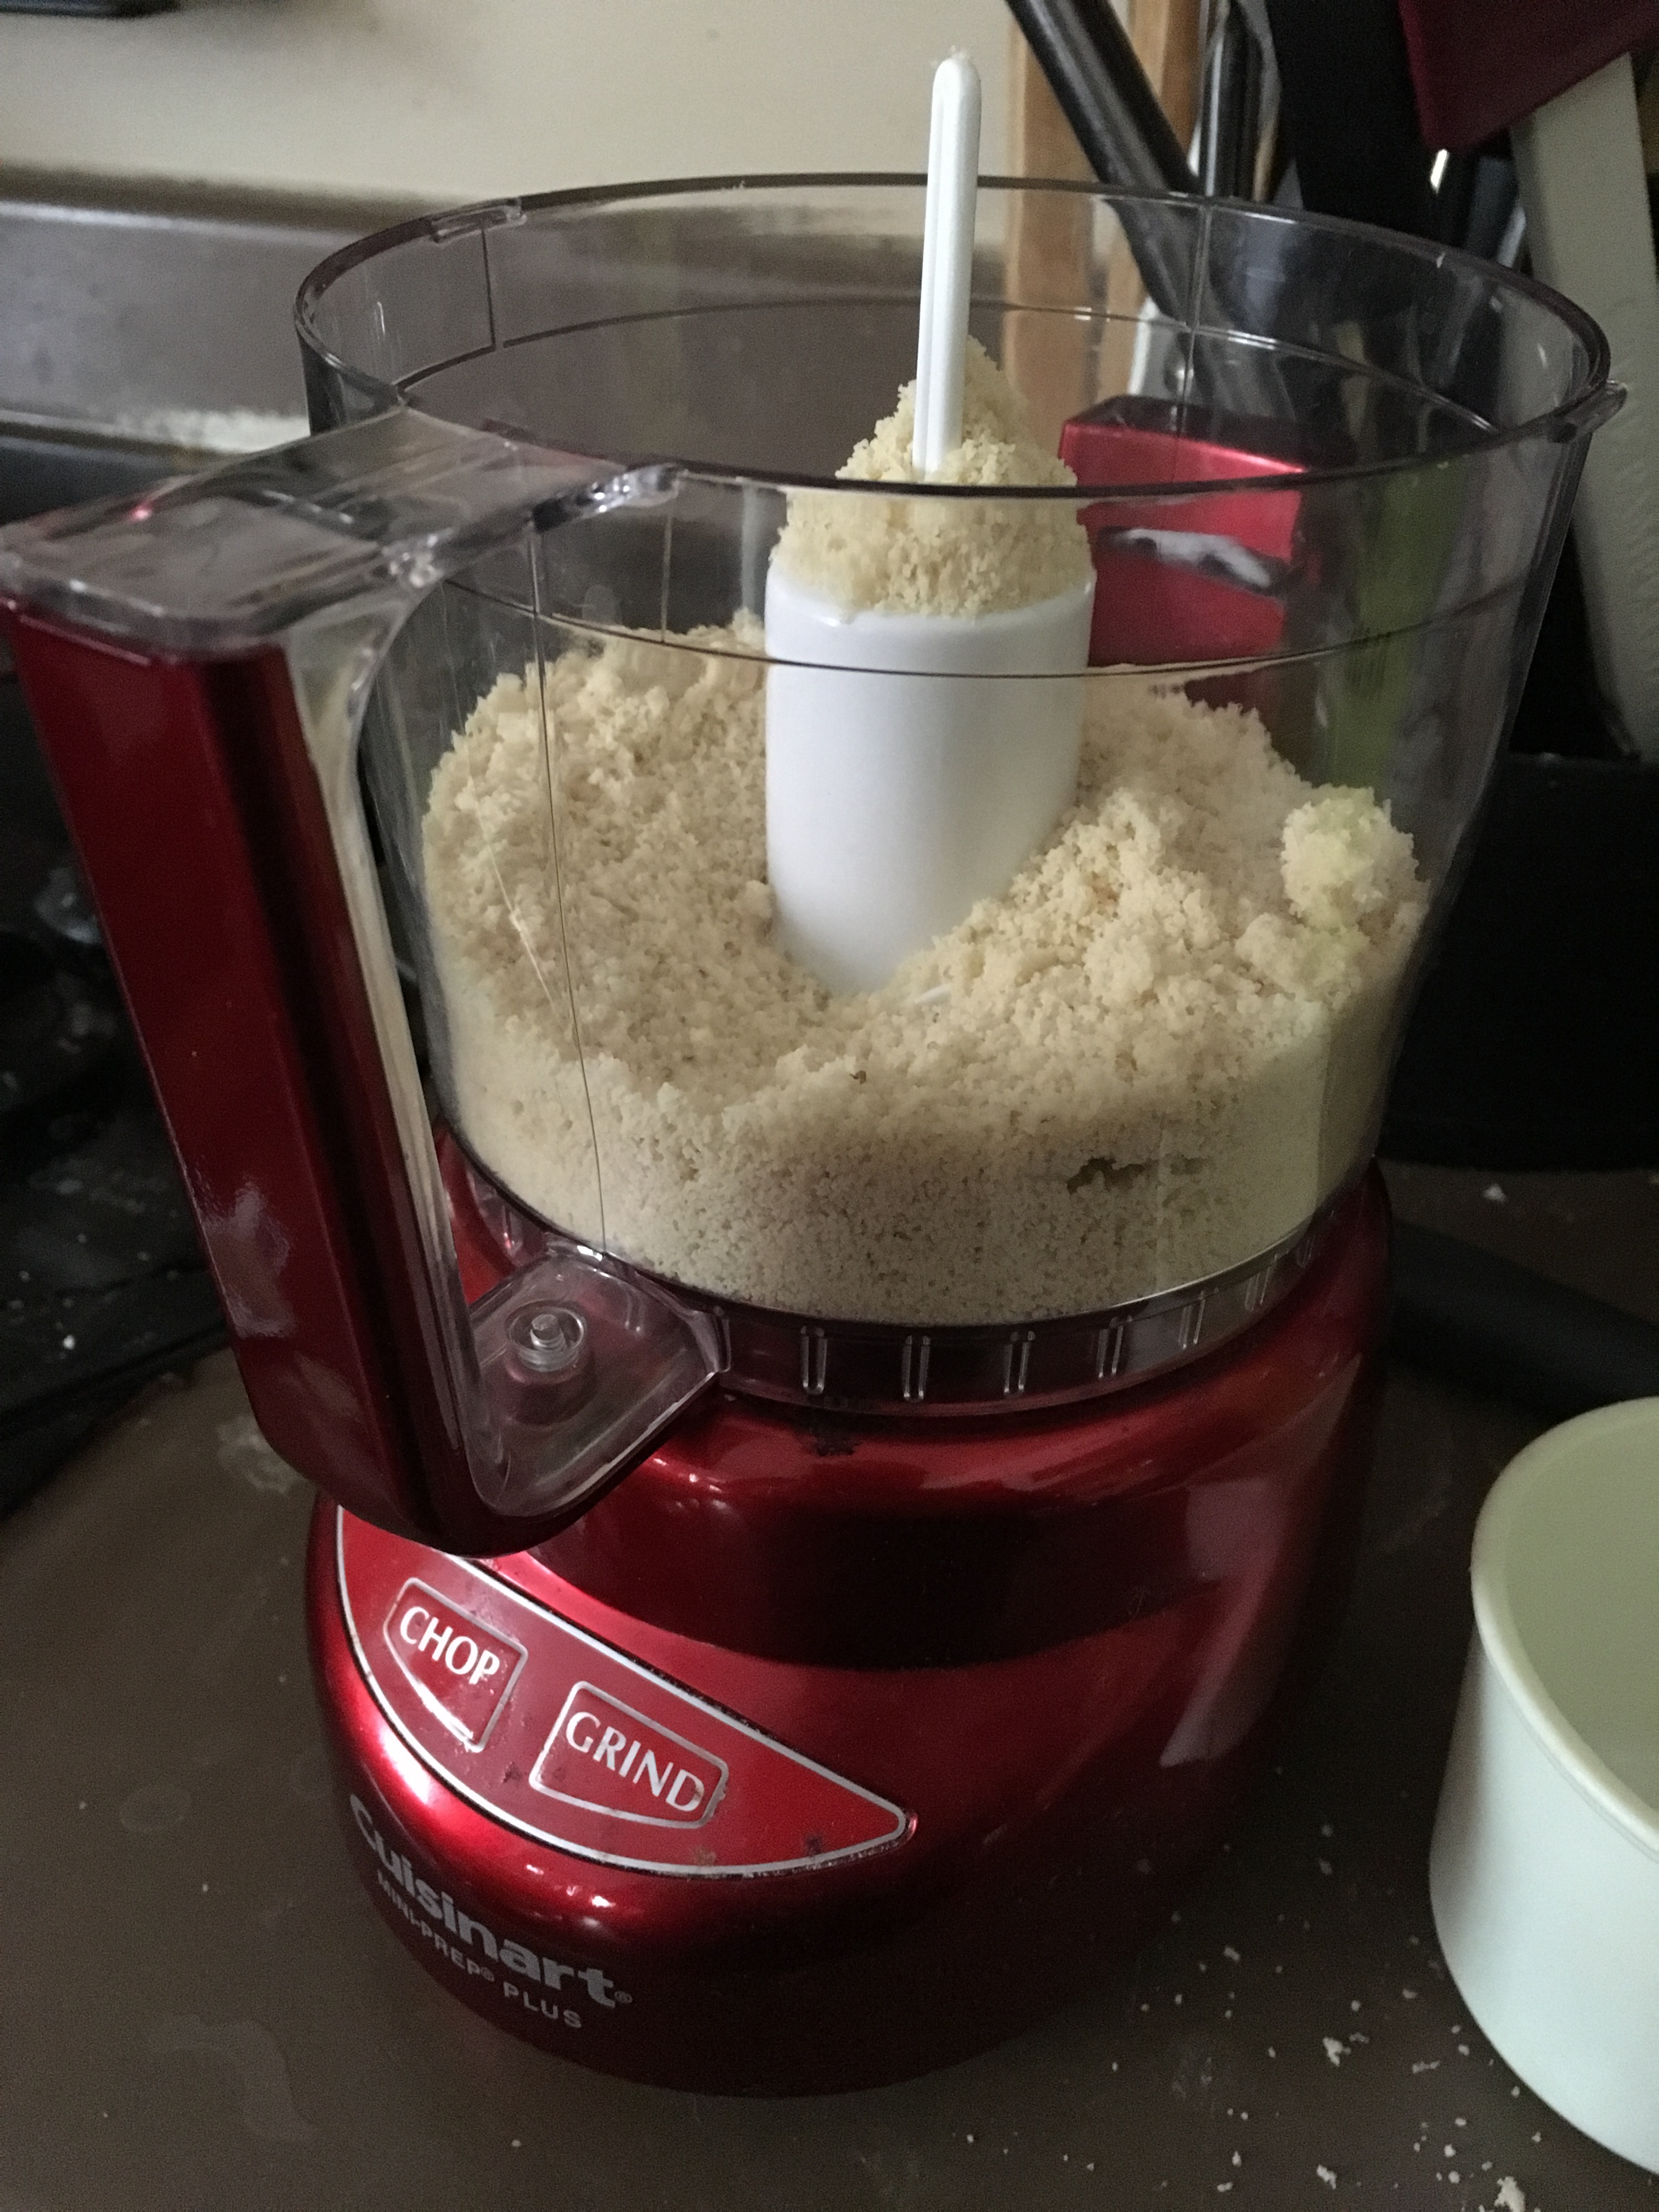
For French Macarons, you need almond flour or finely ground almond meal. I watched this Youtube video and followed it step by step, like I did for the first batch. But I also checked out their (Tasty 101) actual written recipe too, and realized there was too much salt in my first batch. I fixed that.
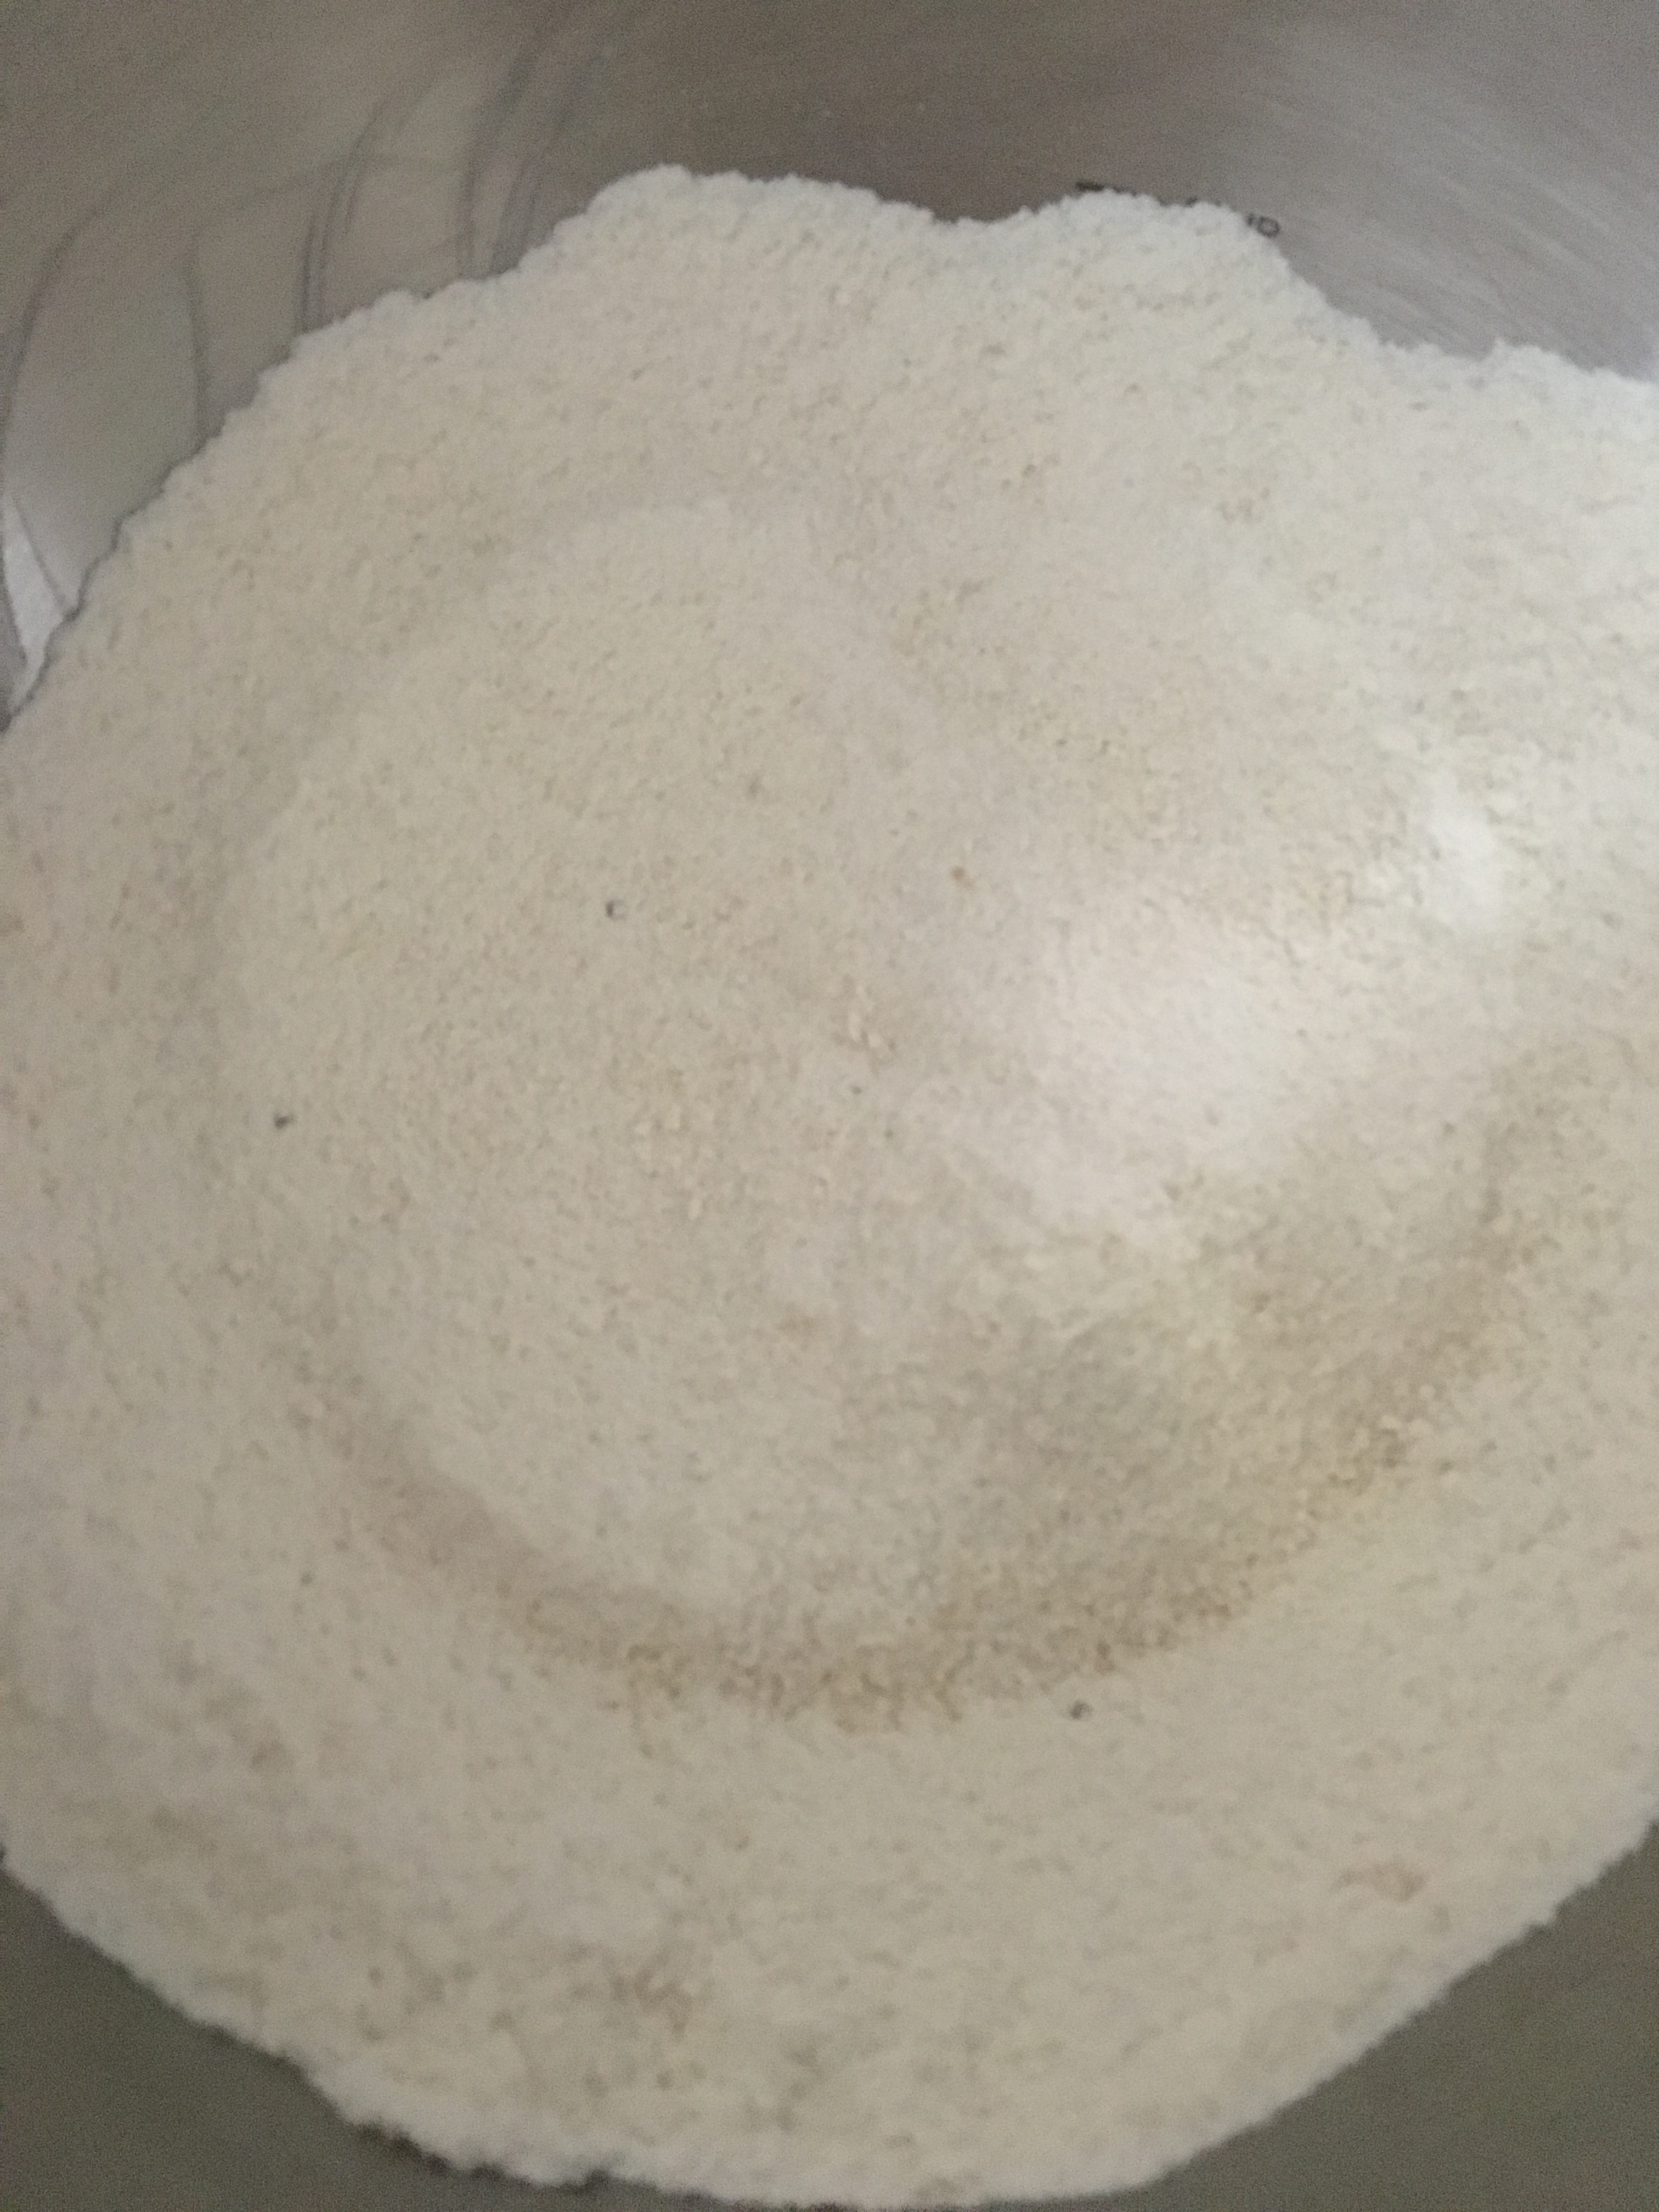
This is about half of my sugar and almond flour mixture.
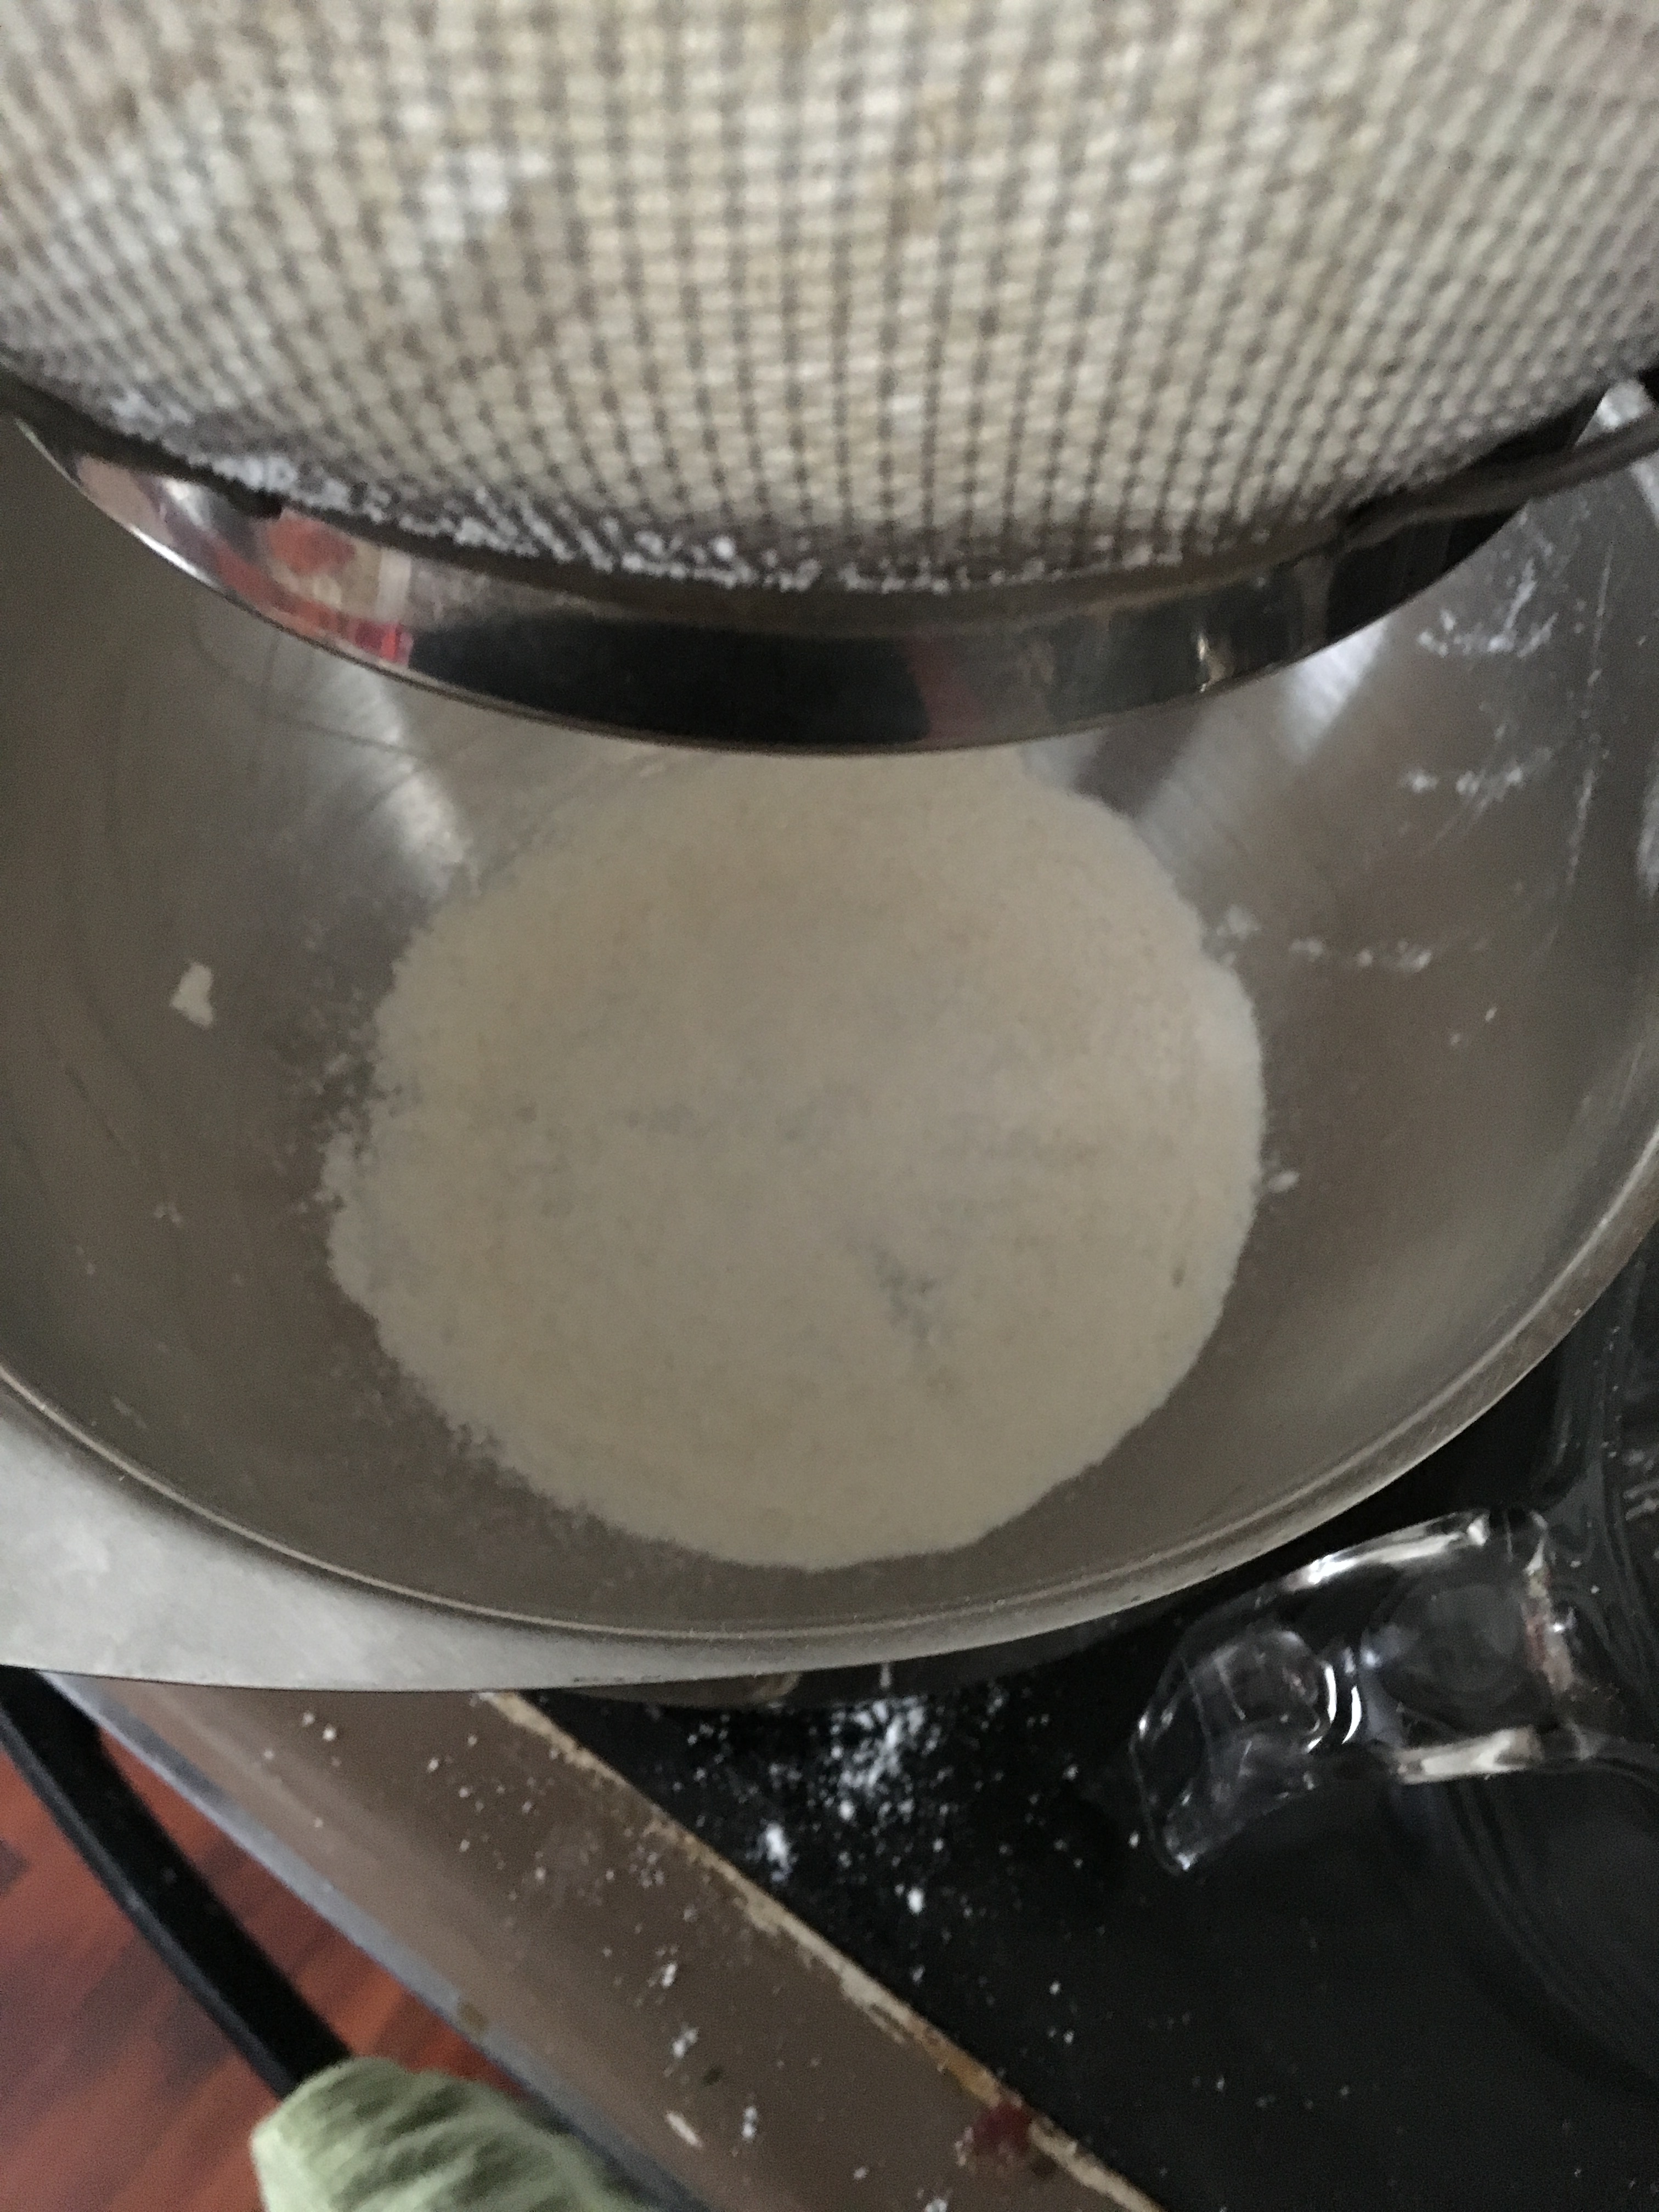
They suggest you put your sugar and almond flour in a food processor and pulse it at least 10 times, which I did. If you do this, know that my food processor is a mini-one which is why it’s filled nearly to the top. They also suggest that you sift it at least twice. I did this too. I was determined to get this right.
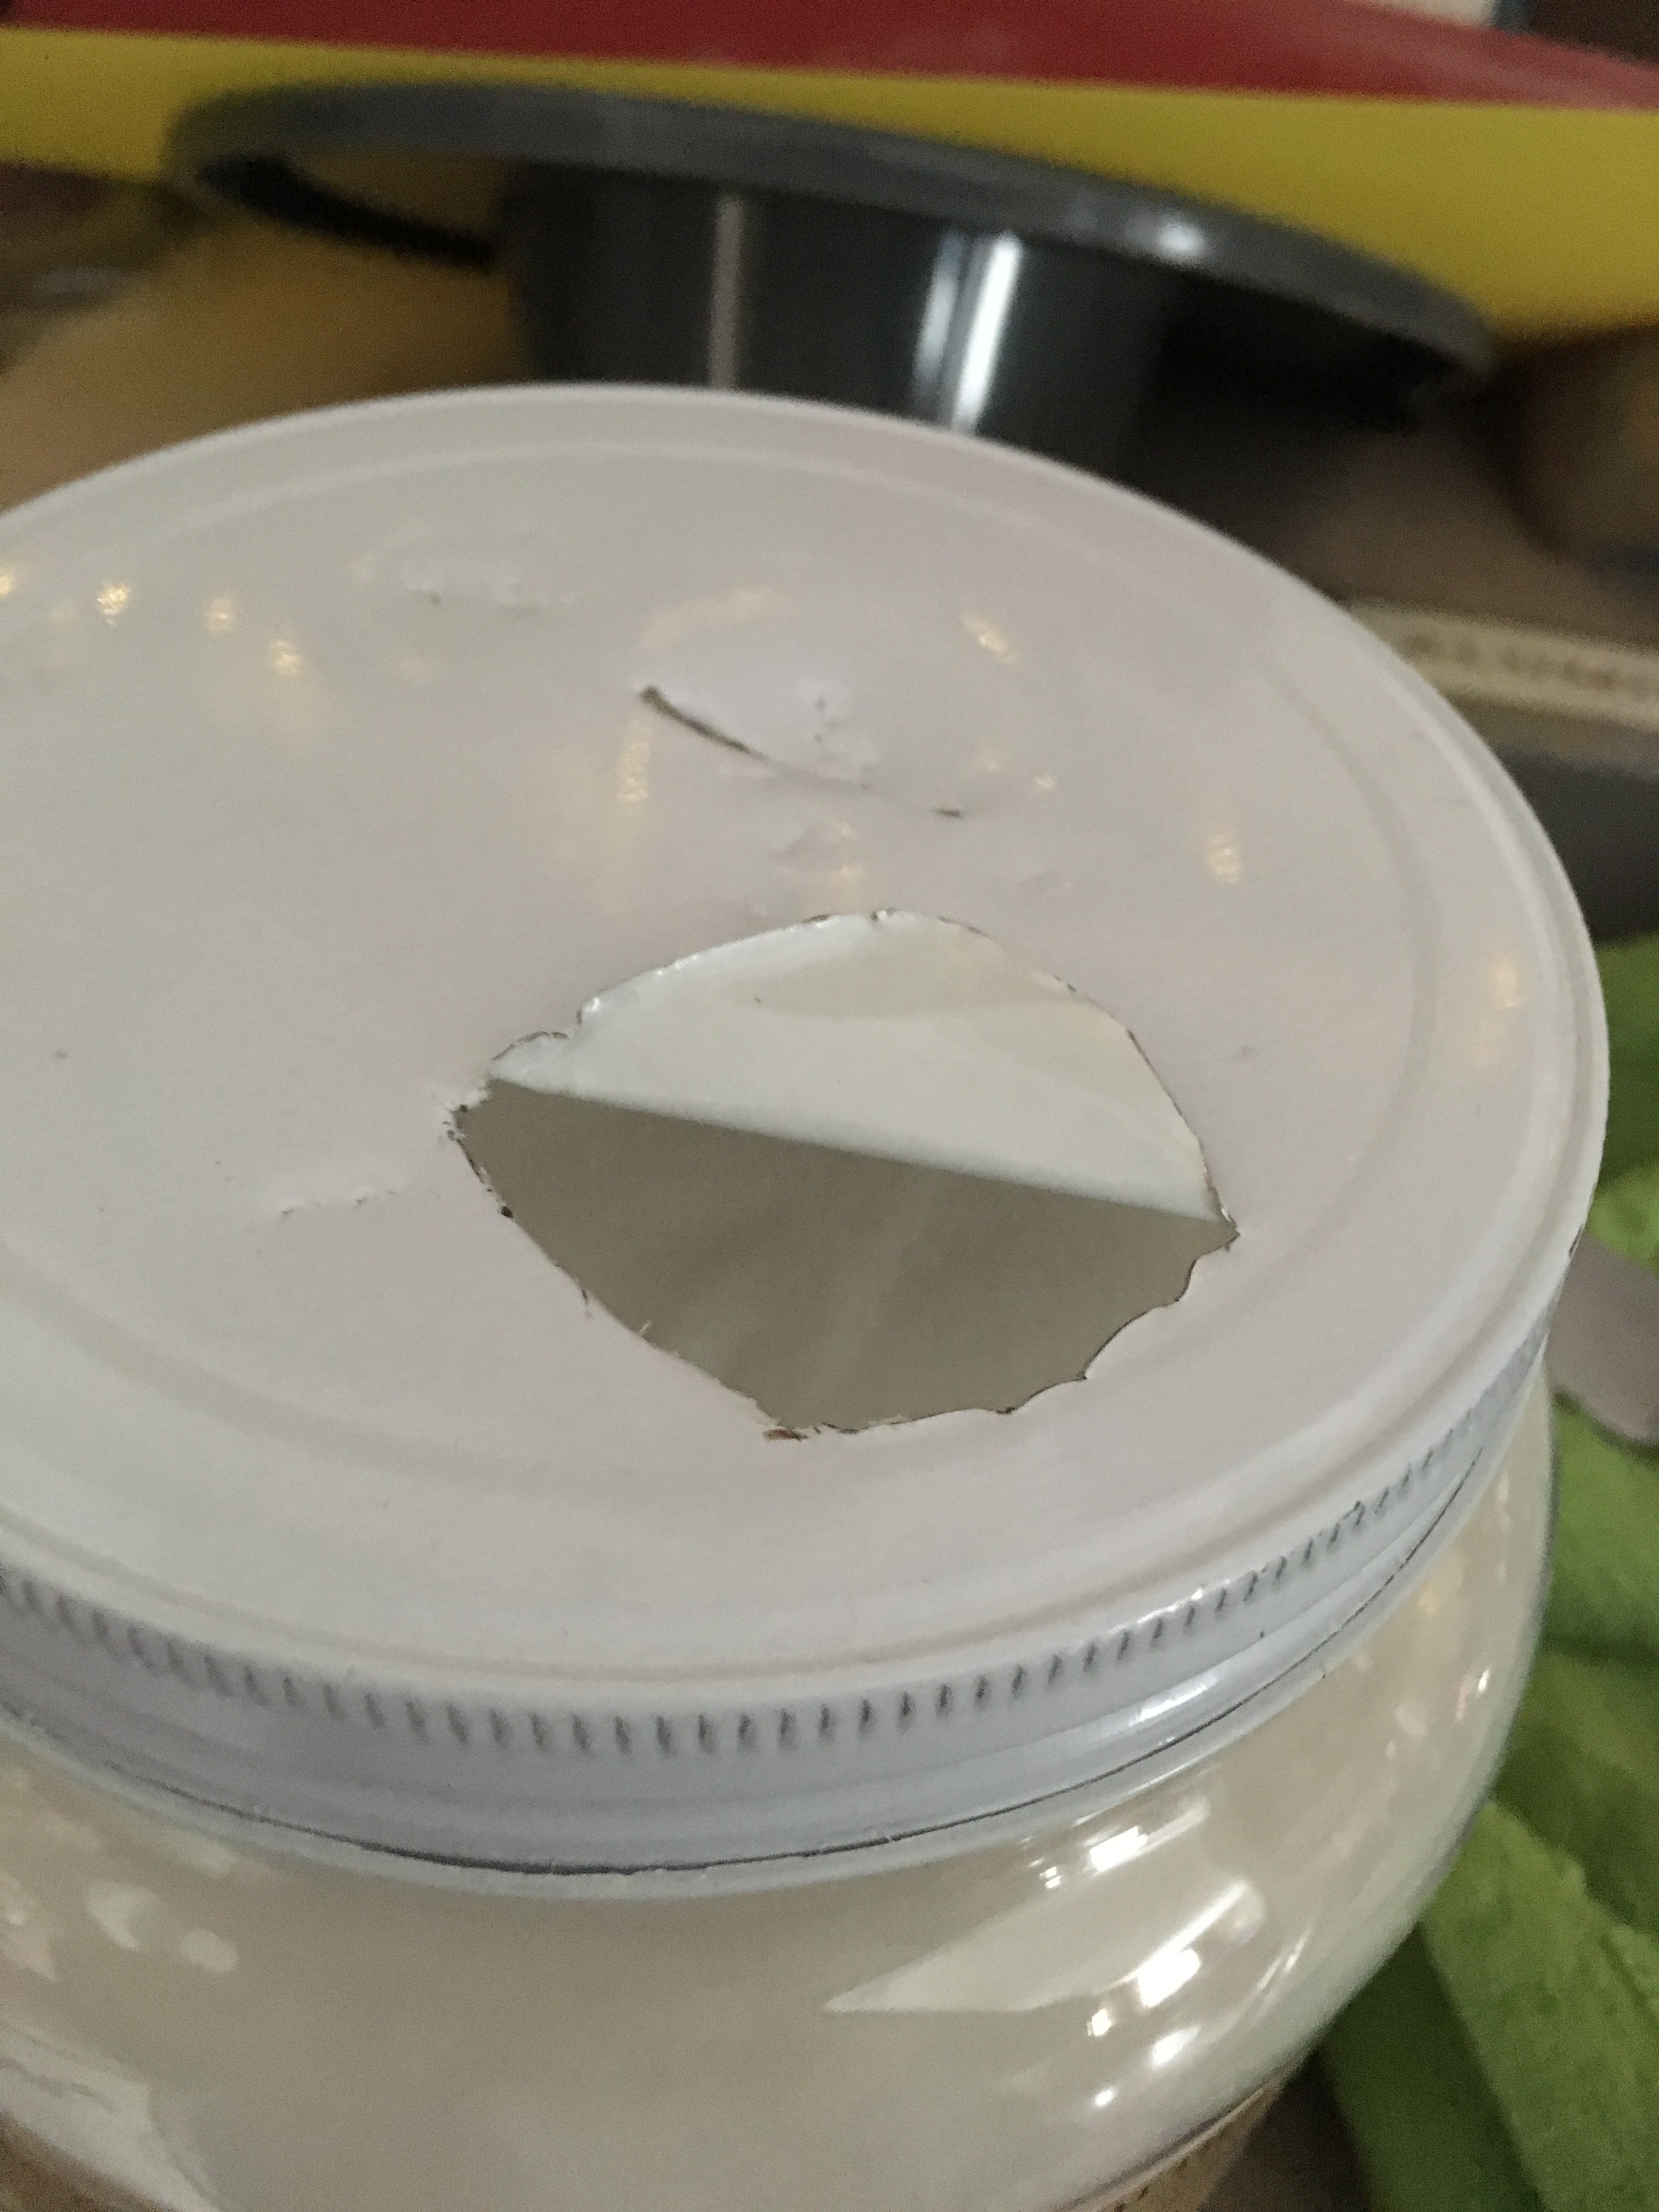
The wet ingredients are egg whites and sugar. The video didn’t say so, but I know that Macarons need caster sugar, which is special and very fine sugar. I bought a jar of it. And when I went to open it, I couldn’t do it. That’s pretty rare for me. I tried for 15 minutes to open it. I ran it under hot water. I put it between my legs and used both arms to try and get it open. And when I had pretty much exhausted myself, I decided to take a knife and stab it open.
Somehow, I did not get tetanus.
That worked. It’s like what I tell my students: work smarter, not harder.
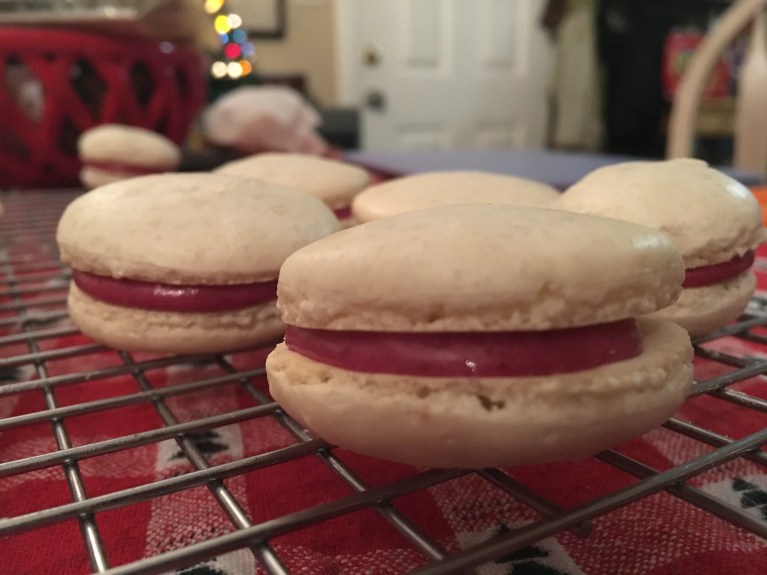
Since I dyed the first batch and it looked like Smurf-icide, I decided to not dye this one and let the color of the blueberry filling be the beautiful color in this batch. I used fresh blueberries and made a buttercream filling, and the color was just gorgeous. More on this soon.
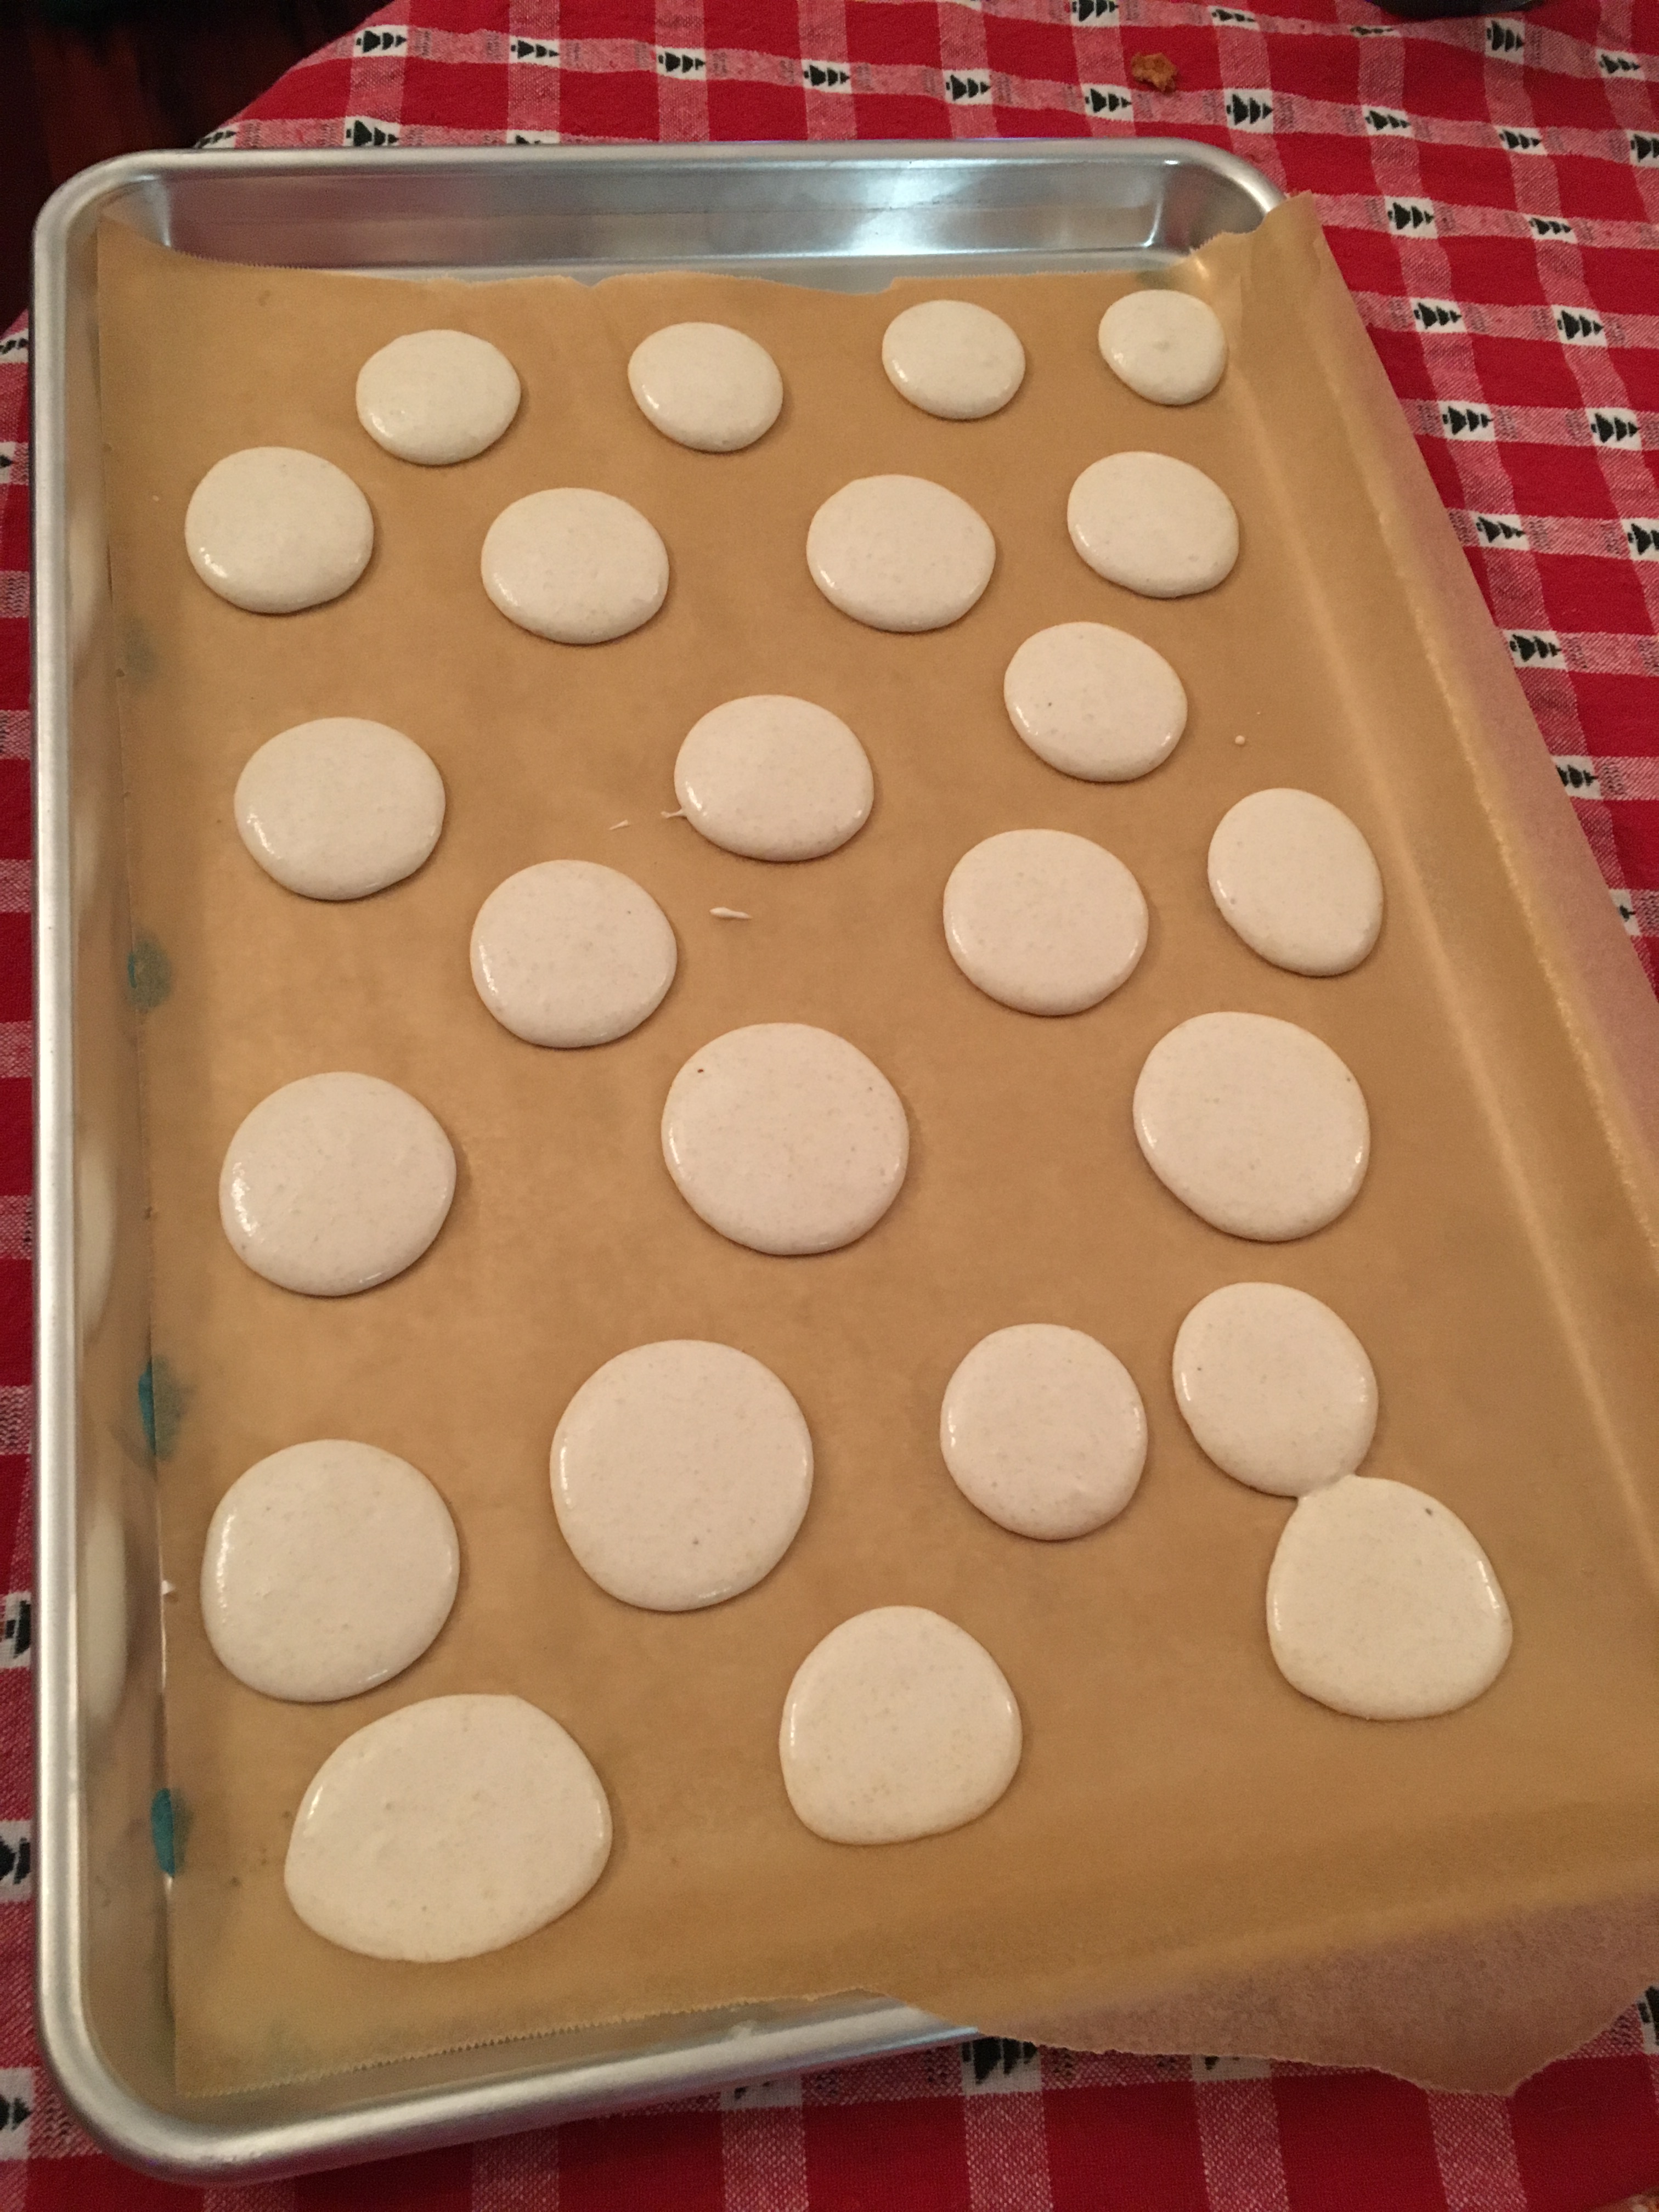
When it was all folded together properly (but not too much), I filled a pastry bag and piped my macarons on to a baking sheet. After that, I dropped the tray four or five times, as you are supposed to to make sure that all the air bubbles make their way to the top and release. I let them rest for an hour, as I was supposed to do.
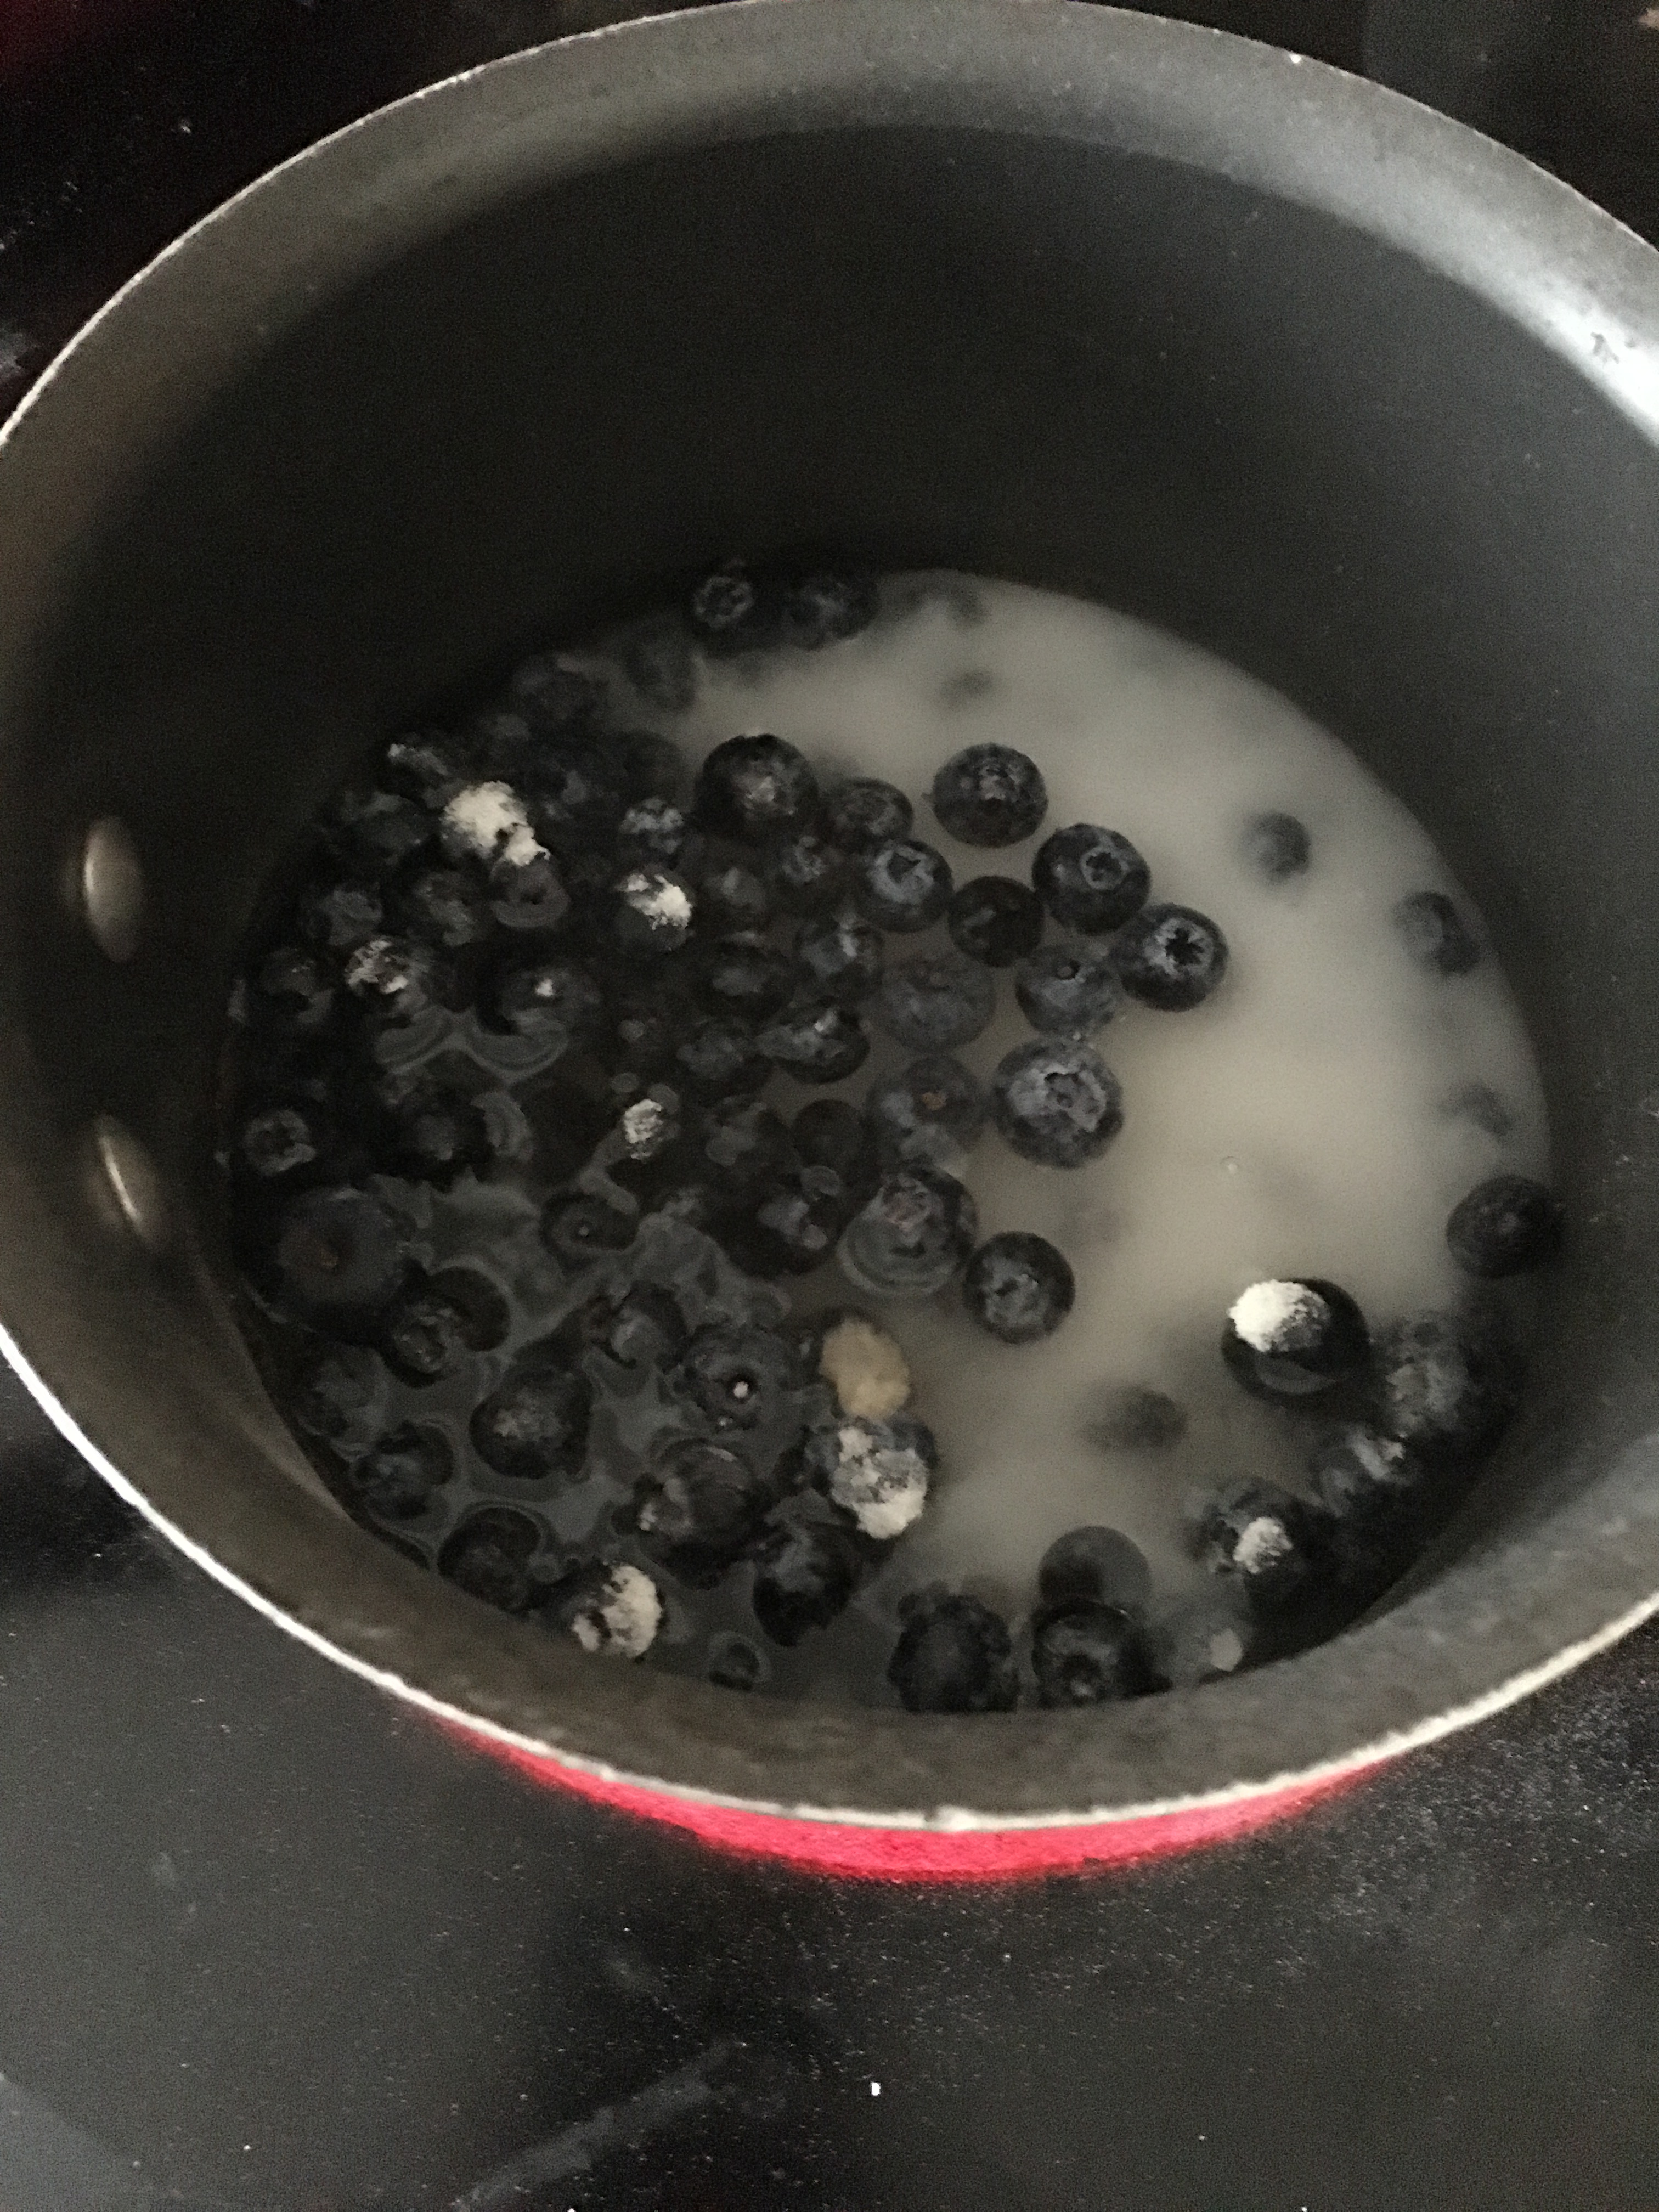
While that was going, I went back to my blueberry filling. I started it with the first batch and when things went awry there, I stopped. I put a cup of blueberries, a cup of sugar, and a cup of water on the stove and let it boil and come down, simmering for about 10 minutes. I wanted it to be thick like jelly, but it was still a little runny. After it cooled, I put it through a metal mesh colander to get the skins and chunks out, so all I had left was beautiful blueberry puree.
Ingredients: blueberries, sugar, water, and a teaspoon of lemon juice.
I found a recipe for how to make fresh blueberry buttercream online and followed the instructions. A very long story later, I had purple frosting that tasted like butter…and butter alone. This was turning out to be a comedy of errors. The Macaron gods were laughing at me.
After a few four-letter words and a tv show later, I summoned the gumption to try again. I got out more blueberries, sugar, and water. I made my puree again. And this time, I winged it. I put just a rubber spatula dollop of the purple butter-tasting butter cream into a bowl, added my new puree, and whisked until my anger had dissolved. I also added a whole bunch of powdered sugar to make it the right consistency. I mean, what good is fresh blueberry buttercream if you can’t taste the blueberries?
I mean…look how beautiful! And this batch actually tasted like blueberries!
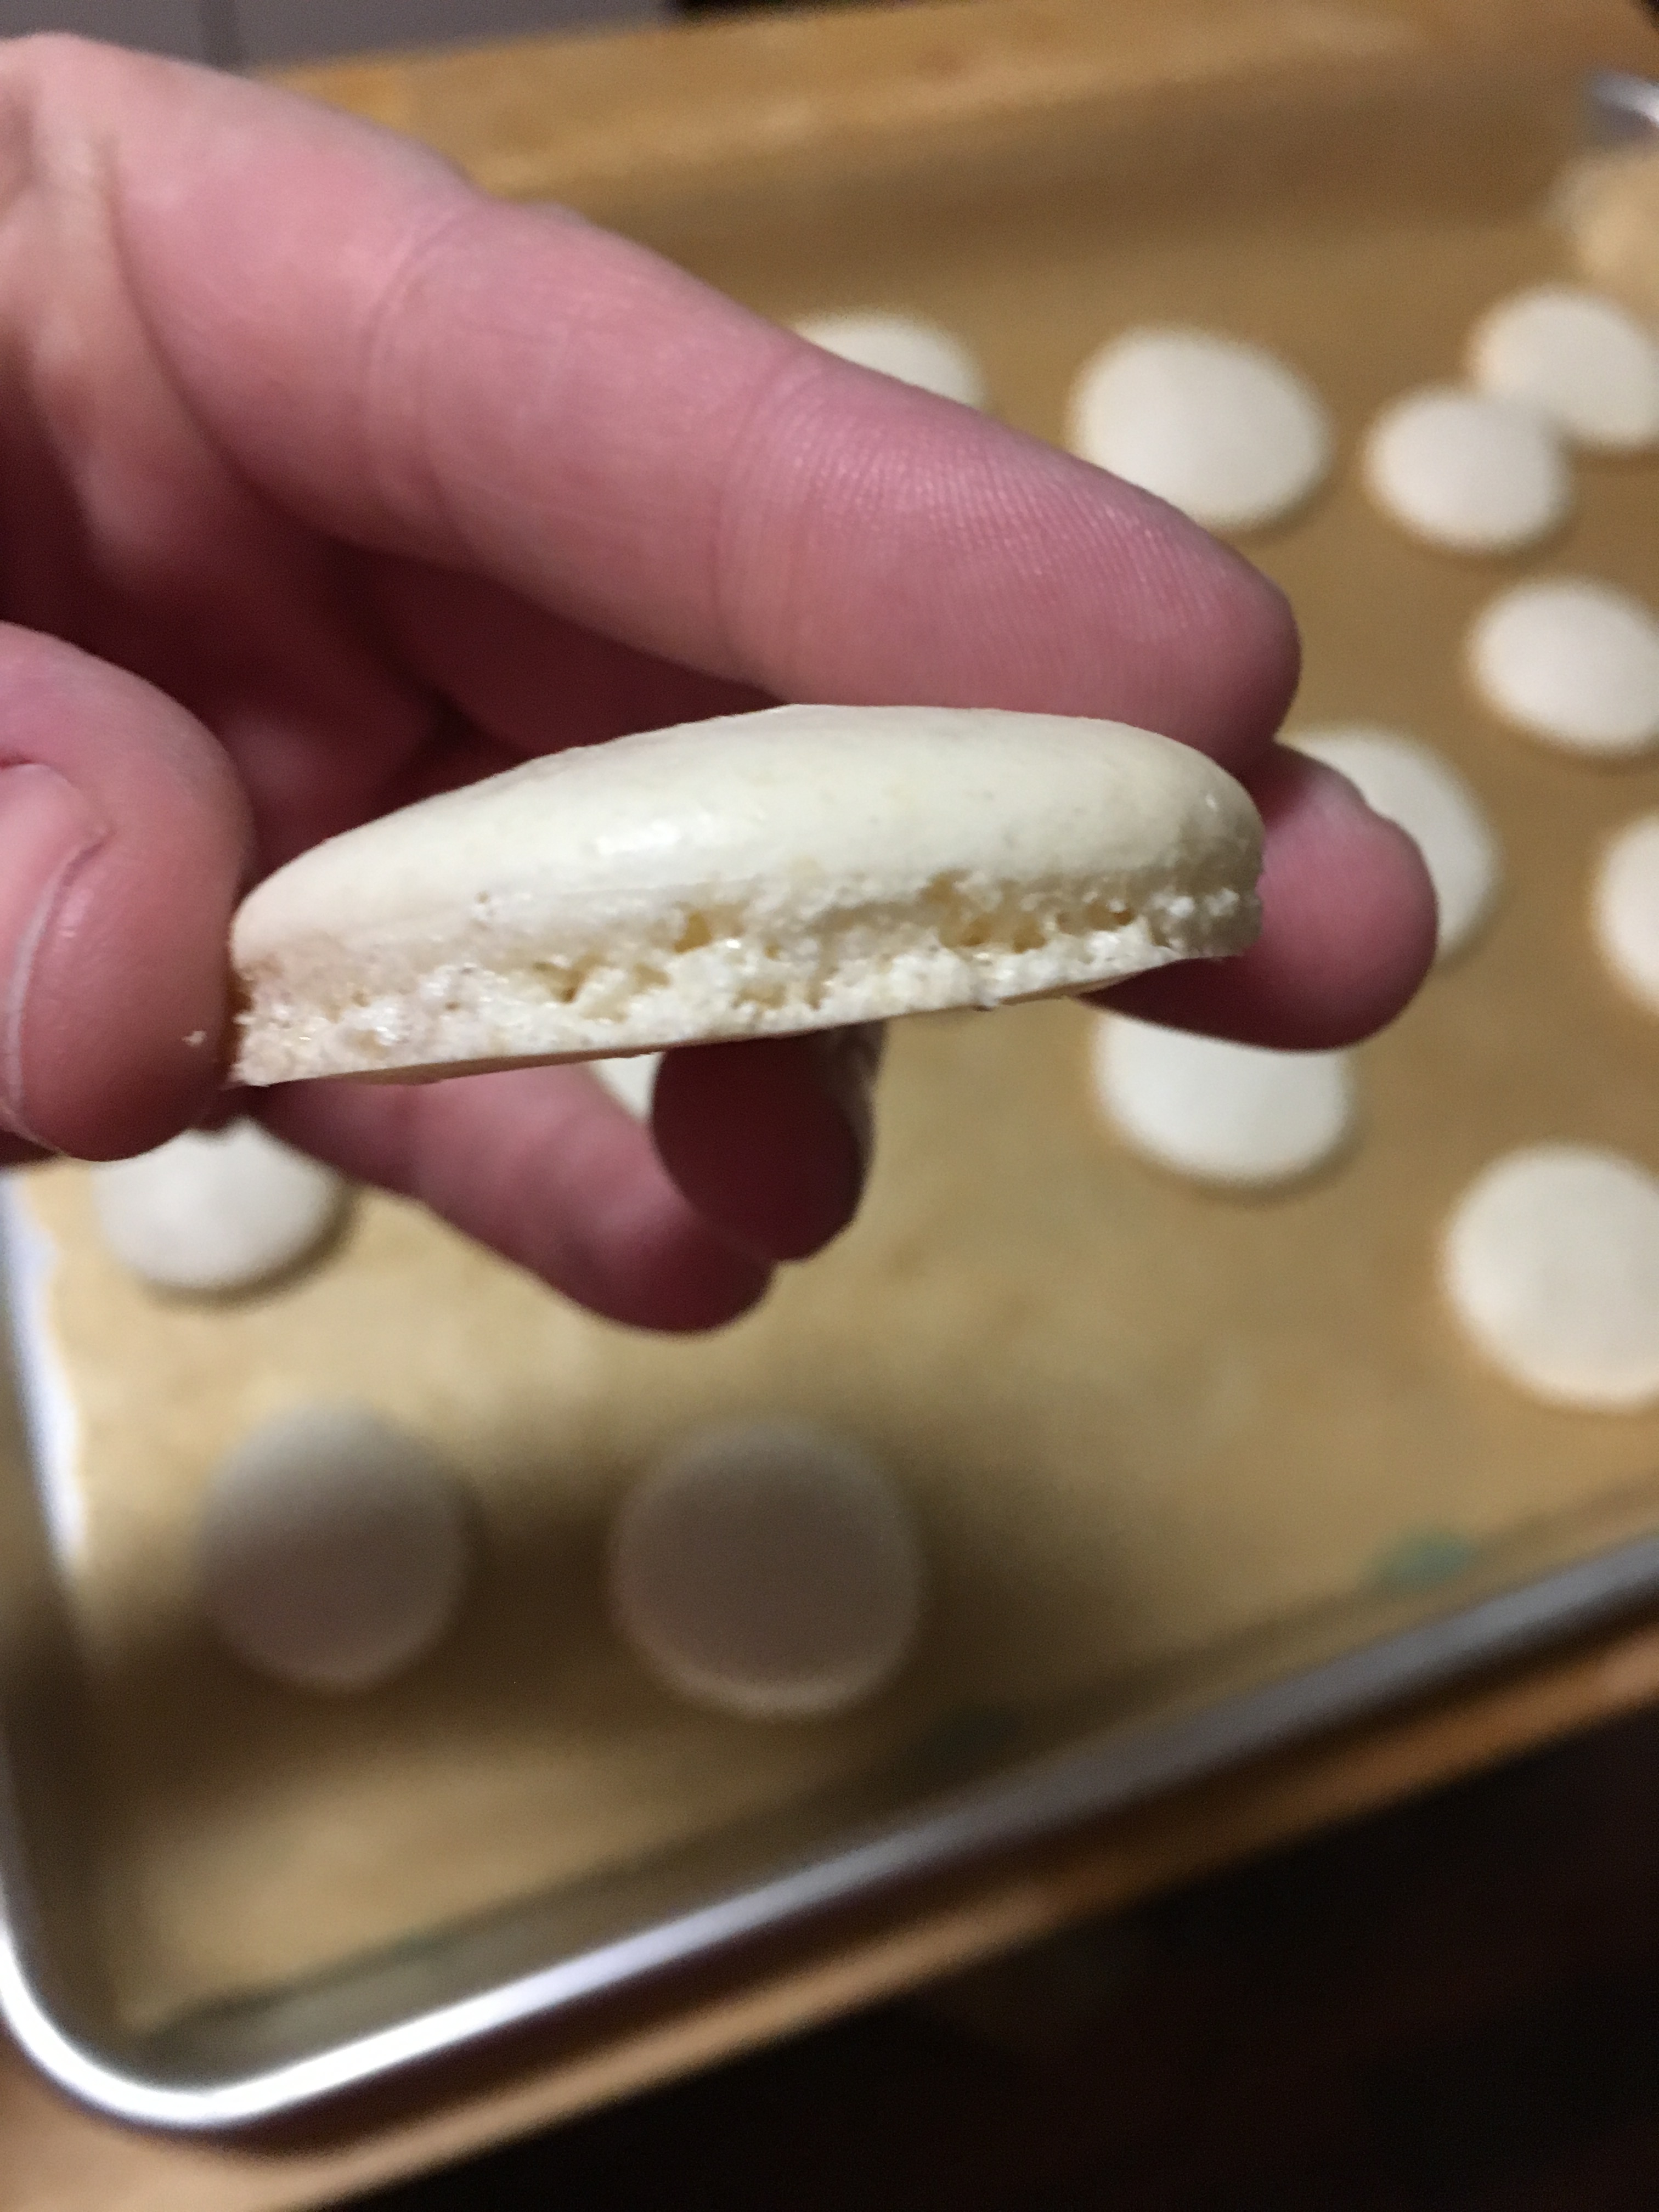
By then, it was time to put my macarons in the oven. When the first batch didn’t go well, I went online to see a macaron trouble-shooting guide. Since mine did not develop feet the first time, I started there. Feet are an important part of the macaron. I figured out that my oven was too cool, which I kind of knew but didn’t officially know, so I upped my temp to 310.
Those are macaron feet! I did it!
There was success!
I filled them and called my kids around to admire the beauty of my nearly perfect macarons. They feigned minimal interest and asked if they could have one.
In the bowl of a food processor, combine the powdered sugar, almond flour, and ½ teaspoon of salt, and process on low speed, until extra fine. Sift the almond flour mixture through a fine-mesh sieve into a large bowl.
In a separate large bowl, beat the egg whites and the remaining ½ teaspoon of salt with an electric hand mixer until soft peaks form. Gradually add the granulated sugar until fully incorporated. Continue to beat until stiff peaks form (you should be able to turn the bowl upside down without anything falling out).
Add the vanilla and beat until incorporated. Add the food coloring and beat until just combined.
Add about ⅓ of the sifted almond flour mixture at a time to the beaten egg whites and use a spatula to gently fold until combined. After the last addition of almond flour, continue to fold slowly until the batter falls into ribbons and you can make a figure 8 while holding the spatula up.
Transfer the macaron batter into a piping bag fitted with a round tip.
Place 4 dots of the batter in each corner of a rimmed baking sheet, and place a piece of parchment paper over it, using the batter to help adhere the parchment to the baking sheet.
Pipe the macarons onto the parchment paper in 1½-inch (3-cm) circles, spacing at least 1-inch (2-cm) apart.
Tap the baking sheet on a flat surface 5 times to release any air bubbles.
Let the macarons sit at room temperature for 30 minutes to 1 hour, until dry to the touch.
Preheat the oven to 300˚F (150˚C).
Bake the macarons for 17 minutes, until the feet are well-risen and the macarons don’t stick to the parchment paper.
Transfer the macarons to a wire rack to cool completely before filling.
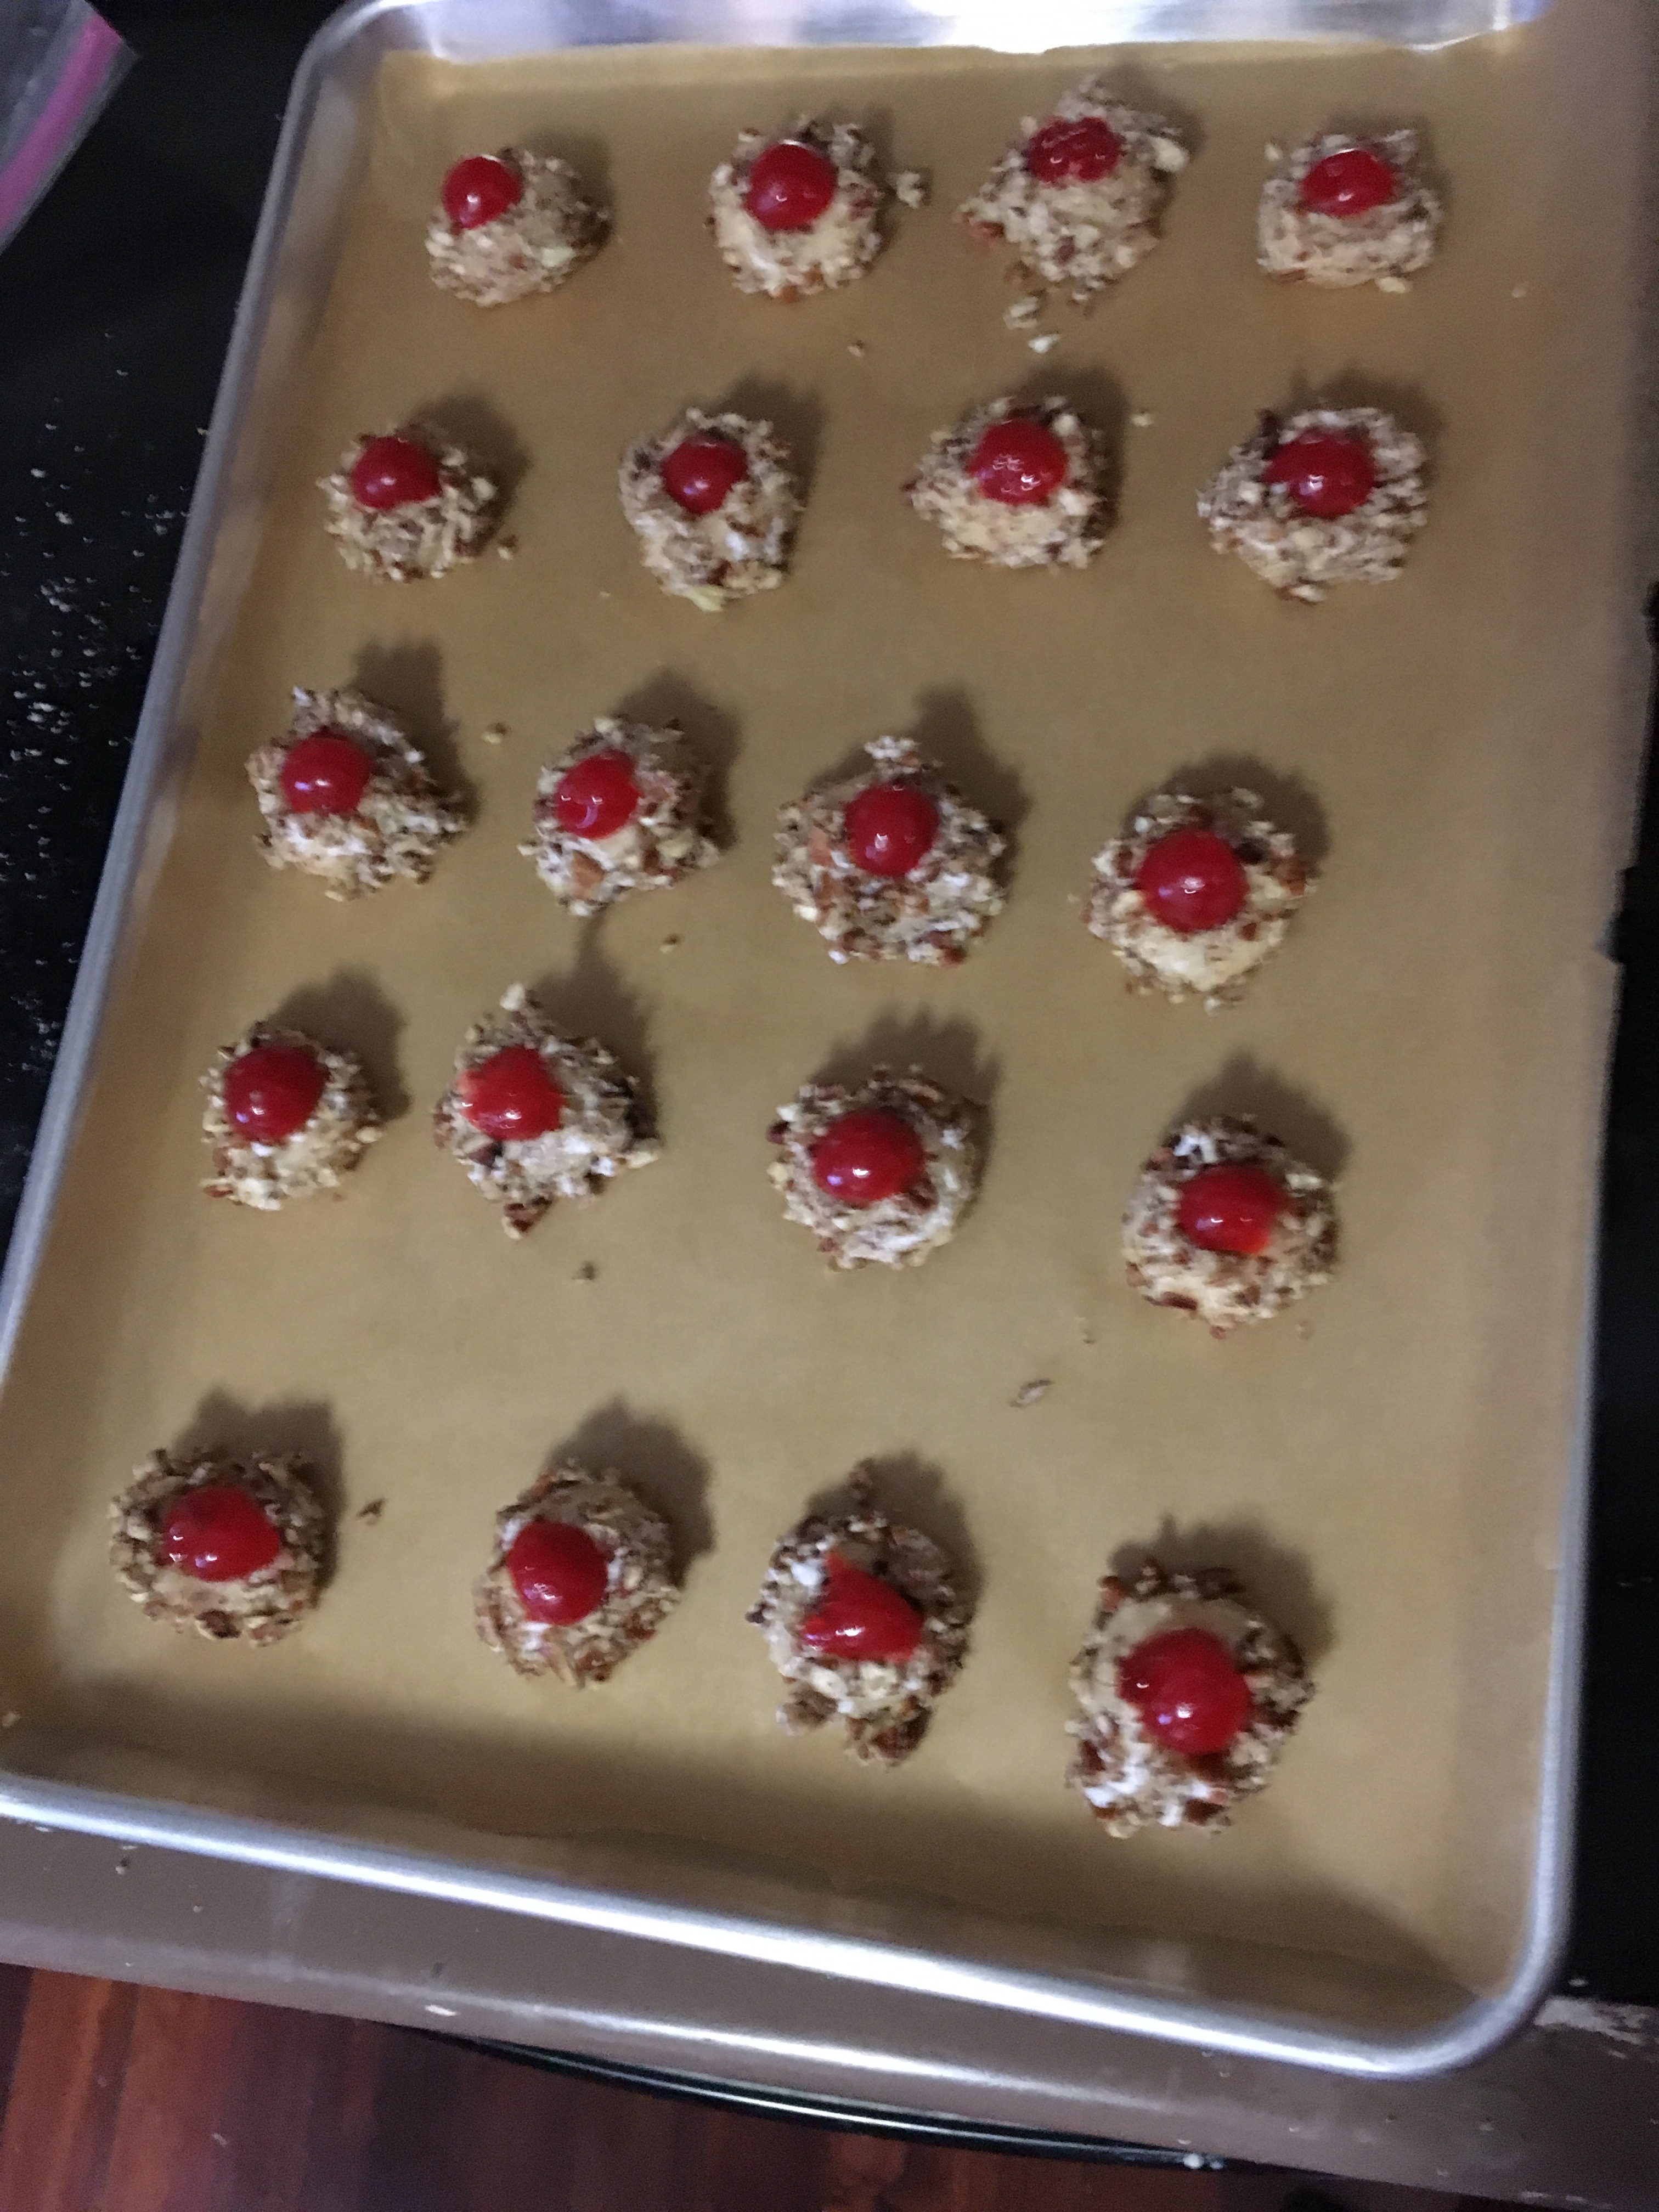
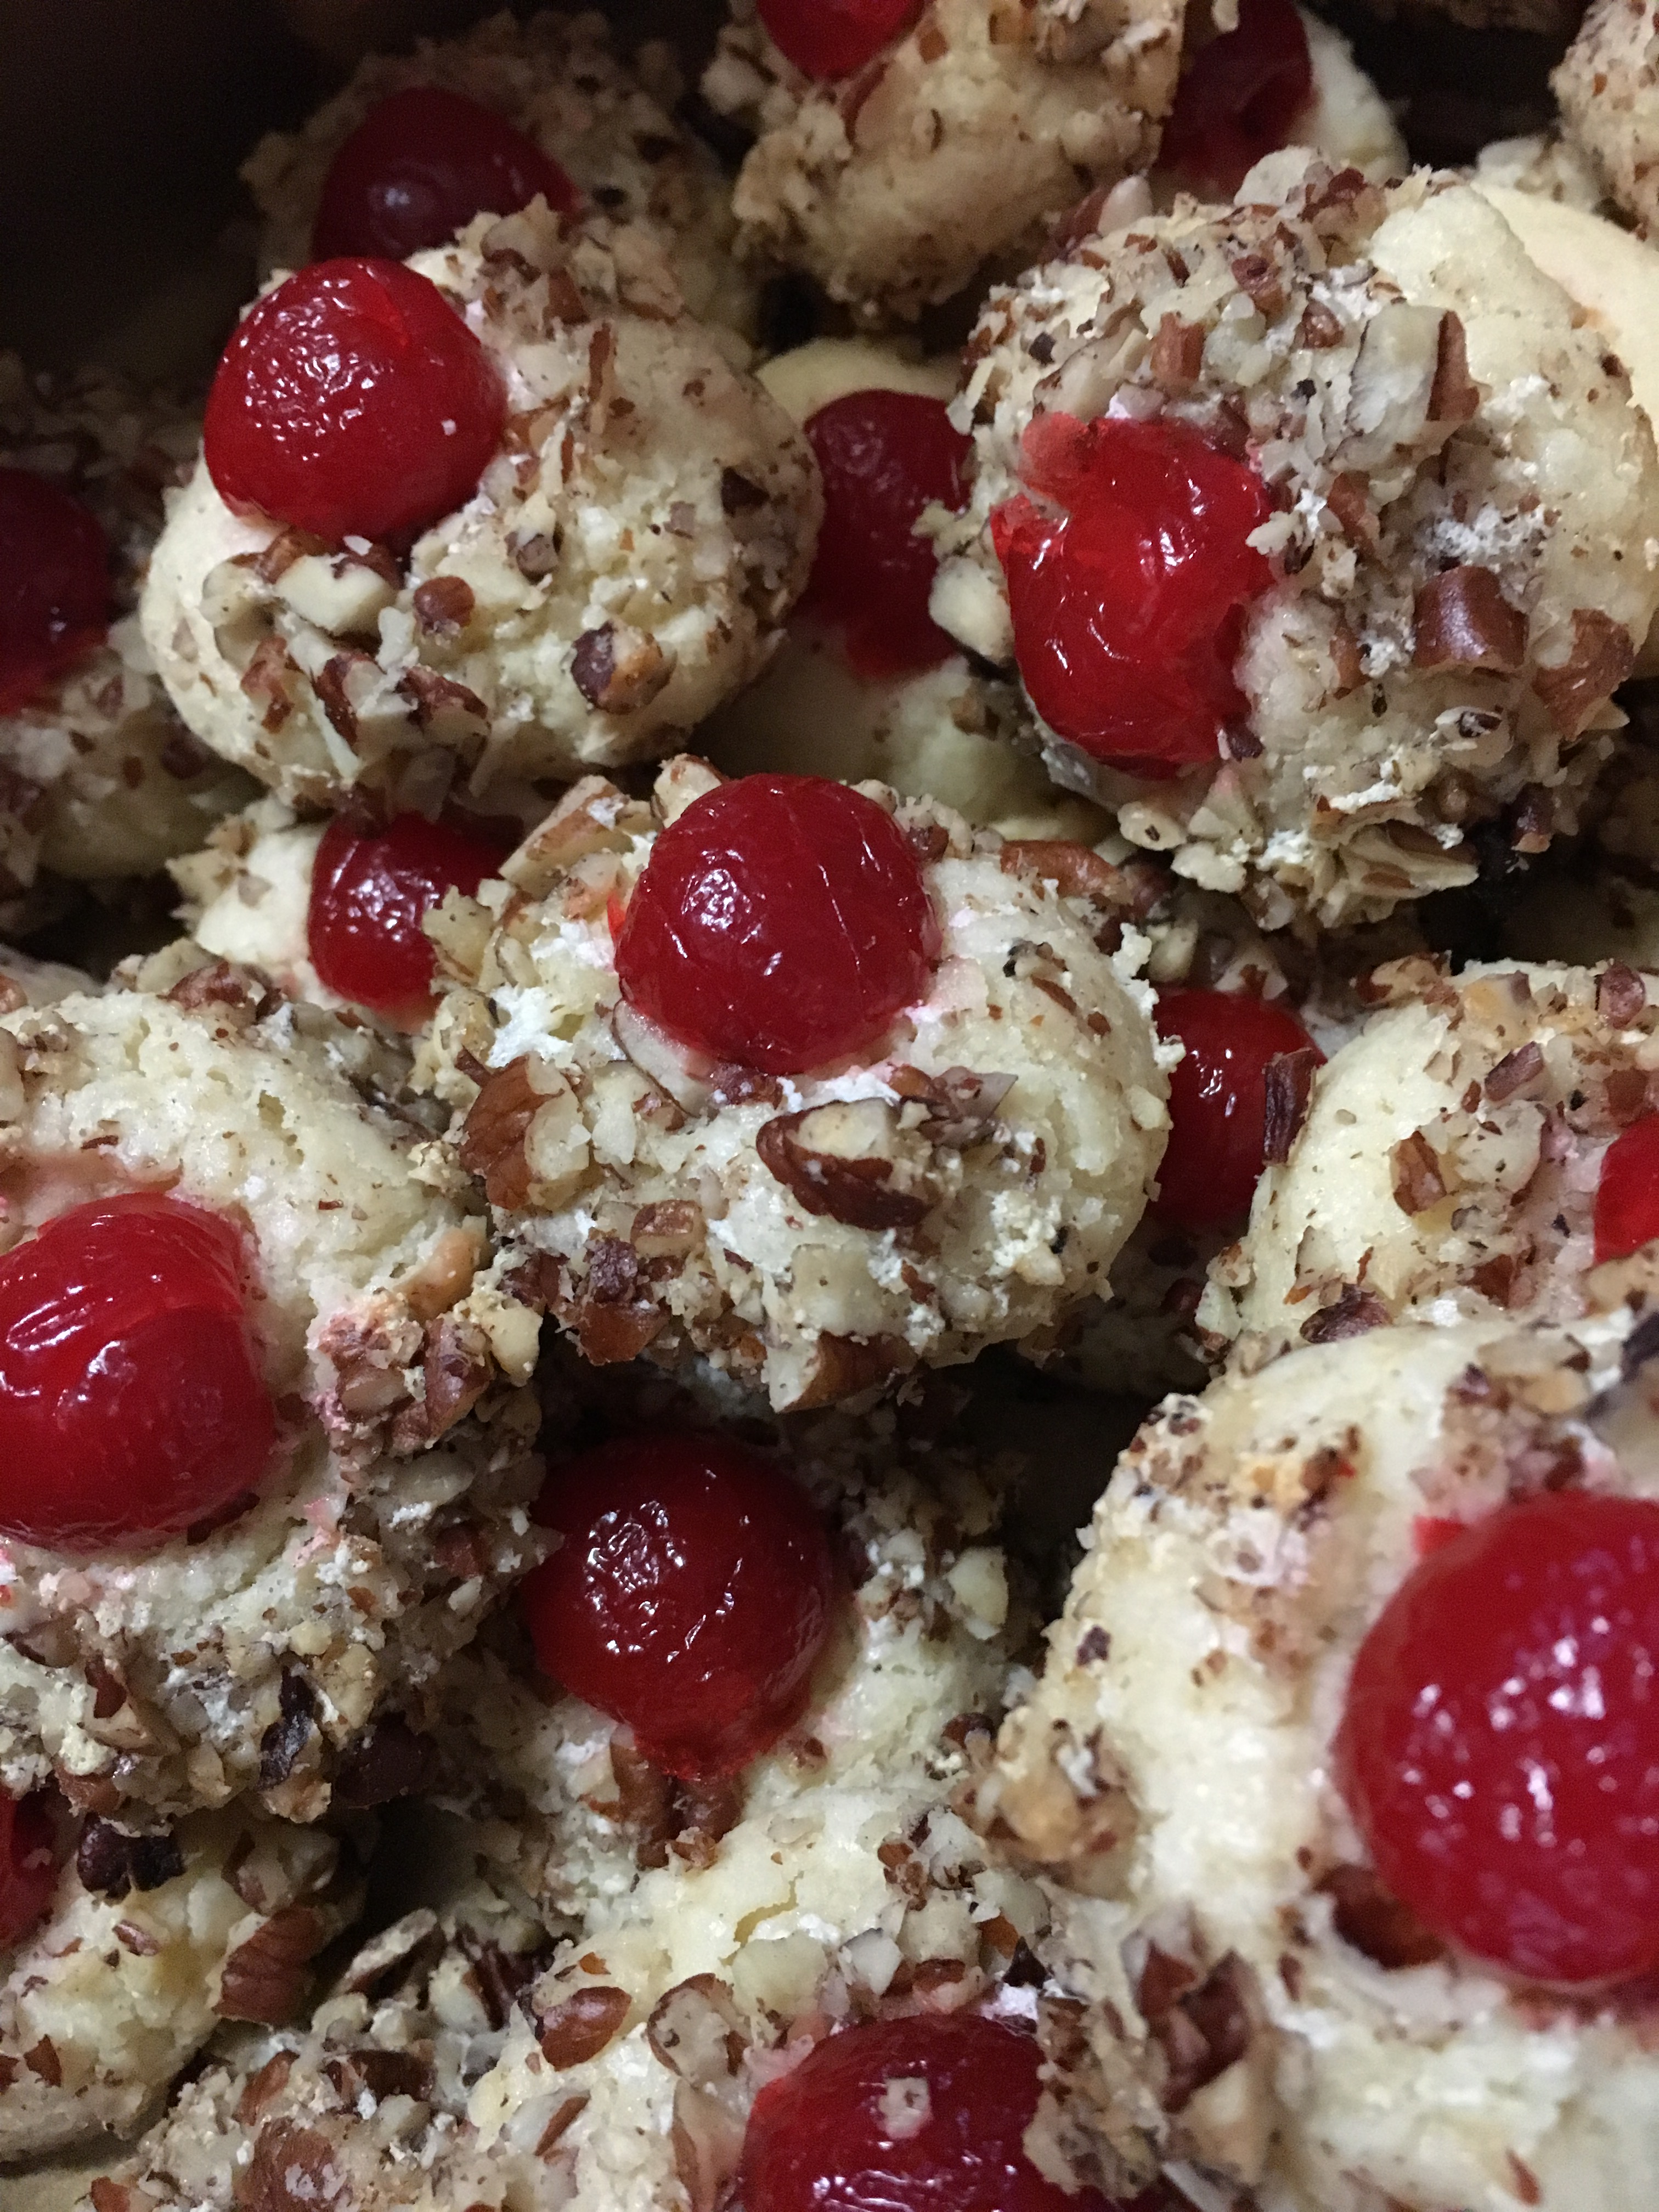
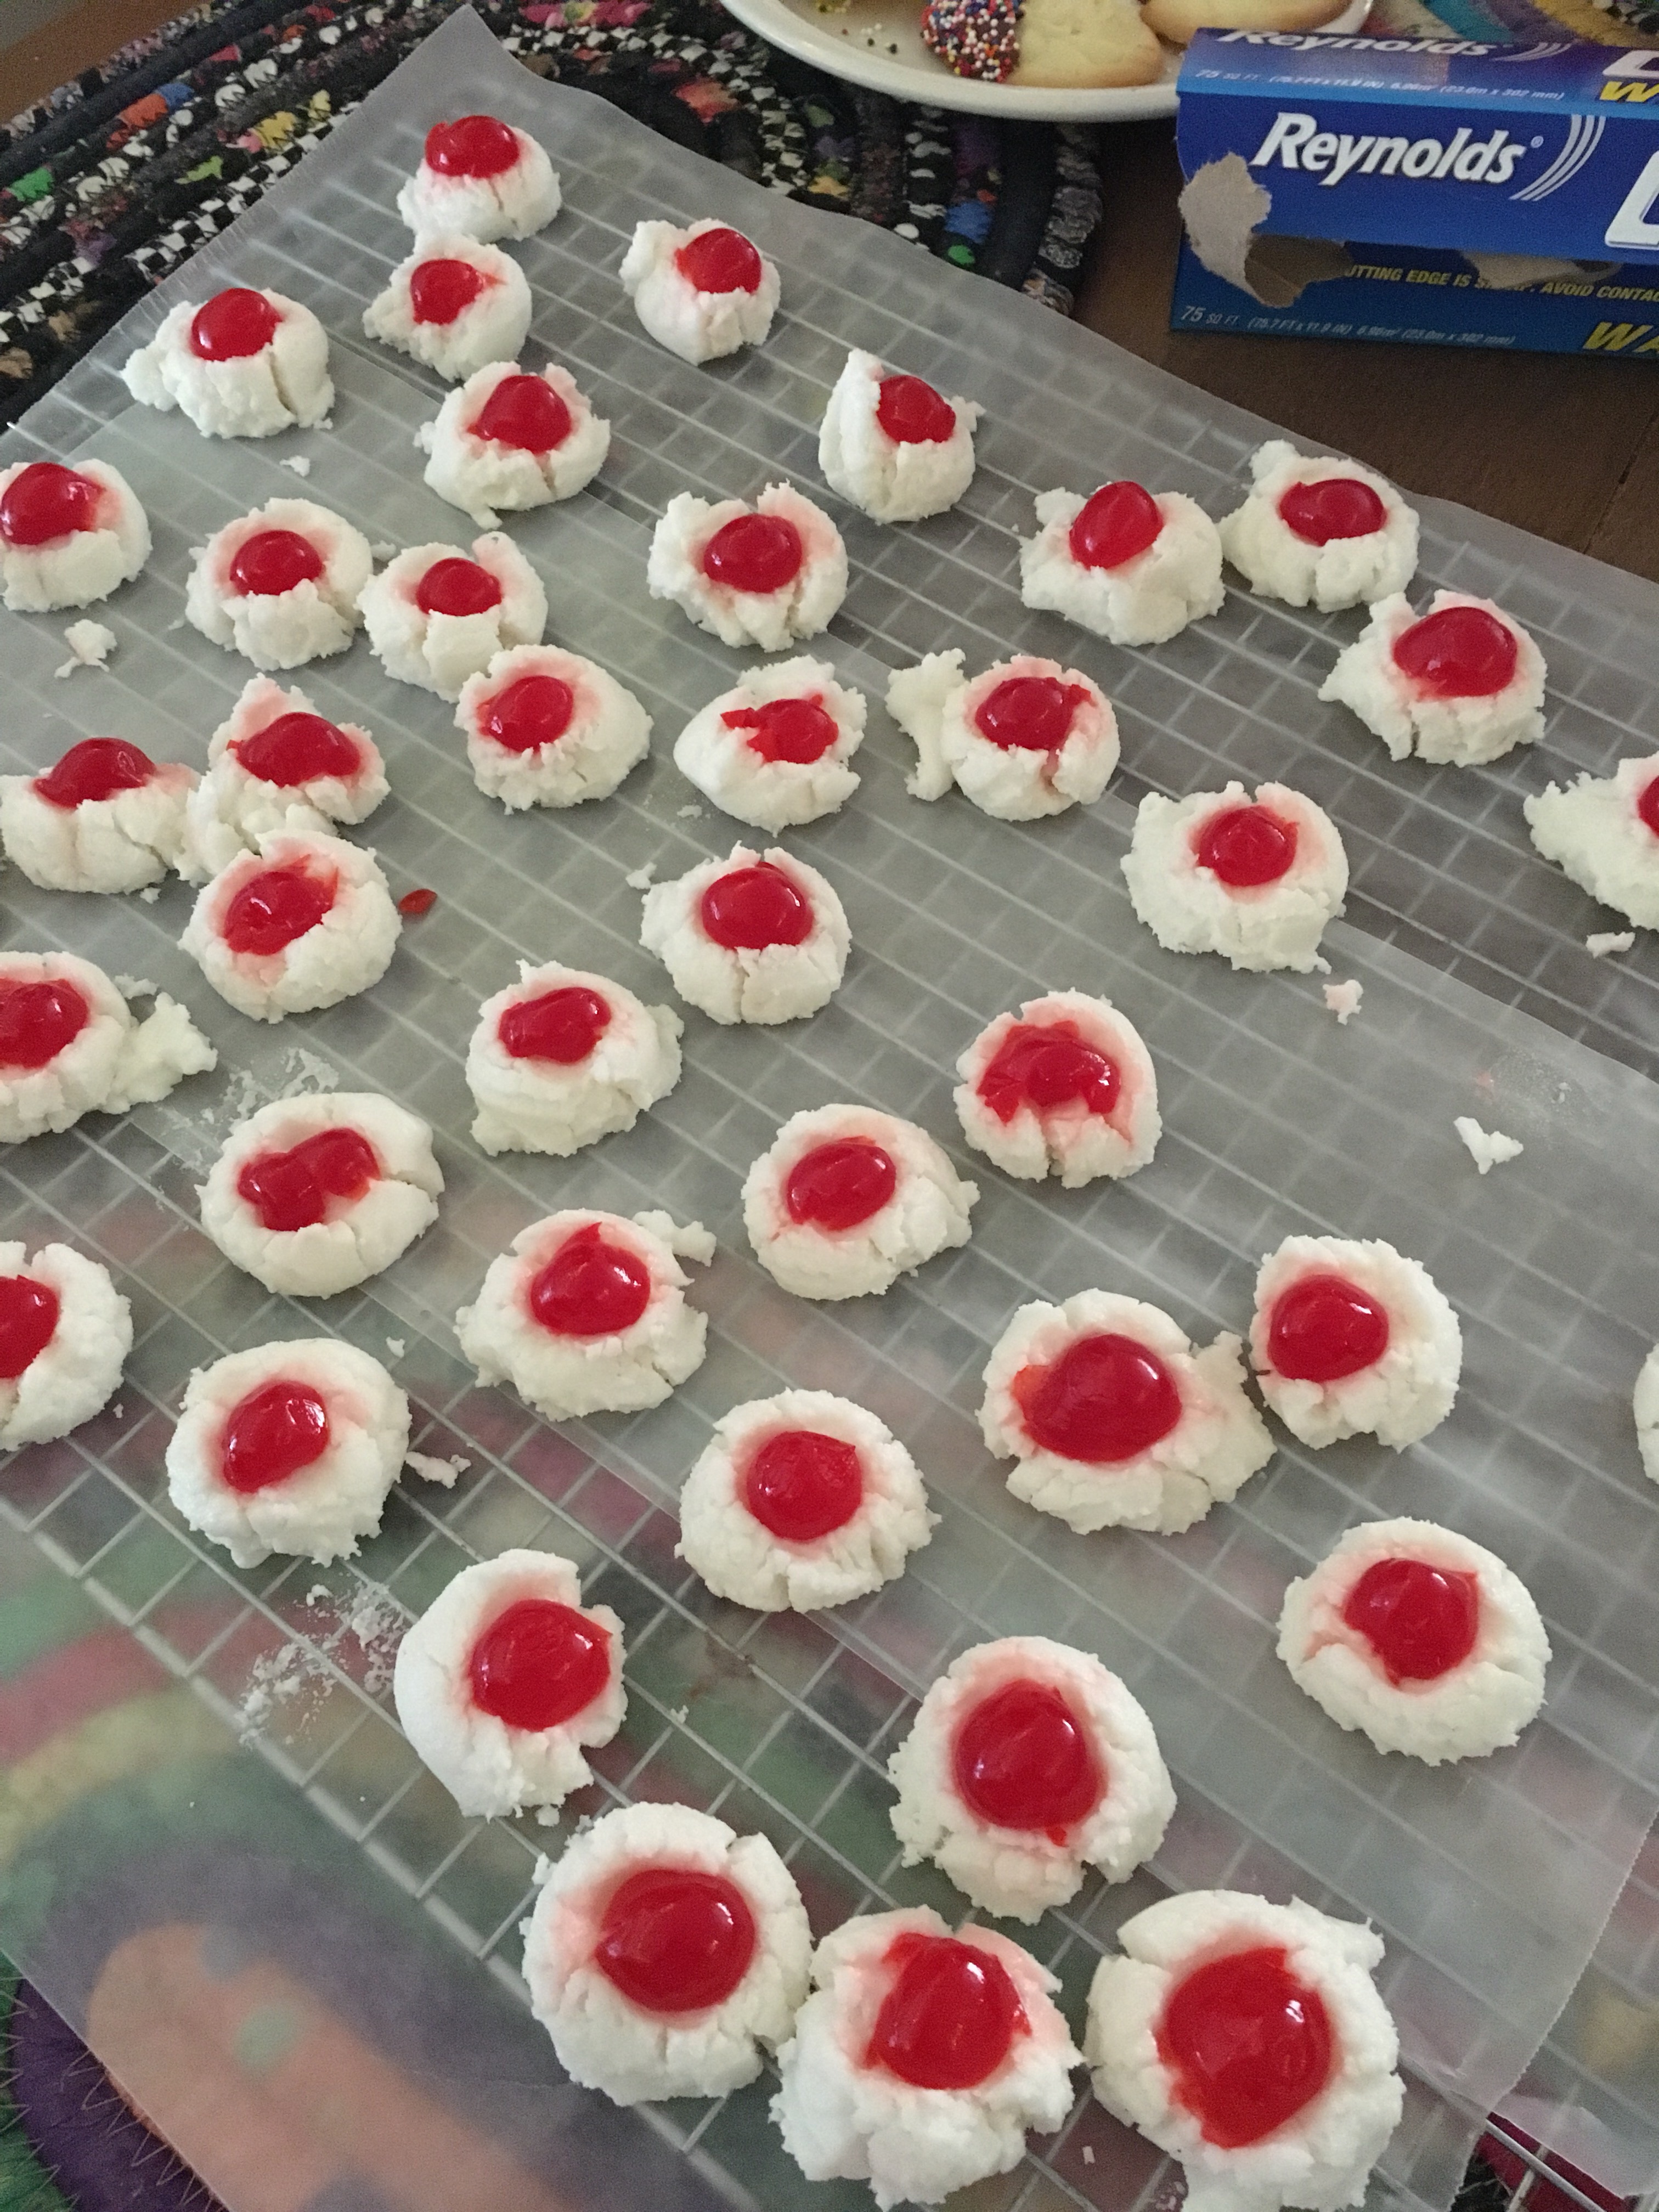
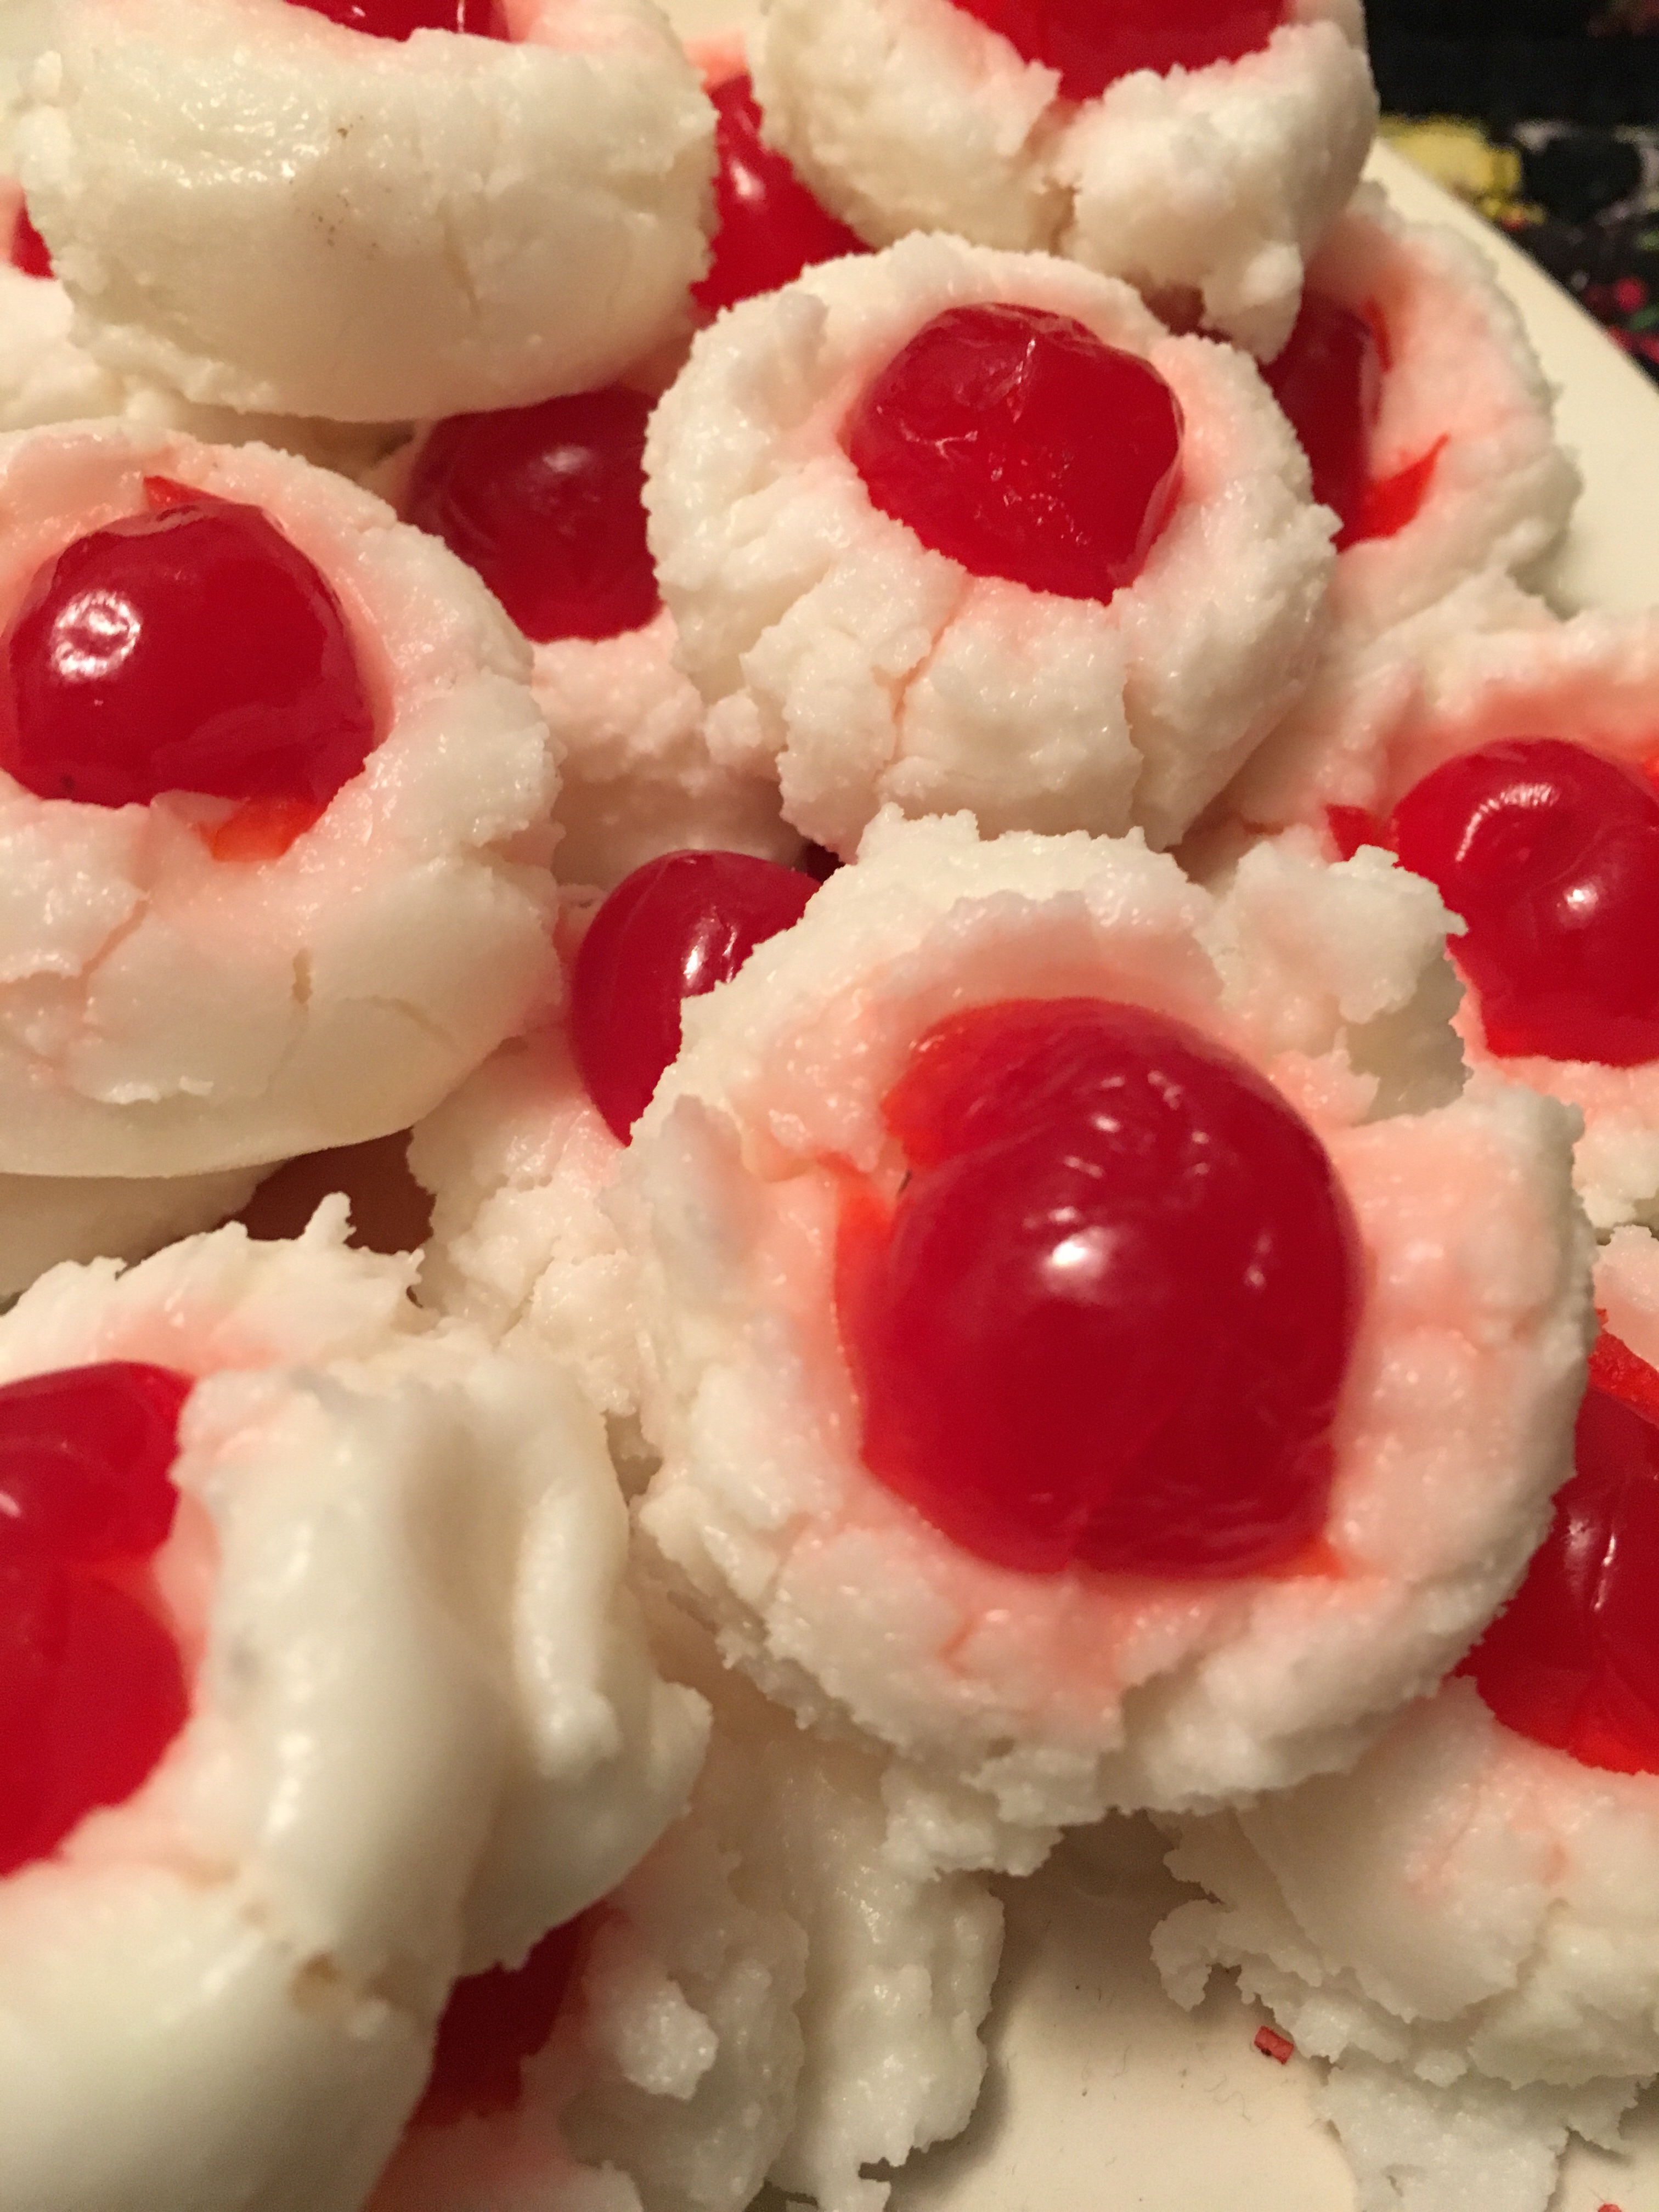
Today I made this wonderful recipe from my friend Michele, that she shared with me a few years ago. I have a lot of work to catch up on today, so I needed something that wouldn’t take a lot of time. Swedish butter cookies are pretty quick while also being impressive. When I put the cherry on each one, my daughter saw them and said, “Oh yeah! I love these kind!”
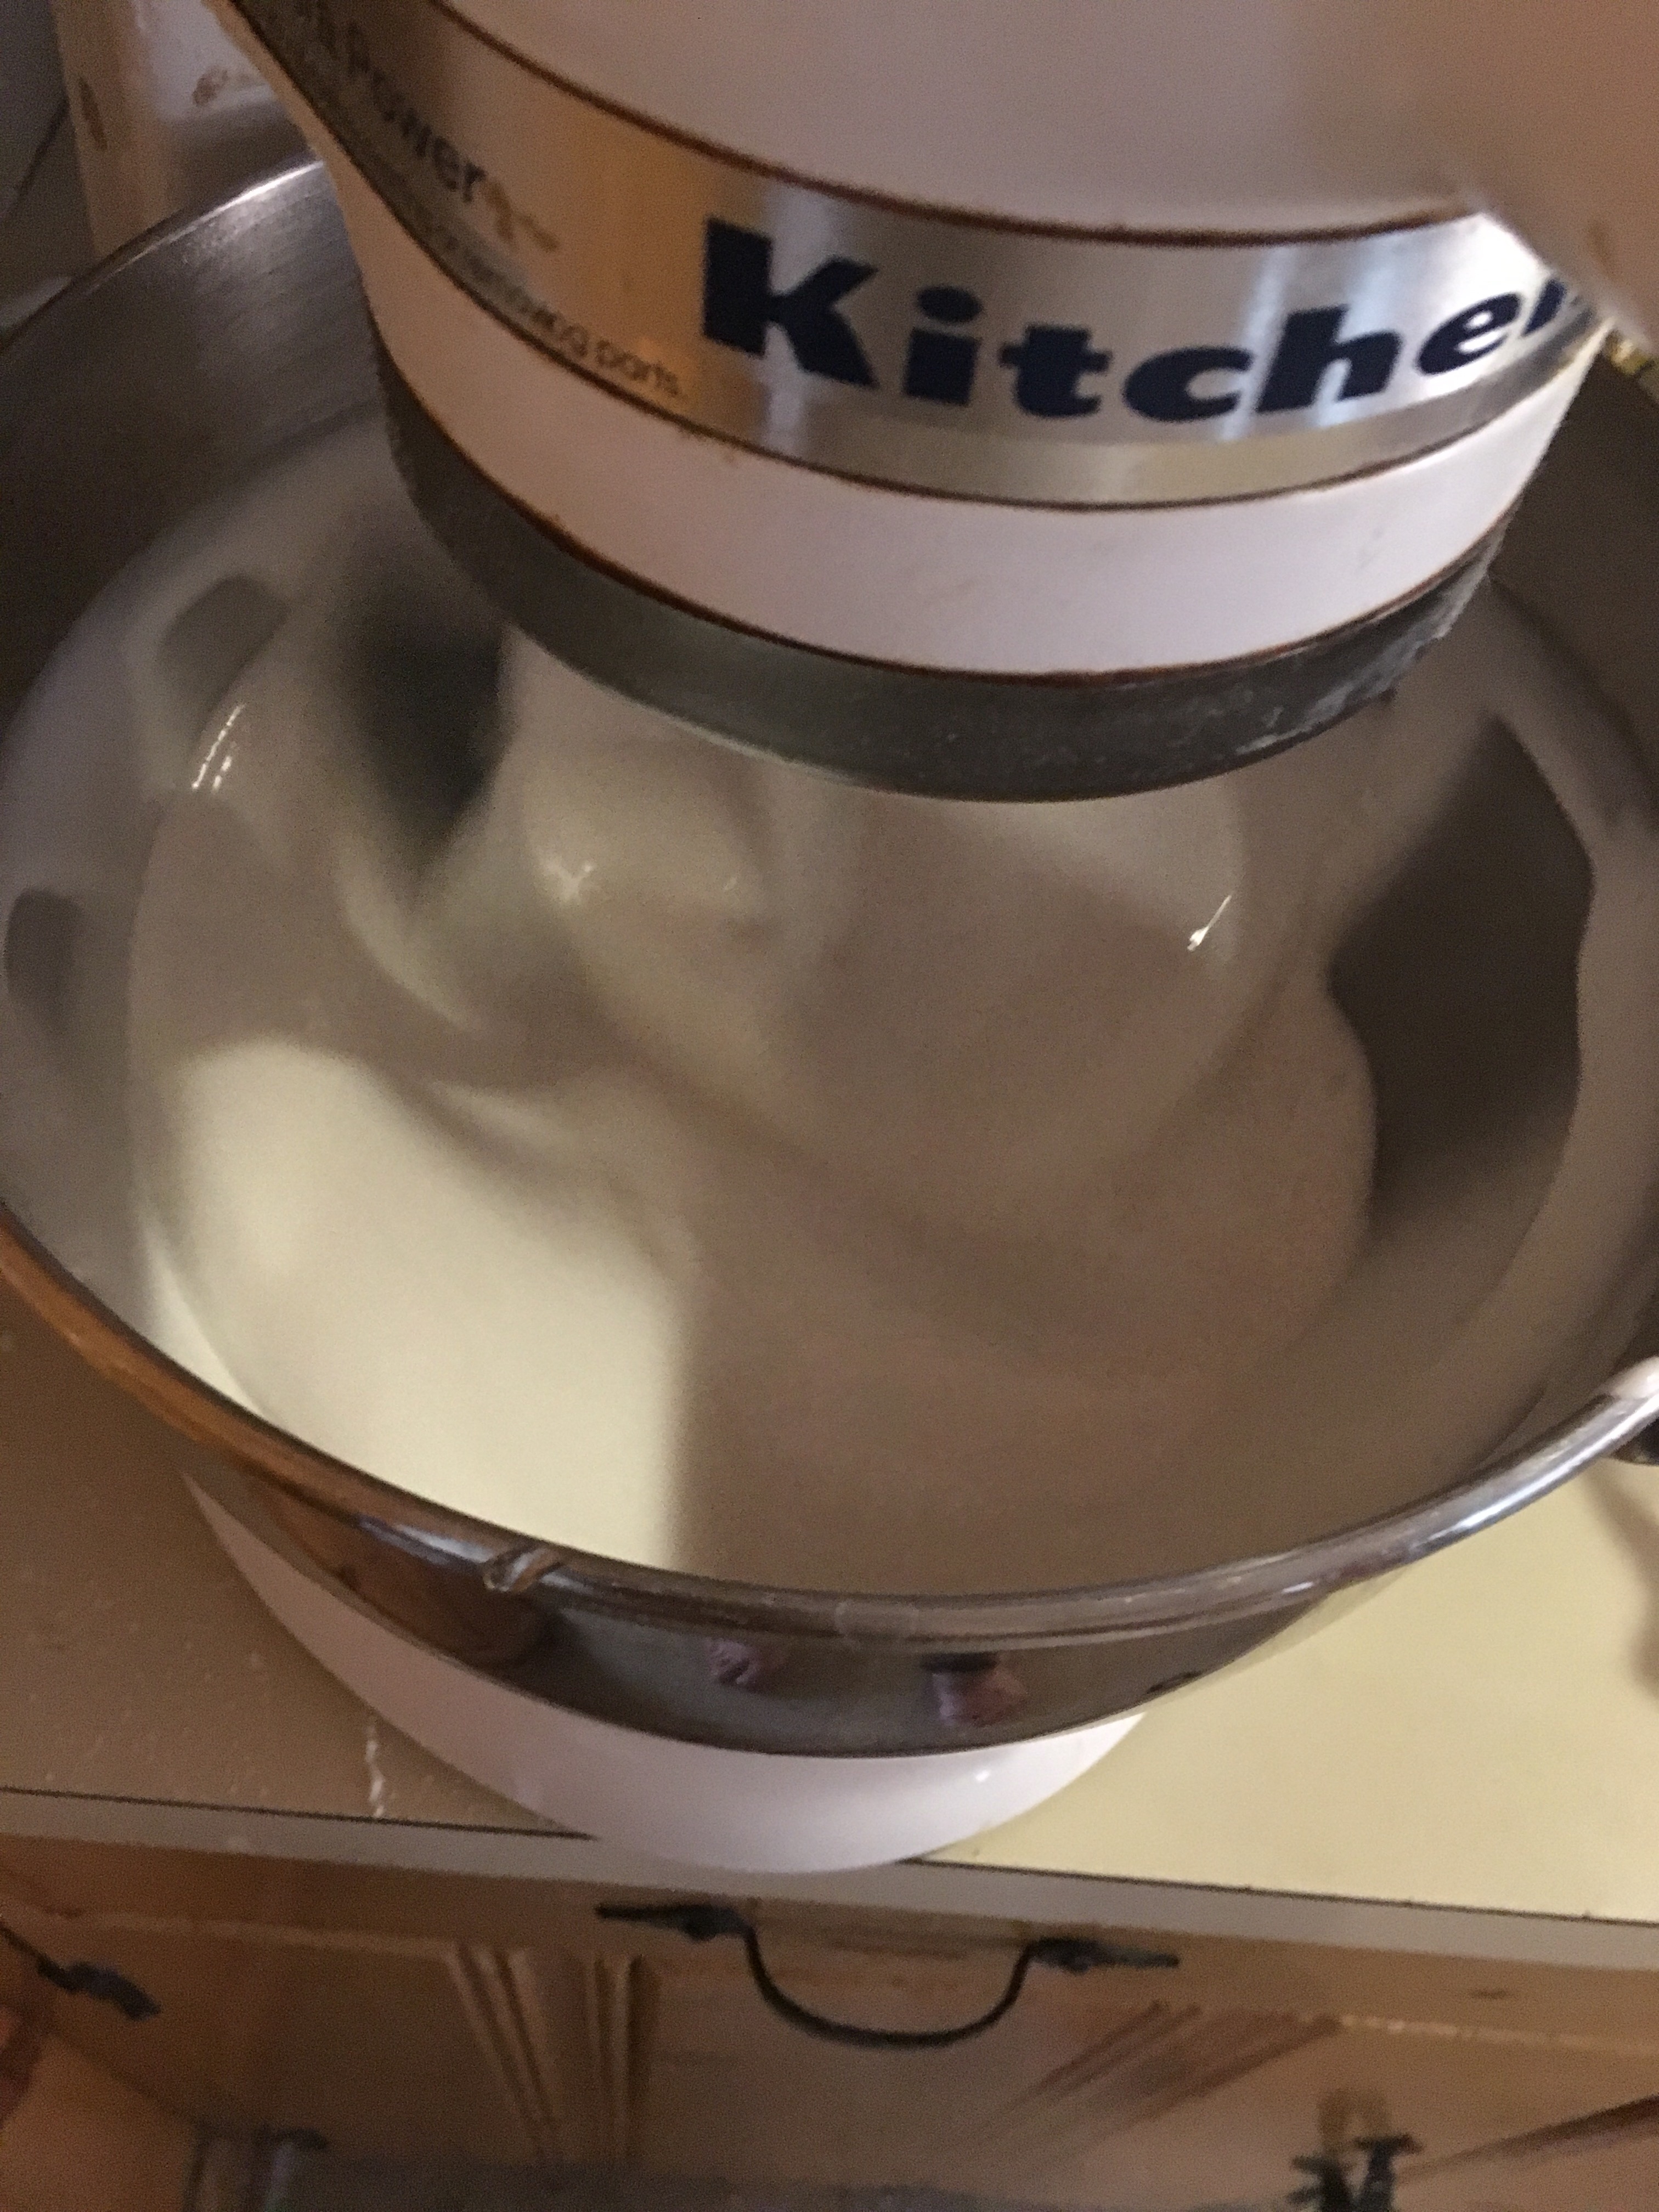
The dough is a standard butter, sugar, vanilla base, with an egg yolk instead of the whole egg. The egg white is kept for later, when it needs to be whipped. Once the flour and half-and-half is incorporated, it should make a ball in the mixer. For me, that generally means it all congregates on my paddle attachment and brings the top of the mixer down with a big thud.
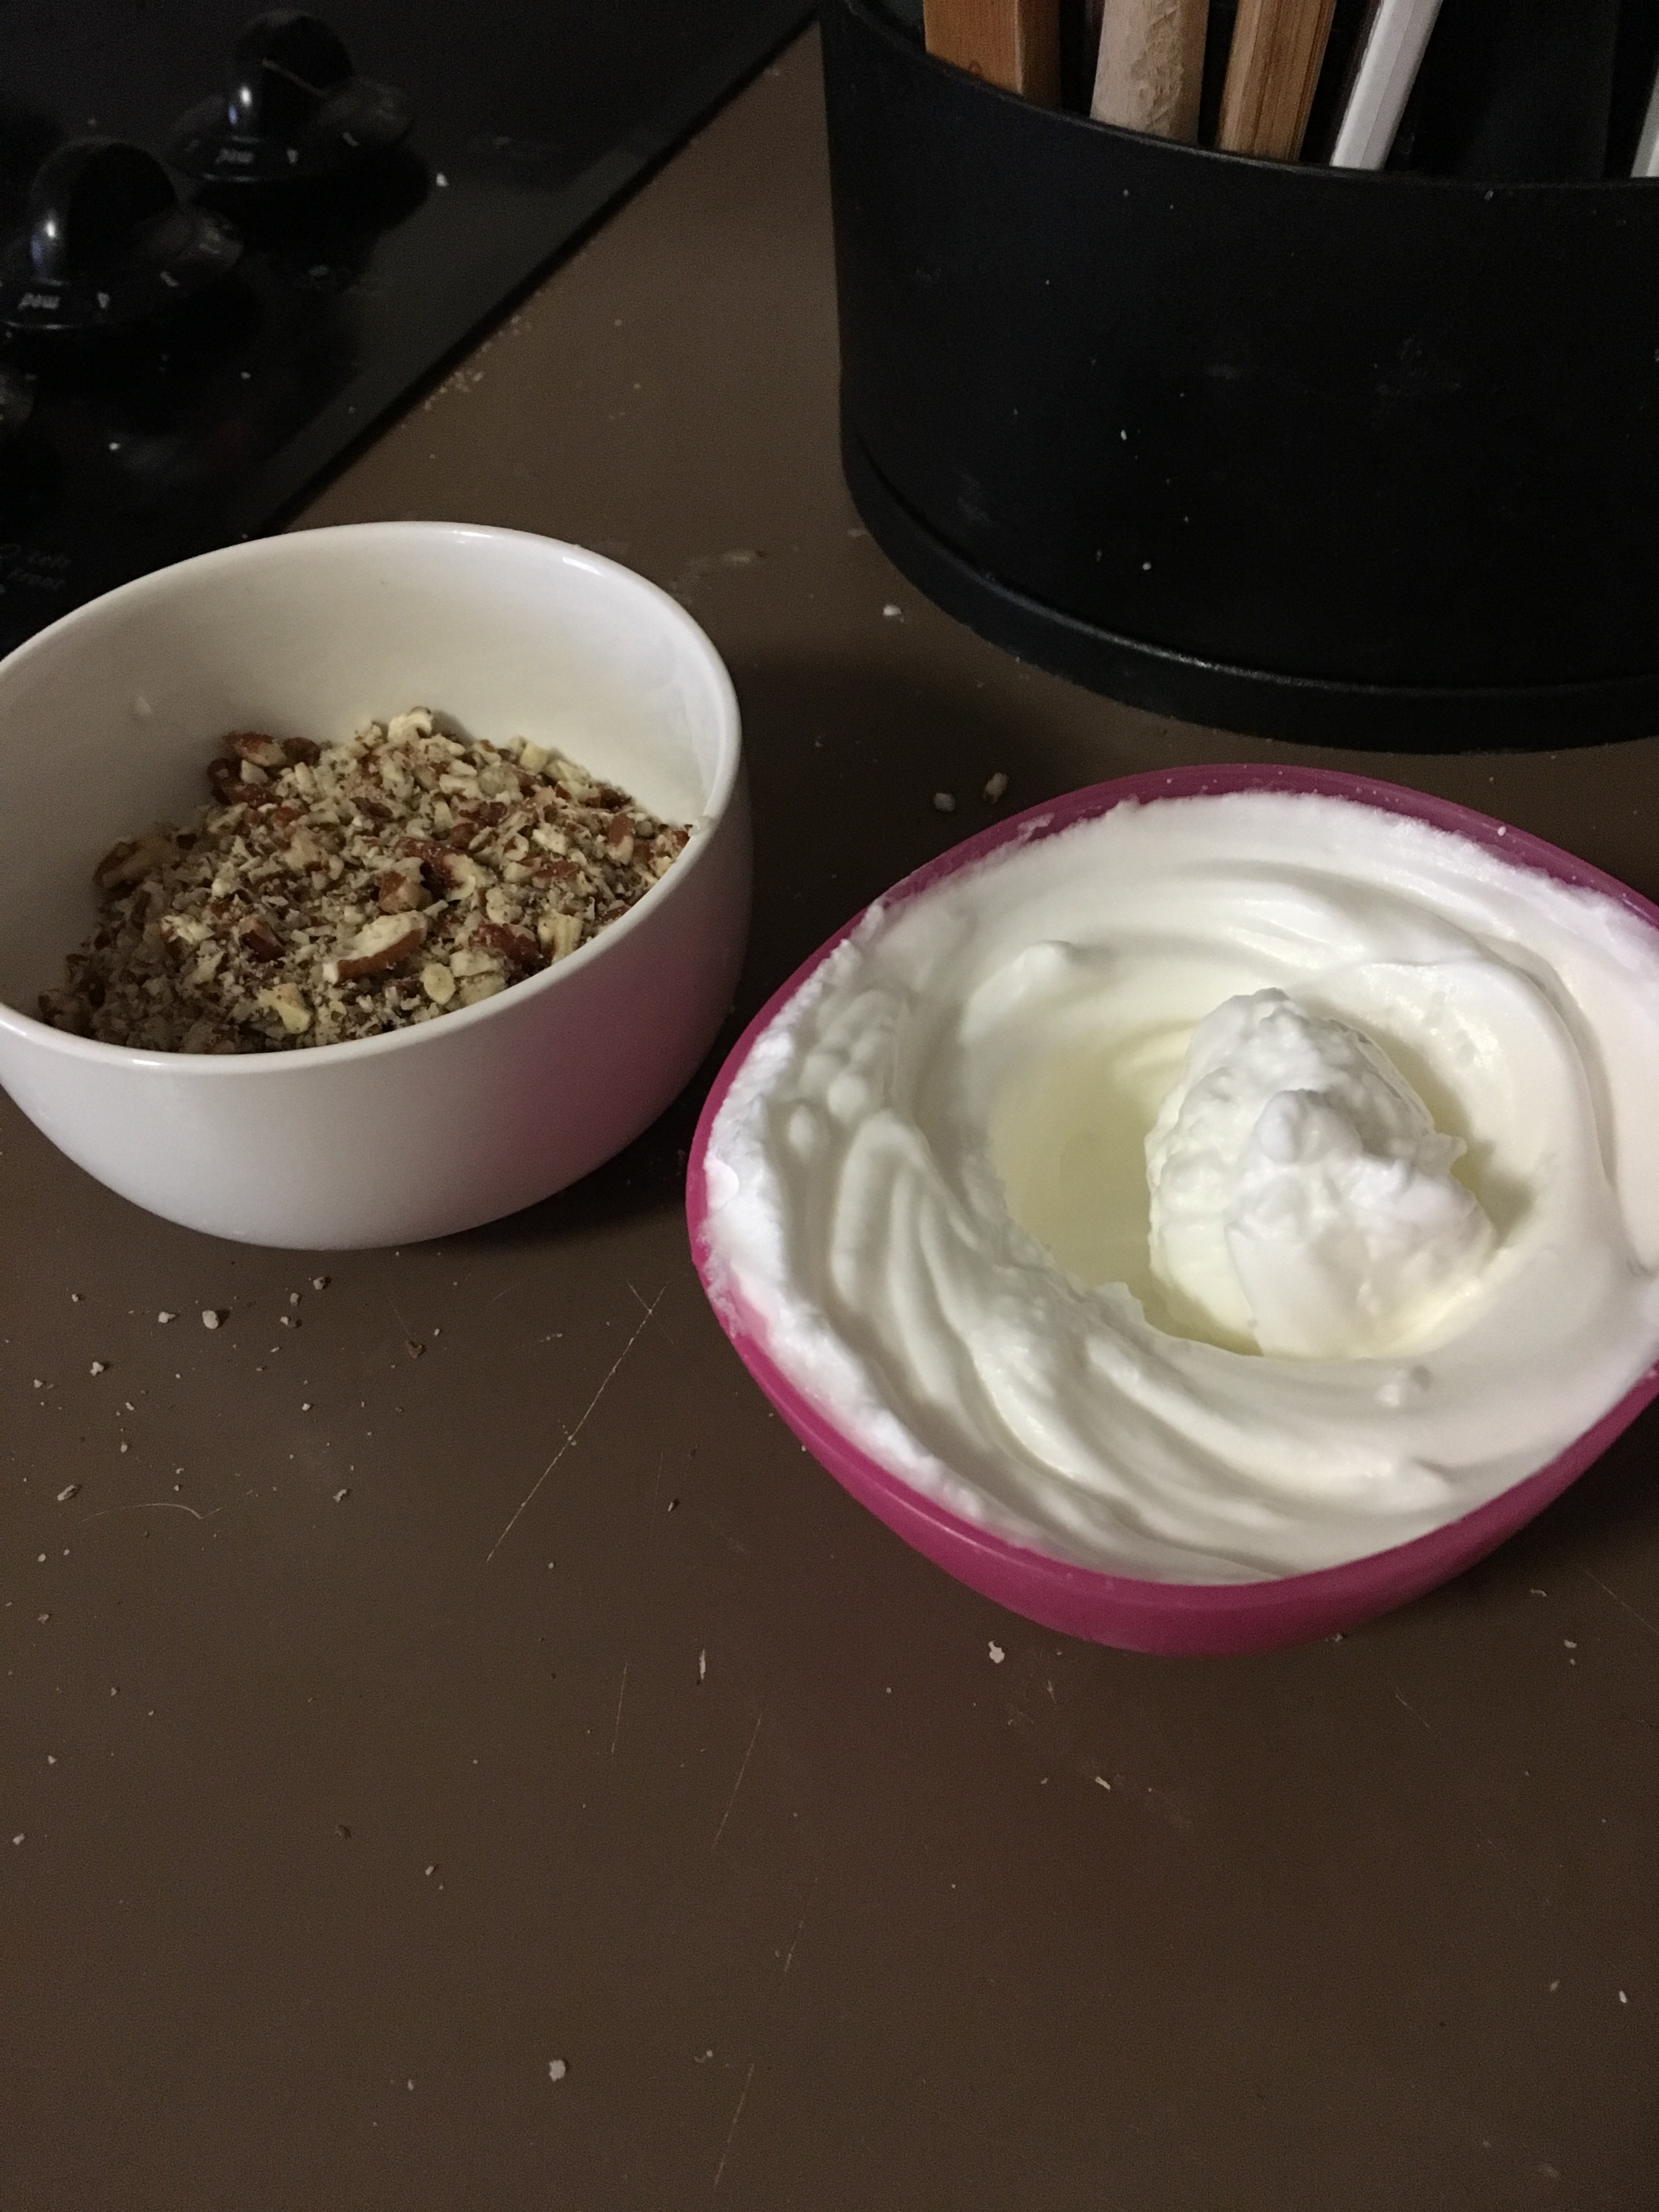
I whipped the egg white in a tiny little bowl with one whisk attachment of my hand mixer. I also chopped a 1/2 cup of pecans with my old Pampered Chef chopper. I ended up needing more, because I wasn’t being stingy with the pecans.
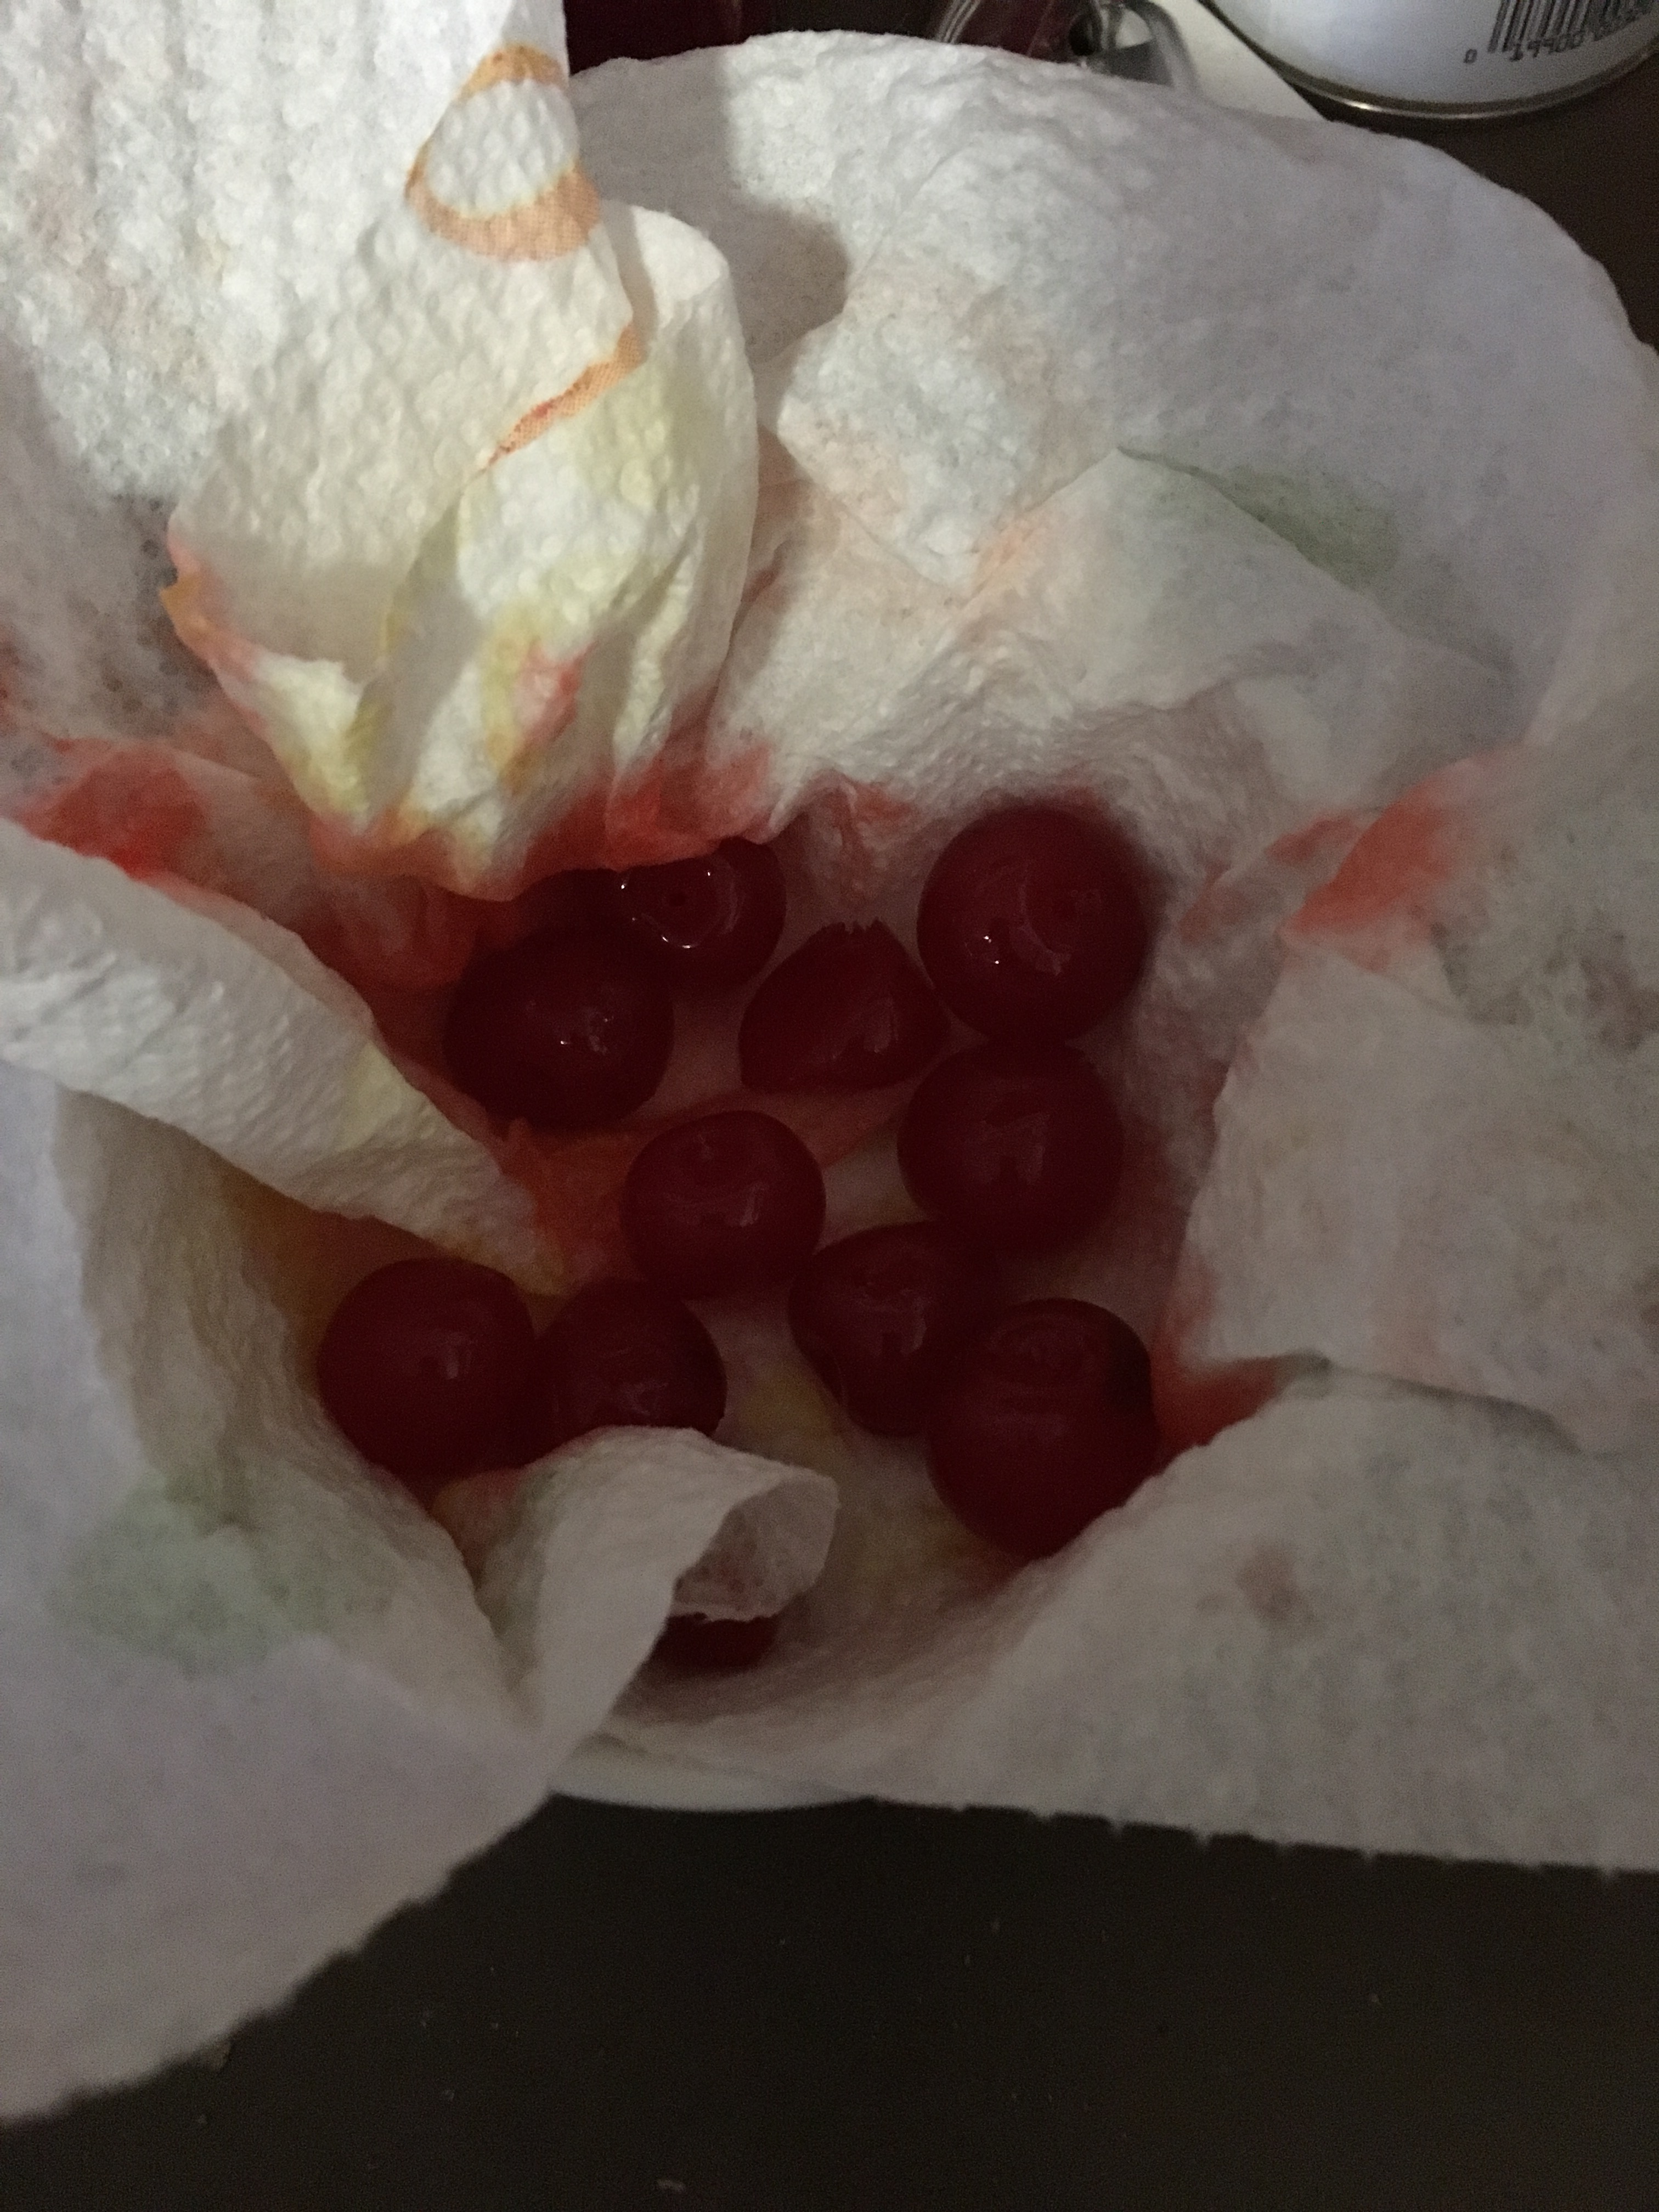
I like to dry the maraschino cherries a bit, so the juice from it doesn’t stain the cookie. I also like to swat the little girl that keeps stealing maraschino cherry halves from my bowl when I’m not looking. You dip a dough ball in the egg white, and then the pecans, and put it on a cookie sheet. When the tray is full, put half of a maraschino cherry in the middle of each cookie, pressing down slightly.
Into a 350 degree oven for 15-20 minutes they go. Keep an eye on these. A few years ago, I burnt a batch of these because I got distracted by a cool looking spider that I wanted to take a picture of. I got the picture of the spider, but at the expense of a tray of cookies. It was a sad day.
I love these cookies, and they look so pretty with the cherry in the middle. Truth be told, I love maraschino cherries, and I always think about the episode of How I Met Your Mother where Marshall has a coworker that does all this crazy stuff, including eating a jar of maraschino cherries for money. I never understood that, because I’d totally do it for free. And maybe actually have.
Swedish Butter Cookies(
(courtesy of the fabulous Miss Michele!)
½ lb. butter or margarine (2 sticks)
1 t. vanilla
2 c. flour
½ c. sugar
1 egg yolk (save whites to whip)
1 T. half & half (I always use milk)
½ t. baking powder
½ c. chopped pecans
1 bottle maraschino cherries
Cream butter, add sugar; add egg yolk then vanilla and mix well. Next, add the flour with the baking powder mixed in. Alternate adding the flour with the half & half. Form dough into little balls the size of a walnut. Whip egg whites stiff. Dip dough balls into whipped egg white and roll in pecans. Place a half of a cherry in the center and push it down lightly. Bake on an ungreased cookie sheet for 15-20 min. in a 350 degree oven. Watch them so they don’t over brown. Yum, yum, yum!
I’m in the throws of finishing a beast of a paper, so instead of telling you how I made something, I’m just going to post a few pictures and the recipe. It’s that sort of week around here.
1 Tbsp vanilla extract (I like to use Madagascar Bourbon)
1 egg
2 cups all-purpose flour
2 tsp cornstarch
1 tsp baking soda
Pinch salt
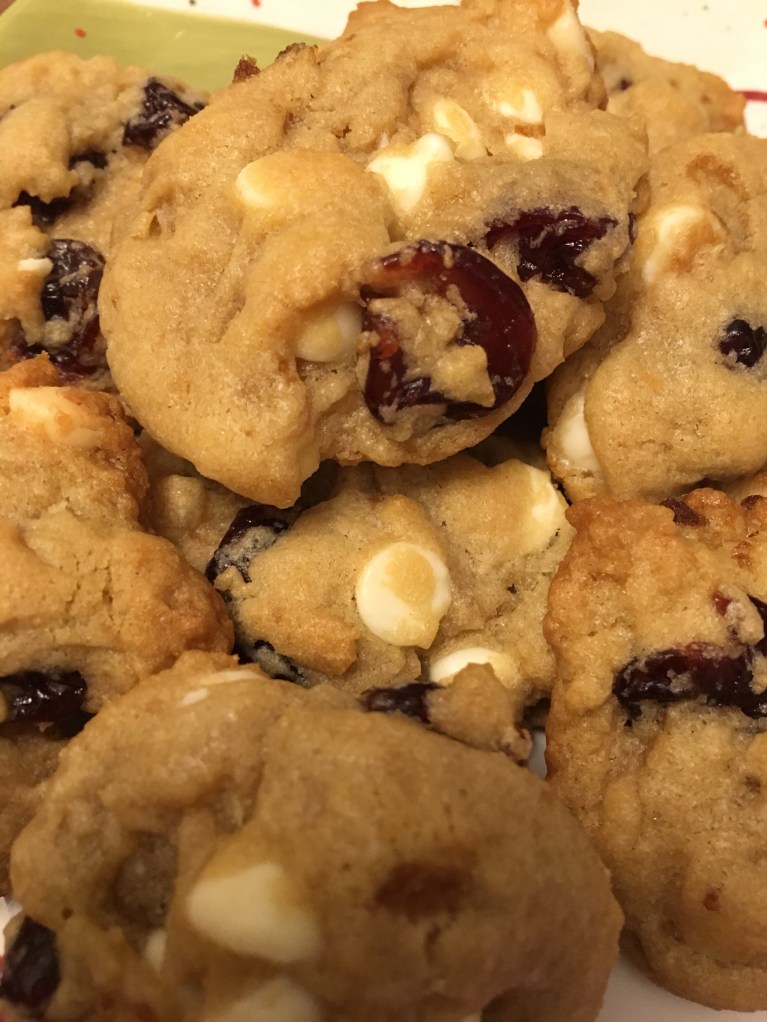
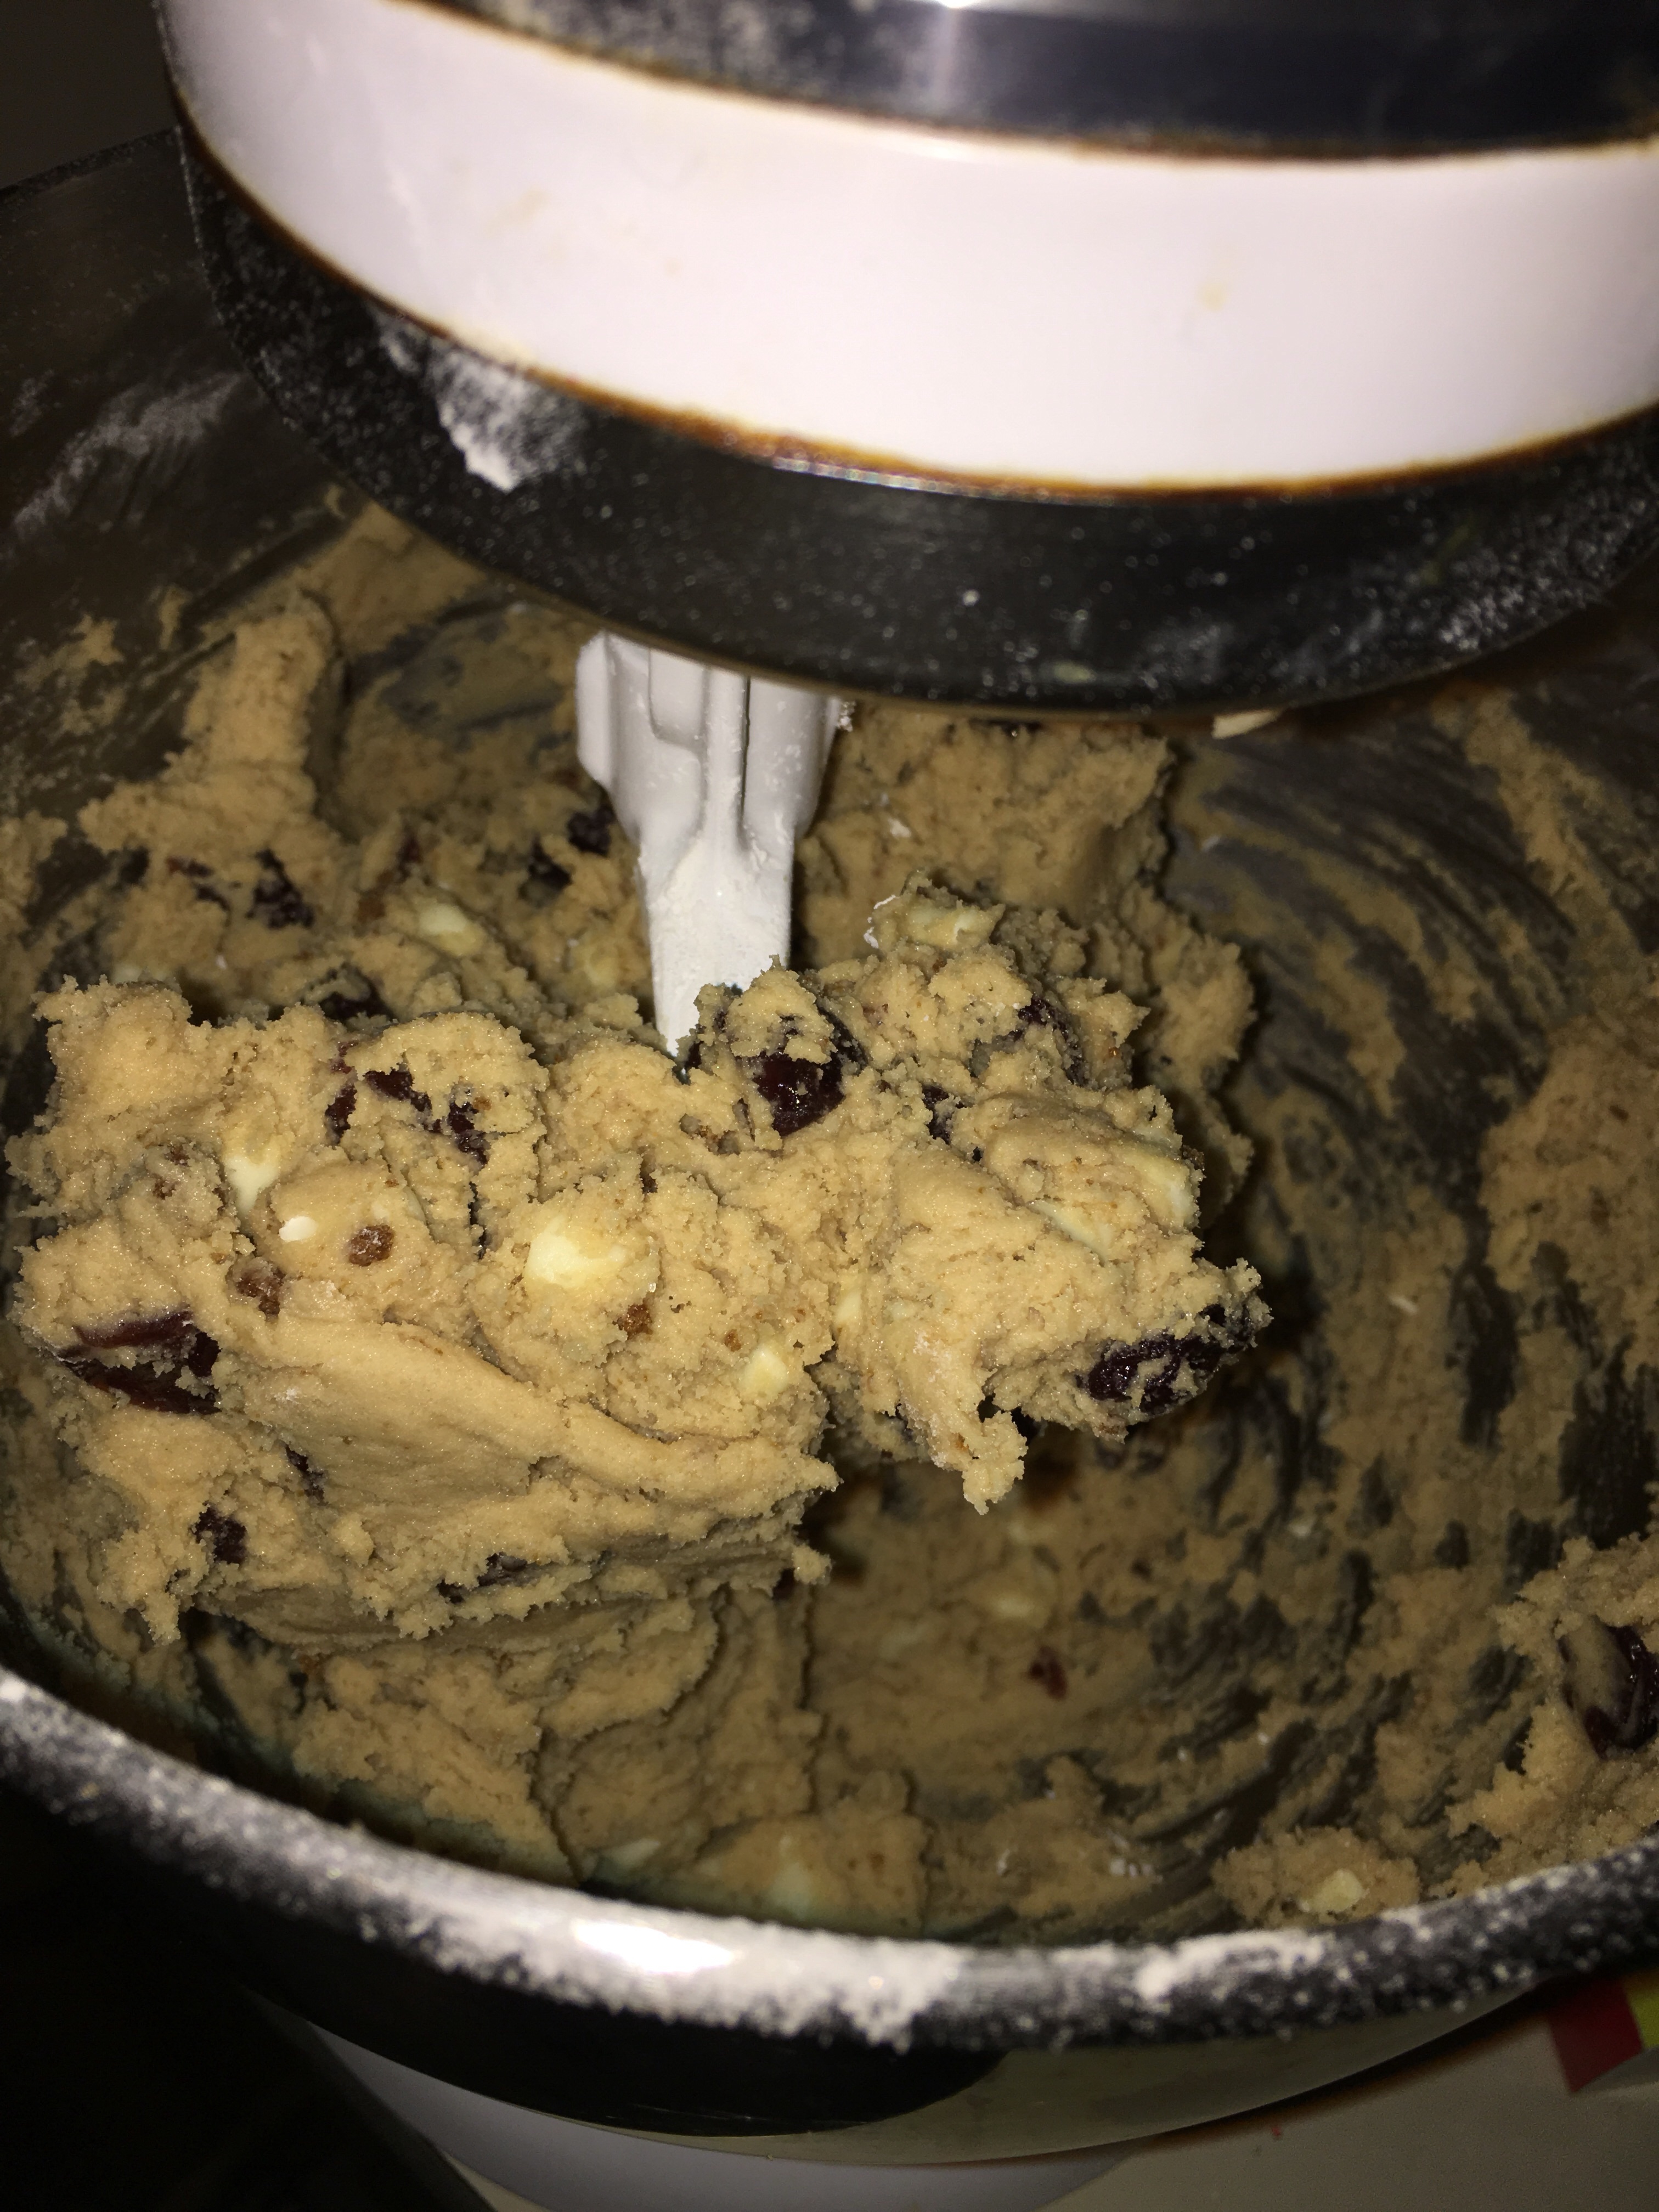
1 cup dried cranberries
1 cup white chocolate chips
Instructions
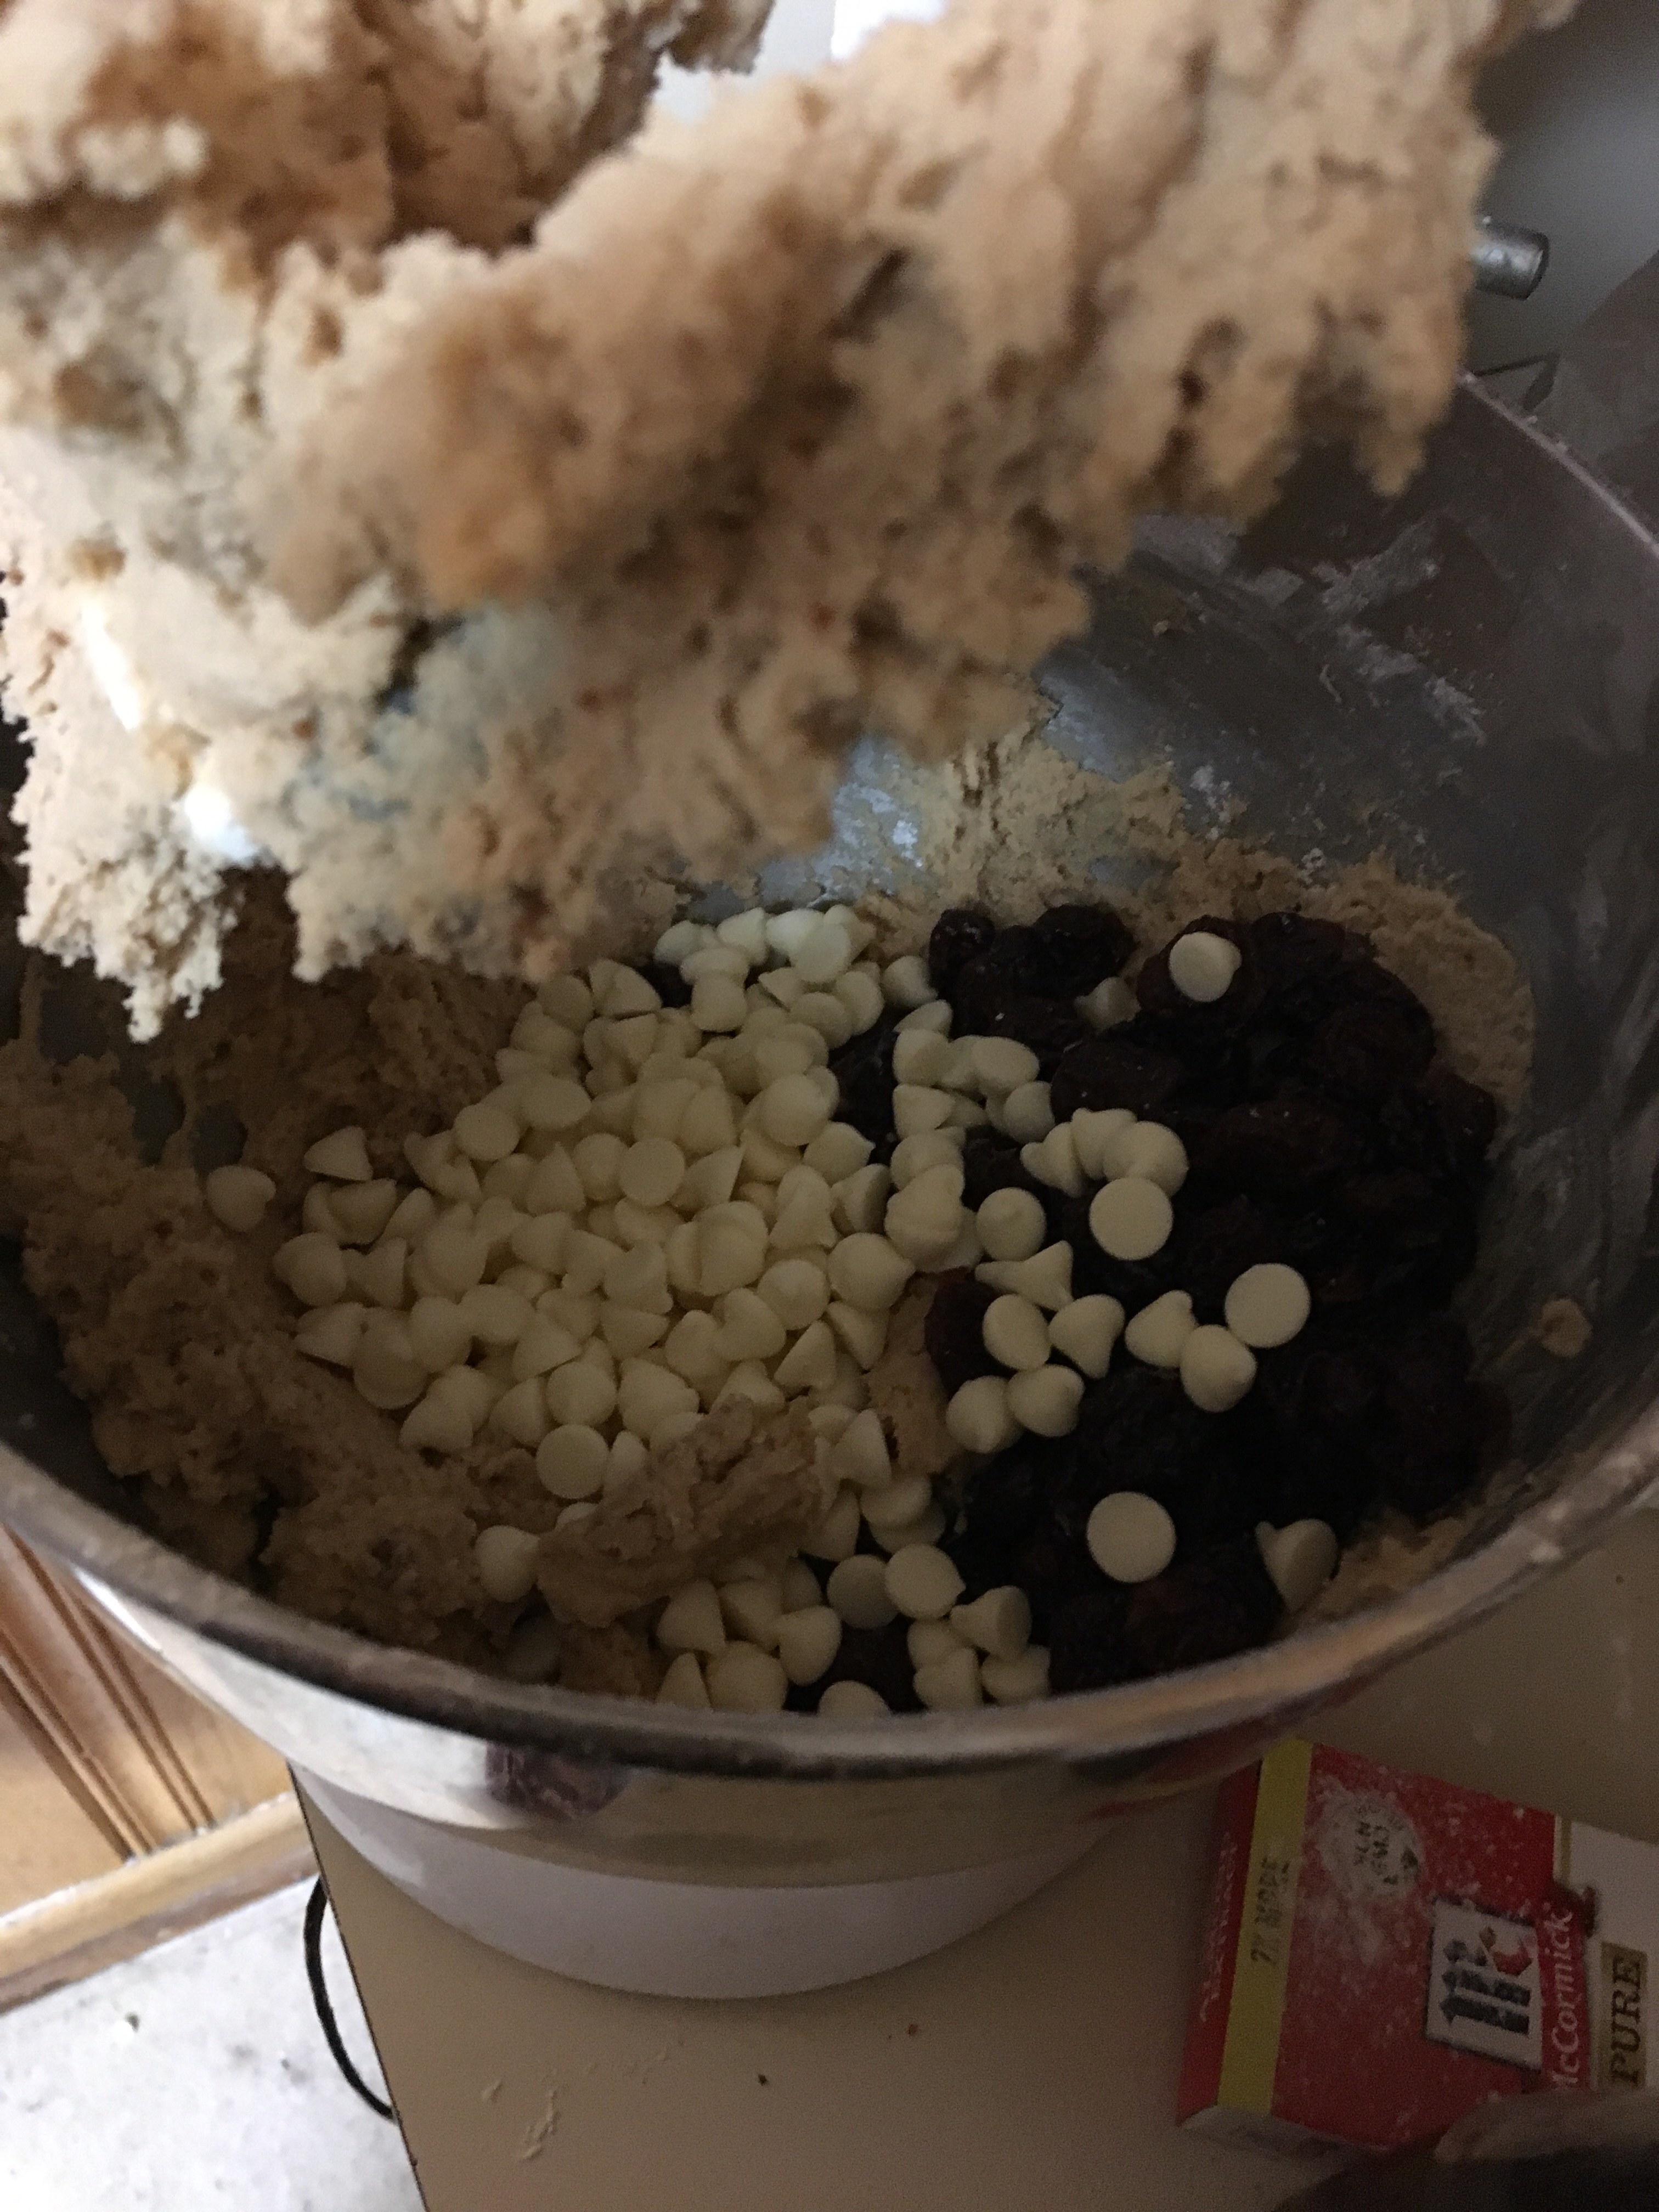
In the bowl of a stand mixer, beat together the butter, brown sugar & white sugar with the paddle attachment until light and fluffy. Beat in the vanilla and egg to combine. Lastly, beat in the flour, cornstarch, baking soda and pinch of salt until a soft dough has formed. Stir in the cranberries and white chips by hand.
Refrigerate the cookie dough for AT LEAST 1 HOUR. You can chill it overnight if you’d like, but one hour chill time is mandatory to prevent cookies from spreading and to create that light, soft and chewy texture.
Preheat oven to 350 degrees F. Line two baking sheets with silicone liners or mist lightly with cooking spray. Remove chilled dough from fridge and roll into Tablespoon-sized balls. Place onto the cookie sheets about 1-2″ apart from one another.
Bake for approx. 8-10 minutes, rotating pans halfway through baking time to ensure an even cook. Cookies may appear slightly undone, but do not over-bake them! They will continue to set up more as they cool. Allow cookies to set on the baking sheets for about 10 minutes or so before carefully transferring to a wire rack to cool completely. If you’d like to make them prettier, garnish cookies with additional white chips on top of still-warm cookies before serving.
In every cookie blogger’s life, a little sugar must fall. Or in my case, Cherry Divinity.
I’ve never made this before, but I had some marshmallow fluff leftover from the night before (it’s a long story) and google was there for me this morning with the answer to “Christmas Cookie with Marshmallow Fluff.”
Enter Cherry Divinity.
I supposed Divinity is more a candy than a cookie, but I make allowances for butter mints and toffee, so Divinity is given a pass.
The recipe seemed simple enough, though there was a glaring typo that I was ready to pounce on. Joke’s on me though, because this one didn’t quite turn out the way it should have.
I did everything right up until the 10 minutes of mixing, when I left to go write some of my research paper. When I returned, the substance in the mixer looked a little grainy. But I thought maybe it would be okay.
It wasn’t really.
Divinity isn’t supposed to look like this. I don’t know what it’s supposed to taste like, but this is SUPER sweet. However, my kids have been snacking on it all day long, which tells me maybe there’s a market for this treat. I’m just not it.
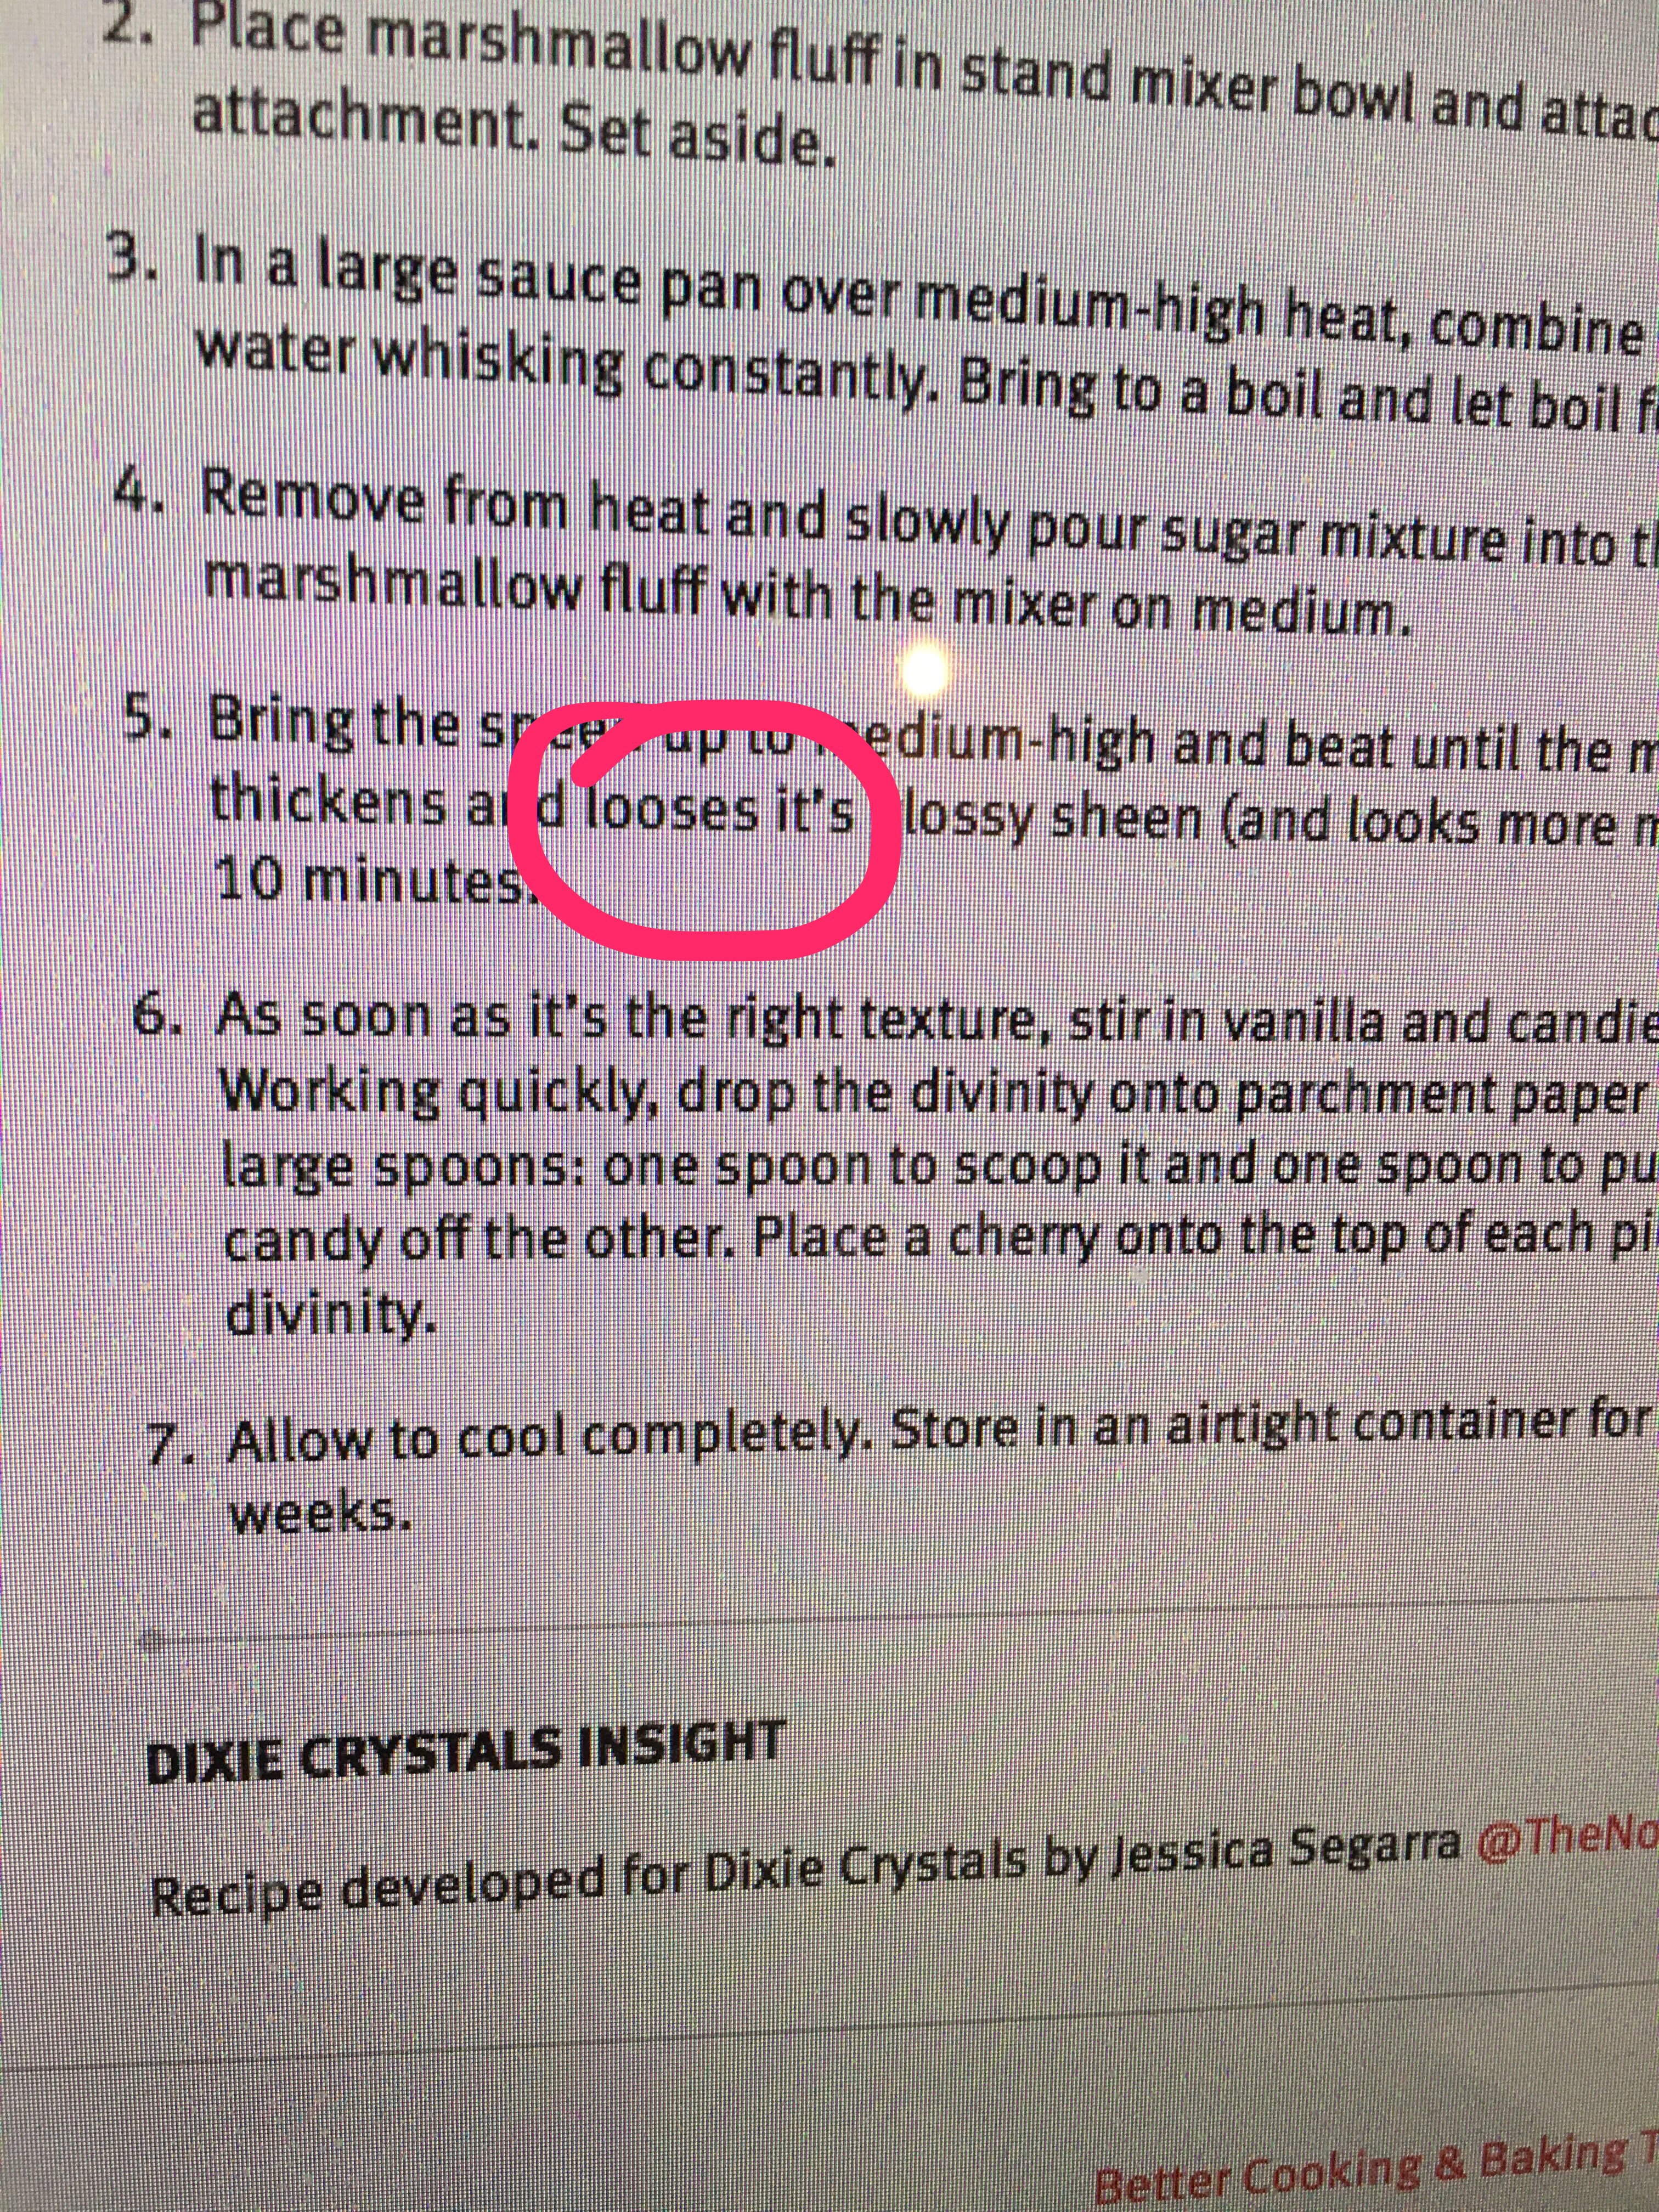
And Dixie Sugar, it’s “loses” not “looses,” but after my experience, it’s clear that maybe I’m the loser on this one.
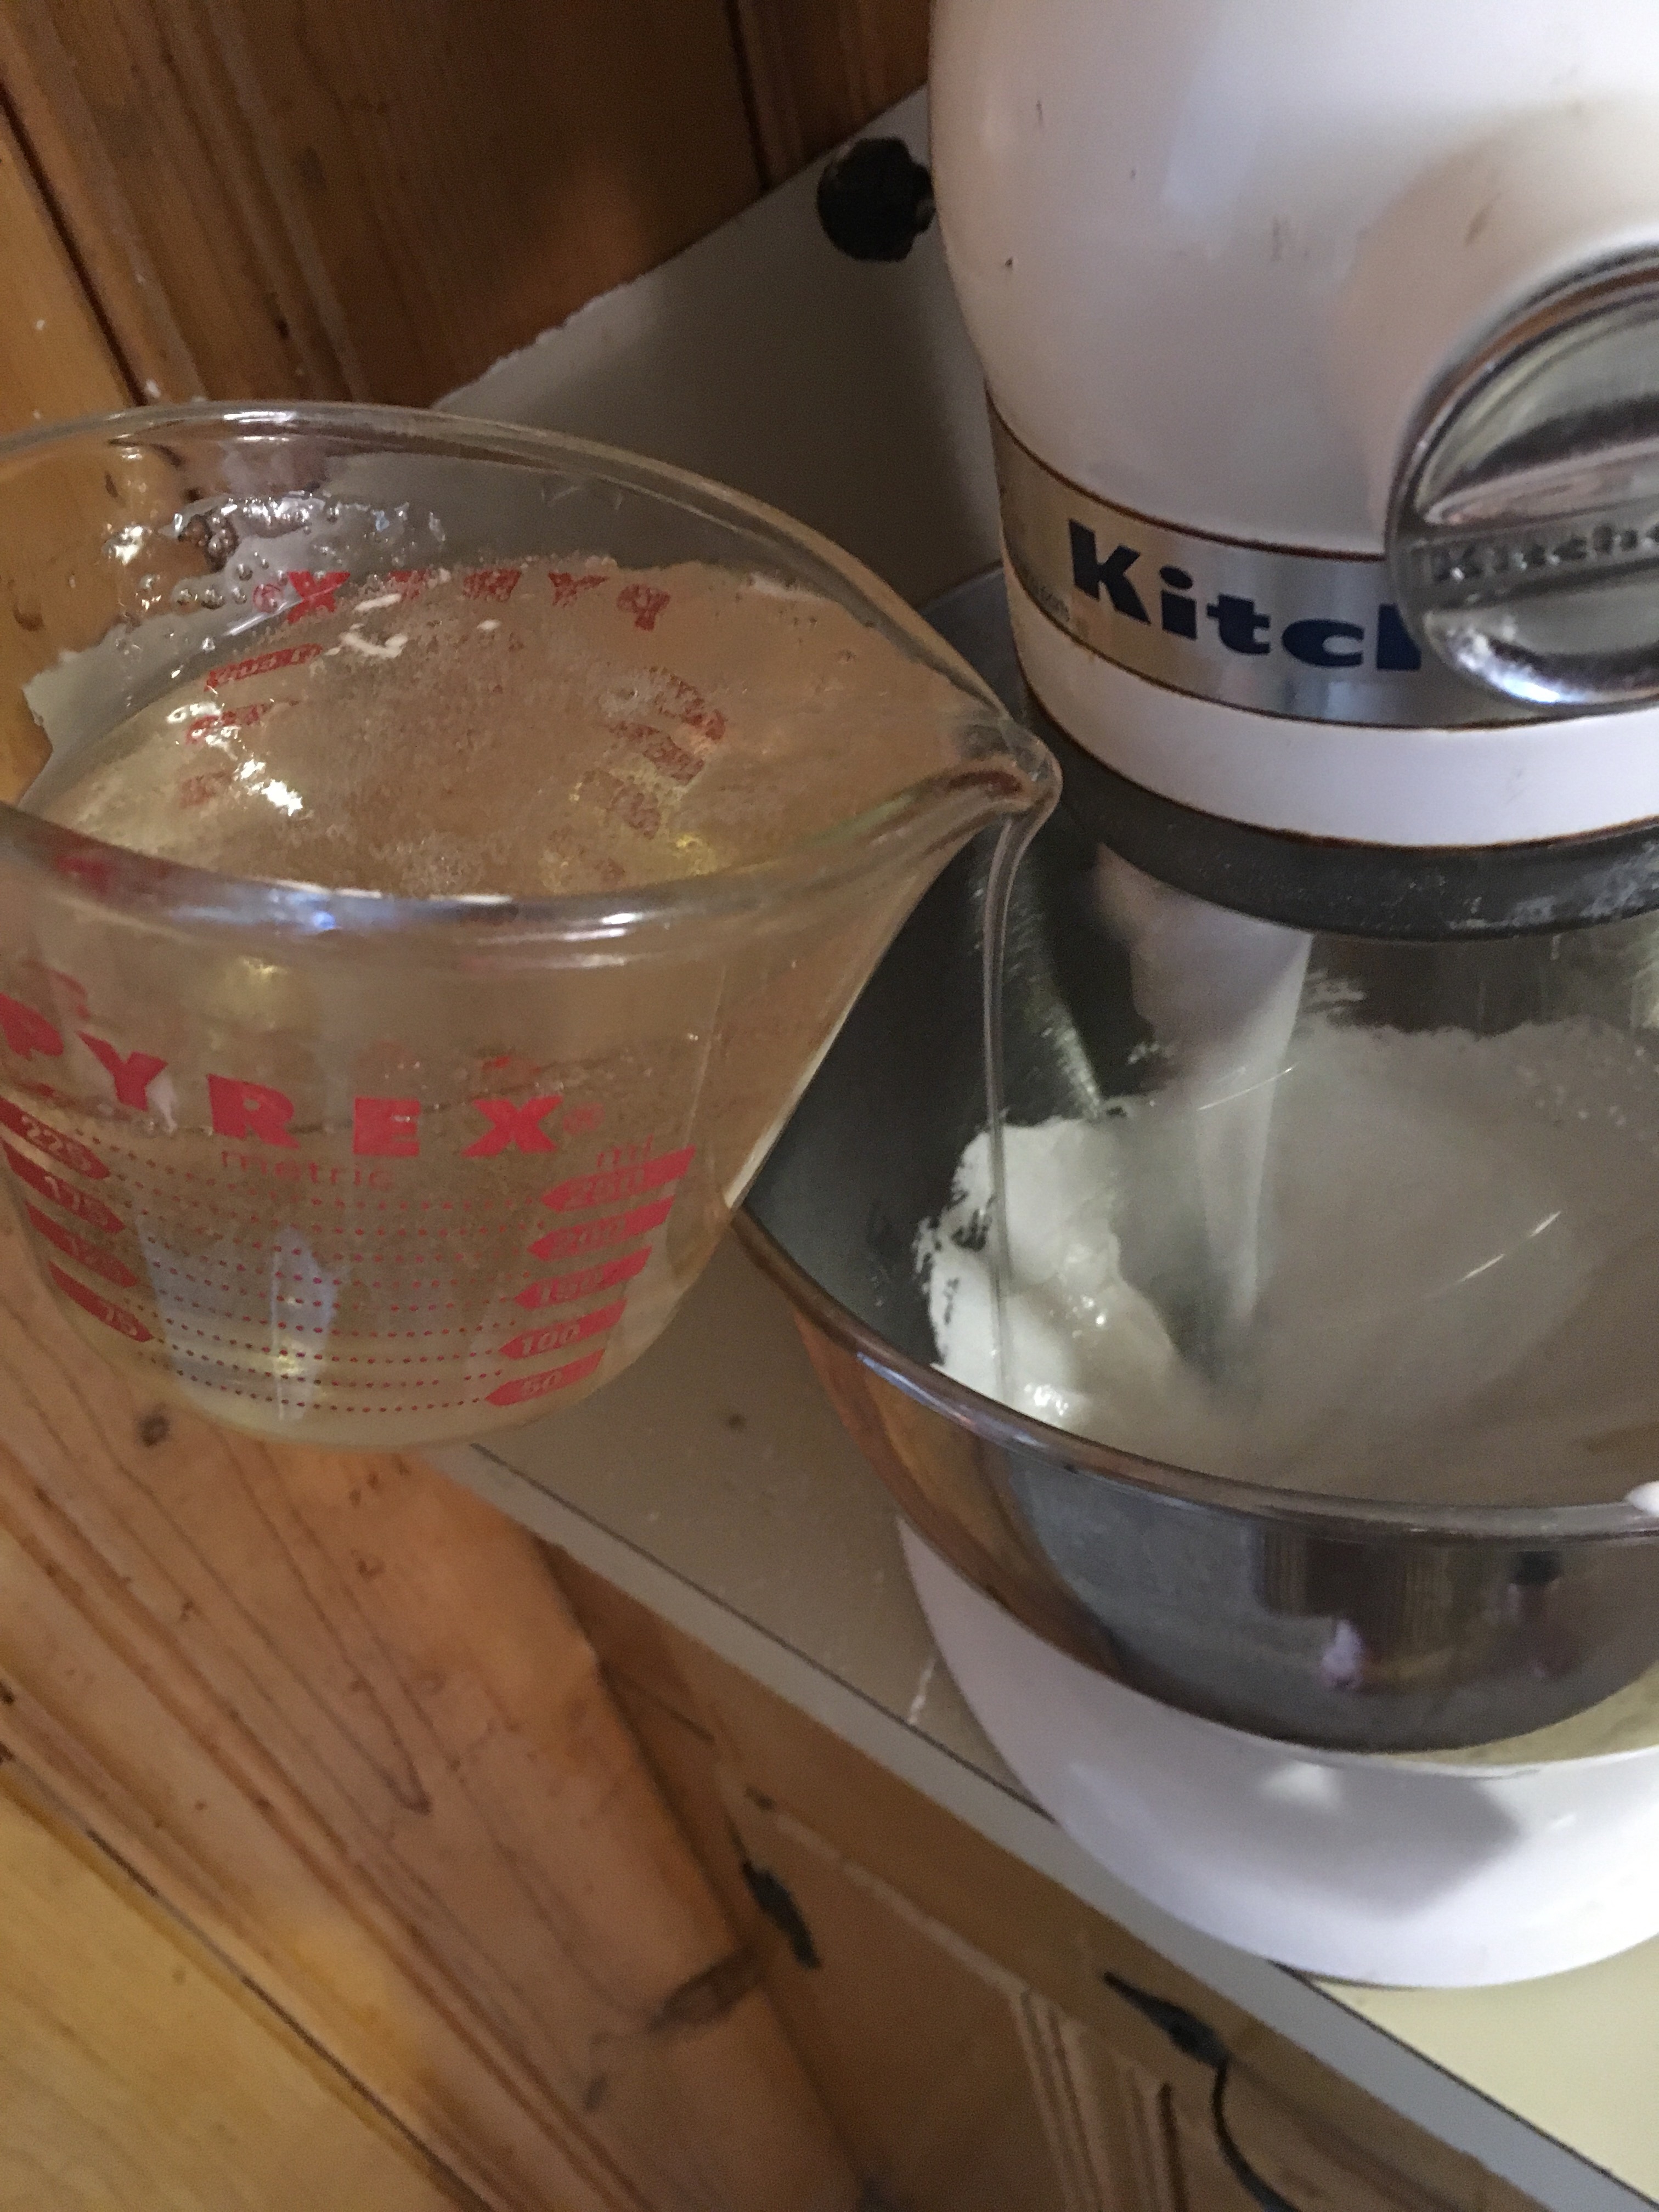
Place marshmallow fluff in stand mixer bowl and attach the paddle attachment. Set aside.
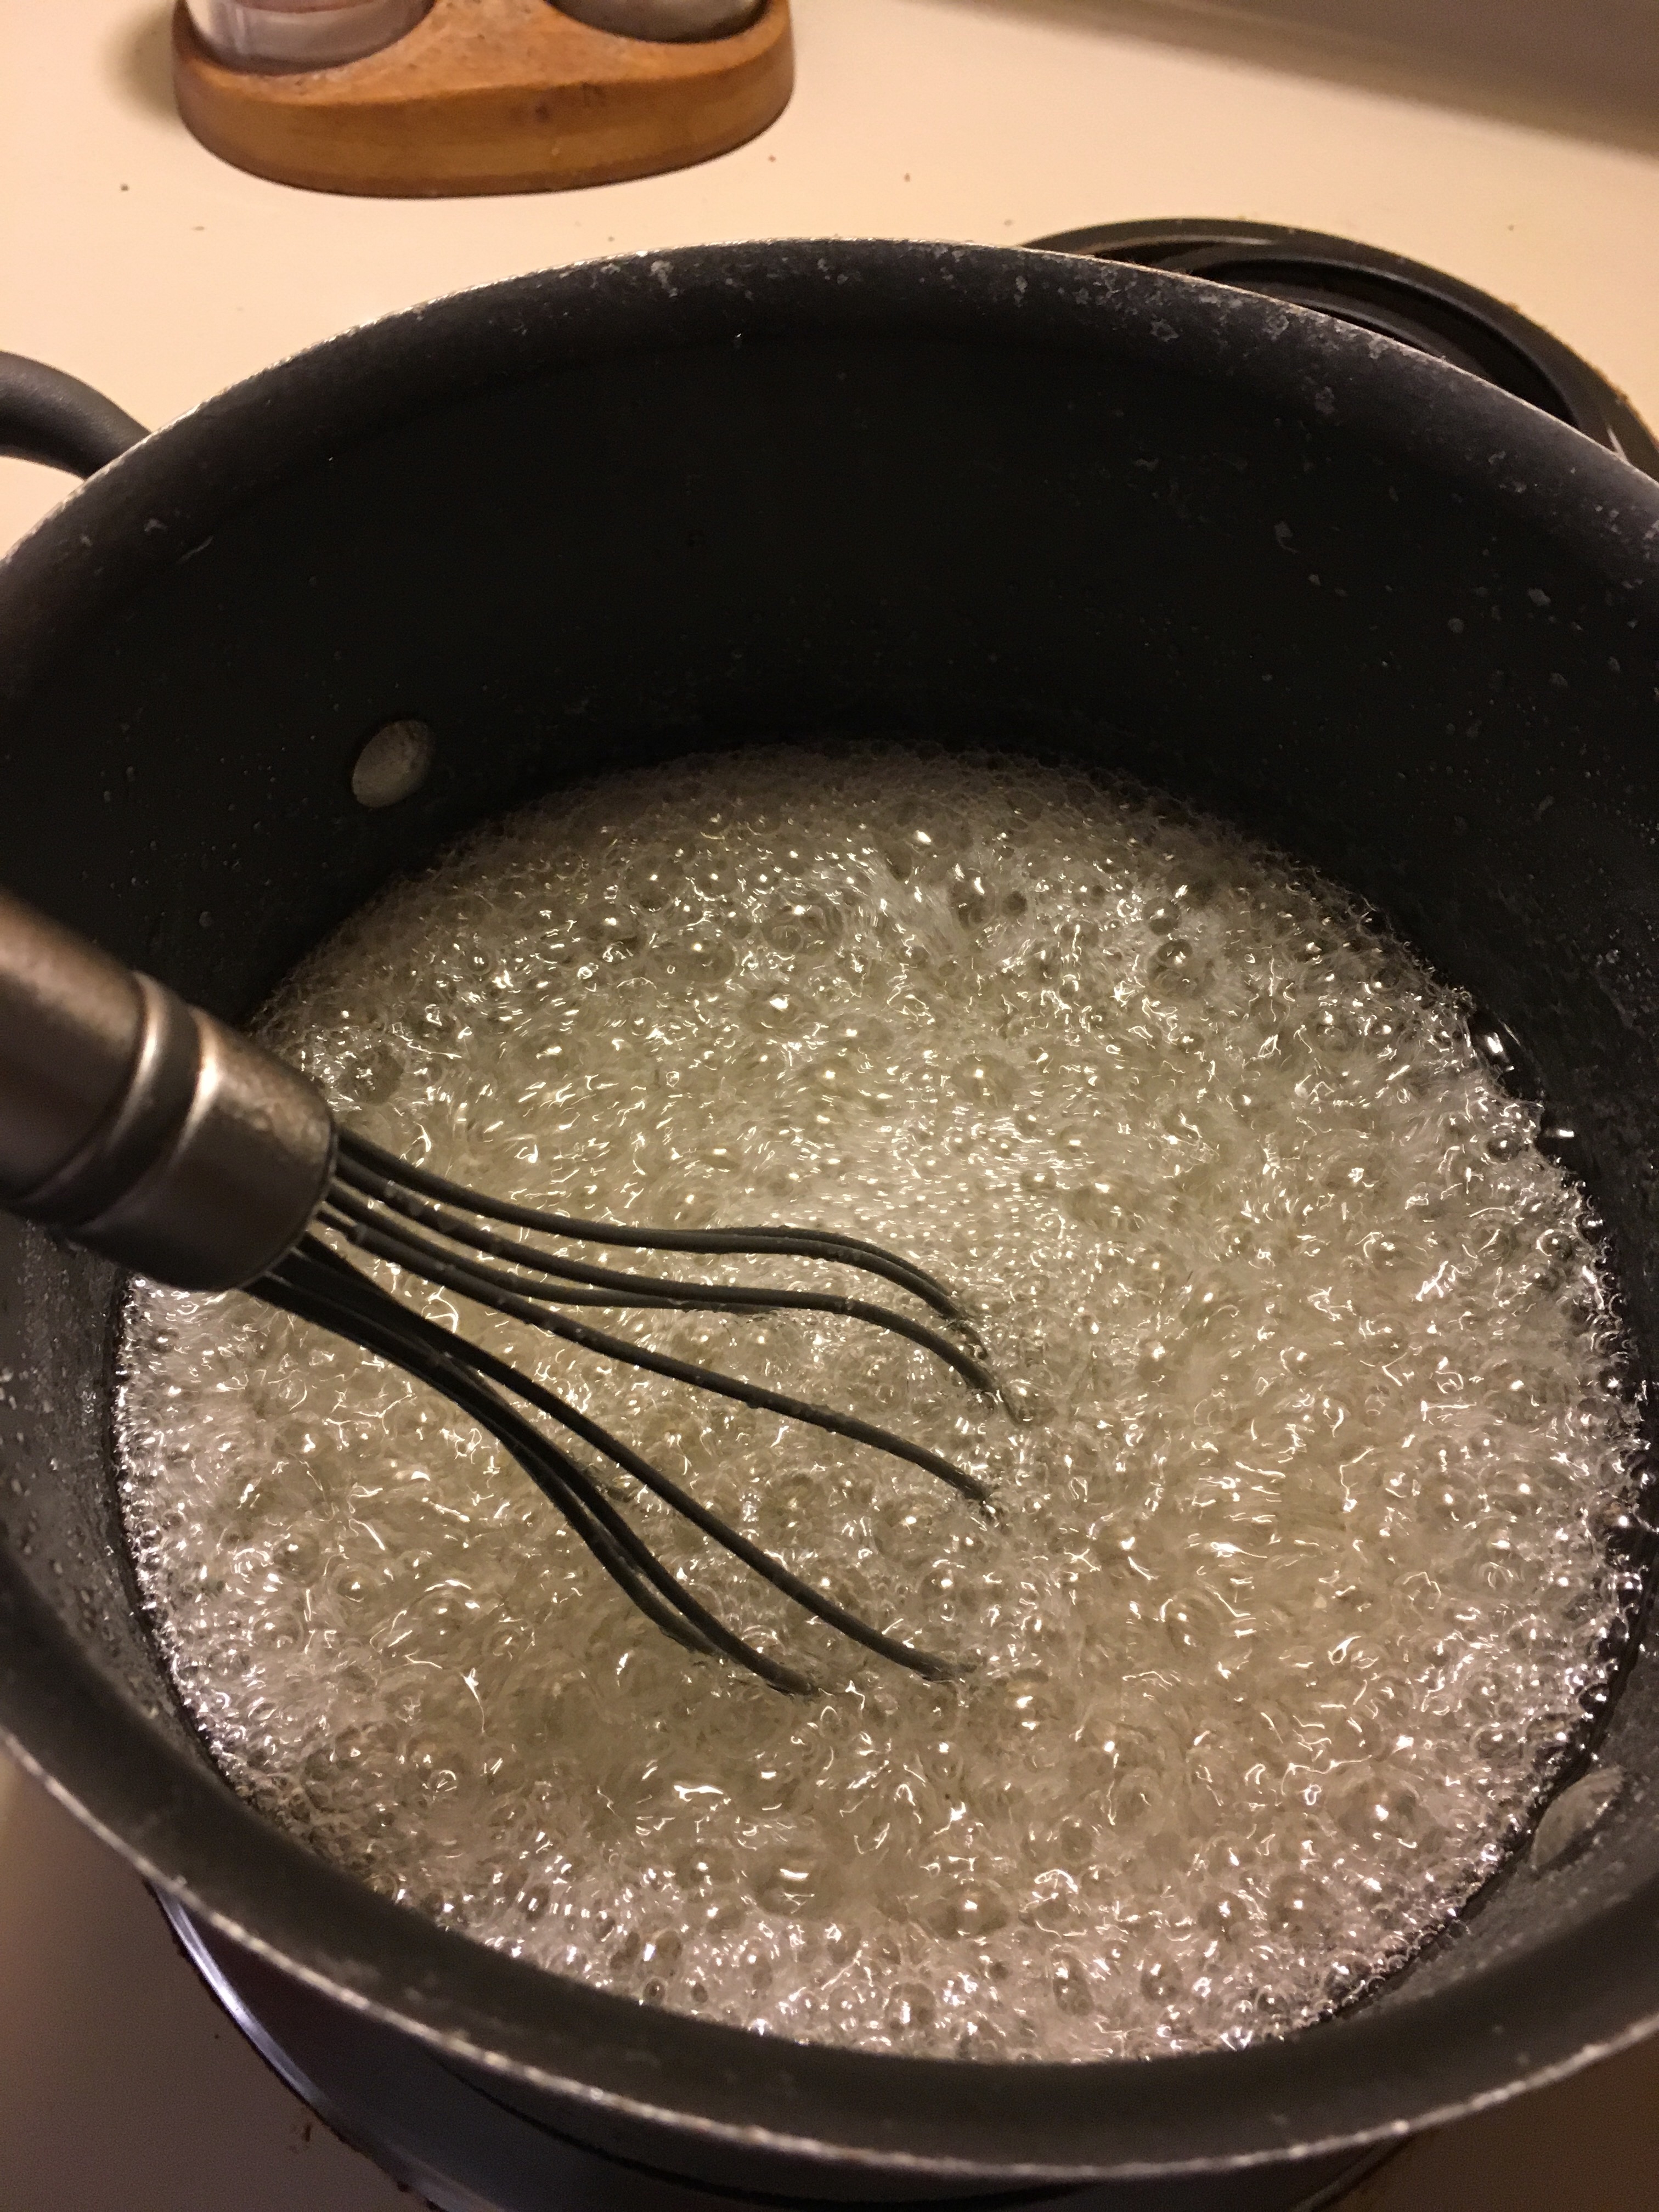
In a large sauce pan over medium-high heat, combine sugar and water whisking constantly. Bring to a boil and let boil for 3 minutes.
Remove from heat and slowly pour sugar mixture into the marshmallow fluff with the mixer on medium.
Bring the speed up to medium-high and beat until the mixture thickens and looses it’s glossy sheen (and looks more matte), about 10 minutes.
As soon as it’s the right texture, stir in vanilla and candied cherries. Working quickly, drop the divinity onto parchment paper using two large spoons: one spoon to scoop it and one spoon to push the candy off the other. Place a cherry onto the top of each piece of divinity.
Allow to cool completely. Store in an airtight container for up to 2 weeks.
Today is Aaron Rodgers’ birthday. Now, I’m not a big football fan, but many of my friends are, which is how I know today is Aaron Rodgers’ birthday. I lived in Wisconsin for 14 years, home of the Packers, and when I think of Aaron Rodgers and the Packers, I think of my friend Nichole, who is from Wisconsin. And when I think if Nichole, I think of Snickerdoodles, her favorite cookie.
This one’s for you, Nichole.
(Like how I went from December 2nd to Snickerdoodles? I’m smarter than your average bear.)
So Aaron, Pack, Wisconsin, and Colie, this cookie is for you.
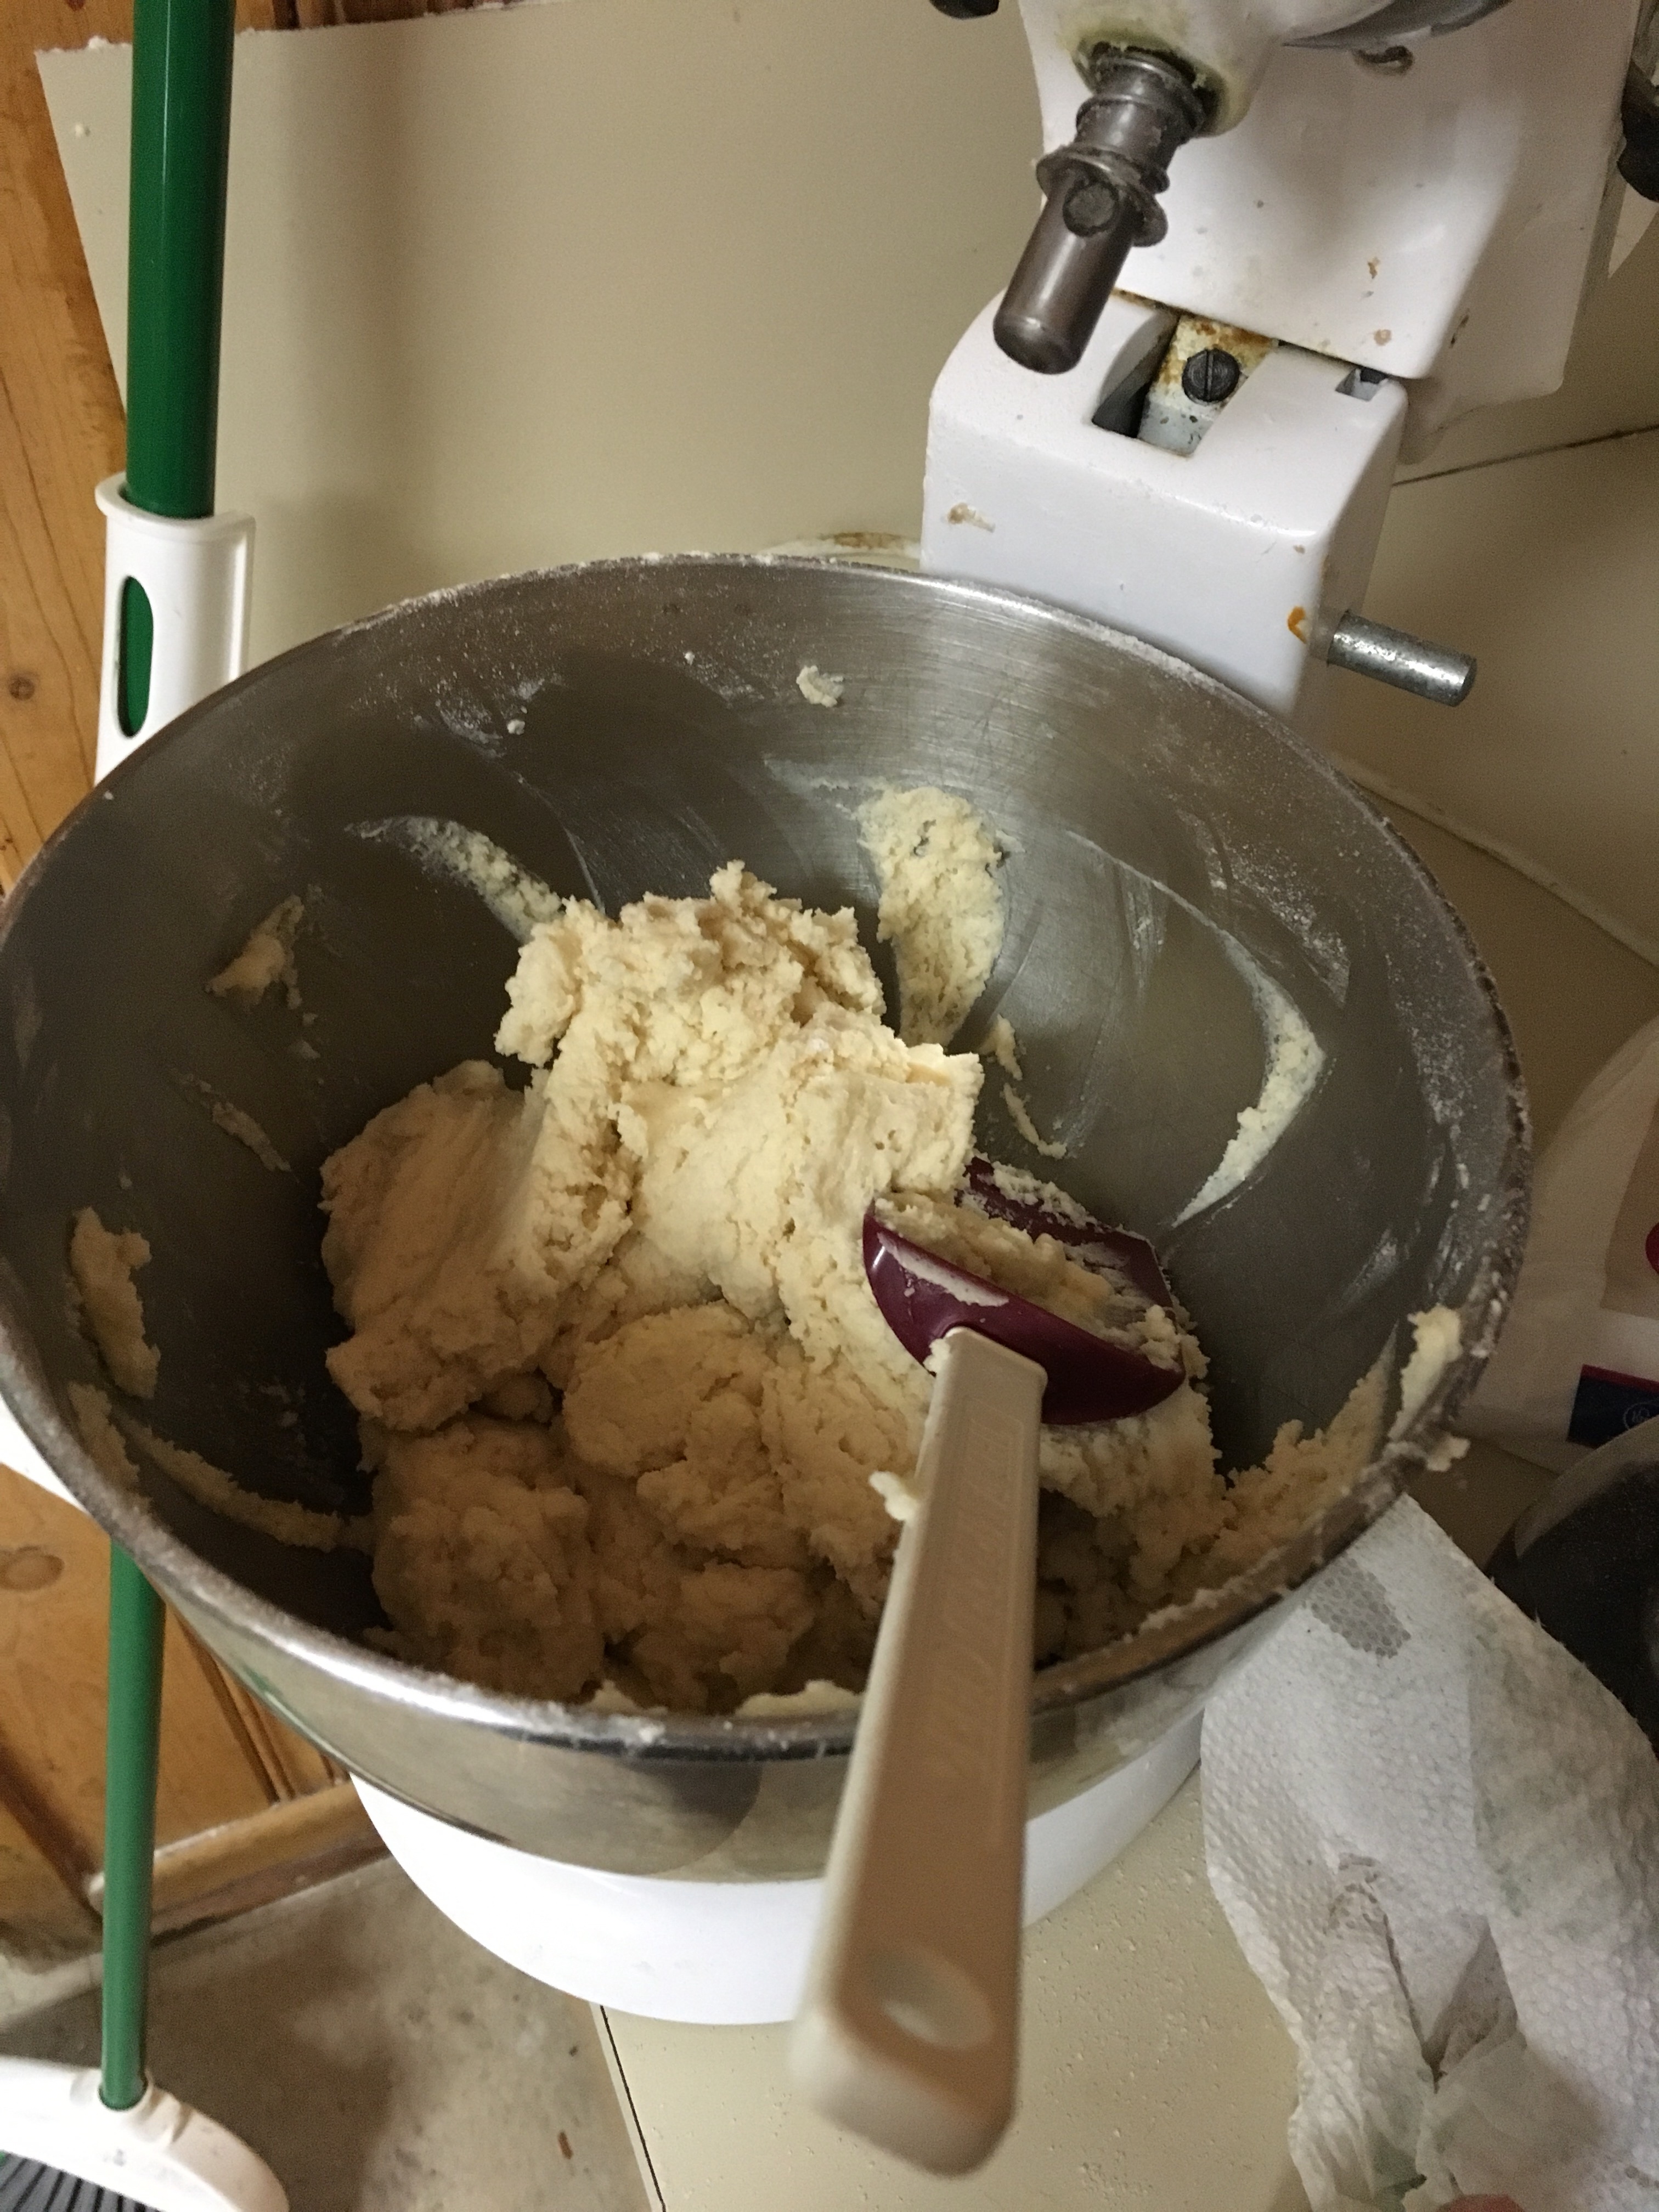
I made this cookie years ago (at Nichole’s house, actually) and it was Trisha Yearwood’s recipe. Today, when I wanted a Christmas-fied up version of a snickerdoodle, Trisha’s recipe again popped up…in someone else’s blog. I guess Mrs. Garth Brooks isn’t just a country singer given her own Food Network show because of her name…she is actually pretty legit!
Now, the recipe calls for sifting together the dry ingredients. Because it’s only December 2nd, I did it. But had I waited until like December 16th to make this cookie, it would be just a regular measure-and-dump. I hope the recipient of these cookies enjoy the extra effort taken.
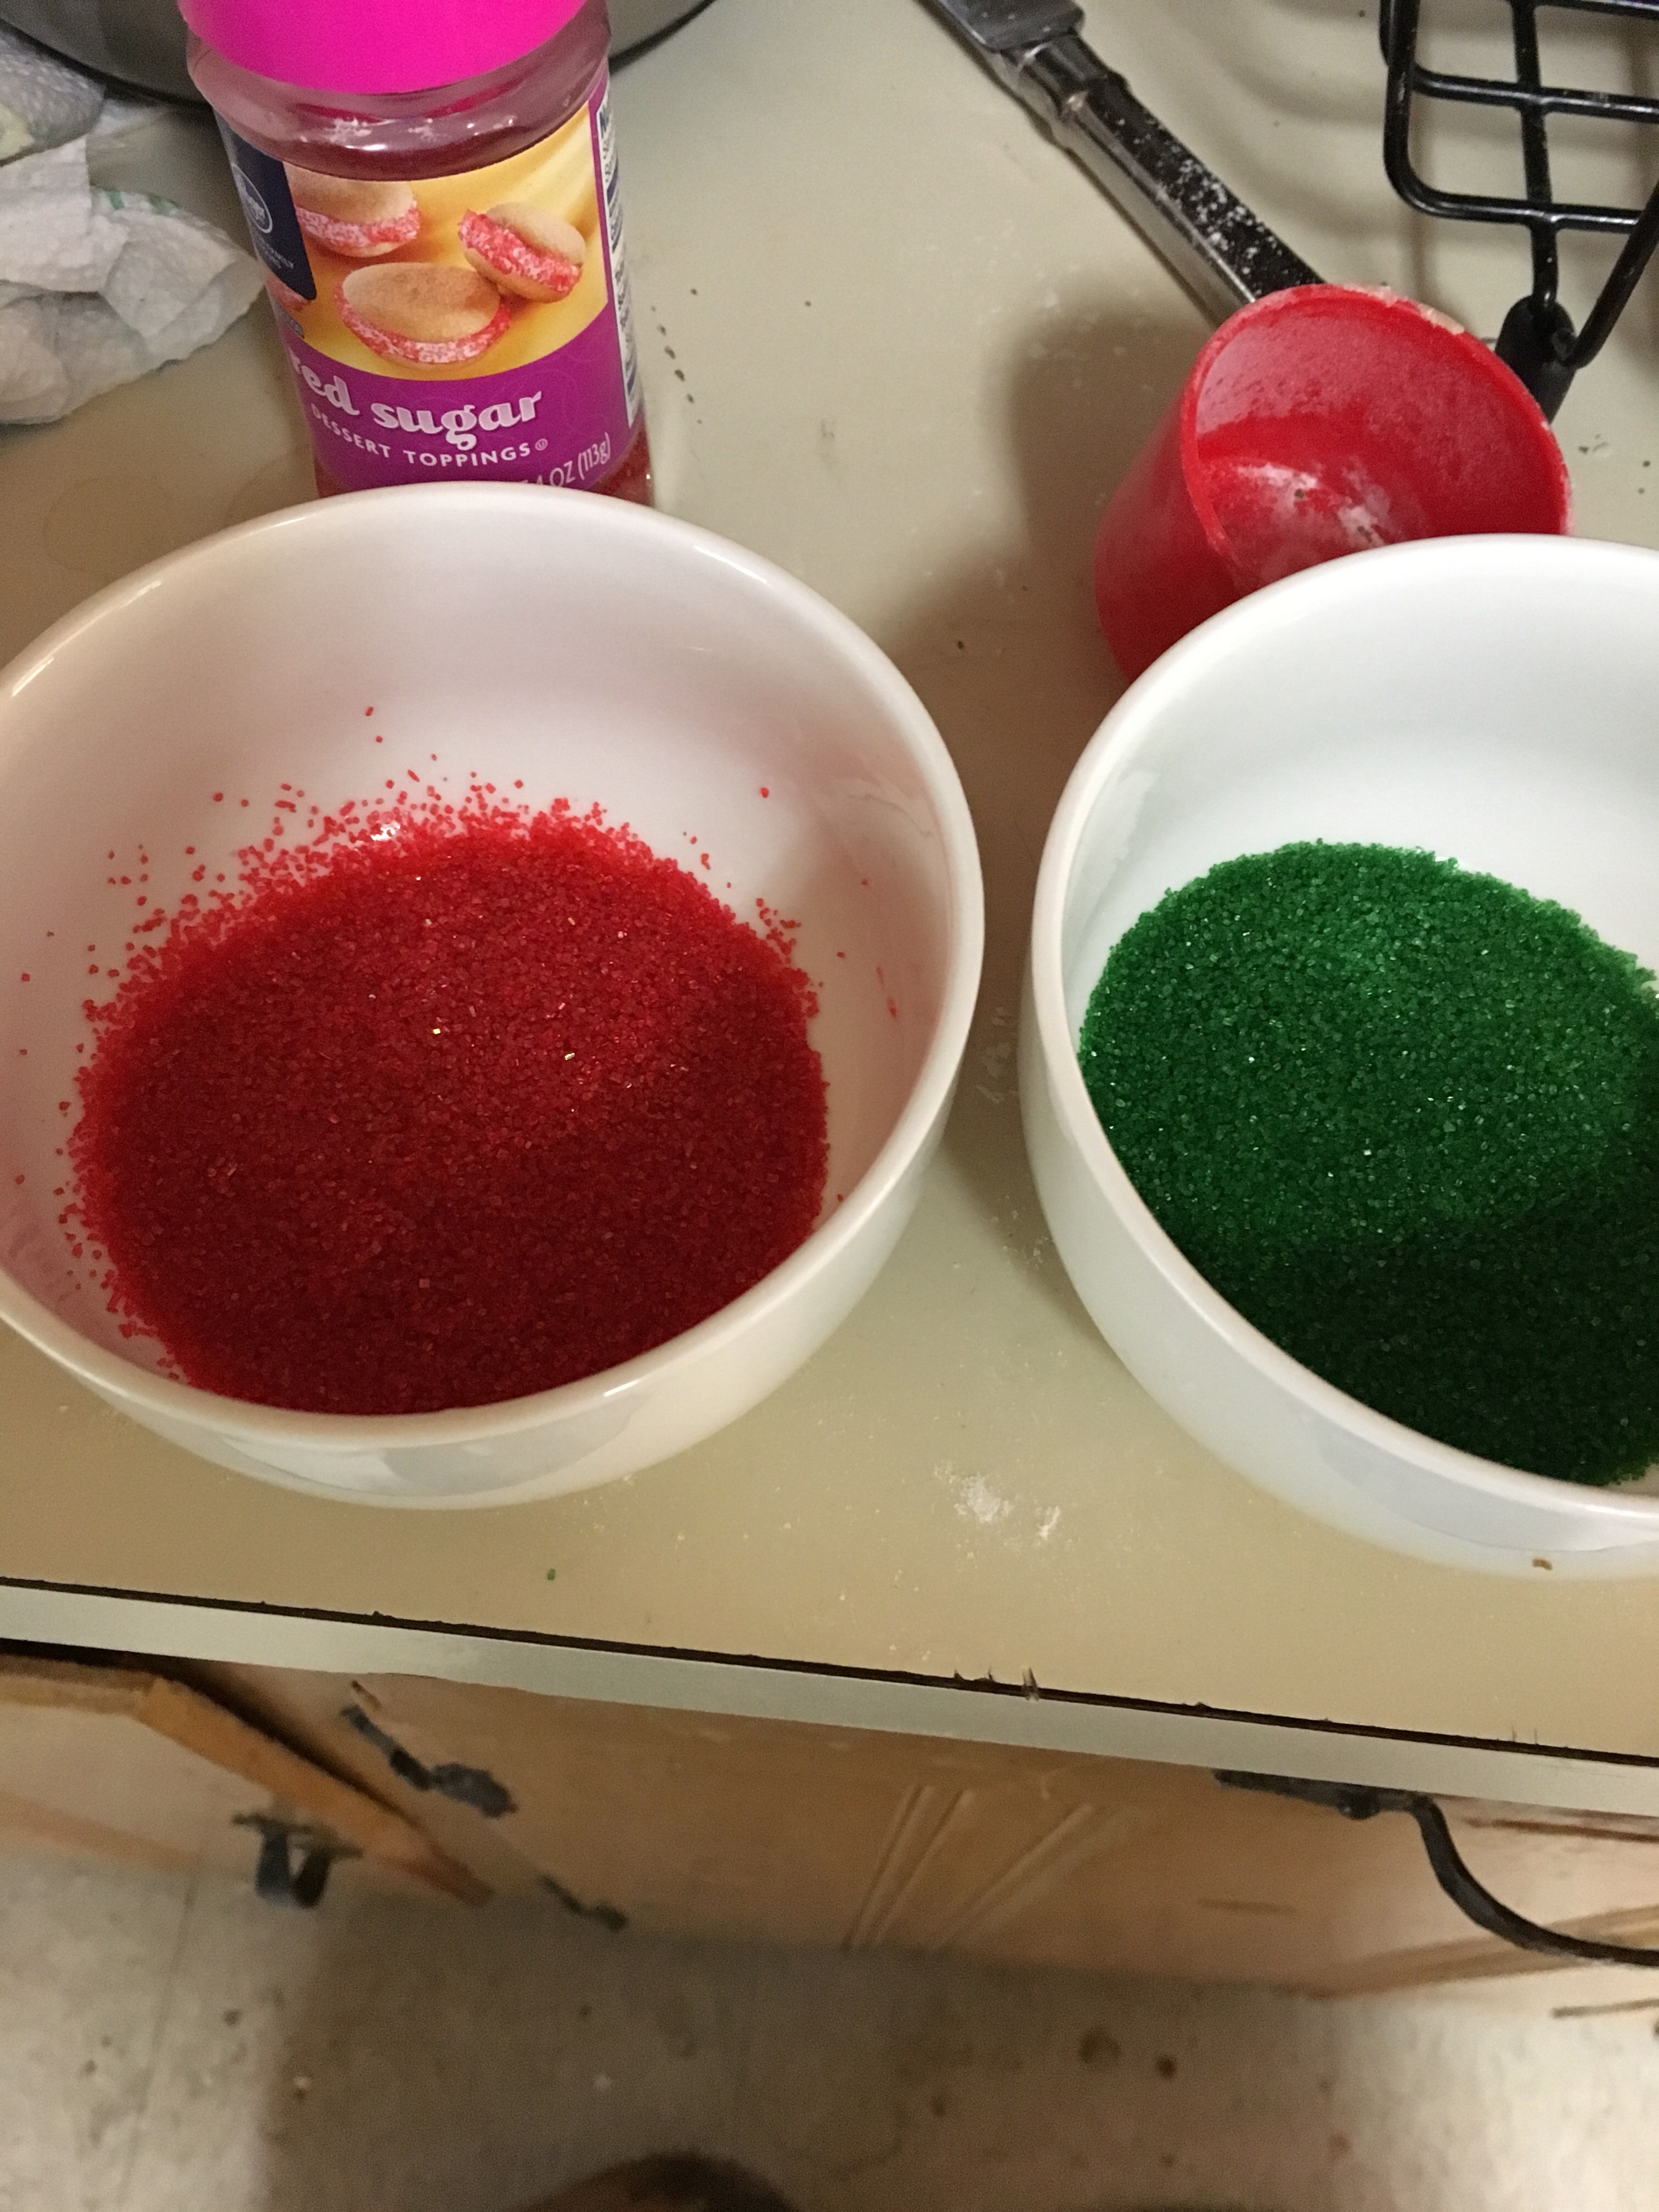
I mixed it all up and went hunting for my colored sugars. Thankfully, I always seem to have those in abundant supply. And because it’s Christmas, I stuck with the traditional red and green…no black or lavender today!
Now when I moved into my new place earlier this year, I ordered some new bowls from Amazon. They were white! They were cheap! They came in a pack of six! And…when I got them…they were super tiny. Not what I needed for morning cereal. Thankfully, my laziness in returning them meant they were still in my cabinet, and ready to fulfill their destiny.
Seriously, the tiniest ceramic bowls you’ve ever seen.
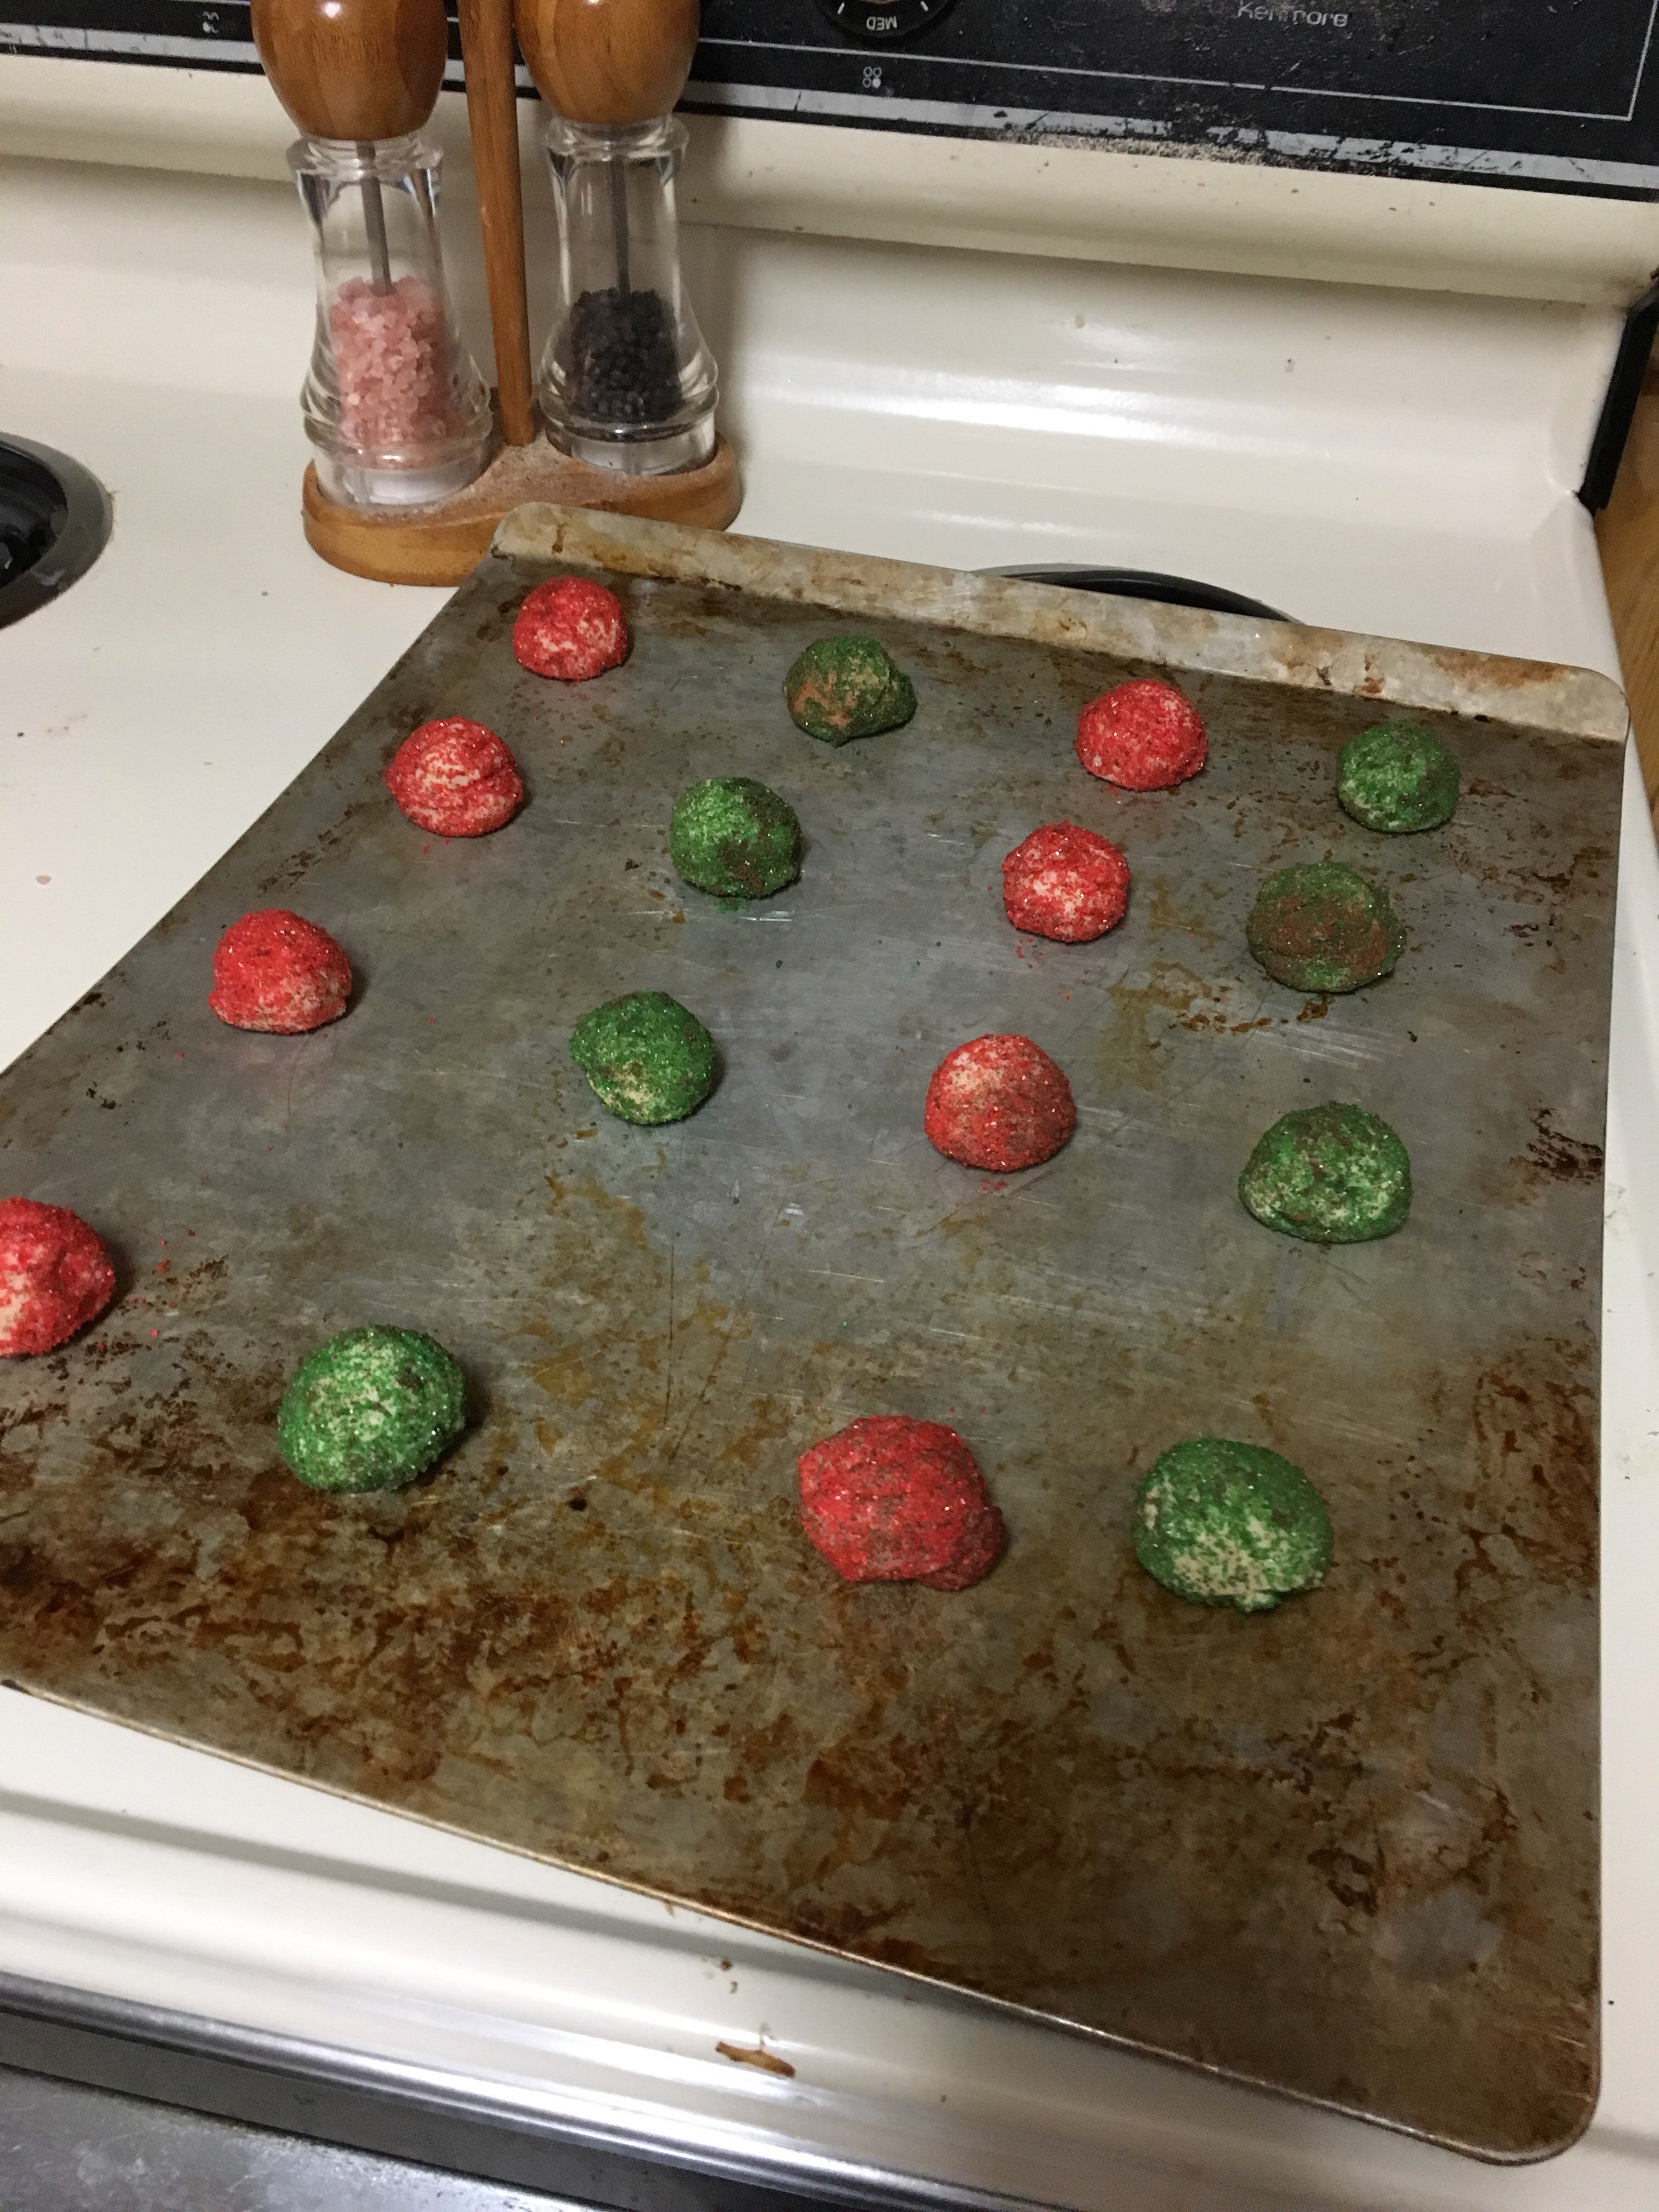
Because I love you all and want to make a good impression right now, I put them on my cookie sheet in alternating order. So pretty, but truth be told, after I snapped this picture, it was every colored-cookie for themselves. I don’t have time to prettify my cookie sheets.
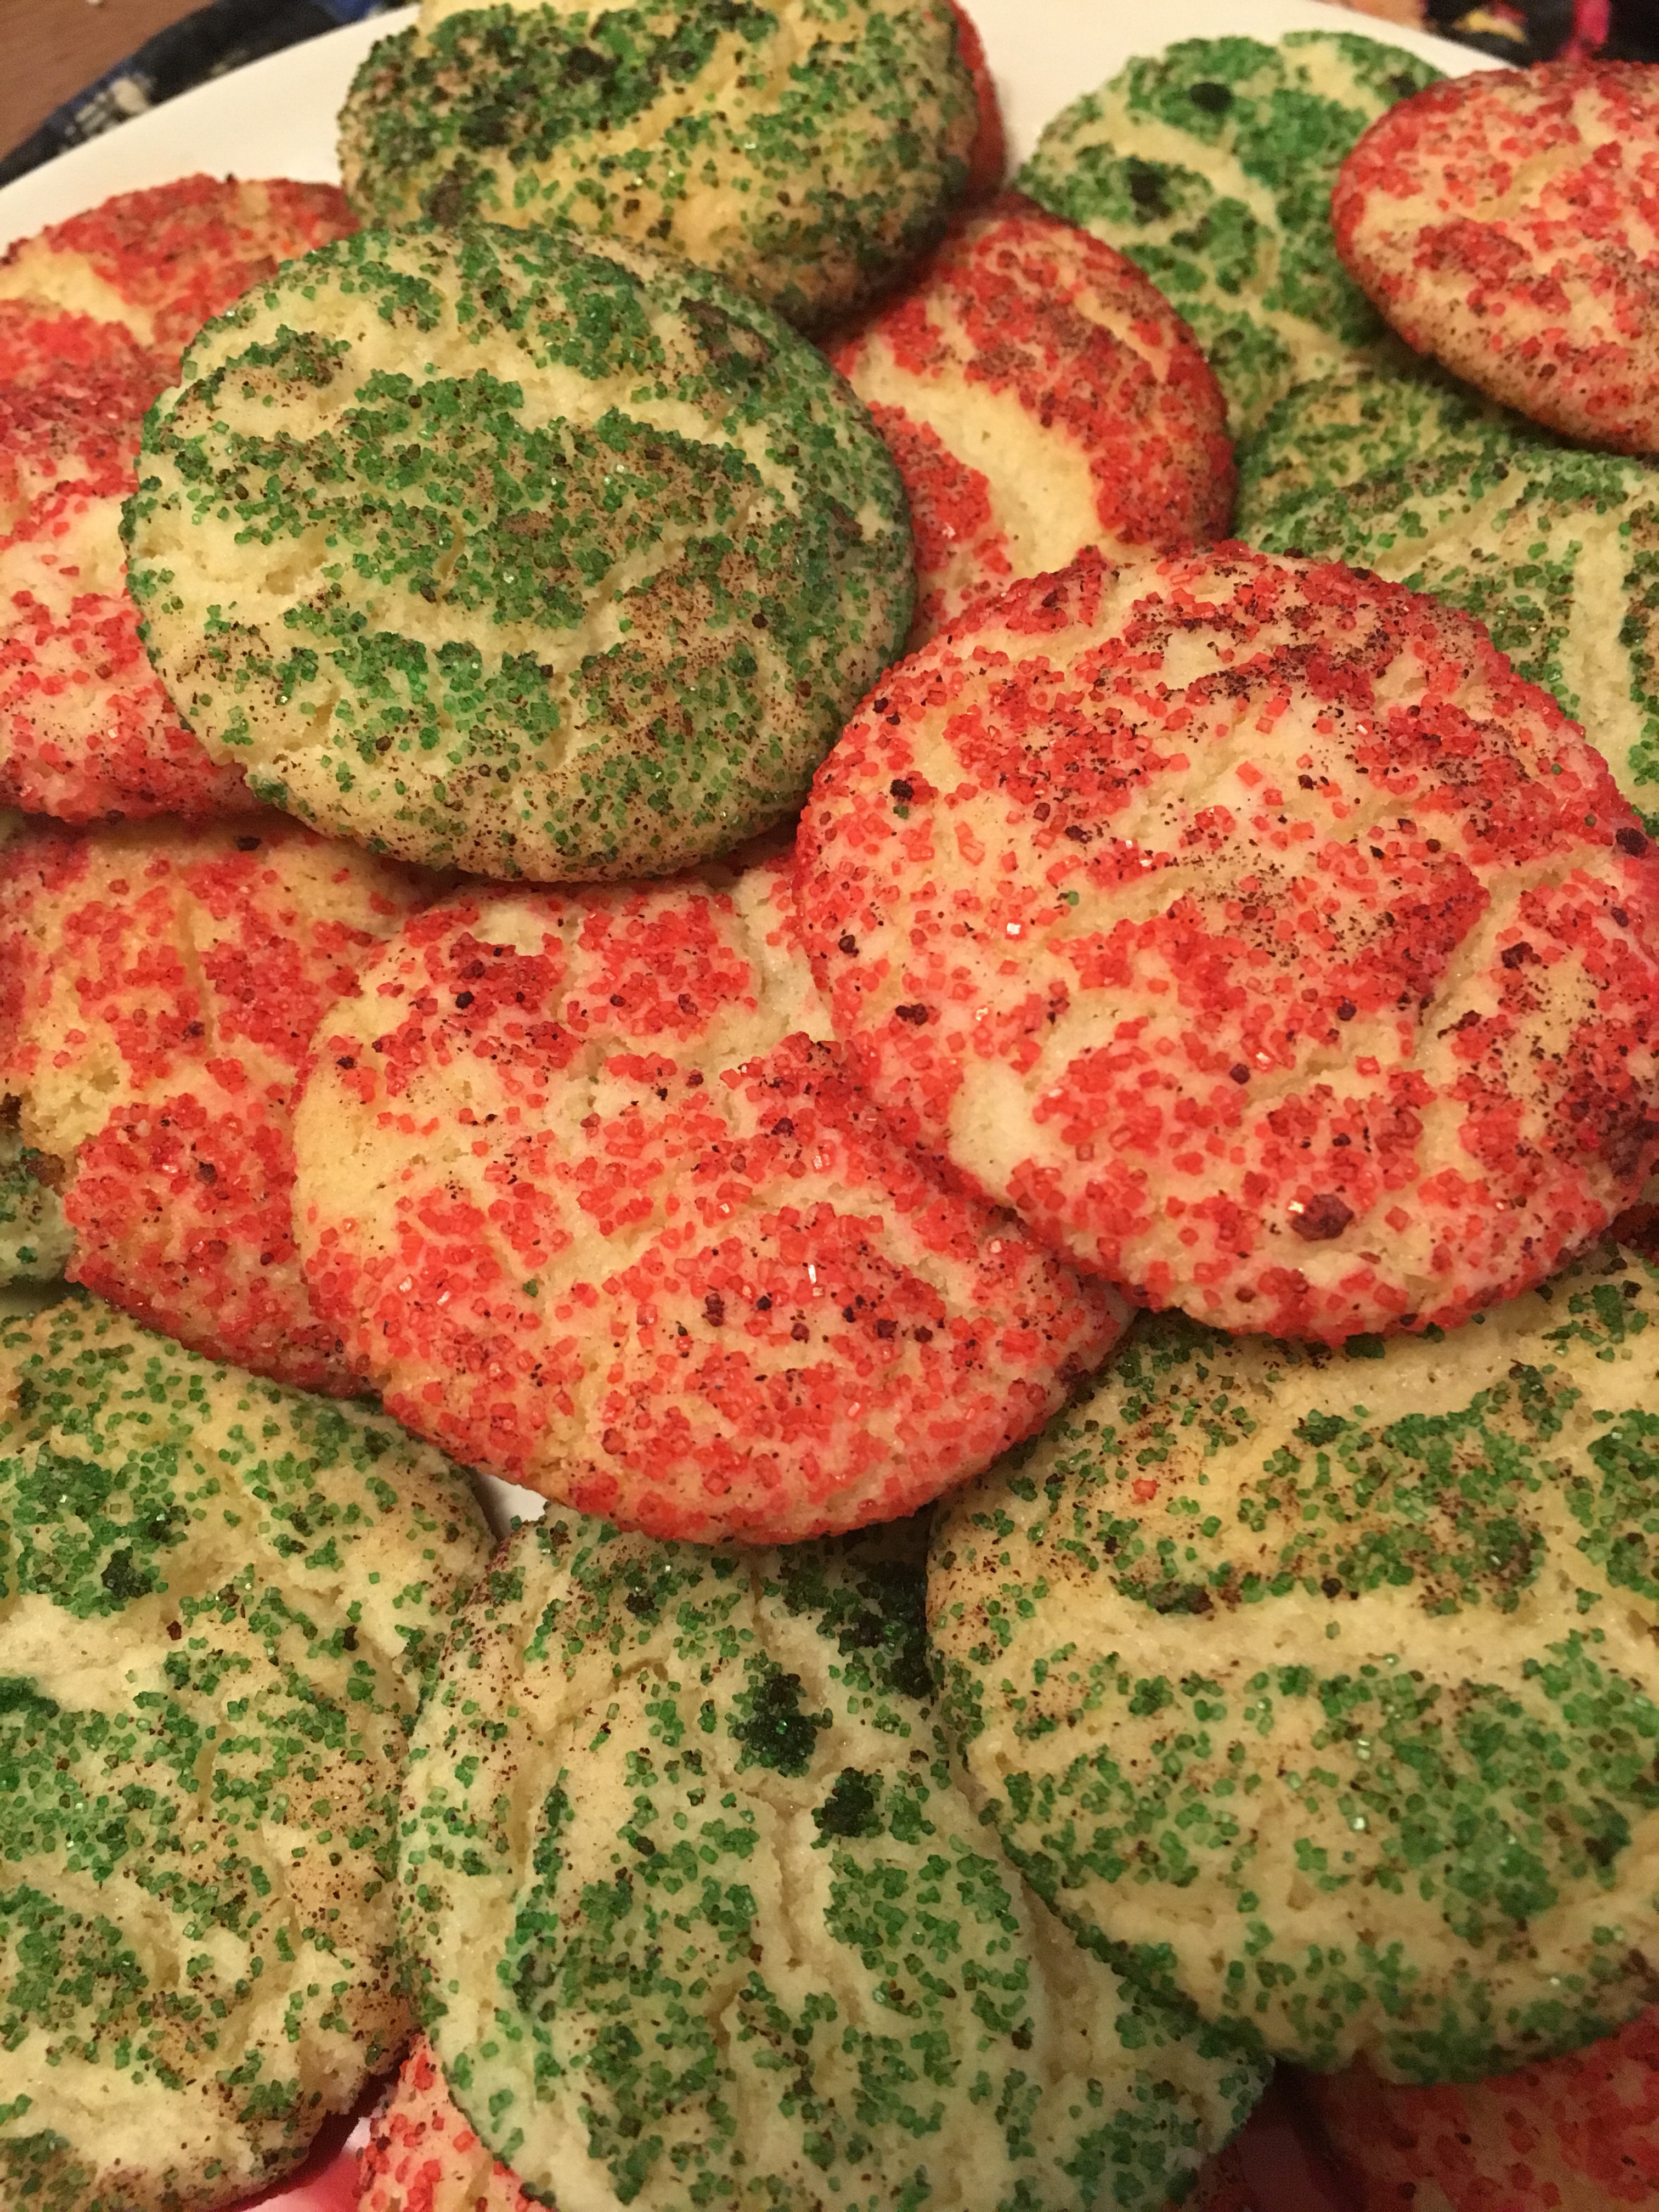
In and out of the 400 degree oven, and my house smelled like Christmas.
1/2 cup salted butter, softened
1/2 cup vegetable shortening
1 1/2 cups plus 2 tablespoons sugar
2 medium eggs
2 3/4 cups all-purpose flour
2 teaspoons cream of tartar
1 teaspoon baking soda
1/4 teaspoon fine salt
2 teaspoons ground cinnamon
Directions
Preheat the oven to 400 degrees F.
In a large bowl, combine the butter, shortening, 1 1/2 cups sugar and the eggs and mix thoroughly with an electric mixer on medium speed until creamy and well combined, 1 to 2 minutes. Sift together the flour, cream of tartar, baking soda and salt, and stir into the shortening mixture.
In a small bowl, stir together the remaining 2 tablespoons sugar (*I used colored sugar) with the cinnamon.
Shape the dough into 1 1/2-inch balls (1 tablespoon per ball), and roll each ball in the cinnamon-sugar. Arrange the dough balls 2 inches apart on ungreased cookie sheets. Bake two sheets at a time until the edges of the cookies are set but the centers are still soft, 8 to 10 minutes, rotating the sheets halfway through. Transfer the cookies to wire racks for cooling. Repeat with the remaining dough balls. Store in an airtight container.