December 1: Oreshki

Standard

Well folks, here we are again at the start of another December. I’m proud to say this is my 15th year doing this crazy cookie thing–it may not have always been documented, but it’s always been baked!

Before I get into today’s cookie, the kick-off cookie, the cookie that starts it all (you get the picture), I want to let you know of a style change I’ll be making. Instead of putting the recipe at the end of the post, I’ll be putting it at the start. Why? Because I’ve *also* scrolled through cooking/baking pages looking for the recipe, just like you do, and it’s annoying. While I hope you stick around and read my color commentary on the cookie at hand, I want to make sure you get what you need out of this first.

Oreshki (from Alonya’s Cooking)

INGREDIENTS:

  • 2 eggs
  • 1/3 cup sugar
  • 1 stick unsalted butter softened
  • 6 1/2 tbsp mayonnaise
  • 1/8 tsp baking soda
  • 1 tsp vinegar
  • 1/4 cup cornstarch
  • 2 cups all-purpose flour
  • FILLING:
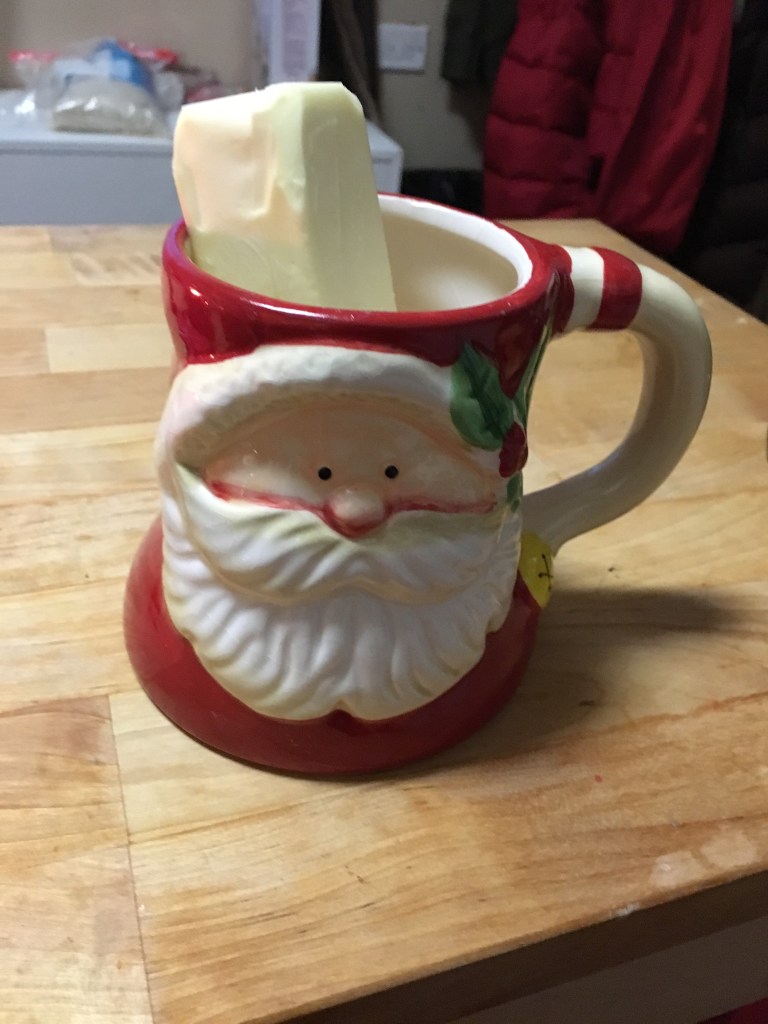
  • 1 stick of unsalted butter softened
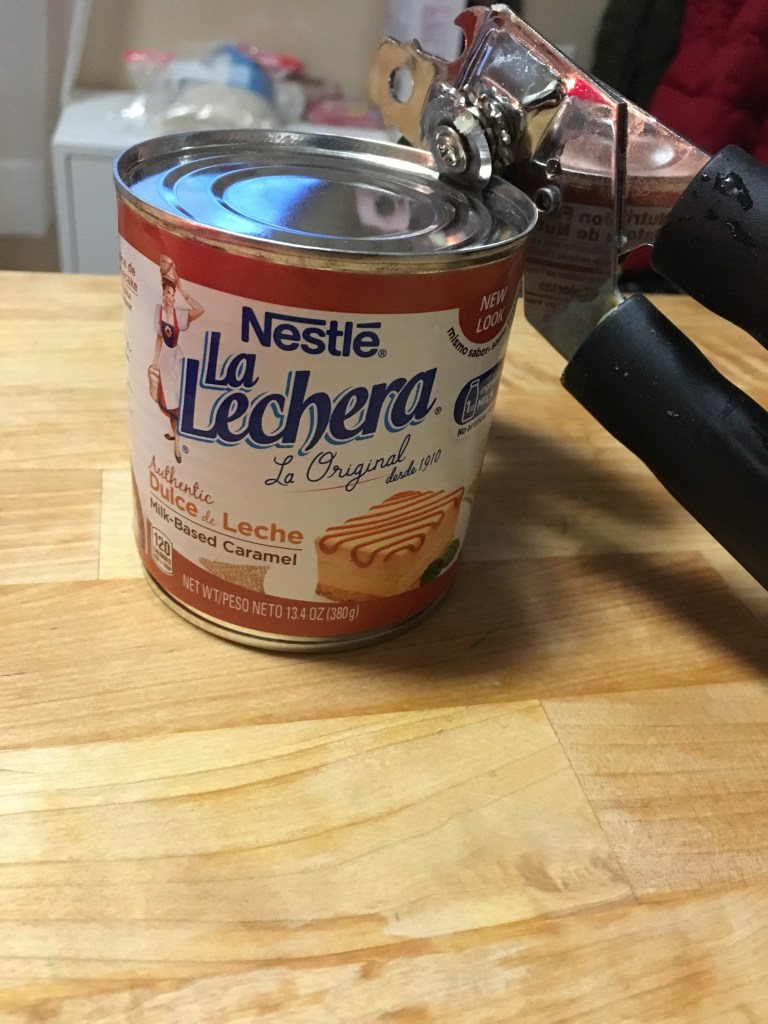
  • 1 14oz can dulce de leche
  • 1 tsp sour cream

DIRECTIONS:

  1. Make the filling first, as it needs time to set; beat together the filling ingredients and refrigerate until needed.
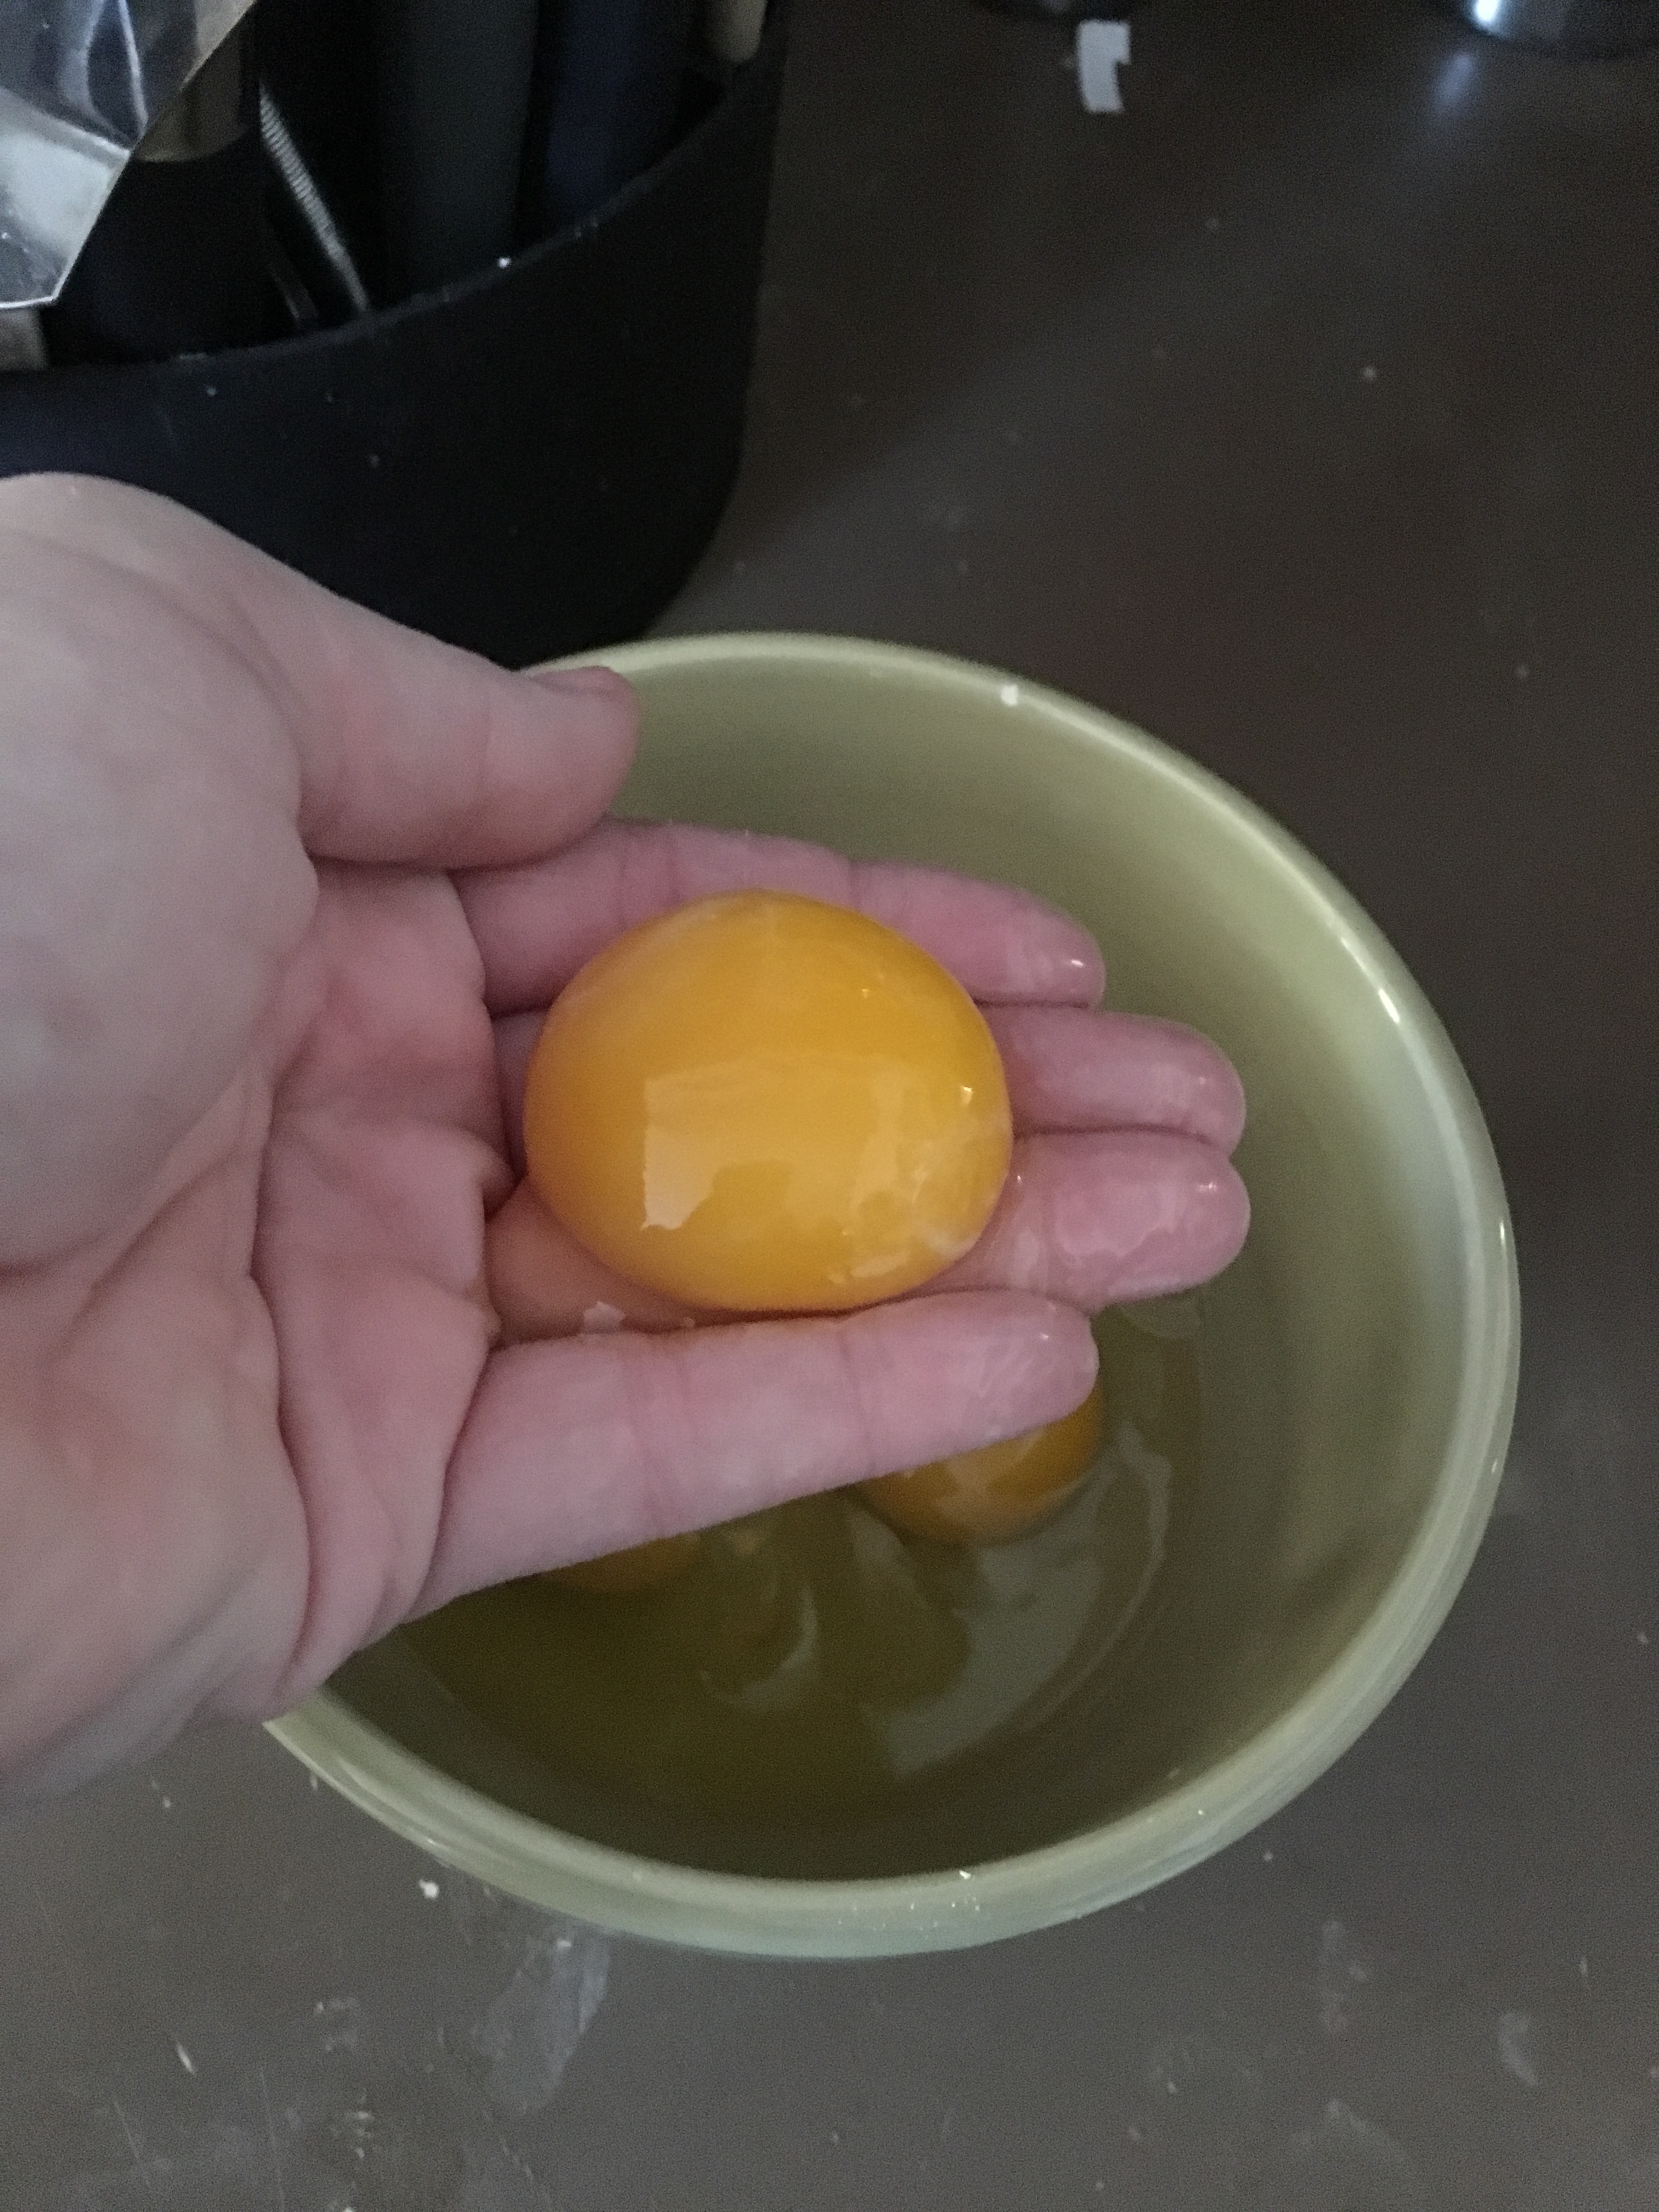
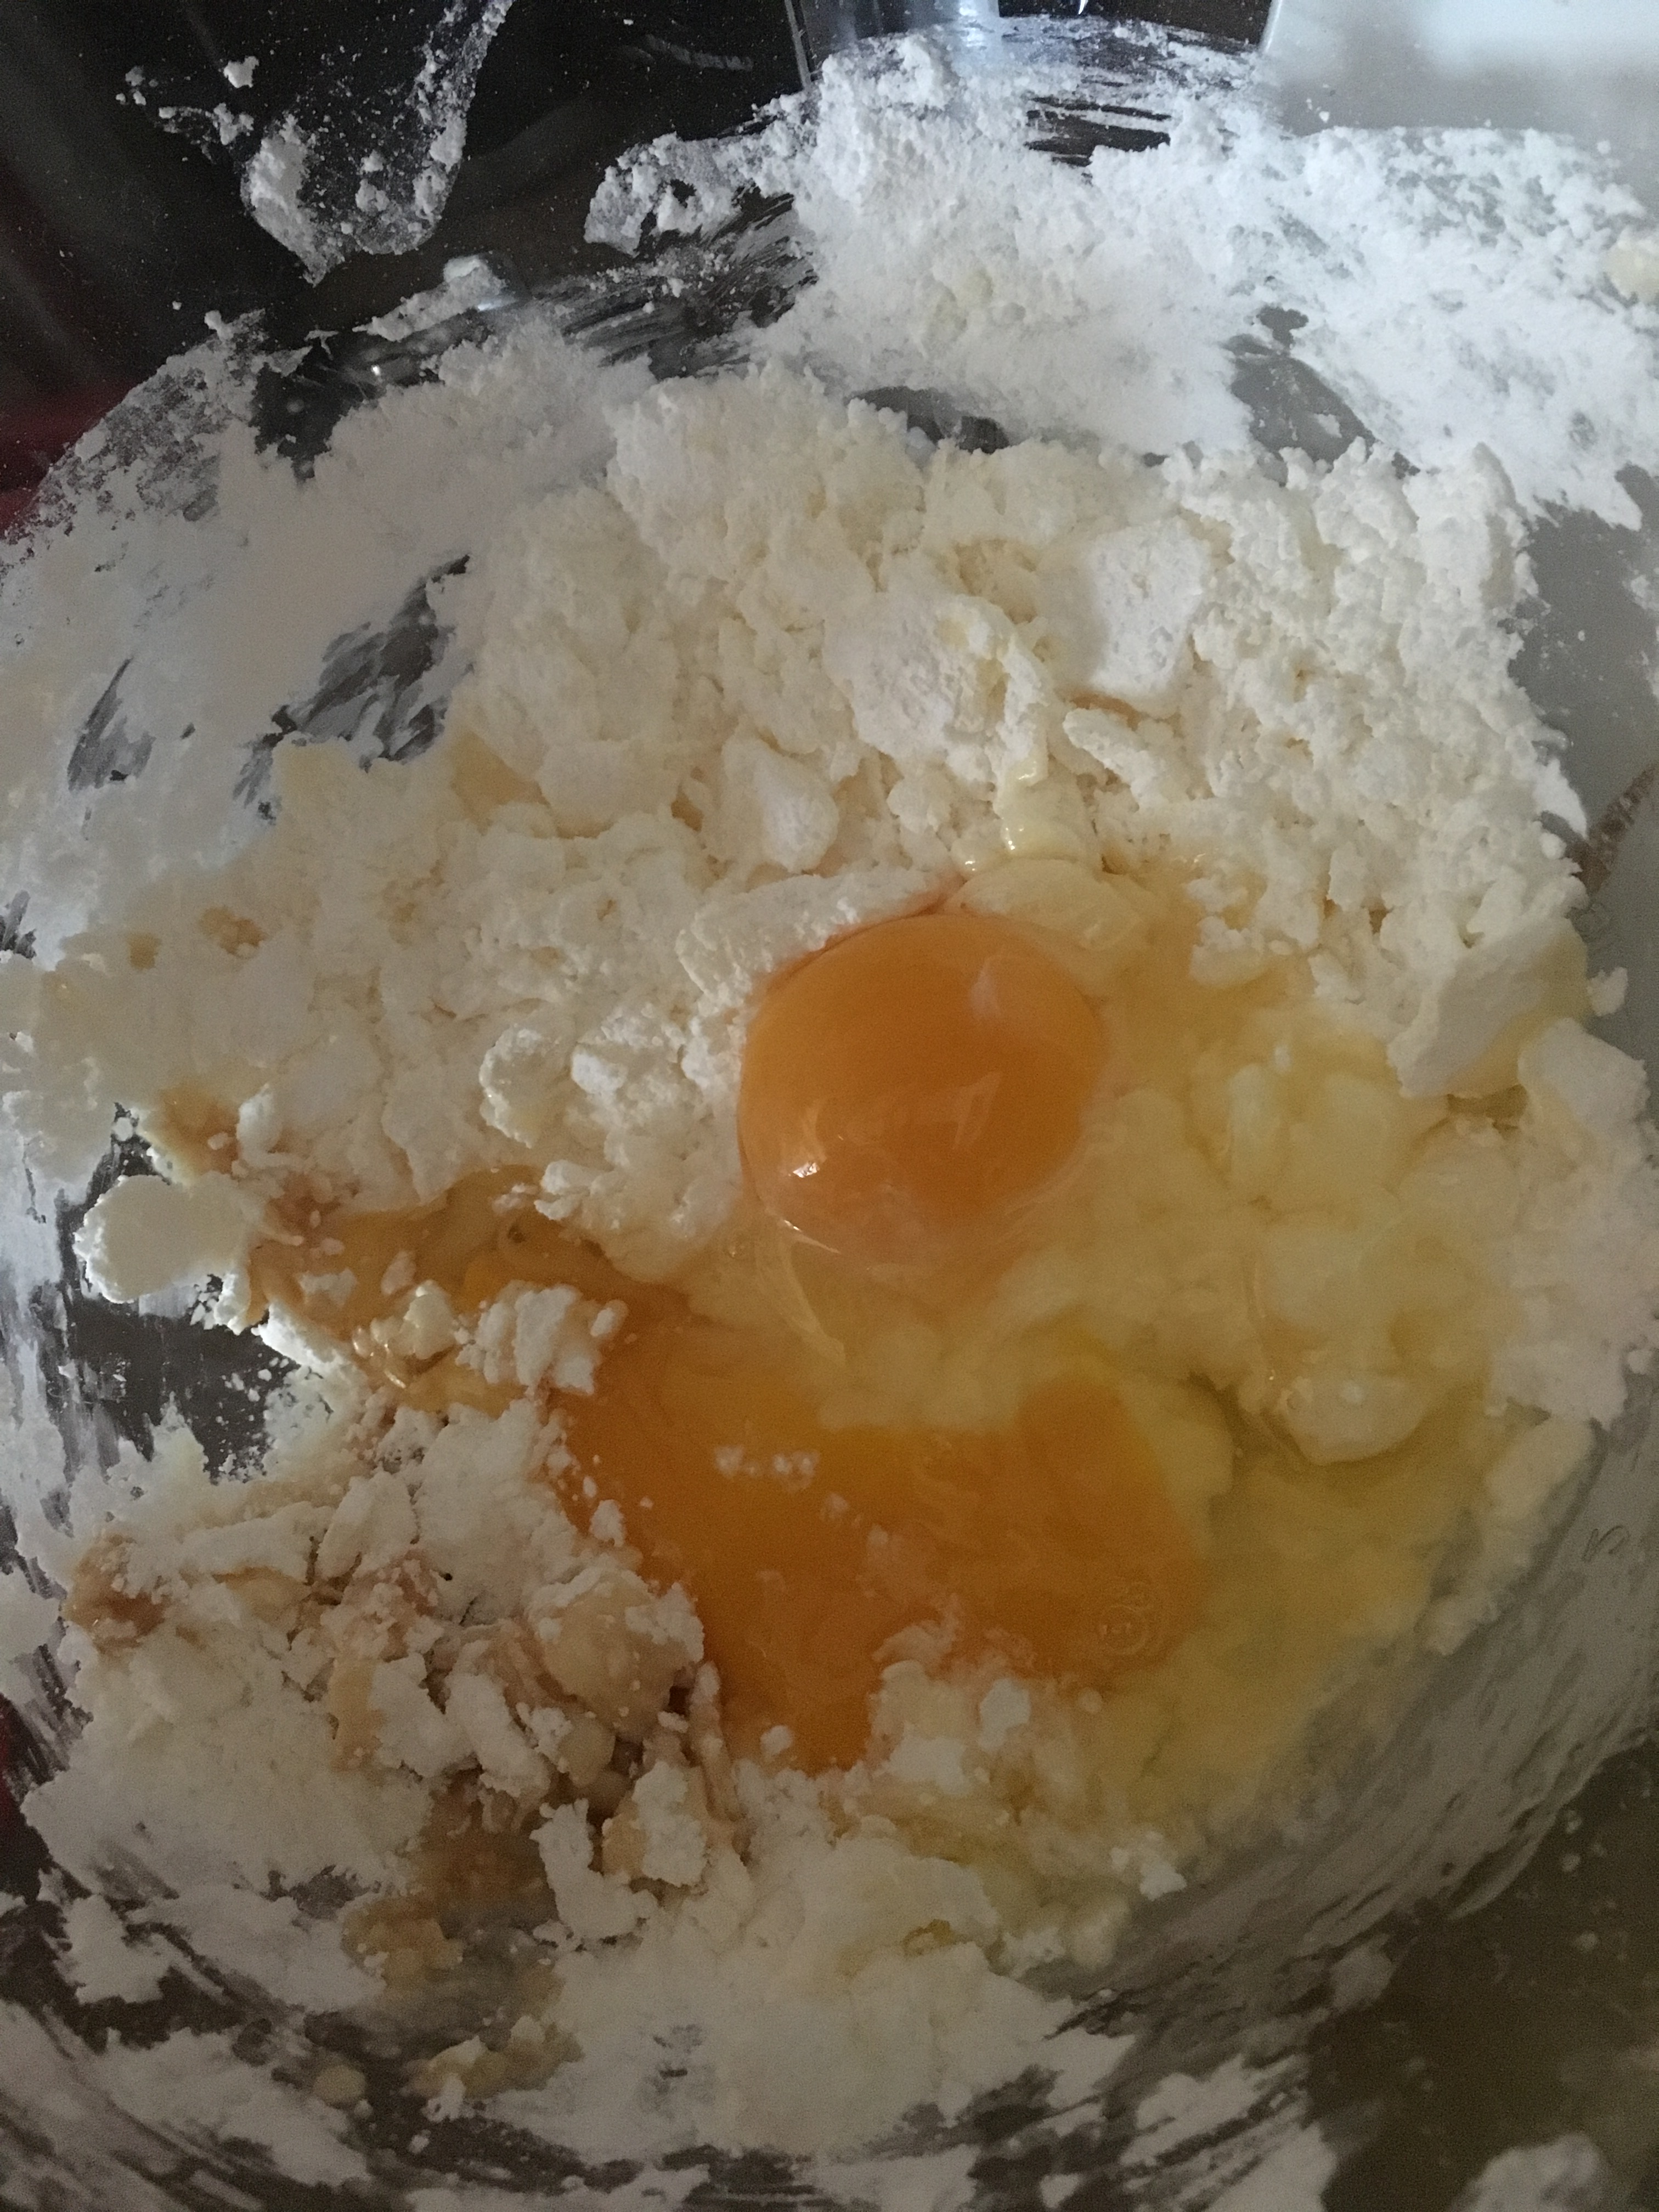
  2. TO MAKE ORESHKI: In a medium bowl beat the eggs and sugar until pale and frothy; set aside.
  3. In a separate small bowl beat the butter until smooth then add the mayonnaise and mix to combine. Set aside.
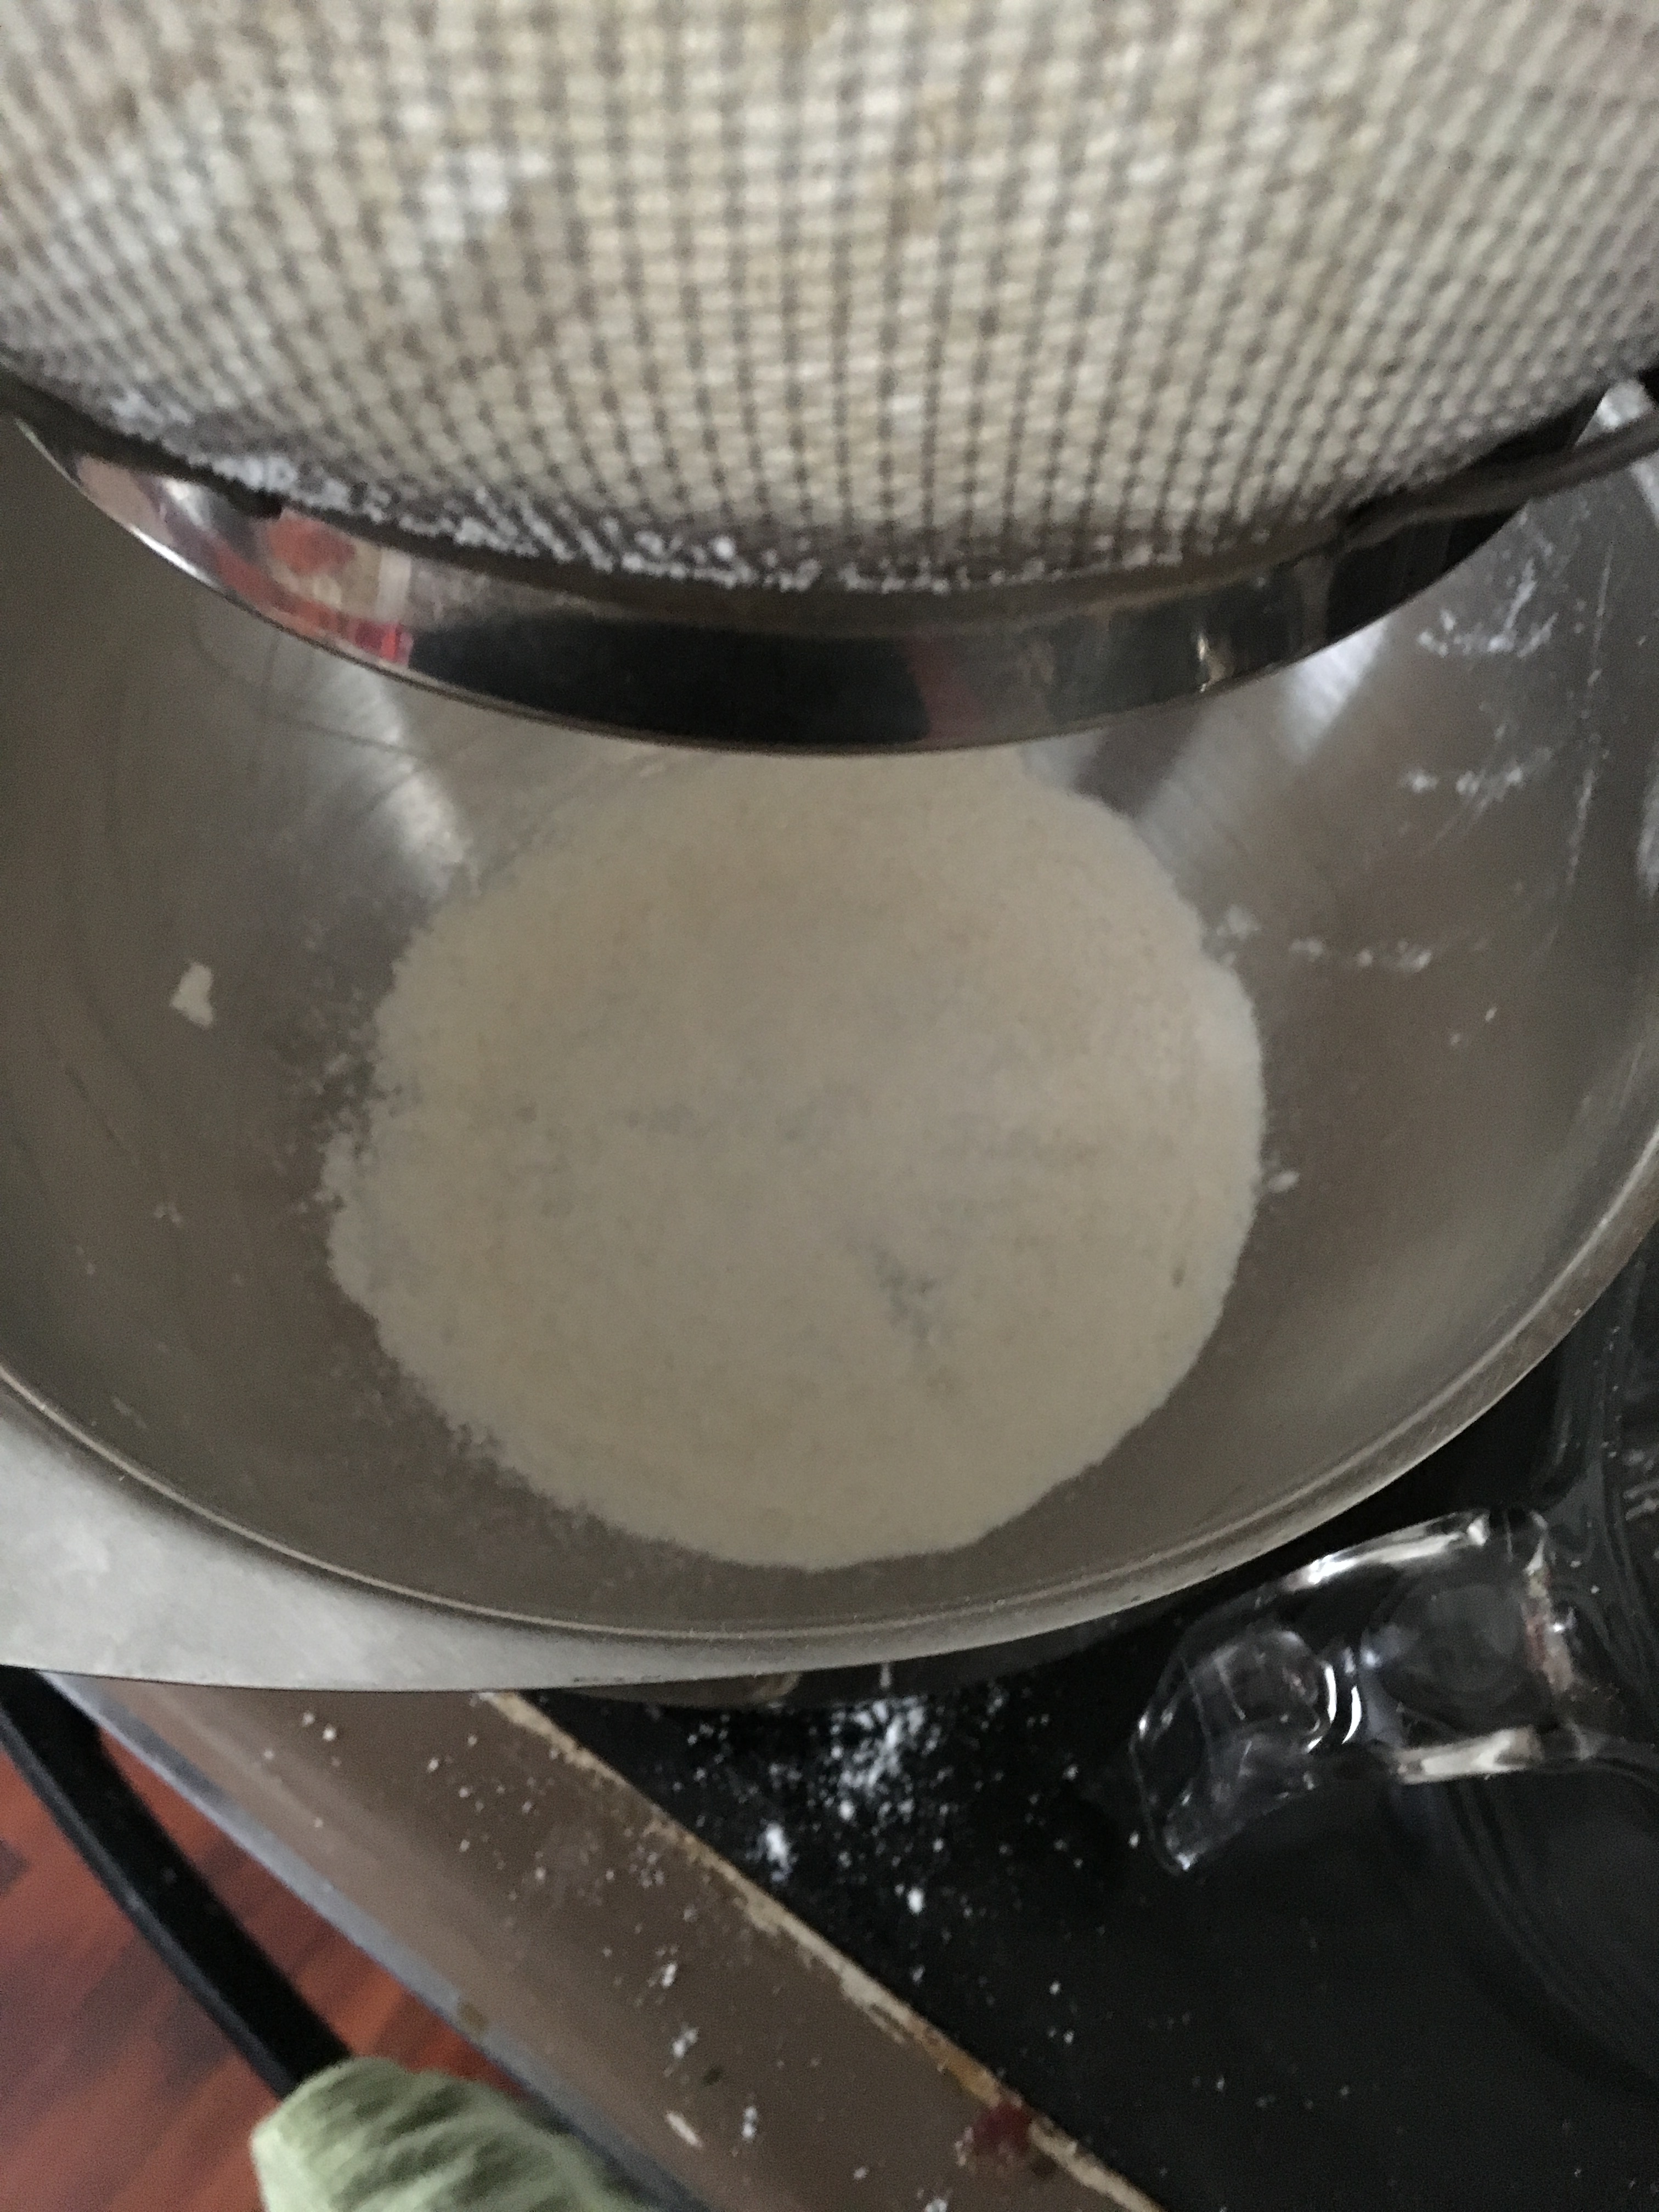
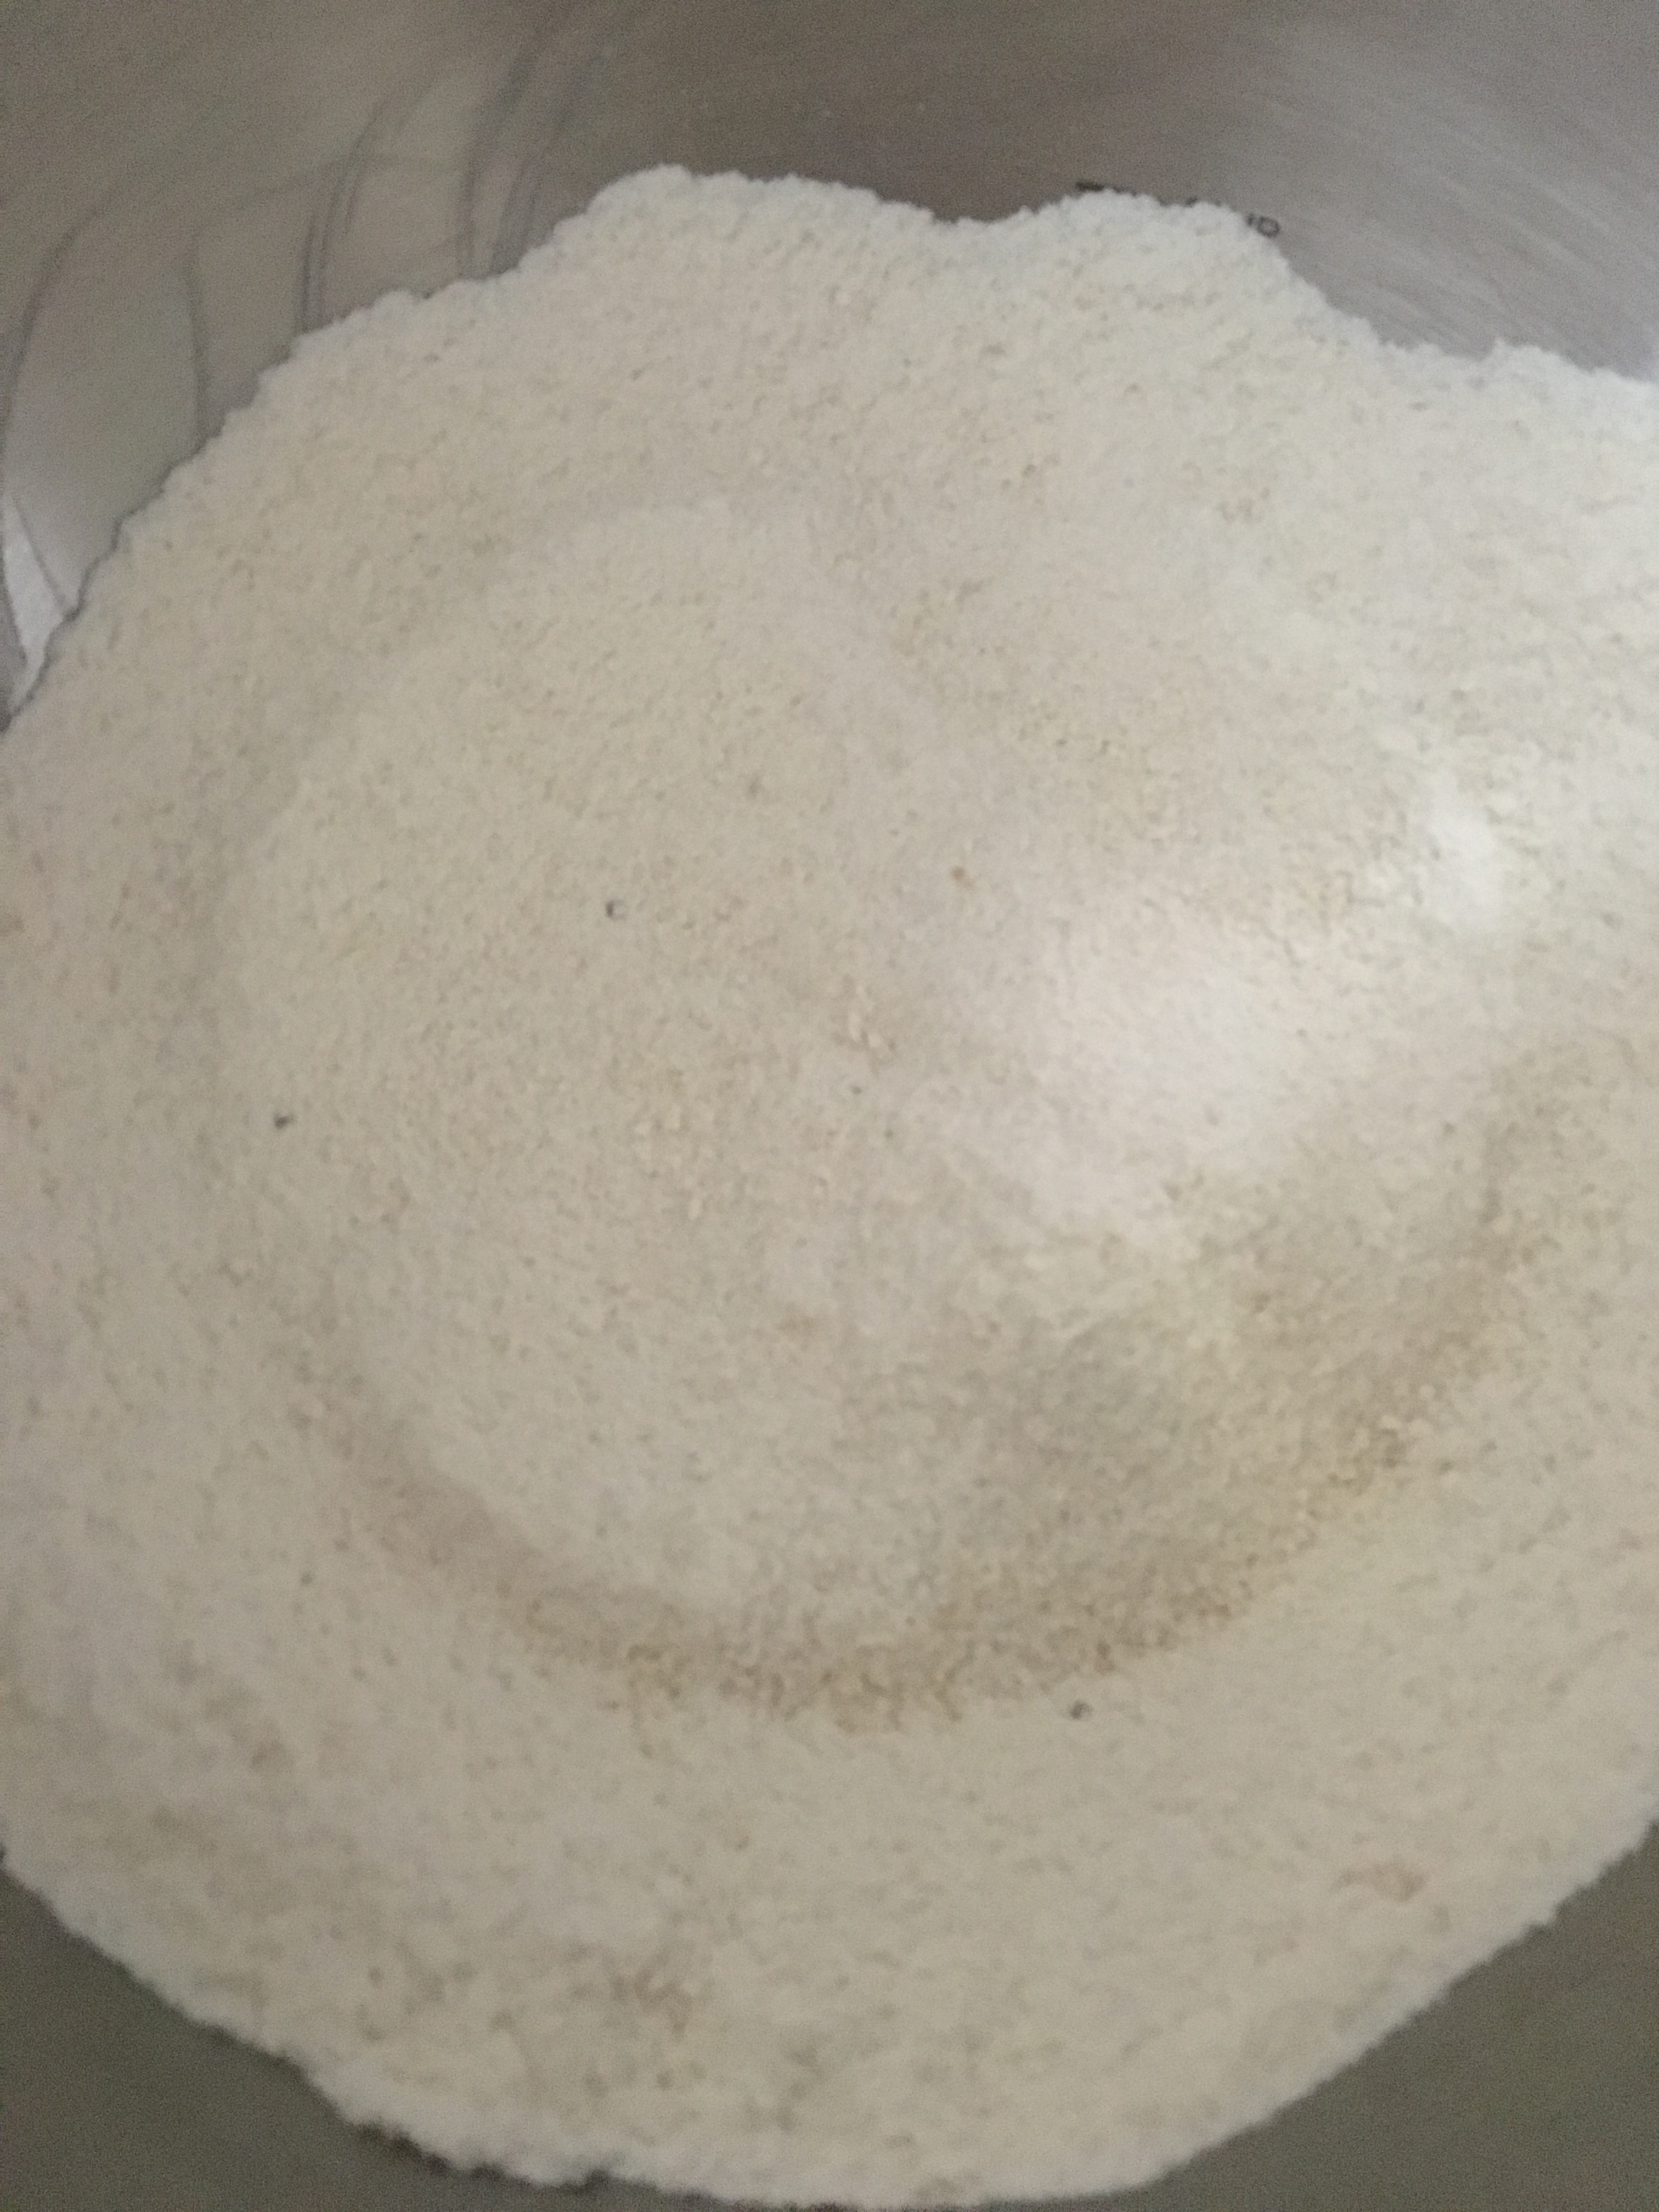
  4. Dissolve the vinegar with baking soda and set aside.Sift together the flour and cornstarch into a large bowl.
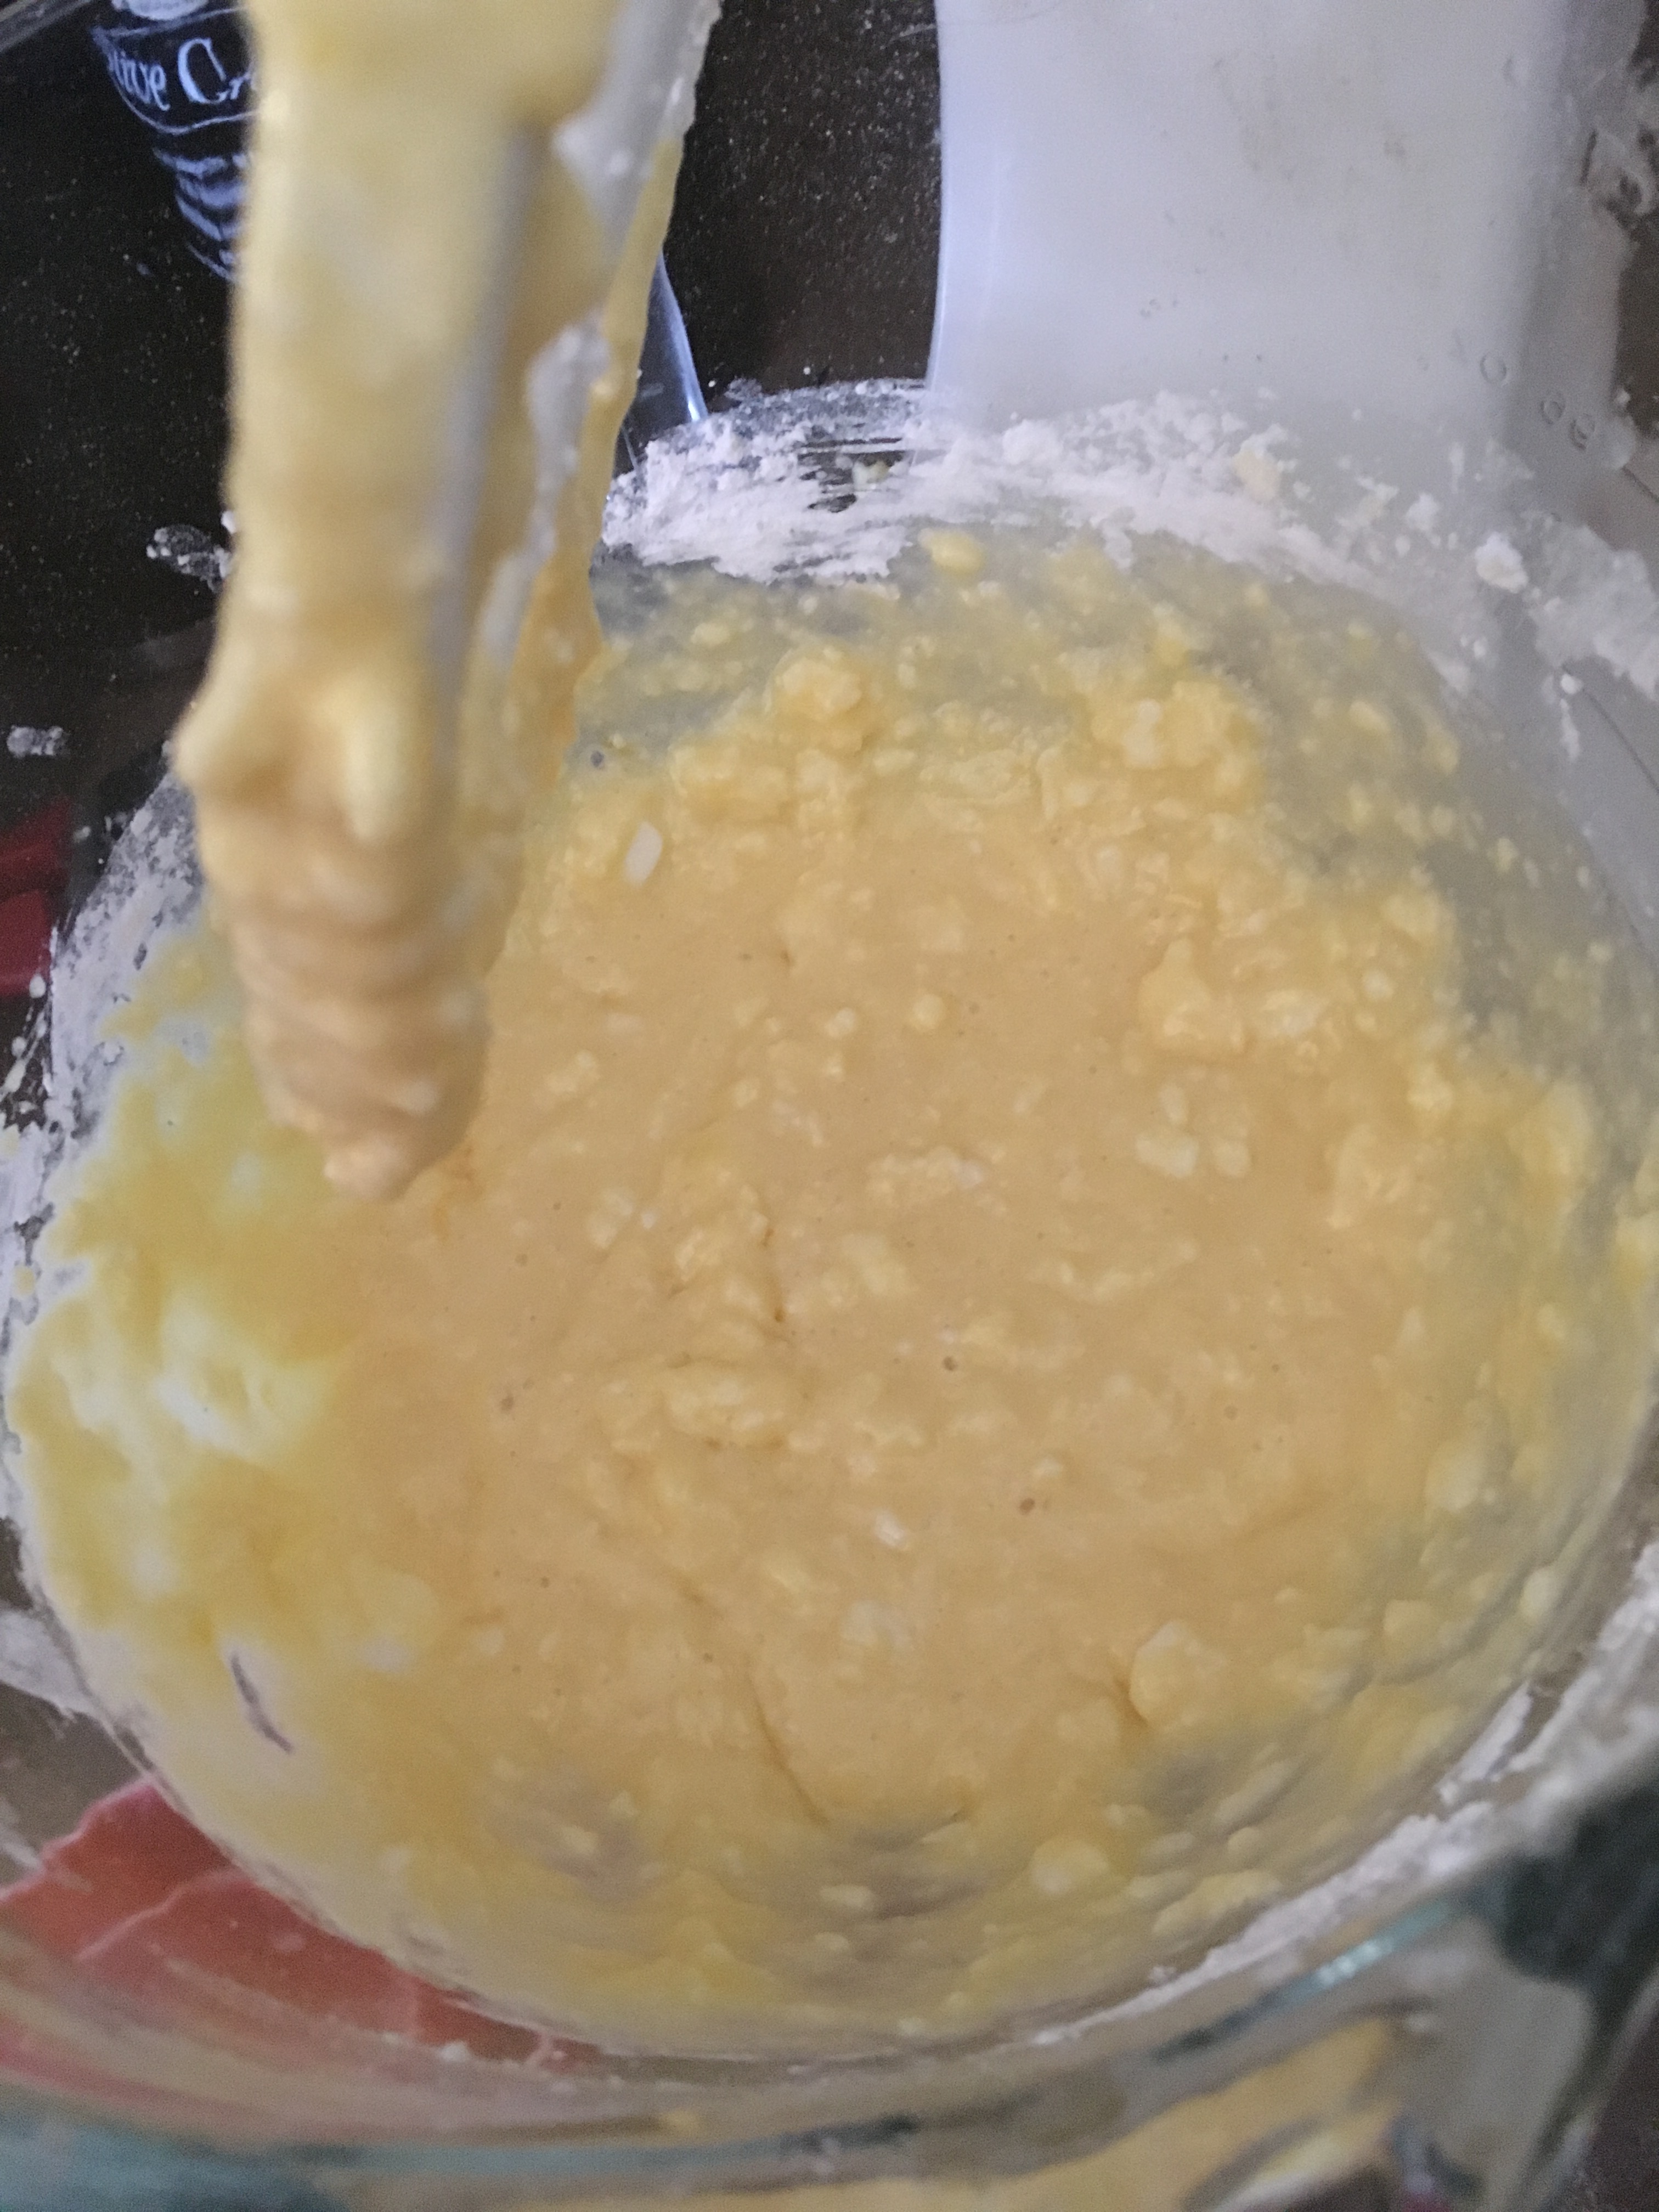
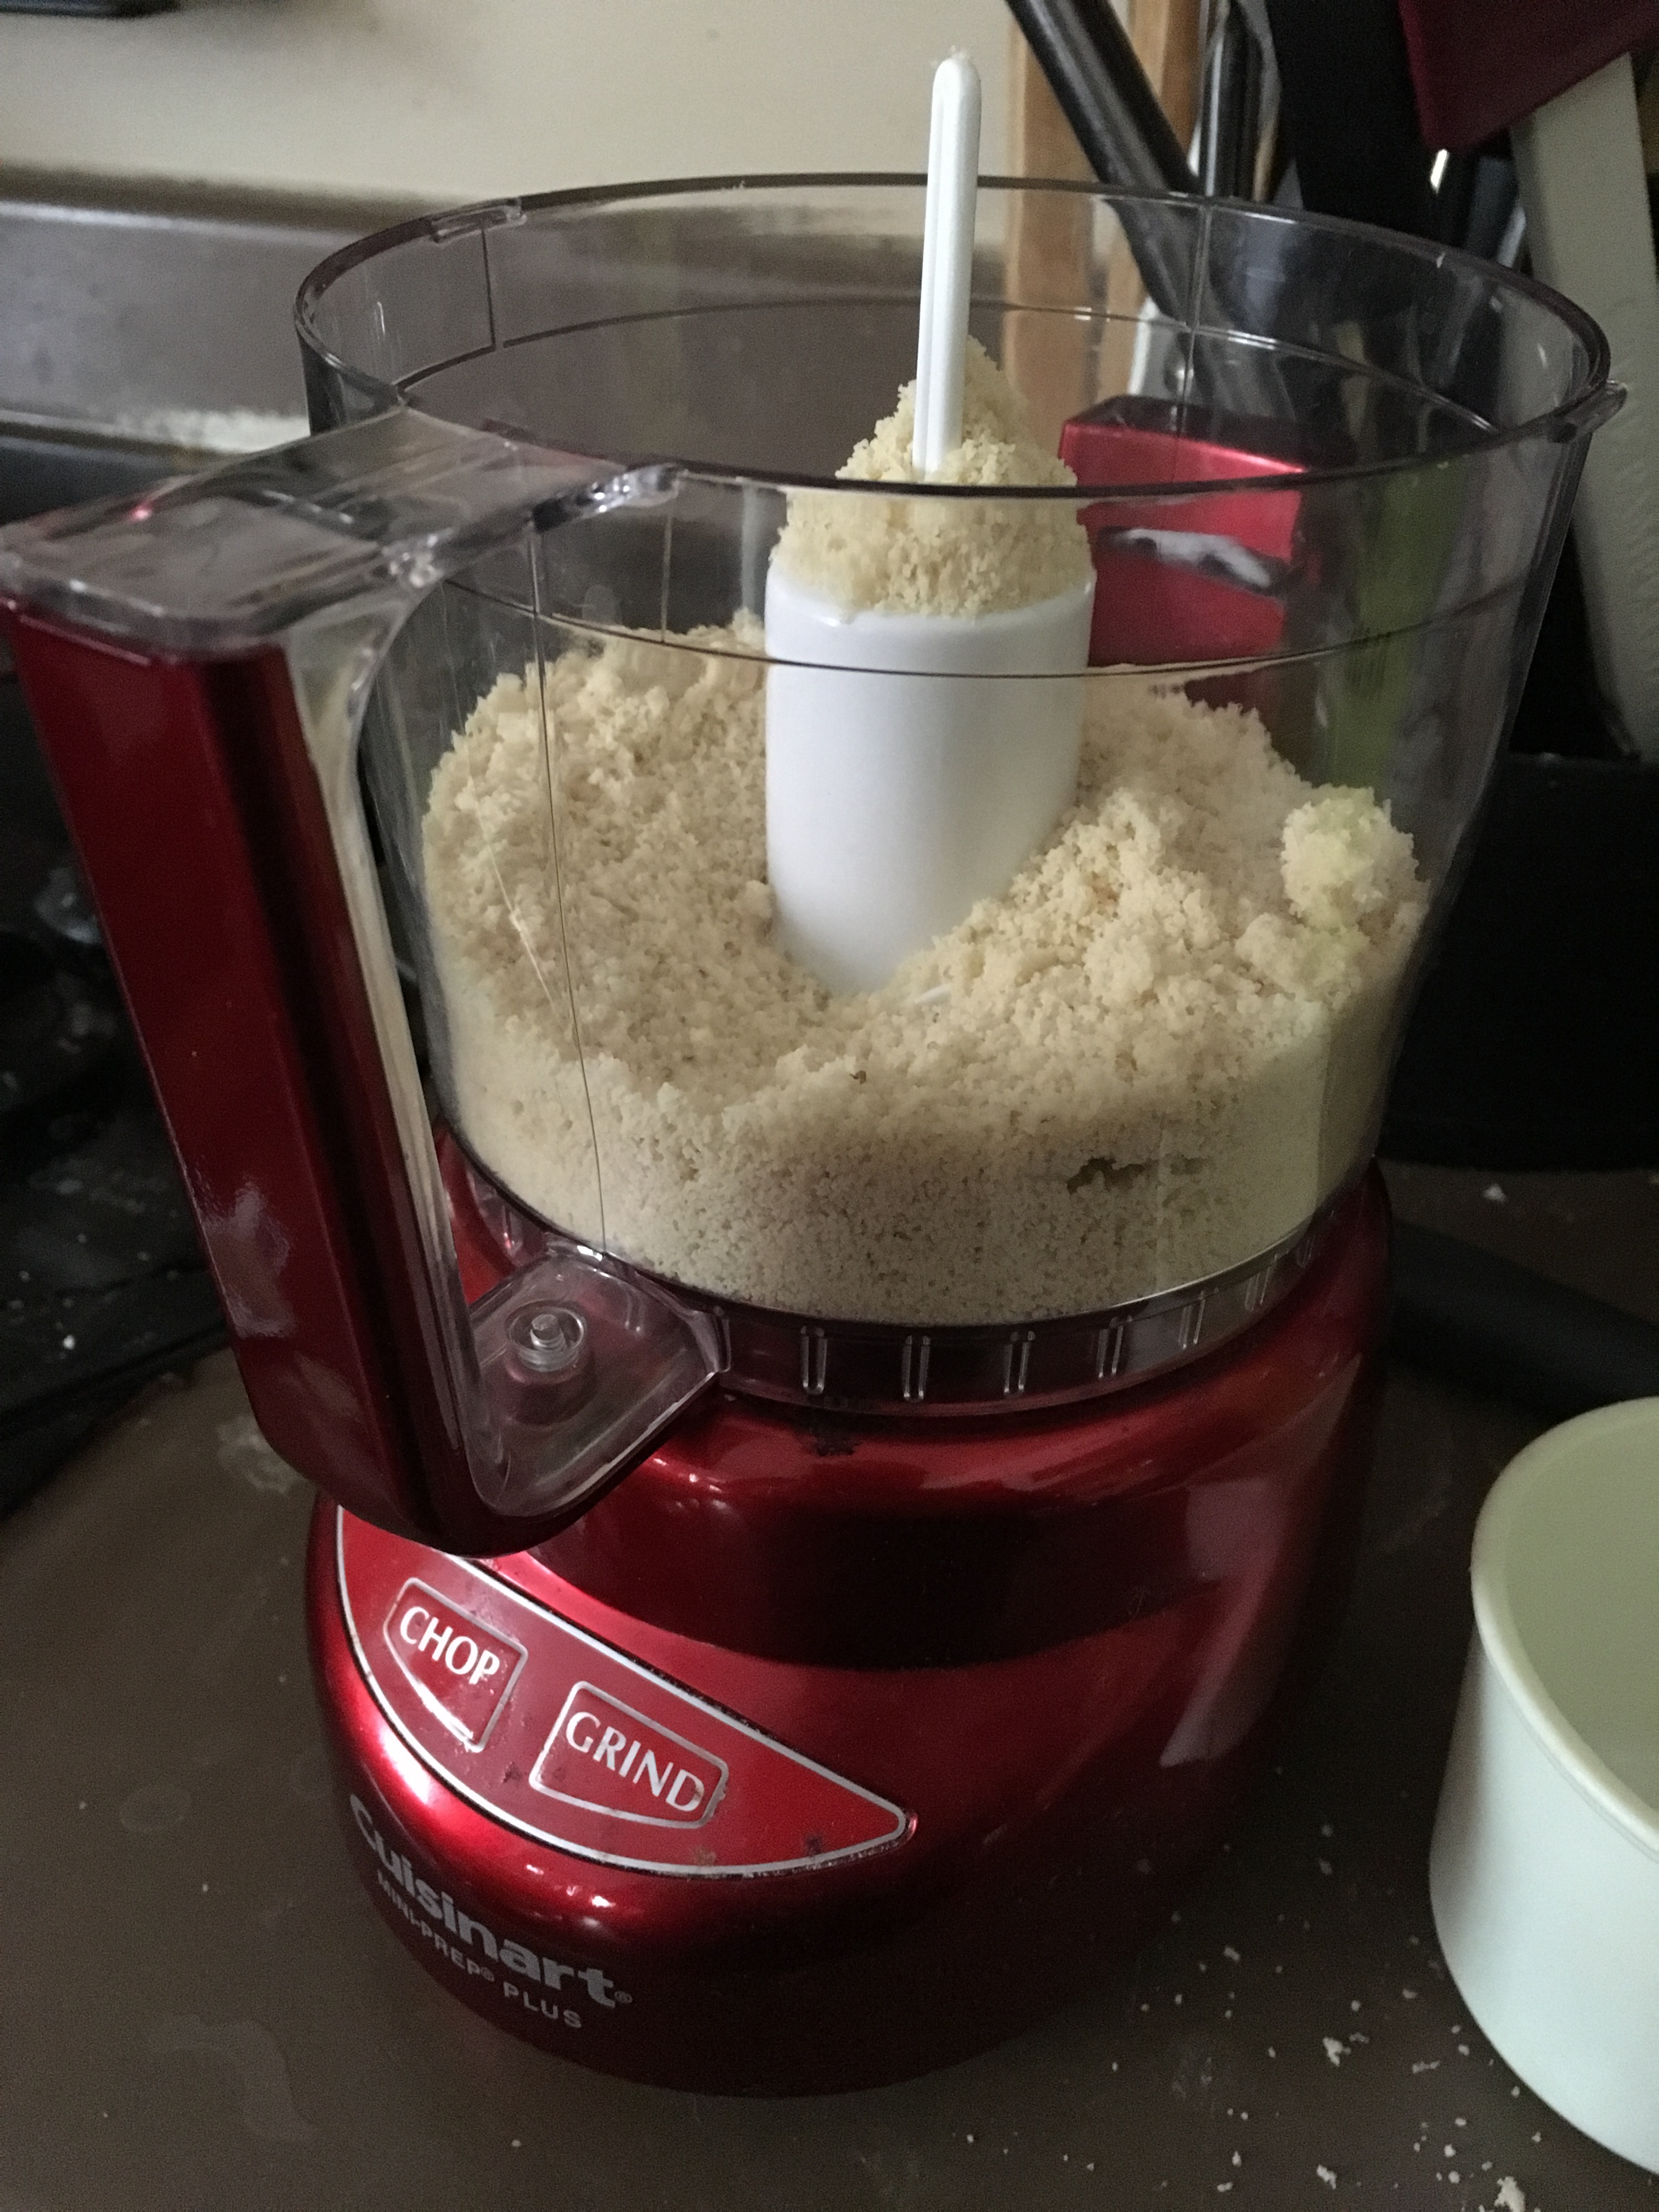
  5. Add the egg mixture, butter mixture and soda mixture and beat everything together until a soft dough forms.
  6. Cover and refrigerate dough for at least 1 hour before handling.
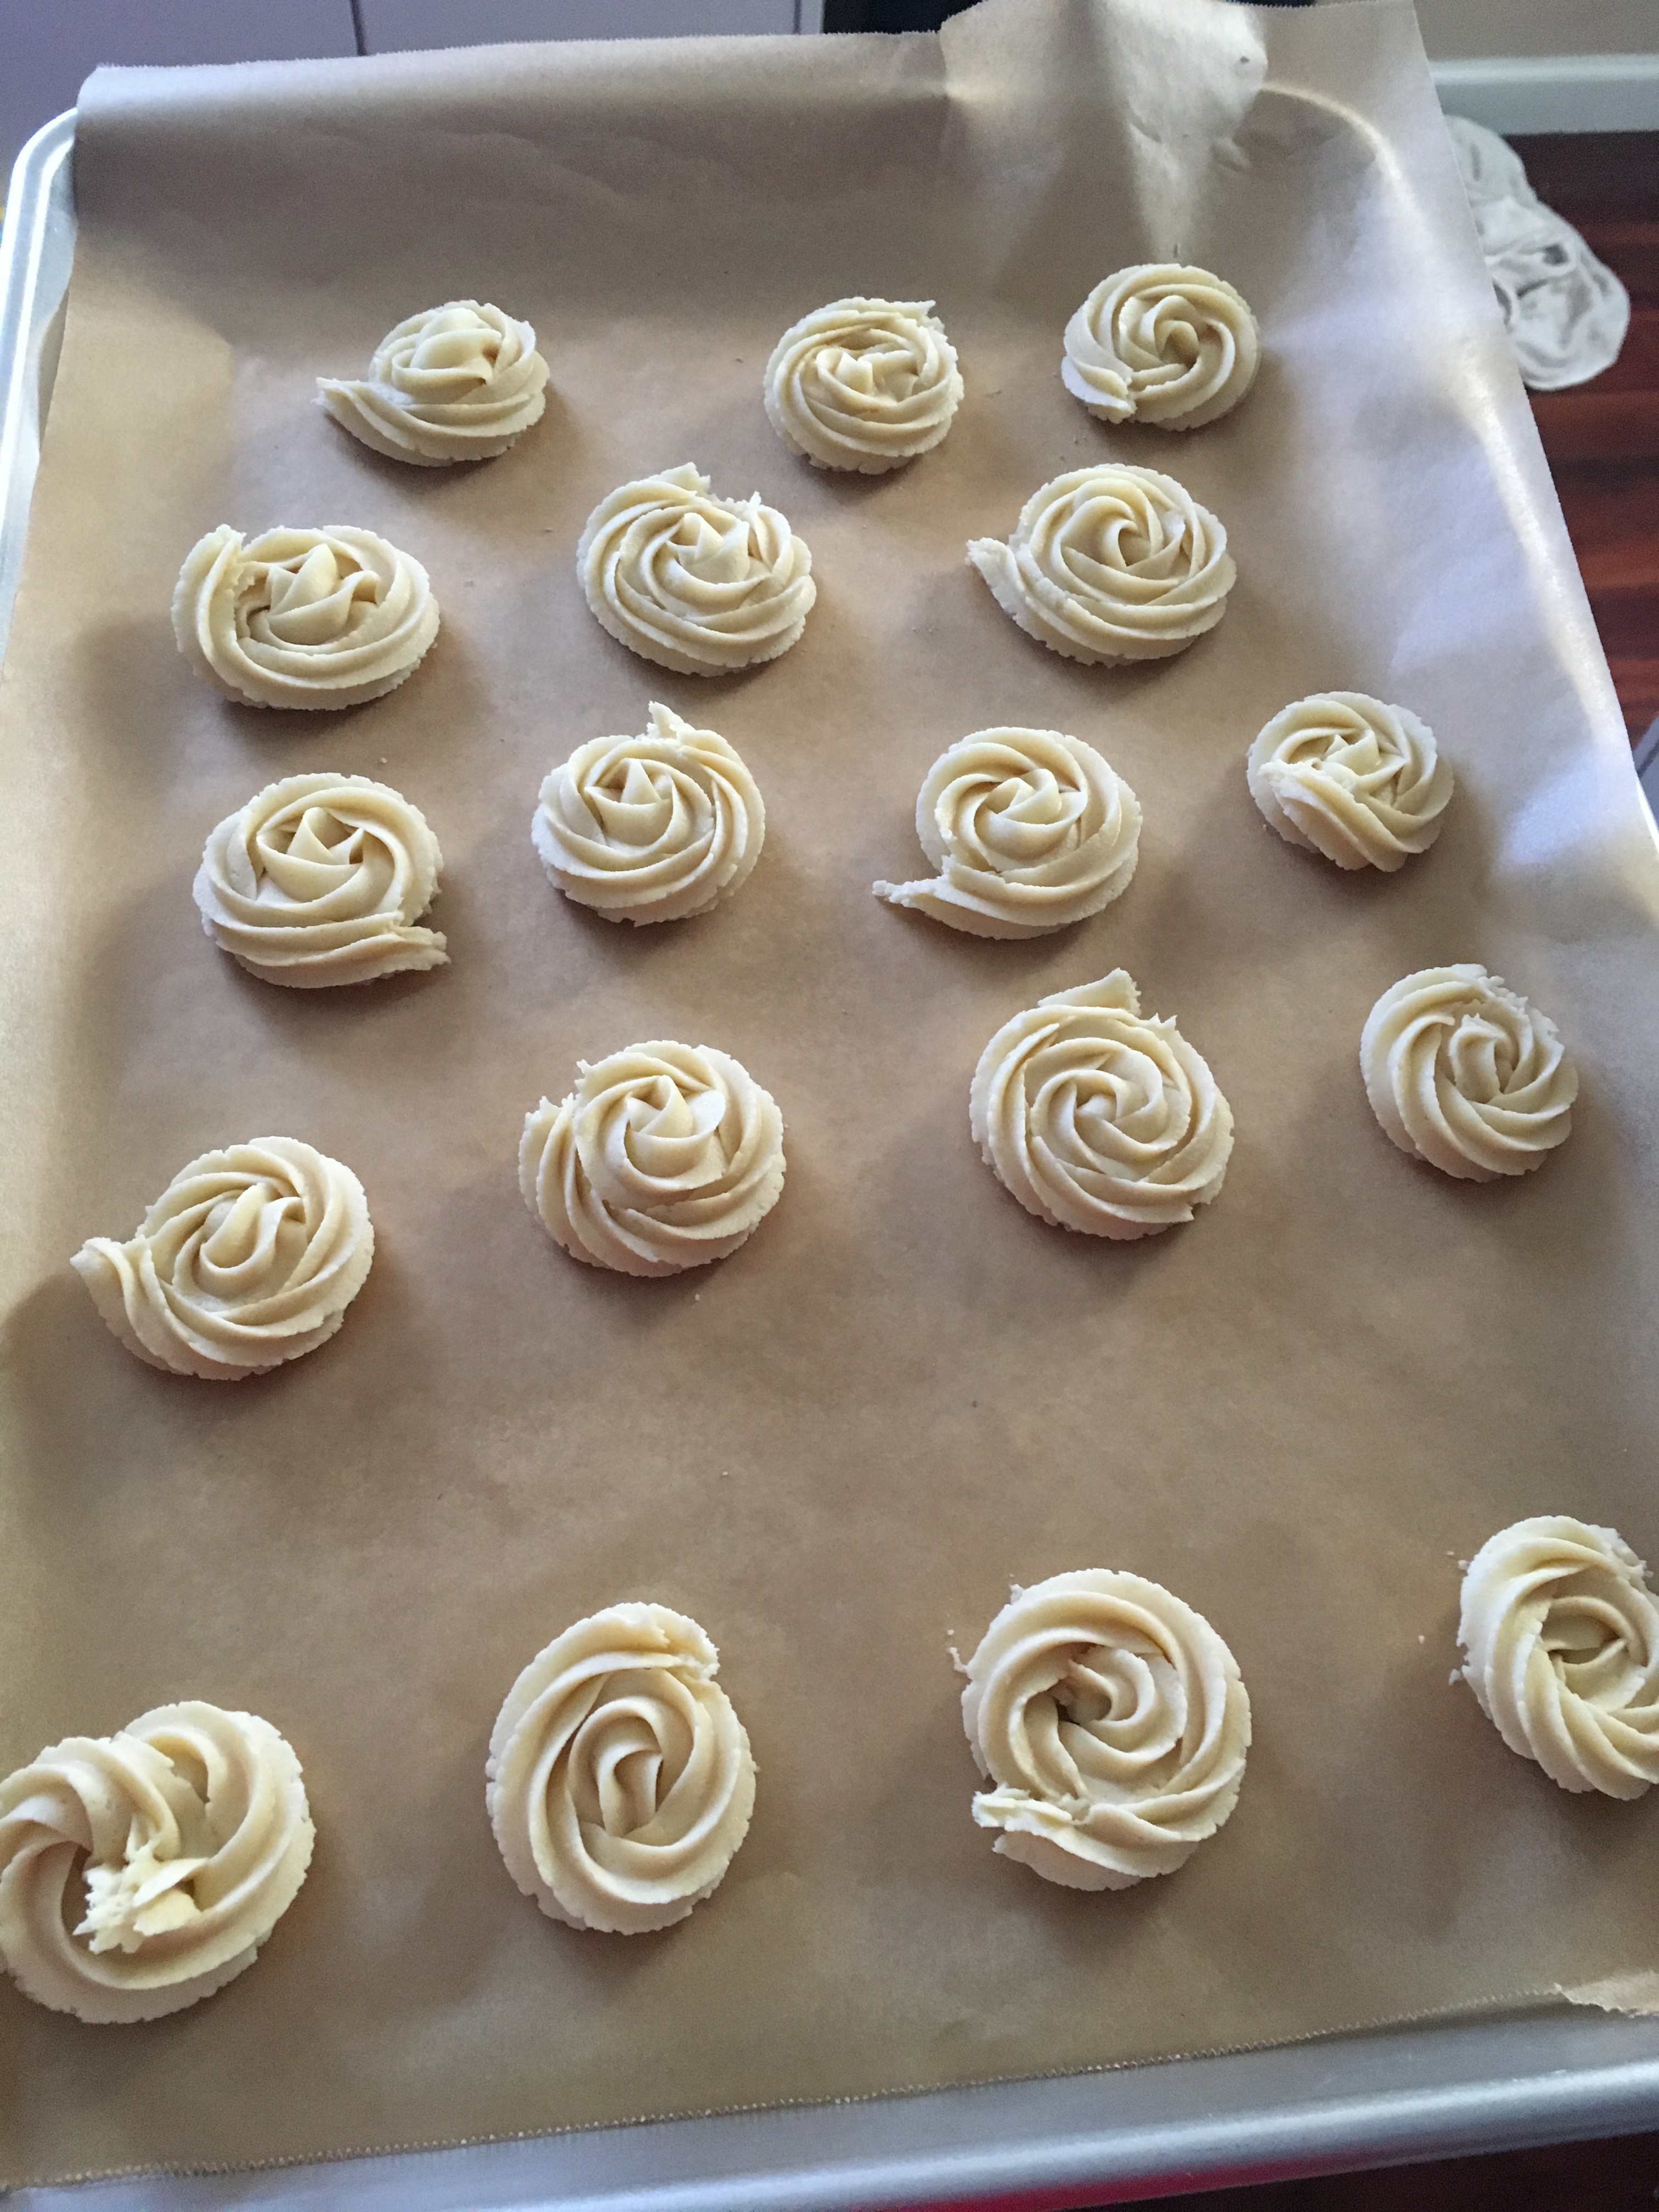
  7. Once dough is cold enough to work with; scoop out 1 teaspoon full of dough into each oreshki mold.Lightly mold in the dough into the cookie iron.
  8. Cover mold with the lid and bake in a preheated 375 degree F oven for 30-35 min or until golden.
  9. Invert cookies onto a tray and continue to work with remaining dough chilling the dough in-between the handling.
  10. Cool cookies completely before filling.
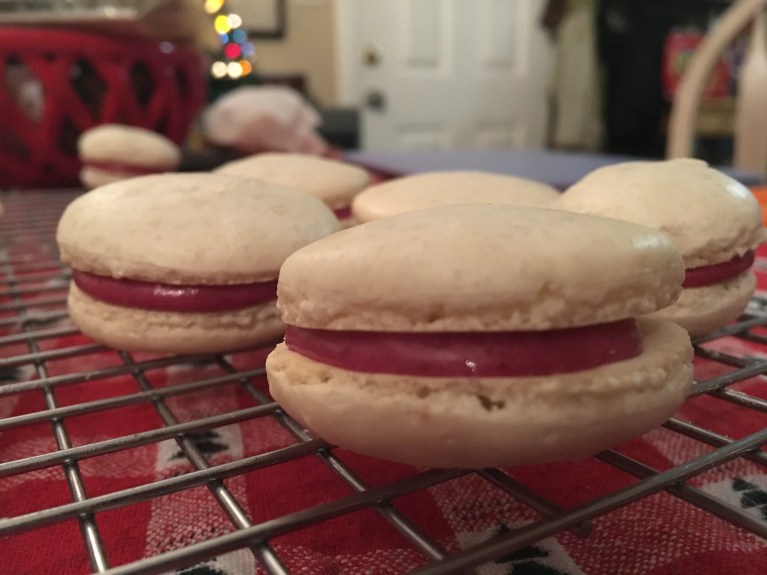
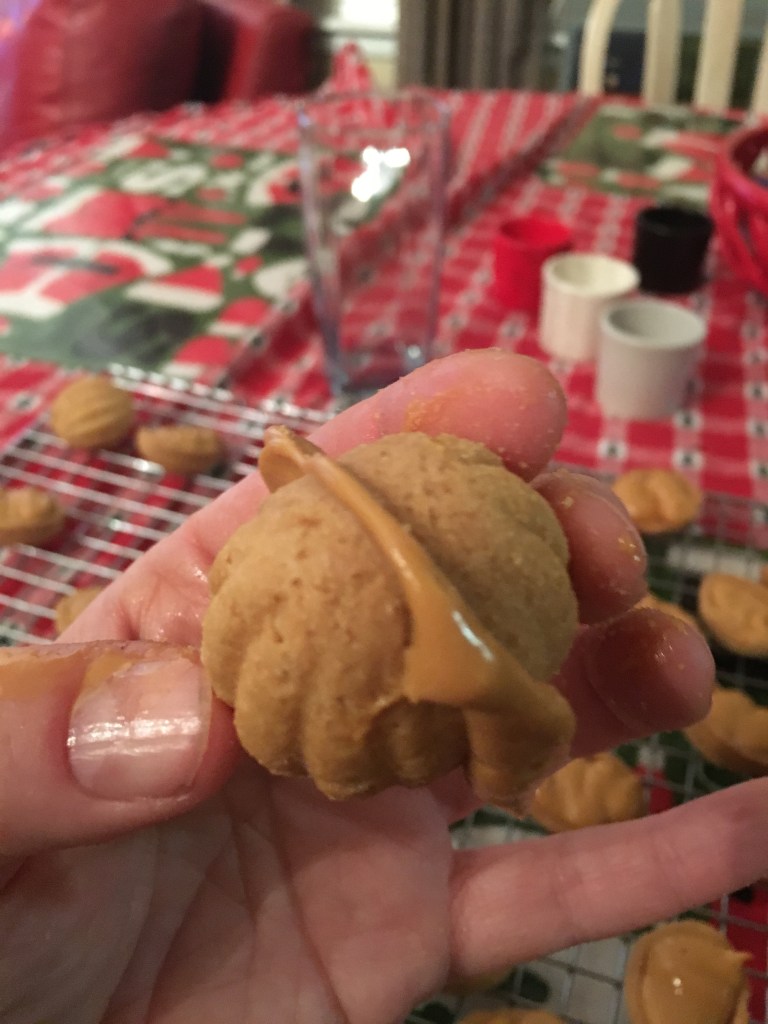
  11. TO ASSEMBLE ORESHKI: Fill each cookie half with the filling mixture and combine the cookie halves to form a walnut shape cookie.
  12. Refrigerate shells and serve cold at all times. Enjoy!

Okay, now to the good stuff.

So I have a very cool grocery store within walking distance of my house. (Not that I walked there, no, it’s December and I’m not in the South anymore.) It looks boring enough from the outside, like most grocery stores do. However, inside it’s like an international vacation without ever pulling out a passport. They have Asian things, they have Hispanic things, they have Kosher and Hebrew things, and they have Russian and European things.

On this last point, there are a lot of countries in Europe represented here, but there is more Russian/Eastern European things in this grocery store than anything else. (And yes, I know Russian is in Asia.) There’s a large Russian/Eastern European population near where I live…though I don’t know if I’d know this without help of this grocery store.

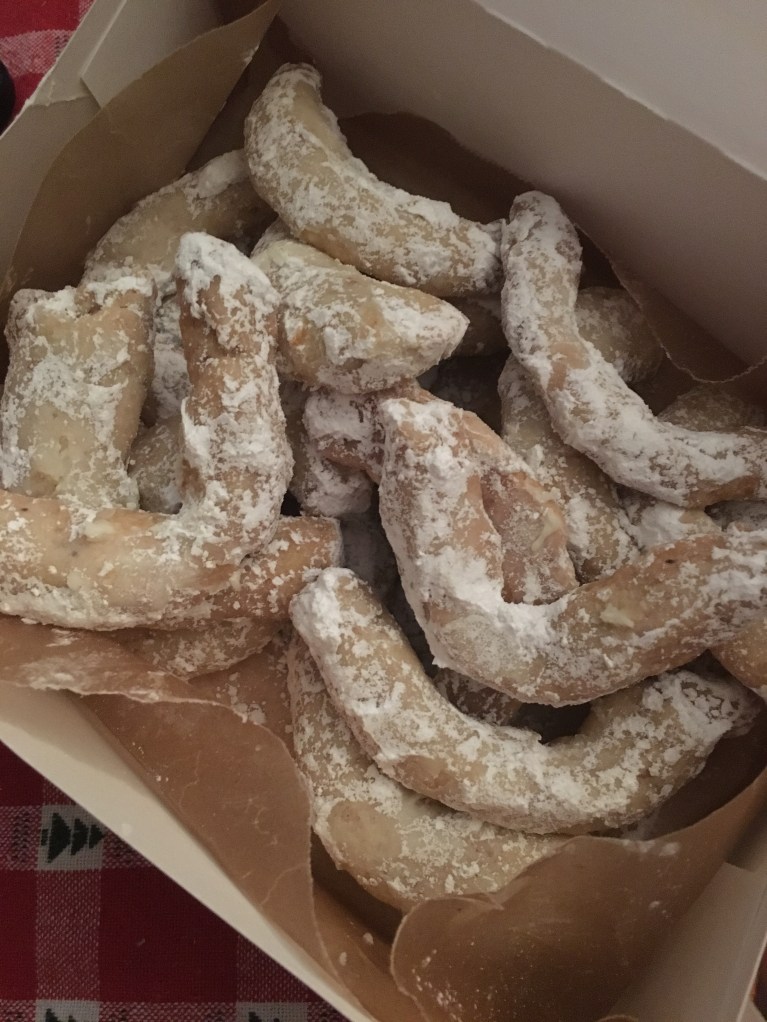
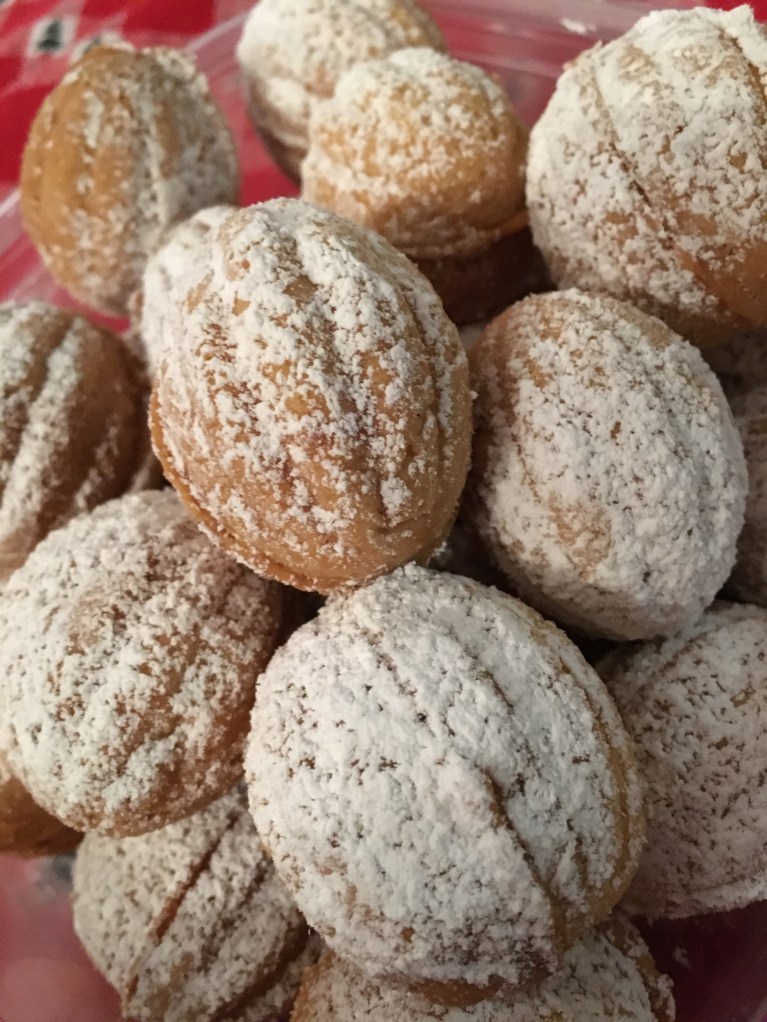
My point is, they have cool stuff there in other languages that look amazing. I saw these a few weeks ago and haven’t stopped thinking about them.

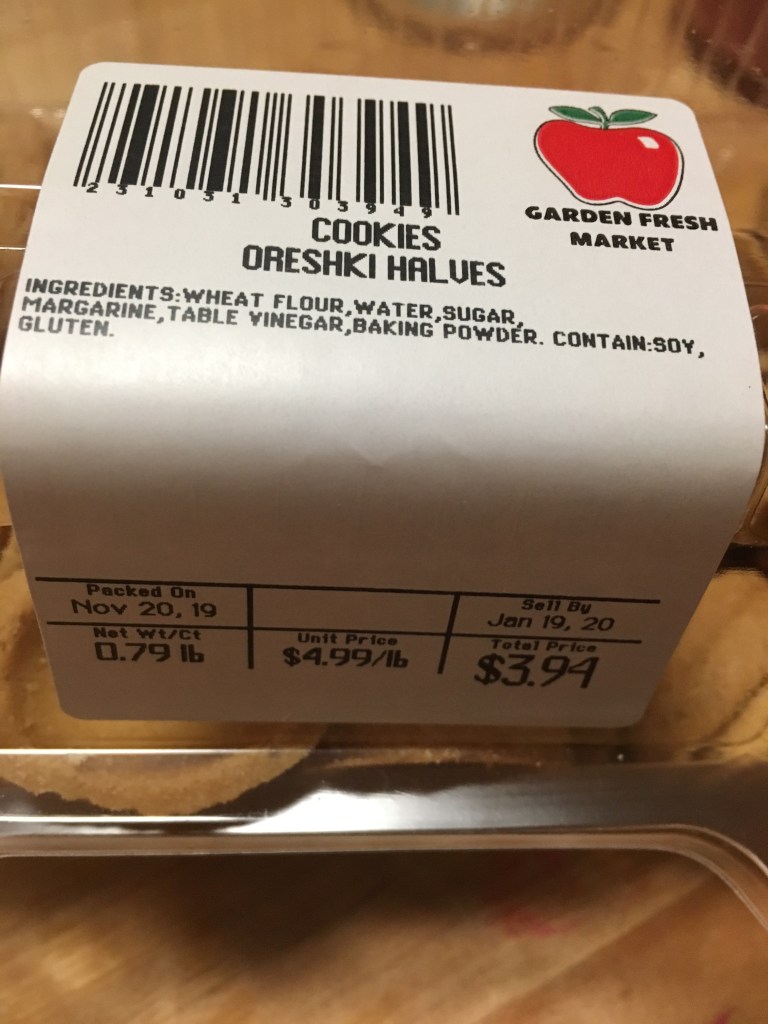
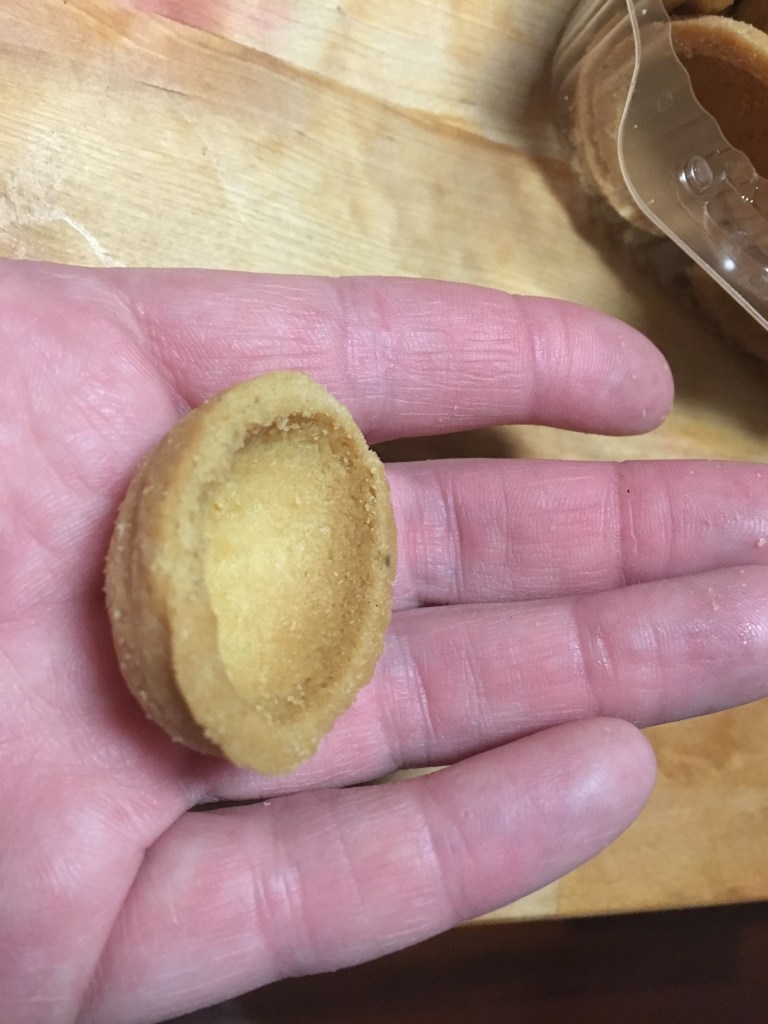
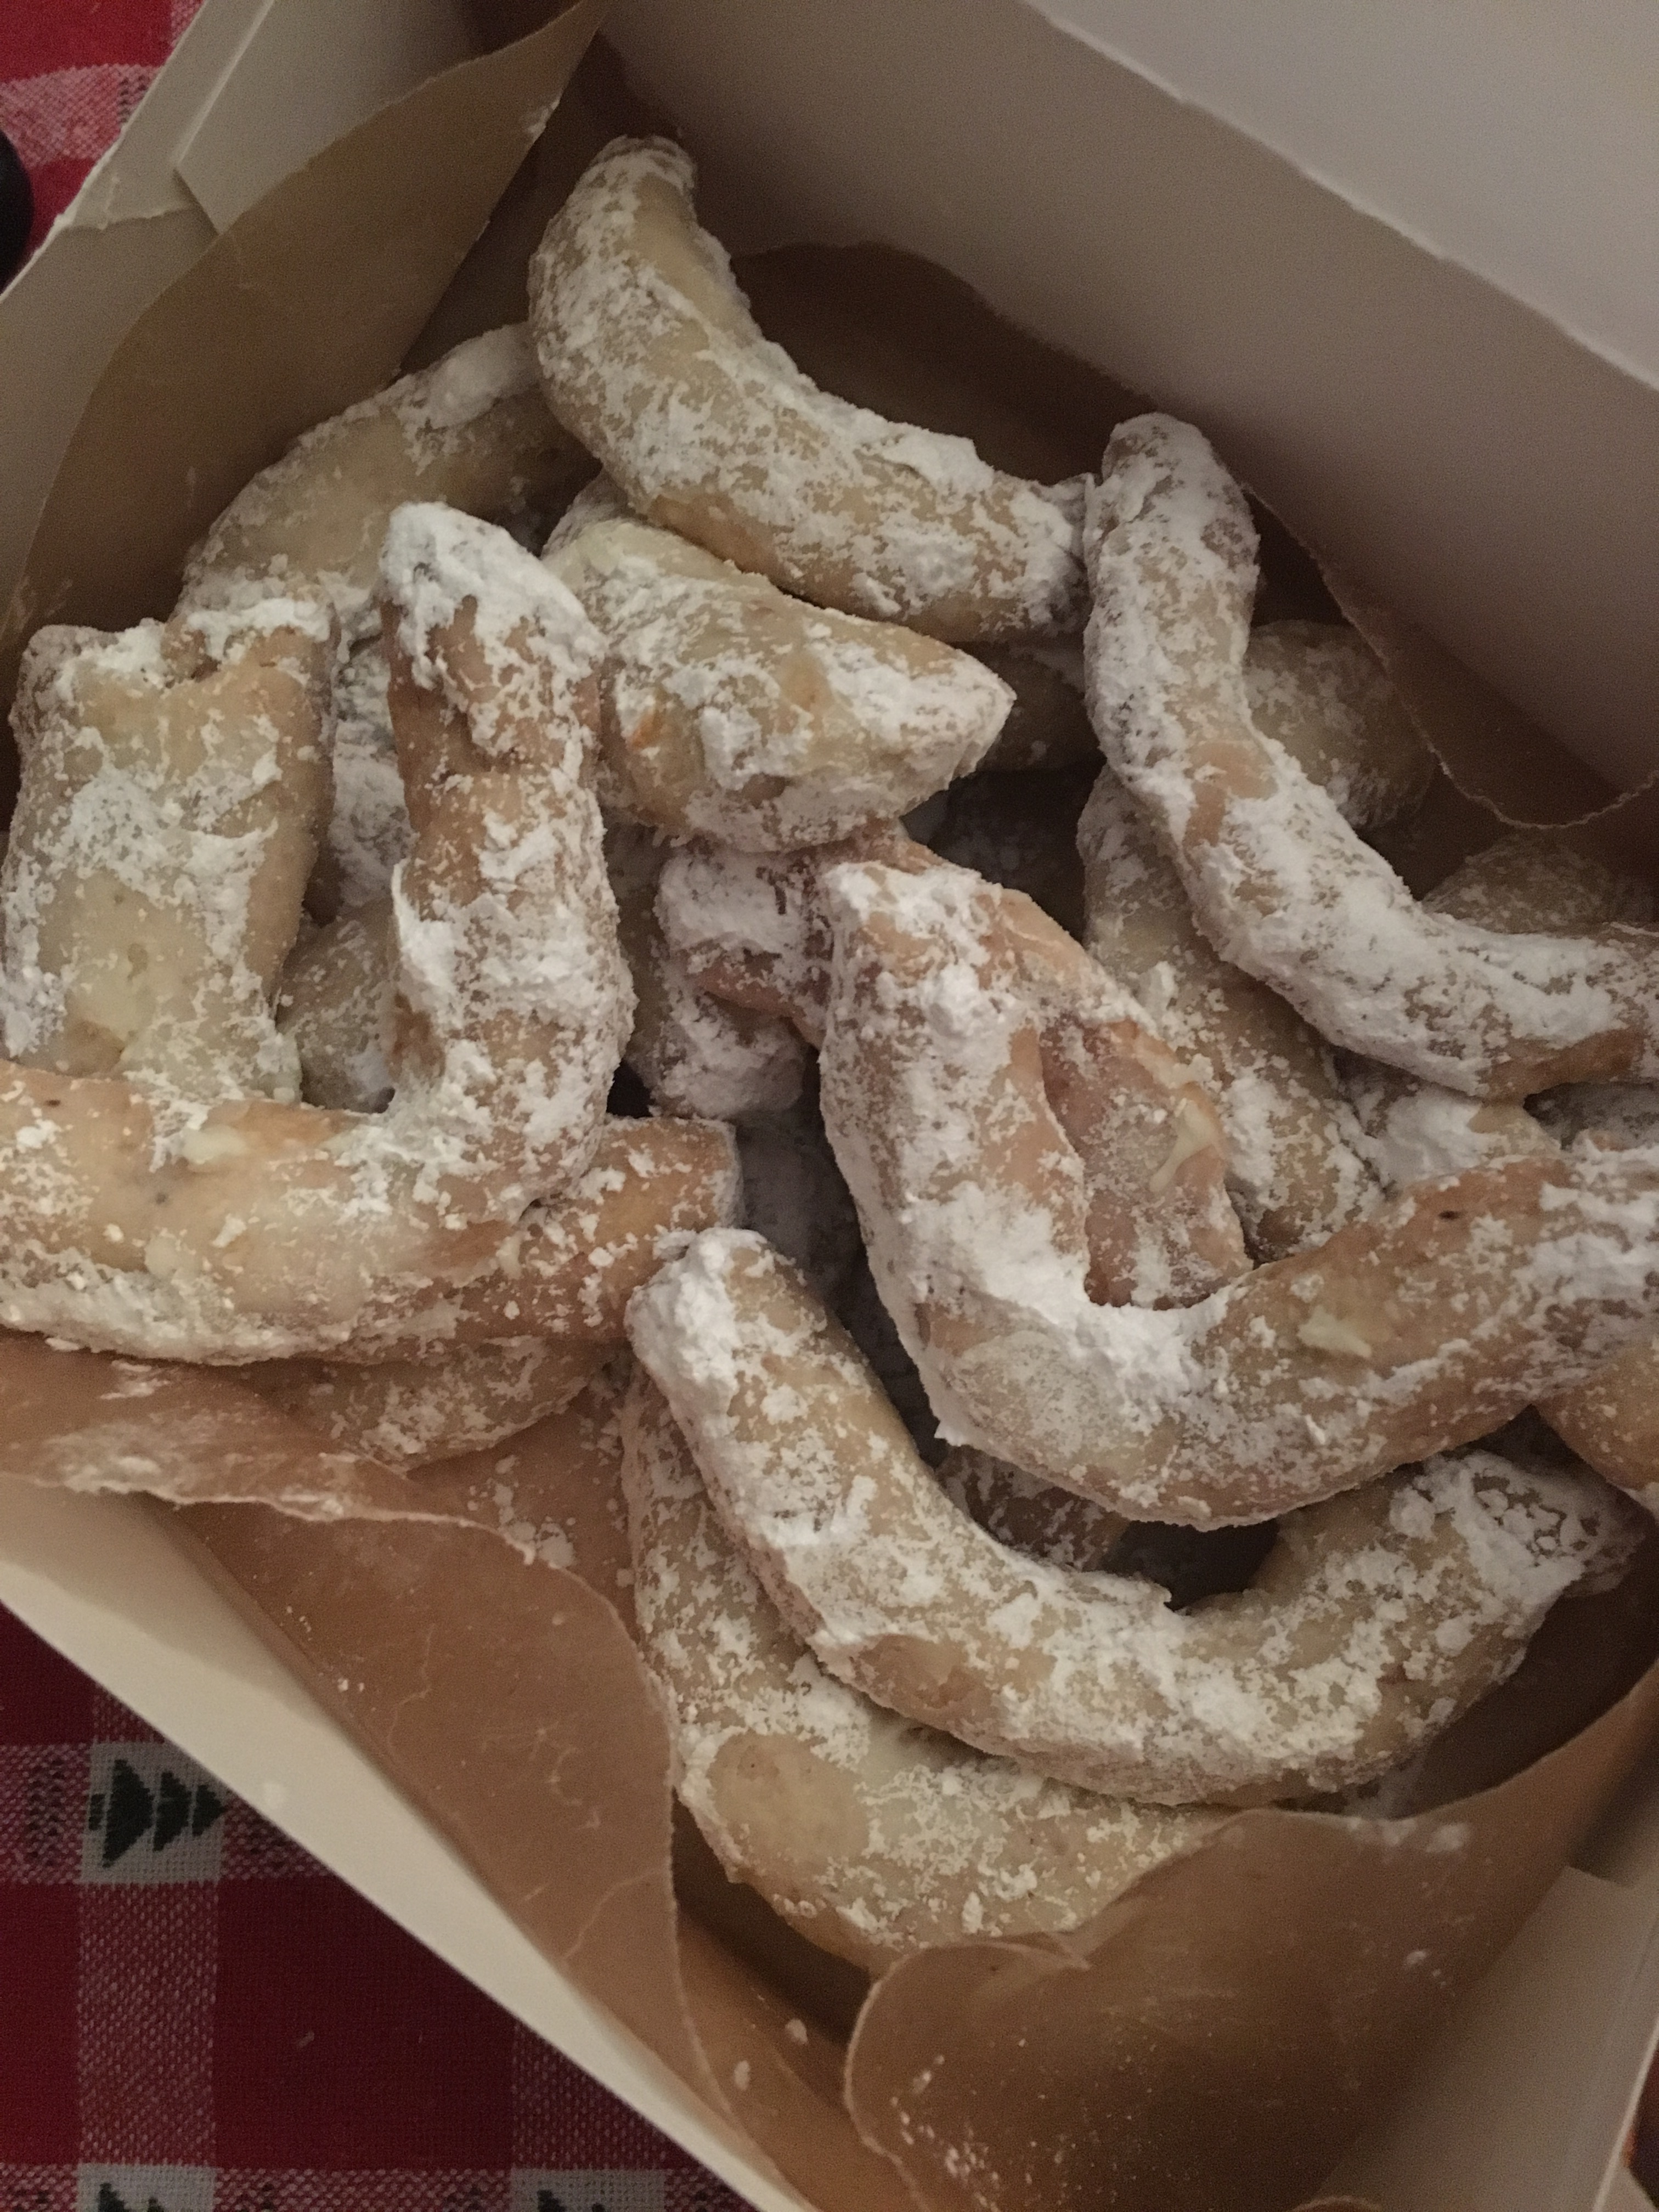
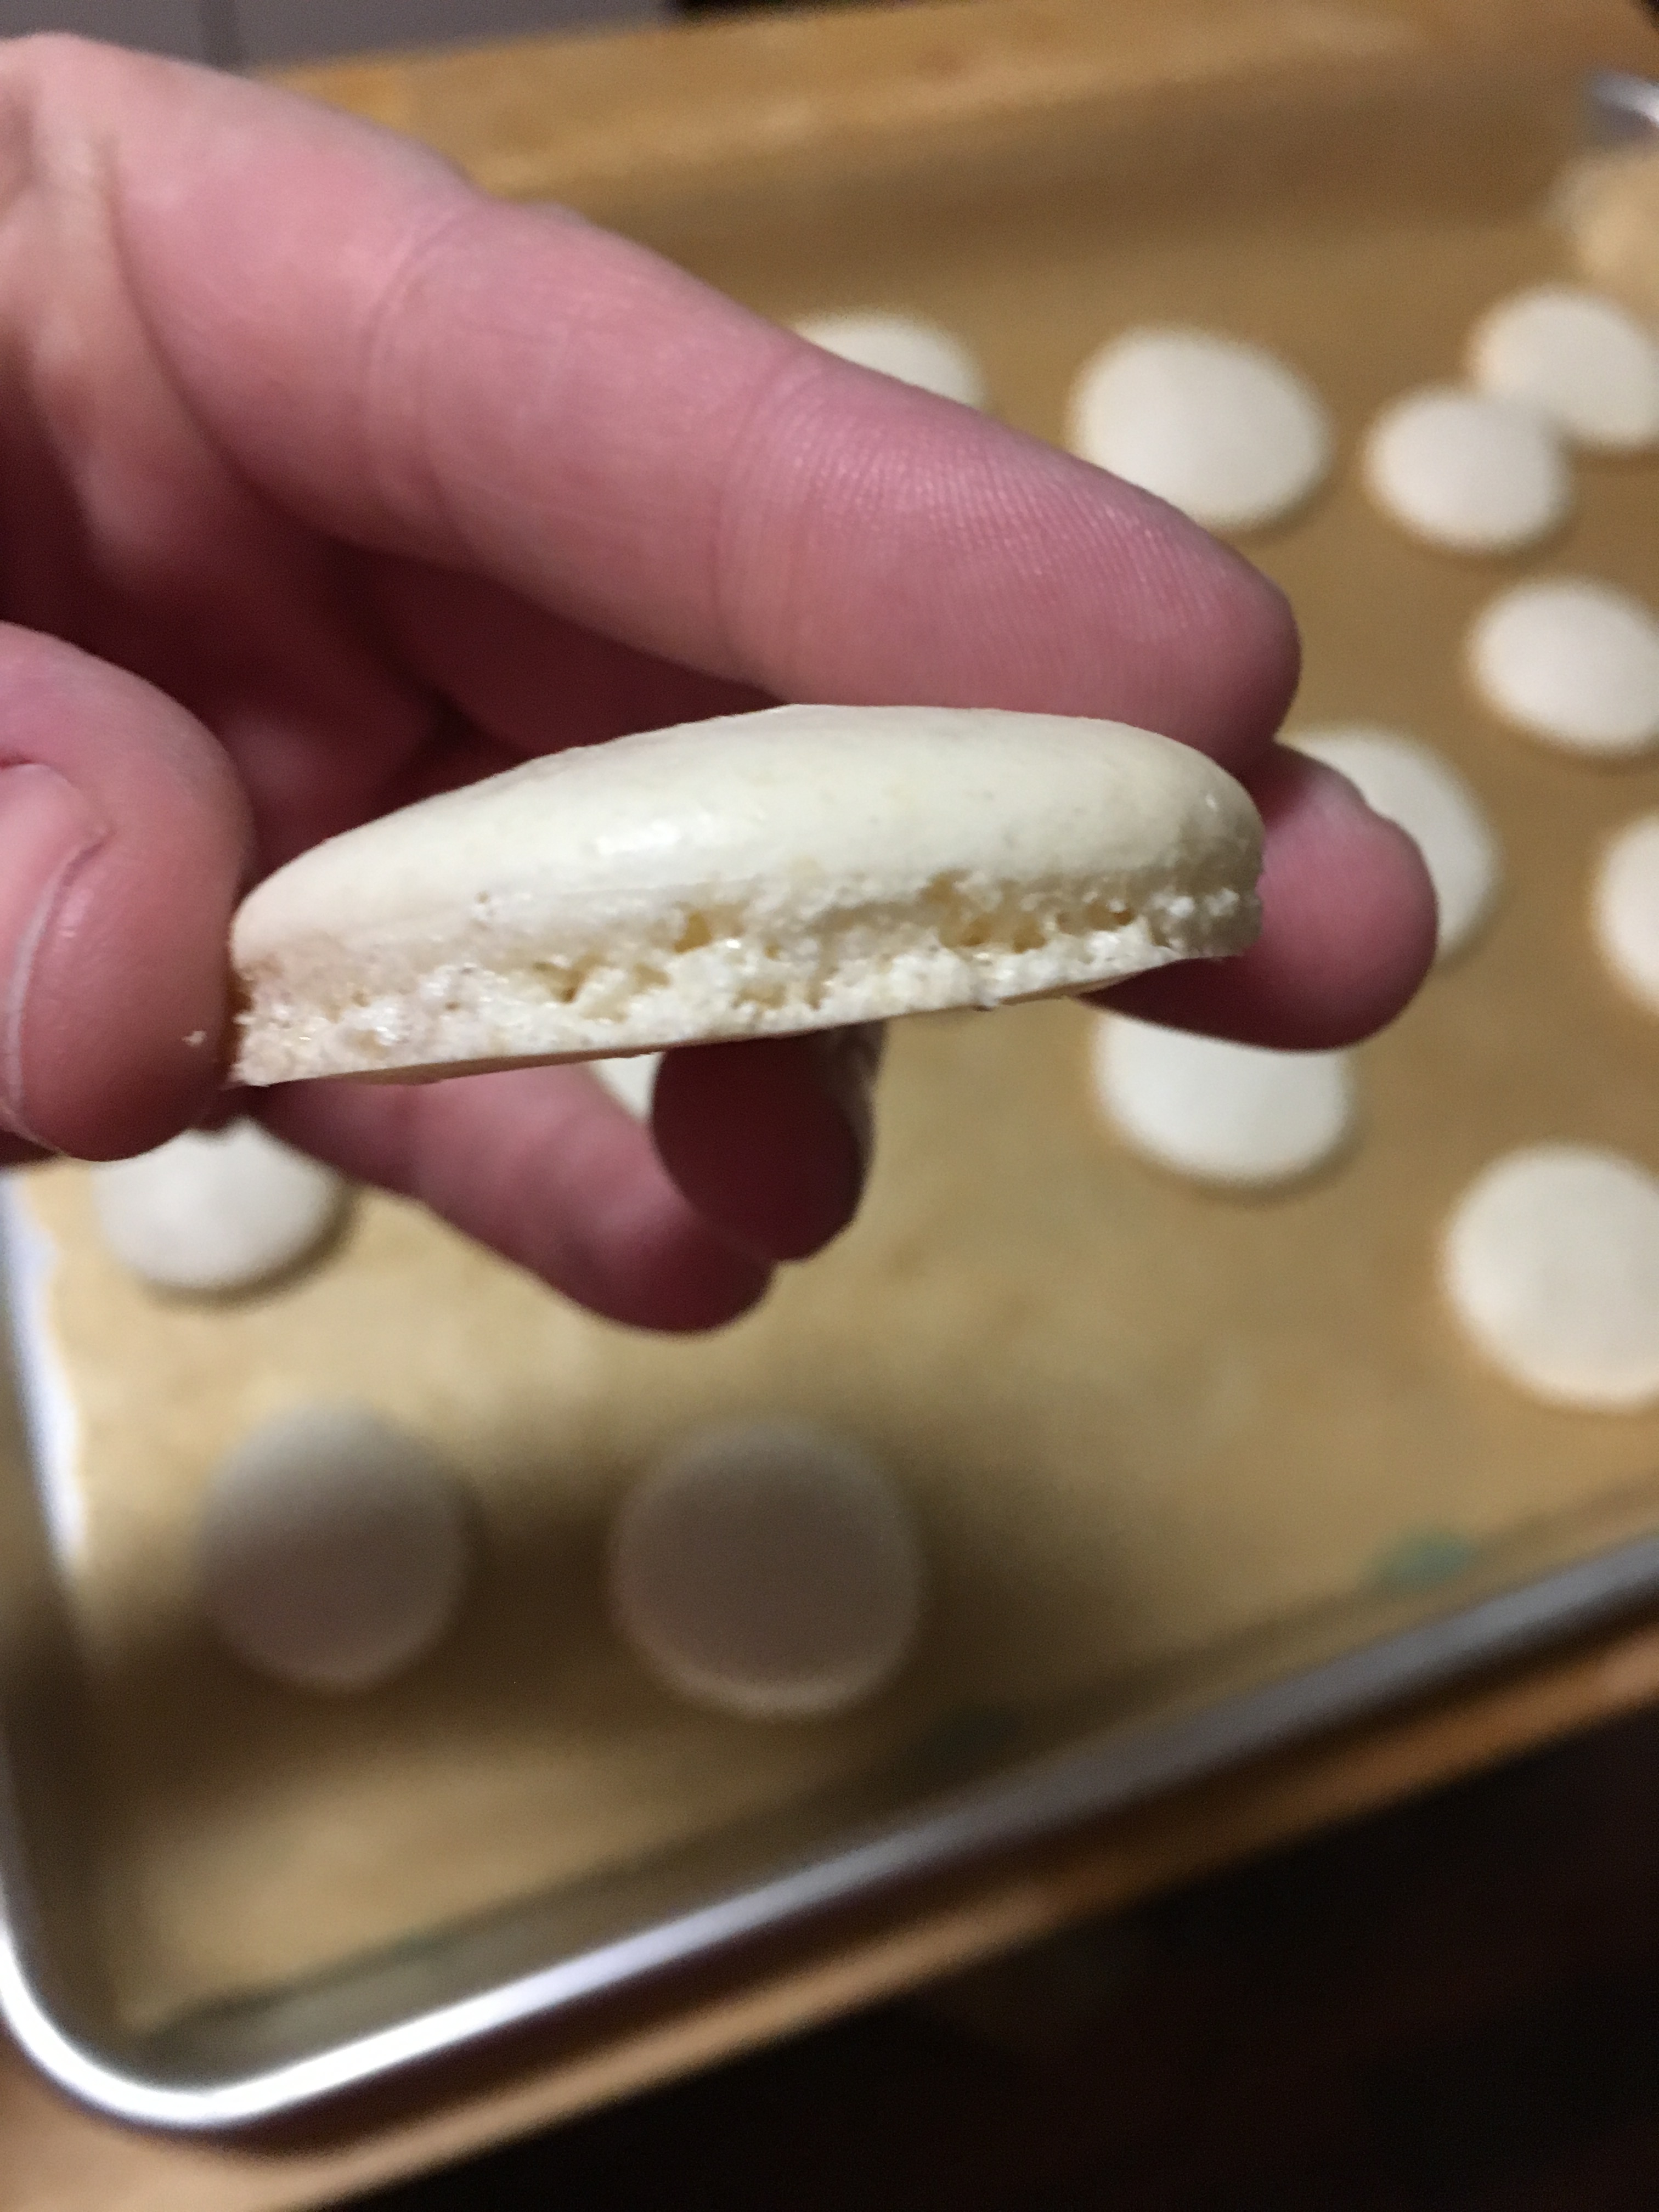
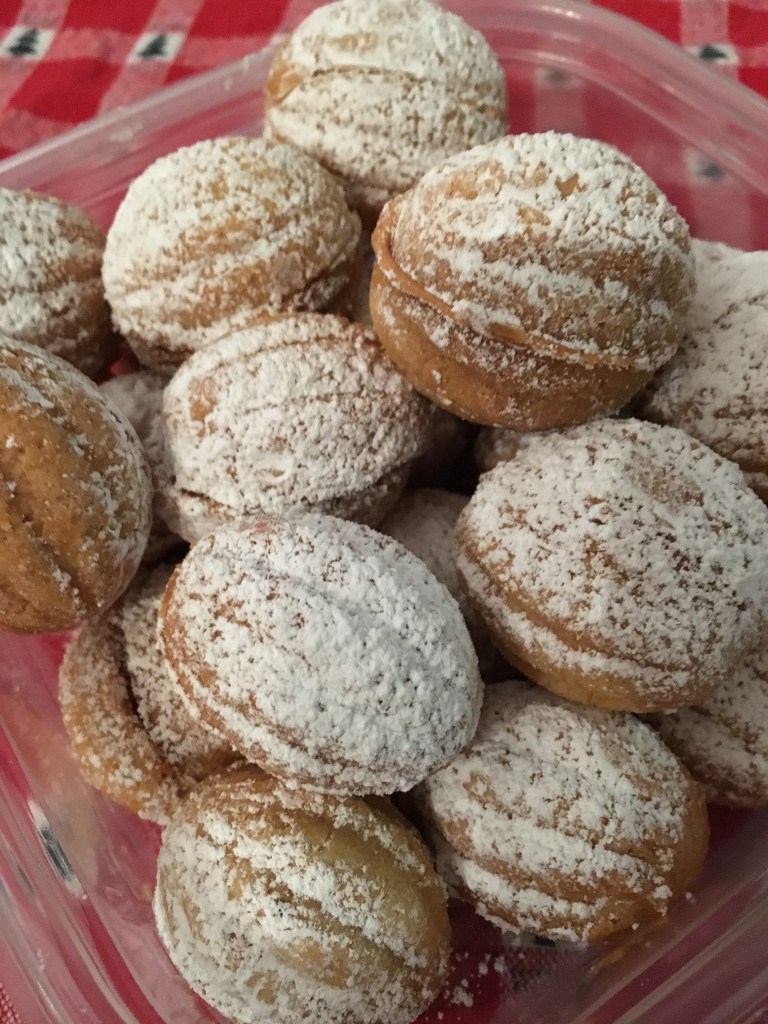
They looked like walnut shells, but baked, and apparently you fill them with things. As I was contemplating Googling that exact phrase, I saw the name Oreshki on the package and instead Googled that.

I literally saved myself hours in doing that.

I found a number of recipes for this cookie, generally considered a Slavic cookie, and in all of them, the recipe talks about getting a special pan to make these cookie shells. In fact, every recipe I saw talked mostly about how to prepare the cookie part of this, and the filling was mainly an afterthought.

I brought out my Santa mug to soften my first butter of the season.

As I already had the cookie handled, I went straight to the filling. (Though I’m now intrigued with this pan and it’s on my Amazon list.)

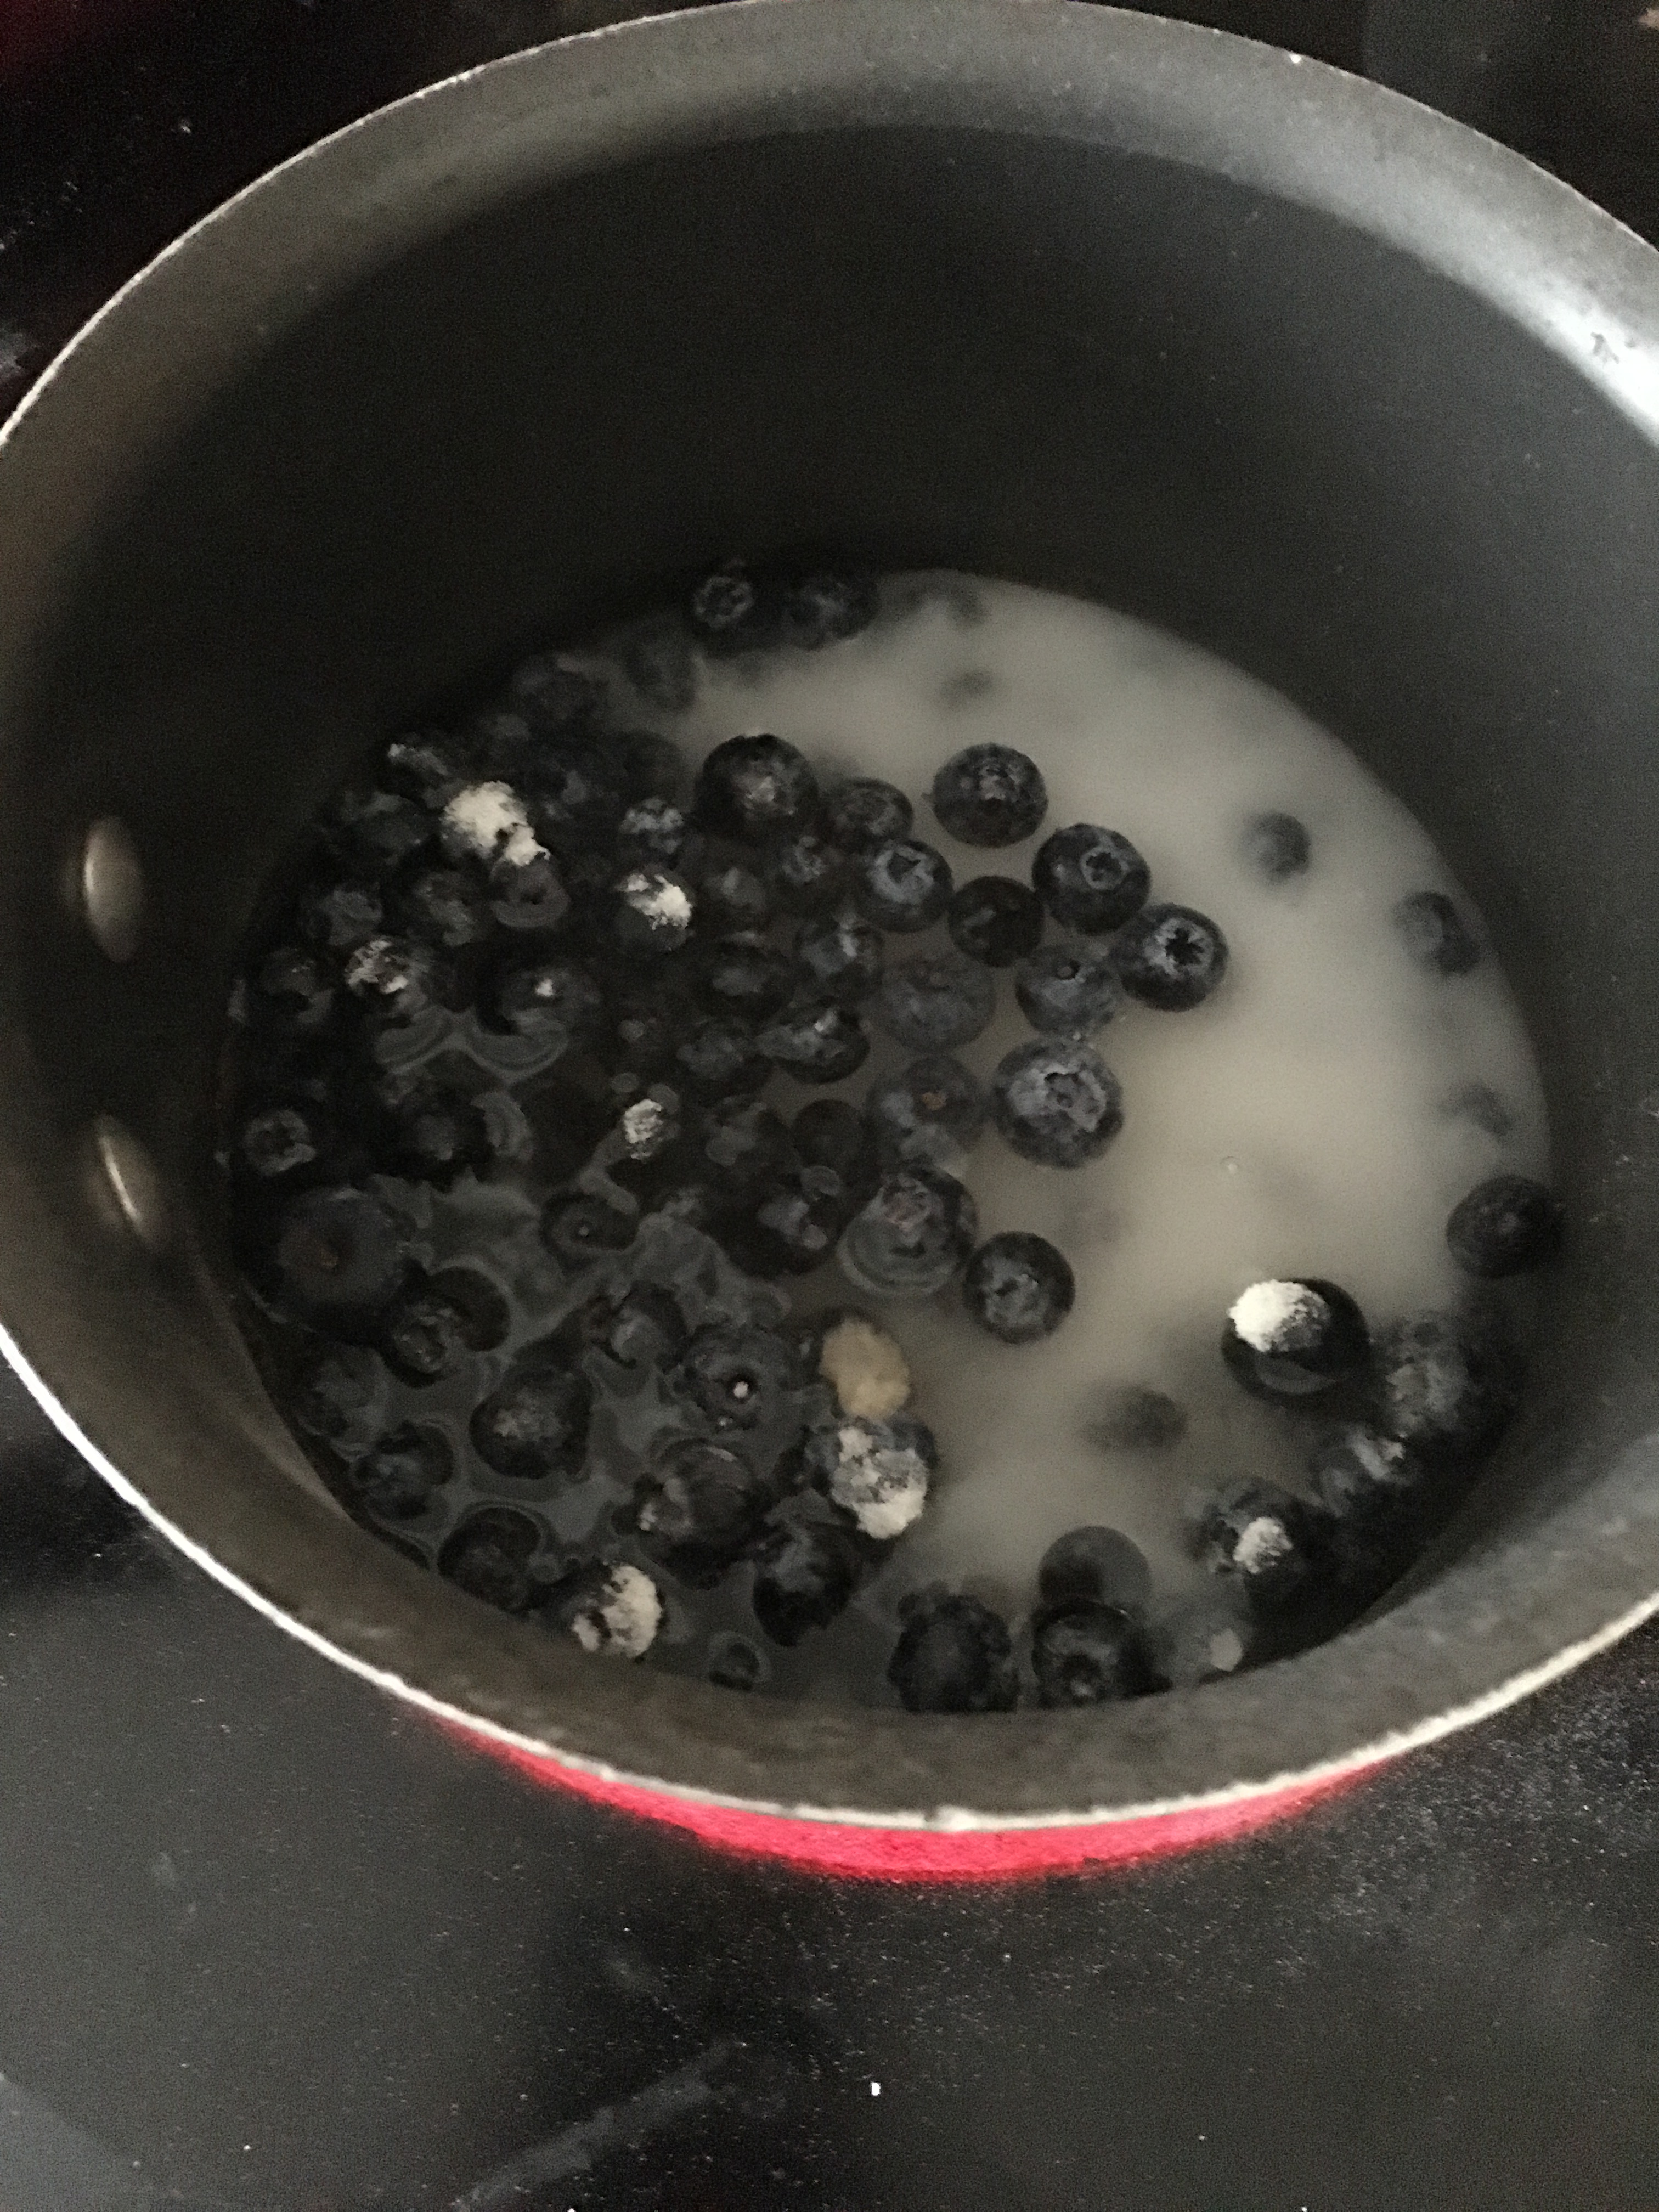
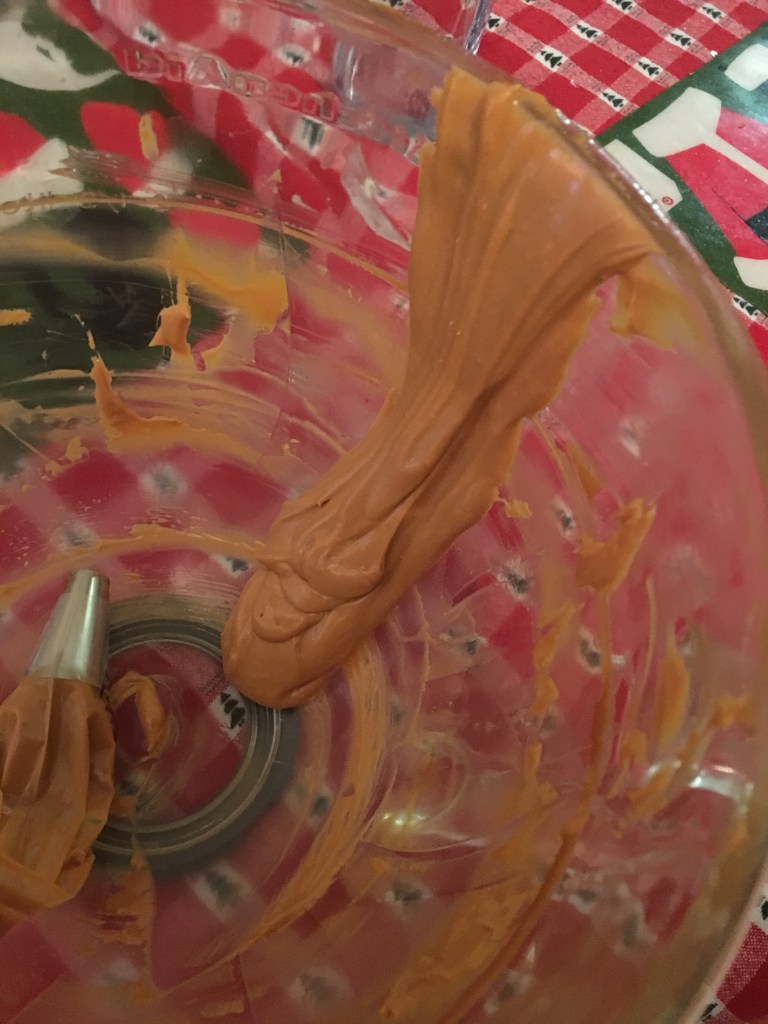
Once I found a recipe I thought I could handle, I assembled the filling. In this case, it was literally three ingredients: Dulce de Leche, butter, and sour cream. All things I love.

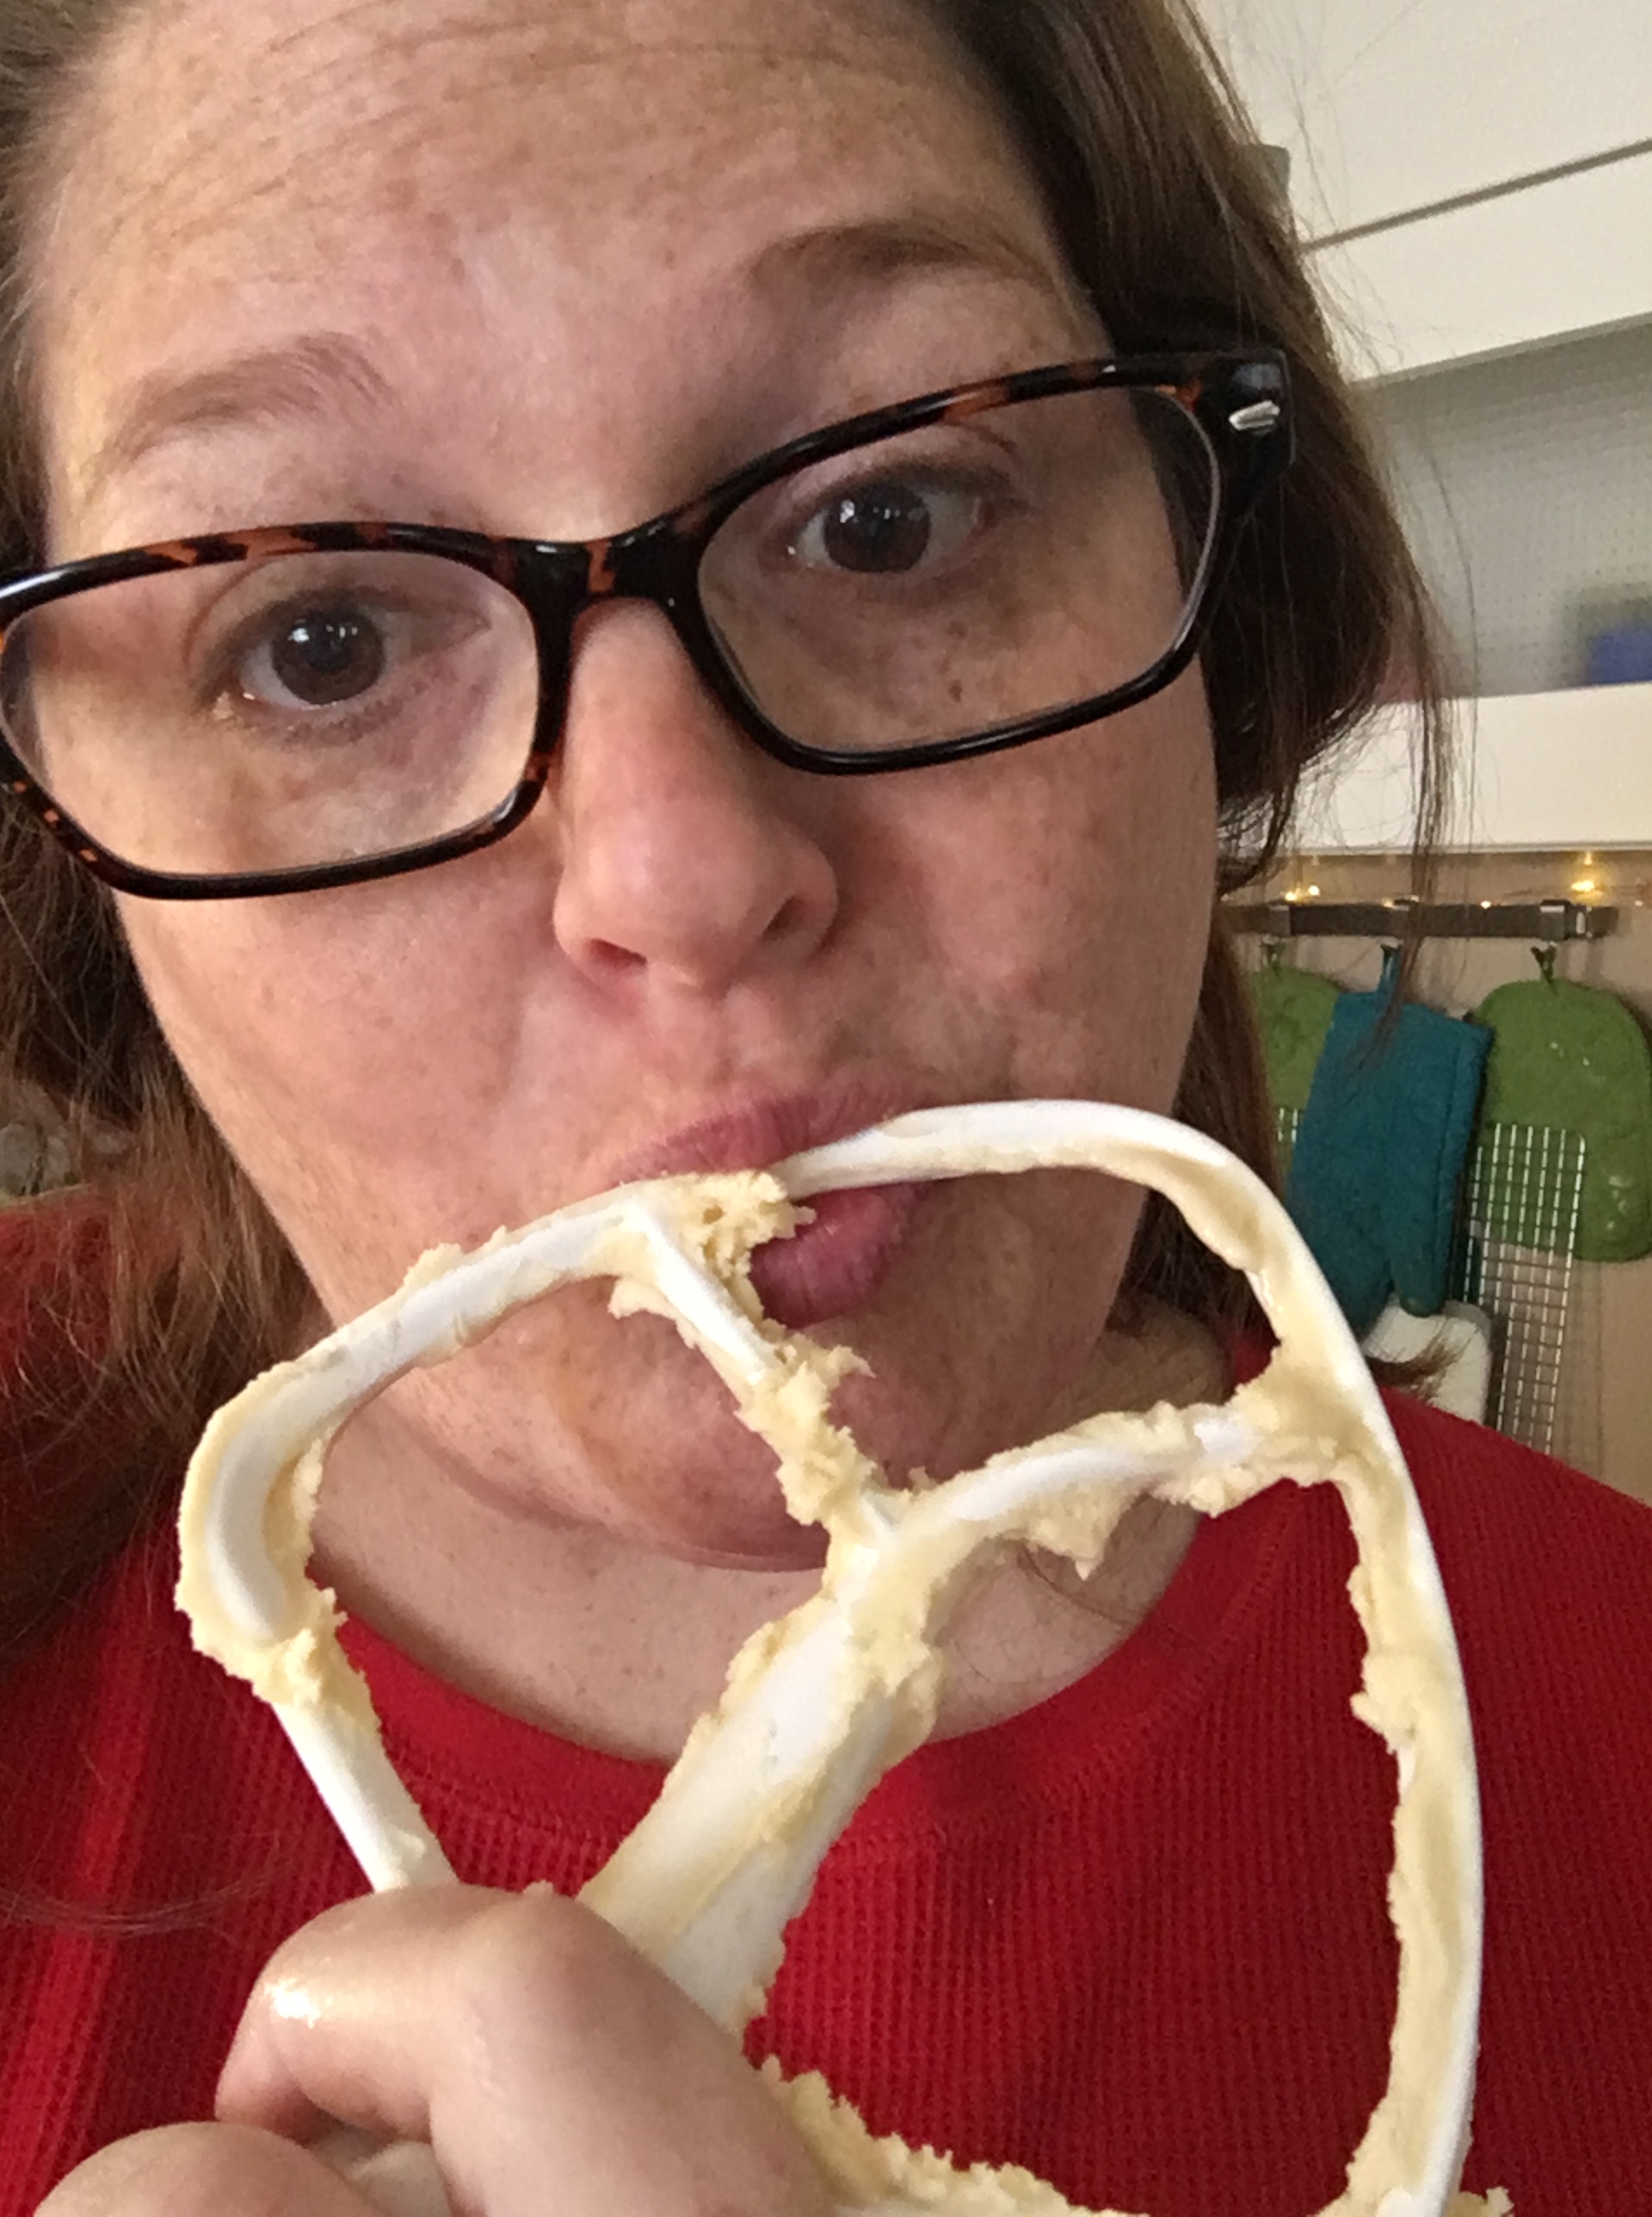
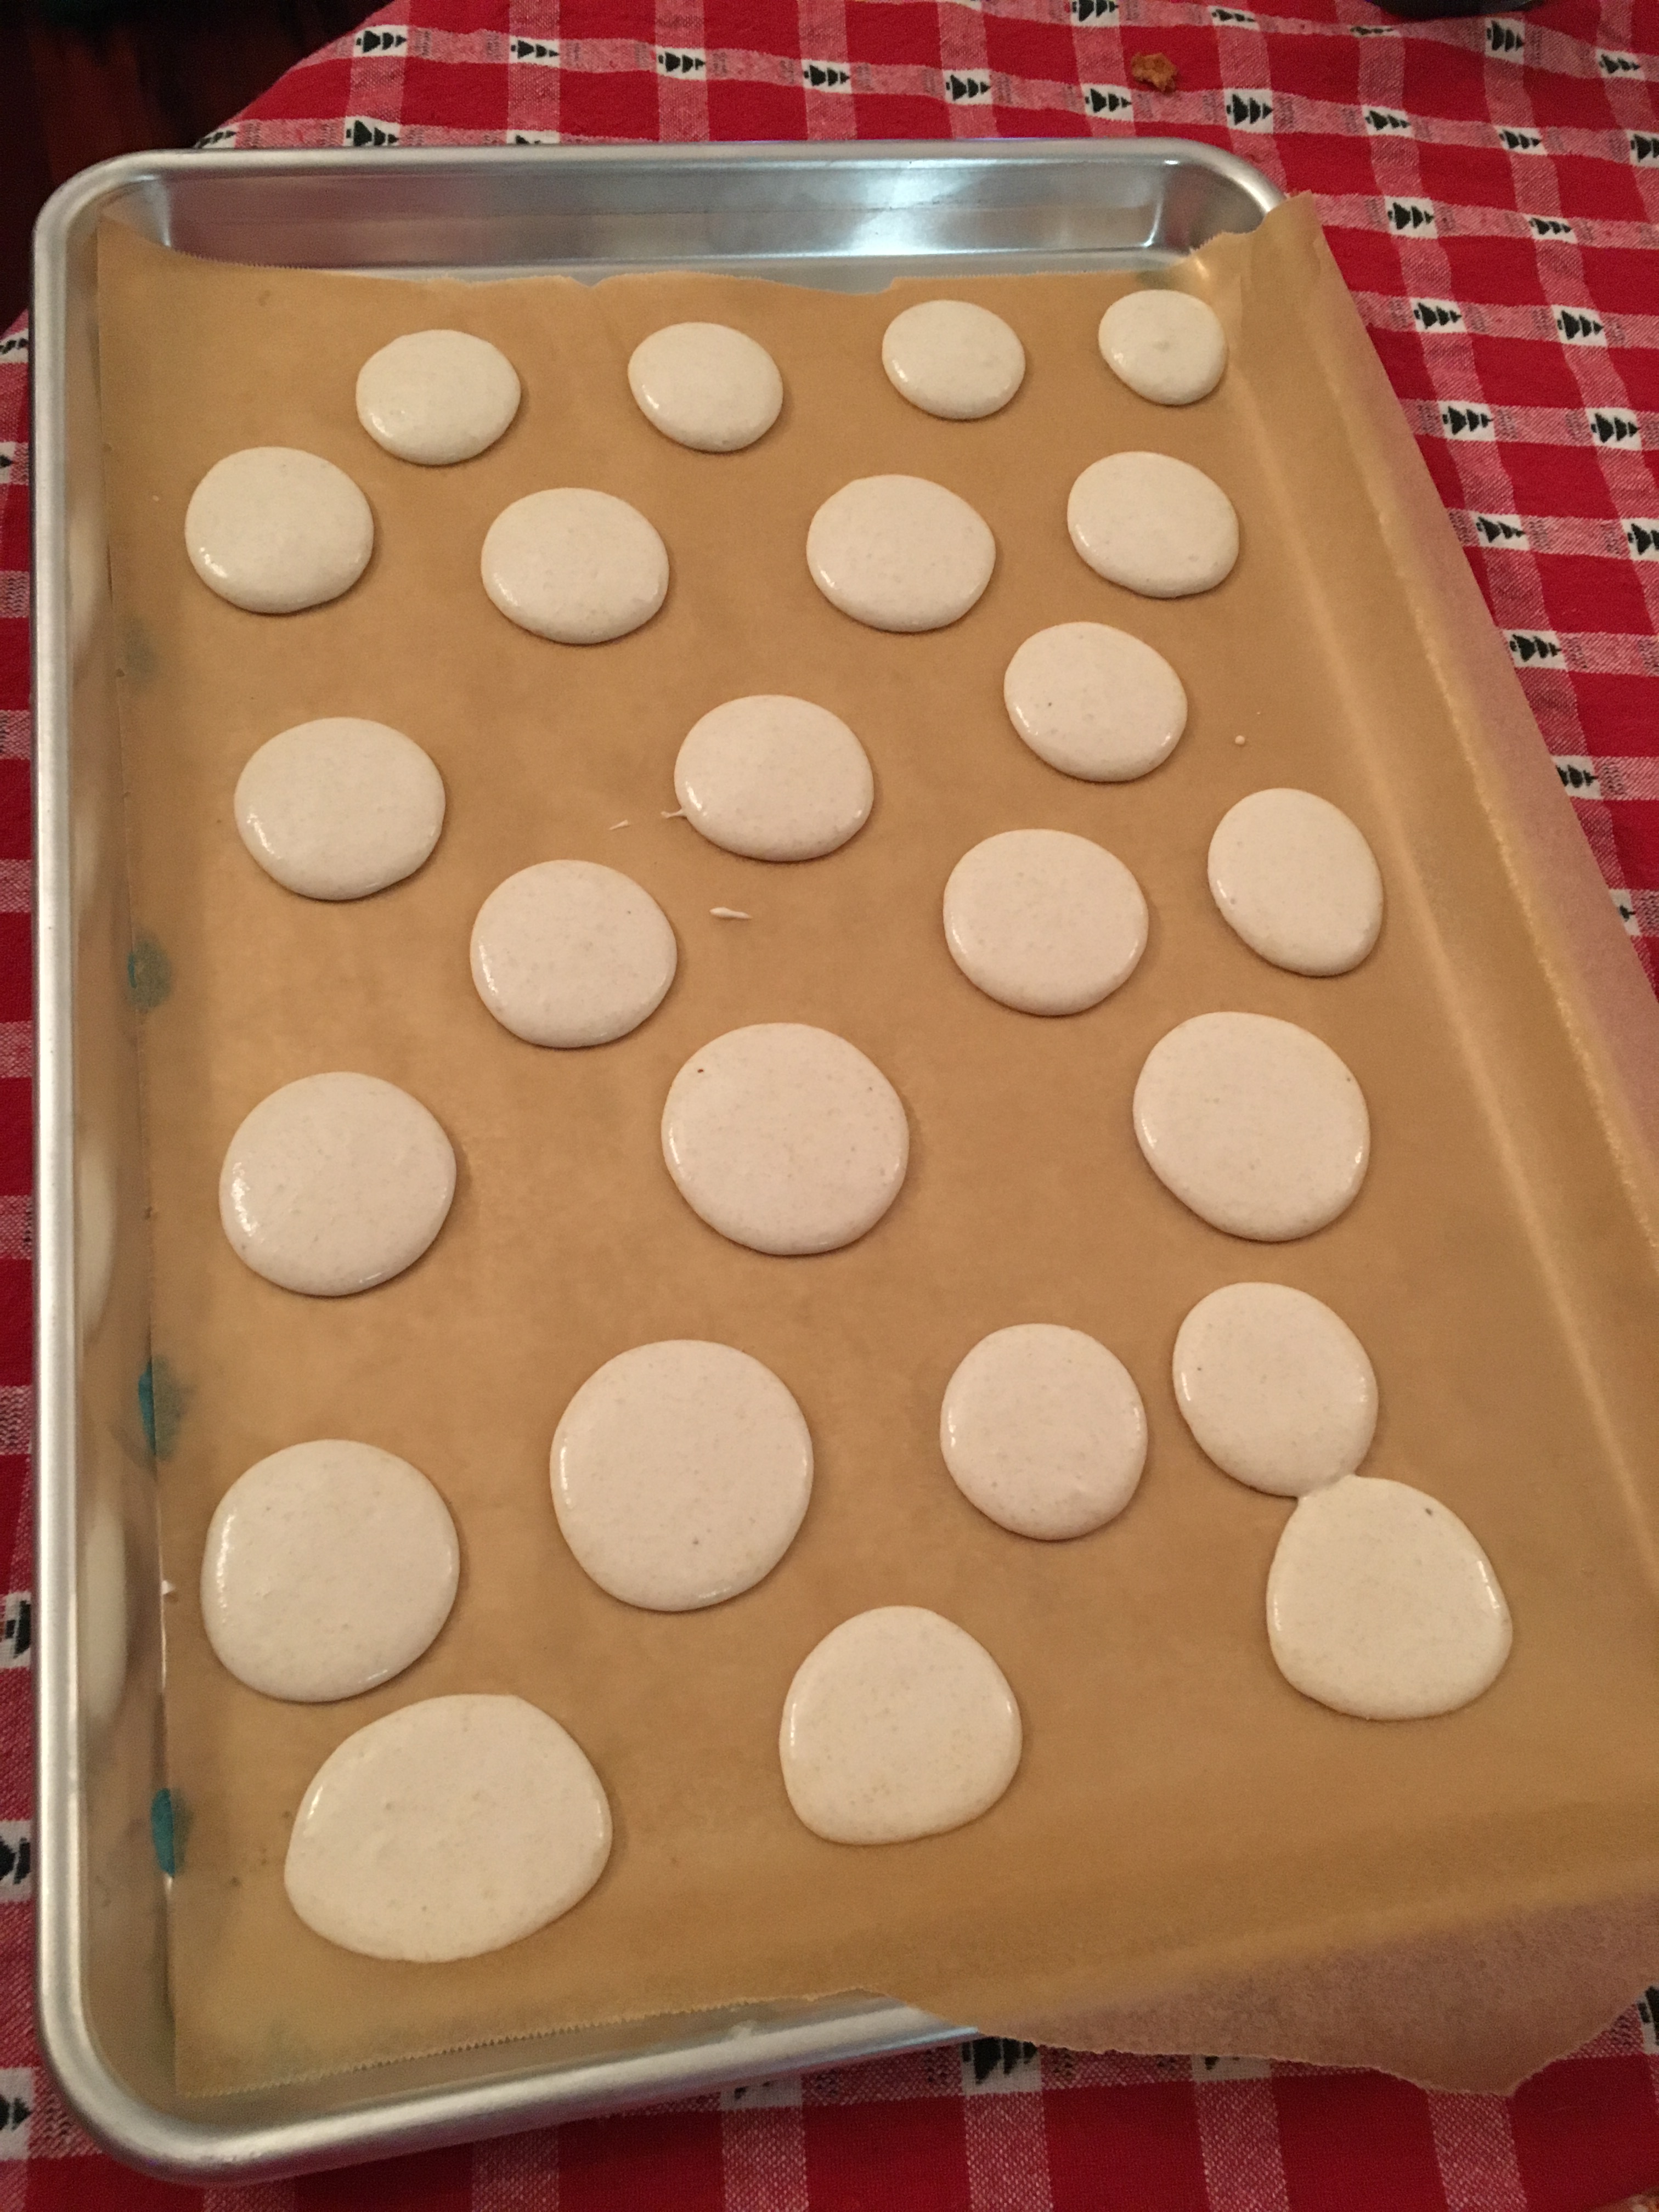
Mix, chill, and plop.

Or so I thought. I mixed. I chilled. And I plopped…and then discovered I put too much filling in each and had to scoop out a spoonful from half my shells.
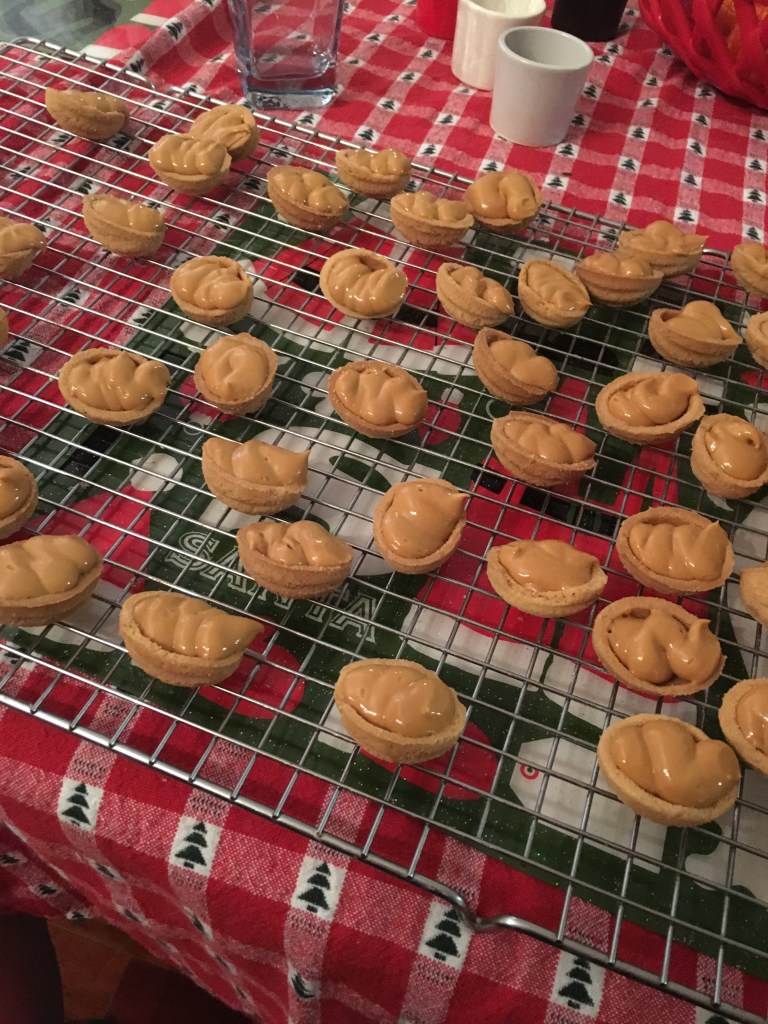
Live and learn.

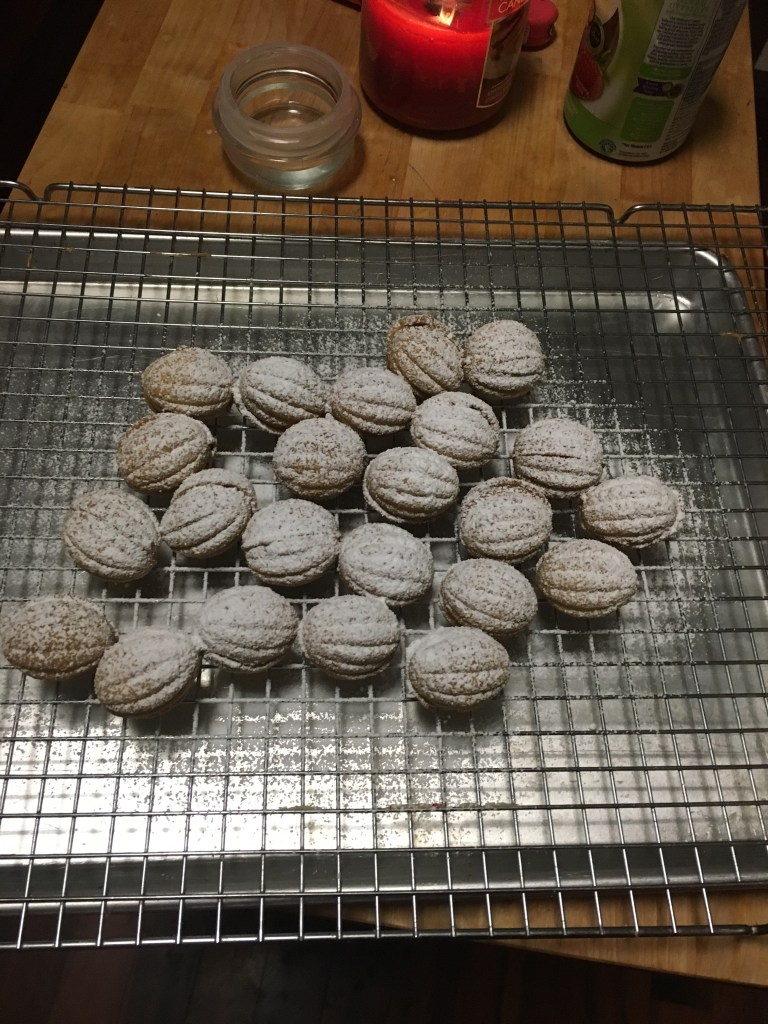
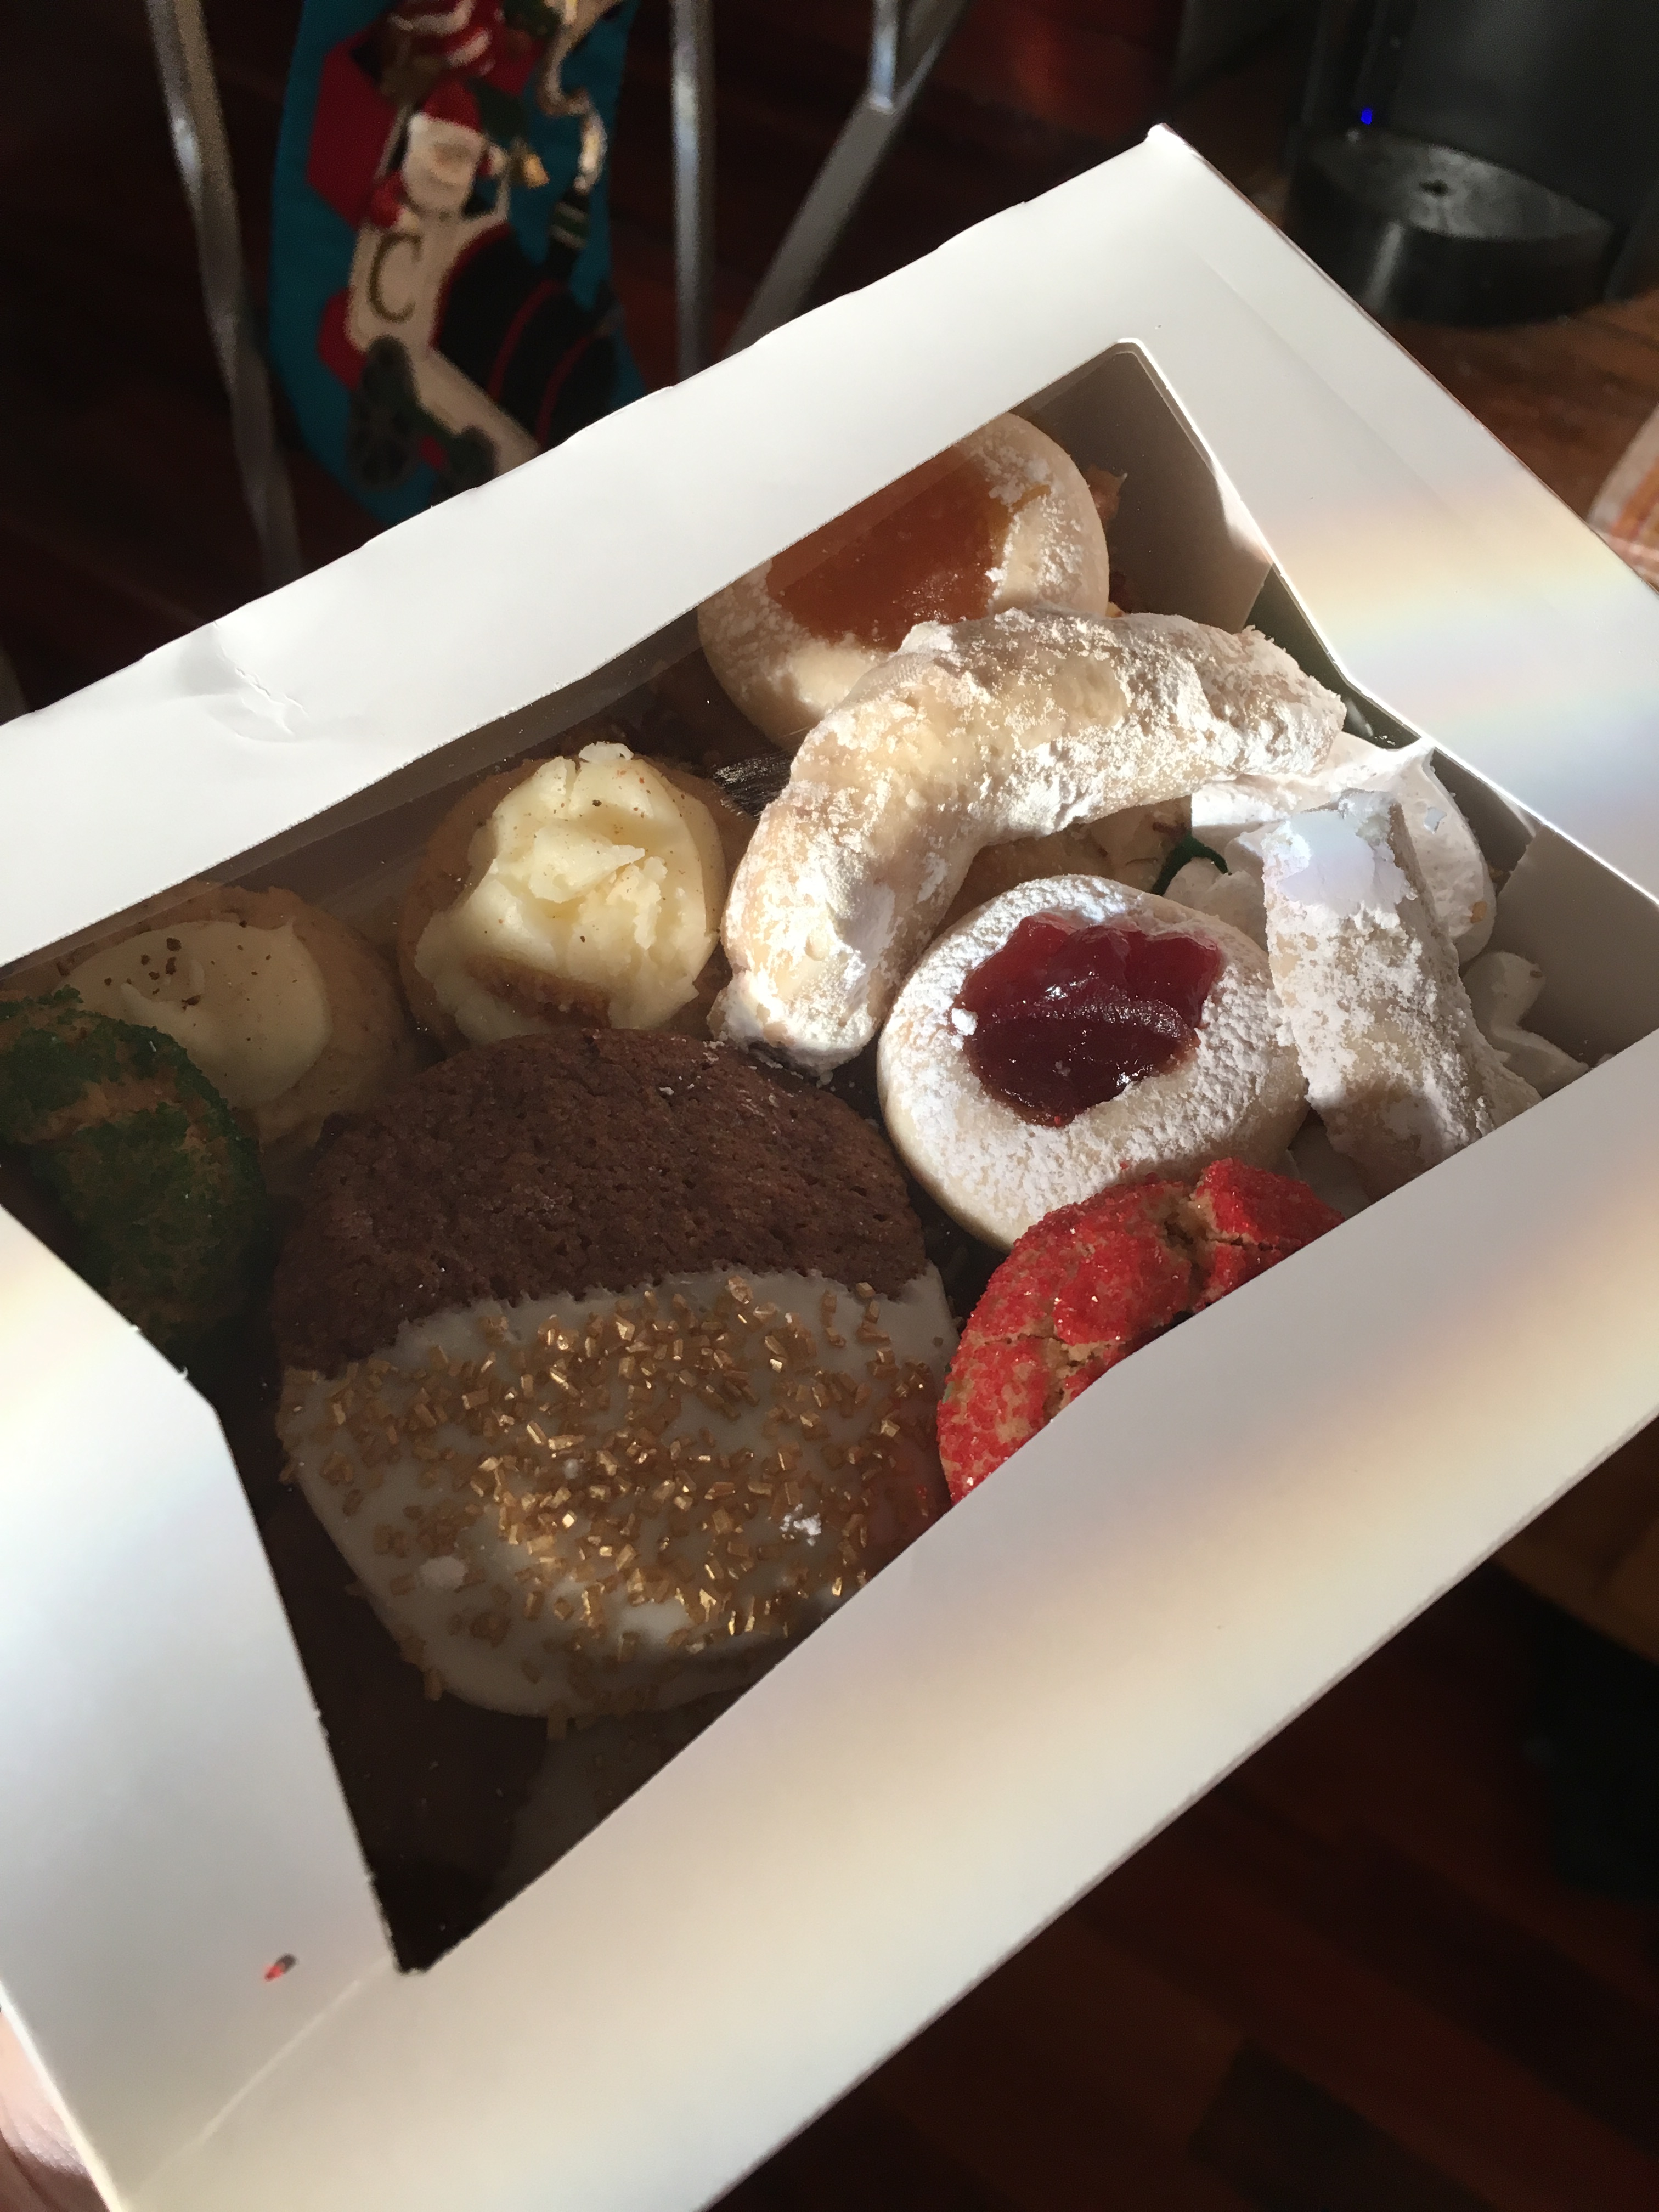
Once I was able to assemble these cookies without a Dulce de Leche lava trail, I sprinkled them with powdered sugar and put them in the fridge. This recipe says specifically to keep them there. I have no problem with keeping these cold, but I live with 2.5 teenagers (my youngest is 12 and a half). Things in the fridge tend to disappear quickly, without a trace, and with no one taking responsibility for the disappearance.

Therefore, these will live safely in the trunk of my car.

December 17: Peanut Butter Blossoms

Standard

I woke up at an ungodly hour this morning. Actually, I’m not sure I ever fell asleep last night. Either way, I was up to see the sunrise. I wrapped presents in the dark. I organized my shoe rack. And then at 7 a.m., I decided it was a perfectly acceptable time to make cookies. 

About 10 minutes after sunrise. This is not something I normally see.

So, as my children were starting to get up for school, I was creaming together shortening and peanut butter. Because my loathe of mornings is something to be taken quite seriously, I think I alarmed all my kids. “Mom, are you okay?” I heard about a dozen times before they left for school.

I think by now we all know the deal with Peanut Butter Blossoms. It’s a peanut butter cookie that you stick a Hershey Kiss in the middle of when they come out of the oven. I used the traditional Hershey recipe, and as always, it’s posted at the end of this entry. 

However, when it came to the part where you roll it in sugar, I wanted to try something fun. I got out my red sugar and green sugar, and rolled them in that instead, just to make them more Christmas-y. I did this last year with Snickerdoodles, and that worked like gangbusters, so why not try with these?

Obviously, the pattern is for all of you. Although, I only took one picture of a tray, and I did the same alternating pattern on the next tray too, so maybe it’s not just about you. 

And as I drank my morning coffee, I was unwrapping Kisses. I remember one year I was doing this while drinking spiced wine at night. It was almost the same, minus the delightful buzz.

I was almost done baking when my daughter texted me, asking if I could bring her eyedrops to school (don’t ask), so I took it as the perfect opportunity to pack up some cookies for the office staff at the middle school. For as much time as I spend there, I need my own parking space and a place on payroll. 

I get asked a lot what I do with all the cookies. I do this. Teachers, neighbors, mailmen, friends…and whatever is left, I bring to my family Christmas at my dad’s house. 

Officially, I was done with cookies at 8 a.m. this morning. I feel like a Marine, only way less important and with way more sprinkles at my disposal.

Peanut Butter Blossoms

(courtesy of Hershey’s)

INGREDIENTS

  • 48 HERSHEY’S KISSES Brand Milk Chocolates 
  • 1/2 cup shortening 
  • 3/4 cup REESE’S Creamy Peanut Butter 
  • 1/3 cup granulated sugar 
  • 1/3 cup packed light brown sugar 
  • 1 egg 
  • 2 tablespoons milk 
  • 1 teaspoon vanilla extract 
  • 1 1/2 cups all-purpose flour 
  • 1 teaspoon baking soda 
  • 1/2 teaspoon salt 
  • 1/3 cup additional granulated sugar for rolling

DIRECTIONS

  • 1. Heat oven to 375°F. Remove wrappers from chocolates.
  • 2. Beat shortening and peanut butter in large bowl until well blended. Add 1/3 cup granulated sugar and brown sugar; beat until fluffy. Add egg, milk and vanilla; beat well. Stir together flour, baking soda and salt; gradually beat into peanut butter mixture.
  • 3. Shape dough into 1-inch balls. Roll in granulated sugar; place on ungreased cookie sheet.
  • 4. Bake 8 to 10 minutes or until lightly browned. Immediately press a chocolate into center of each cookie; cookie will crack around edges. Remove from cookie sheet to wire rack. Cool completely. Makes 48 cookies.

December 16: Almond Crescents

Standard

Greetings from 10 o’clock at night. 

Today, I graded most of the morning (only 11 essays left) and this afternoon I took my son for a haircut and then the kids and I went to Jeanne’s birthday party. (For more on Jeanne, see December 14.

We got home and I realized two things: 1.) I have to get these last 11 essays graded so I can put final grades in and 2.) I hadn’t baked any cookies yet. And while I can grade essays from bed, I can’t bake cookies from there (yet…I have hopes for the future generations to figure out something). So I took my remaining energy and whipped up some Almond Crescents. 

Now, if there’s one thing I know about these cookies, it’s that you can’t sneak one and get away with it. These are the delicious little morsels covered with powdered sugar. They are evidence-inducing, and I like that. Bravely show the world you have eaten one (or more) of these cookies. Own it. 

They are kind of a crumbly cookie to make, but as long as you know that going in, you’ll be fine. 

The recipe calls for a cup of butter, 3/4 cup of sugar, and then 3/4 cup of finely chopped almonds. Thanks to a fantastic coupon last week, I have nuts coming out of my ears, so this was not a problem. 

The flour is then added (I used 2 cups and about 2 Tablespoons), and you mix. Like I said. It’s a little crumbly.

I tried several methods for shaping my cookies and what worked best was quickly dashing my hands under the faucet and then rolling snakes on my cutting board. The water keeps it together until the heat from your hands warms the butter and that then keeps it together. 

Once they are out of the oven, they get a gentle dipping in some powdered sugar. You know, the evidence. 

Almond Crescent Cookies

(courtesy of An Italian in my Kitchen)

Ingredients

  • 1 cup butter
  • 3/4 cup sugar
  • pinch salt (if you use unsalted butter add 1/4 teaspoon salt)
  • 3/4 cup finely chopped fresh almonds, walnuts or pecans
  • 2 -2 1/2 cups all purpose flour
  • powdered sugar 

Directions

  1. Pre-heat oven to 350°  
  2. In a large bowl beat butter until fluffy, add sugar and beat again until fluffy.
  3. Scrape down the sides of the bowl and add nuts, flour  (add 2 cups to start and 1 tablespoon at a time and salt.
  4.  Bring dough together with your fingers.  Break off small pieces and form into a crescent shape.  Place on ungreased cookie sheets and bake for approximately 15 minutes . While cookies are still warm roll in icing/powdered sugar.  Can be frozen.  Enjoy!

December 9: Meringue Cookies

Standard

We had a busy day today. Or it at least seemed busy. We had pretty much one thing to do today, and it was at 4, but somehow the day got away from me. It was 2 before I started the cookies, which is why this post is a little later than normal. 

My kids love meringue cookies, especially these, and so do I . It’s something with the cinnamon in it, I think. These are a staple in our home at Christmas, well until they all get eaten. They go pretty quickly. 

To start these cookies, you need four egg whites. I found a new method for separating eggs earlier this month, and it works really well. Yes, I use my hand.

After the egg whites are frothy, I add the almond extract, cinnamon, cream of tartar, and powdered sugar. I keep whipping them until there are stiff peaks. 

This is not a stiff peak.

This is a stiff peak. 

Then comes the fun part…loading the decorating bag with gobs of sticky meringue. Thankfully, there were no casualties this year.

It always takes me a few tries before I find my rhythm. For this batch, I found it easier to put the tip on the cookie sheet, rather than start it above where I wanted it. To me, it looks more like snowflakes like this. After I piped them all, I found different colored sugars and shook them over the snowflake globs. I used a shimmery white, light blue, and gold, but you really can only see the gold. It’s cool; I know it’s there. 

I left for the 4 pm band concert at 3 (hey, those seats aren’t going to save themselves) and left the cookie sheets out to dry. When I came back at 6, they were no dryer than when I left, so I popped them in a 210 degree oven for about 25 minutes, and that seemed to do the trick.

Snowflake Meringue Cookies
(from The Spirit of Christmas Cookbook, Volume 4)

Ingredients:

4 egg whites
1 1/2 c. powdered sugar
1 t. almond extract
1/2 t. ground cinnamon
1/2 t. cream of tartar
decorating sugar

Directions:

1. Cover baking sheets with waxed paper.
2. In a large bowl, beat egg whites until foamy. Add powdered sugar, almond extract, cinnamon, and cream of tartar; beat until very stiff.
3. Spoon meringue into a pastry bag fitted with a small star tip. Make snowflake design. Add decorating sugars.
4. Let sit at room temperature for 30 minutes.

December 7: Italian Sand Cookies

Standard

Yesterday was my last day of the semester, so now it’s just grading to get done and I’m free until January! Well, minus my other gigs and parenting and general adulting. But I’m not worrying about those things today. Today, it was sleeping in, cleaning, and making Italian Sand Cookies. 

I found the recipe for this years ago on Pinterest, and ever since, they’ve been a staple in my December cookie baking. However, during the three Louisiana years, they didn’t turn out quite right. I’m not sure if it was the humidity or my own distraction (you know, leaving the mixer on too long while I write another paragraph about Elizabeth Barrett Browning), but they spread out way too much there. We still ate them, so I’m not exactly sure what I’m complaining about. 

Again, the recipe amuses me. It lists all of the ingredients, and for the directions, it says, “Creaming method.” If you don’t know what that is, it’s mixing together the butter, sugar, eggs, and vanilla. 

It’s pretty simple really. Then you add the cornstarch and flour, and mix it all together. Again, I needed more flour than the recipe calls for…I used about another 1/3 of a cup. And when I was all done mixing, I looked for my beater-lickers, but alas, they were all at school.

So I guess I had to do it. It’s a sacrifice I was willing to make.

I piped them with a star tip onto my baking sheet and put them in the over. I also kinda burst the bag because I don’t know my own strength, and then had to put my finger over that part so the dough wouldn’t come out there. These are the behind the scenes things you don’t get with professional baking blogs.

They baked up wonderfully and looked the way they were supposed to look.  After they cooled, I dipped them in melted chocolate (chocolate chips with a little crisco to make it thinner), and topped them with sprinkles. These take a while to dry, so I set them outside on my back step for 15 minutes. (Thanks 21 degree Illinois day!)

Italian Sand Cookies

(courtesy of Chef Tess Bakeresse)

Ingredients:

1 1/2 cups flour (we used AP)
1/2 cup cornstarch
1/2 cup shortening
1/2 cup butter
1 1/4 cups confectioners sugar *
1 1/2 t. vanilla extract
2 eggs
*(we also liked 3/4 c. conf sugar & 1/4 c. granulated which made them a slight bit sweeter)

Directions:

Creaming method. Put through bag with large star tip. Bake @ 375 F for 12-15 minutes or until lightly brown. Decorate with choc chips, sprinkles or leave plain and dip half in melted choc., etc.

December 6: Blueberry Macarons

Standard

So, I’m a home baker. That means I’ve had no professional training in baking and everything I know about cookies comes from books, my mom, my friends, websites, and youtube videos. I also screw up a lot, which may be what you are here to see. I keep it real. Maybe that’s what you like about my yearly project. 

Everyone needs goals, right? I have made macarons in the past, and they were not very pretty. On my sad baking bucket list, I have Make actual good-looking and tasting French Macarons. (I also have Get ever color and shape of sprinkle ever made, but that one is still in progress.) I thought 2018 was the best time to check off that Macaron one off my list. 

This is what they looked like last time, about 4-5 years ago. 

Now, I will continue to keep it real: I had to make this twice. The first one was dyed Cookie Monster blue and was turning out just fine, until the very end. I threw them away before I filled them. I had pictures, but I deleted them because my phone is at capacity. They were also too salty, and later I discovered why. 

So I tried again. 

For French Macarons, you need almond flour or finely ground almond meal. I watched this Youtube video and followed it step by step, like I did for the first batch. But I also checked out their (Tasty 101) actual written recipe too, and realized there was too much salt in my first batch. I fixed that. 

This is about half of my sugar and almond flour mixture.

They suggest you put your sugar and almond flour in a food processor and pulse it at least 10 times, which I did. If you do this, know that my food processor is a mini-one which is why it’s filled nearly to the top. They also suggest that you sift it at least twice. I did this too. I was determined to get this right. 

The wet ingredients are egg whites and sugar. The video didn’t say so, but I know that Macarons need caster sugar, which is special and very fine sugar. I bought a jar of it. And when I went to open it, I couldn’t do it. That’s pretty rare for me. I tried for 15 minutes to open it. I ran it under hot water. I put it between my legs and used both arms to try and get it open. And when I had pretty much exhausted myself, I decided to take a knife and stab it open. 

Somehow, I did not get tetanus. 

That worked. It’s like what I tell my students: work smarter, not harder. 

Since I dyed the first batch and it looked like Smurf-icide, I decided to not dye this one and let the color of the blueberry filling be the beautiful color in this batch. I used fresh blueberries and made a buttercream filling, and the color was just gorgeous. More on this soon. 

When it was all folded together properly (but not too much), I filled a pastry bag and piped my macarons on to a baking sheet. After that, I dropped the tray four or five times, as you are supposed to to make sure that all the air bubbles make their way to the top and release. I let them rest for an hour, as I was supposed to do. 

While that was going, I went back to my blueberry filling. I started it with the first batch and when things went awry there, I stopped. I put a cup of blueberries, a cup of sugar, and a cup of water on the stove and let it boil and come down, simmering for about 10 minutes. I wanted it to be thick like jelly, but it was still a little runny. After it cooled, I put it through a metal mesh colander to get the skins and chunks out, so all I had left was beautiful blueberry puree. 

Ingredients: blueberries, sugar, water, and a teaspoon of lemon juice.

I found a recipe for how to make fresh blueberry buttercream online and followed the instructions. A very long story later, I had purple frosting that tasted like butter…and butter alone. This was turning out to be a comedy of errors. The Macaron gods were laughing at me. 

After a few four-letter words and a tv show later, I summoned the gumption to try again. I got out more blueberries, sugar, and water. I made my puree again. And this time, I winged it. I put just a rubber spatula dollop of the purple butter-tasting butter cream into a bowl, added my new puree, and whisked until my anger had dissolved. I also added a whole bunch of powdered sugar to make it the right consistency. I mean, what good is fresh blueberry buttercream if you can’t taste the blueberries?

I mean…look how beautiful! And this batch actually tasted like blueberries!

By then, it was time to put my macarons in the oven. When the first batch didn’t go well, I went online to see a macaron trouble-shooting guide. Since mine did not develop feet the first time, I started there. Feet are an important part of the macaron. I figured out that my oven was too cool, which I kind of knew but didn’t officially know, so I upped my temp to 310. 

Those are macaron feet! I did it!

There was success!

I filled them and called my kids around to admire the beauty of my nearly perfect macarons. They feigned minimal interest and asked if they could have one.

Hell no. Do you know how long these took me?! 

French Macarons

(from The Tasty)

Ingredients

  • 1 ¾ cups powdered sugar
  • 1 cup almond flour, finely ground
  • 1 teaspoon salt, divided
  • 3 egg whites, at room temperature
  • ¼ cup granulated sugar
  • ½ teaspoon vanilla extract

Directions:

  1. In the bowl of a food processor, combine the powdered sugar, almond flour, and ½ teaspoon of salt, and process on low speed, until extra fine. Sift the almond flour mixture through a fine-mesh sieve into a large bowl.
  2. In a separate large bowl, beat the egg whites and the remaining ½ teaspoon of salt with an electric hand mixer until soft peaks form. Gradually add the granulated sugar until fully incorporated. Continue to beat until stiff peaks form (you should be able to turn the bowl upside down without anything falling out).
  3. Add the vanilla and beat until incorporated. Add the food coloring and beat until just combined.
  4. Add about ⅓ of the sifted almond flour mixture at a time to the beaten egg whites and use a spatula to gently fold until combined. After the last addition of almond flour, continue to fold slowly until the batter falls into ribbons and you can make a figure 8 while holding the spatula up.
  5. Transfer the macaron batter into a piping bag fitted with a round tip.
  6. Place 4 dots of the batter in each corner of a rimmed baking sheet, and place a piece of parchment paper over it, using the batter to help adhere the parchment to the baking sheet.
  7. Pipe the macarons onto the parchment paper in 1½-inch (3-cm) circles, spacing at least 1-inch (2-cm) apart.
  8. Tap the baking sheet on a flat surface 5 times to release any air bubbles.
  9. Let the macarons sit at room temperature for 30 minutes to 1 hour, until dry to the touch.
  10. Preheat the oven to 300˚F (150˚C).
  11. Bake the macarons for 17 minutes, until the feet are well-risen and the macarons don’t stick to the parchment paper.
  12. Transfer the macarons to a wire rack to cool completely before filling.