Note: I got behind because of illness.. Now that I can at least sit upright for more than a few hours, I am catching up. But with that, these are going to be more bare-bones than in the past.
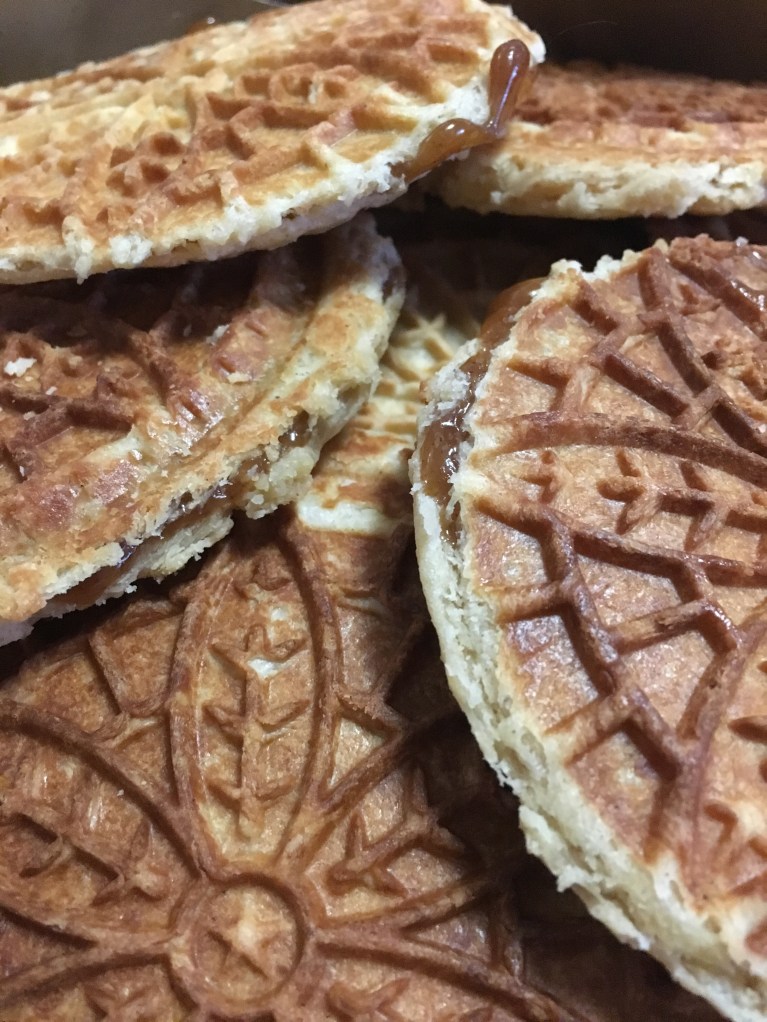
Stroopwafels
(from http://www.food.com)
Ingredients
Waffle cookies
4 cups all-purpose flour
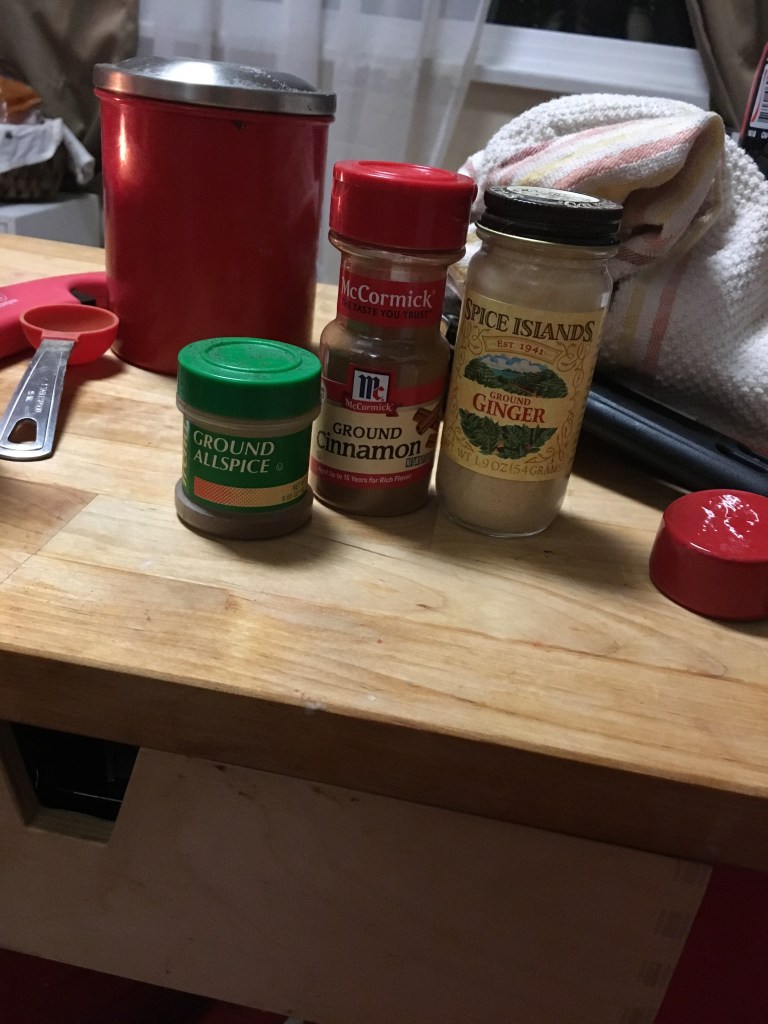
1/2 teaspoon ground cinnamon
1/2 cup granulated sugar
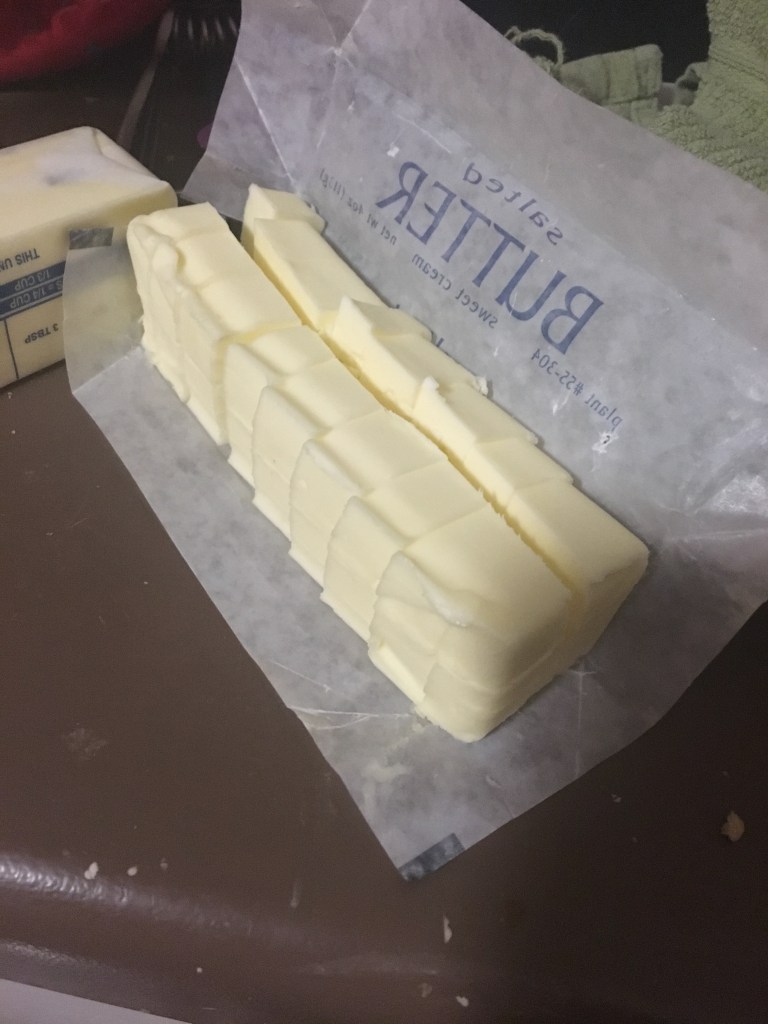
1 cup unsalted butter
2 large eggs
1 (1/4 ounce) package active dry yeast
1/2 cup warm water
Filling
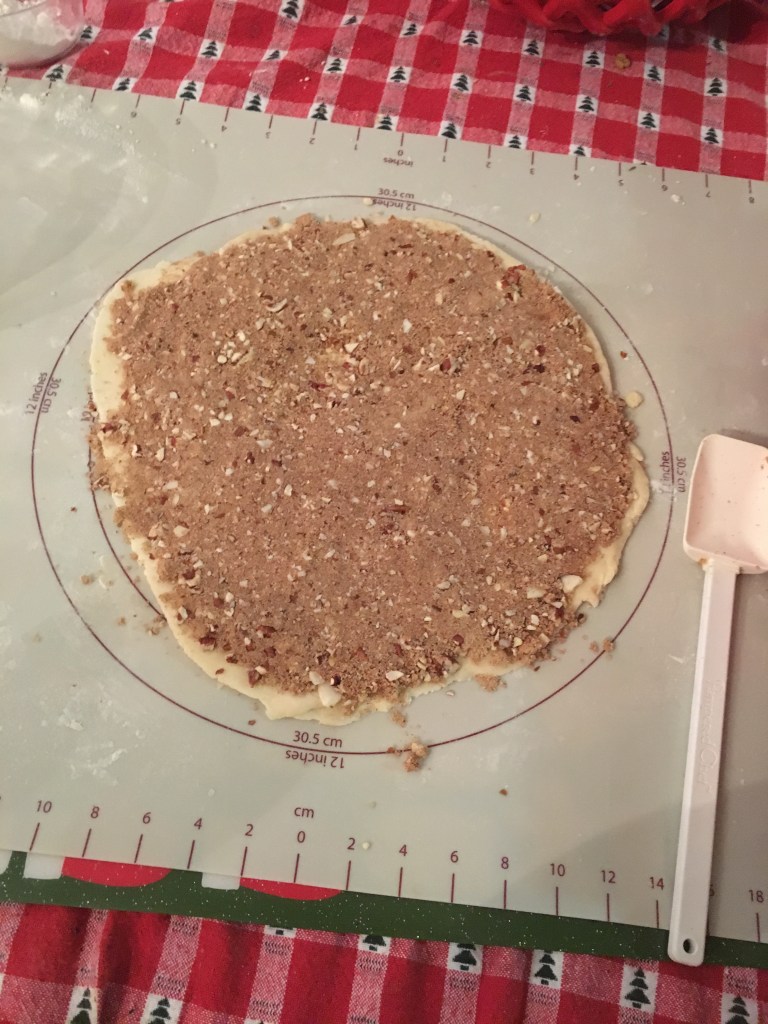
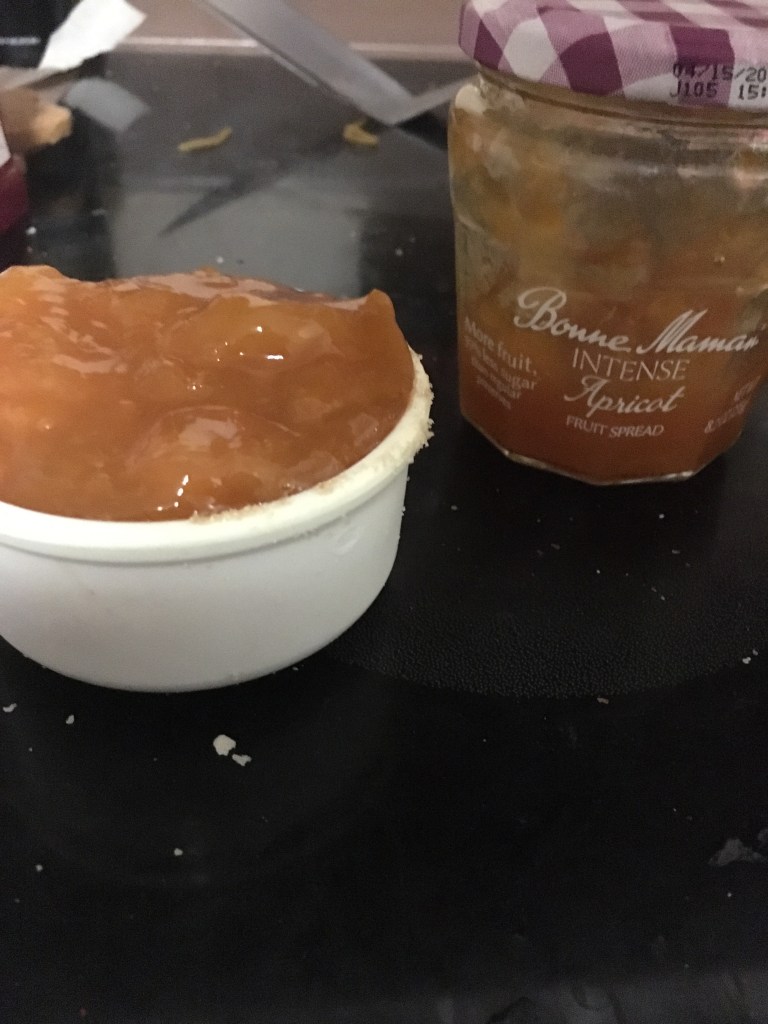
1 1/2 cups packed brown sugar
1 cup unsalted butter
1 teaspoon ground cinnamon
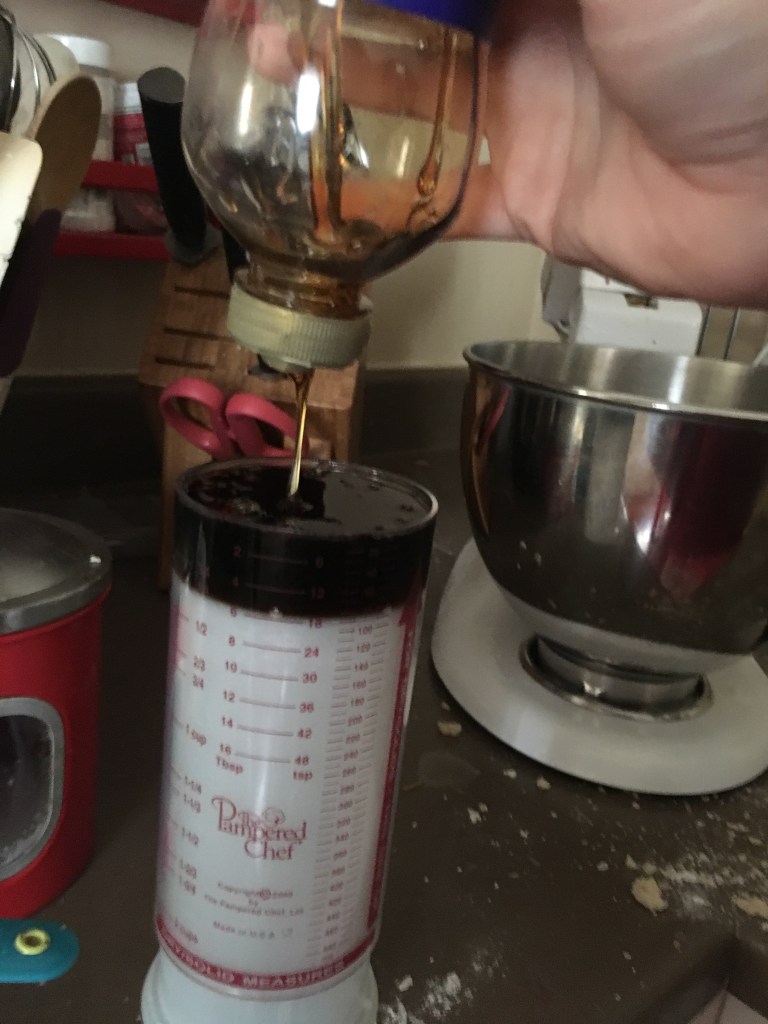
6 tablespoons dark corn syrup
Directions
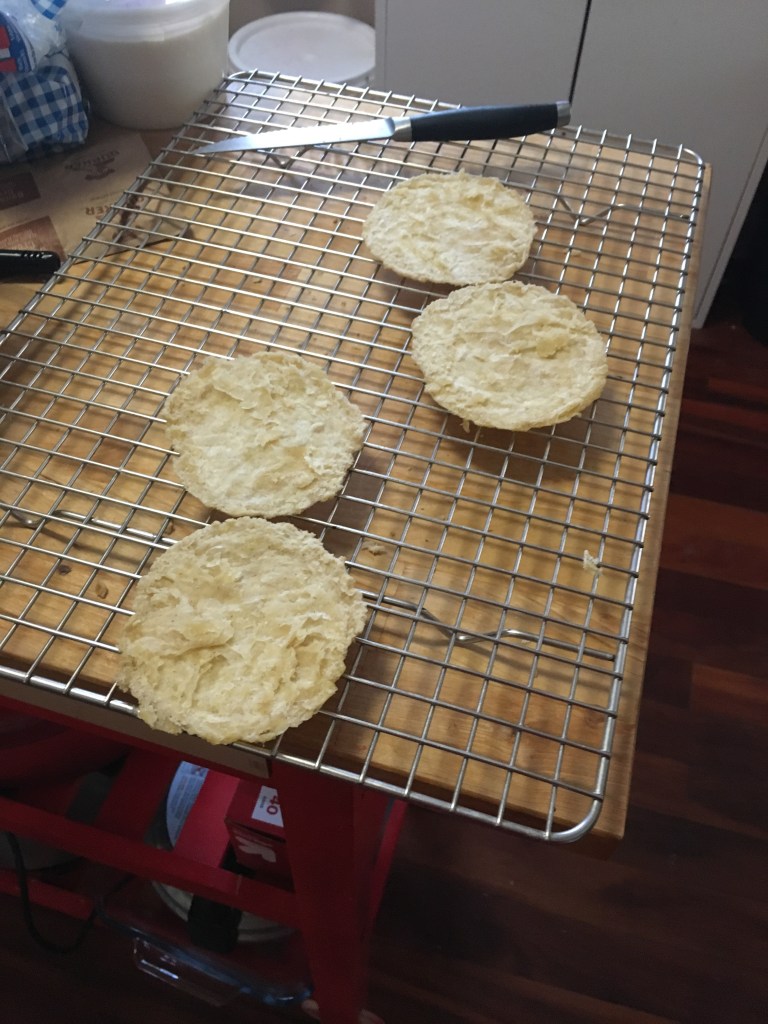
Preheat a pizzelle iron.
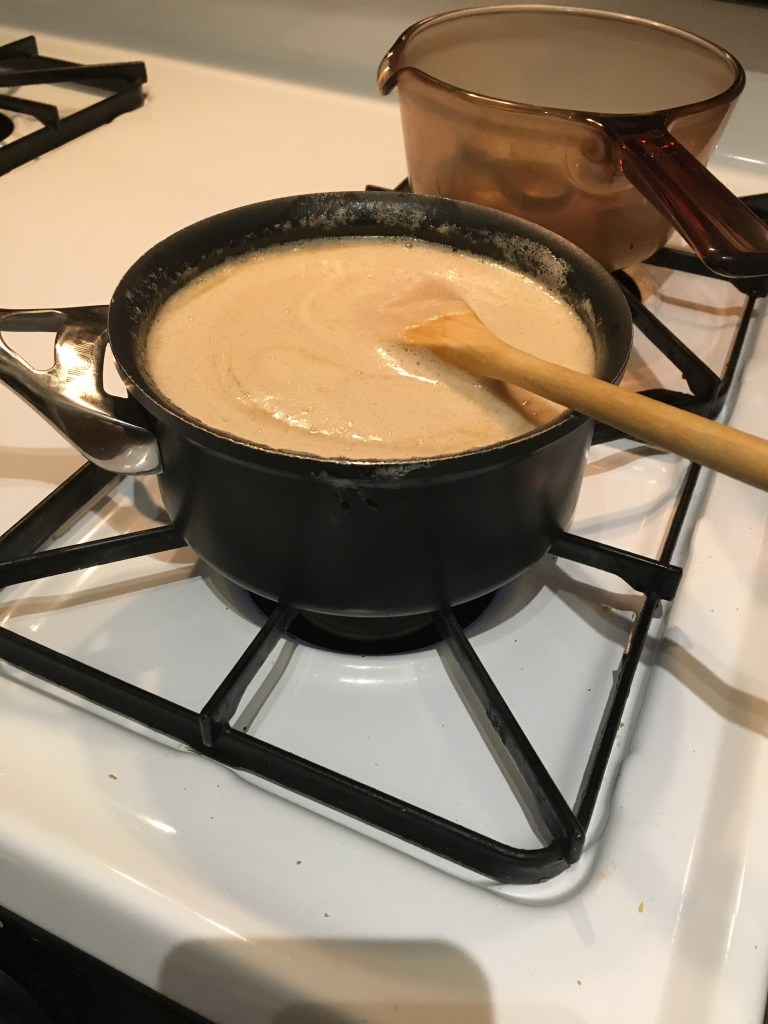
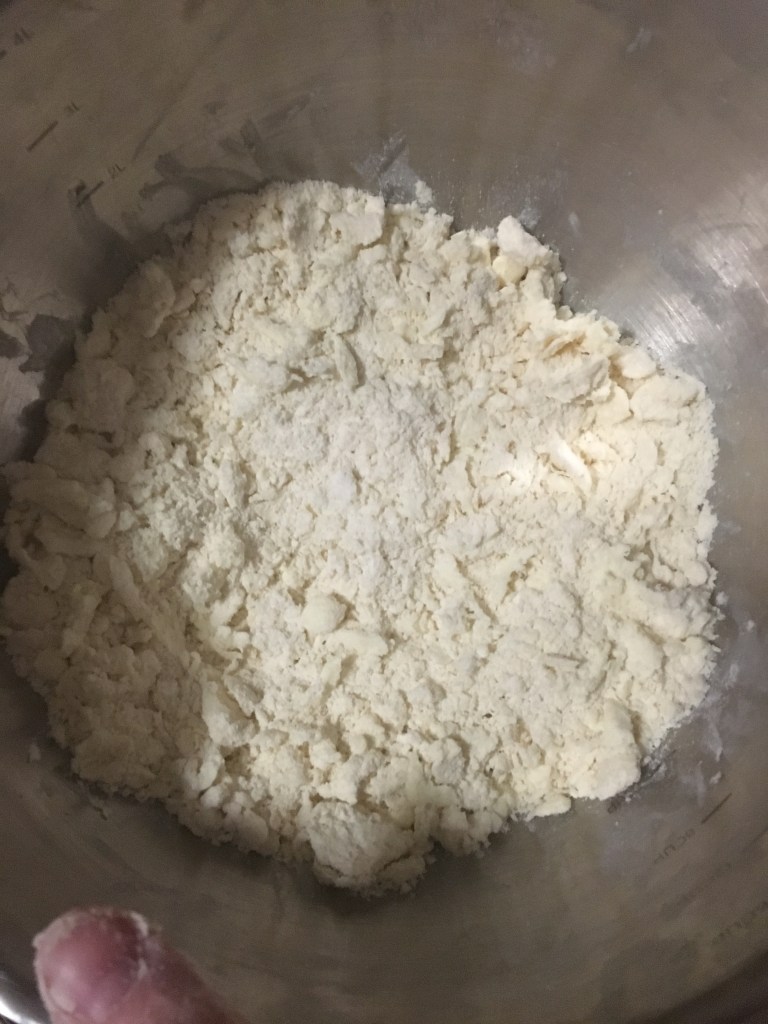
To Make Waffles: Dissolve the yeast in the warm water. Cut butter into the flour. Mix in the sugar, cinnamon, eggs and yeast mixture. Mix well and set aside to rise for 30 to 60 minutes.
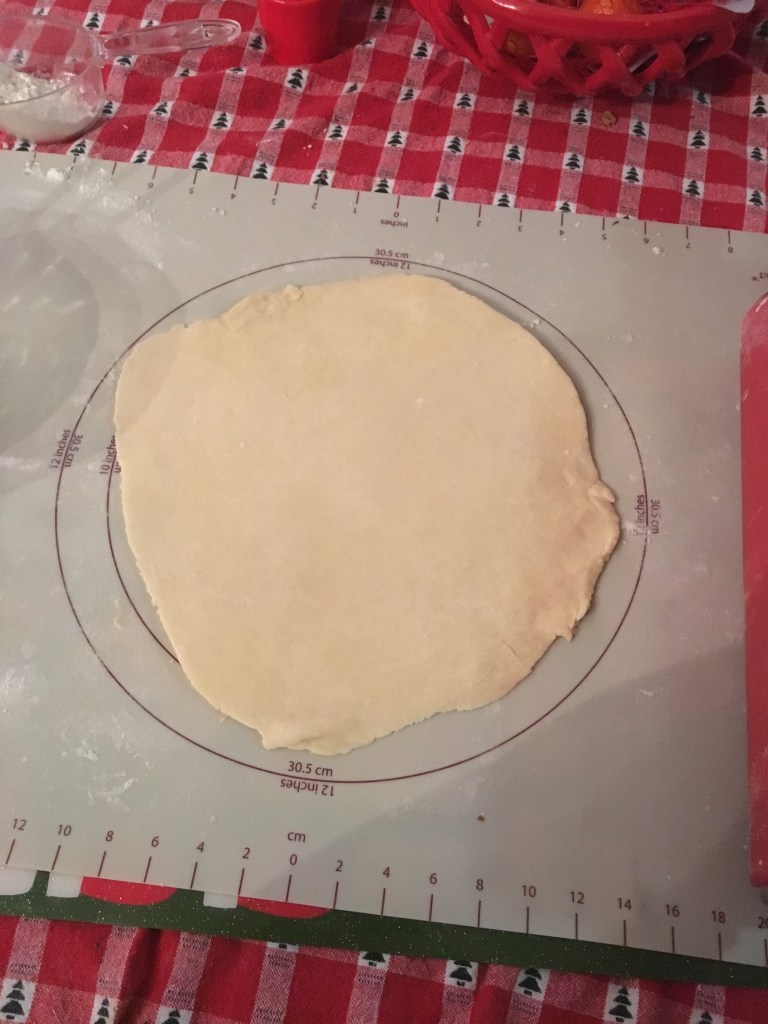
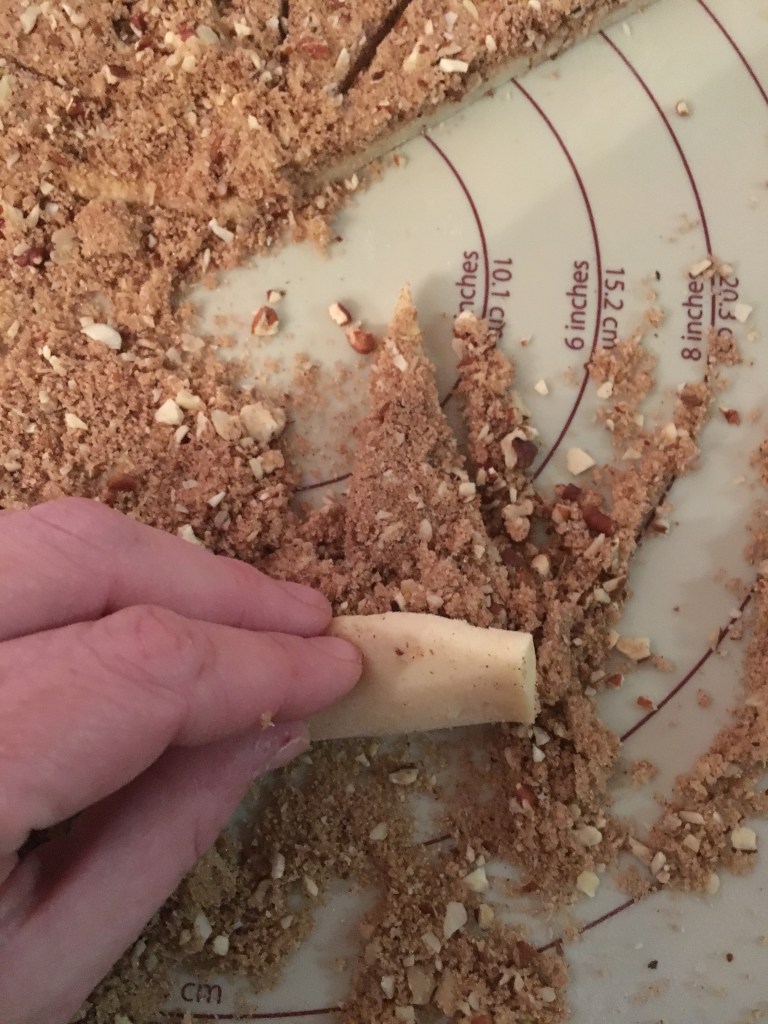
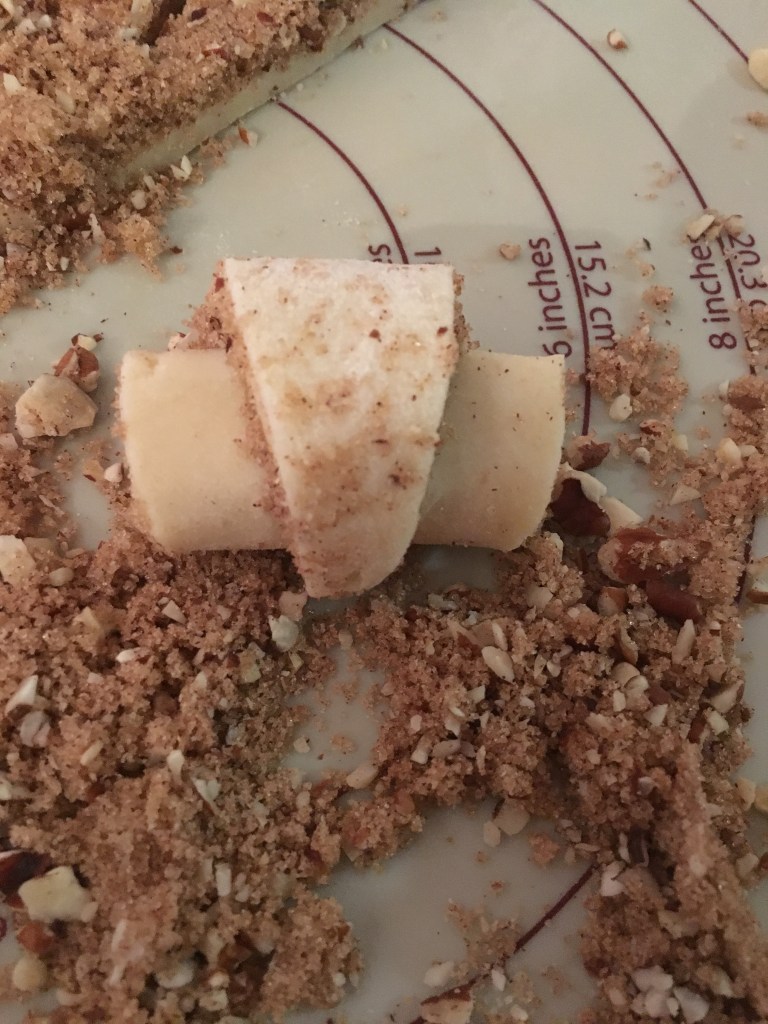
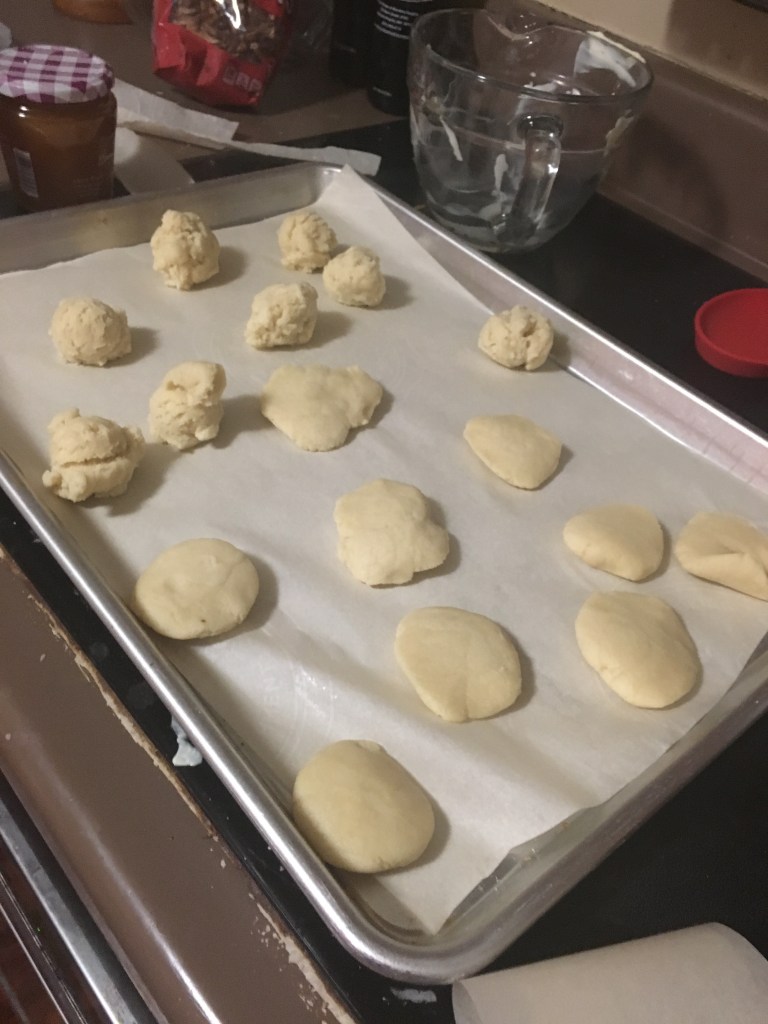
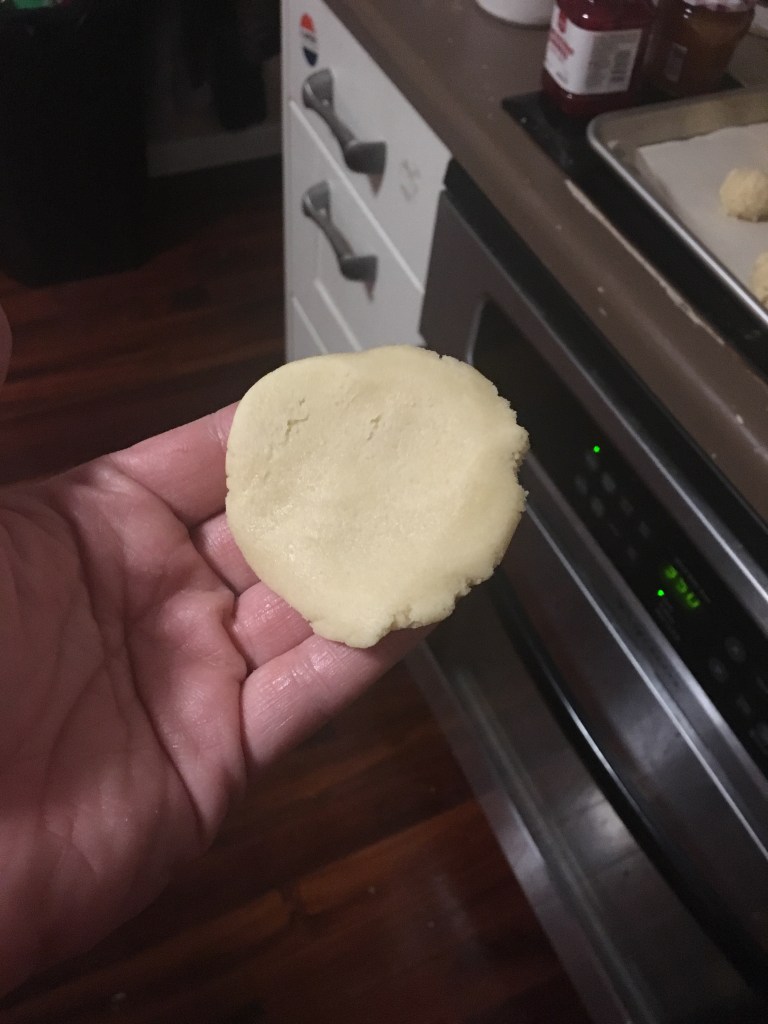
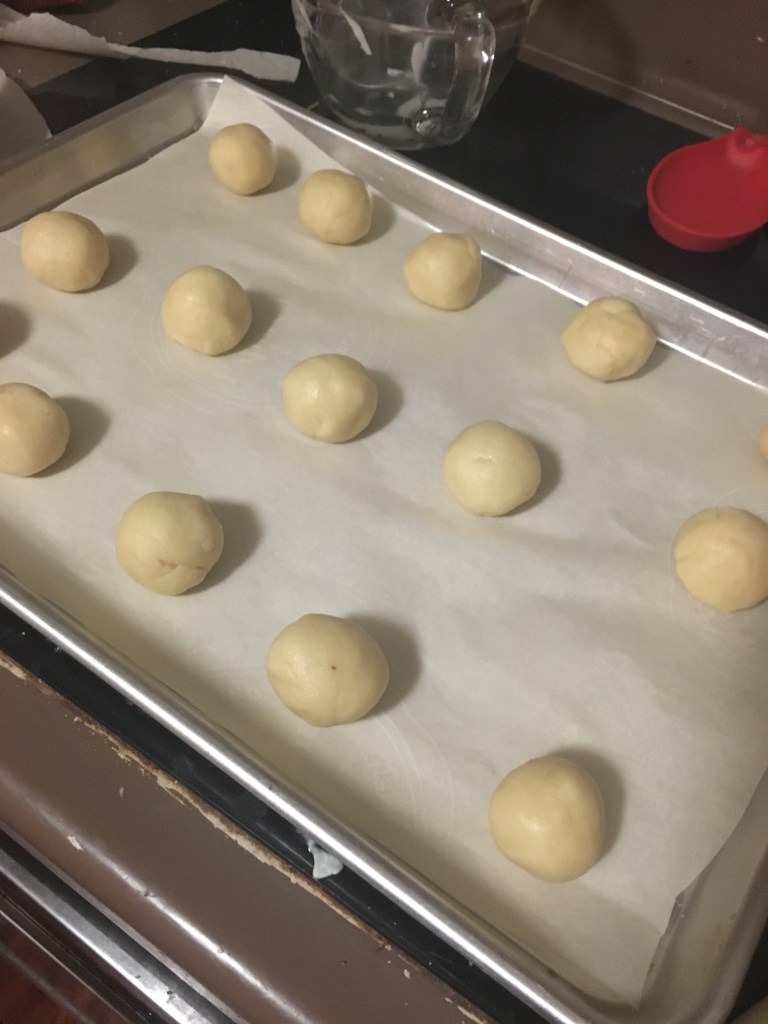
Roll dough into 12 small balls; Squeeze each ball into the preheated pizzelle iron and bake for about 30 seconds. Cut the waffles into two thin waffles and spread with filling.
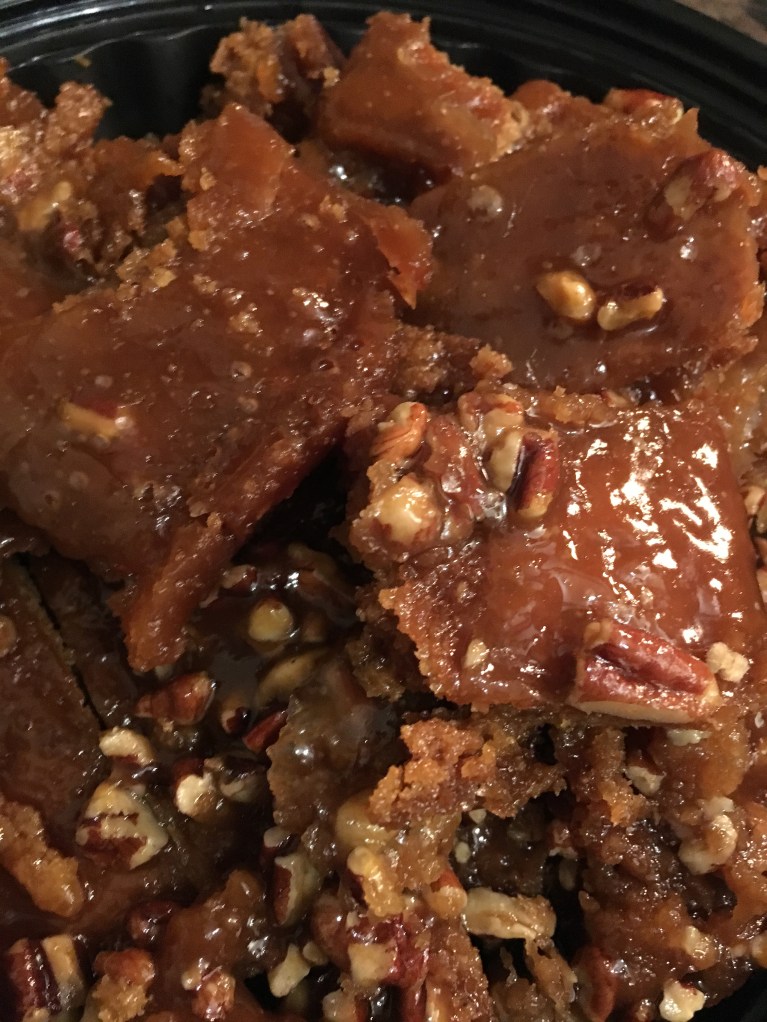
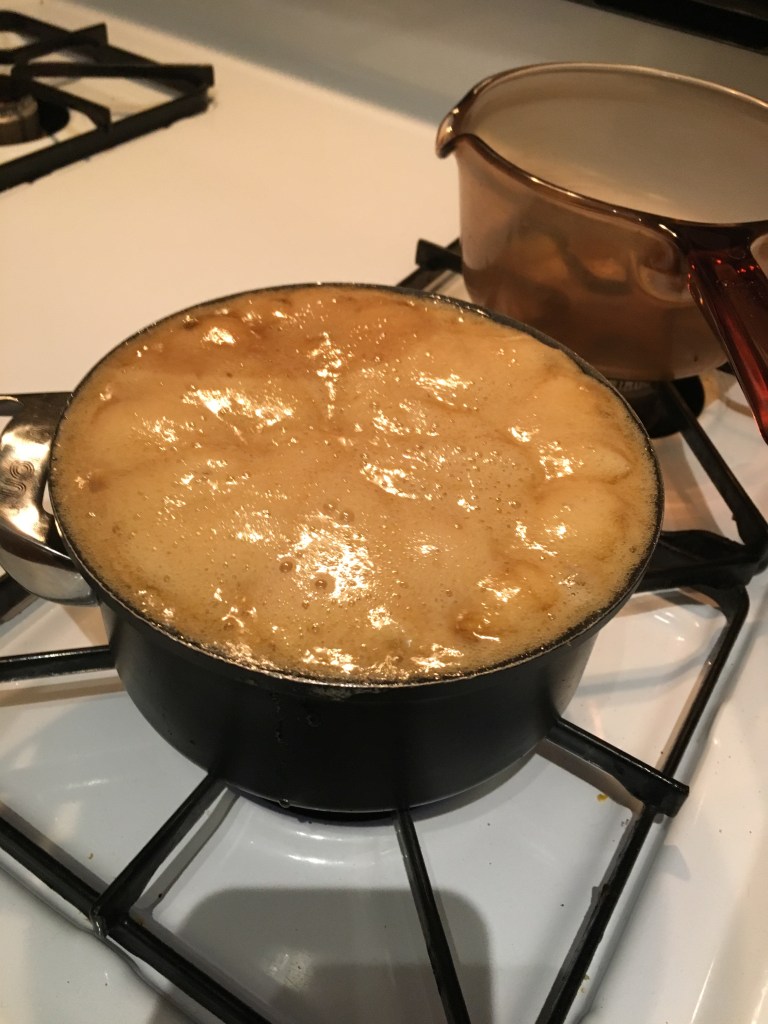
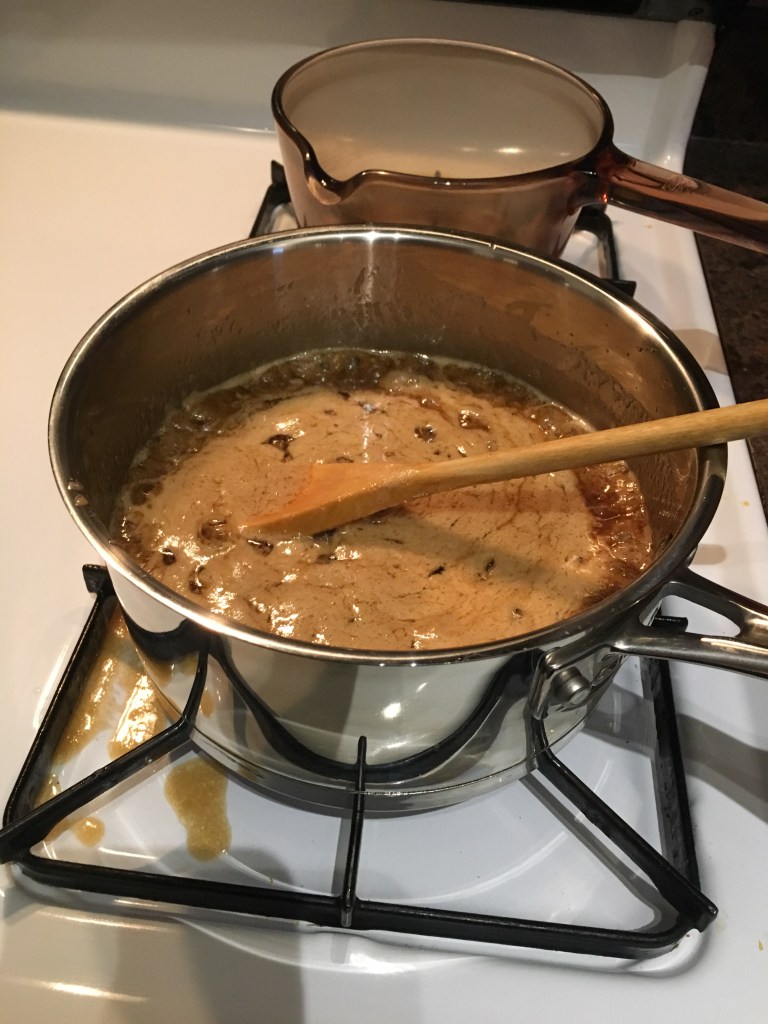
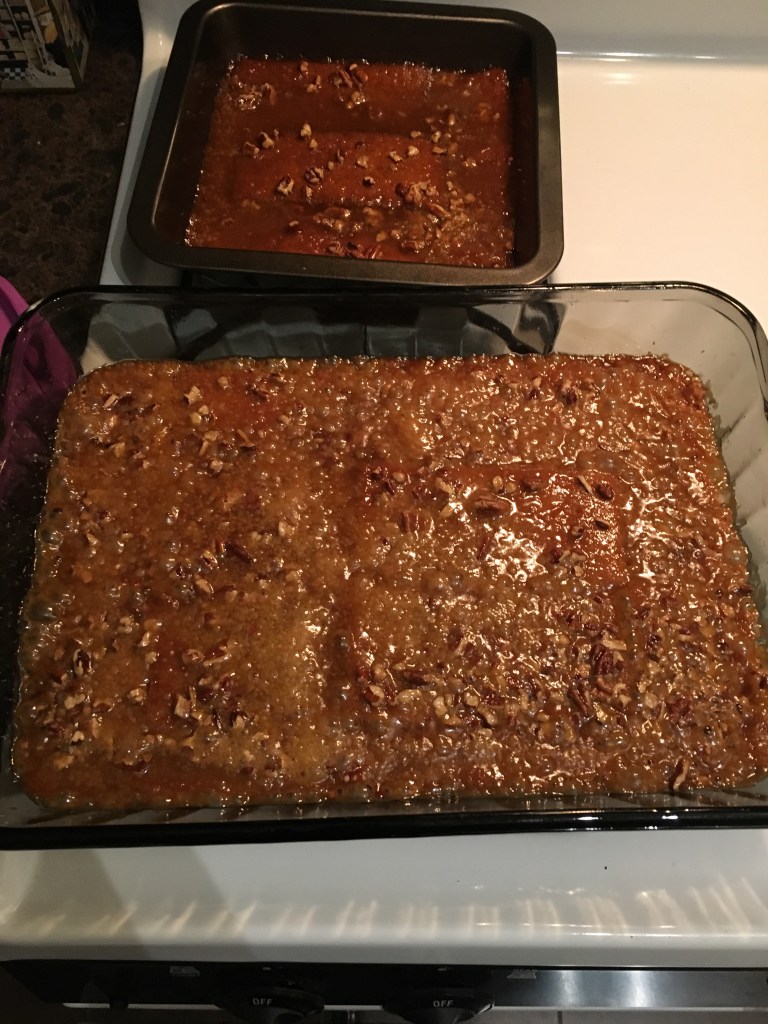
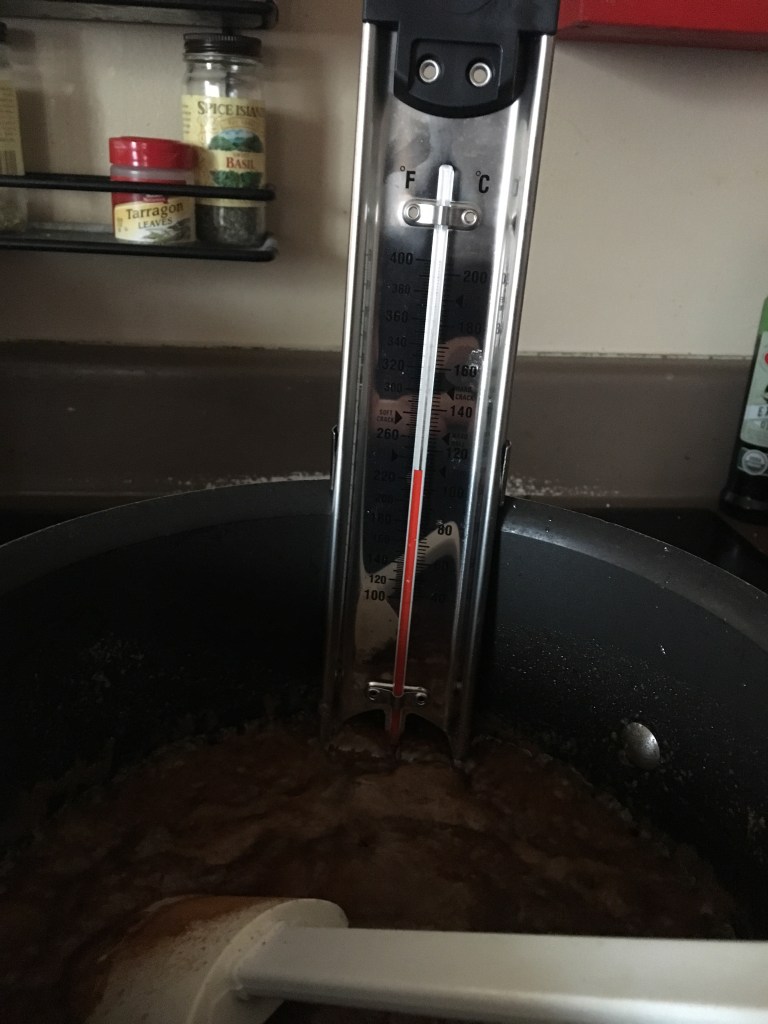
To Make Filling: In a saucepan boil the brown sugar, the remaining one cup of the butter, cinnamon (this is a must-have ingredient), and dark corn syrup until it reaches the soft ball stage (234-240°F, 112-115°C), stirring constantly.
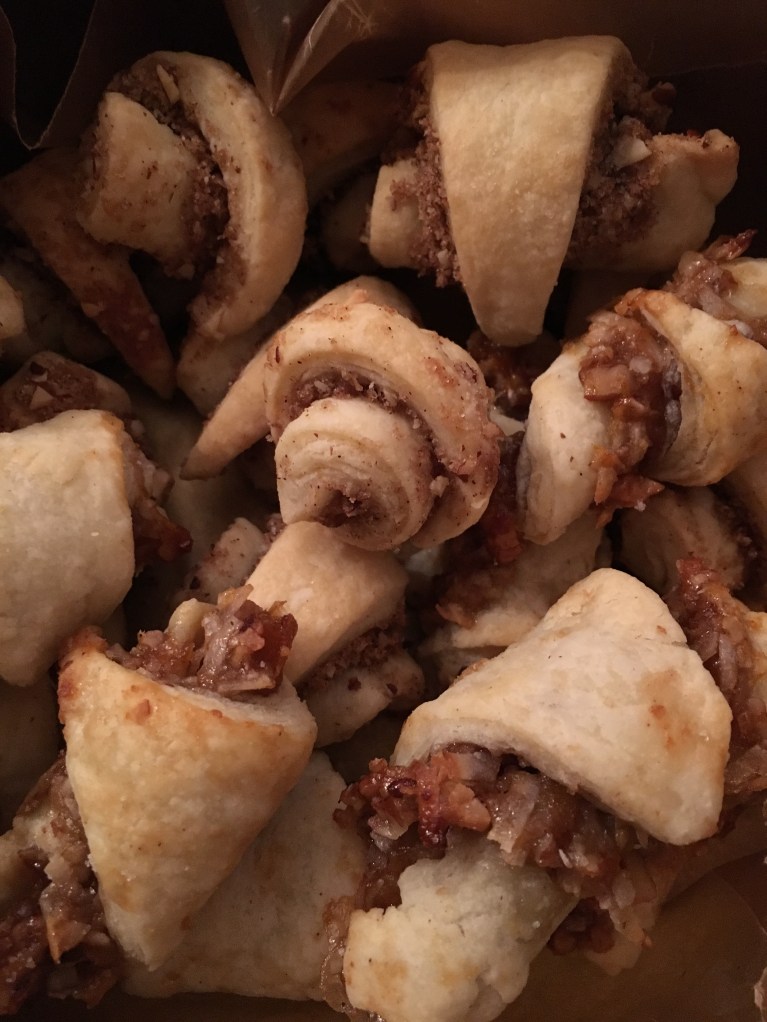
I haven’t made these the past couple of years, mainly because I like to try different recipes and something has to go. Generally that means something with yeast, because it takes too long.
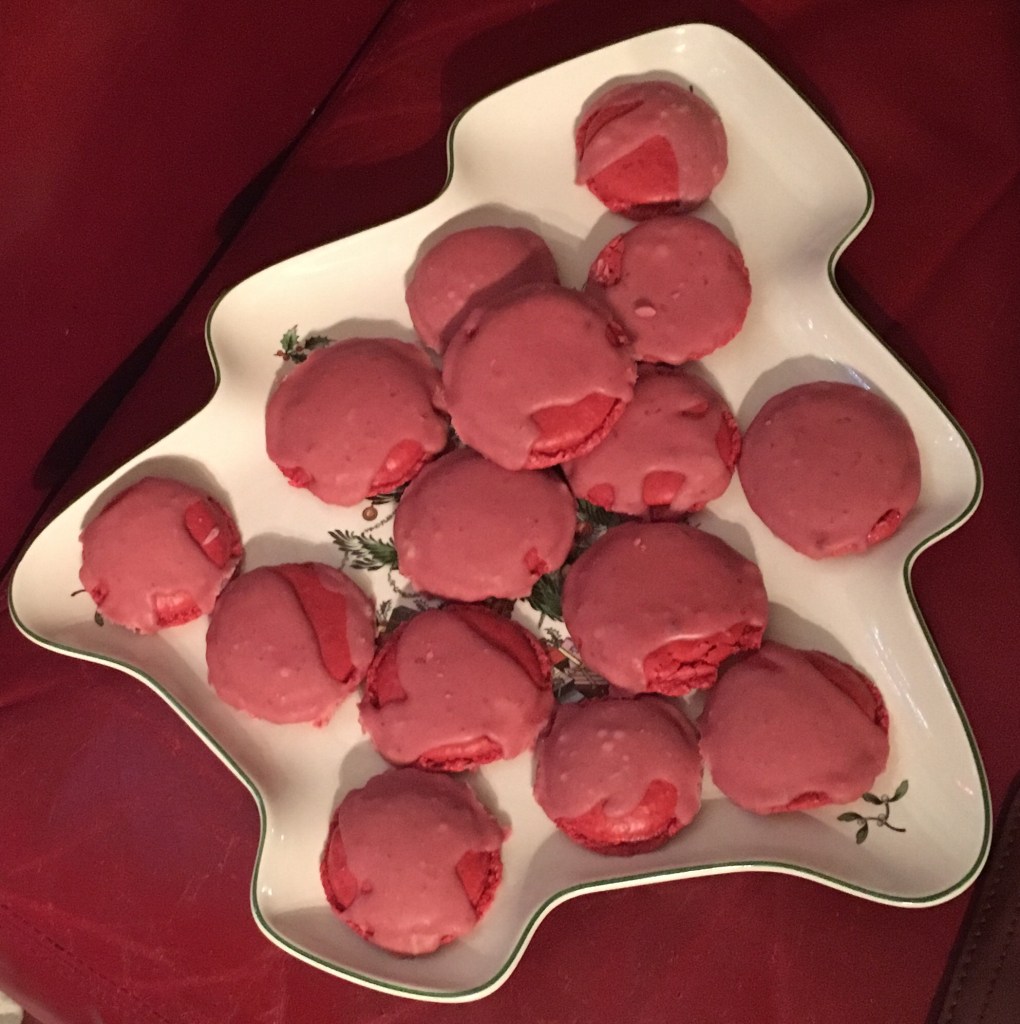
But I love these. They are definitely in my Top 3 faves. You can buy them out in the wild; I’ve seen them more and more in places like Trader Joes and even Target. Which is how I was reminded that I haven’t made this in a few years.
There’s something about the cinnamon caramel in the cookie…it’s so welcoming and homey. You’re supposed to heat this on top of a steaming cup of coffee or tea, which definitely makes the cinnamon caramel filling become gooey and wonderful.
I use a pizzelle iron, because I can’t find a stroopwafel iron for less than three figures. (If you find one, let me know!) So if you have a pizzelle iron, give these a shot. It’s a different process and a different flavor, but in the end it’s another cookie, and that’s always a good thing.