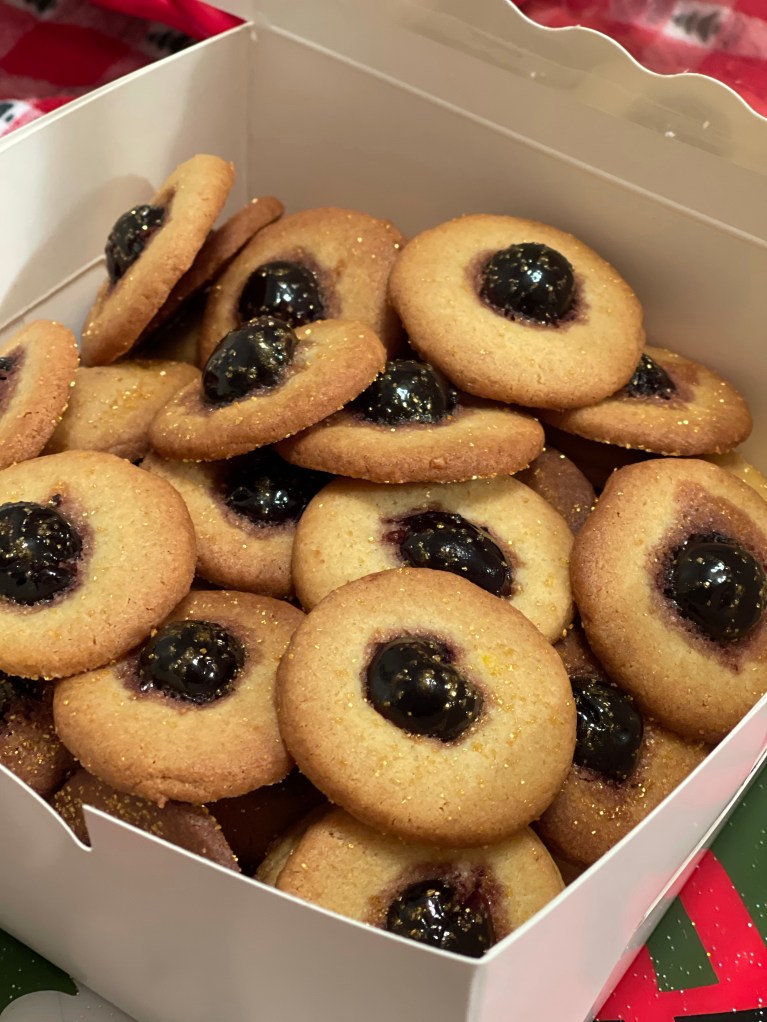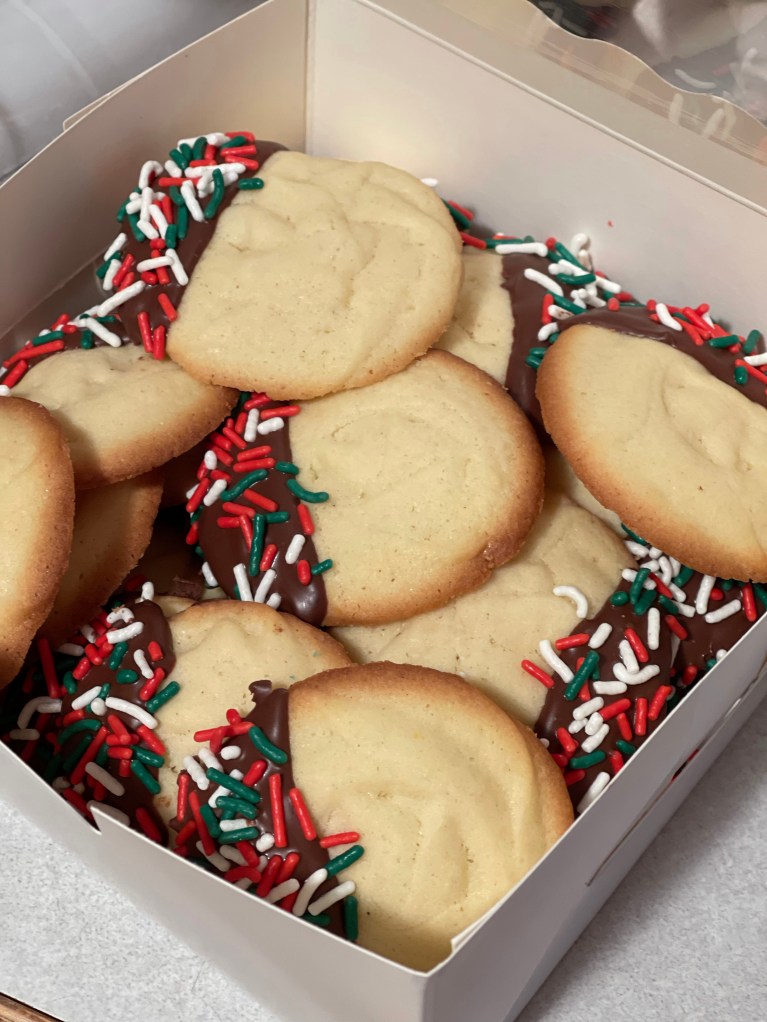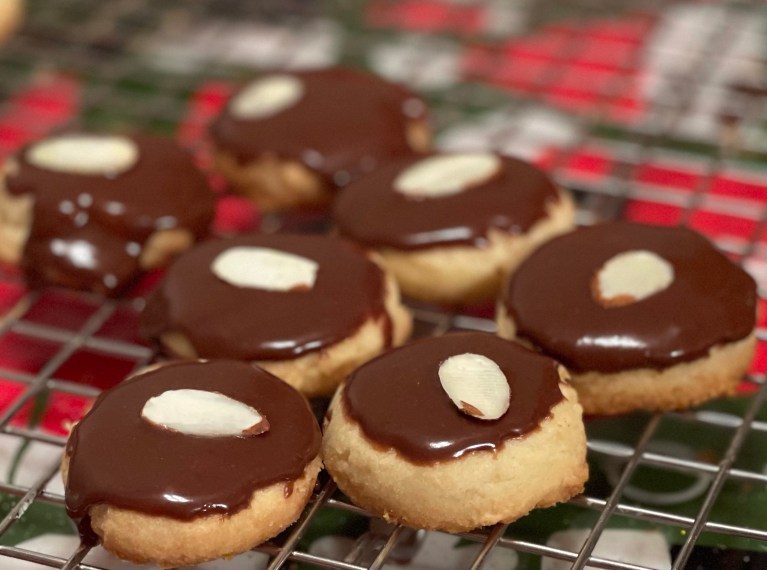
What is it that makes these cookies so good?
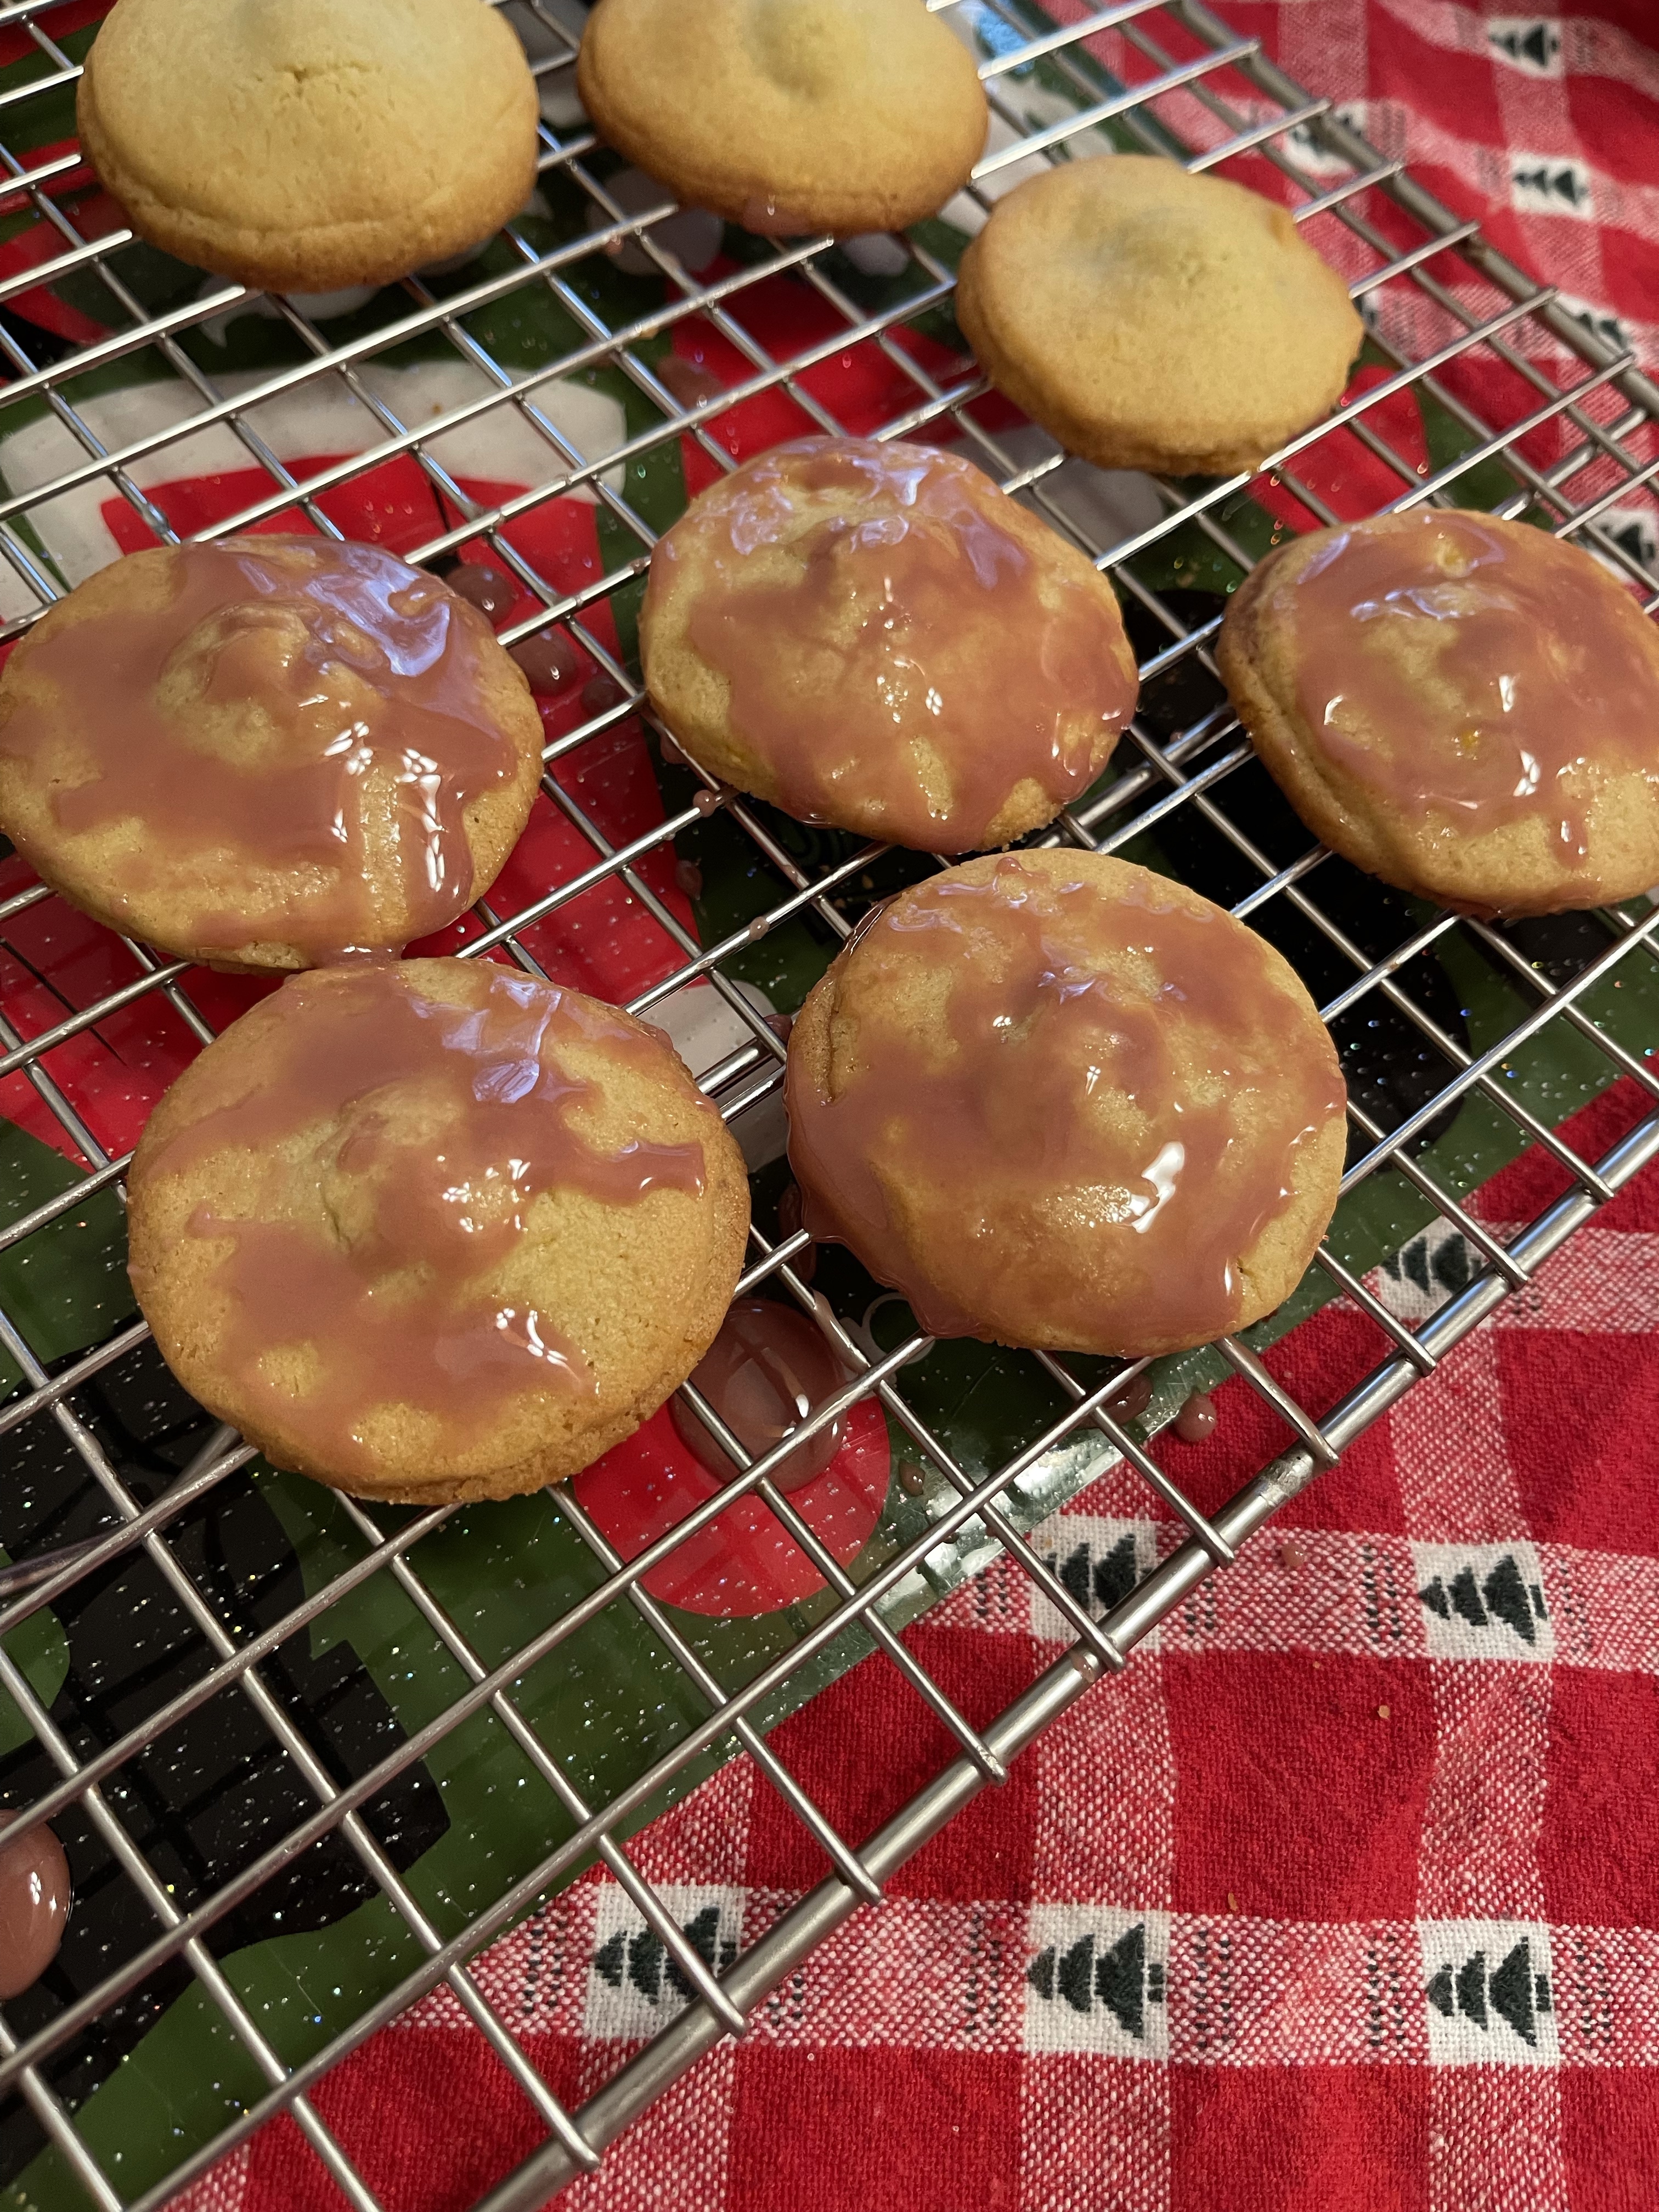
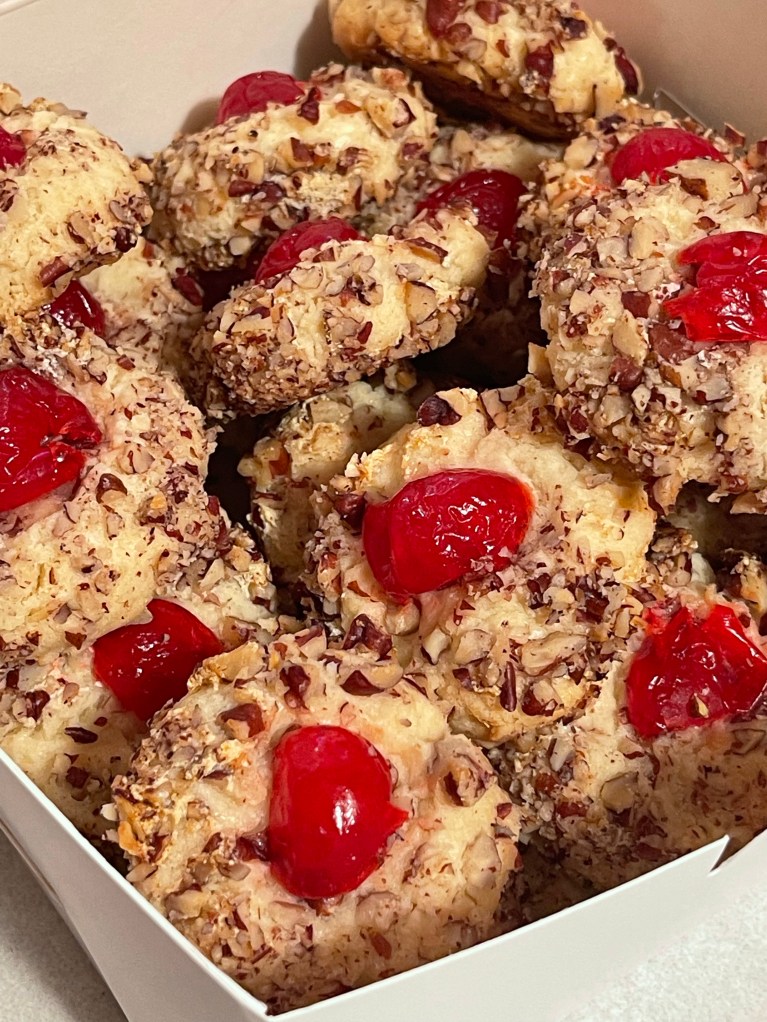
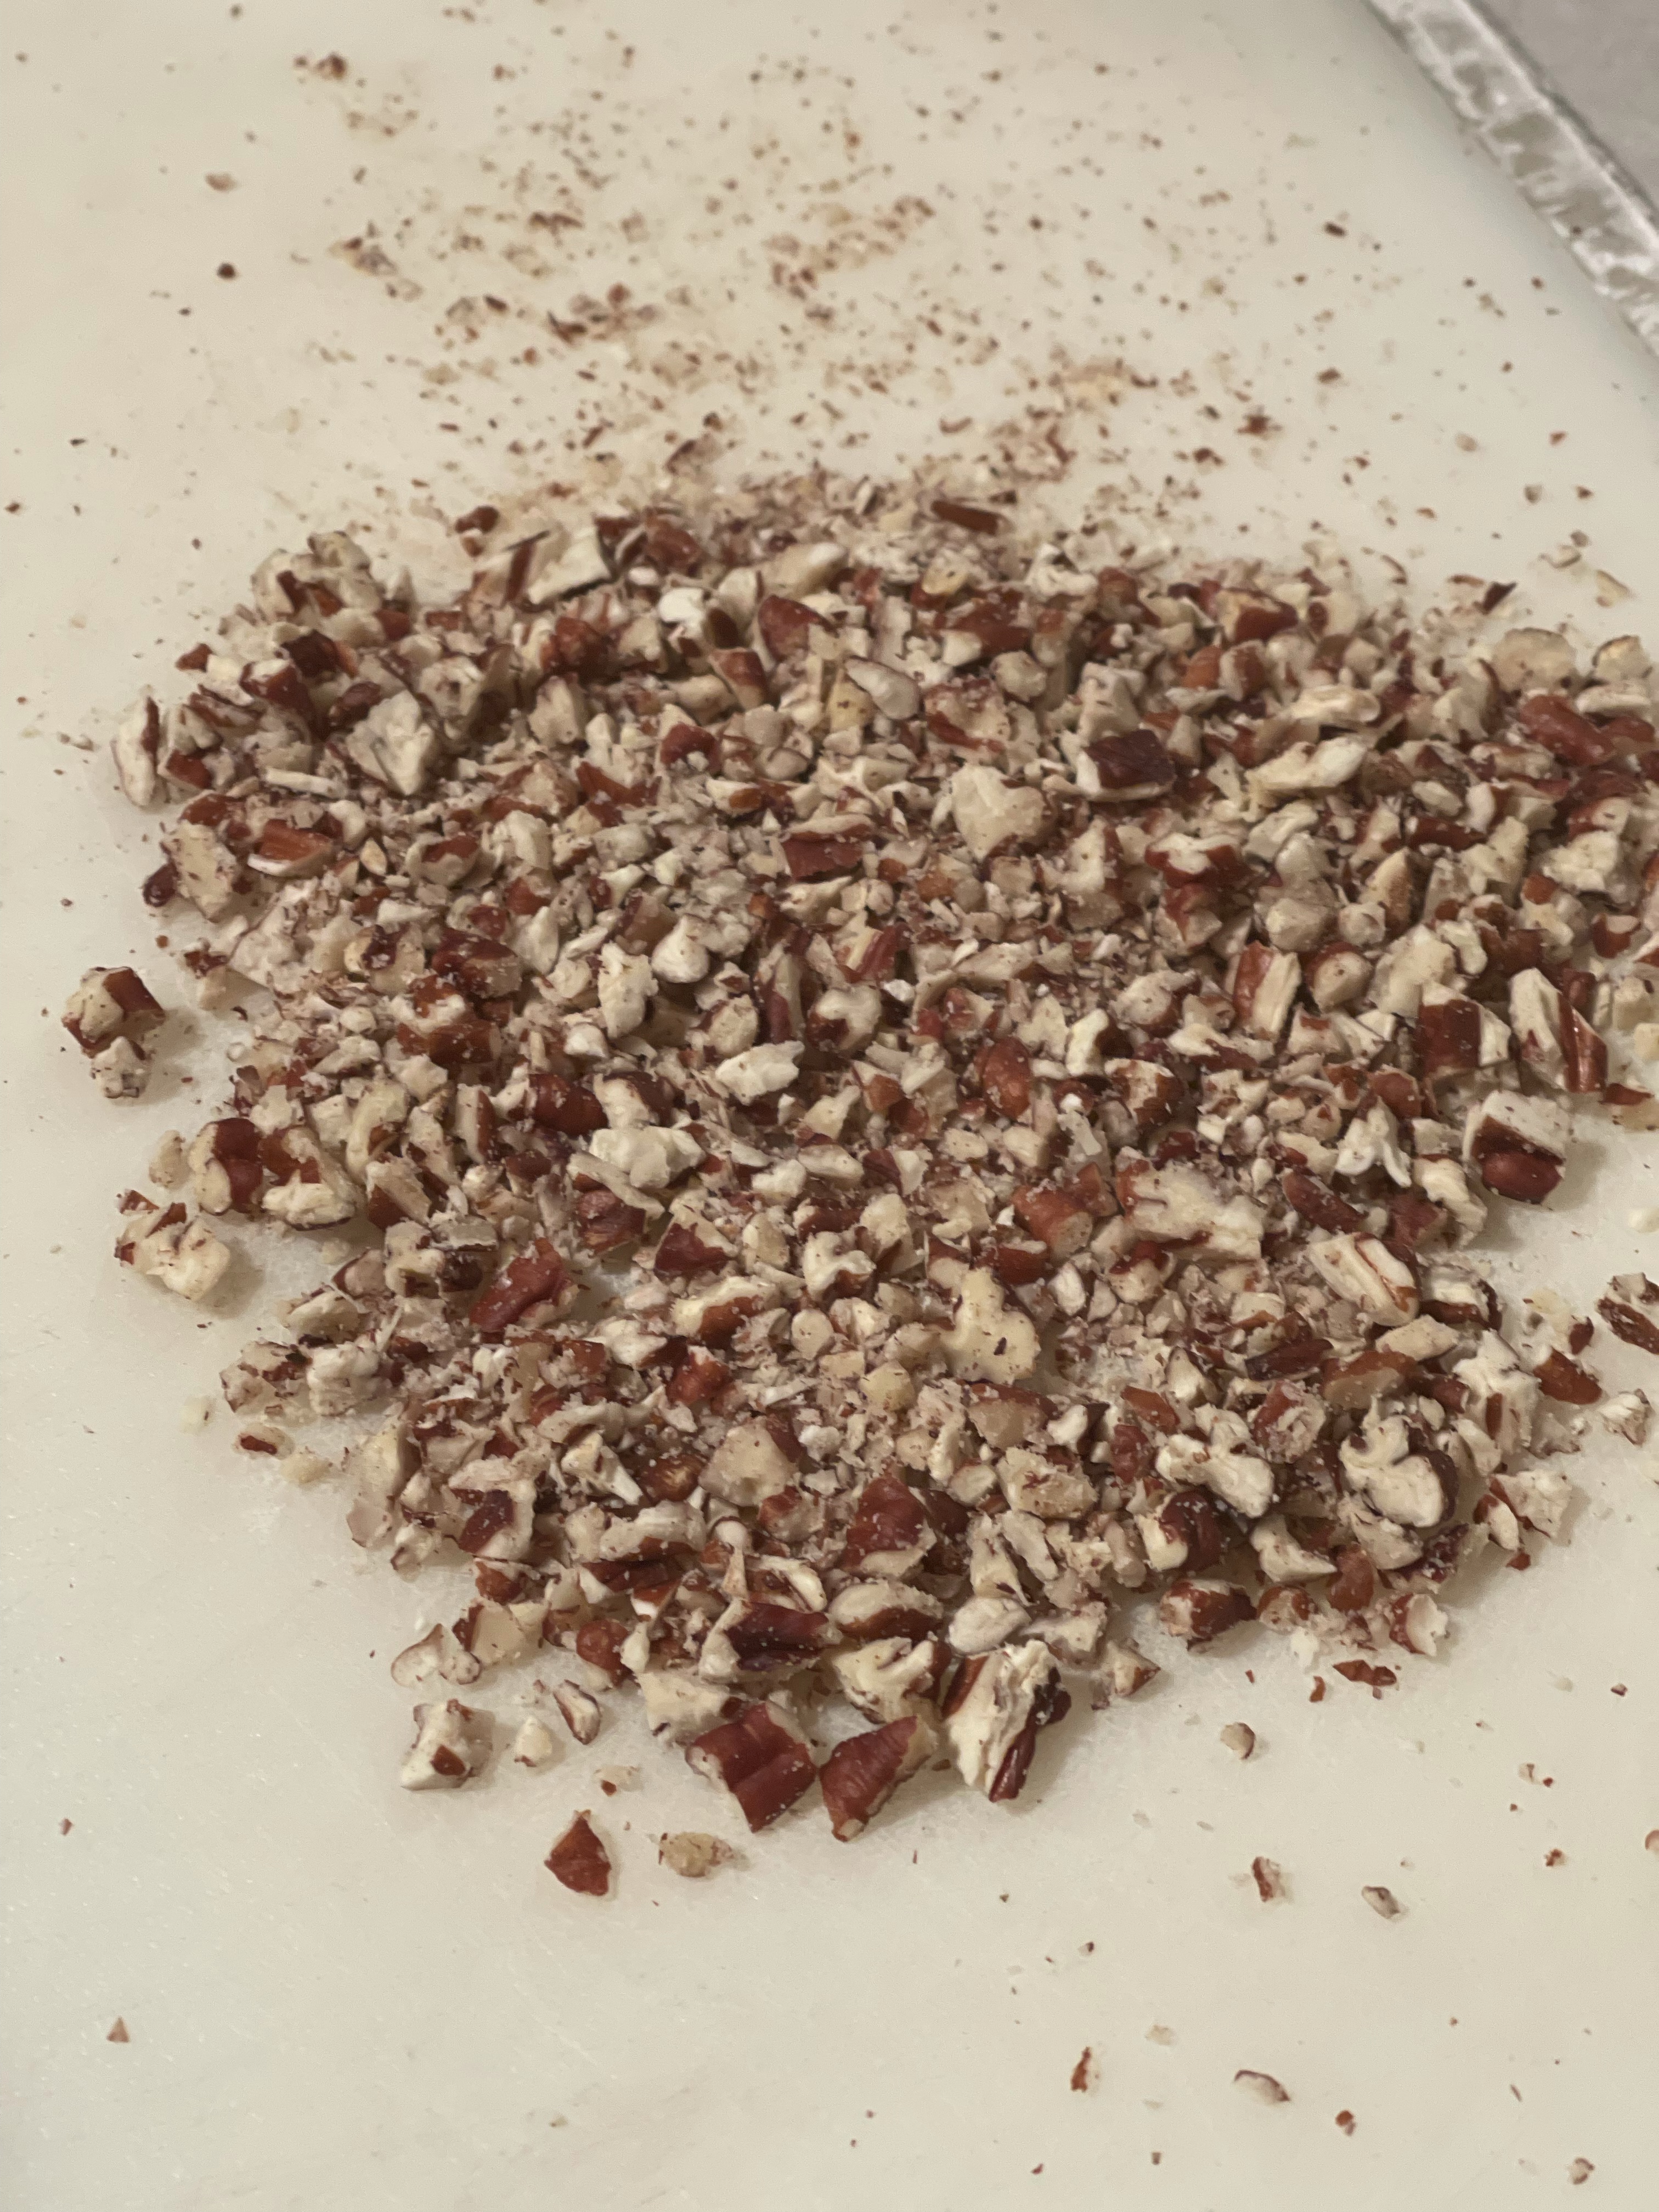
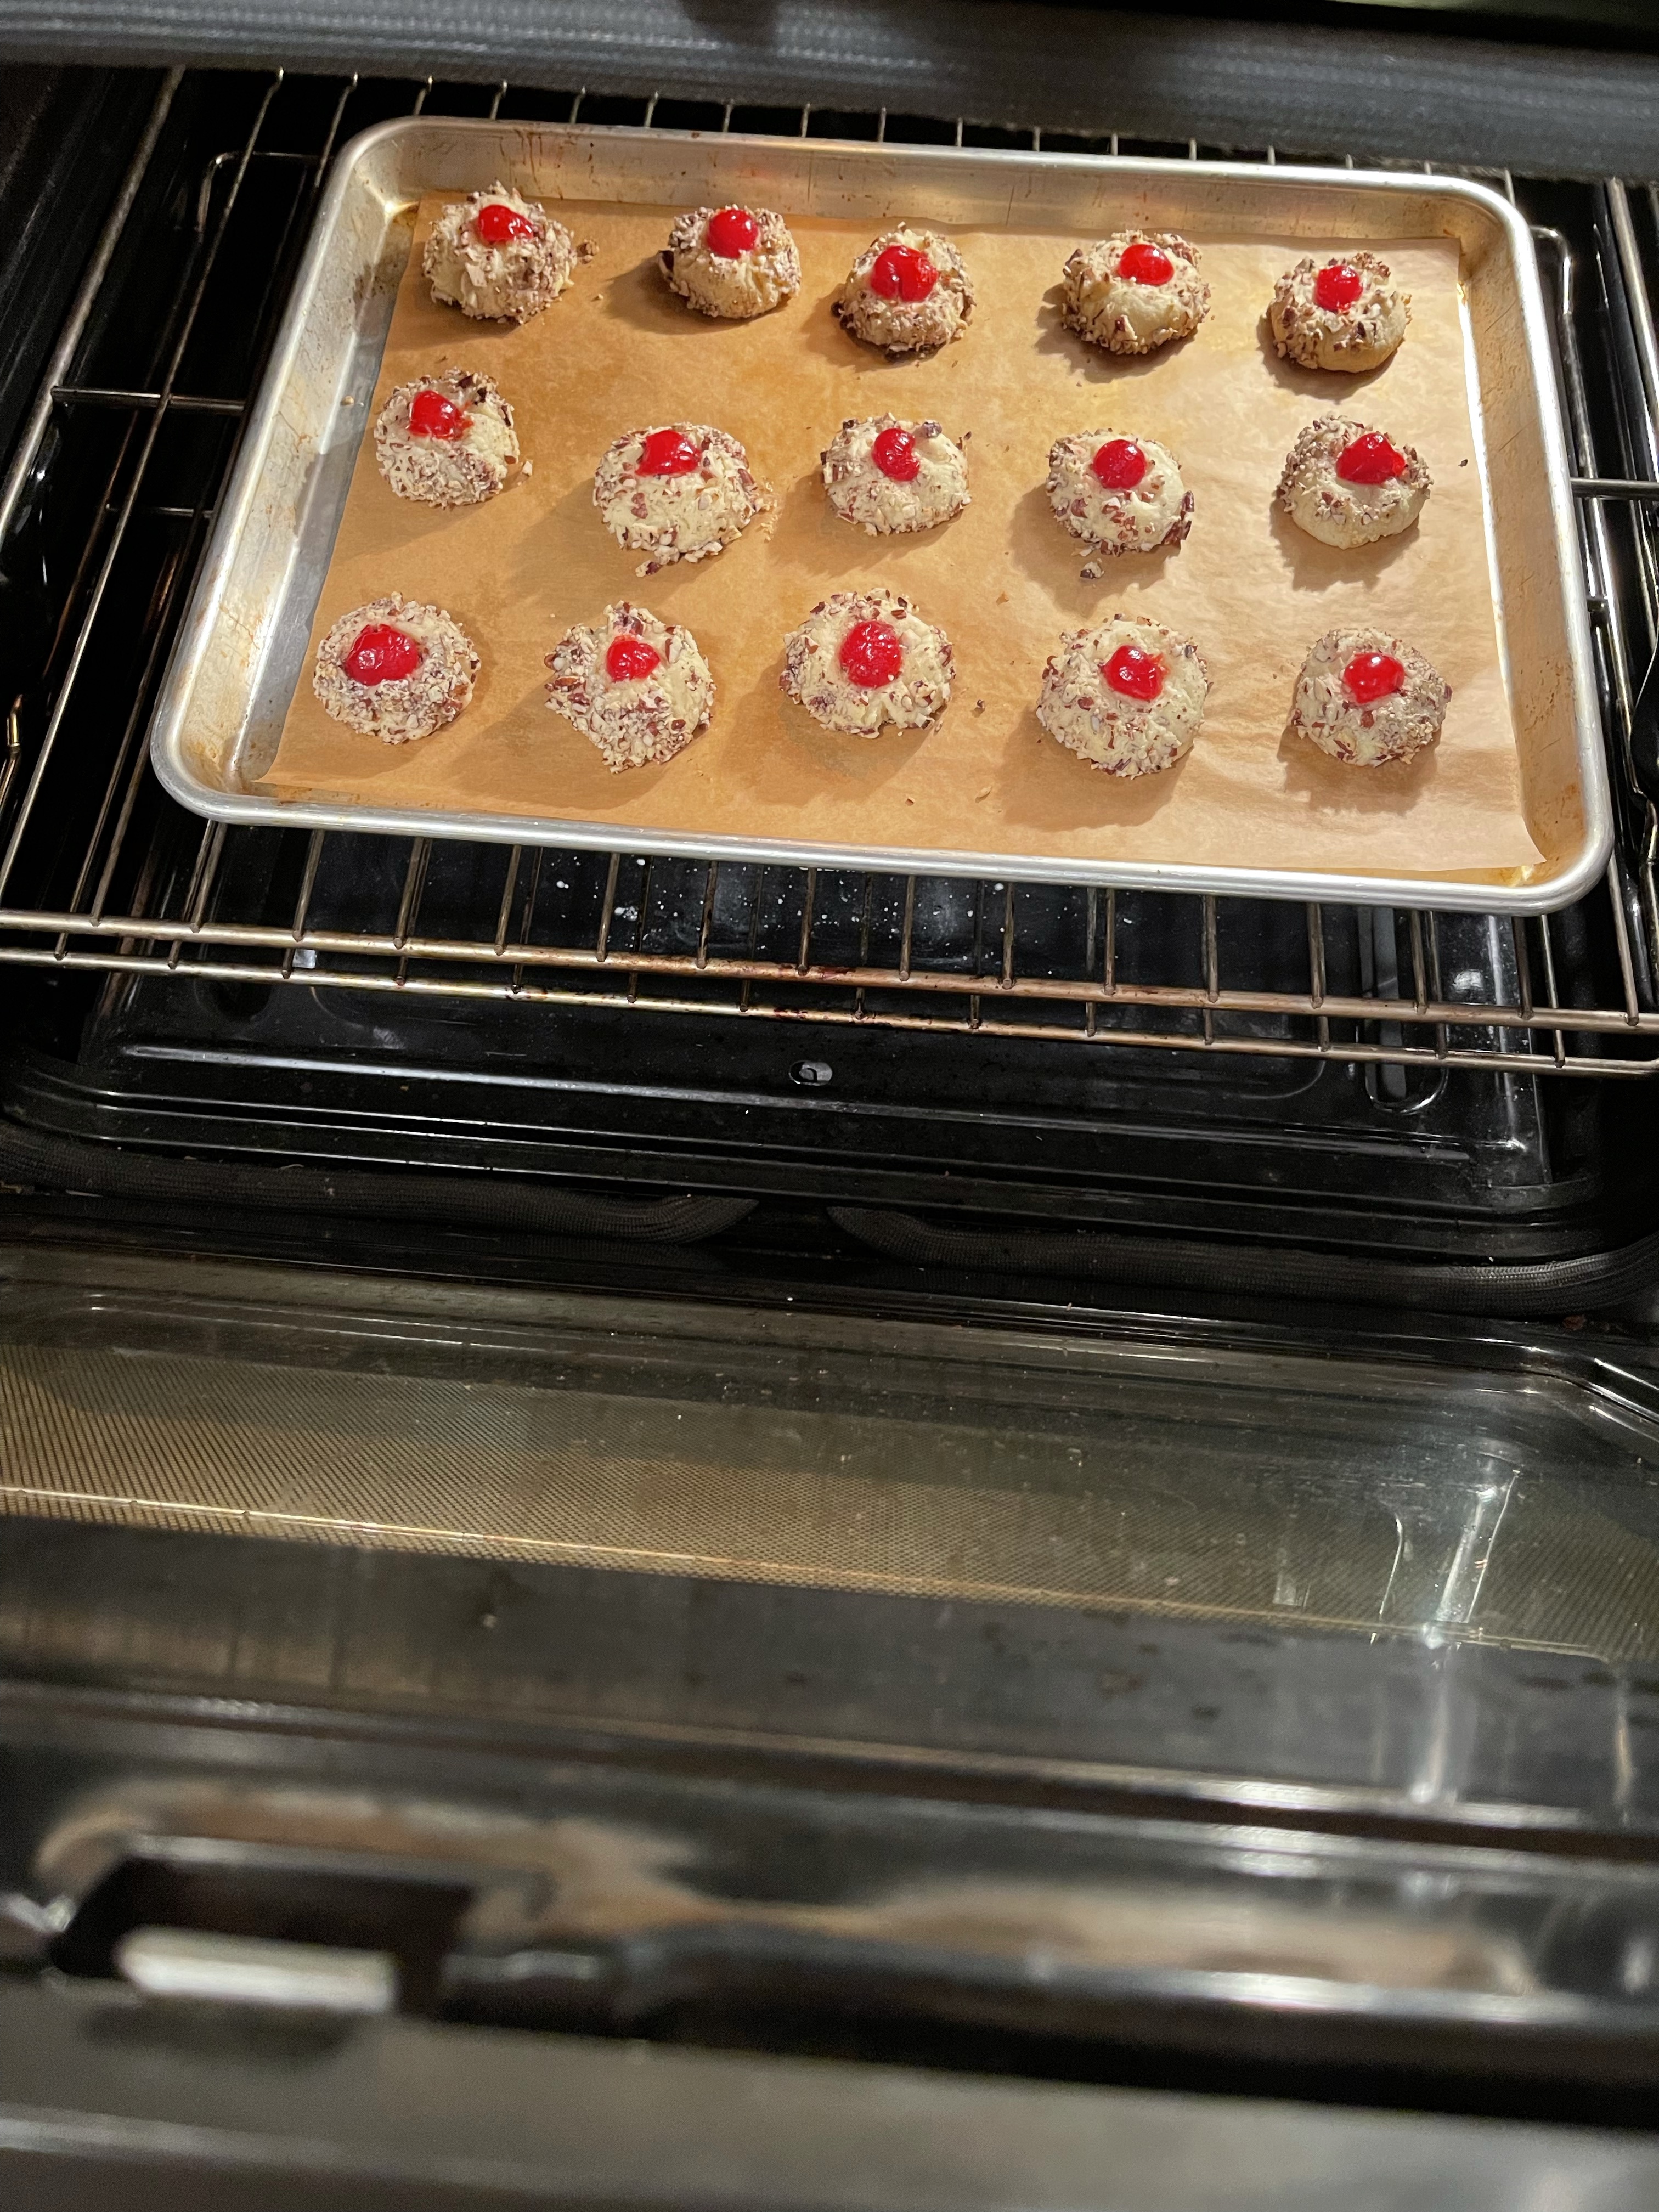
It could be the light texture of the cookie itself. Or the chopped pecans that give it a little crunch. Or it could be the maraschino cherry tucked ever-so-delicately into the top of the buttery orb.
Whatever it is, these delicious Christmas cookies are one of my favorites to make and eat! I haven’t made them in a few years, and now I’m wondering why.
These come from my friend Michele, who shared the recipe with me many years ago.
Swedish Butter Cookies
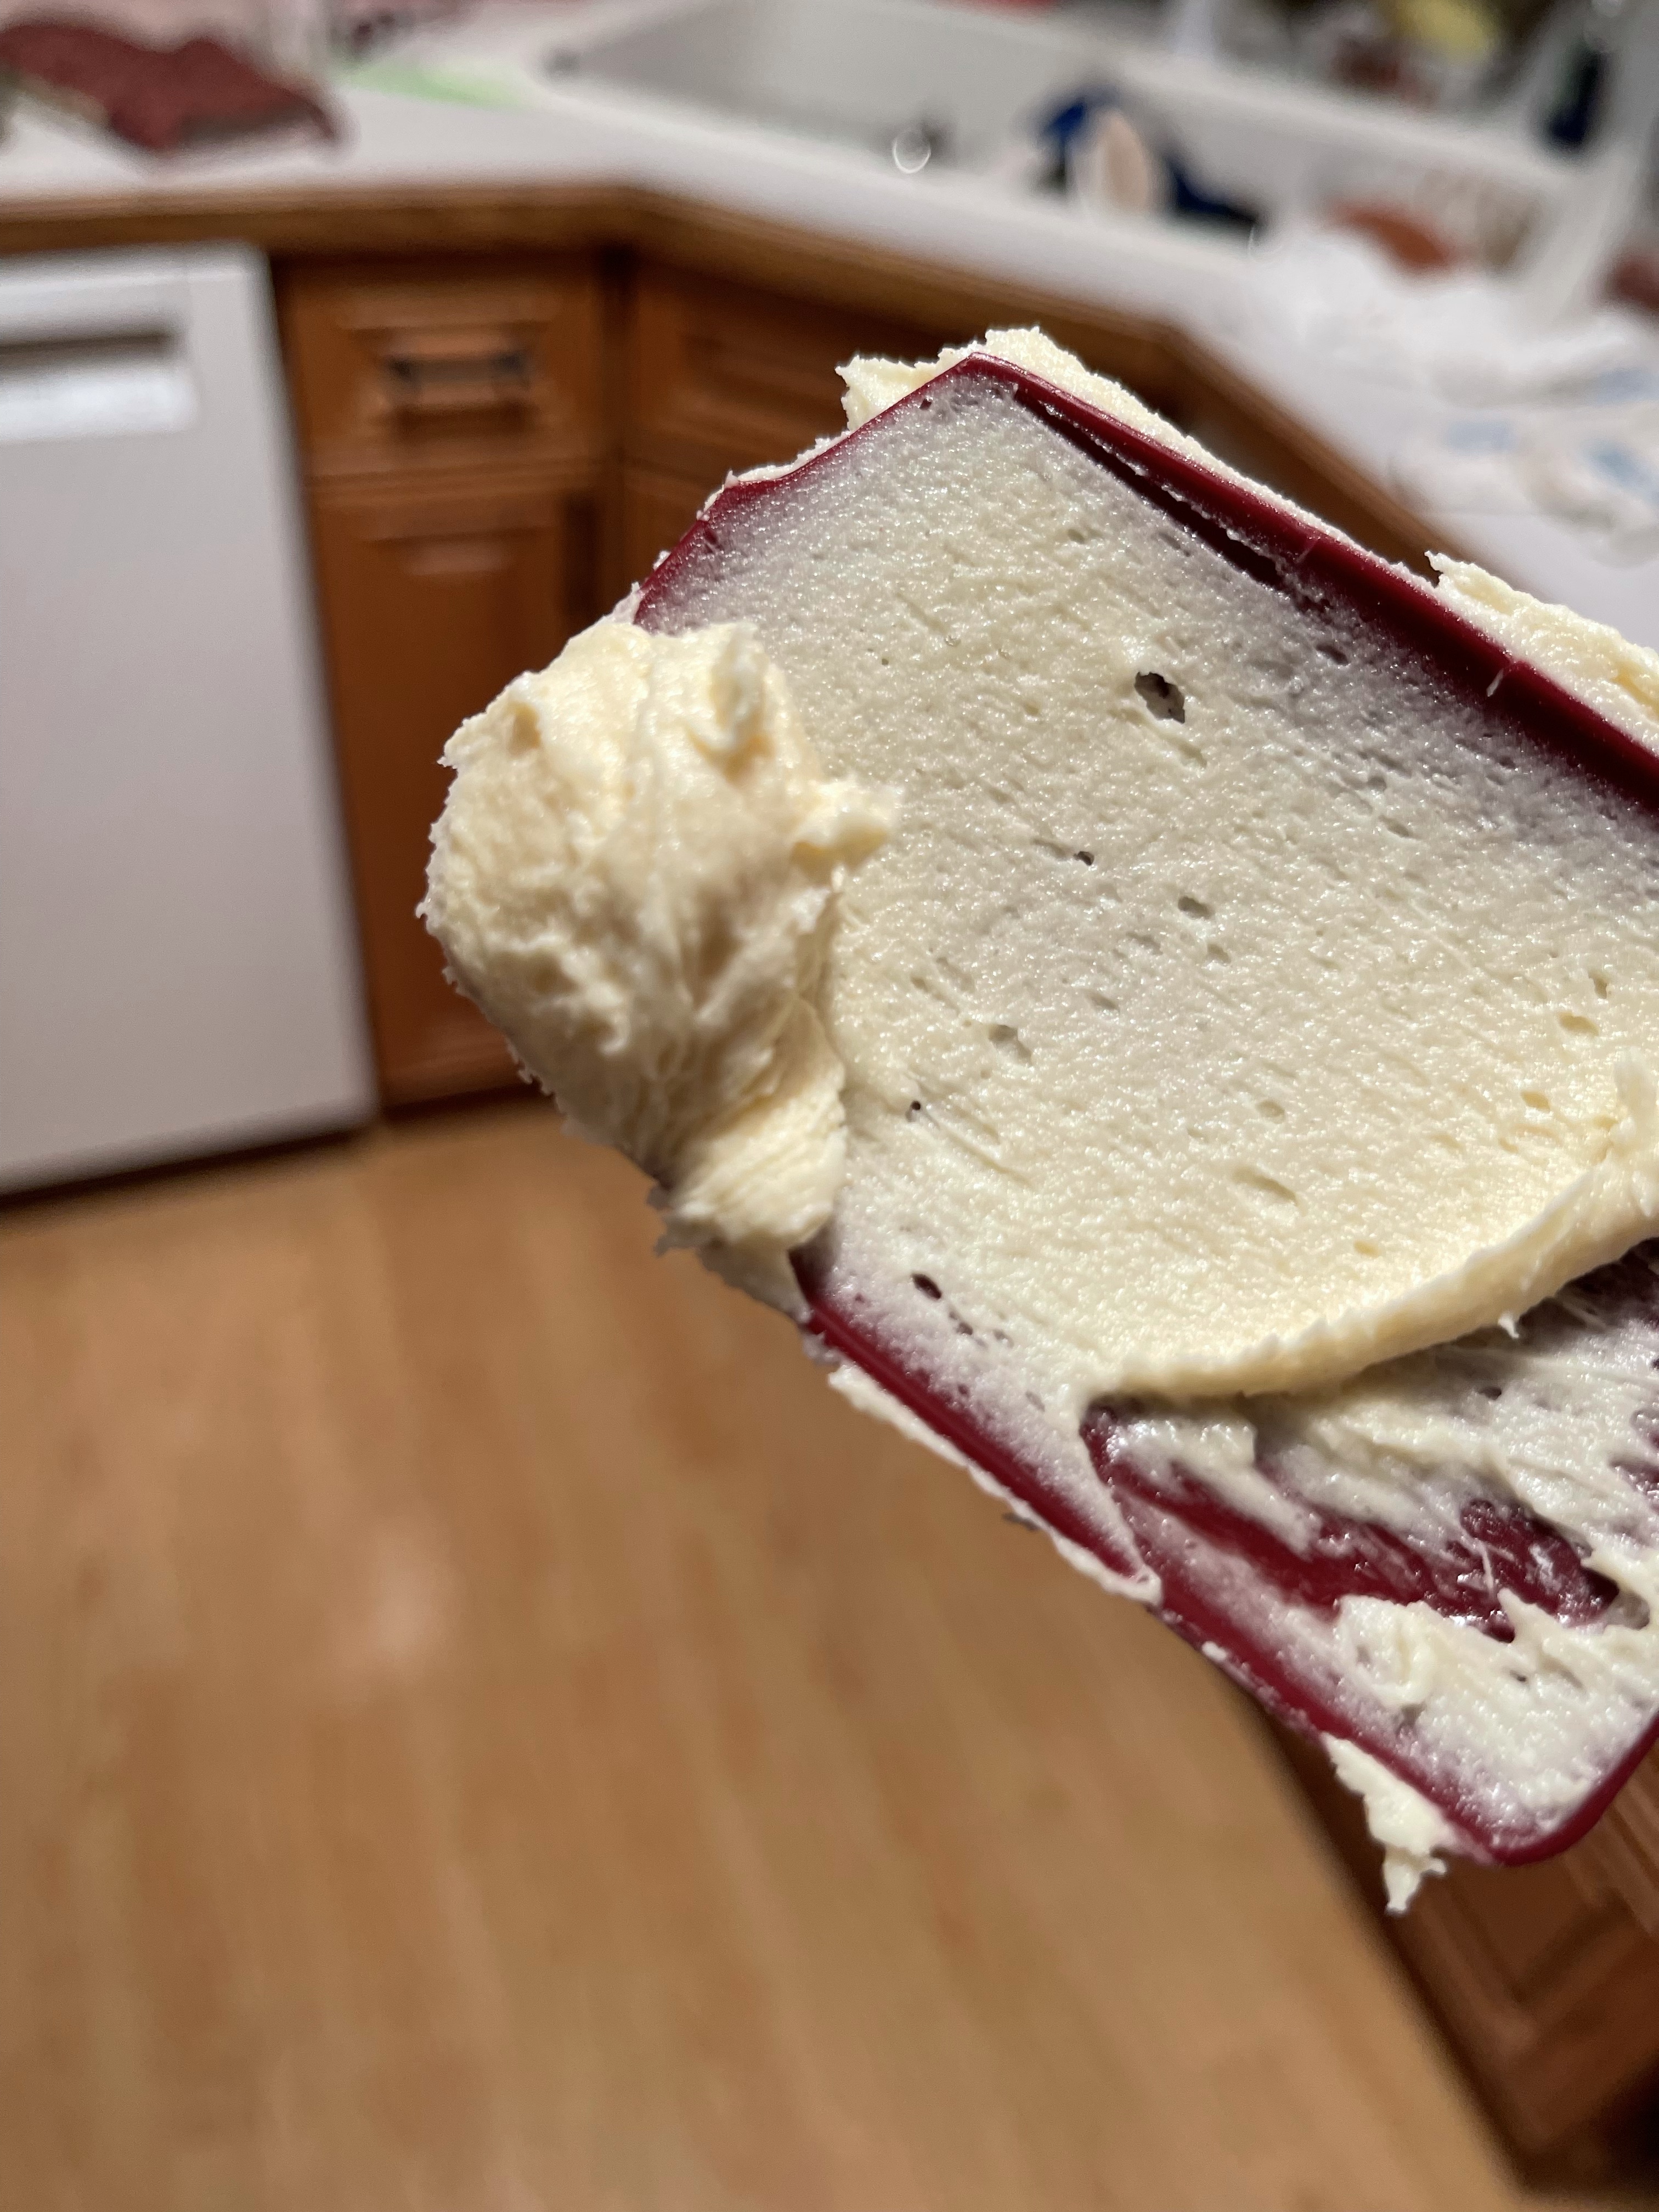
- ½ lb. butter or margarine (2 sticks)
- 1 t. vanilla
- 2 c. flour
- ½ c. sugar
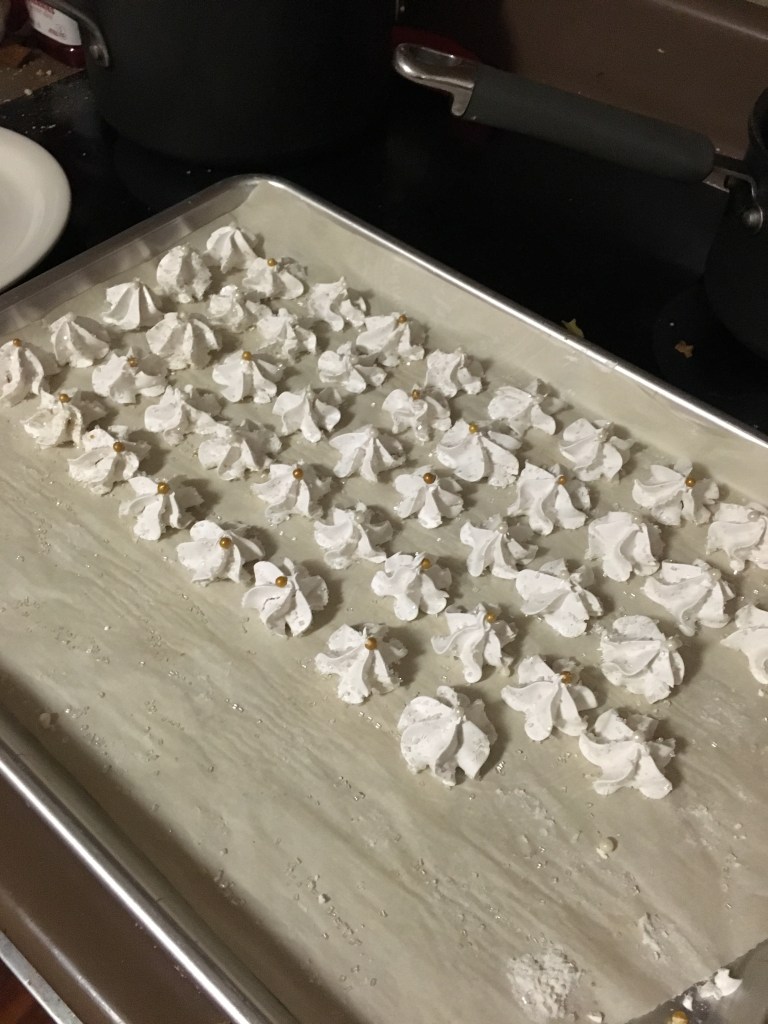
- 1 egg yolk (save whites to whip)
- 1 T. half & half
- ½ t. baking powder
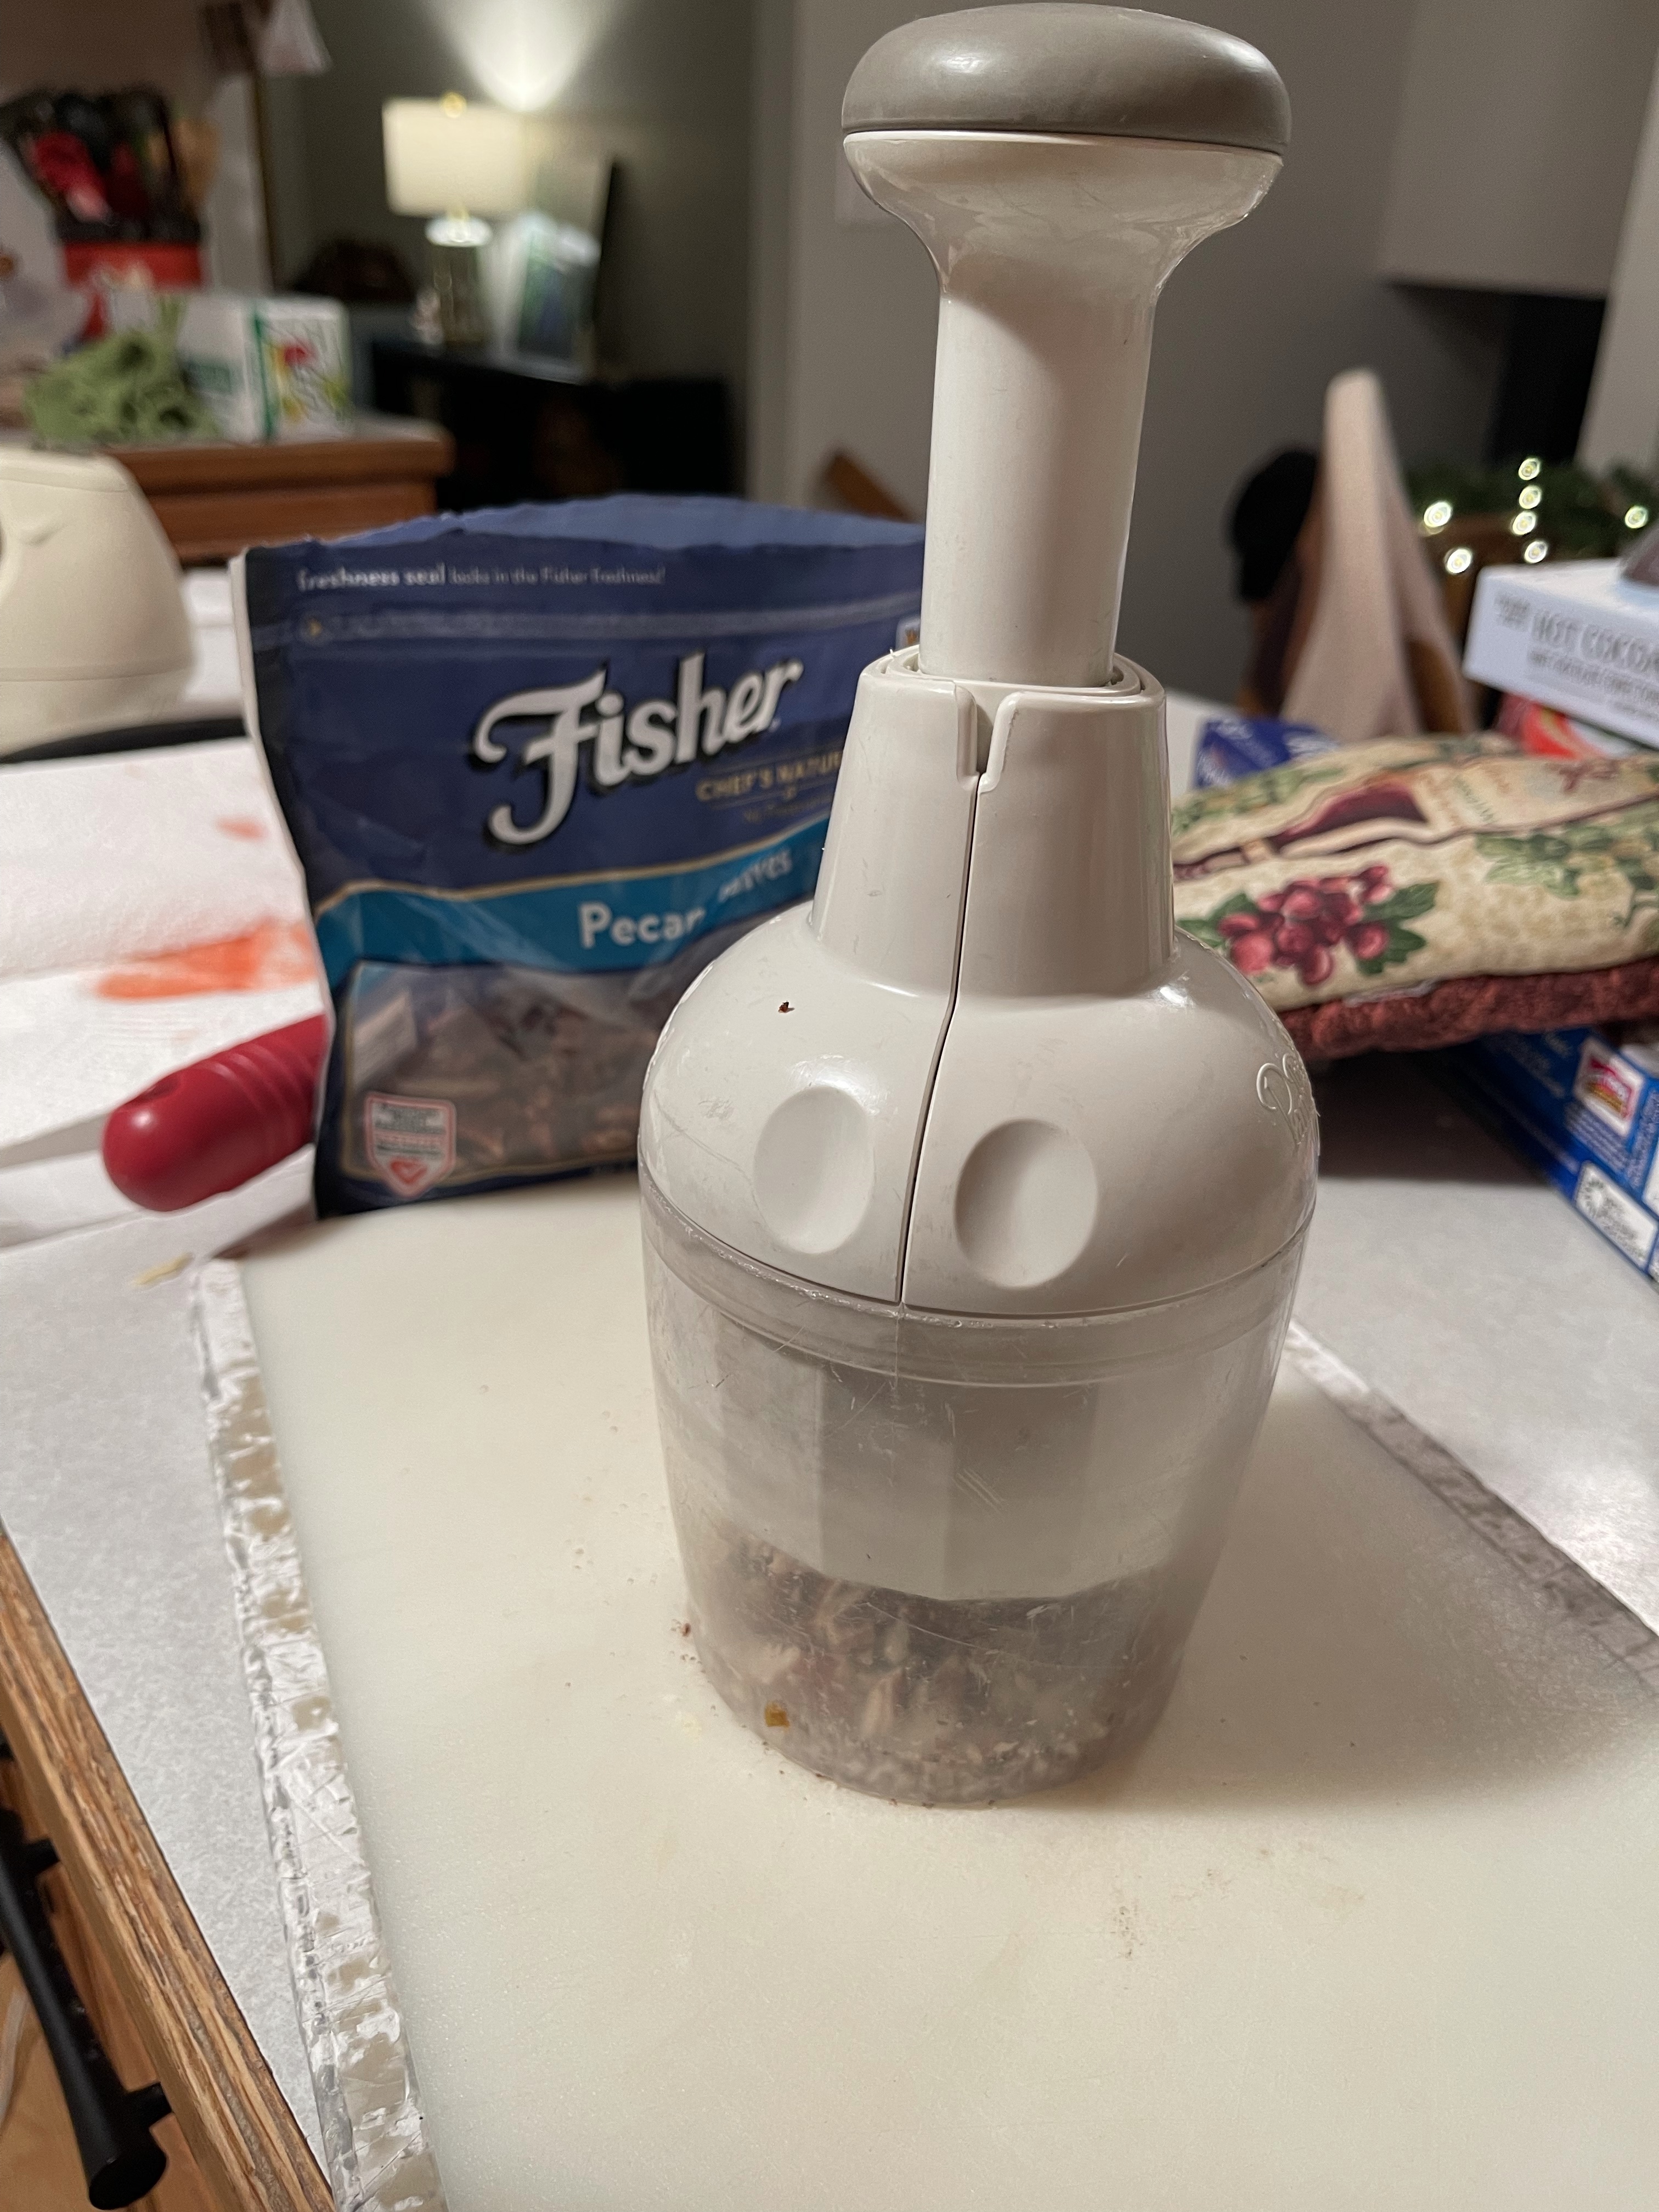
- ½ c. chopped pecans
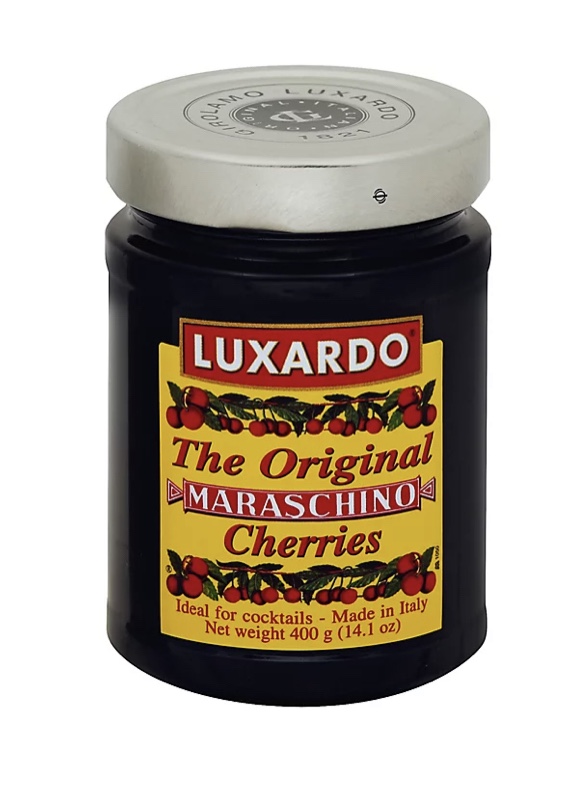
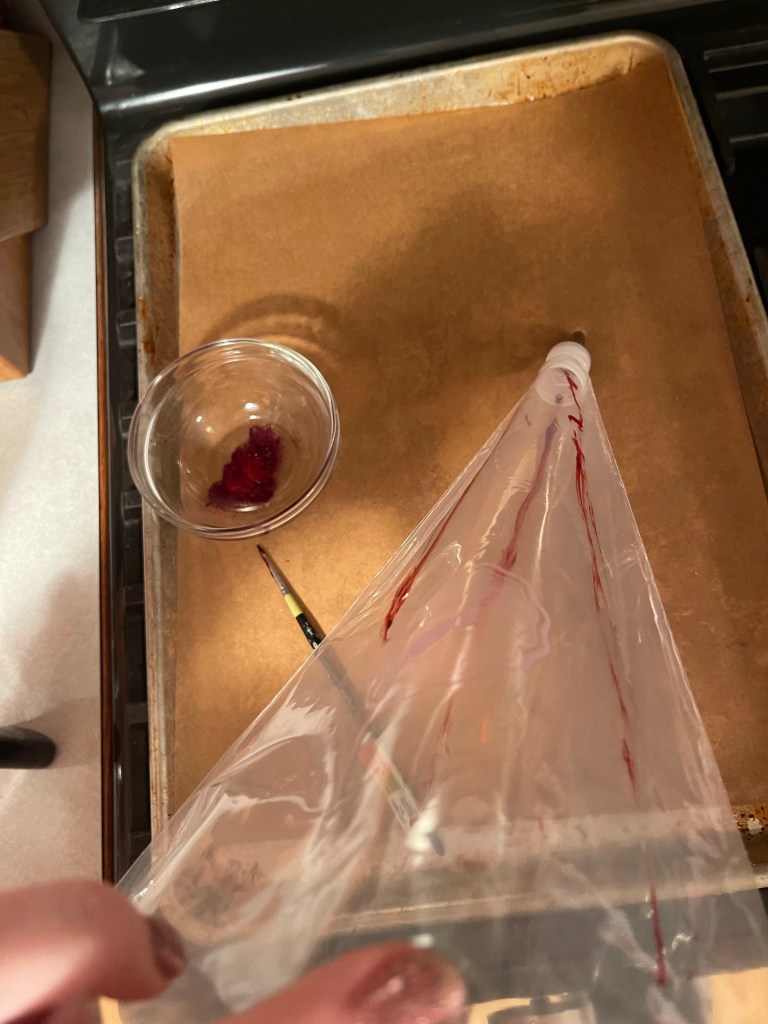
- 1 bottle maraschino cherries
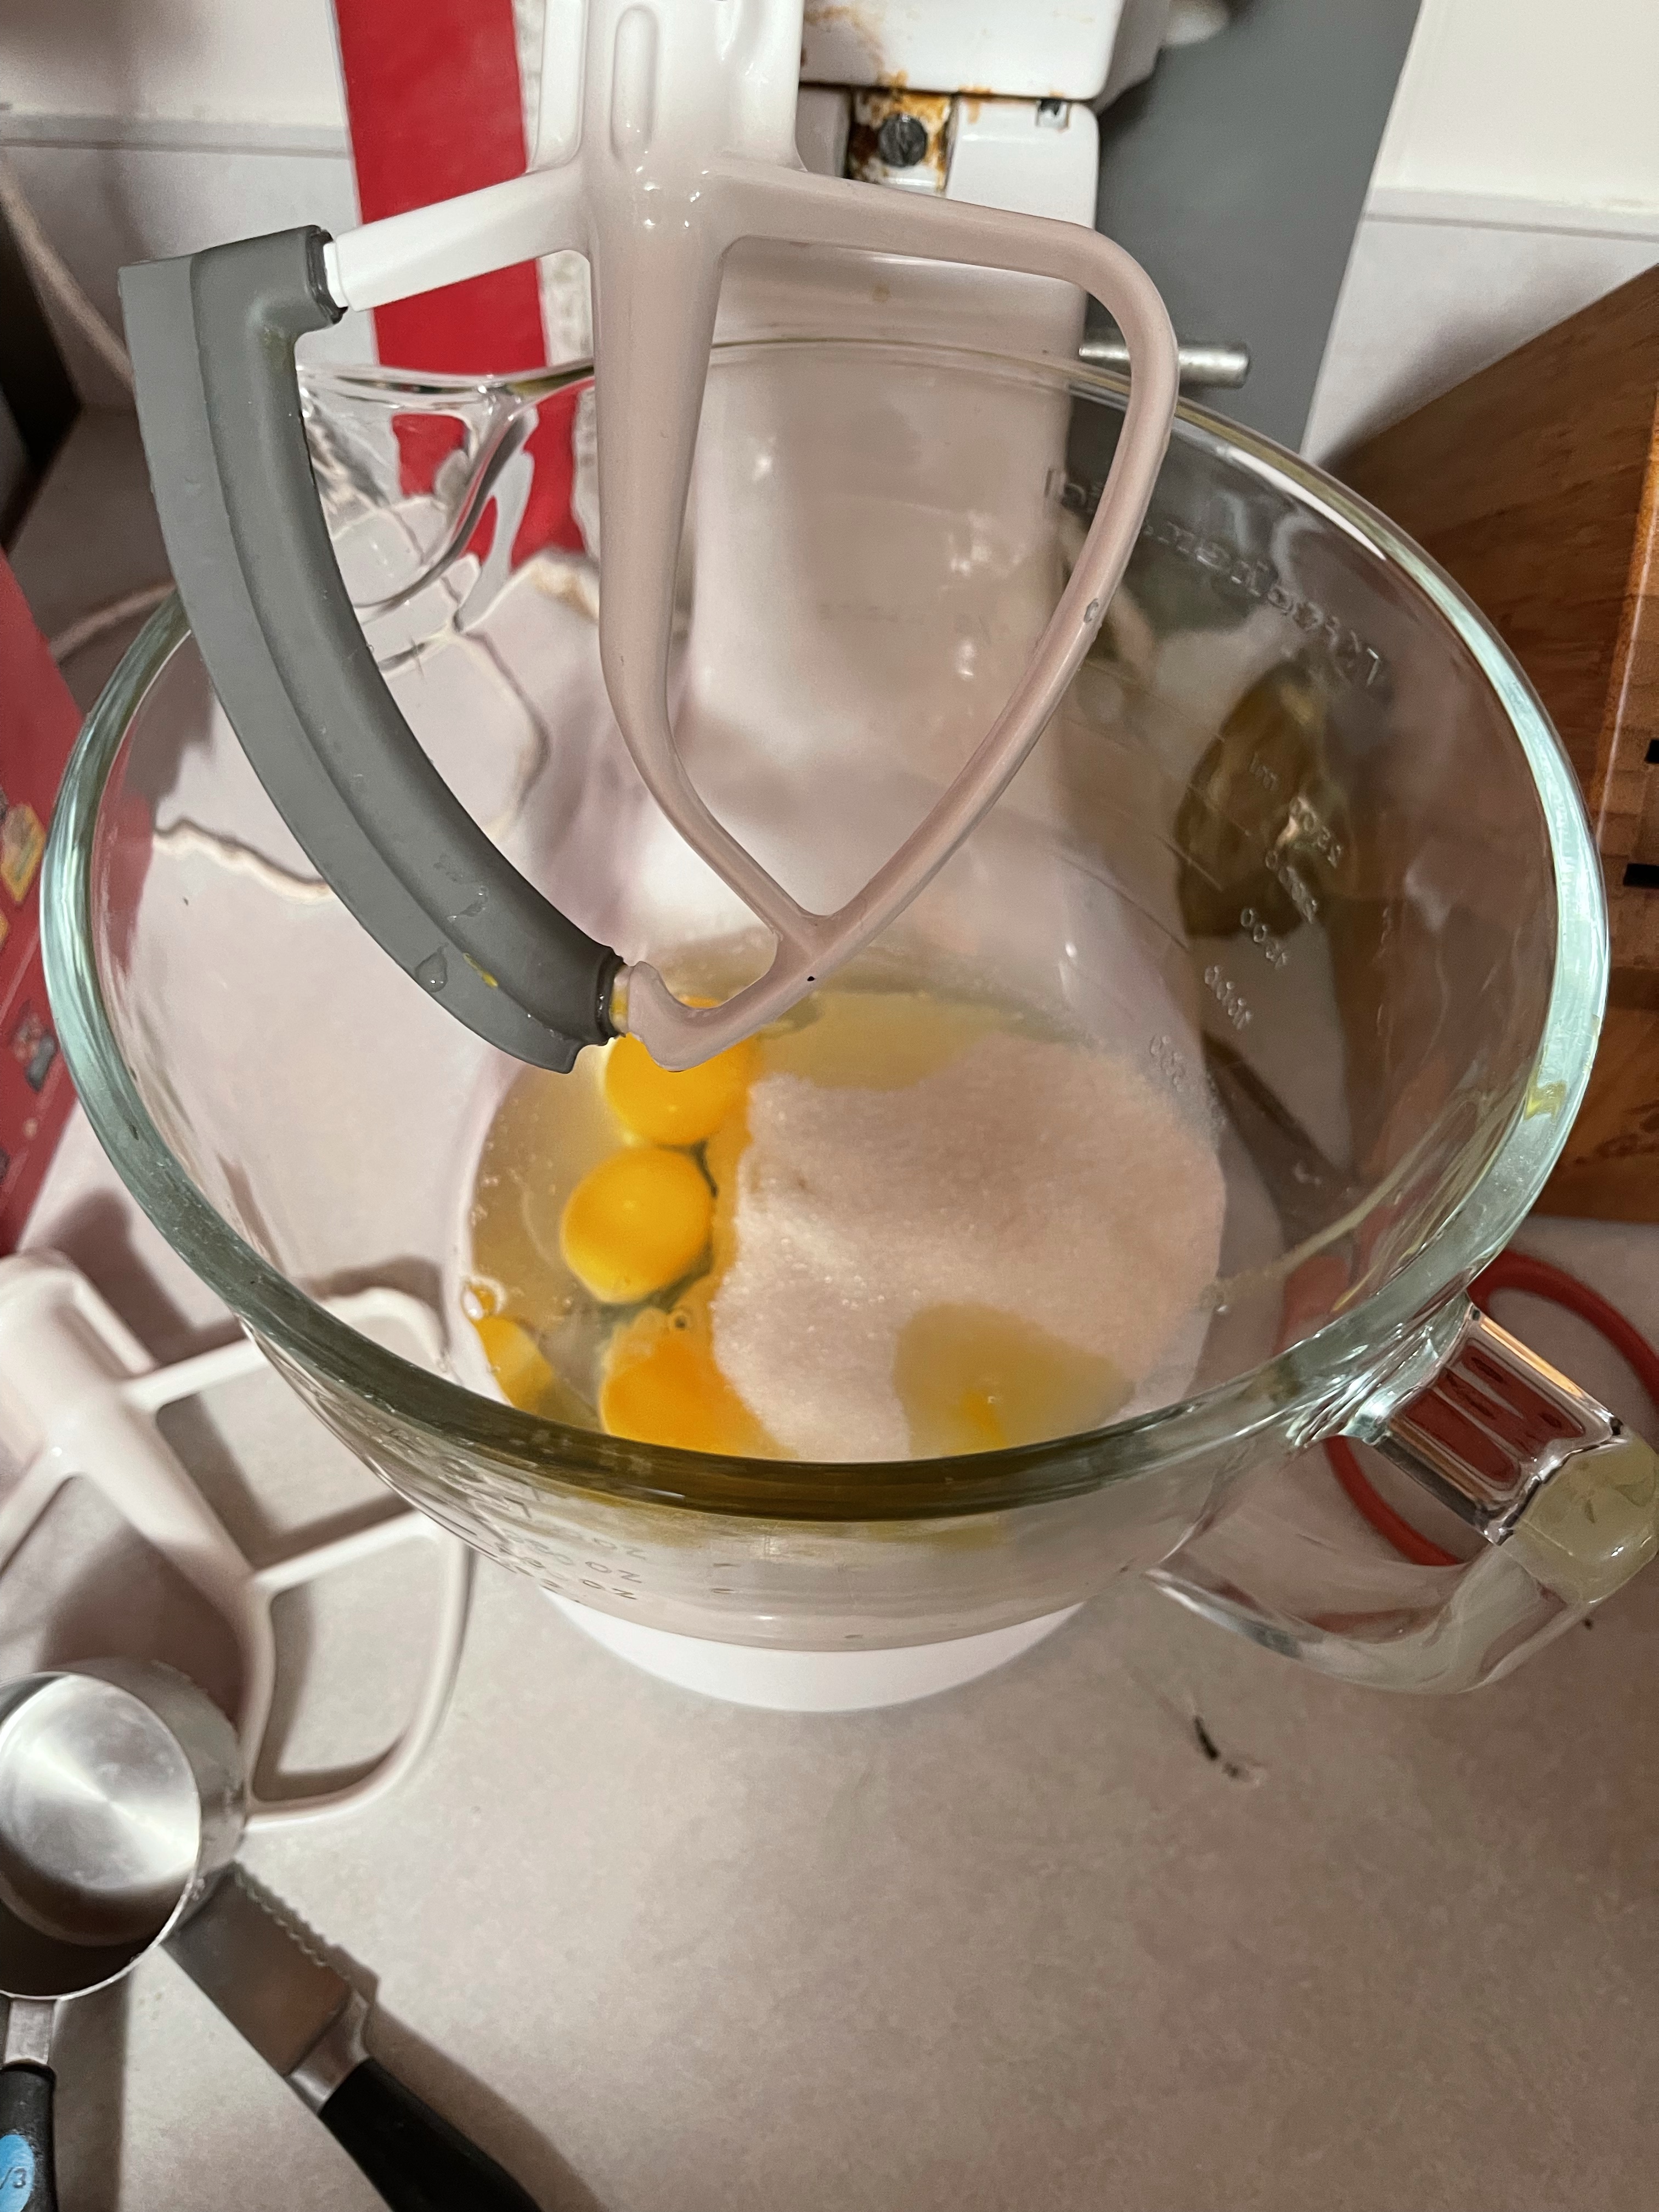
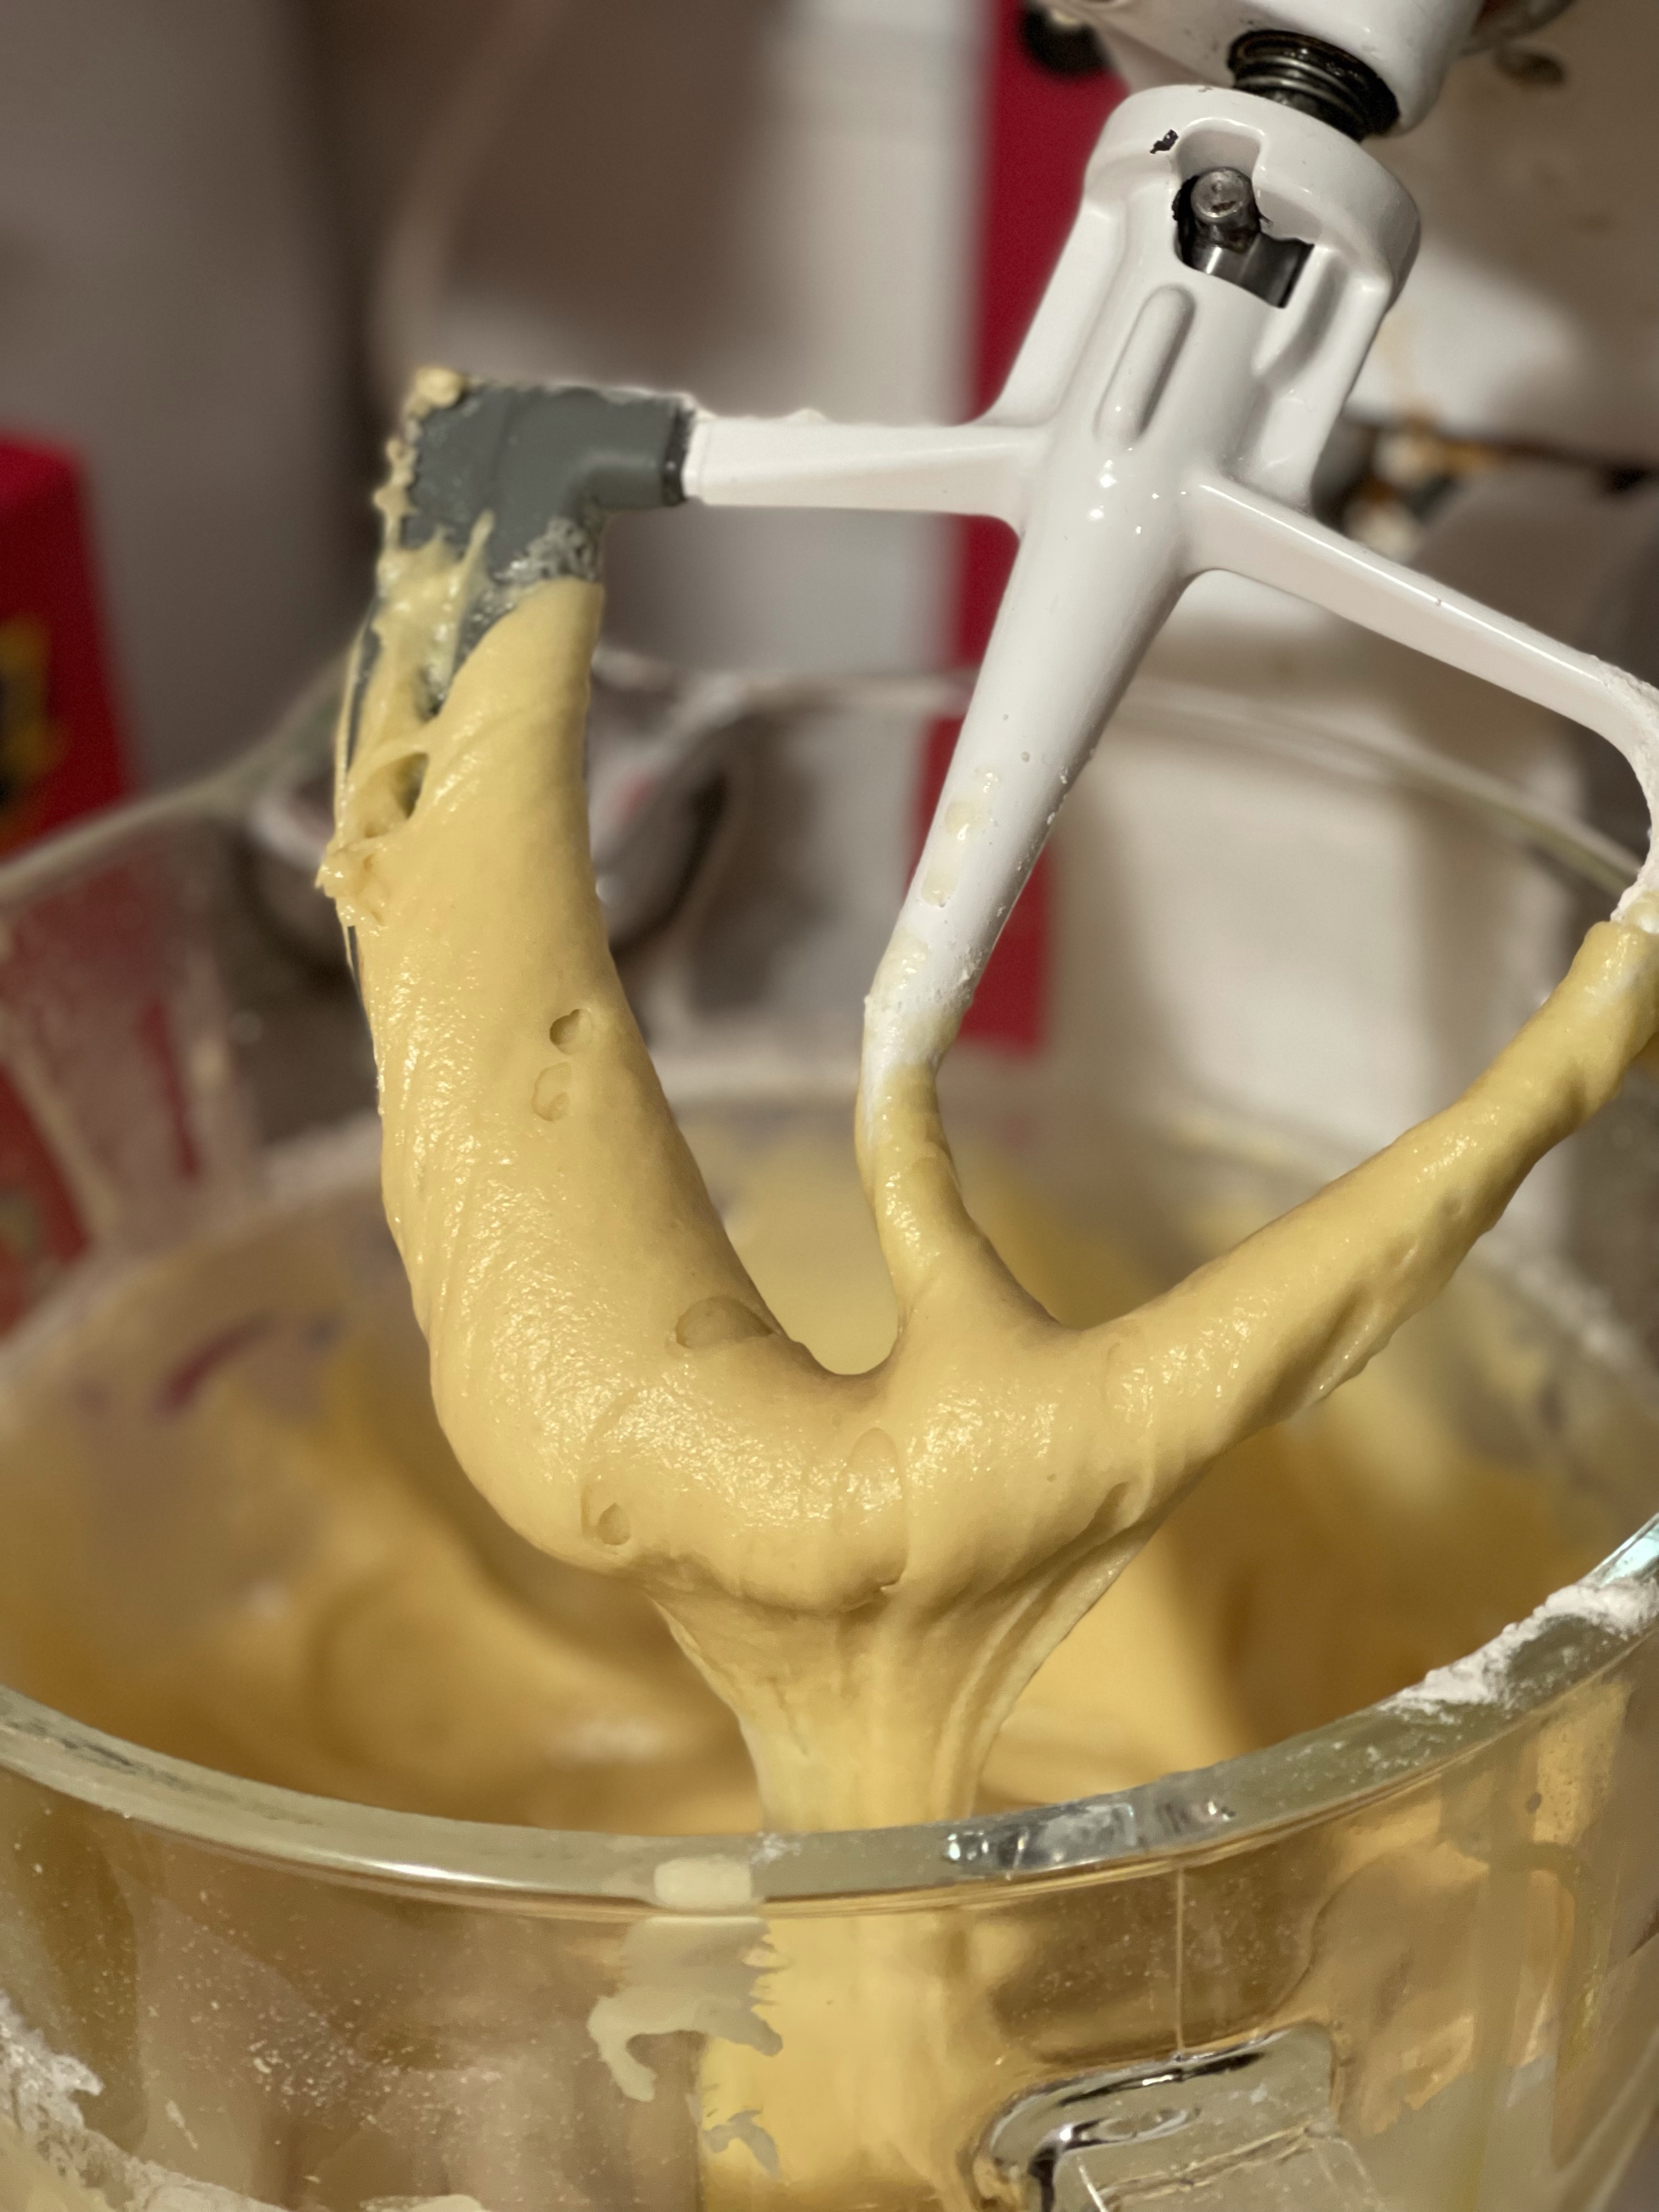
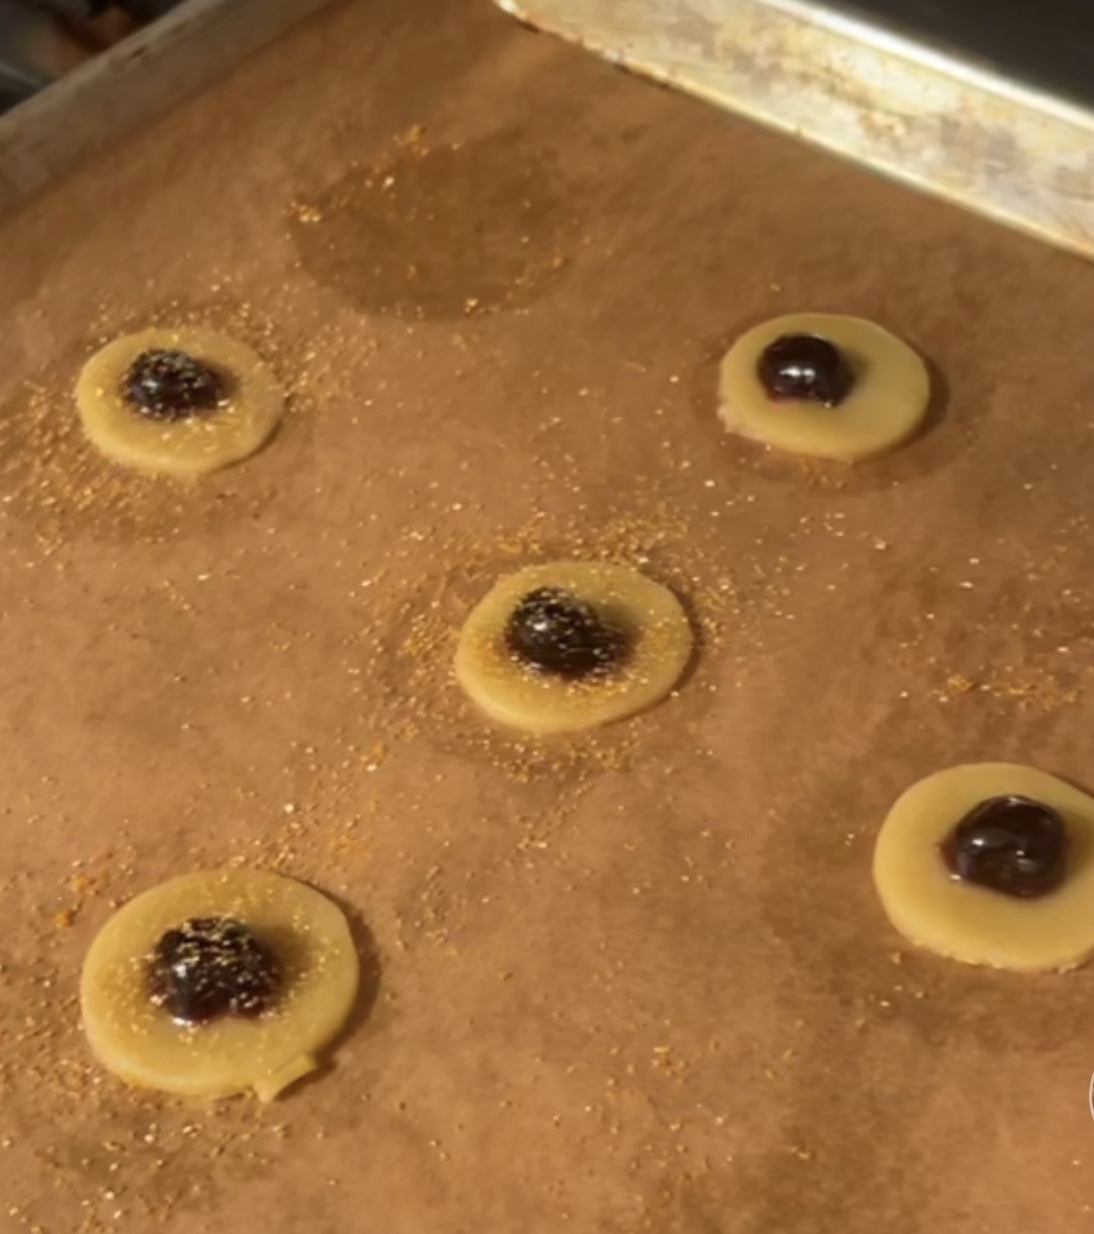
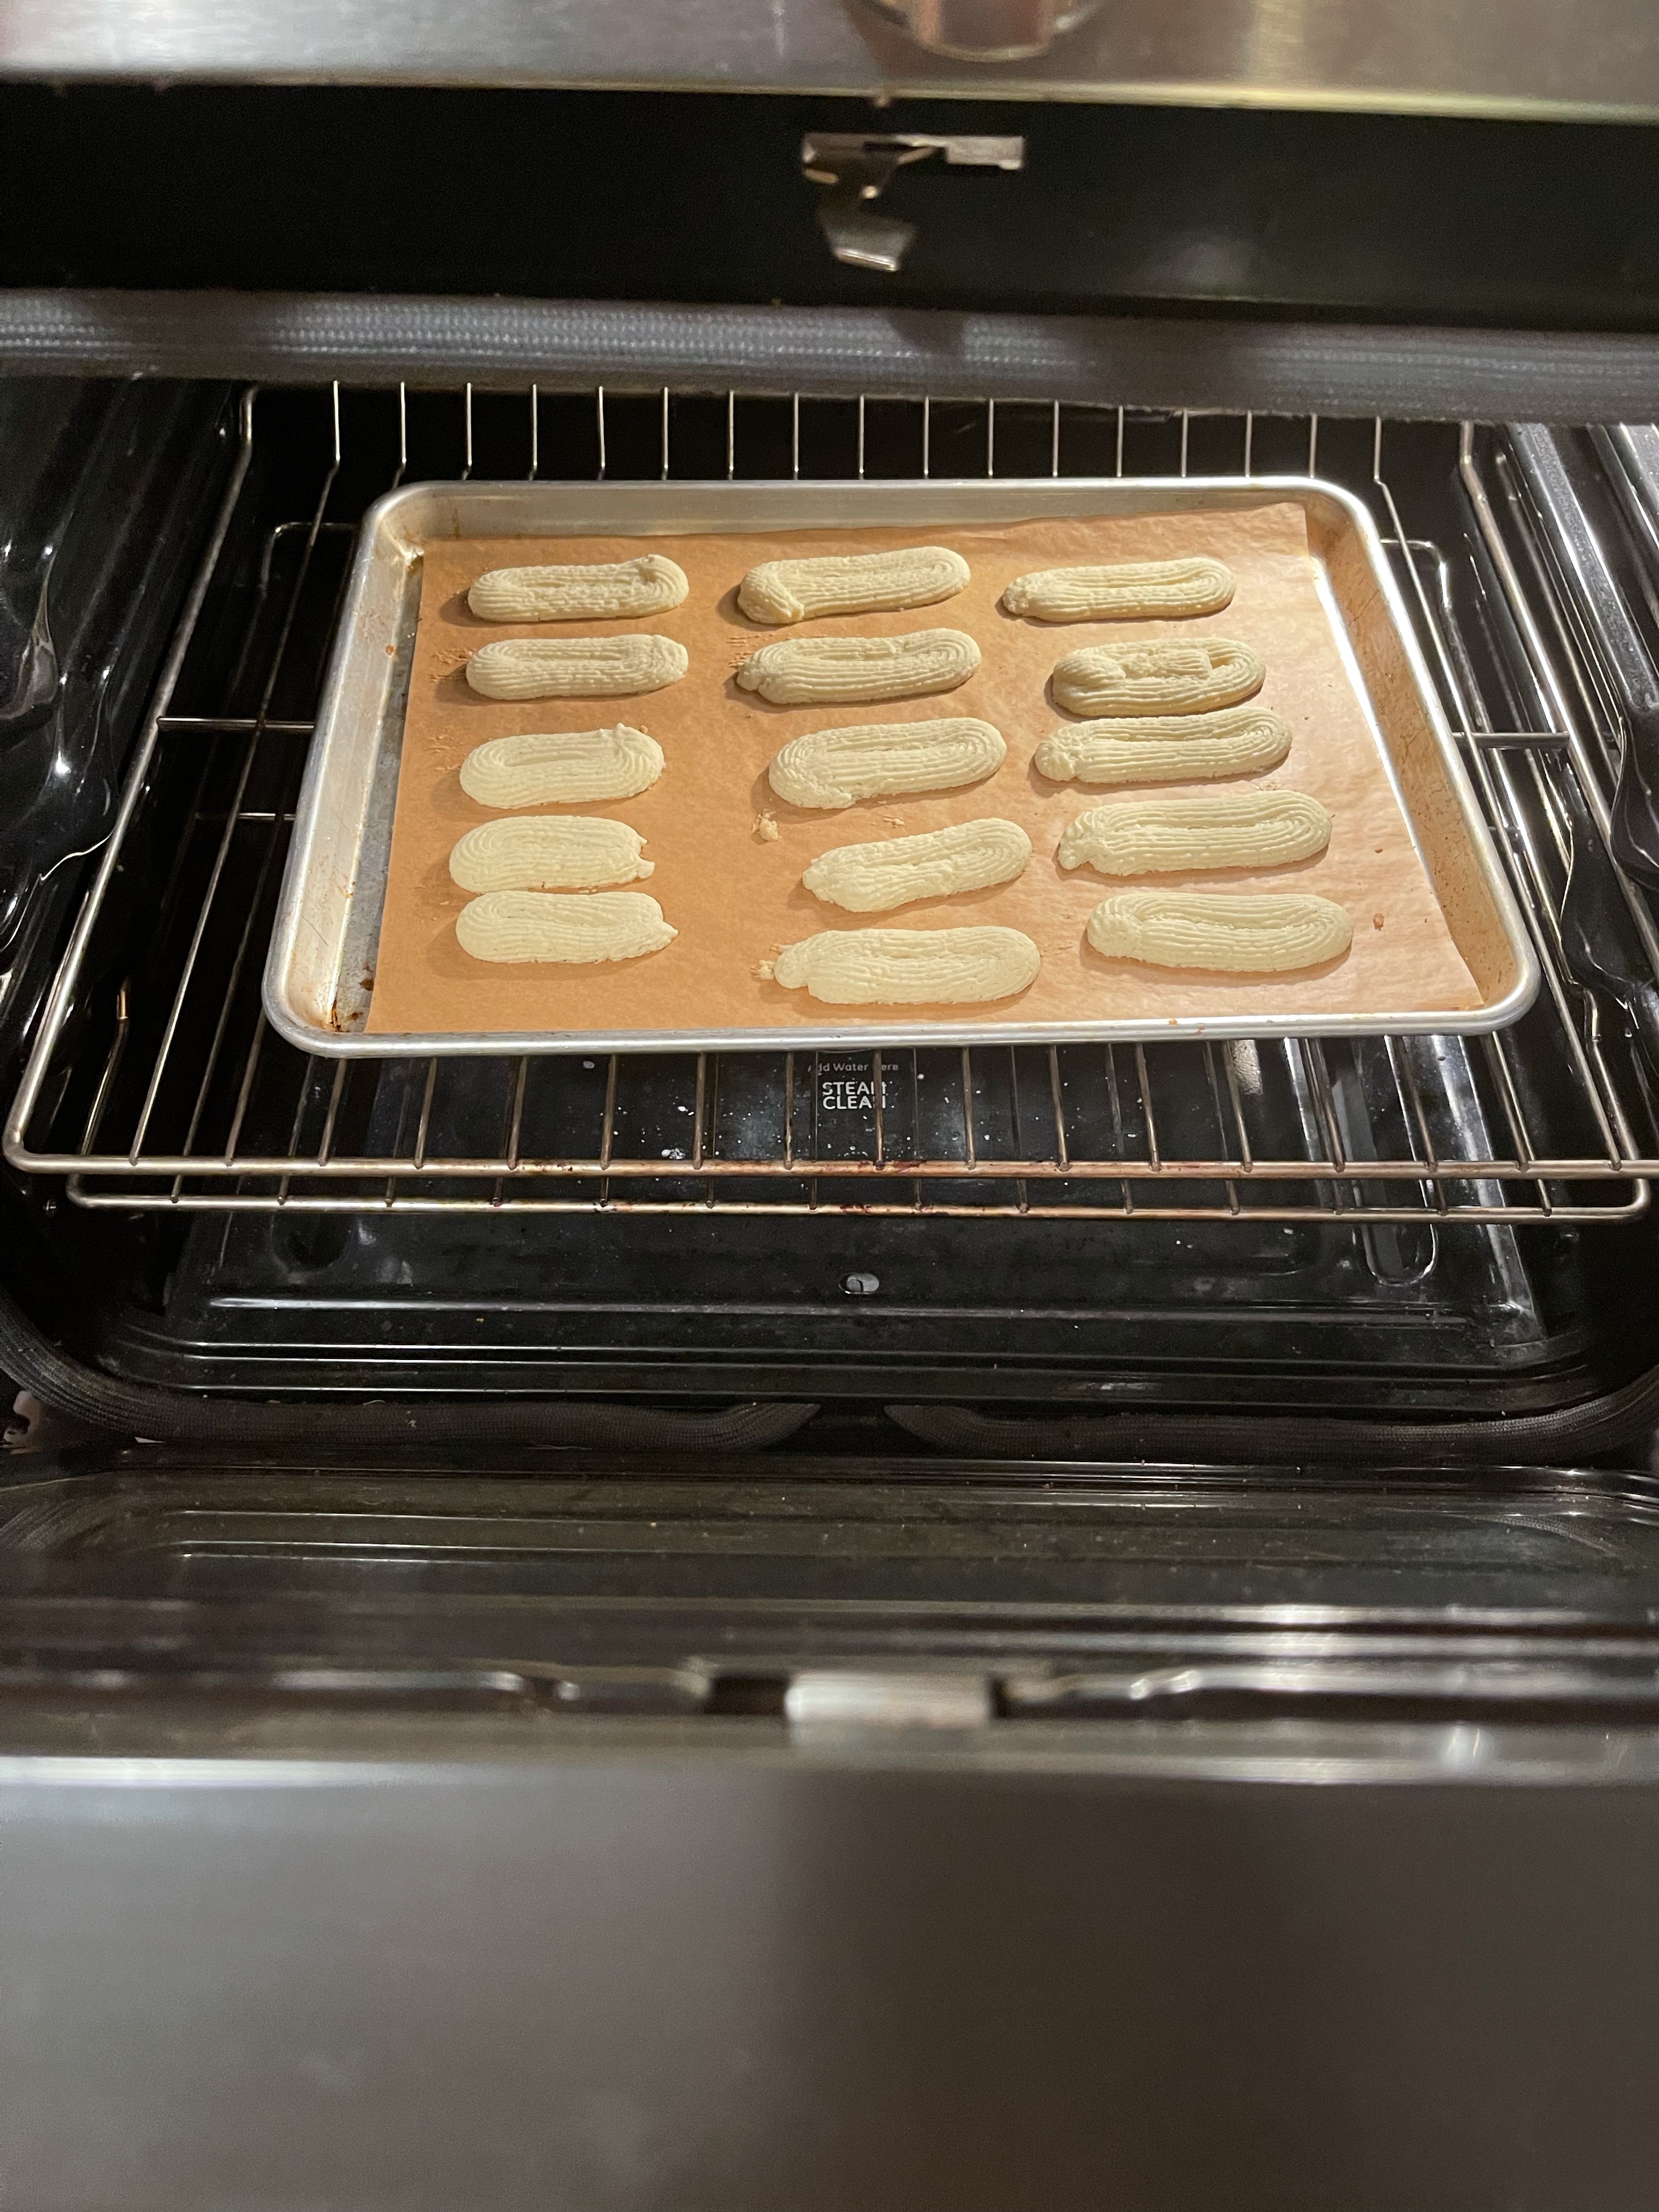
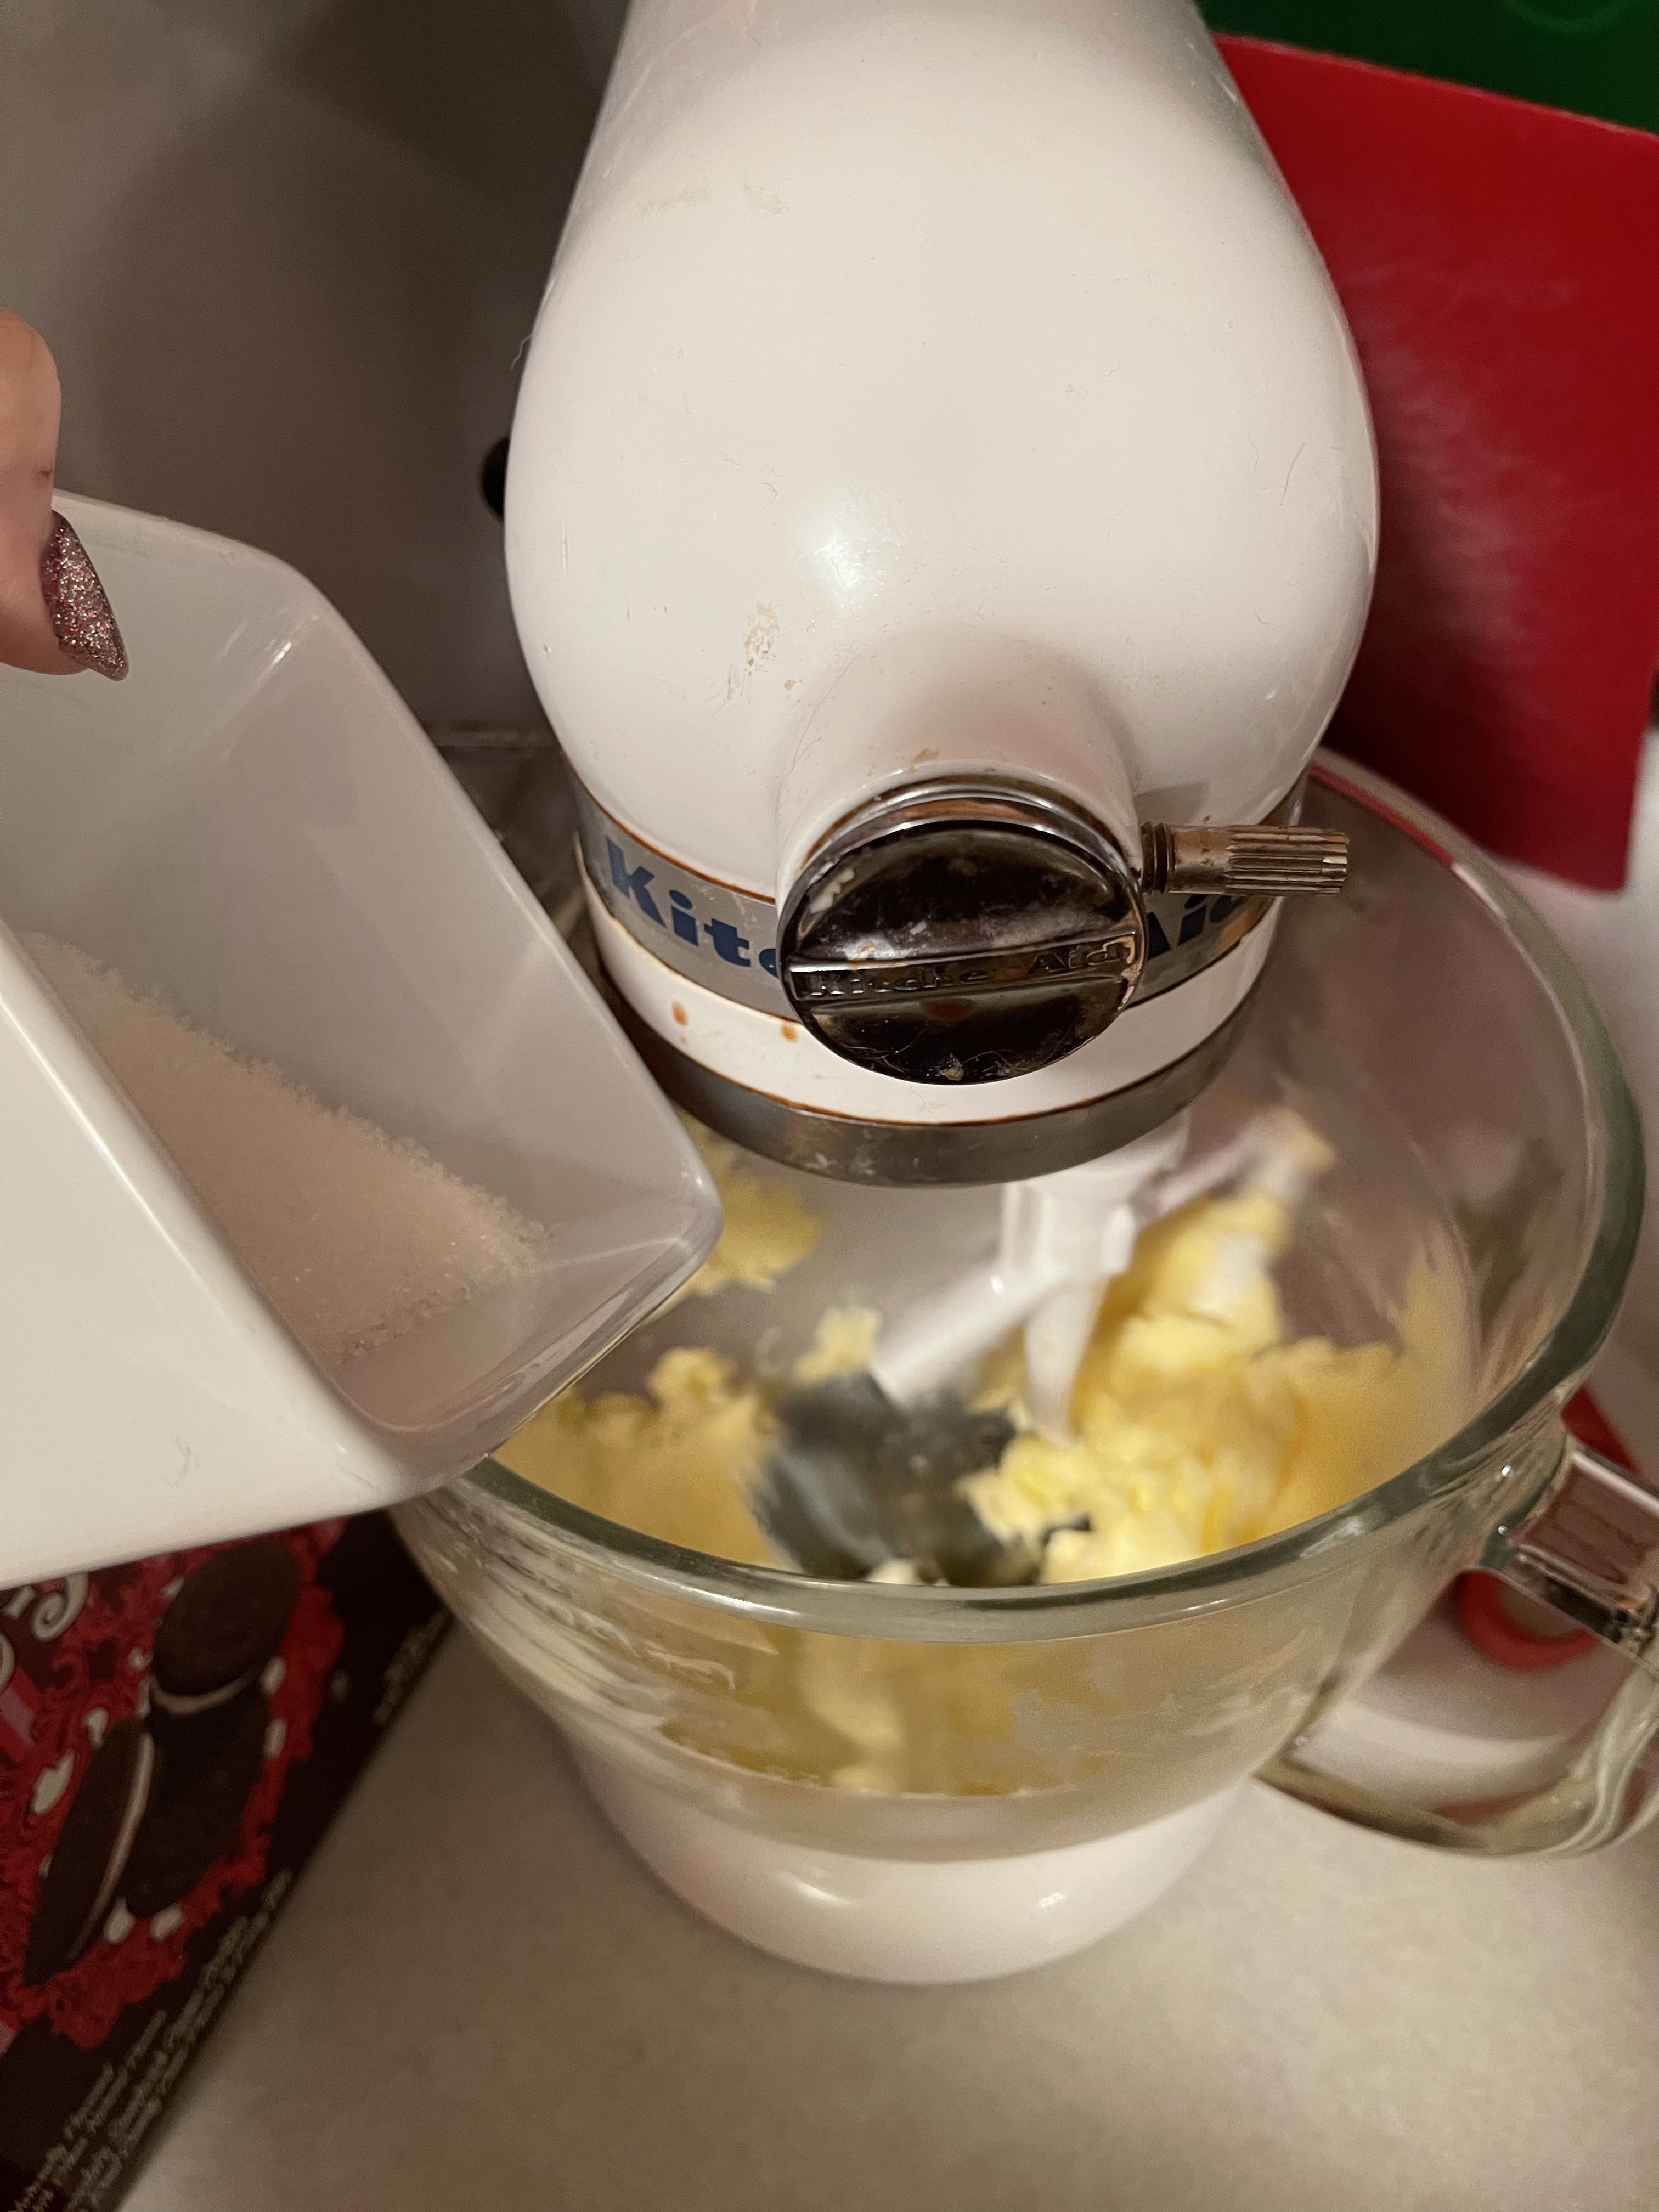
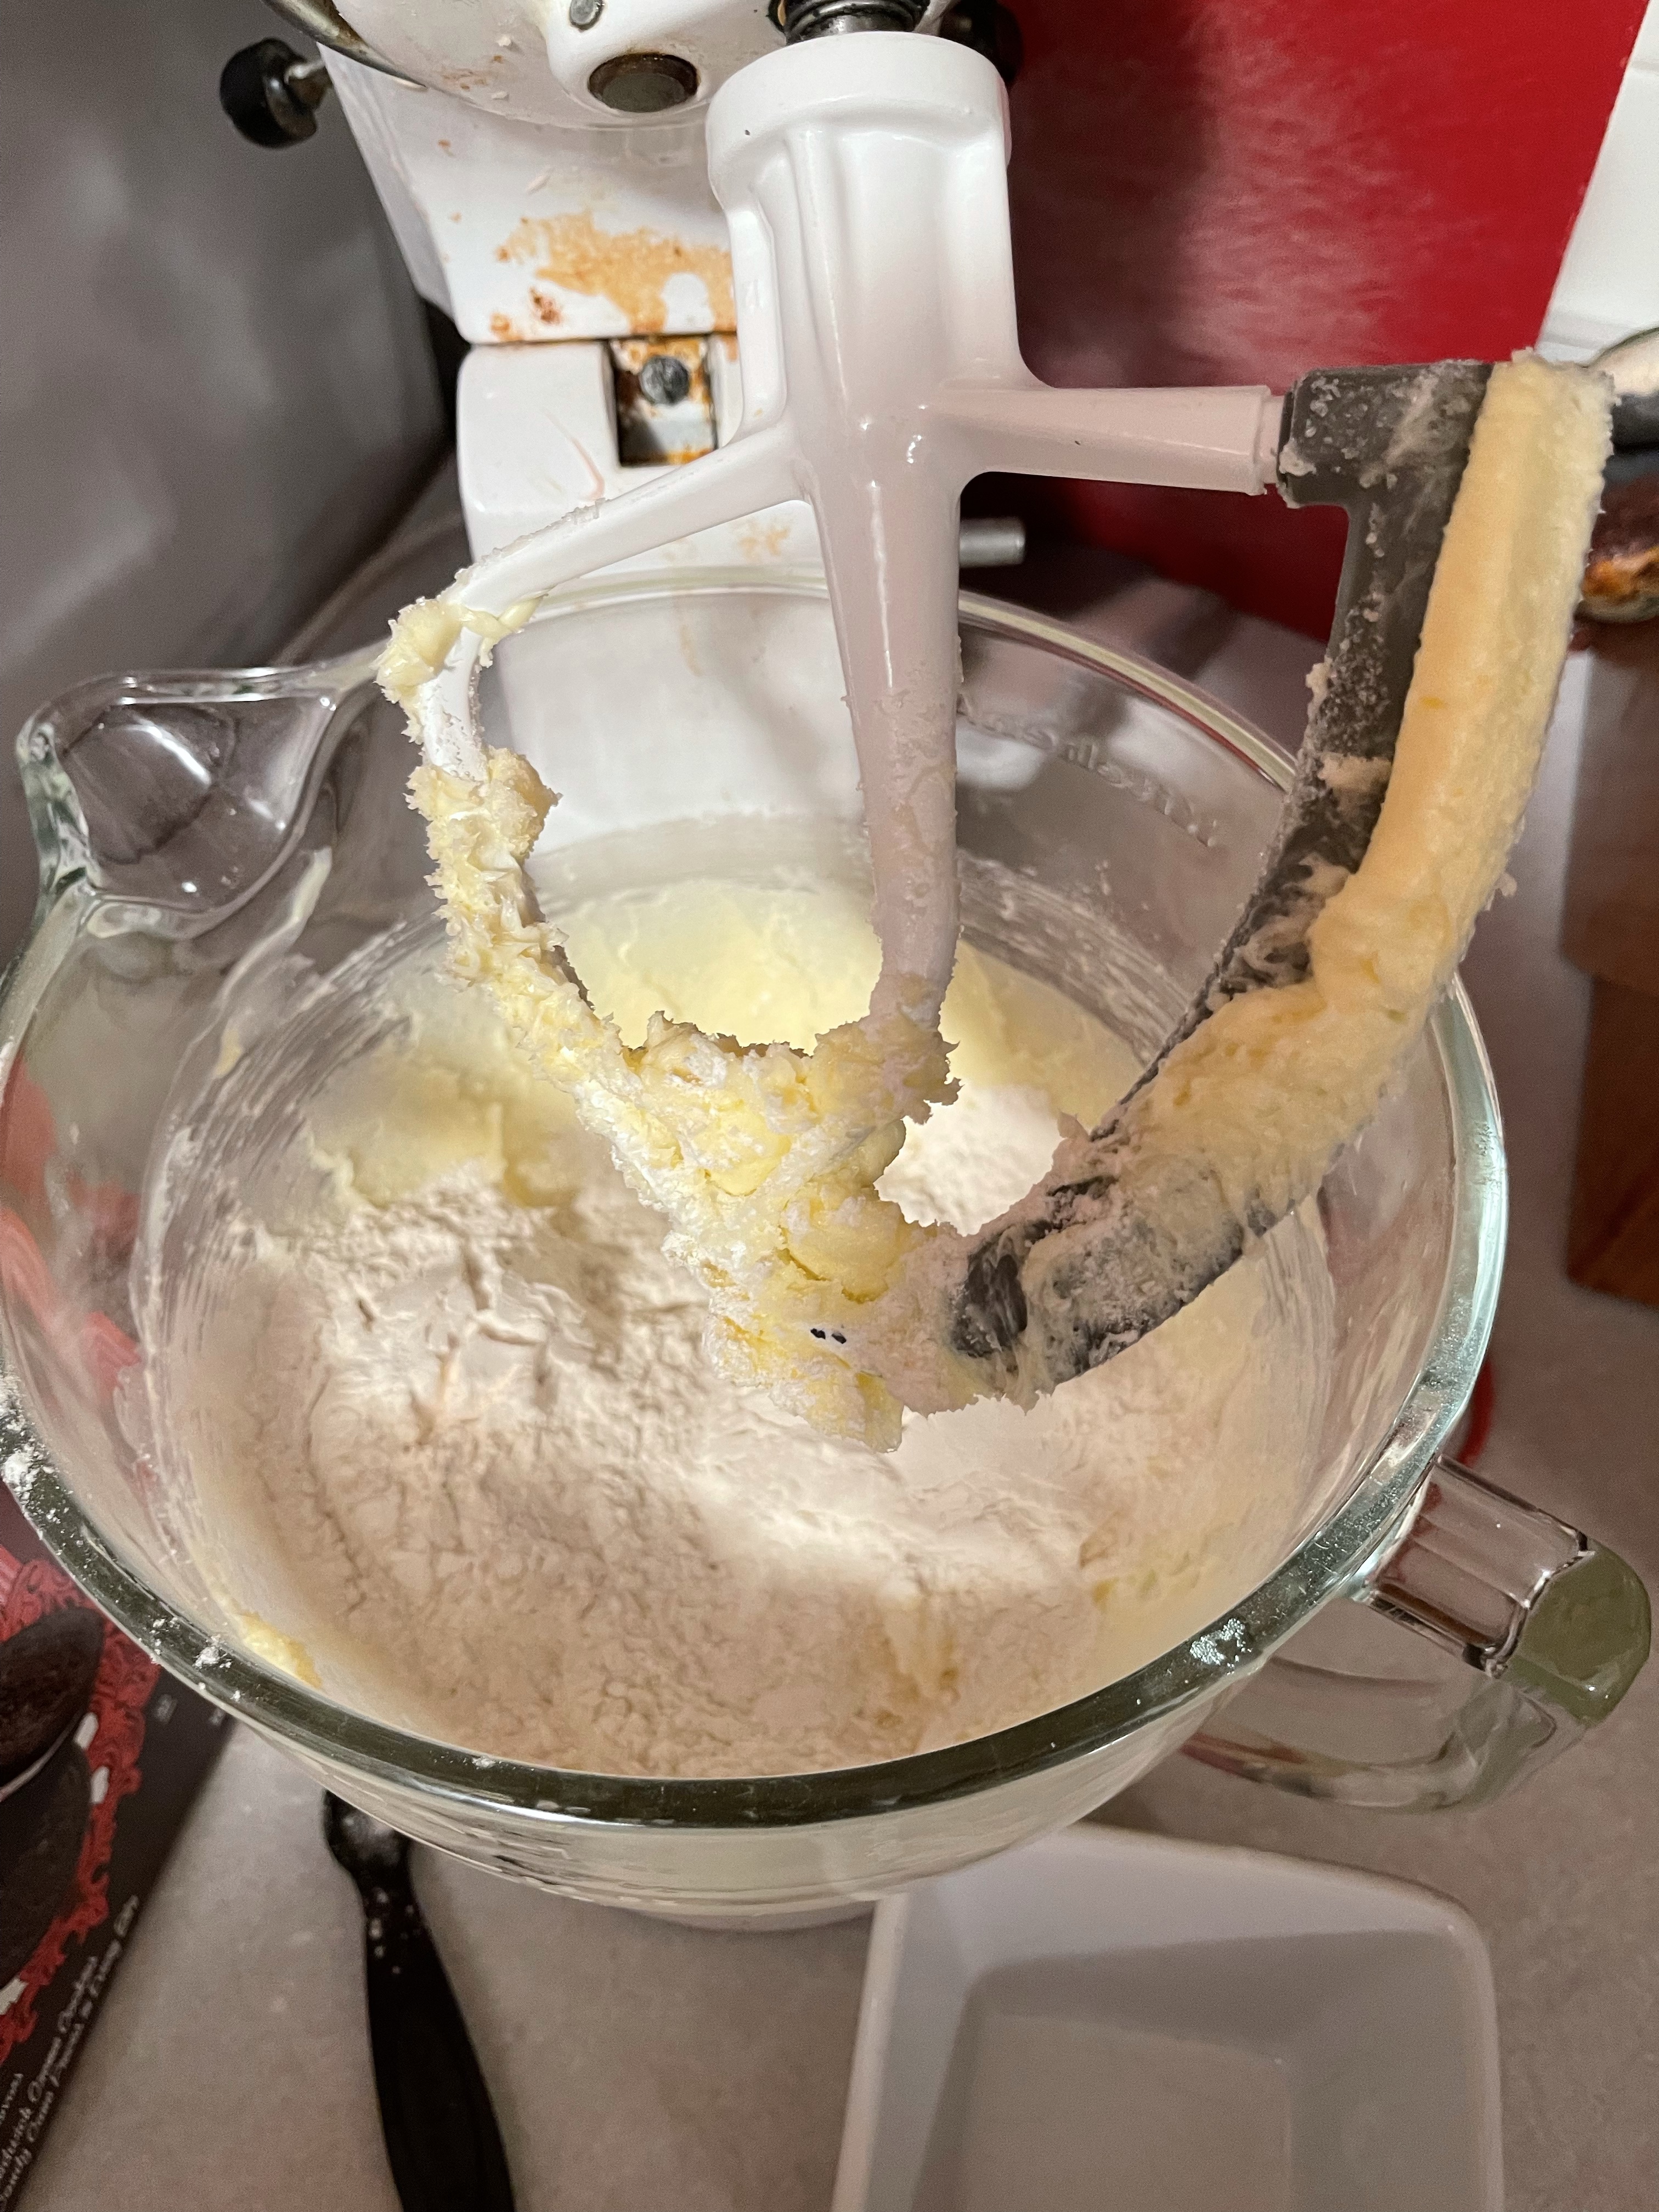
Cream butter, add sugar; add egg yolk then vanilla and mix well. Next, add the flour with the baking powder mixed in. Alternate adding the flour with the half & half. Form dough into little balls the size of a walnut. Whip egg whites stiff. Dip dough balls into whipped egg white and roll in pecans. Place a half of a cherry in the center and push it down lightly. Bake on an ungreased cookie sheet for 15-20 min. in a 350 degree oven. Watch them so they don’t over brown. Yum, yum, yum!
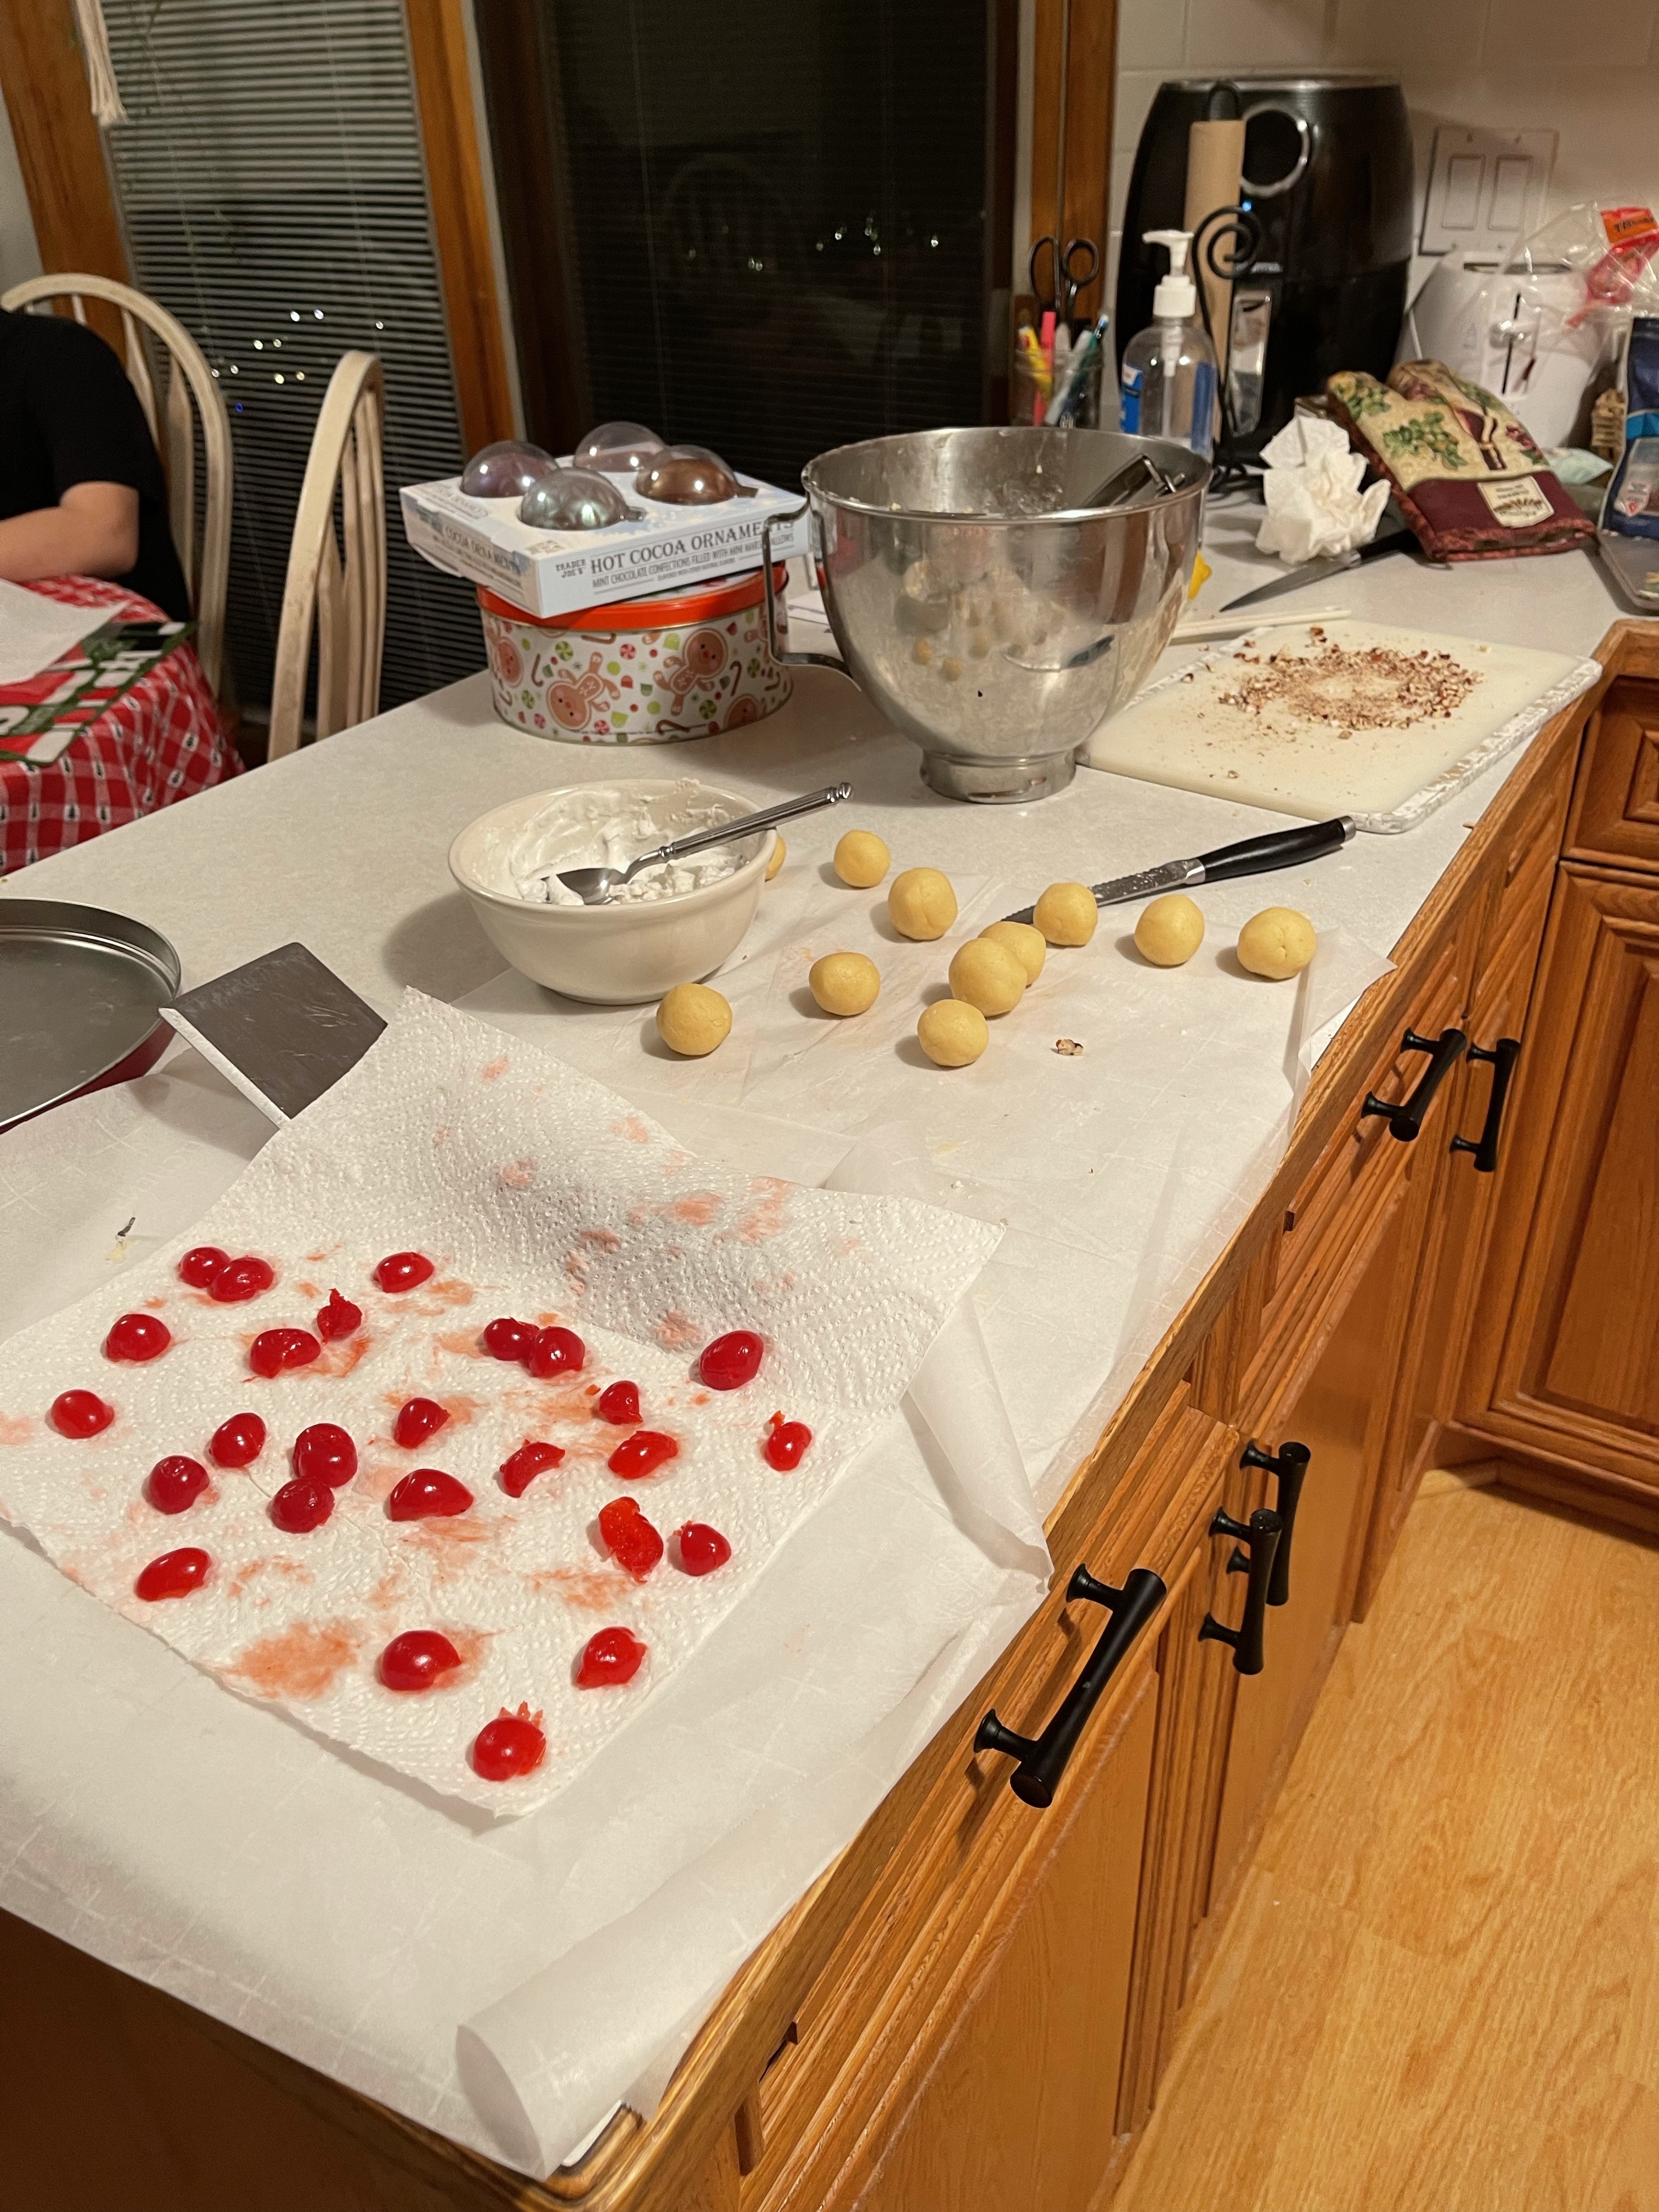
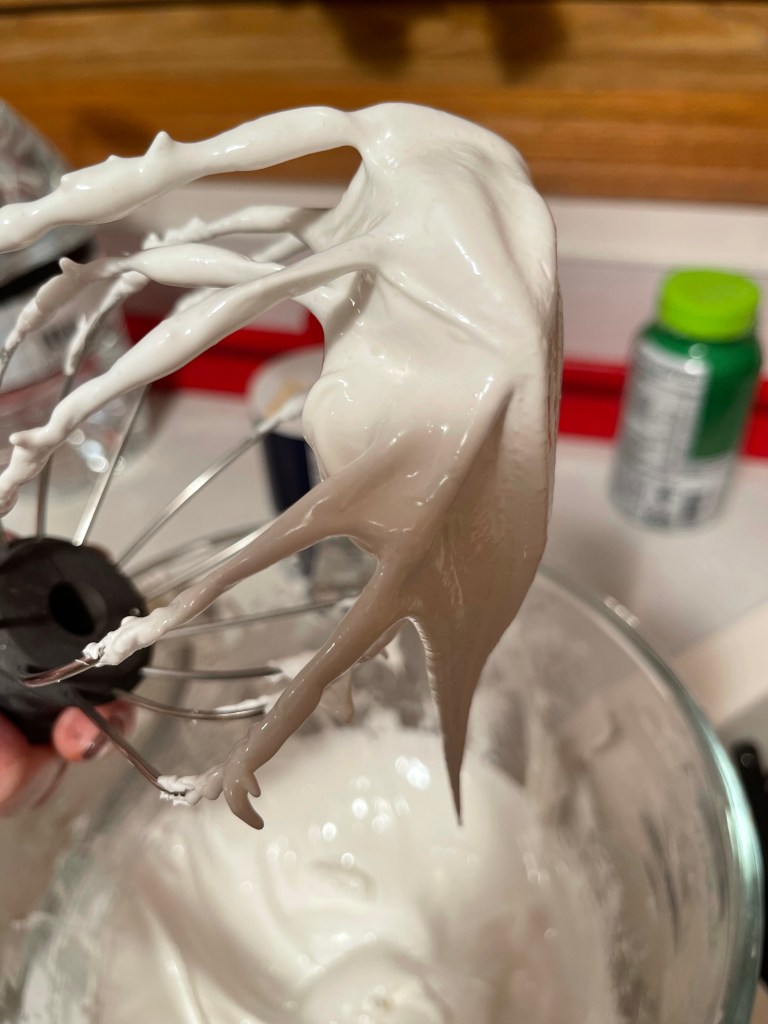
The most interesting part of the process to me is the whipped egg whites to dip the cookie balls in. I’m sure it’s to make it stick to the dough, but I’ve always wondered what would happen if I skipped that step.
Alas, I’m not finding out this year.