If you’ve been with me since the beginning (of the web page), you may remember these from 2013. You know, back when I had no white hair, no teenagers, and no dual masters degrees. I made these after a suggestion at a bar from a Dutch friend. I love that old me went to small-town bars and talked about cookies.
Hell, current me would probably do that too, if I knew more people around here.
Anyway, I digress. I made these only once, and they were phenomenal. They also only made 10 cookies total, which is probably why I haven’t made them again.
This time, I decided to try them again, and maybe make them just a tad smaller. (Just a tad! I know they are supposed to be large!)
Gevulde Koeken
For the dough:
- 2 1/4 c. all-purpose flour
- 1/2 c. sugar
- 1 t. baking powder (if it’s a smidge under a teaspoon, even better)
- 1 pinch of salt
- 1-2 T. of cold water
- 1 3/4 sticks of butter
For the filling:
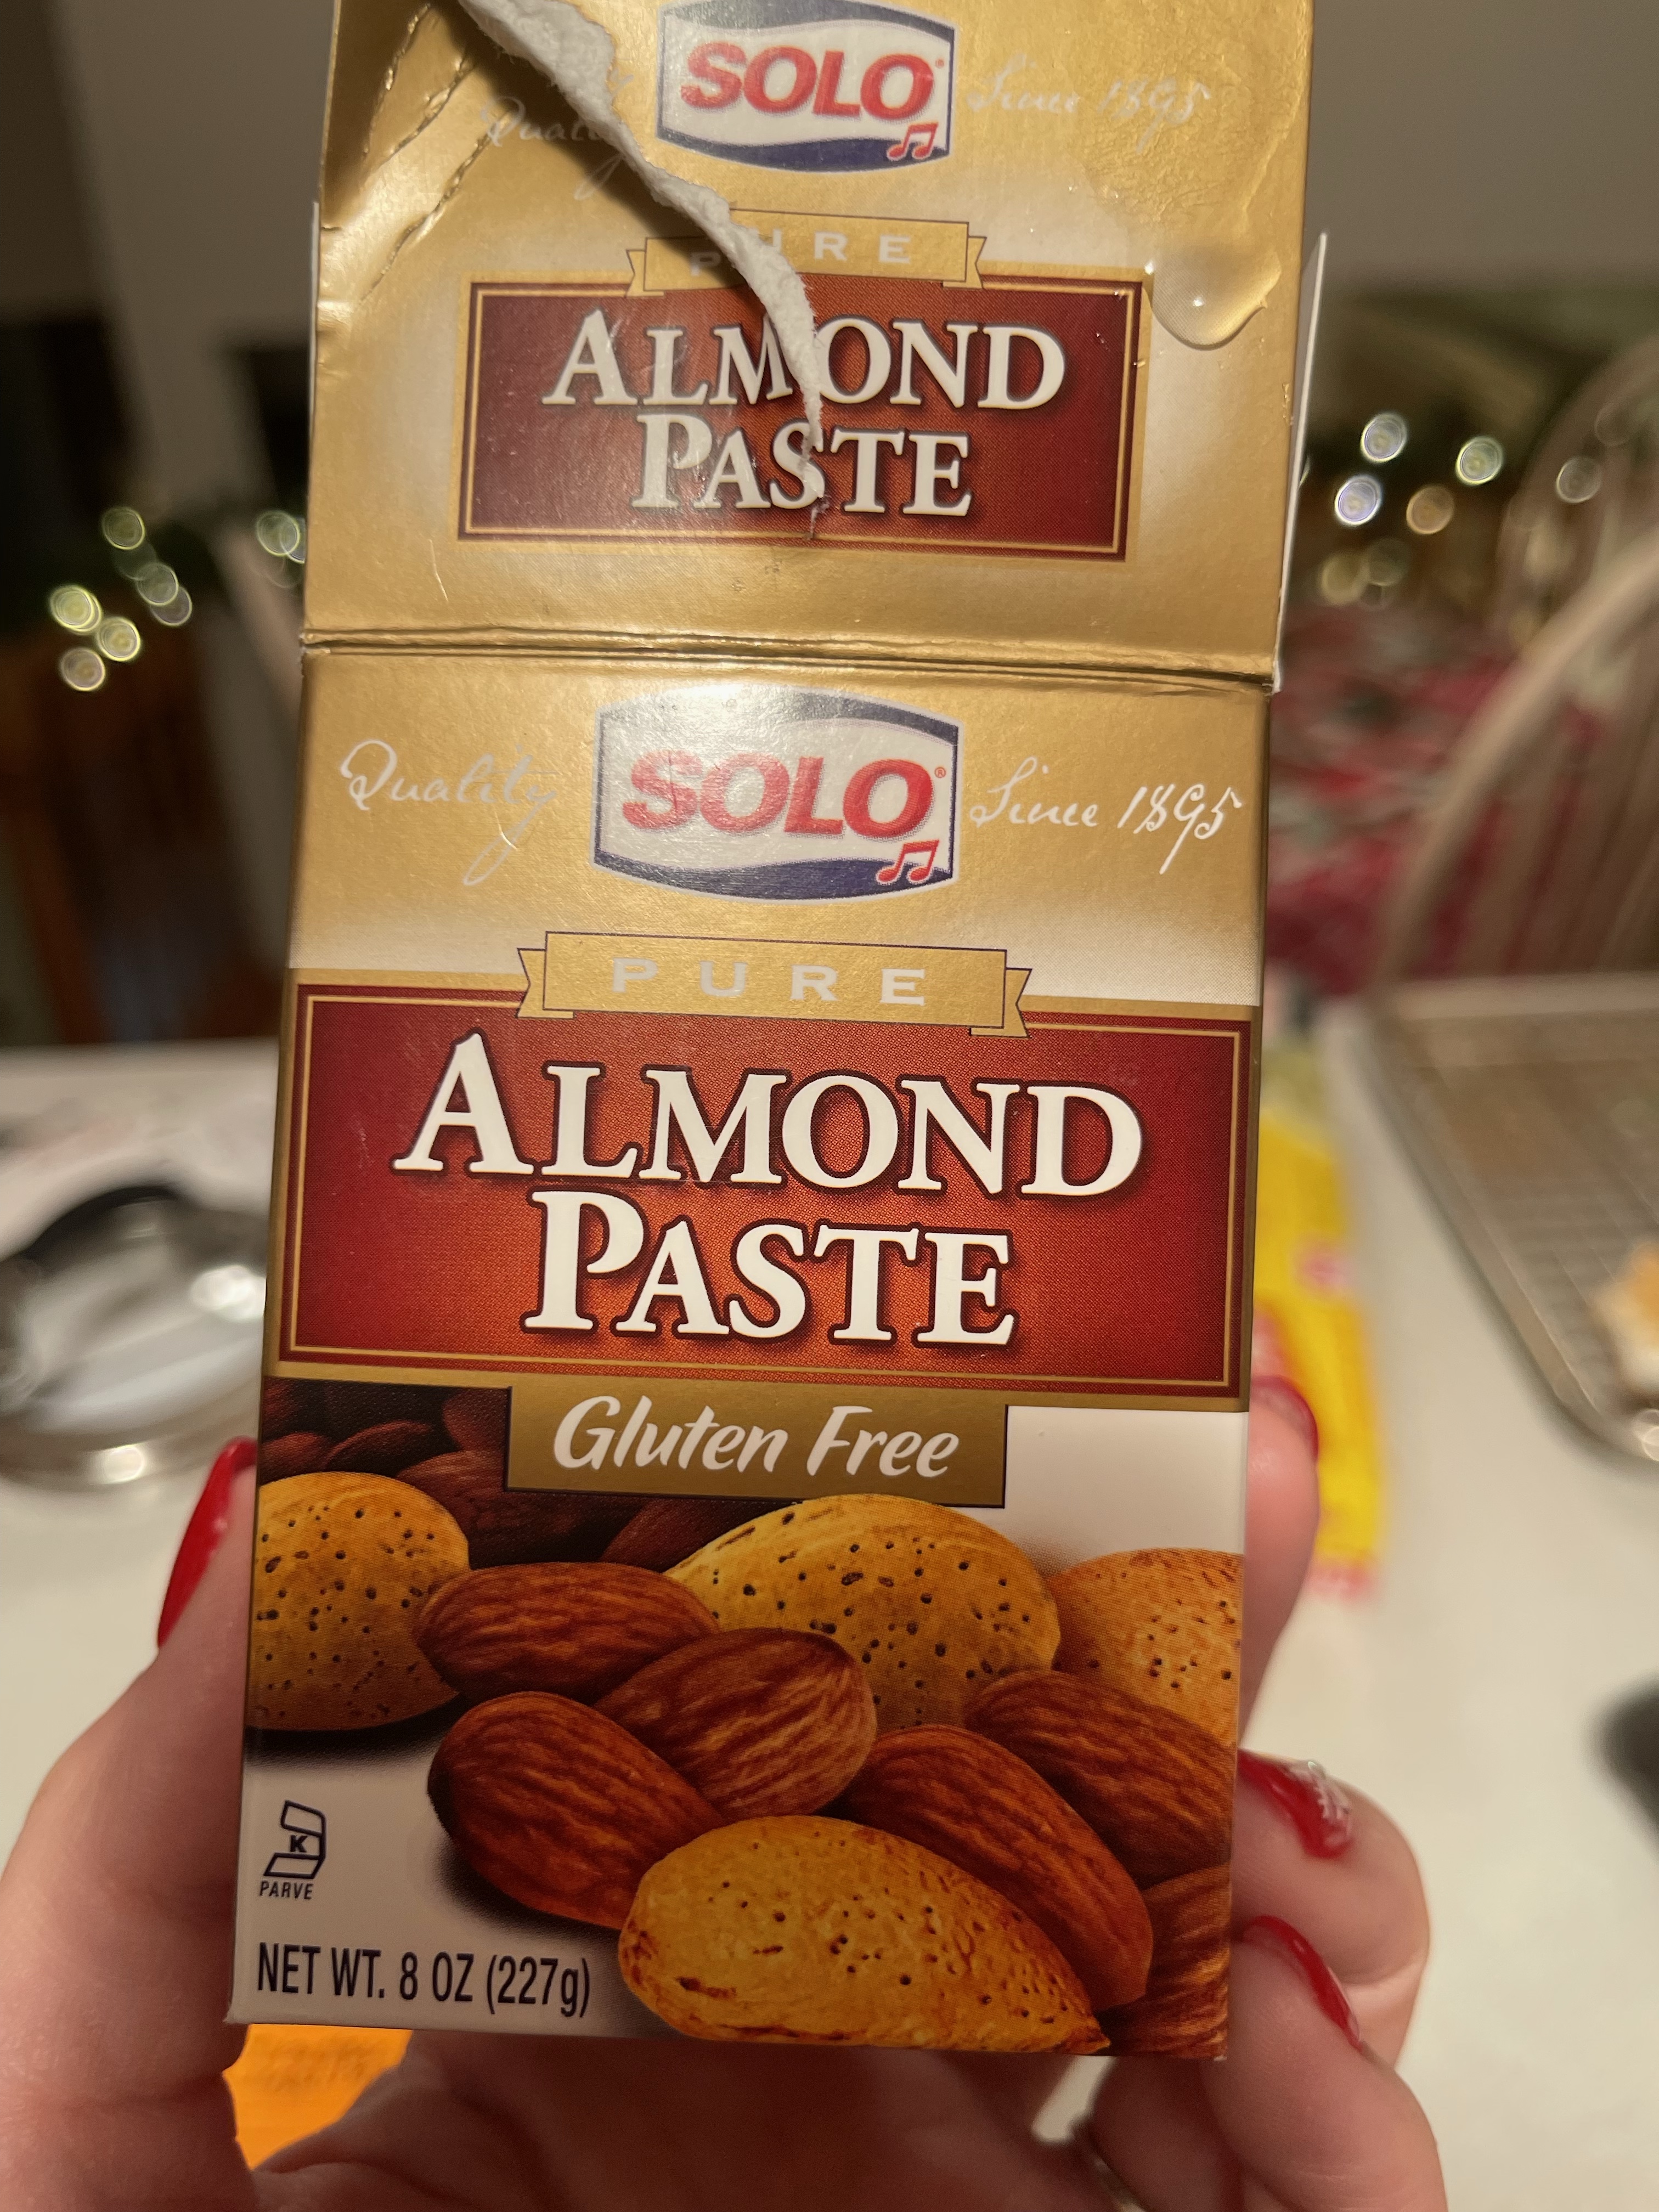
- 1 c. almond paste
- 2 T. sugar
- 1 egg white (save the yolk!)
- 2 T. water
- 1 t. almond extract
For brushing onto the cookie:
- 1 egg yolk (that one saved from the egg white above)
- 1 T milk
- Sliced or whole almonds
- Mix the dry ingredients and cut the butter into the dough, until it has the consistency of wet sand.
- Add a tablespoon of ice cold water and knead the dough into a cohesive whole, making sure all the butter is well mixed in.
- Pat into an oval, cover with plastic wrap, and refrigerate while you make the paste.
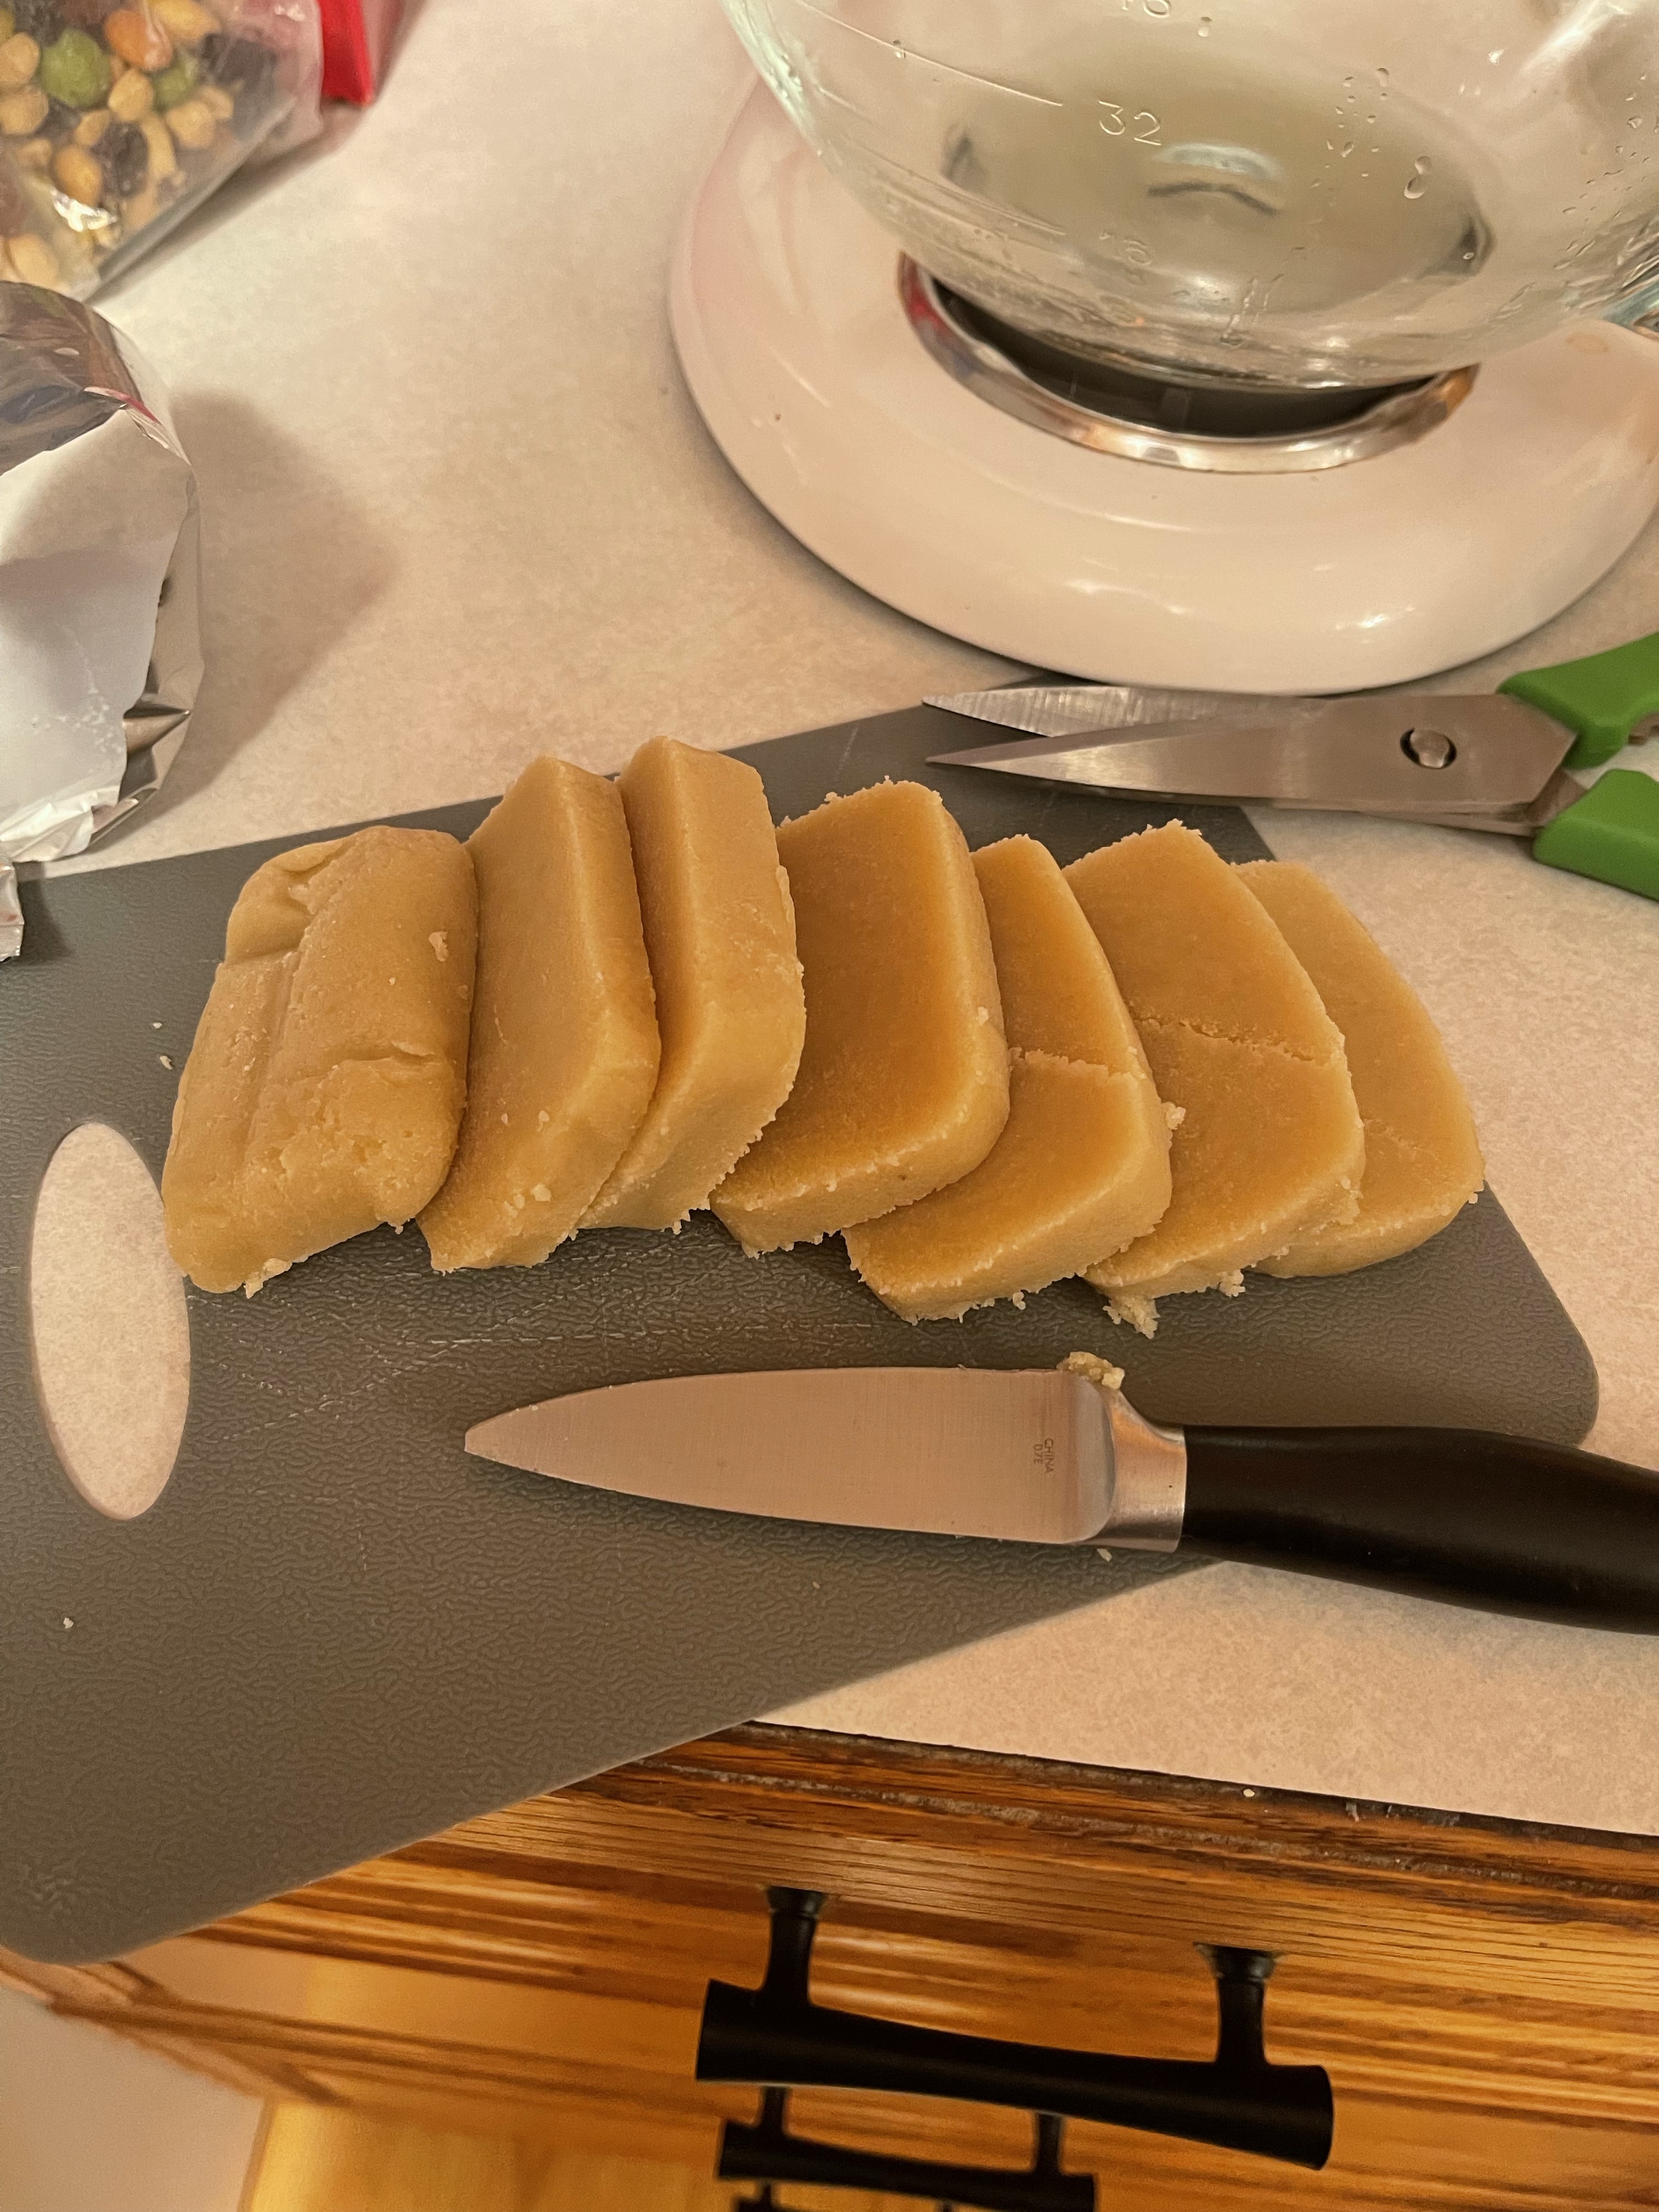
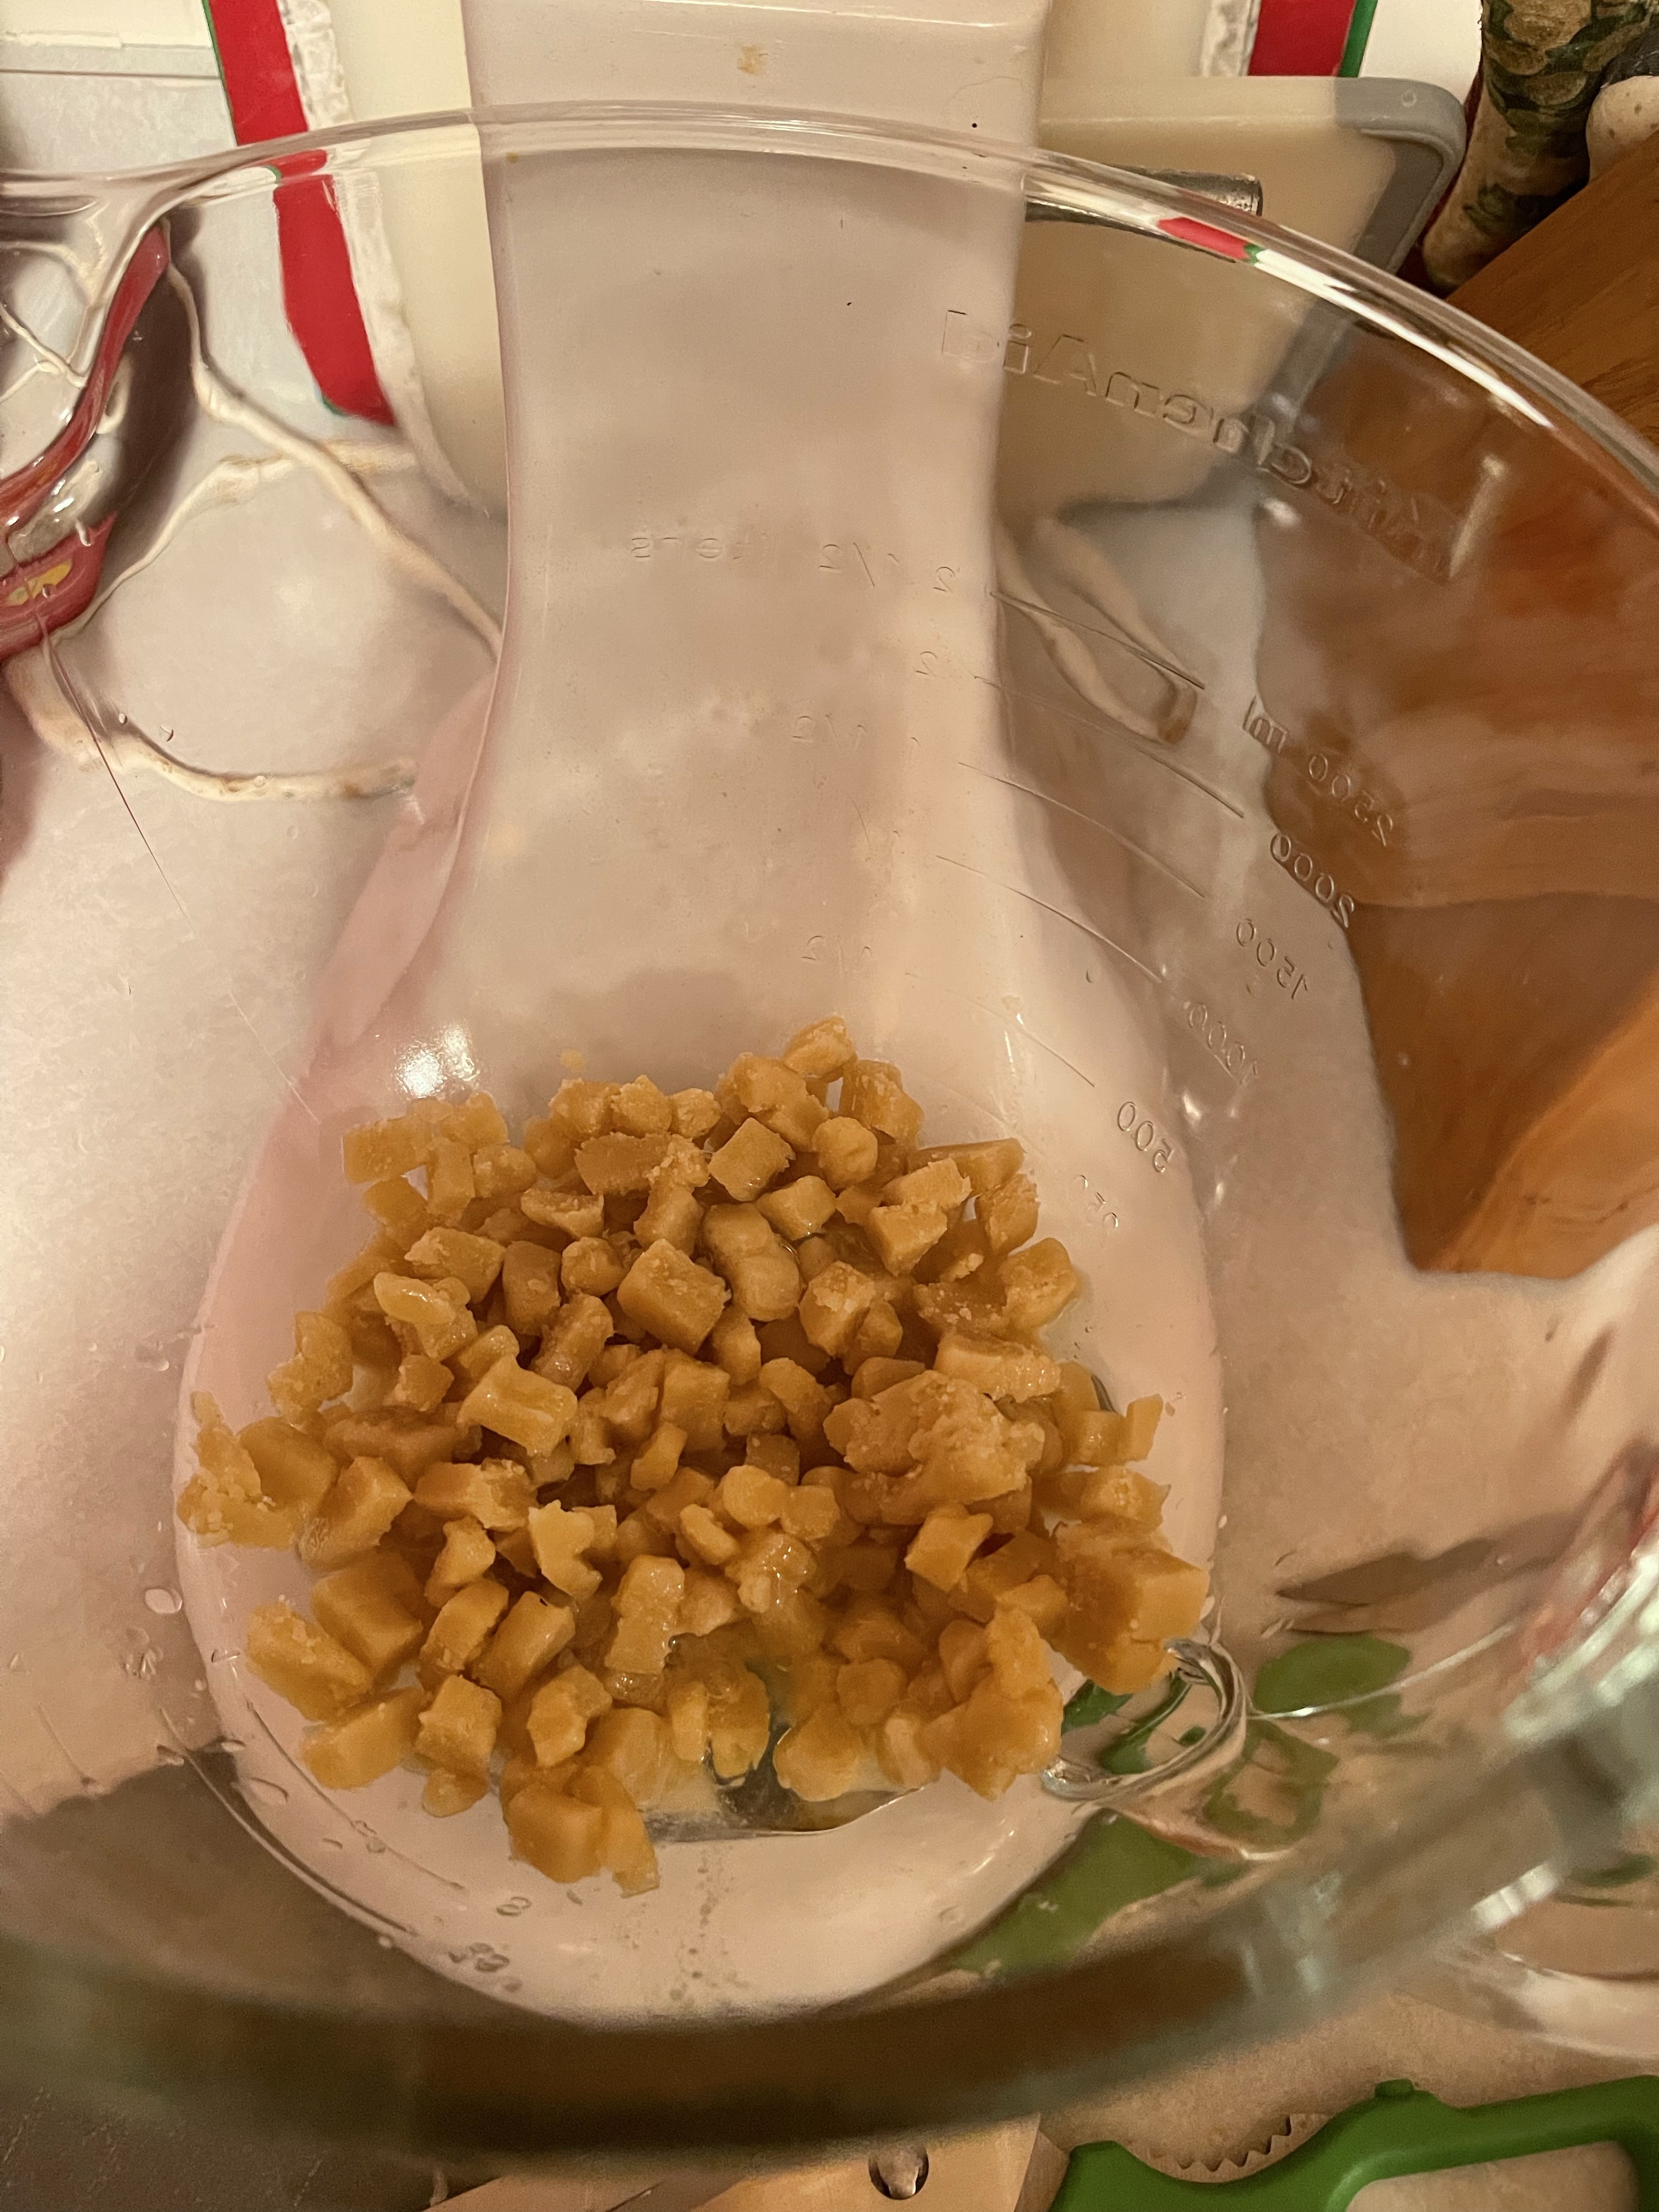
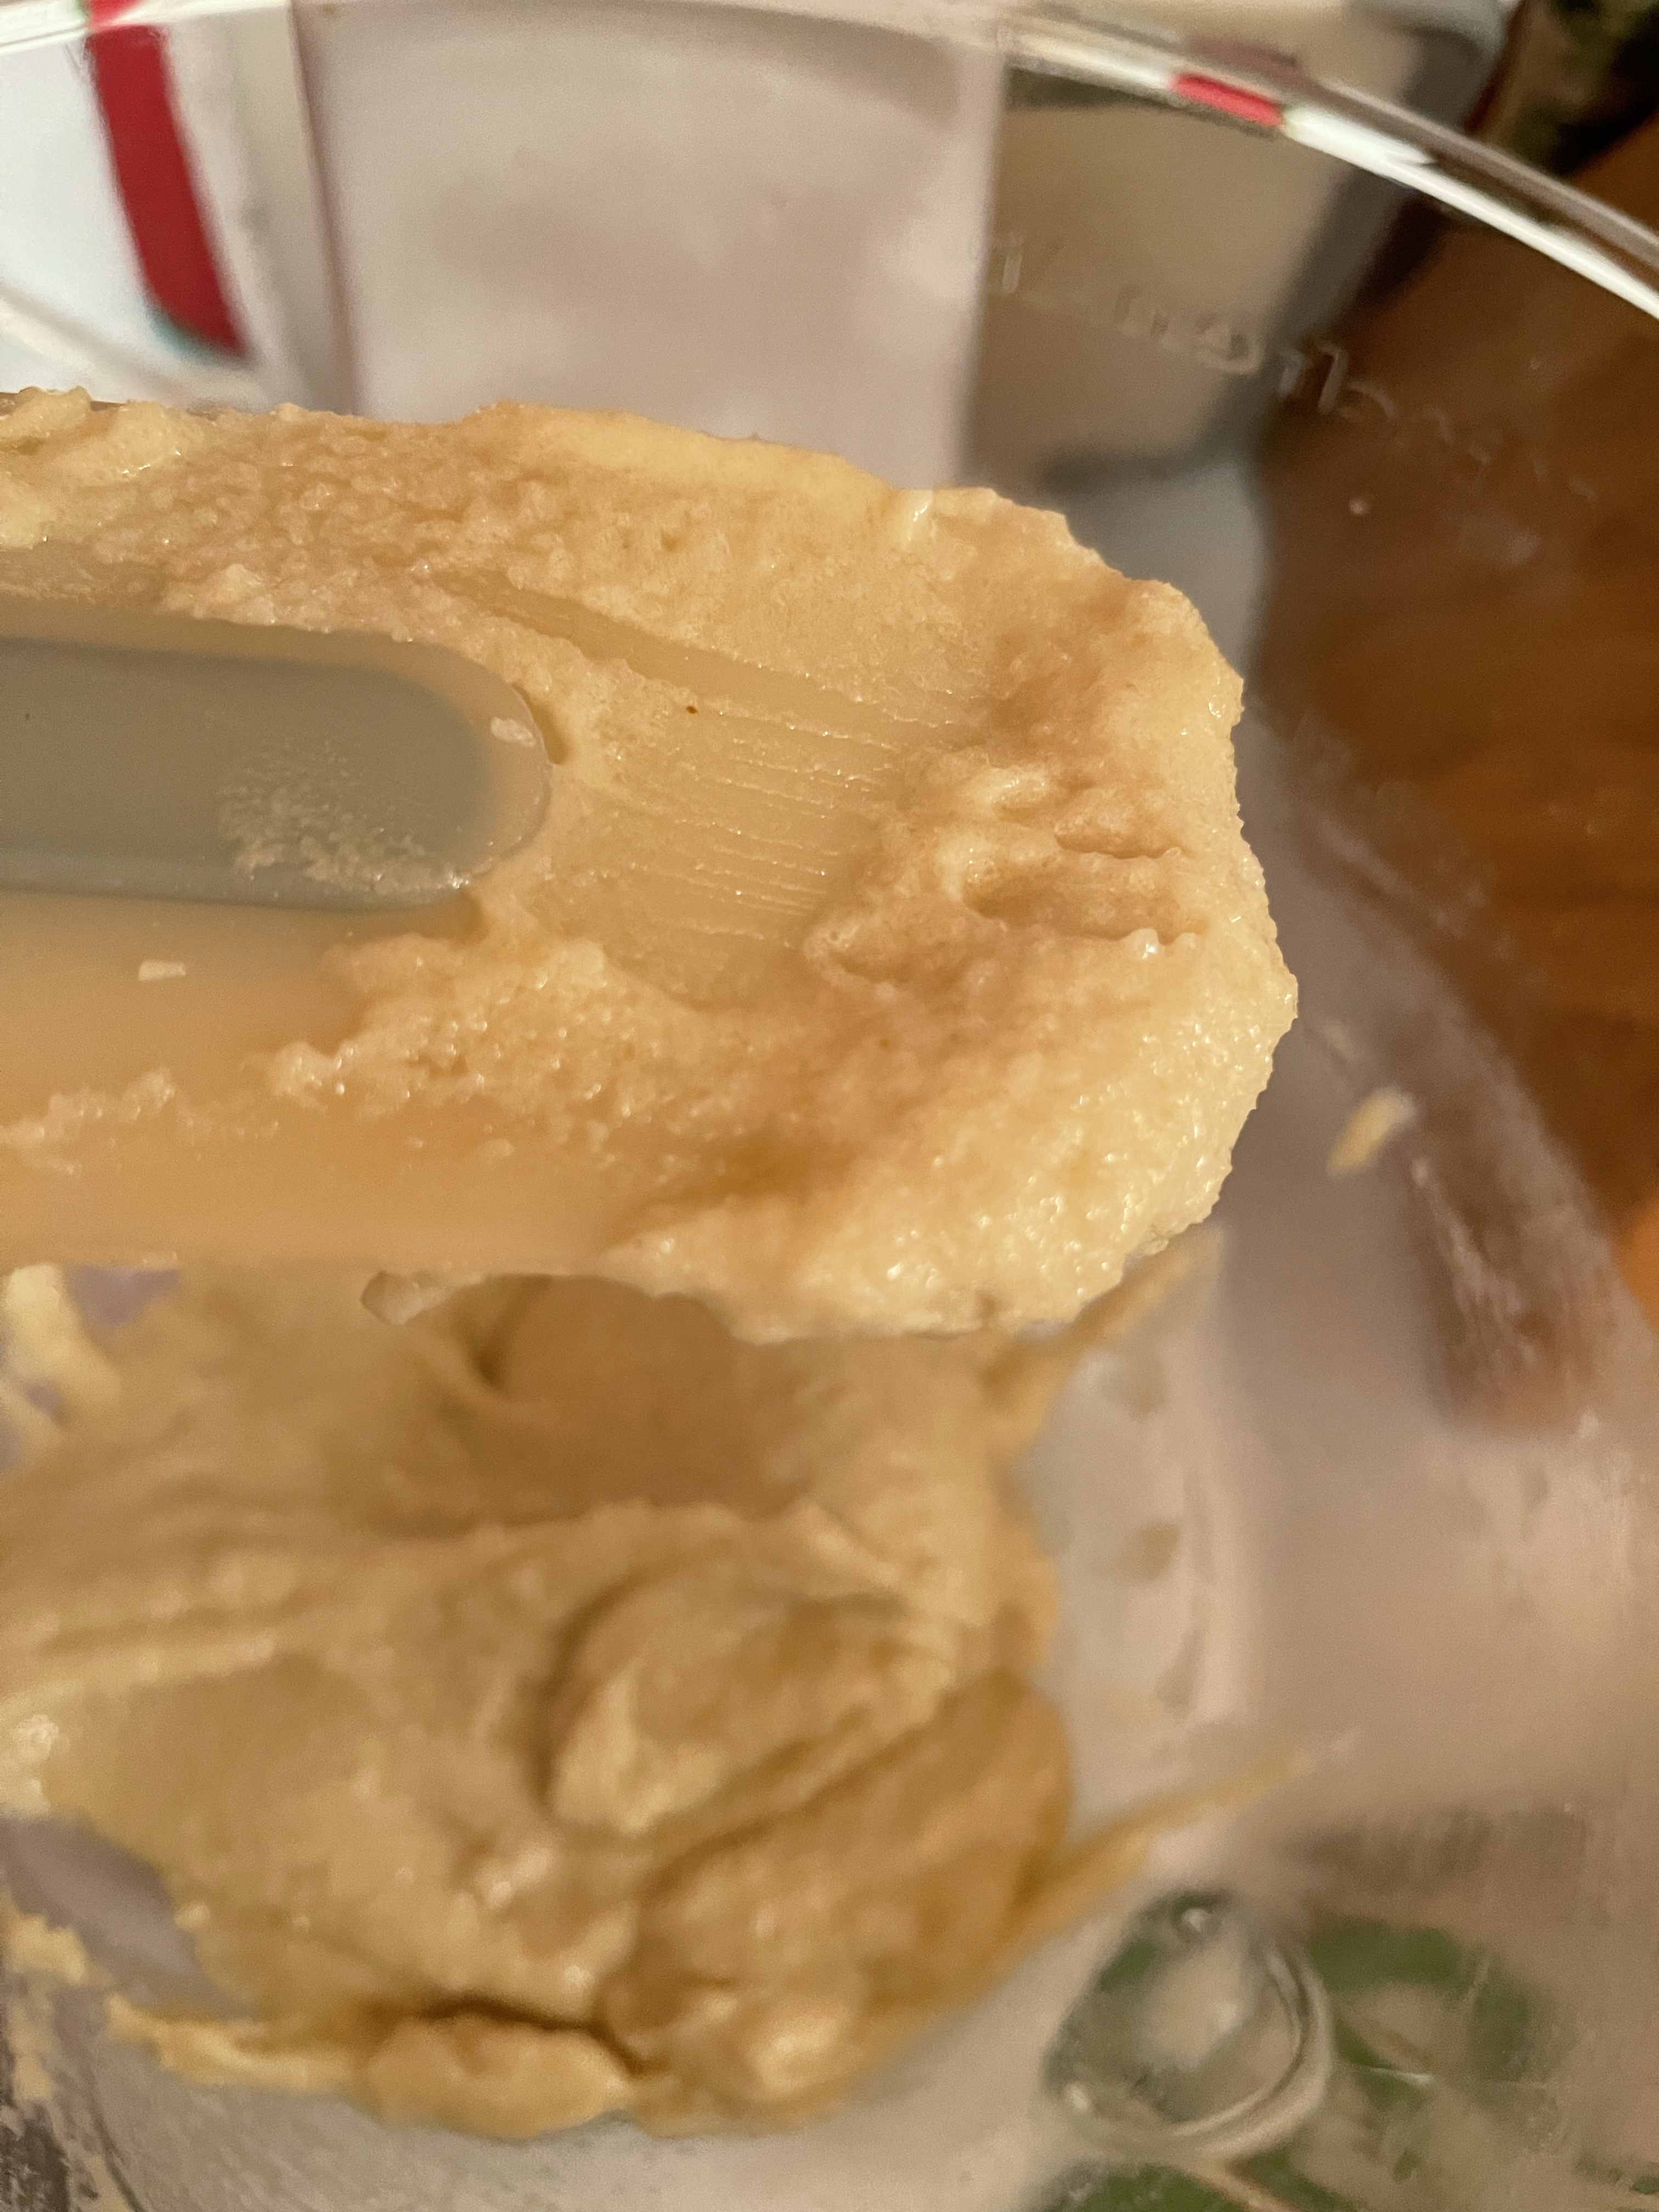
- Now crumble up (or dice up with a knife the almond paste and beat it with the rest of the ingredients until it’s foamy and thick. (If you think it’s too runny, add a tablespoon of flour, but not more.)
- Set your oven to 350F and turn it on. Take the dough out of the fridge, cut it in half, and roll one half out, to about 1/8 of an inch and cut out eight rounds. You can use a canning ring, the mouth of a glass, or a biscuit cutter if you have one big enough.
- Place one huge heaping teaspoon of the almond filling in the middle of one cookie and then place a second round on top; carefully seal the edges. You can do this with a fork or gently tapping it with your finger.
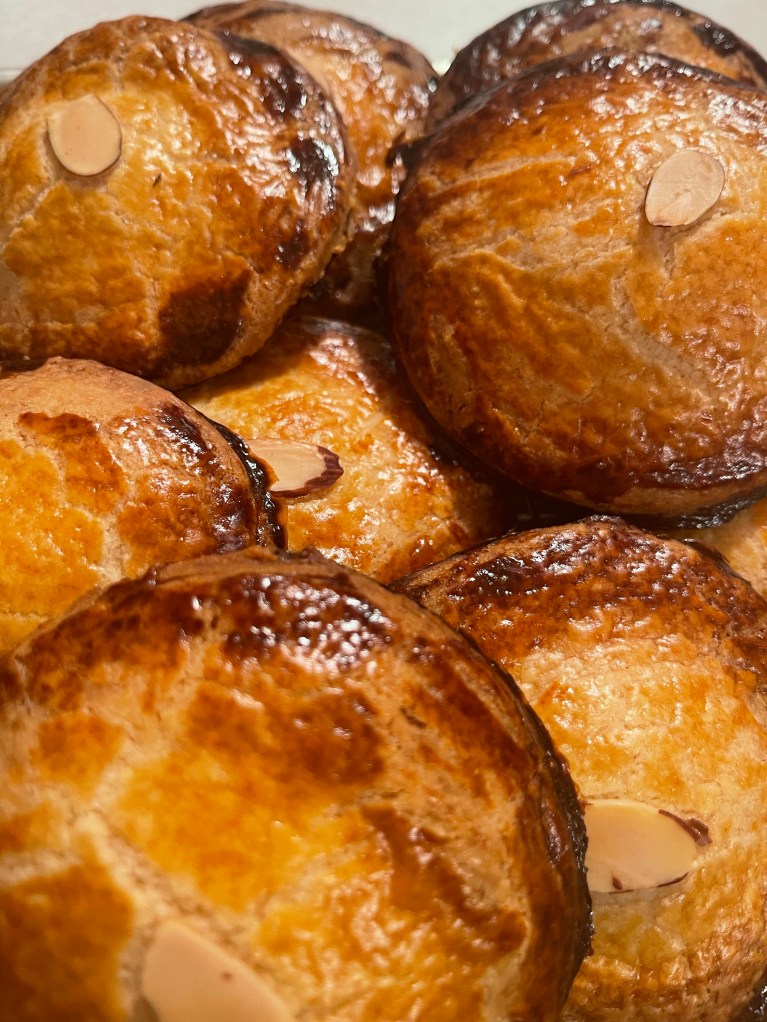
- When all are done, place them on a parchment lined baking sheet or on a silicone mat. Beat the egg yolk with the milk and brush the top of the cookies, then place an almond on top.
- Bake for about thirty minutes or until golden.
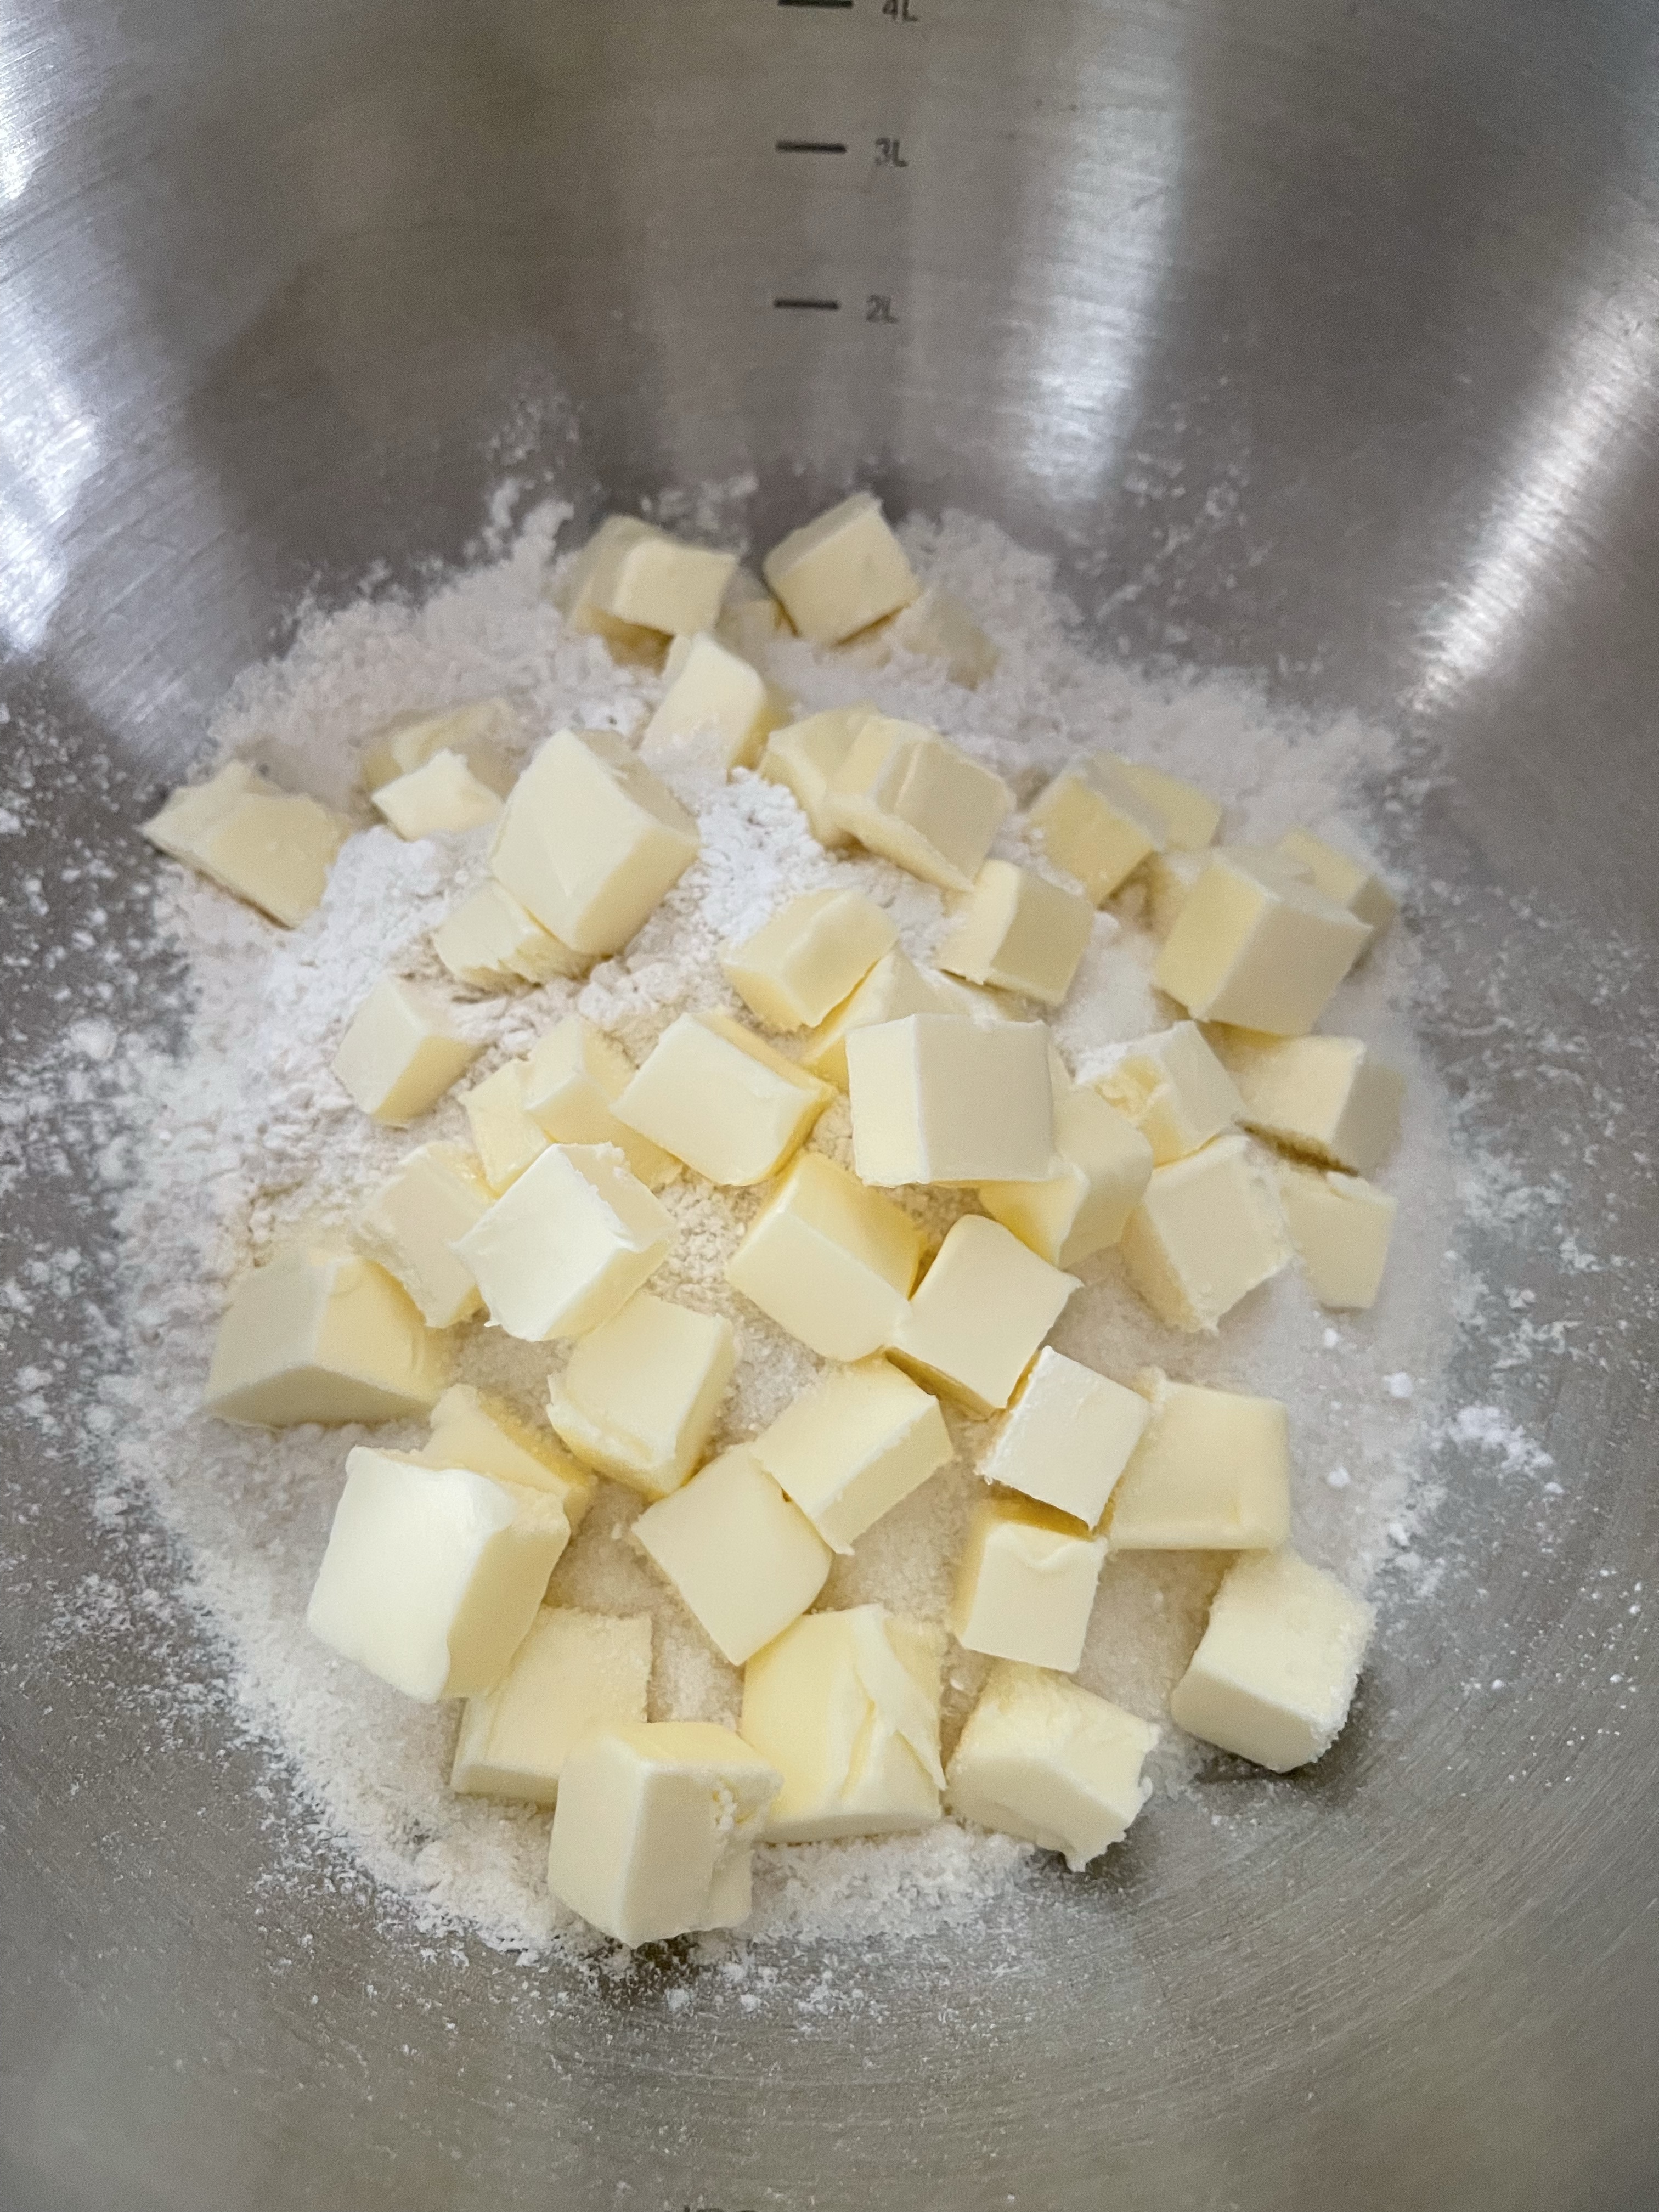
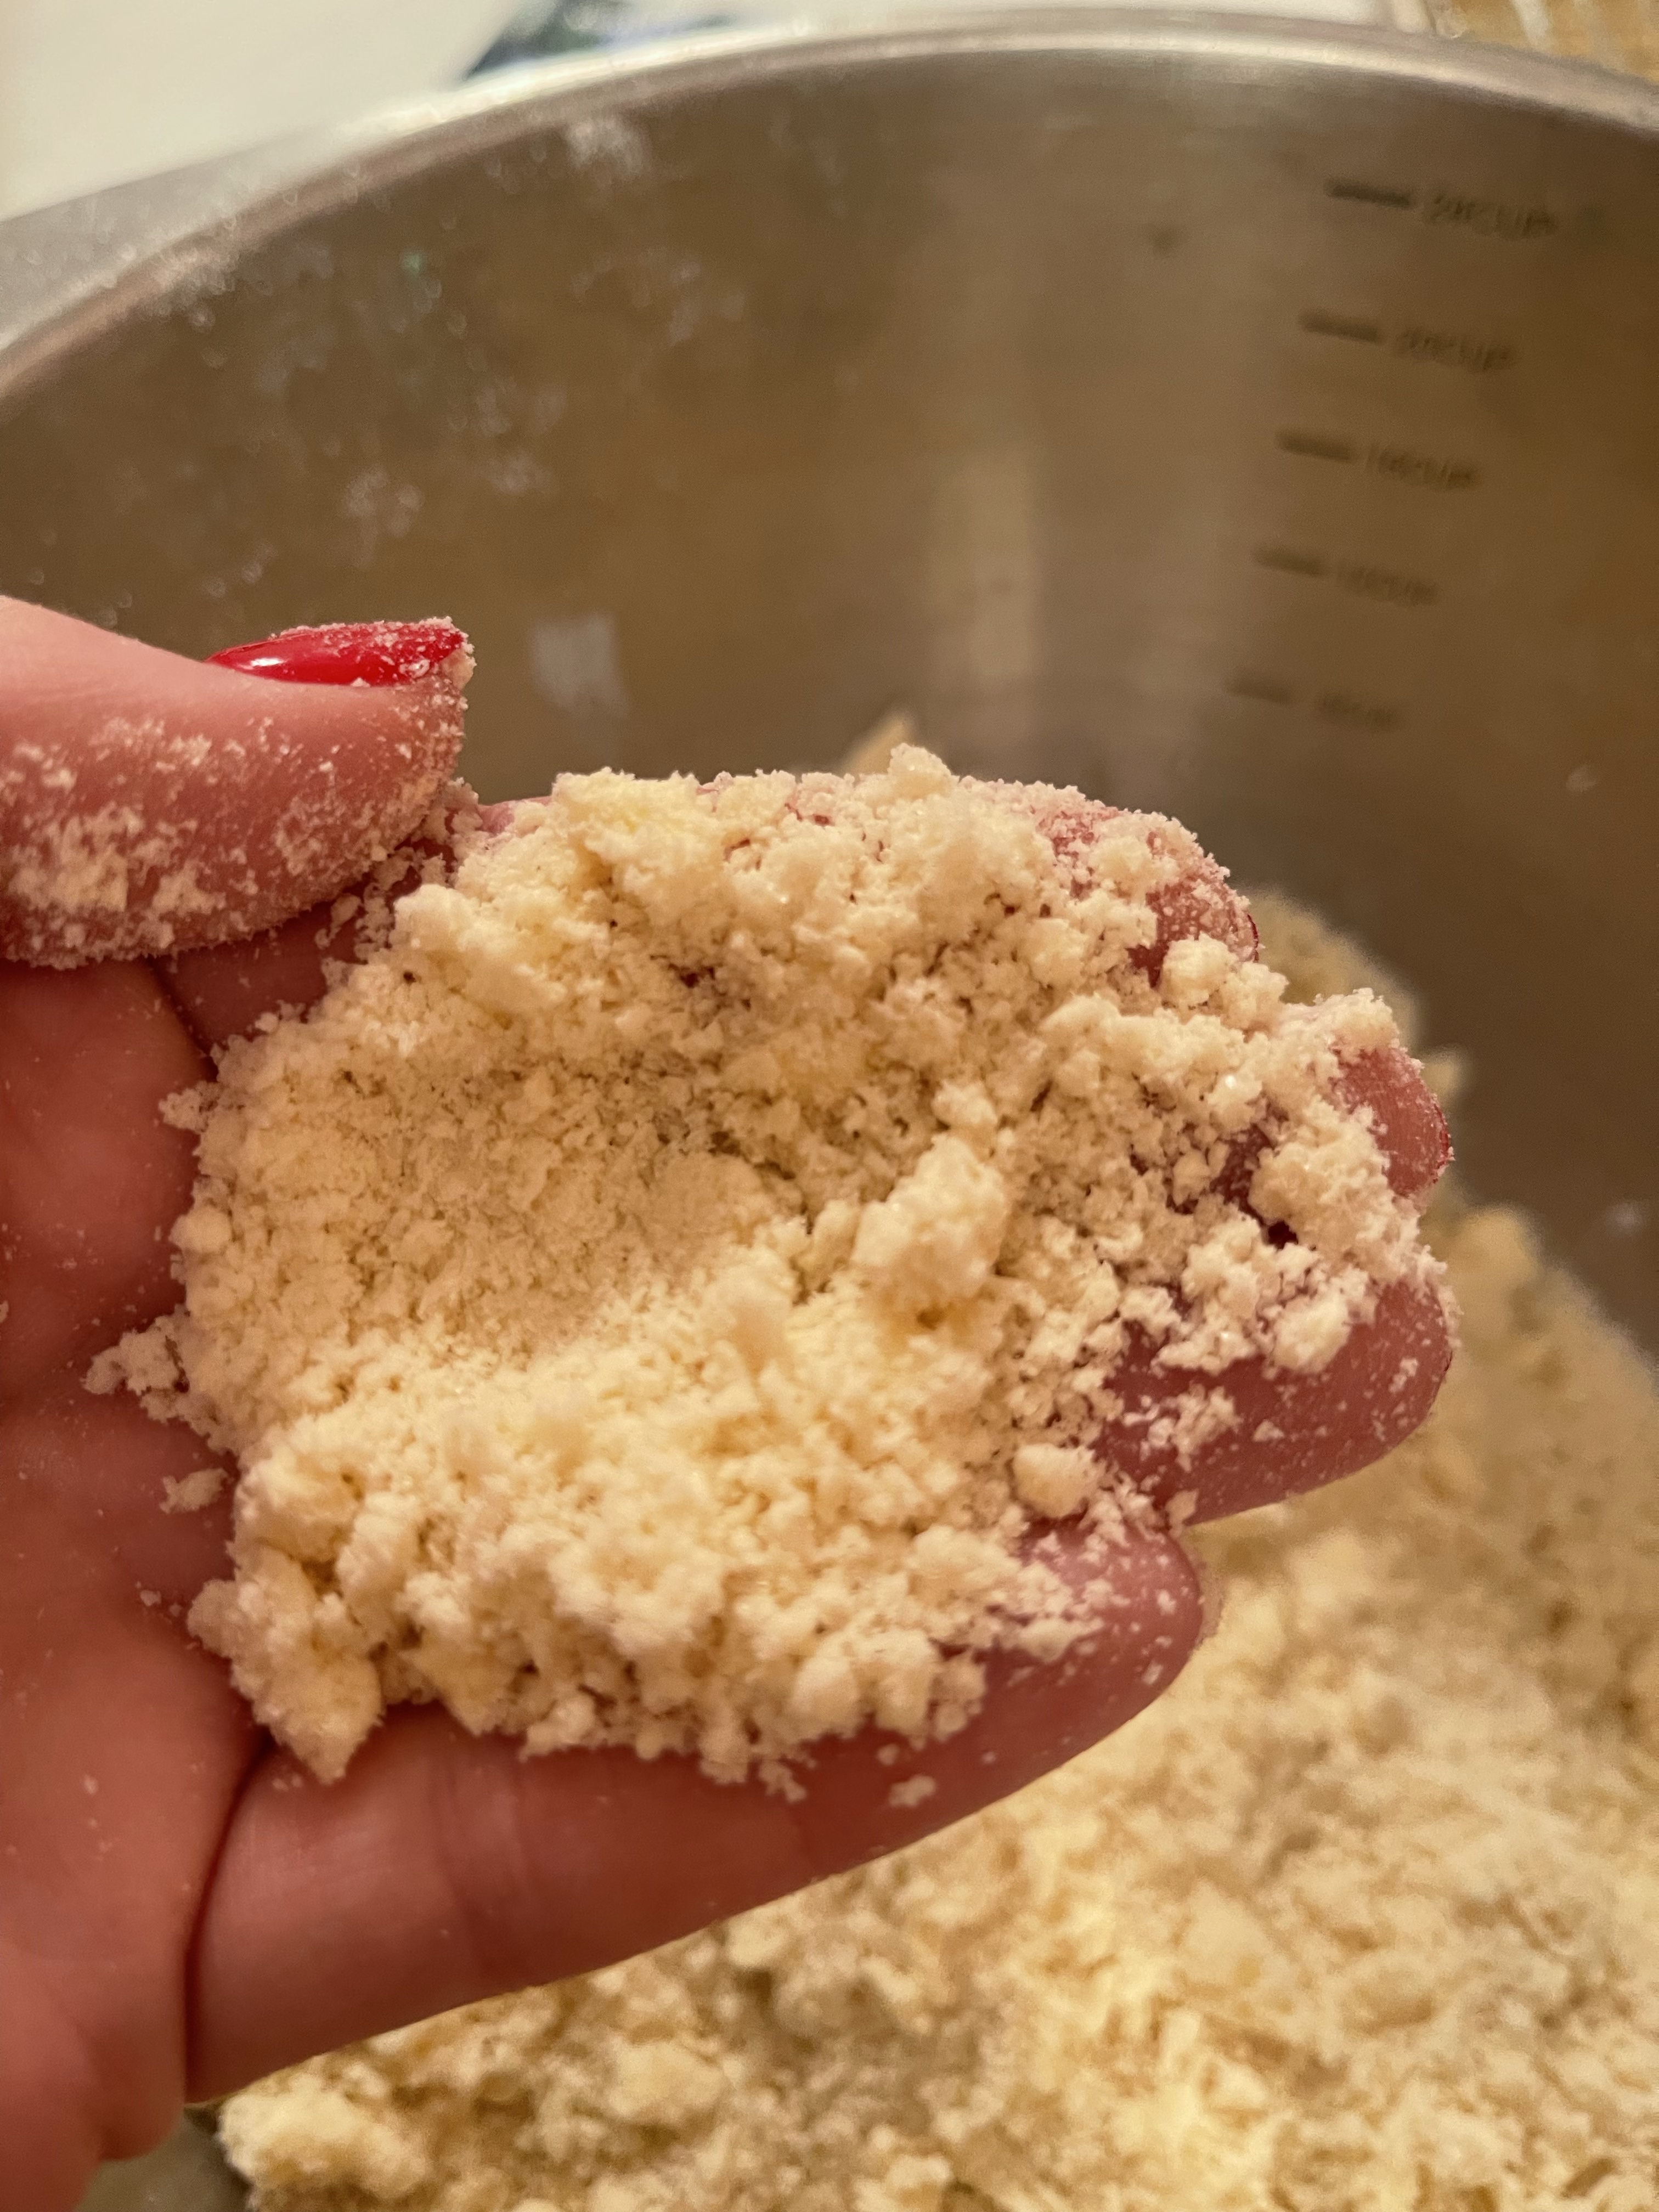
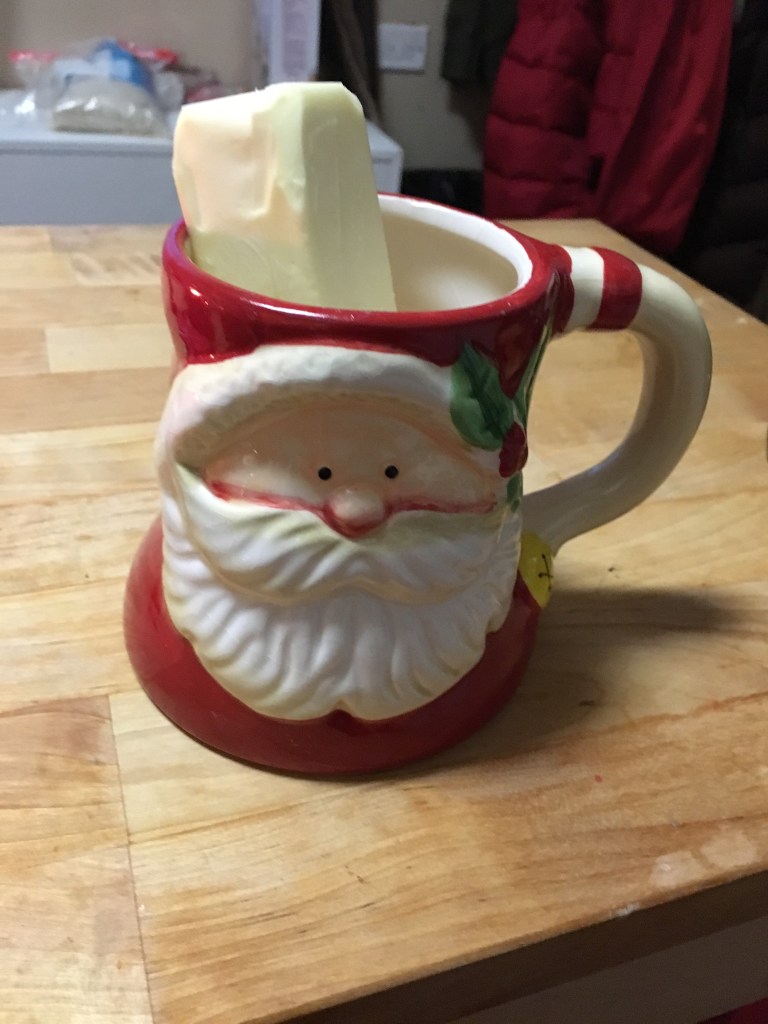
Any time I see the term “cut in butter” in a recipe, I think about my friend Jen and how I introduced her to the concept of a pastry cutter. I generally only see this term in biscuits and pie crust, but every once in a while, I see it in a cookie recipe. It’s just a way of making sure your dough will be light and flaky, because there will be butter incorporated into the dry ingredients at the molecular level. Okay, not the molecular level, but at a very small level that makes little pinpoints of butter ooze around flour. Or something like that.
When your dough looks like kinetic sand (and you have a brief, yet strong, urge to yell “Don’t get it on the carpet, kids!”) then it’s the right consistency.
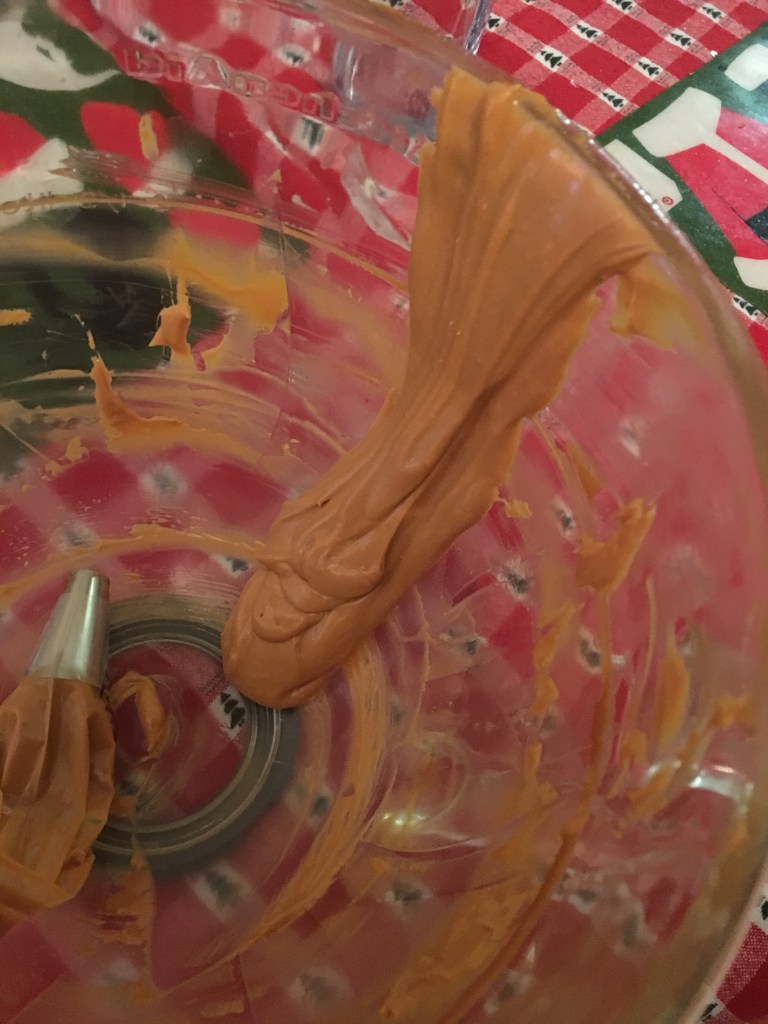
For the filling, I’m not sure who can “crumble” almond paste, but it’s not me. I diced it up like cheese and threw it in my mixer. This stuff smells heavenly, by the way.
I didn’t take any pictures of me rolling it out or cutting it, but it’s thin. I generally do my sugar cookies about about 1/4 inch thick. This is half that.
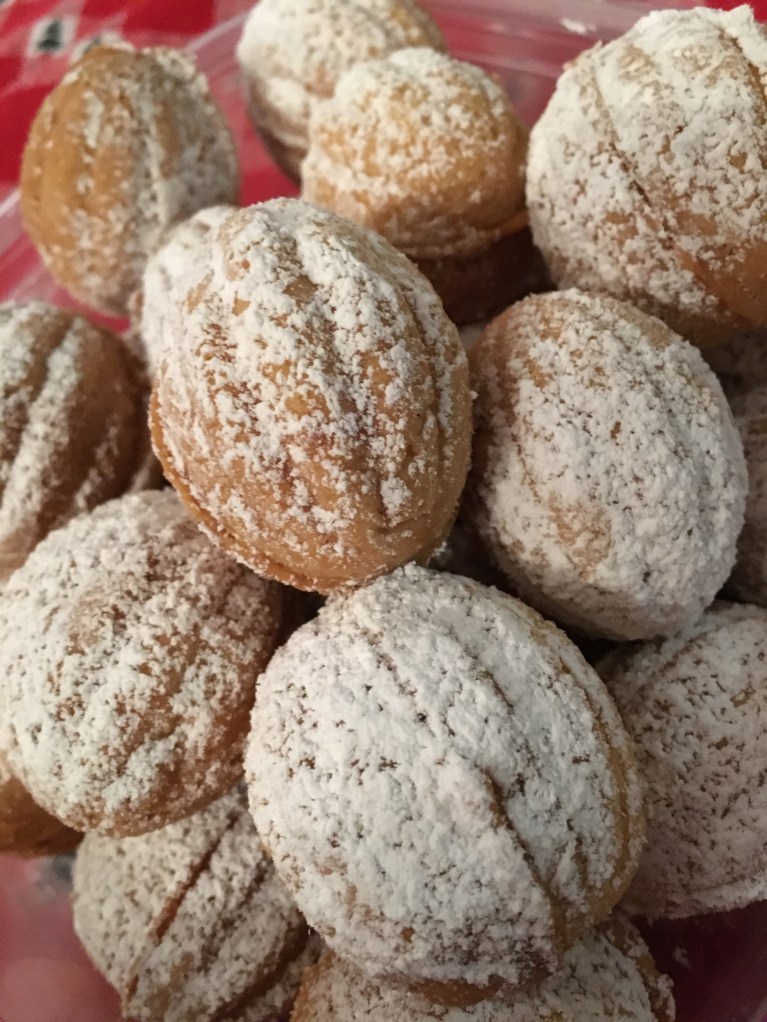
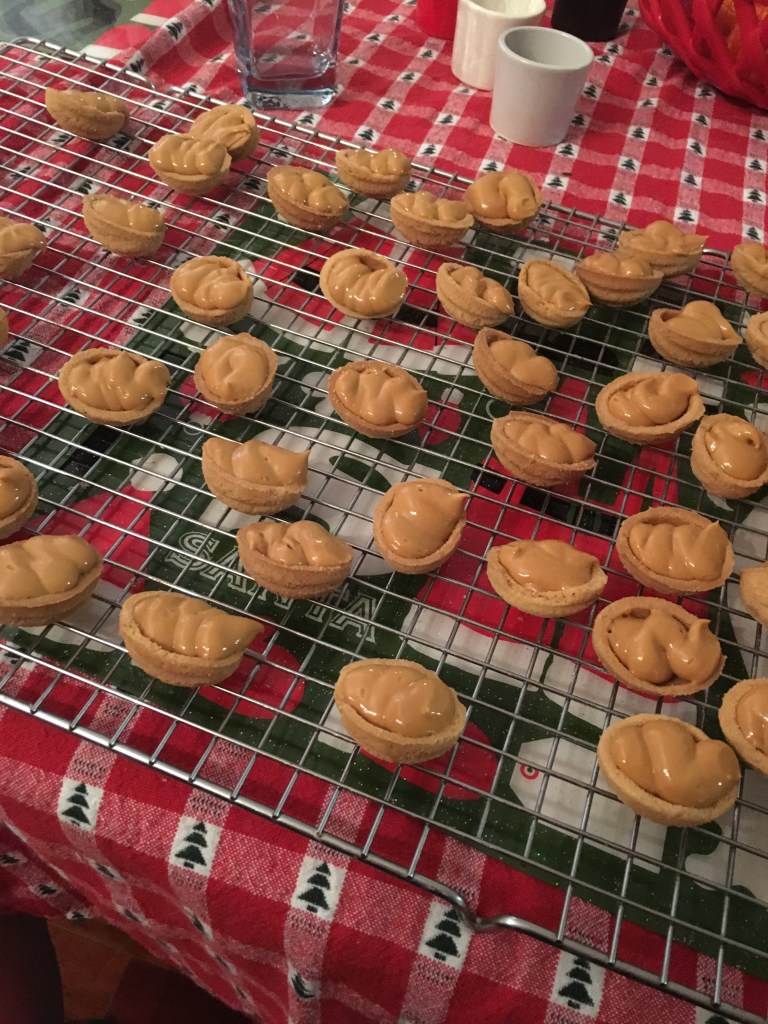
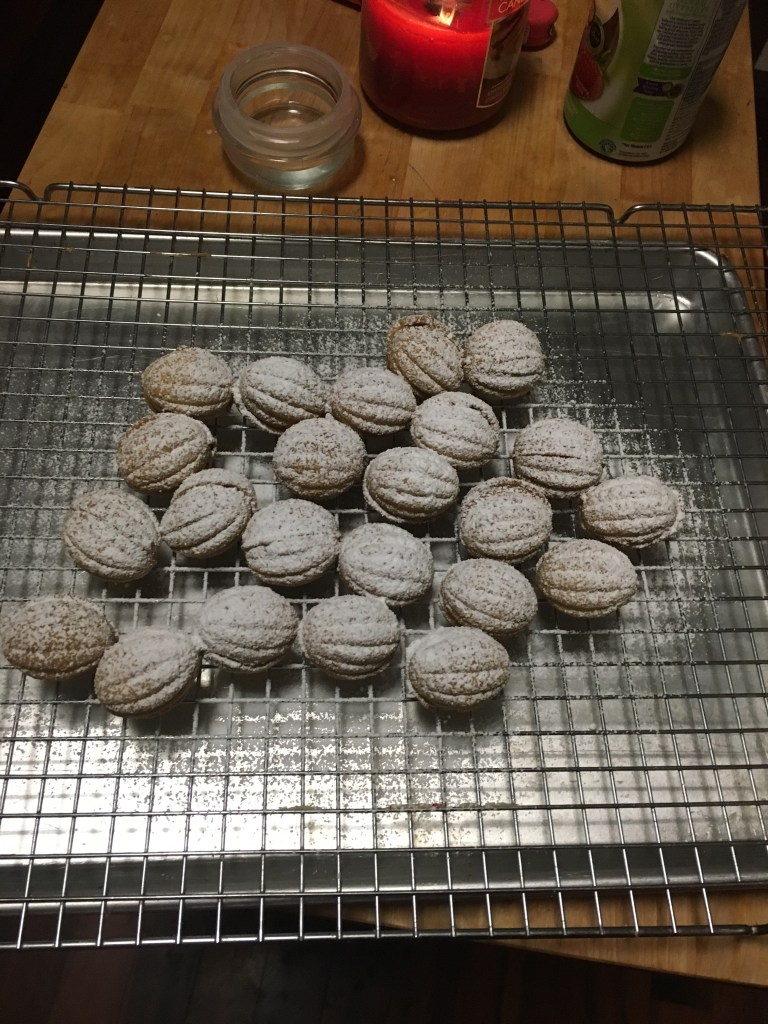
I was able to get a few more than 10 Christmas cookies out of the recipe this time. Not many more, but more than 10. I think I got five.
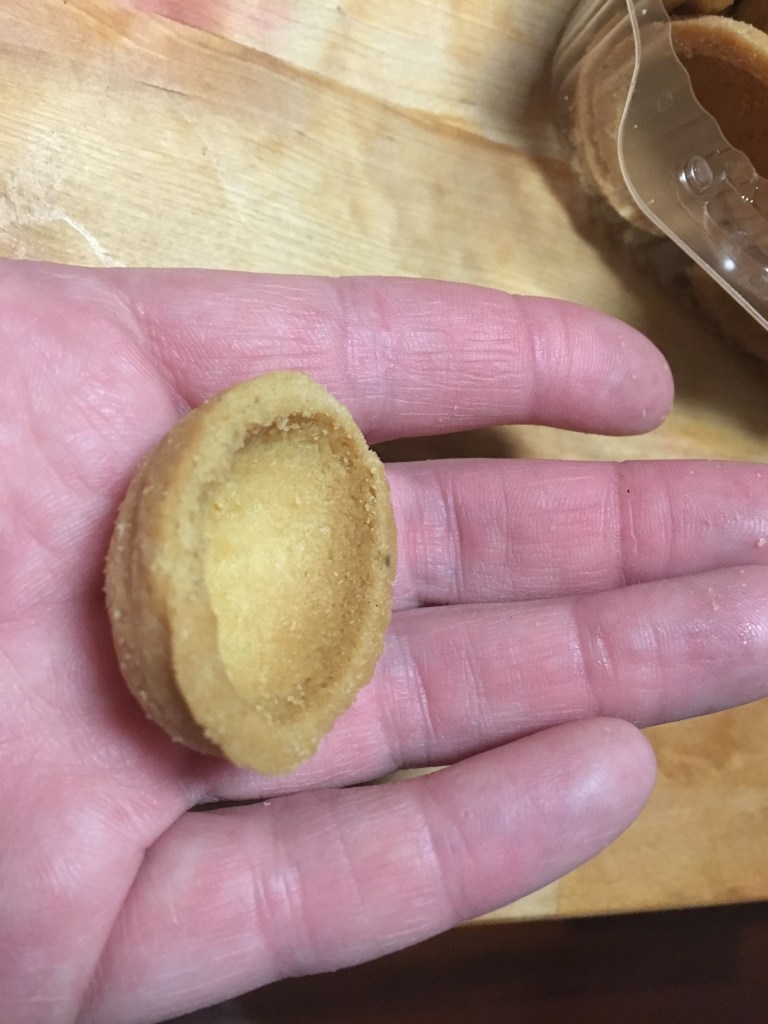
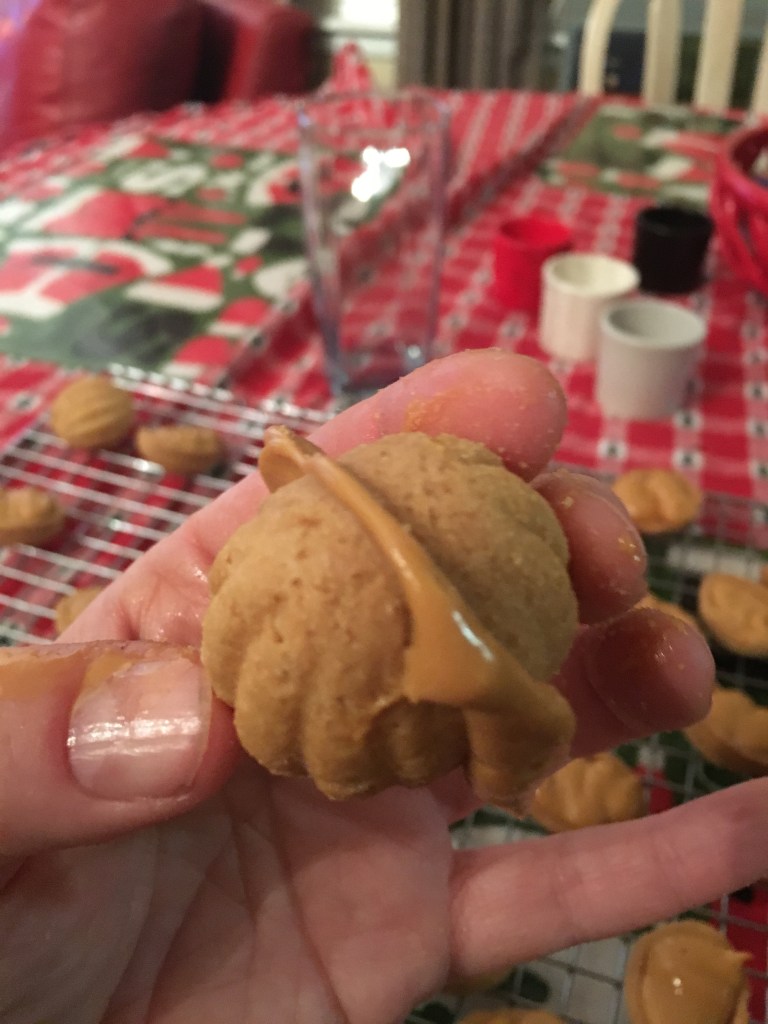
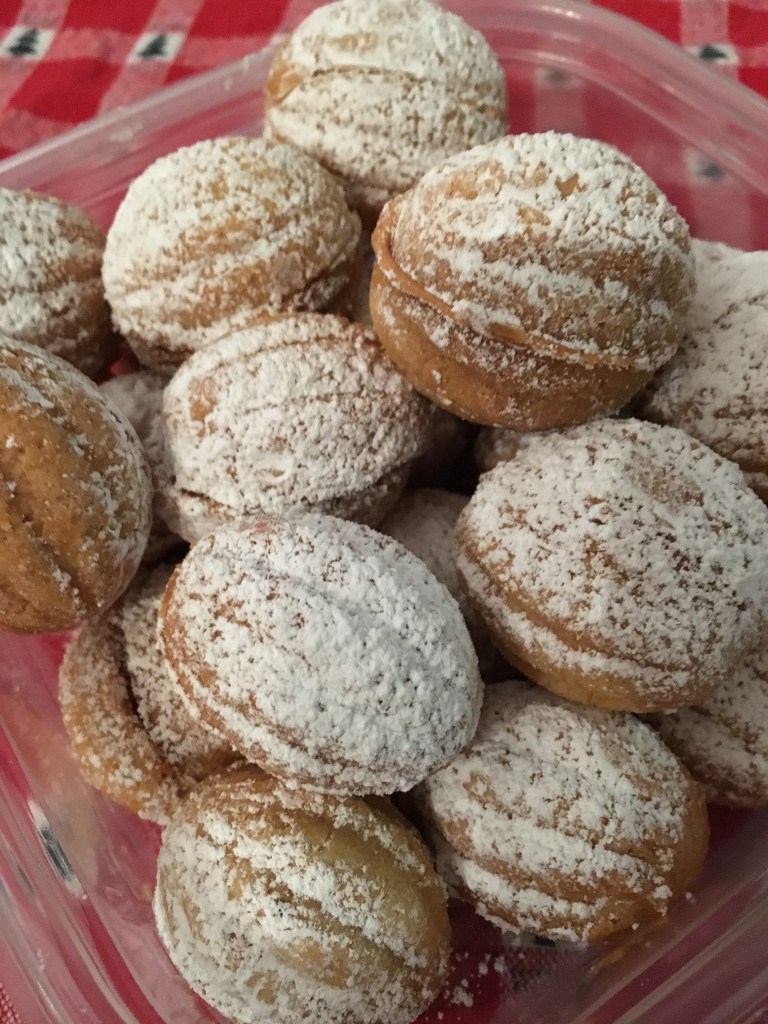
These are crumbly and flakey, with that yummy filling in the center. If you put one on top of a cup of hot coffee or tea, it will make that filling really melty and good.